IKEA · Kids' Furniture
How to assemble IKEA UTTER Children's Table
Step-by-step IKEA UTTER Children's Table assembly: 6 illustrated steps, an animated video, the hardware list and the tools you need — following the official instructions (AA-1891969-1).
- 6 illustrated steps
- 1 steps in the manual
- 1:32 video
- 65×45×48 cm
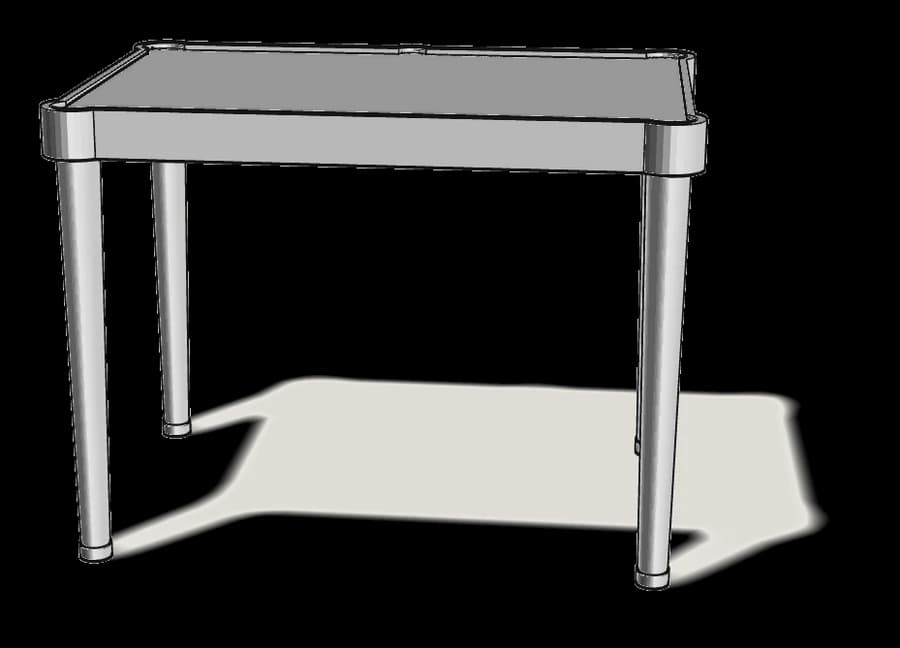
What you need
Tools
No tools needed.
Hardware in the box
See the manual.
Step-by-step assembly
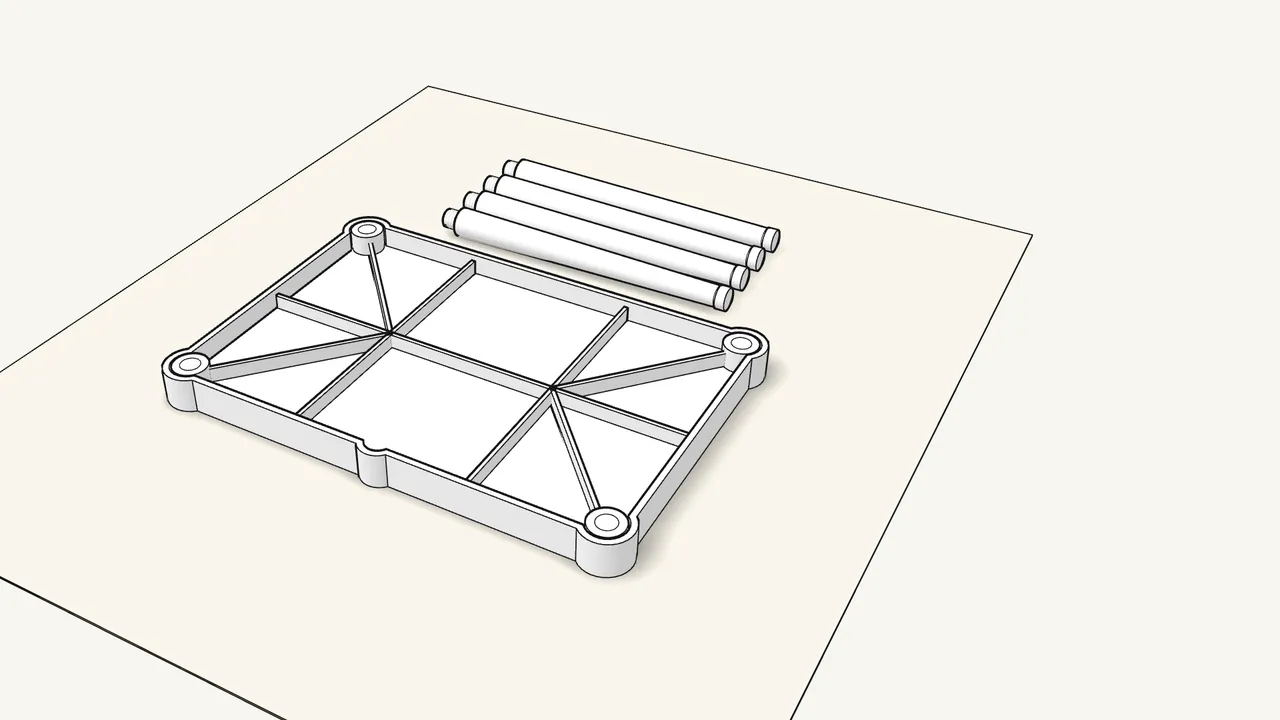
Step 1
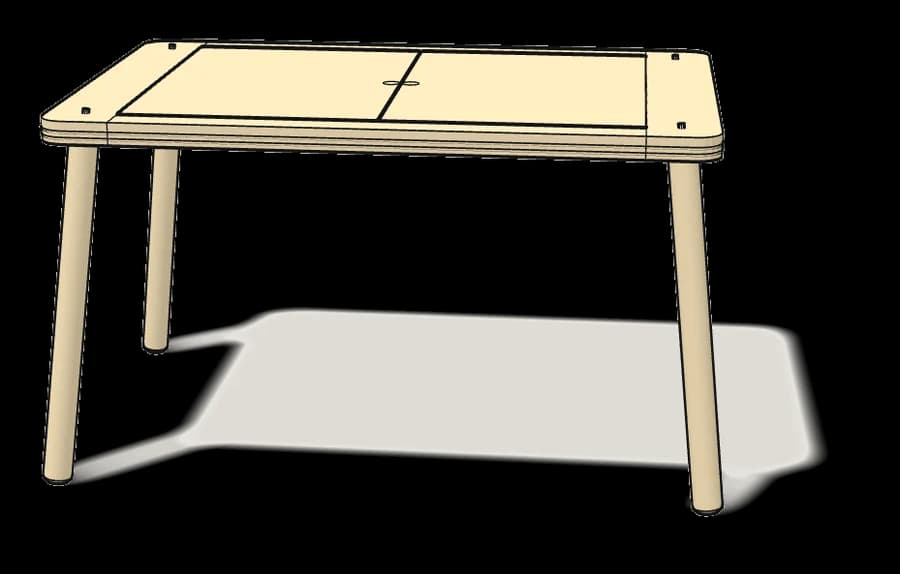
Unpack the tabletop and the 4 legs.
Lay the tabletop upside down on a rug or the flattened box.
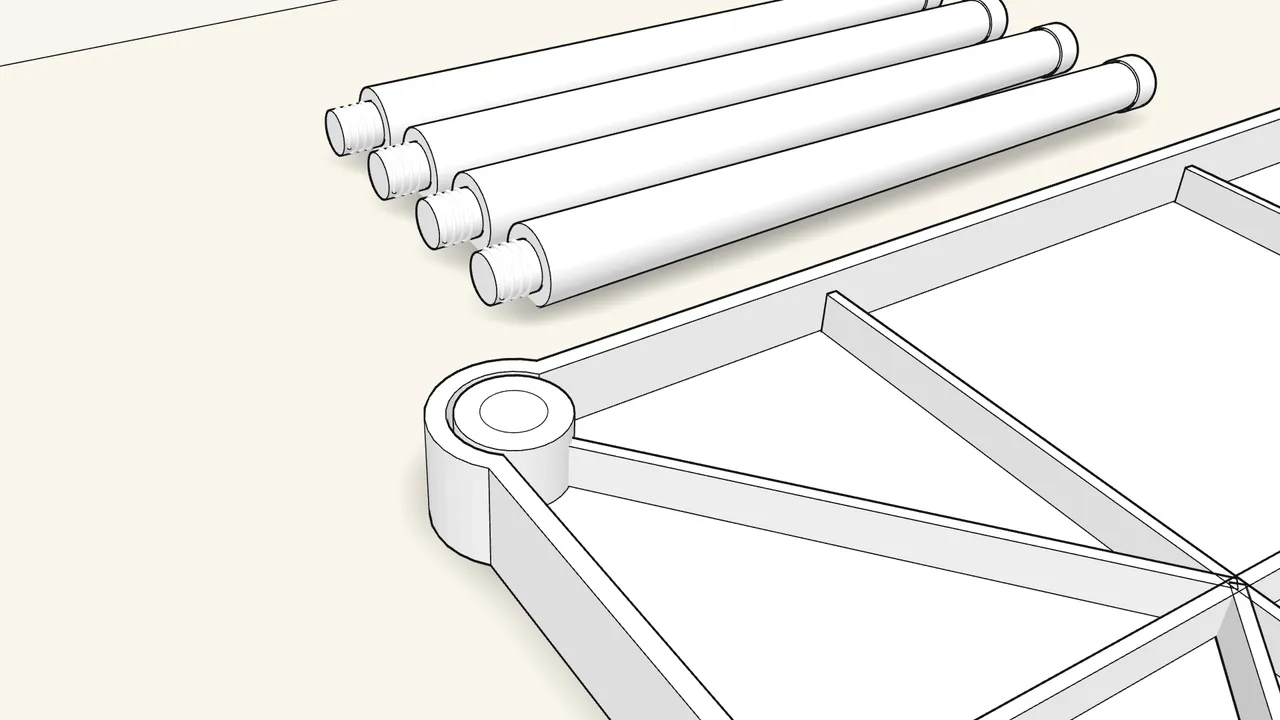
Step 2
Each leg has a thread at the top…
…and each corner of the tabletop has a threaded socket for it.
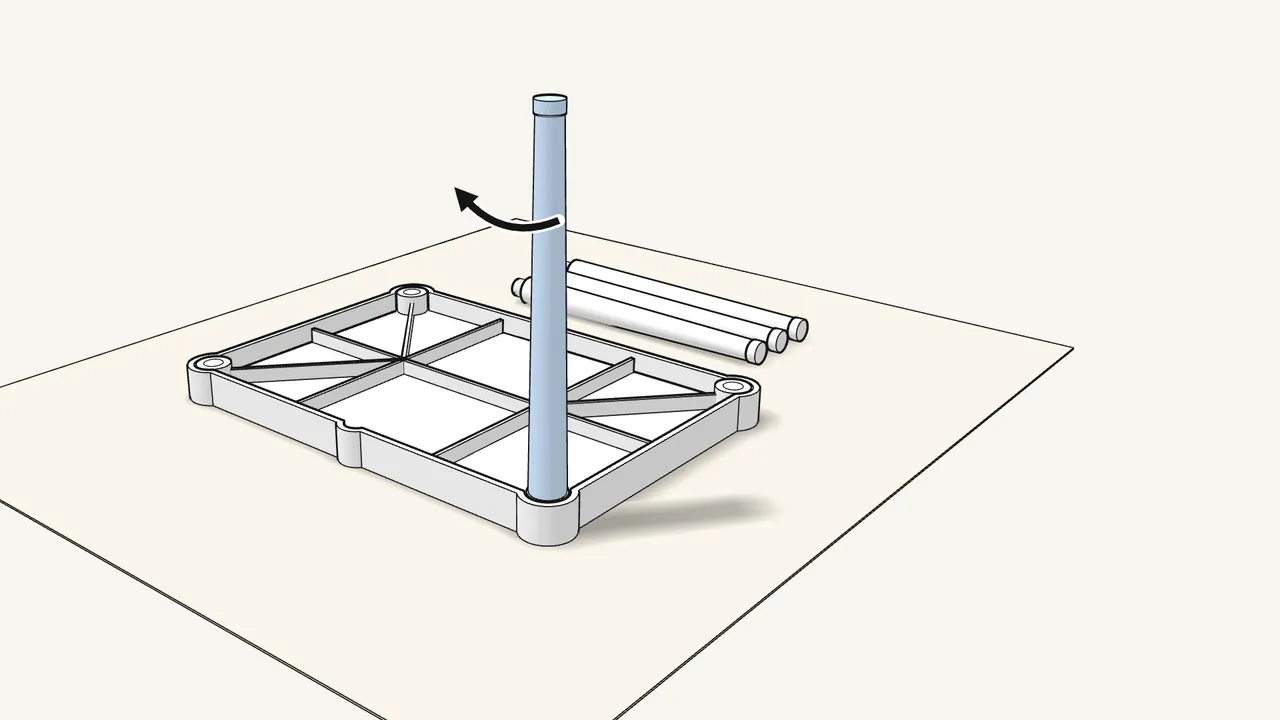
Step 3 · manual step 1
Screw a leg into a corner of the tabletop.
Turn it clockwise by hand until it sits tight against the top.
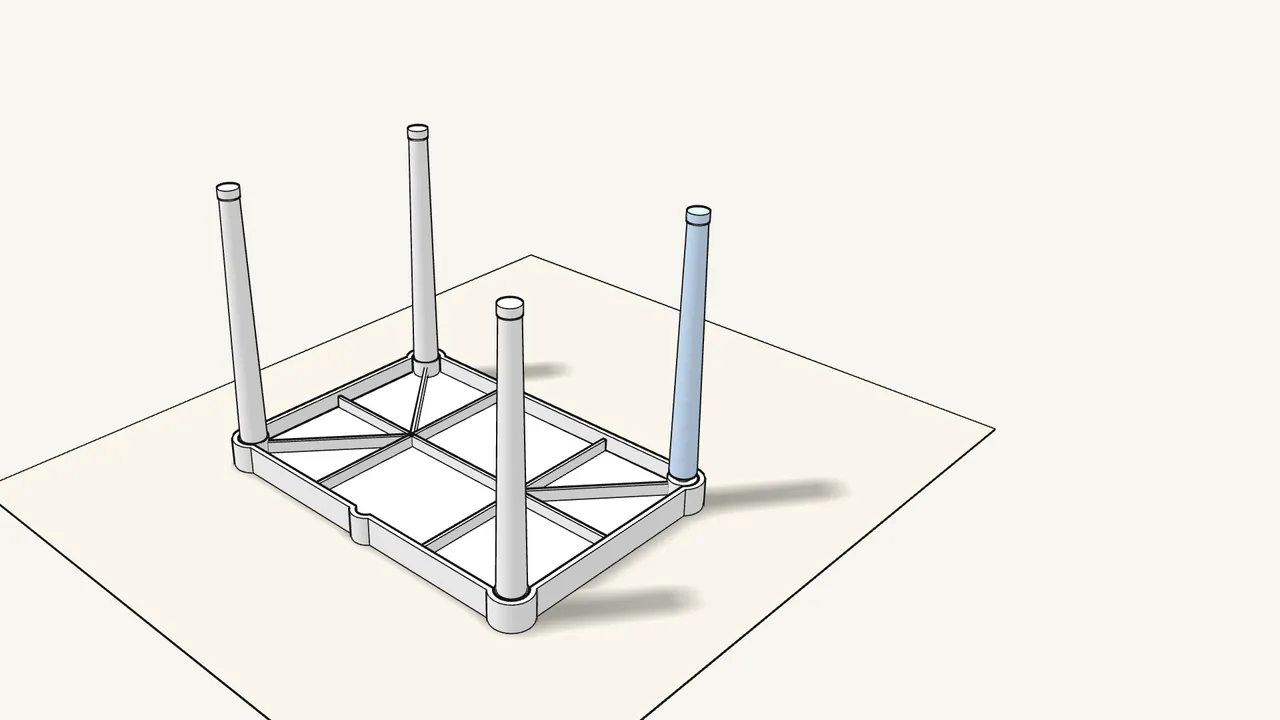
Step 4 · manual step 1
Screw in the other 3 legs the same way.
4× — all of them turned in all the way.
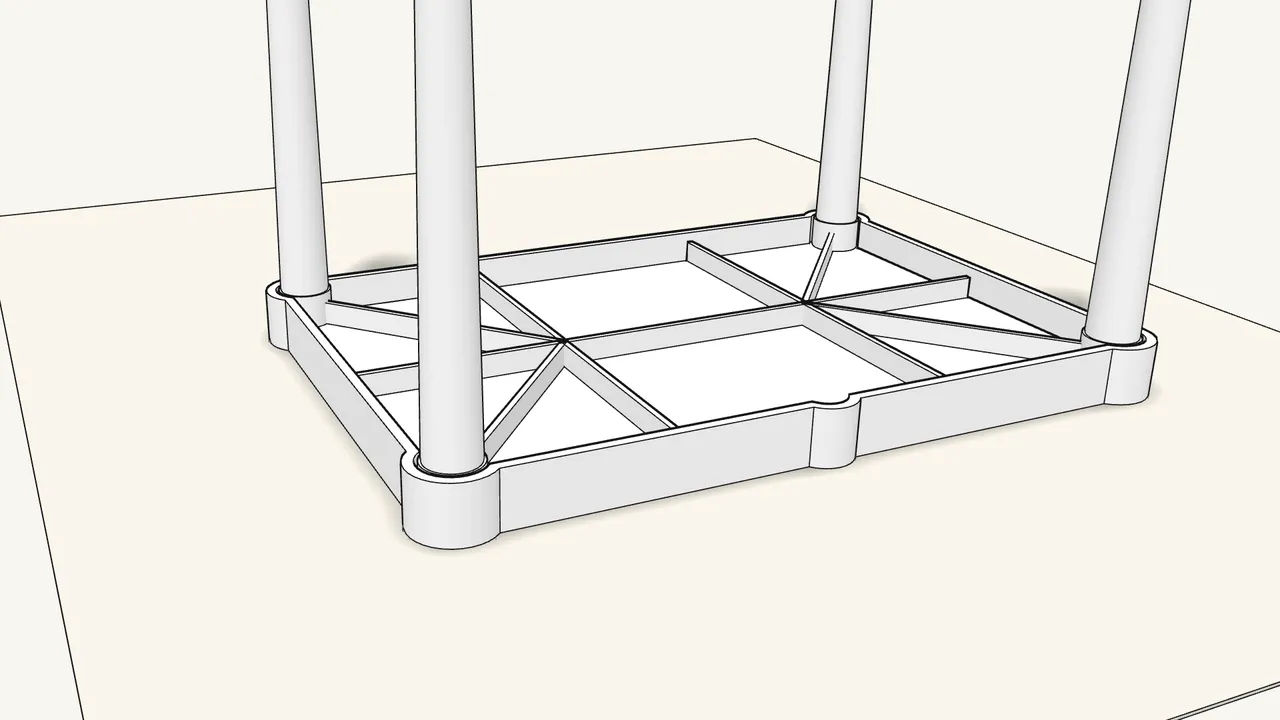
Step 5 · manual step 1
Check that all 4 legs sit tight against the top.
No gap between the top of each leg and its corner.
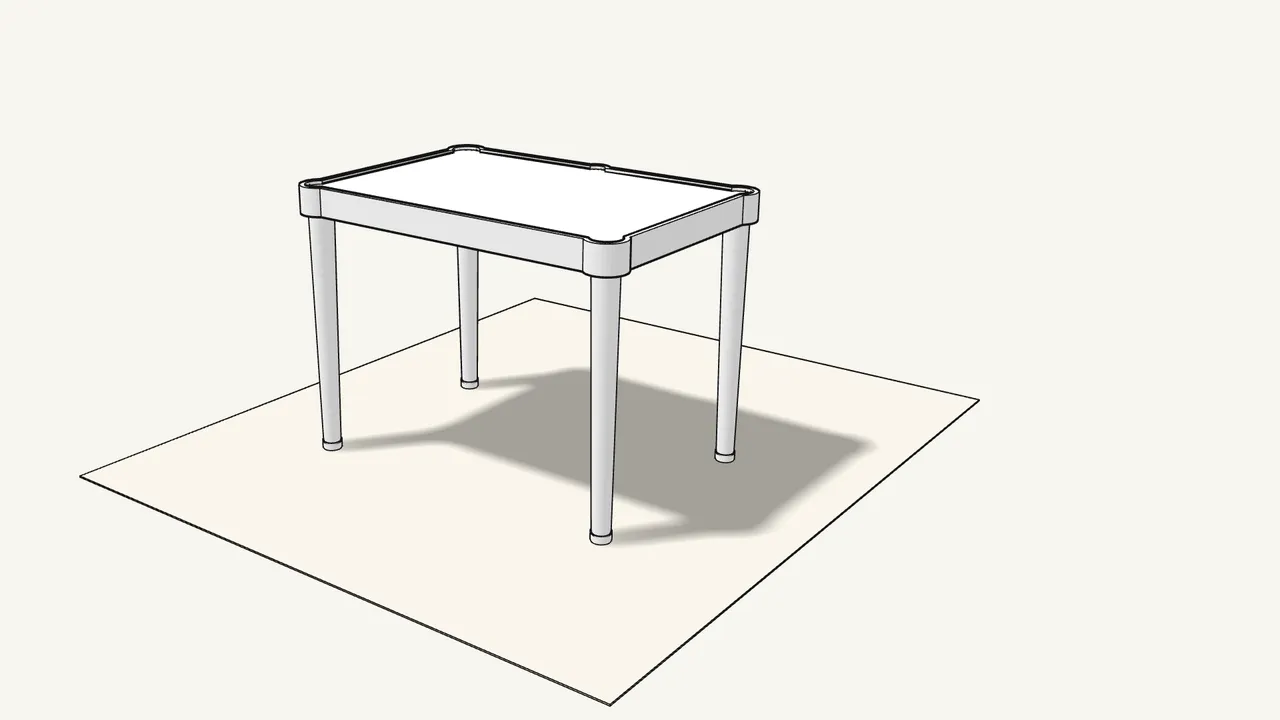
Step 6
Turn the table over onto its feet.
Tips & safety
- Missing a part or not sure? The manual says: contact your IKEA store before you continue.
- A leg feels loose? Turn the table over and screw that leg in further, clockwise by hand (step 1).
Official instructions
This guide follows IKEA’s official assembly instructions (AA-1891969-1). Keep the printed manual to hand — if anything differs, the manual is right.