IKEA · Kids' Furniture
How to Assemble IKEA FLISAT Children's Table
Step-by-step IKEA FLISAT children's table assembly: 8 illustrated steps, an animated video, the hardware list and the tools you need — following the official instructions (AA-2282638-3).
- 8 illustrated steps
- 5 steps in the manual
- 1:24 video
- 83×58×48 cm
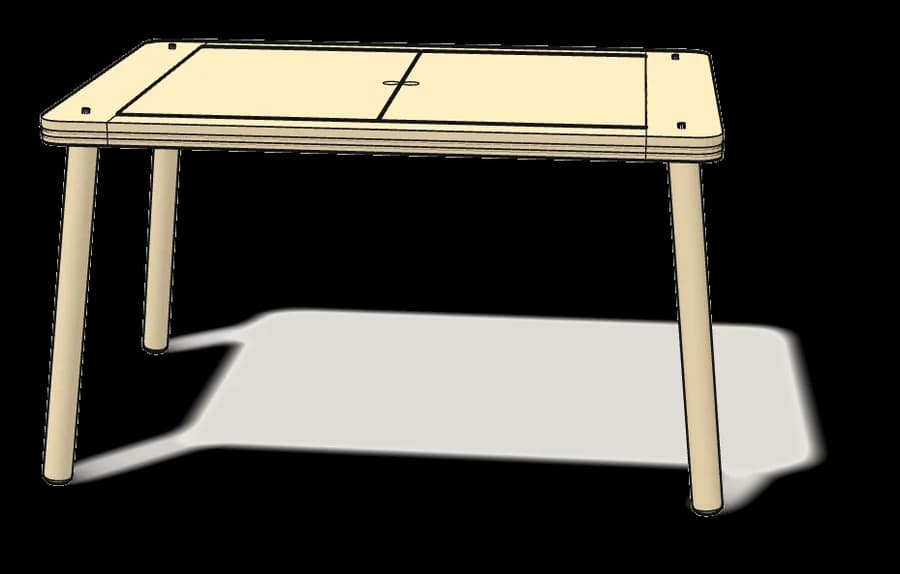
What you need
Tools
- Phillips screwdriver
Hardware in the box
| Part no. (as printed in the manual) | Qty |
|---|---|
| 109504 | 4× |
| 101343 | 2× |
Step-by-step assembly
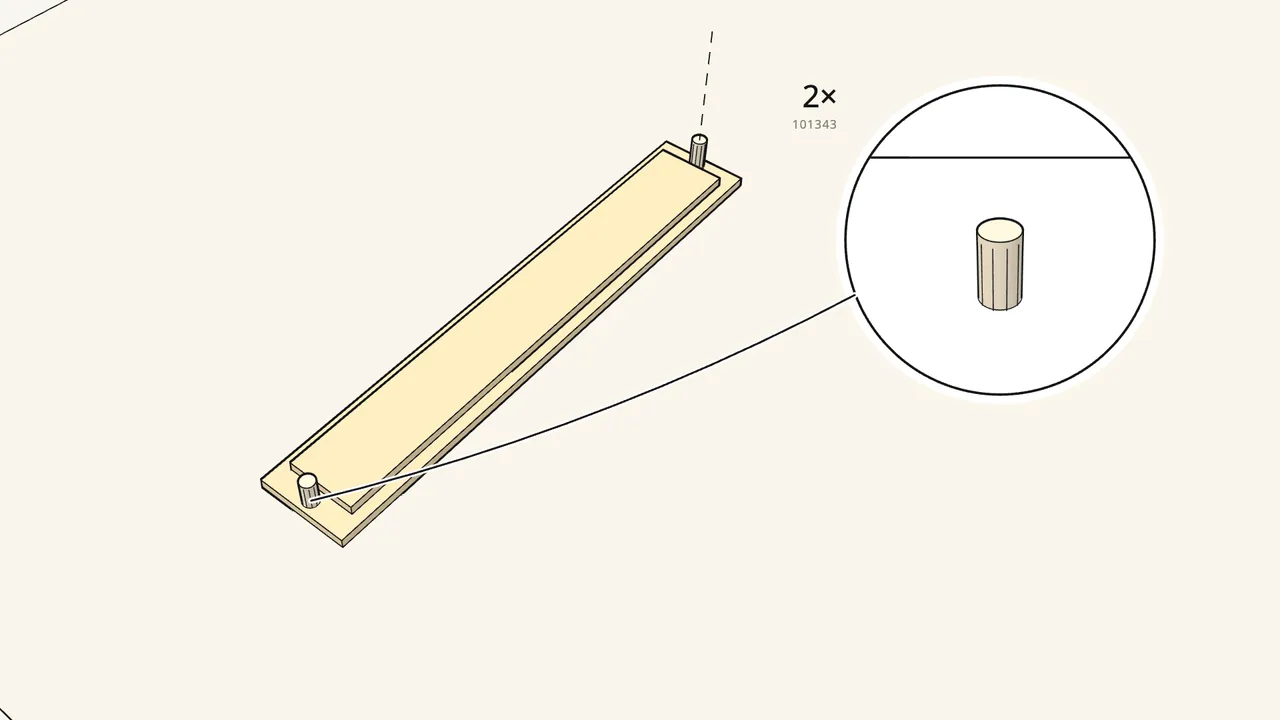
Step 1
Push 2 wooden dowels (101343) into the crossbar.
One near each end, in the face shown in the manual.
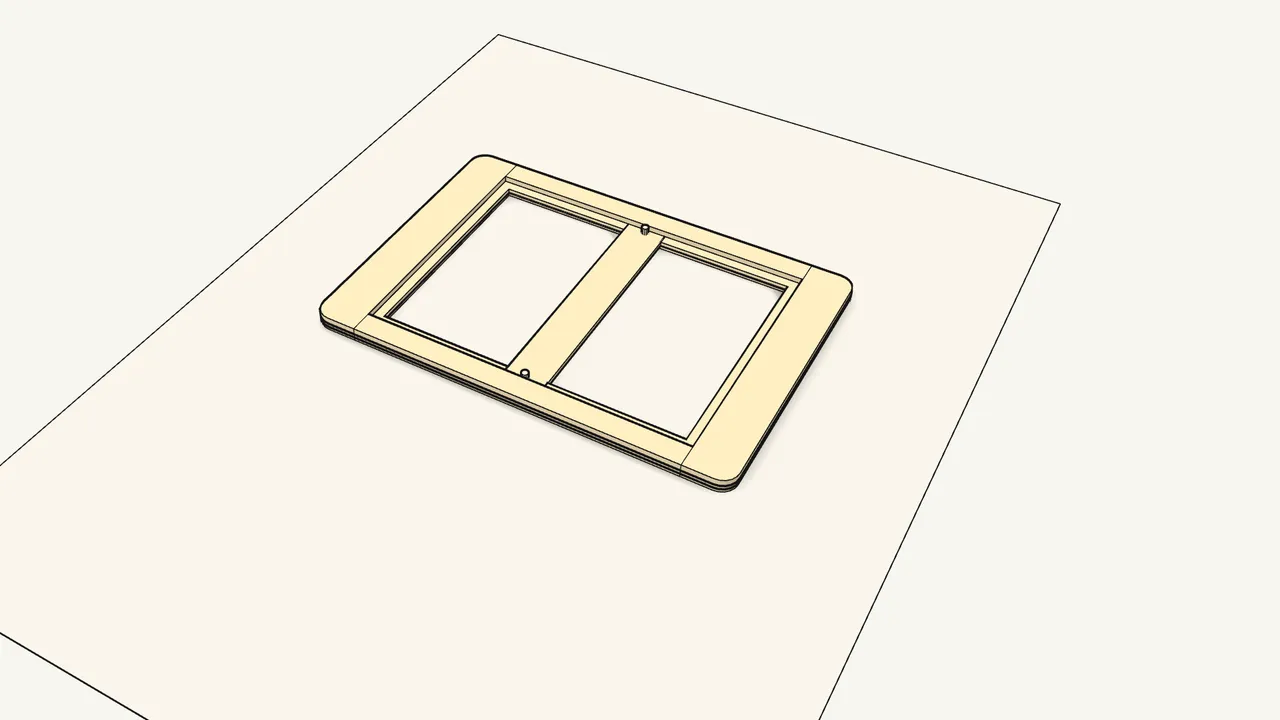
Step 2
Turn the crossbar over and lay it into the middle of the frame.
The frame lies top side up. The dowels go into the holes in the frame.
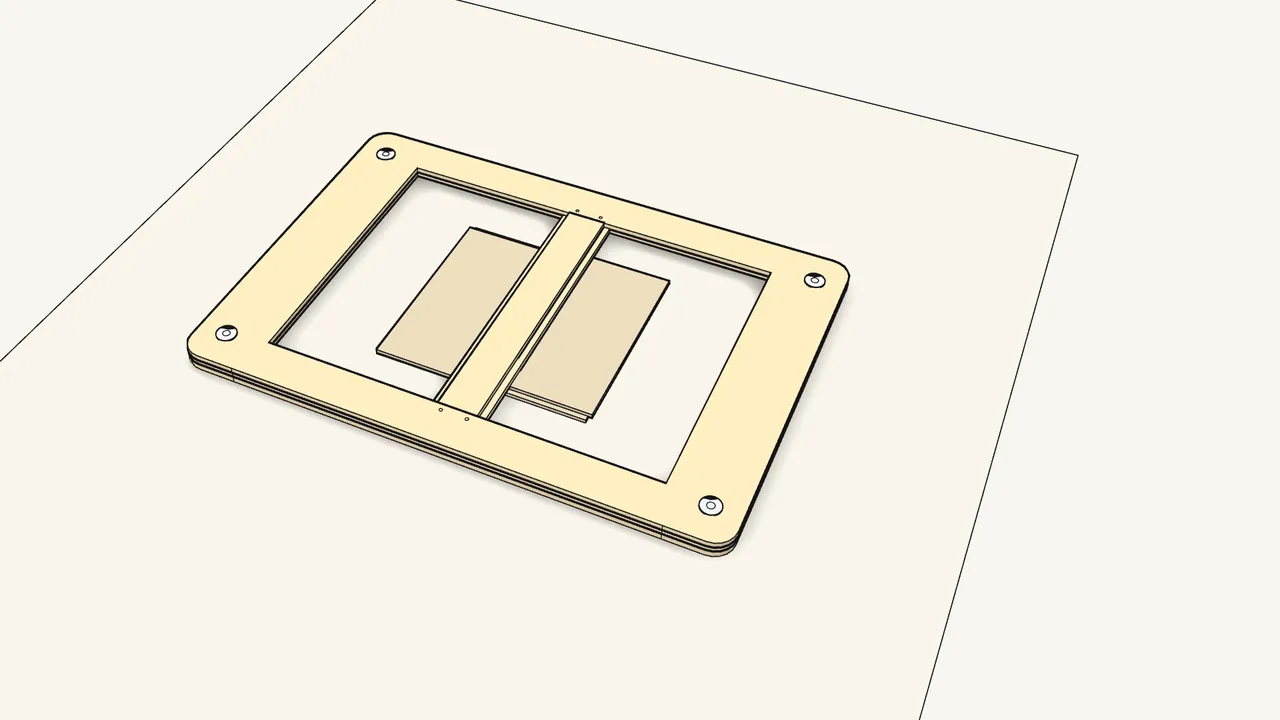
Step 3
Turn the frame over onto two pieces of cardboard.
Place the cardboard as the manual shows.
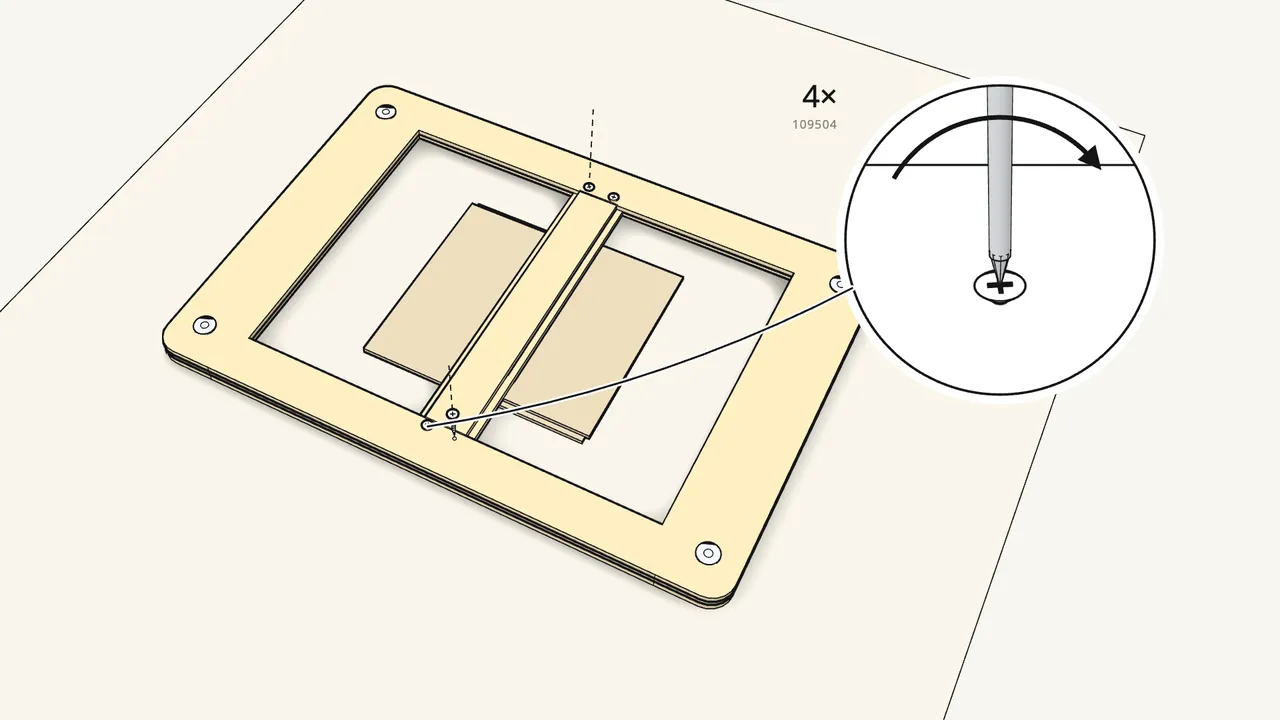
Step 4 · manual step 3
Fasten the crossbar with 4 screws (109504), in order 1–2–3–4.
Stop when the screw head is flush with the wood — don’t overtighten.
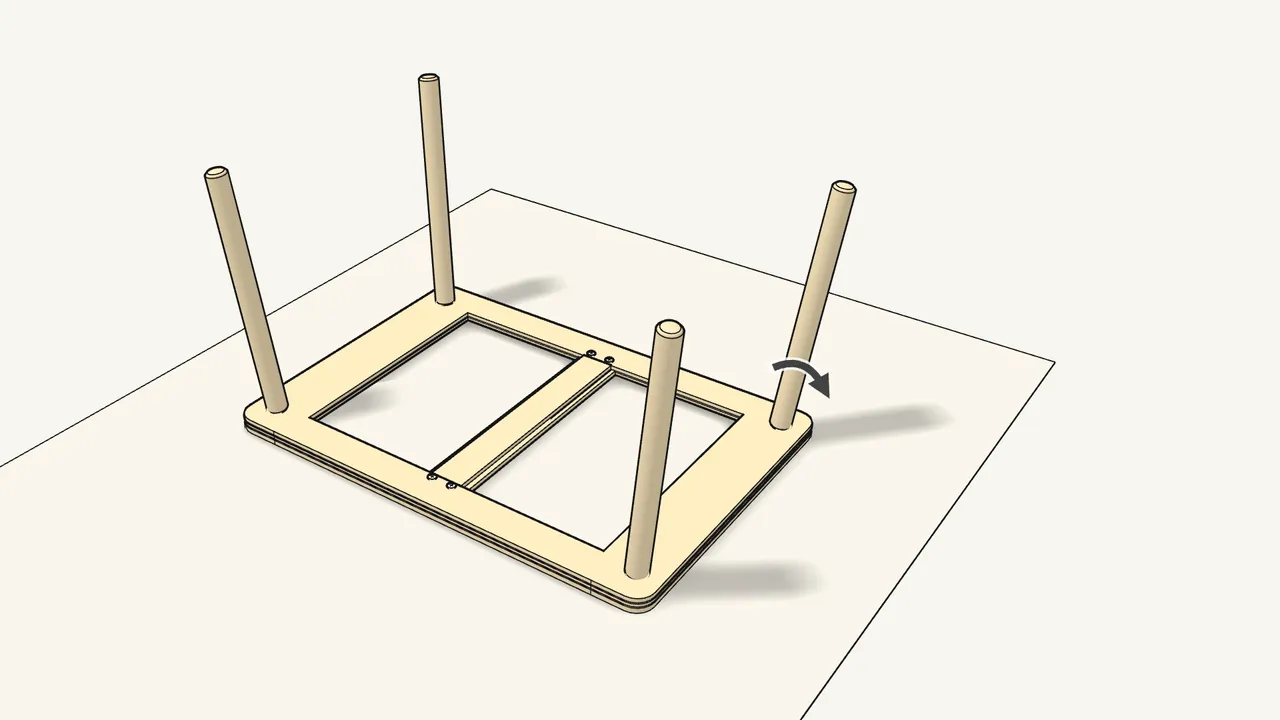
Step 5 · manual step 4
Screw the 4 legs into the corner fittings by hand.
Turn clockwise. The legs go in at a slight angle — not straight up.
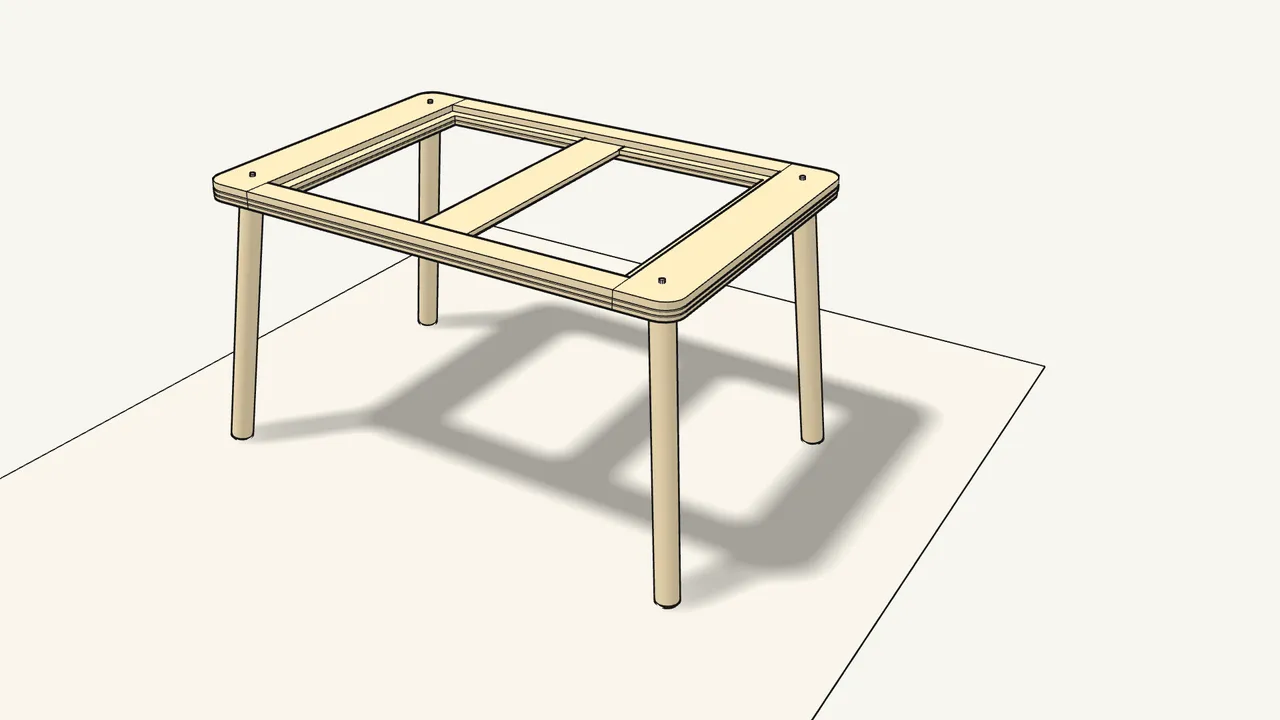
Step 6 · manual step 5
Turn the table upright.
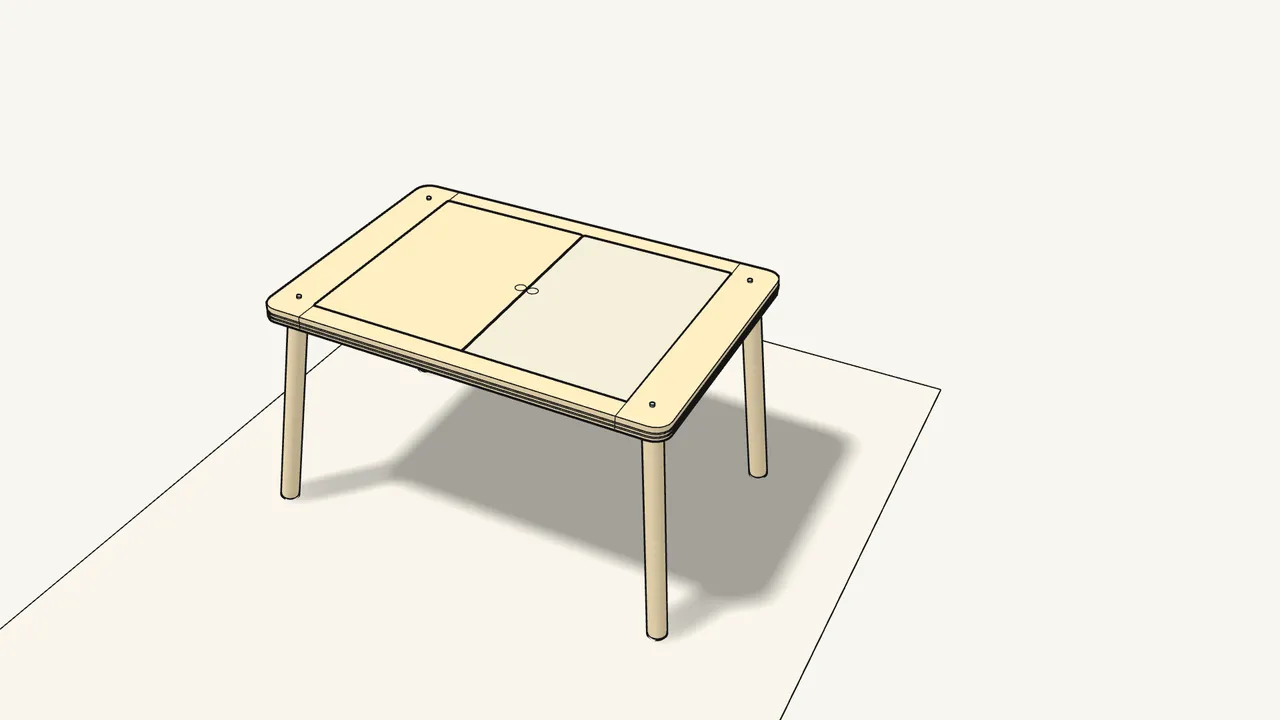
Step 7 · manual step 5
Lay the two lids into the tabletop.
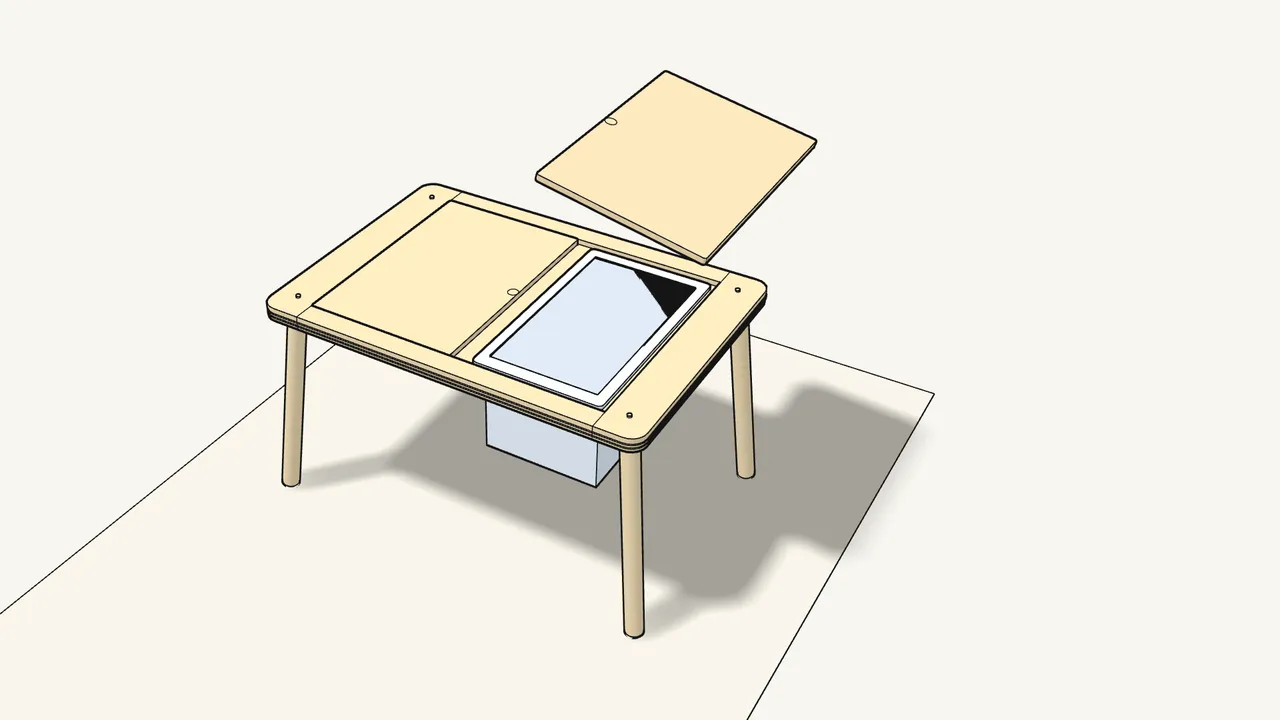
Step 8
The lids lift out.
The manual shows a storage box hanging in the opening underneath.
Tips & safety
- Tighten all fittings properly before use. Check them regularly and retighten as necessary.
Official instructions
This guide follows IKEA's official assembly instructions (AA-2282638-3). Keep the printed manual to hand — if anything differs, the manual is right.