IKEA · Kids' Furniture
How to assemble IKEA TIGERFINK Storage with Compartments
Step-by-step IKEA TIGERFINK Storage with Compartments assembly: 19 illustrated steps, an animated video, the hardware list and the tools you need — following the official instructions (AA-2326915-2).
- 19 illustrated steps
- 16 steps in the manual
- 2:35 video
- 42×42×72 cm
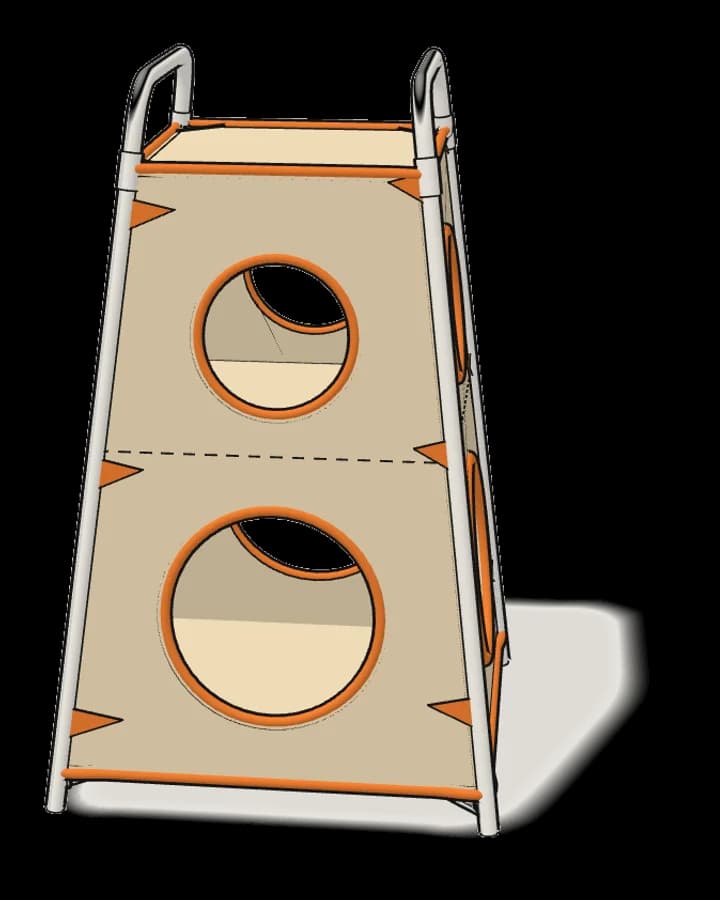
What you need
Tools
- Phillips screwdriver
Hardware in the box
| Part no. (as printed in the manual) | Qty |
|---|---|
| 10087142 | 8× |
Step-by-step assembly
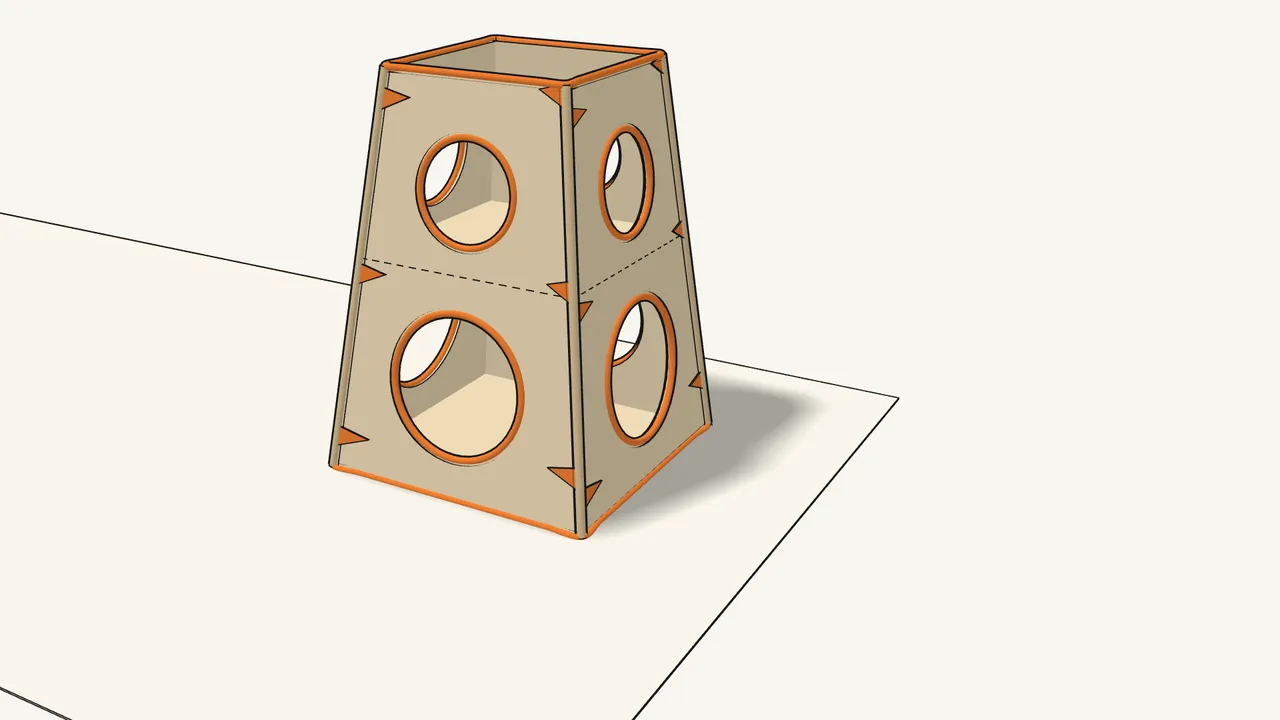
Step 1 · manual step 1–2
Push the large board in through a lower opening.
It goes into the pocket of the middle shelf. Close the pocket with its 2 hook-and-loop strips.
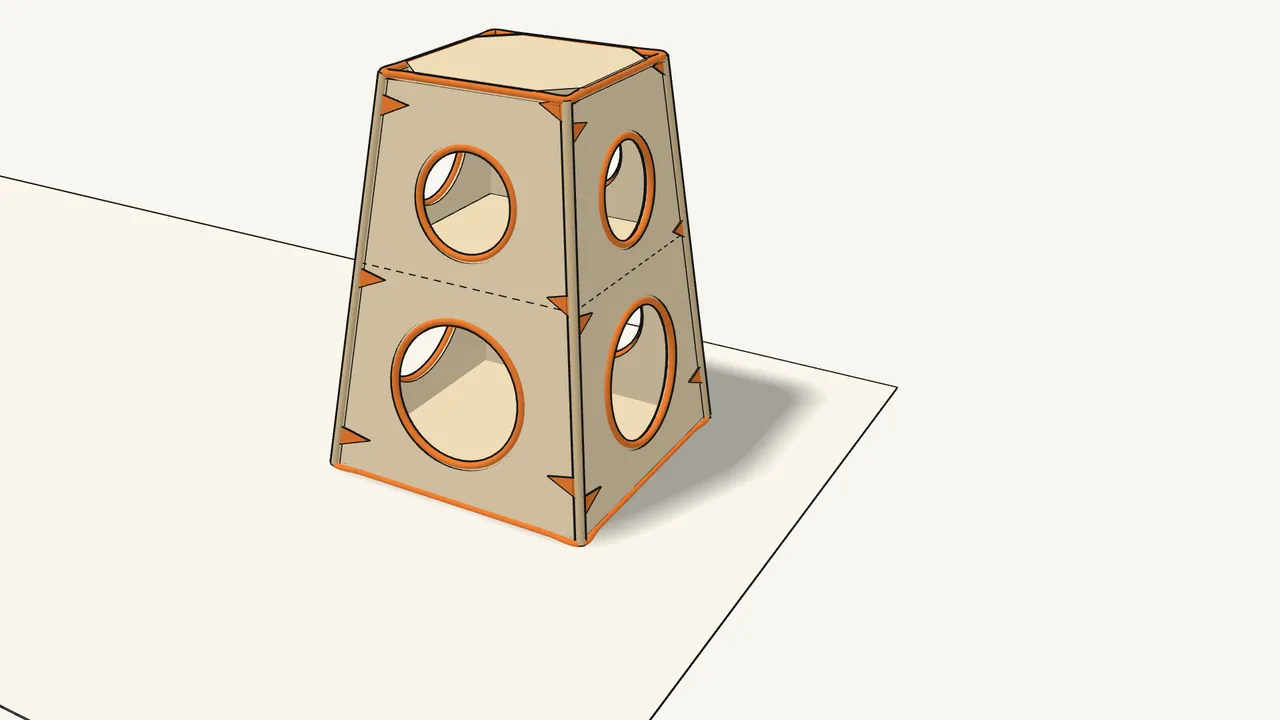
Step 2 · manual step 3–4
Push the small board in through an upper opening.
It goes into the pocket under the top. Close it with its 2 hook-and-loop strips.
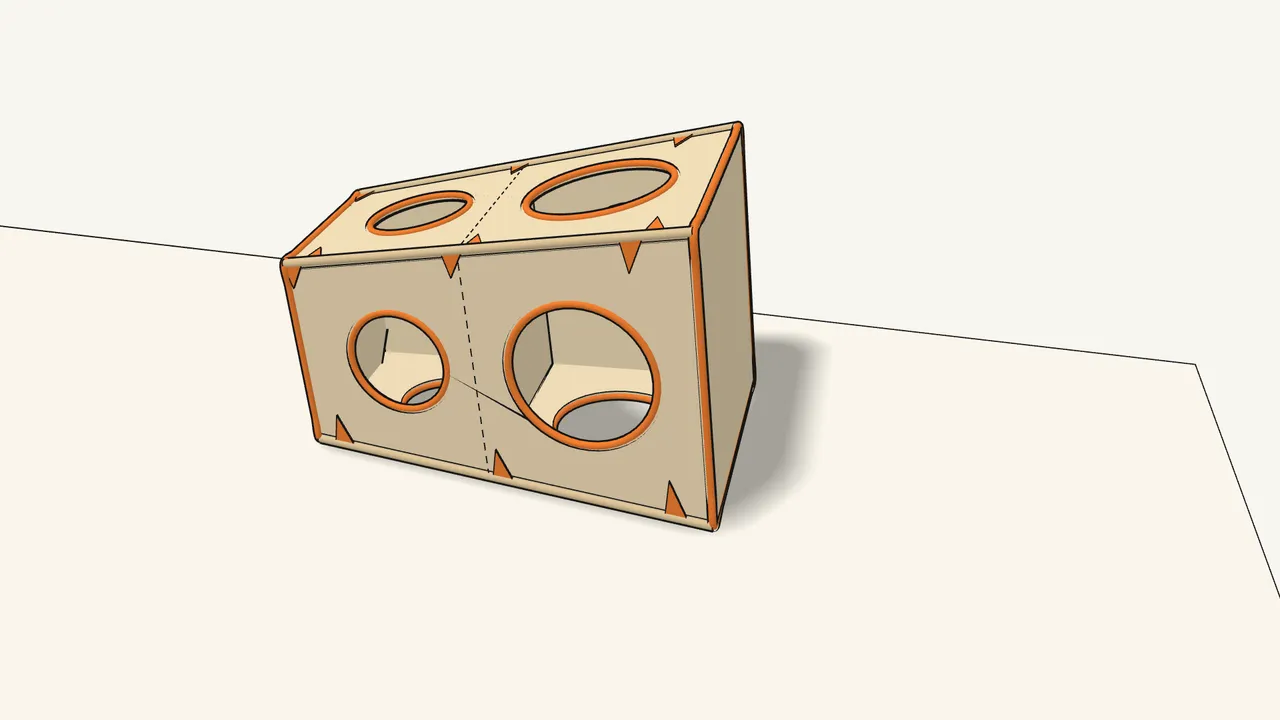
Step 3 · manual step 5
Lay it on its side and pull it into a straight box shape.
Corners straight, not twisted — as the manual shows.
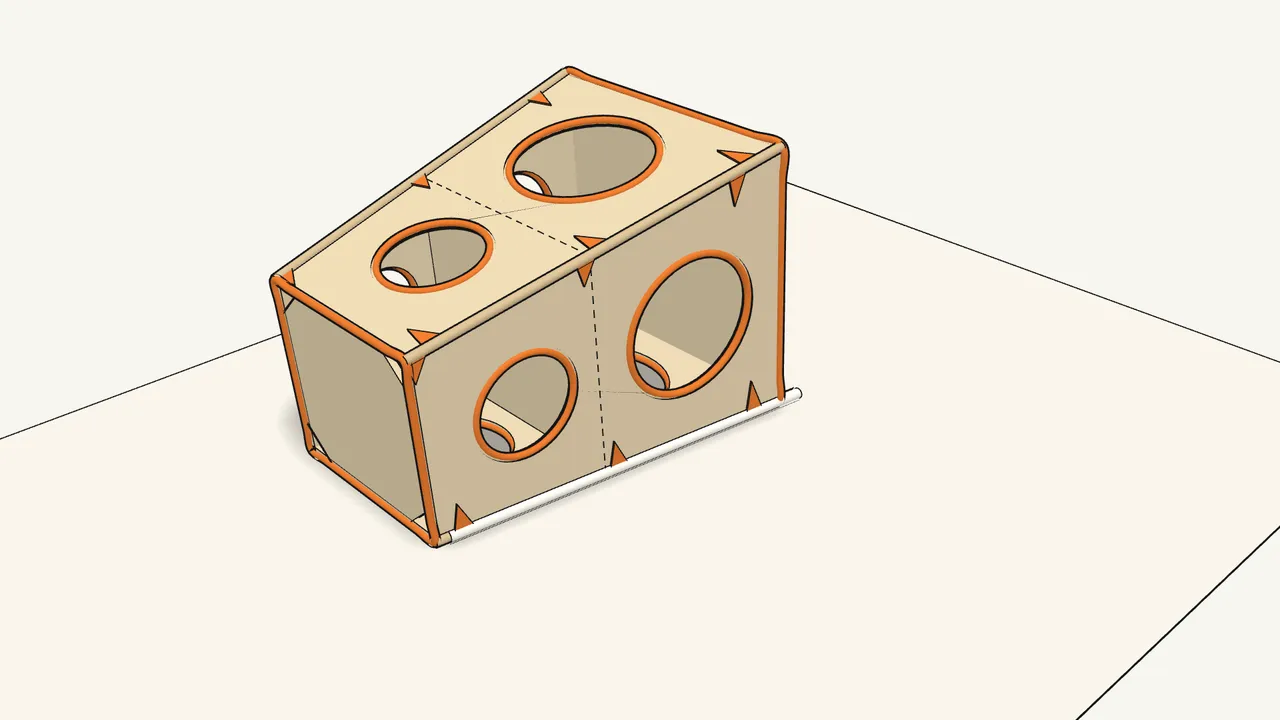
Step 4 · manual step 5
Slide 2 tubes into the corner sleeves along the floor.
Push them in from the top end, all the way through.
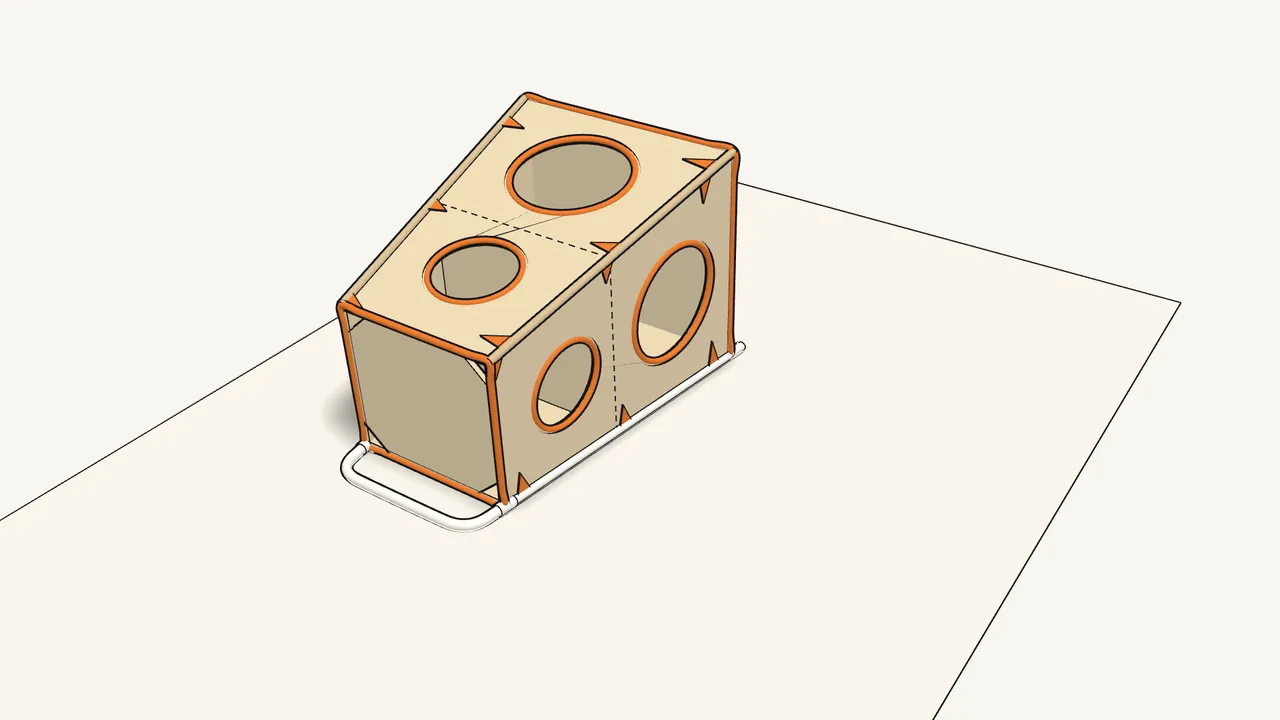
Step 5 · manual step 6
Push the U-frame onto both tubes until the buttons click.
Press each button in and slide the frame on.
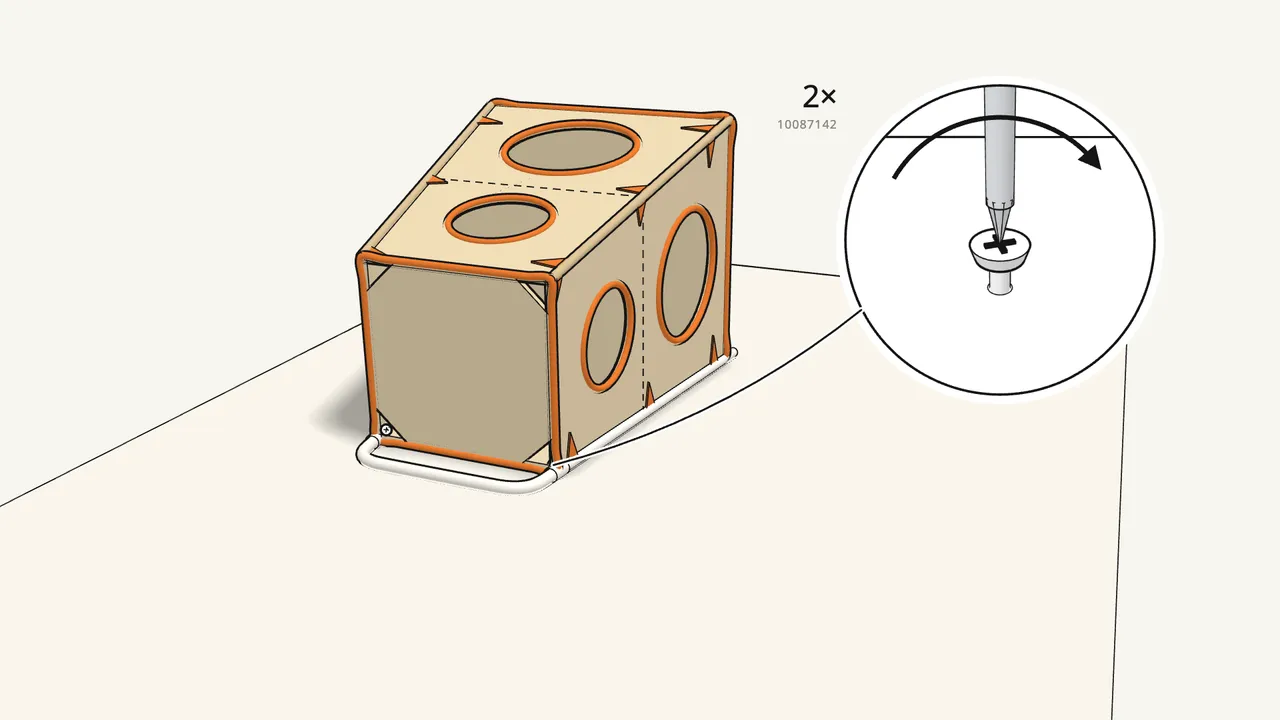
Step 6 · manual step 7
Fix the joints with 2 screws (10087142).
Leave each screw a little bit out — don’t tighten it yet.
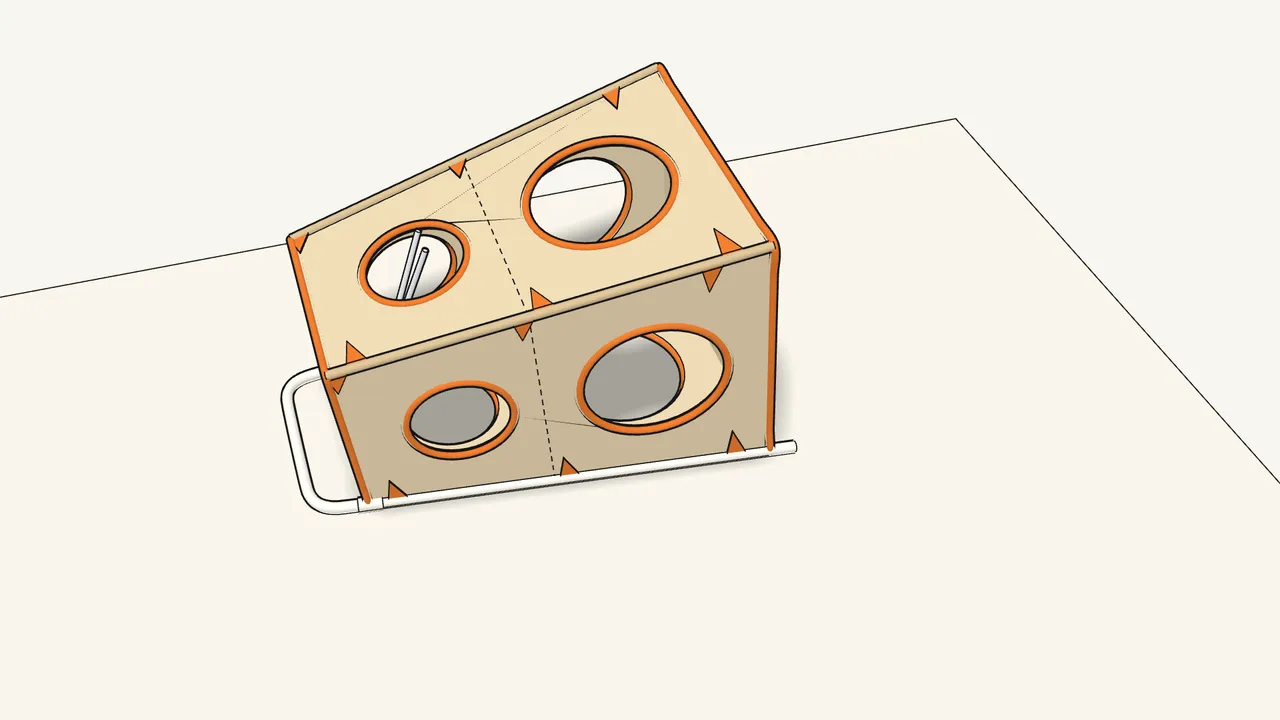
Step 7 · manual step 8
Put the small X-brace in through an upper opening.
Use the small one — the large X-brace is for step 15.
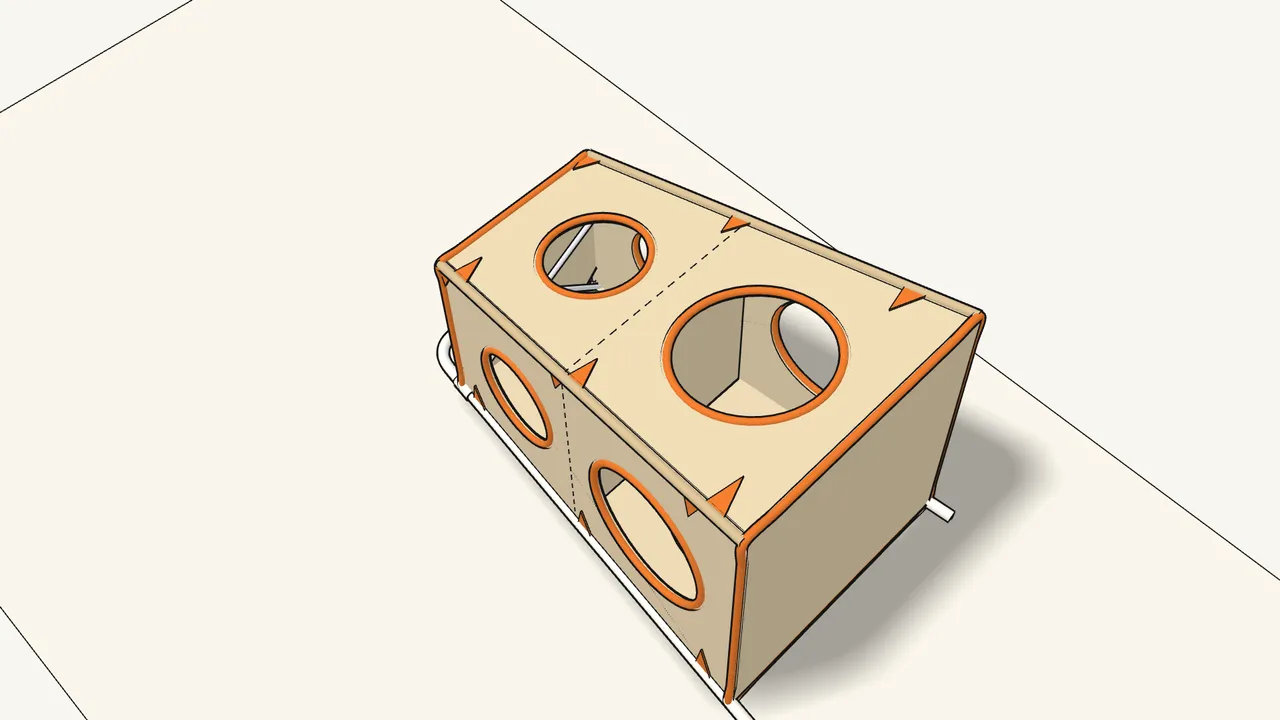
Step 8 · manual step 9
Inside, hook 2 brace ends under the screw heads.
The brace sits right under the top.
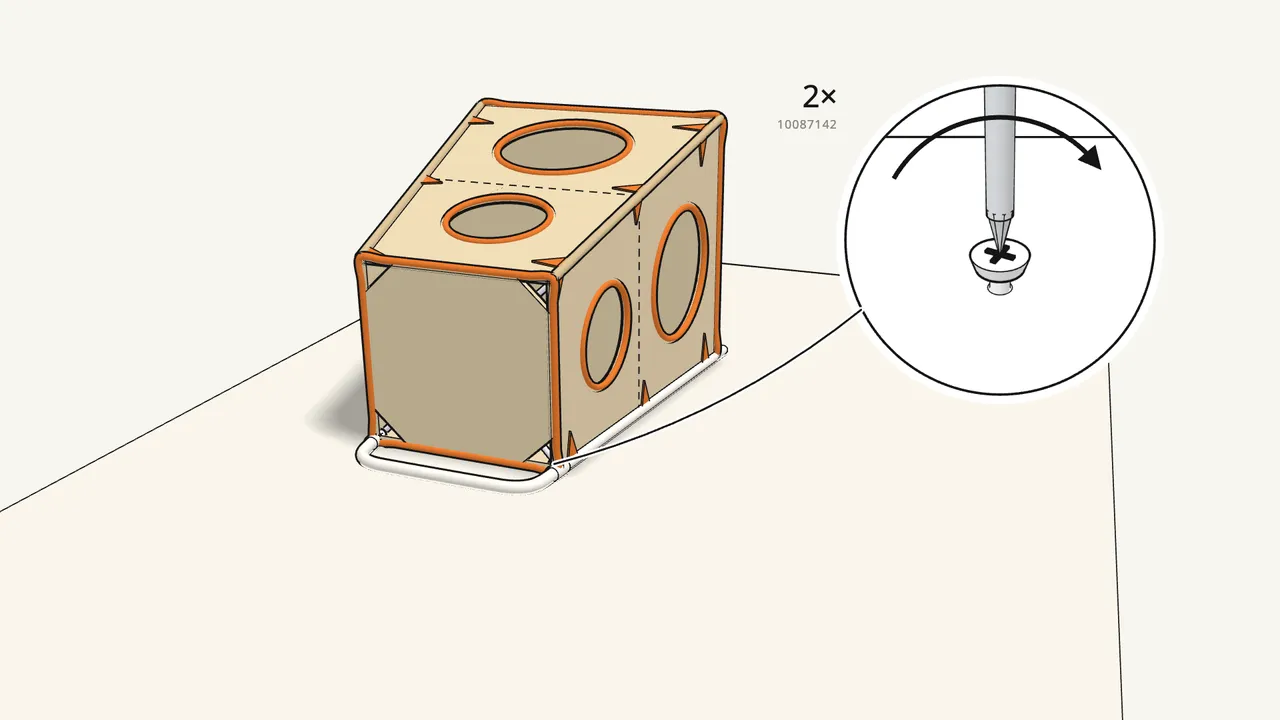
Step 9
Tighten the 2 screws.
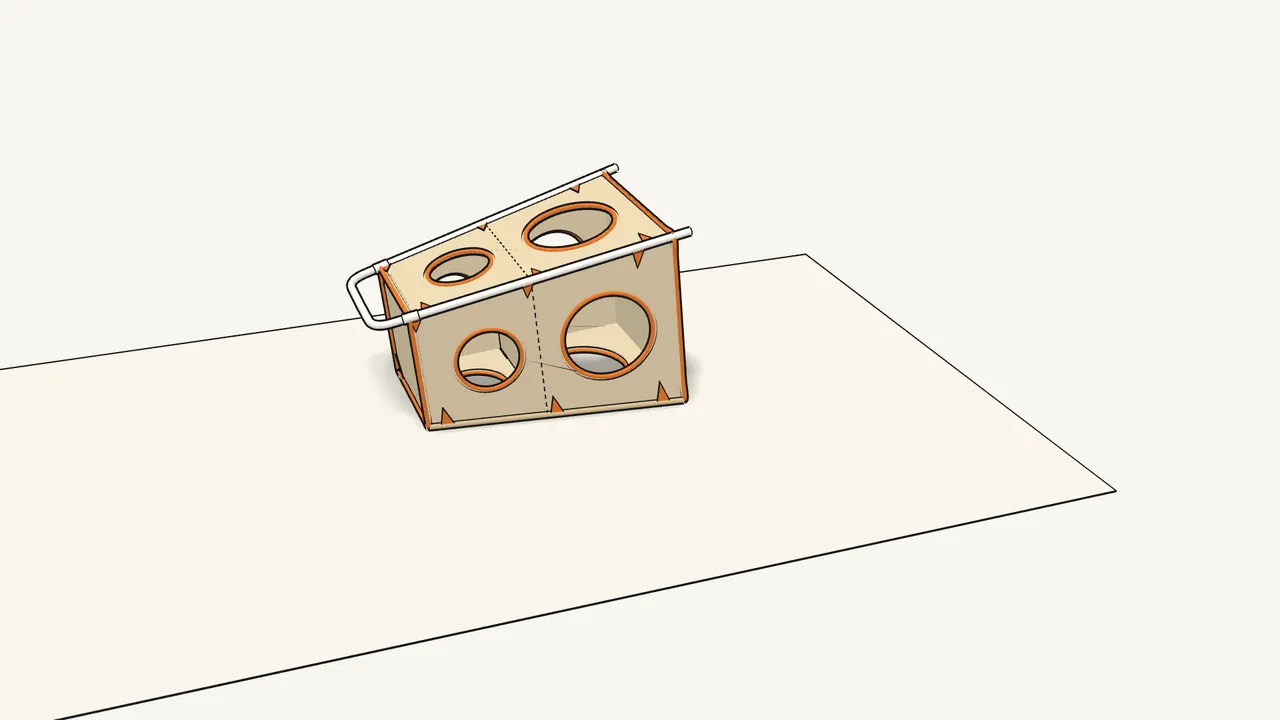
Step 10
Turn it over.
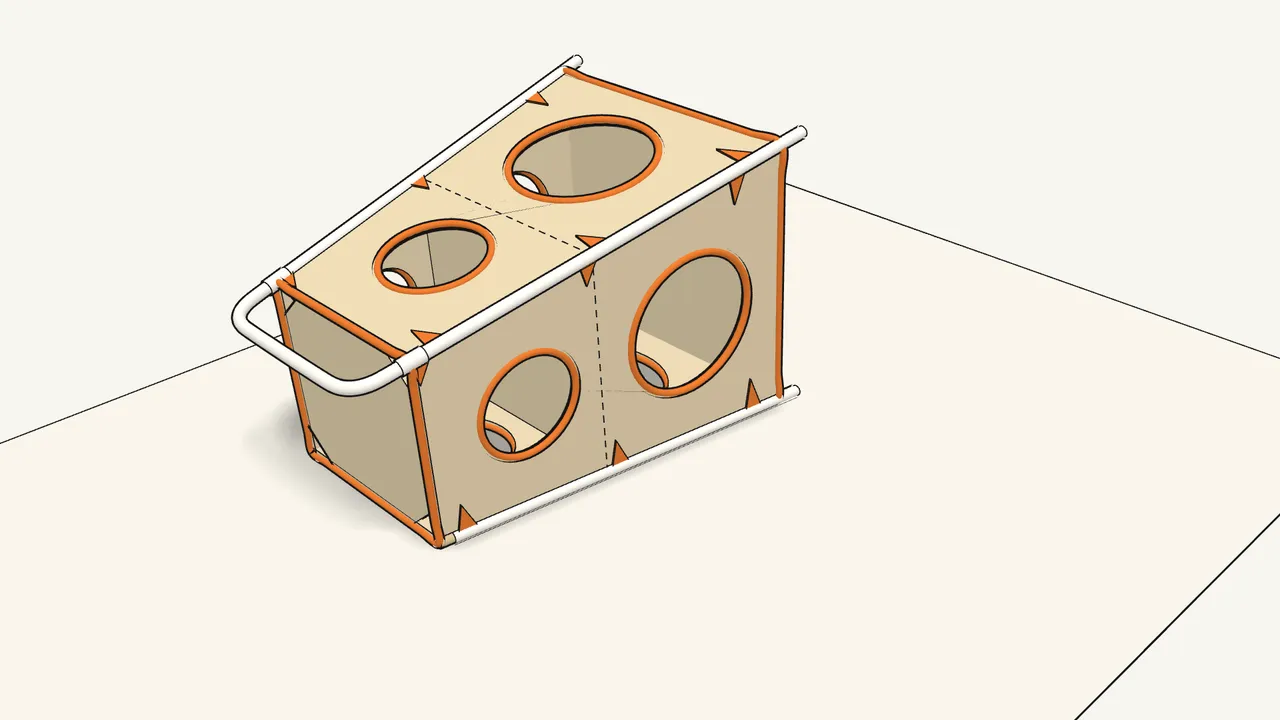
Step 11 · manual step 10
Slide the other 2 tubes into the corner sleeves.
Again from the top end, all the way through.
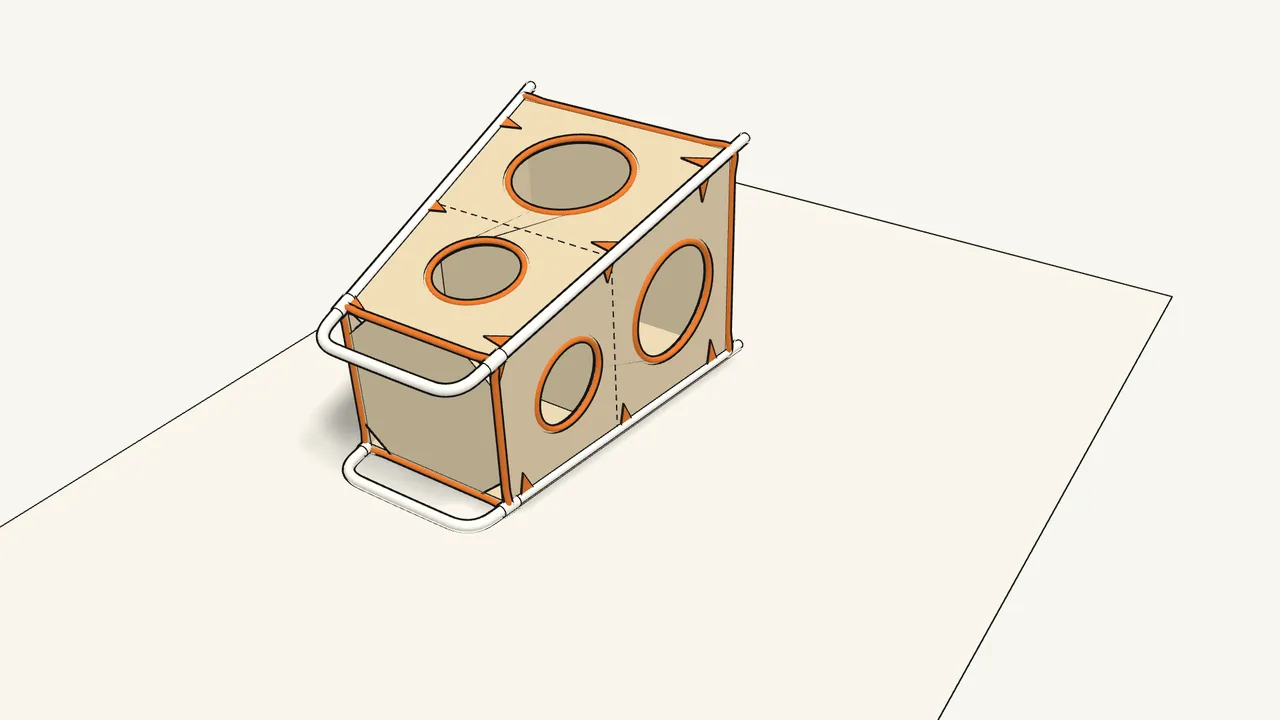
Step 12 · manual step 11
Push on the second U-frame until the buttons click.
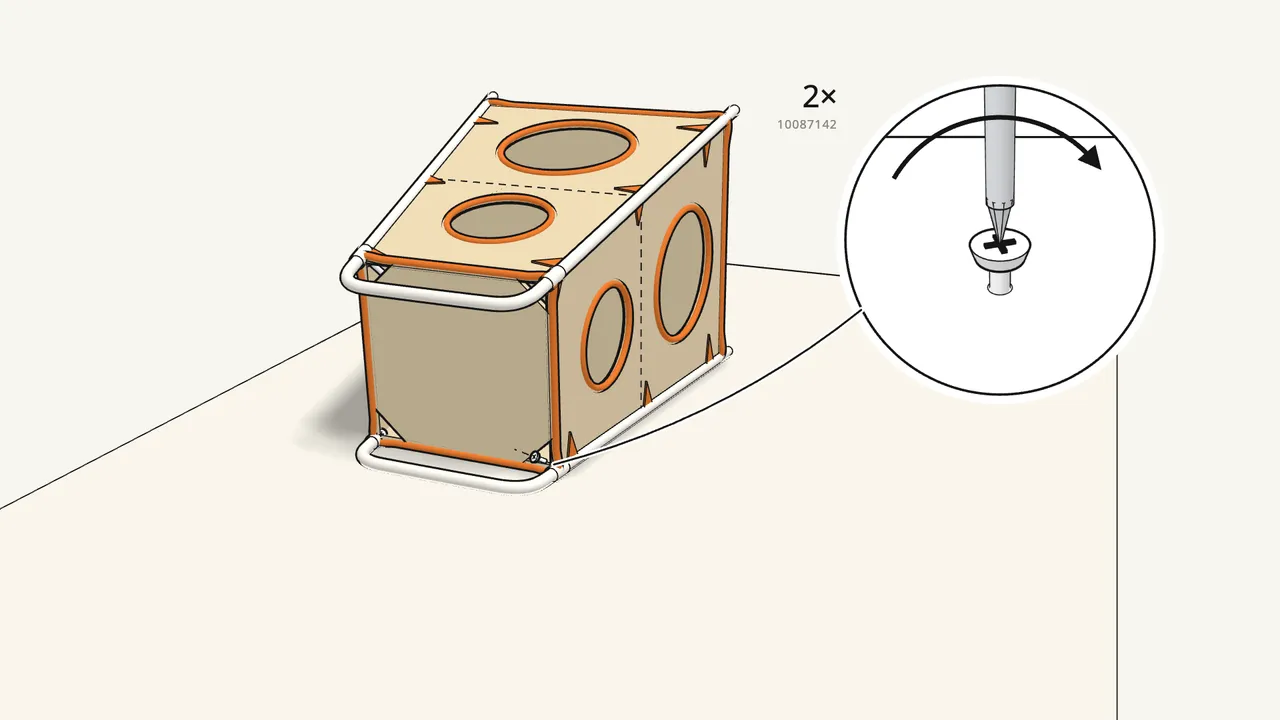
Step 13 · manual step 12
Fix it with 2 screws (10087142).
Again, leave them a little bit out.
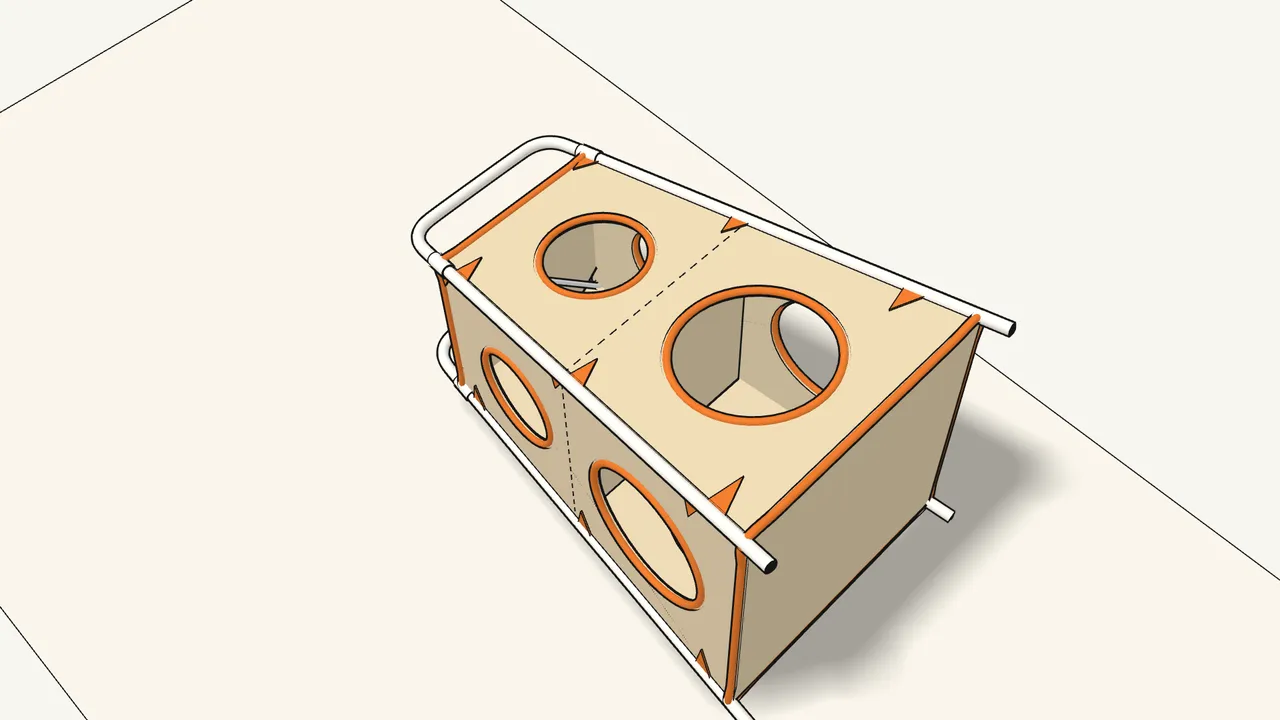
Step 14 · manual step 13
Hook the other 2 brace ends under the screw heads.
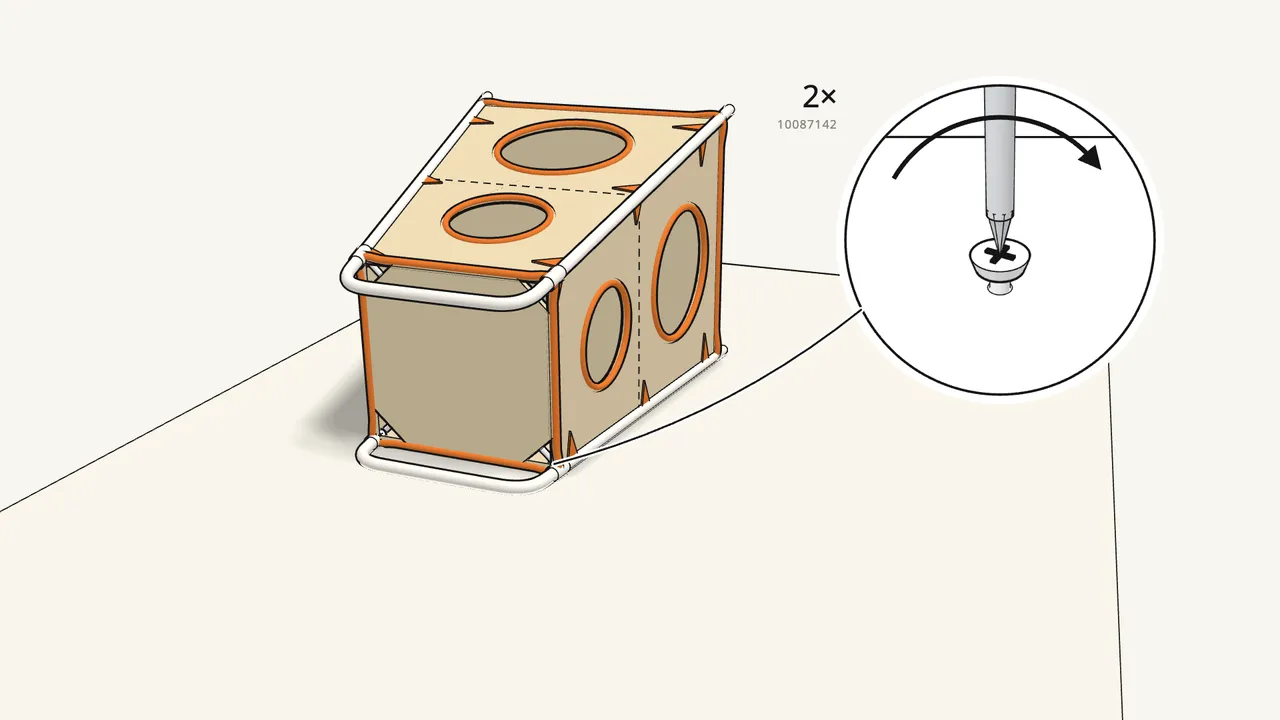
Step 15 · manual step 13
Tighten the 2 screws.
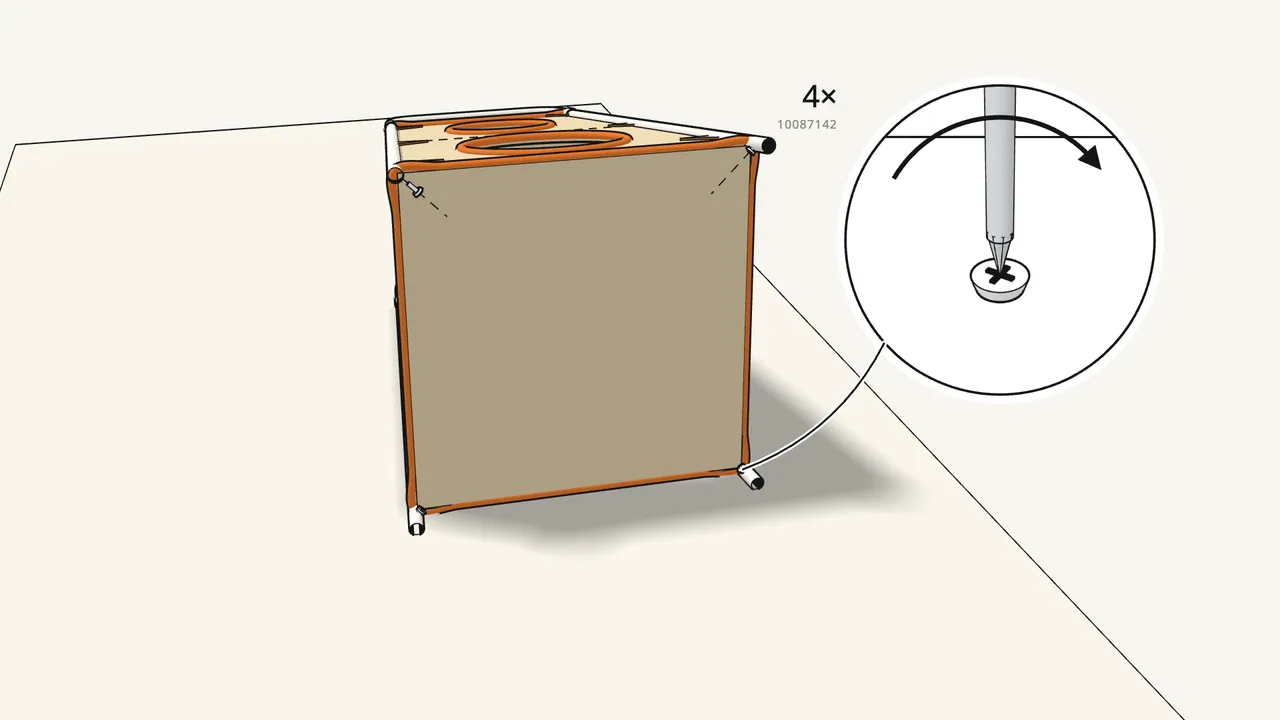
Step 16 · manual step 14
At the bottom end, put a screw into each tube — 4 screws.
Through the fabric corner tabs. Leave them a little bit out.
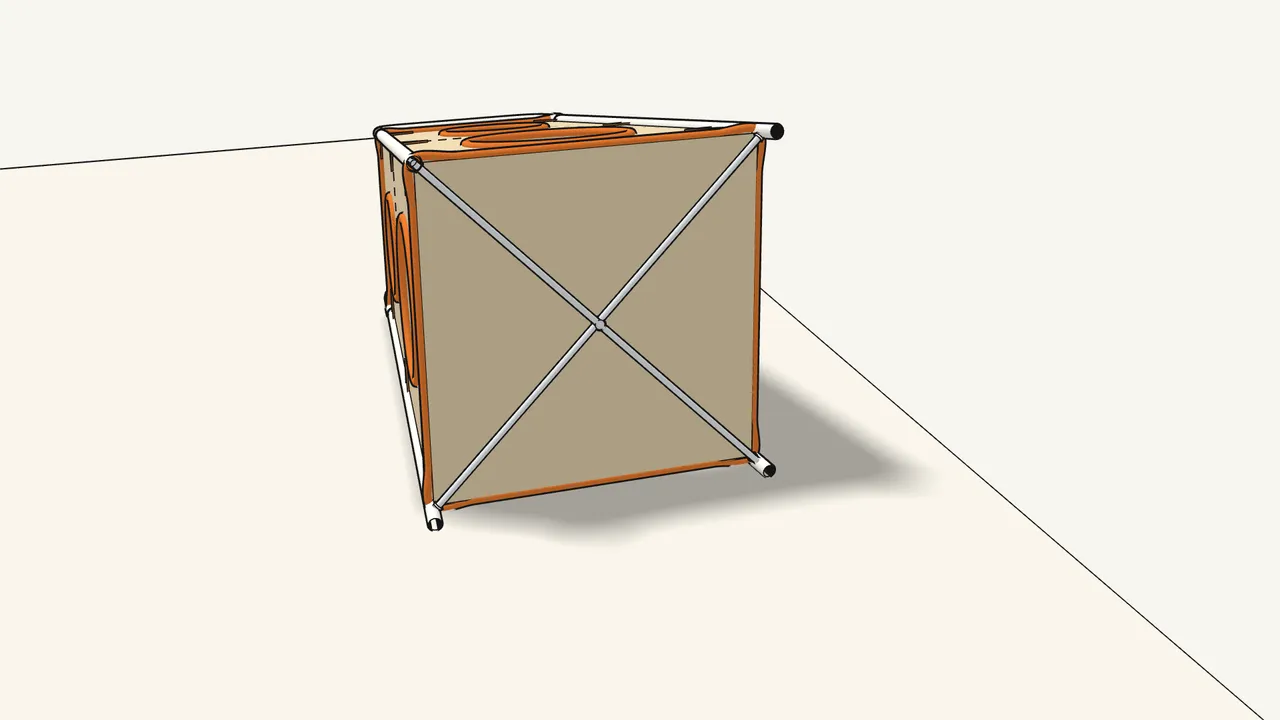
Step 17 · manual step 15
Hook the large X-brace onto the 4 screws.
One end at each corner, under the screw head.
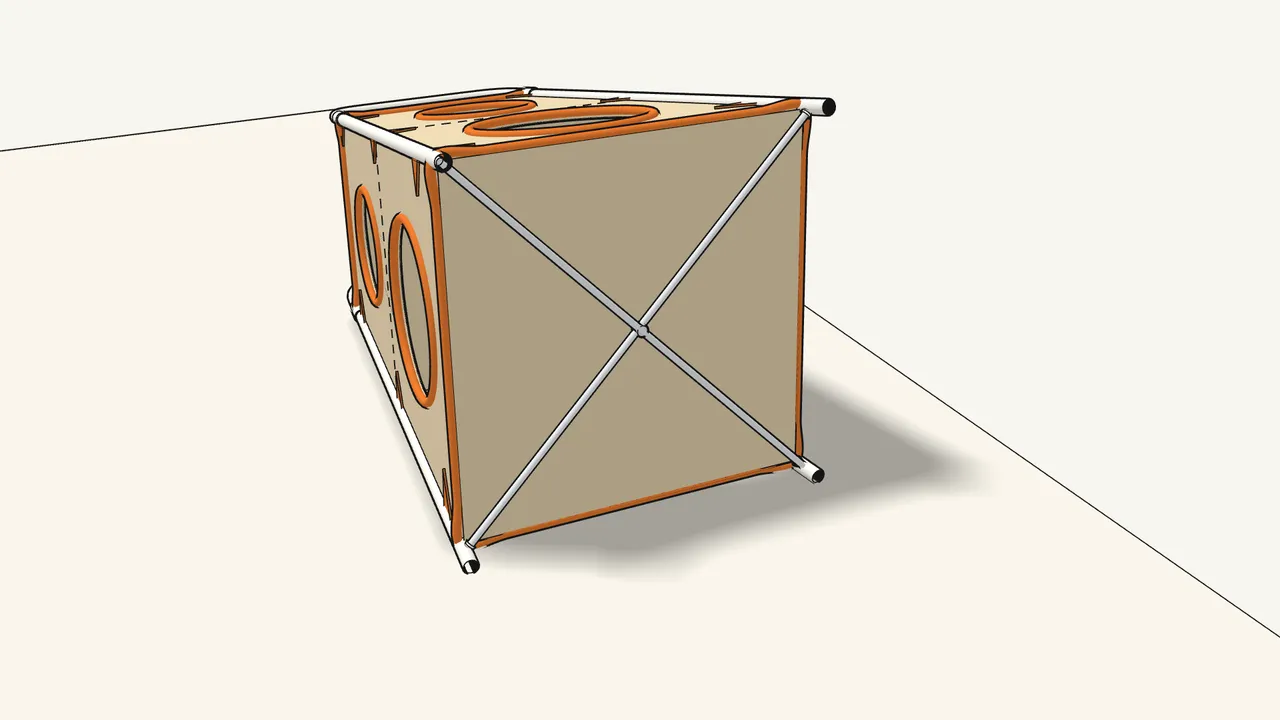
Step 18 · manual step 16
Tighten all 4 screws.
The screw heads hold the brace ends flat against the tubes.
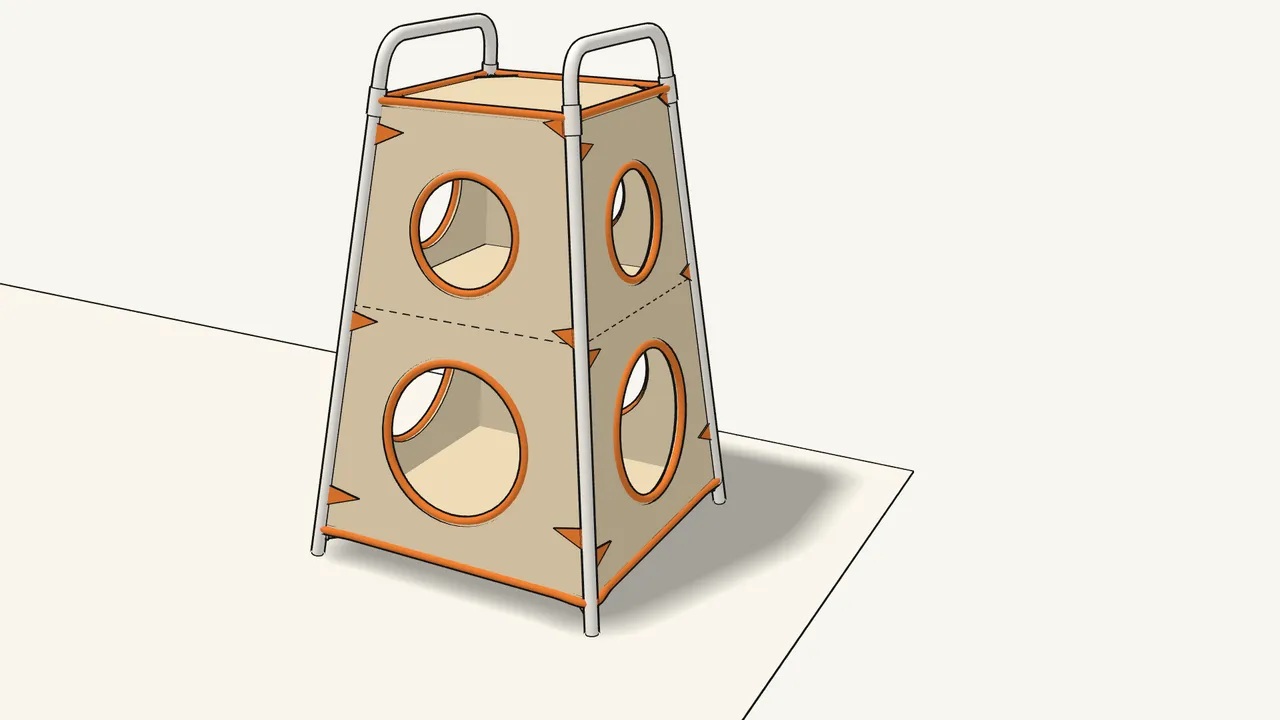
Step 19
Stand it upright.
Tips & safety
- Two boards and two X-braces — check the size. Large board: middle shelf (step 1). Small board: top (step 3). Small X-brace: top (step 8). Large X-brace: bottom (step 15).
- Screws: first a little bit out, then tight. The brace ends must sit under the screw heads before you tighten — see the right/wrong pictures in the manual.
Official instructions
This guide follows IKEA’s official assembly instructions (AA-2326915-2). Keep the printed manual to hand — if anything differs, the manual is right.