IKEA · Kids' Furniture
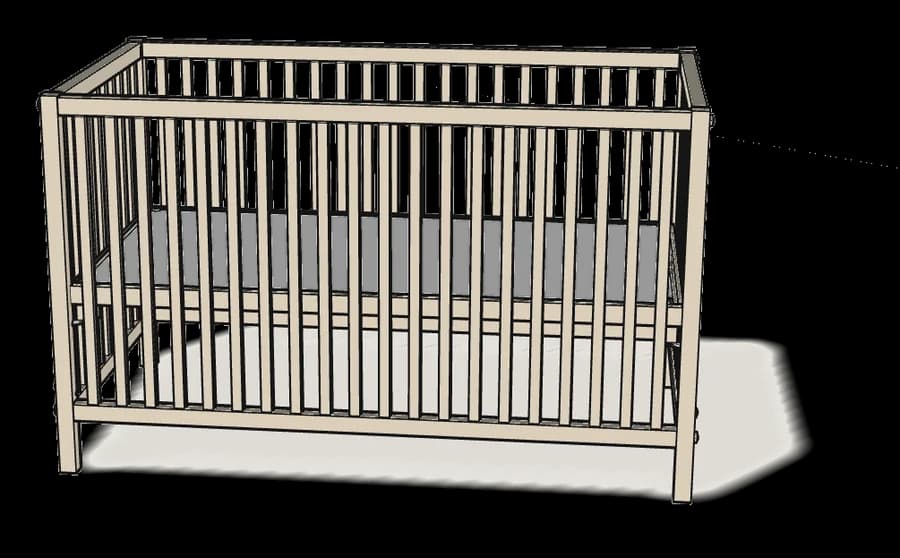
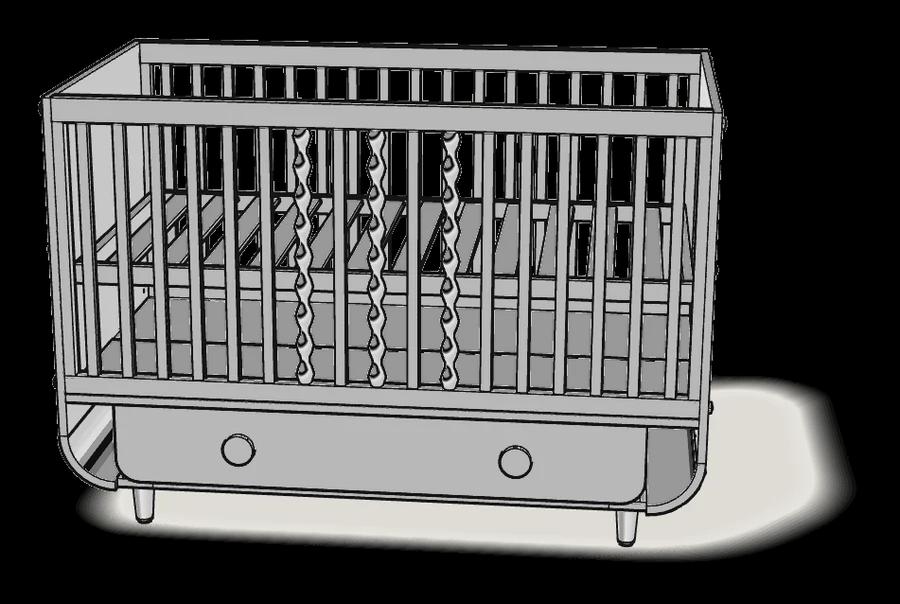
How to assemble IKEA MYLLRA Crib with Drawer
Step-by-step IKEA MYLLRA Crib with Drawer assembly: 24 illustrated steps, an animated video, the hardware list and the tools you need — following the official instructions (AA-2200899-2).
- 24 illustrated steps
- 44 steps in the manual
- 3:27 video
- 140×78×97 cm cm
What you need
Tools
- Flat-head screwdriver
- Phillips screwdriver
- Allen key (included)
Hardware in the box
| Part no. (as printed in the manual) | Qty |
|---|---|
| 105905 | 8× |
| 100400 | 4× |
| 100349 | 4× |
| 118331 | 26× |
| 101350 | 38× |
| 153552 | 4× |
| 102509 | 22× |
| 100646 | 4× |
| 121114 | 8× |
| 148624 | 4× |
| 10050797 | 4× |
| 119976 | 2× |
| 100359 | 2× |
| 119030 | 8× |
| 101341 | 4× |
| 145718 | 4× |
Step-by-step assembly
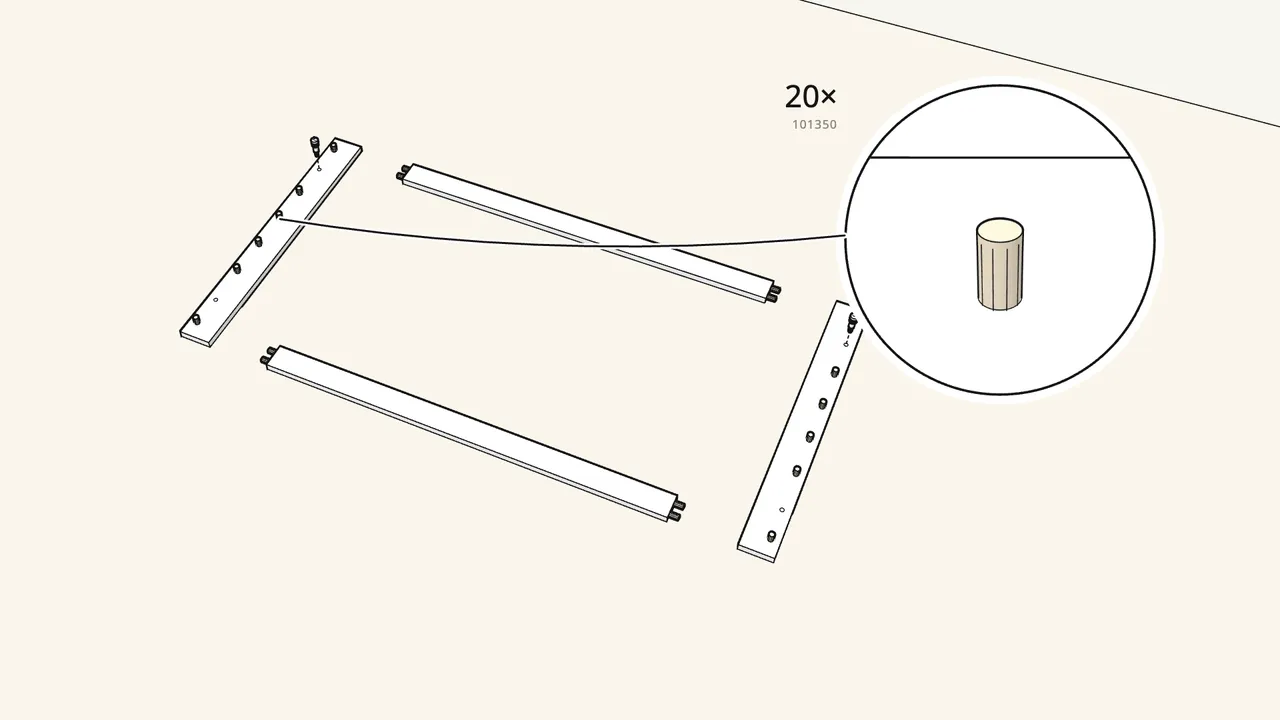
Step 1 · manual step 1–2
Push 20 dowels (101350) into the four base boards.
Then screw 4 cam bolts (118331) into the two short boards.
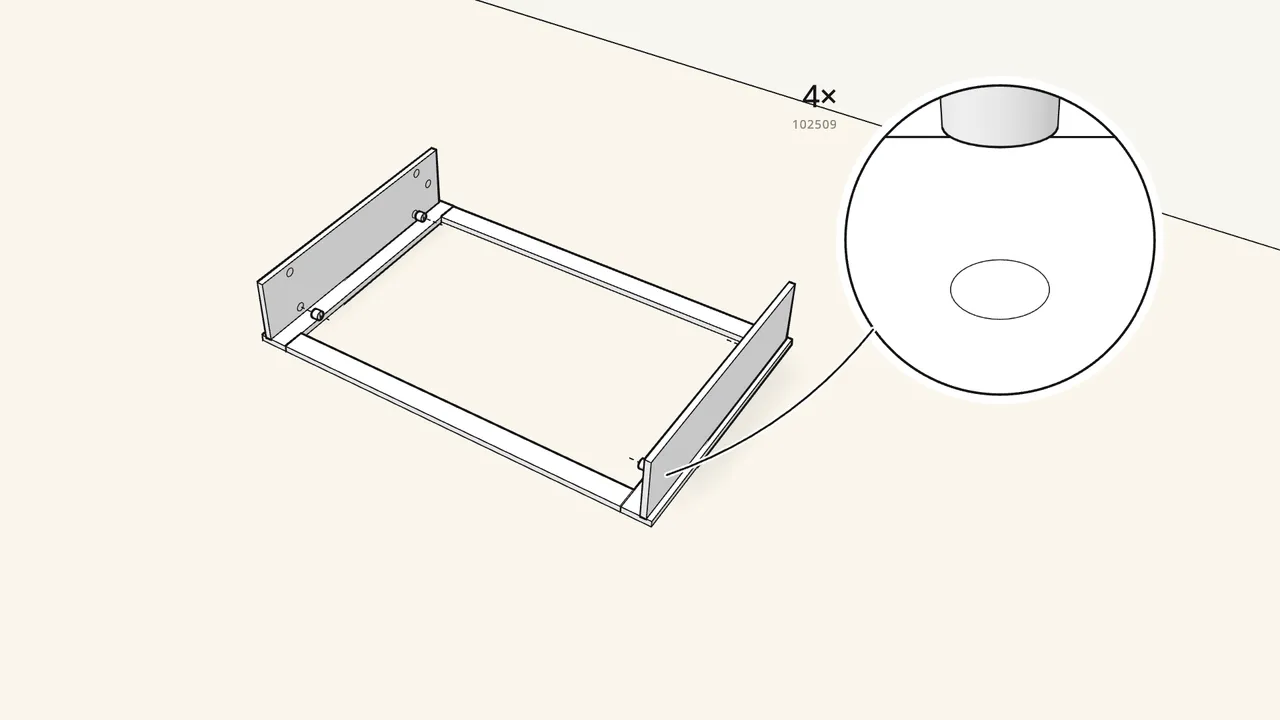
Step 2 · manual step 3–4
Join the boards, set both runner panels on top, lock 4 cam locks.
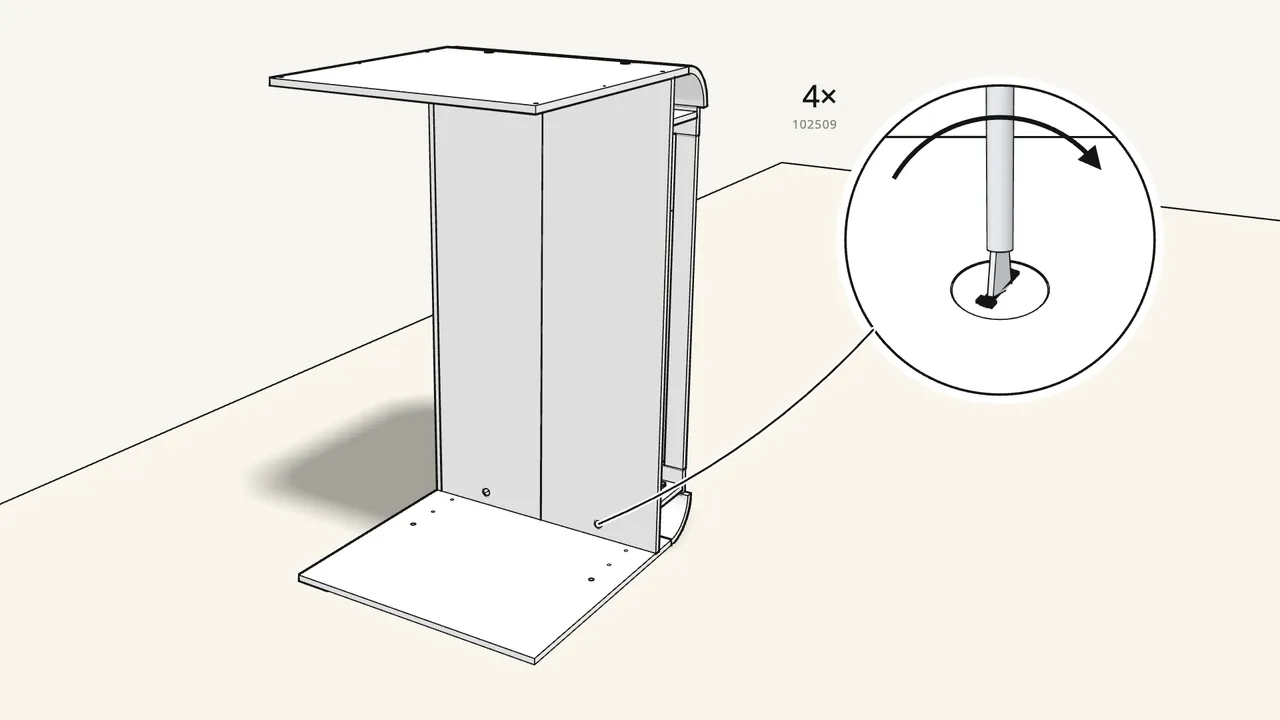
Cam locks 102509 — turn clockwise.
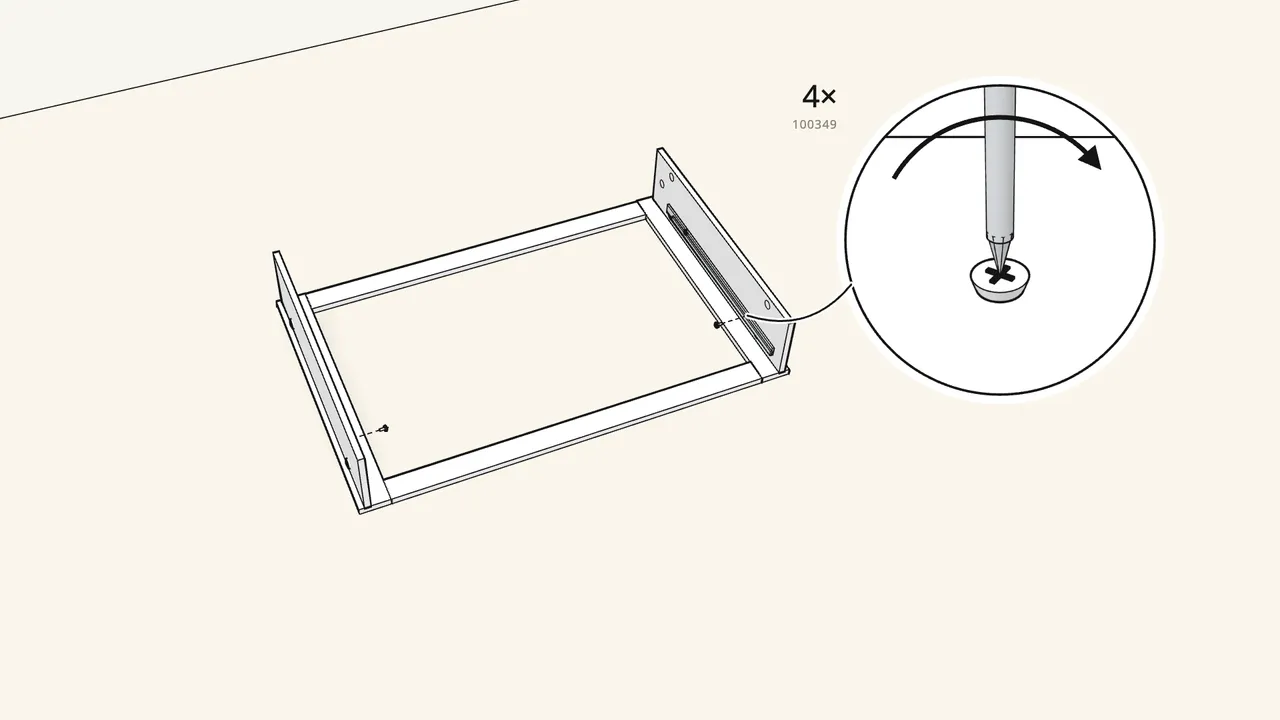
Step 3 · manual step 5–6
Fix the two drawer runners to the inside of the panels.
10052801 and 10052790 — 2 screws (100349) each.
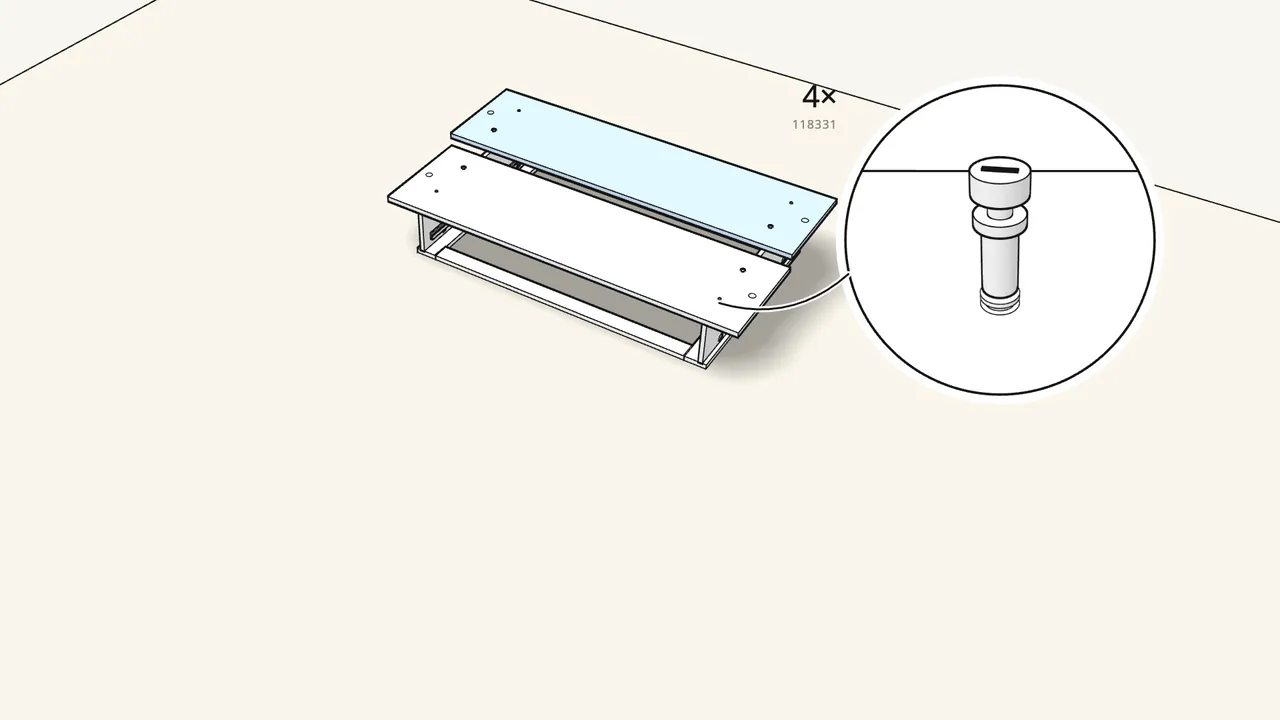
Step 4 · manual step 7–10
Lay the two long boards on top, lock 4 cam locks (102509).
First 4 dowels (101350) and 4 cam bolts (118331) into the boards.
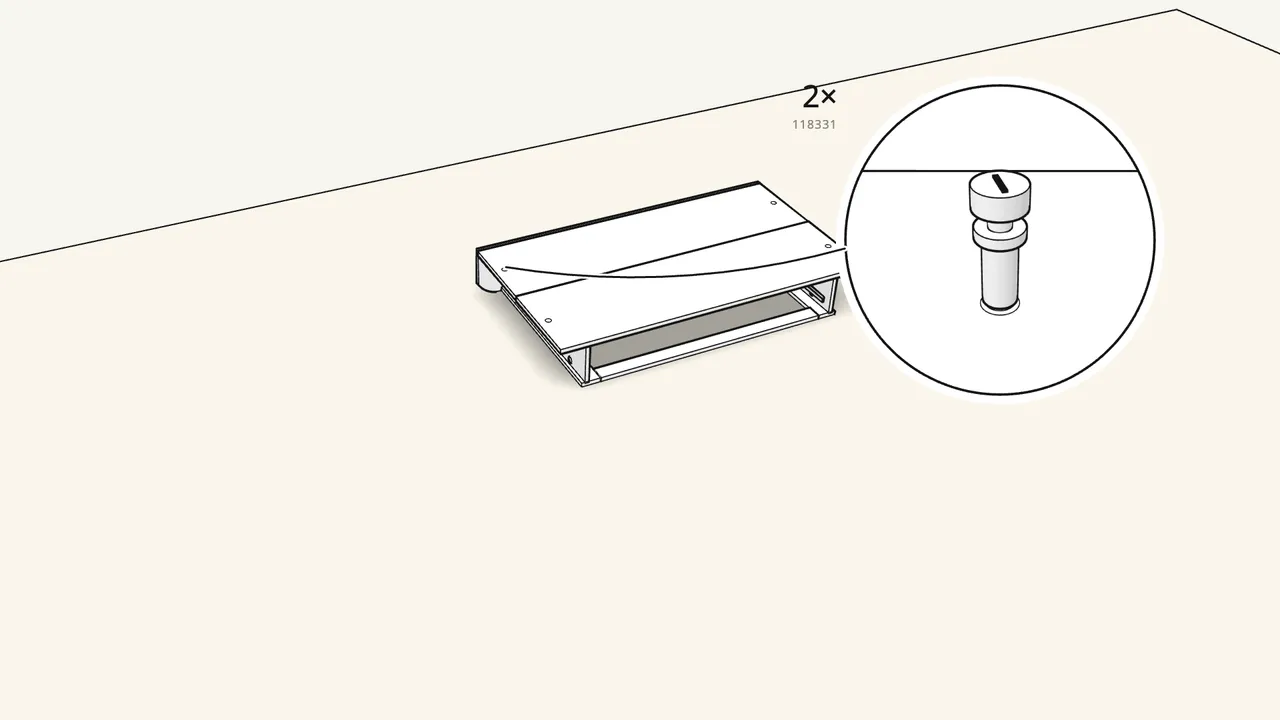
Step 5 · manual step 11–13
Fit the board with the rounded corners at the back.
2 cam bolts (118331) in the board, 2 cam locks (102509) in the panels.
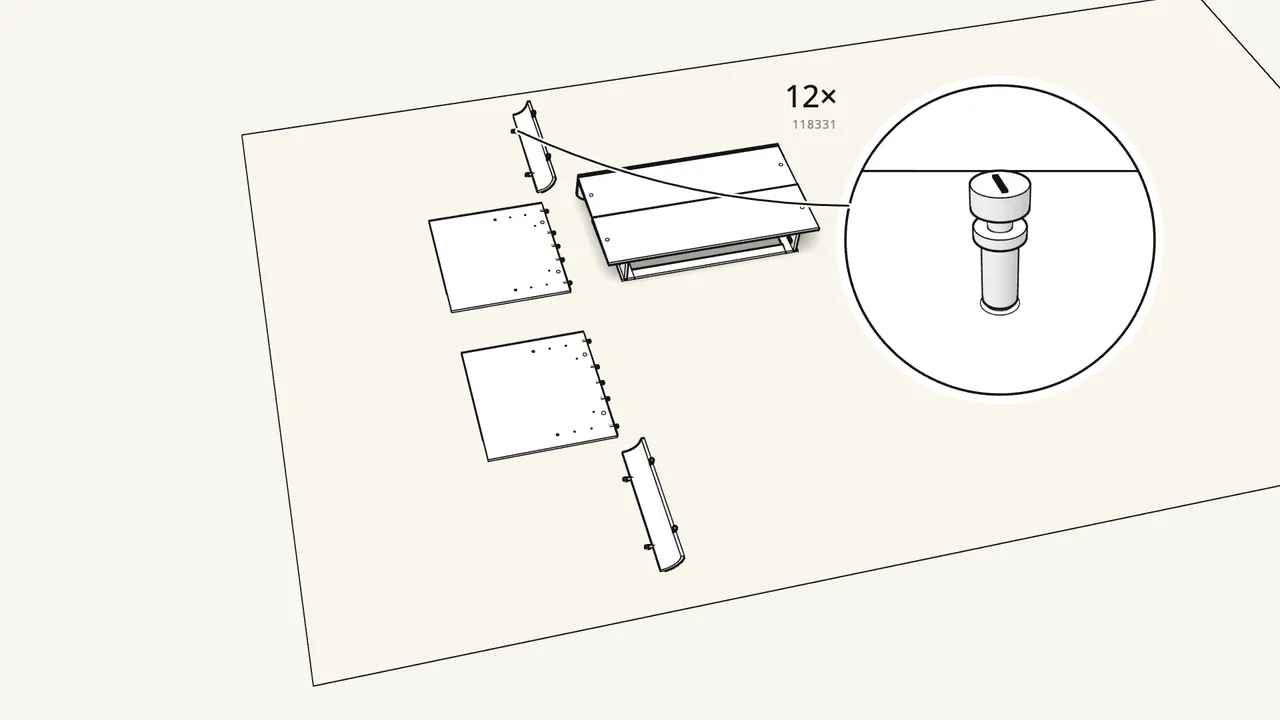
Step 6 · manual step 14–16
Prepare the curved pieces and the two end panels.
8 cam bolts in the curves, 10 dowels + 4 cam bolts in the panels.
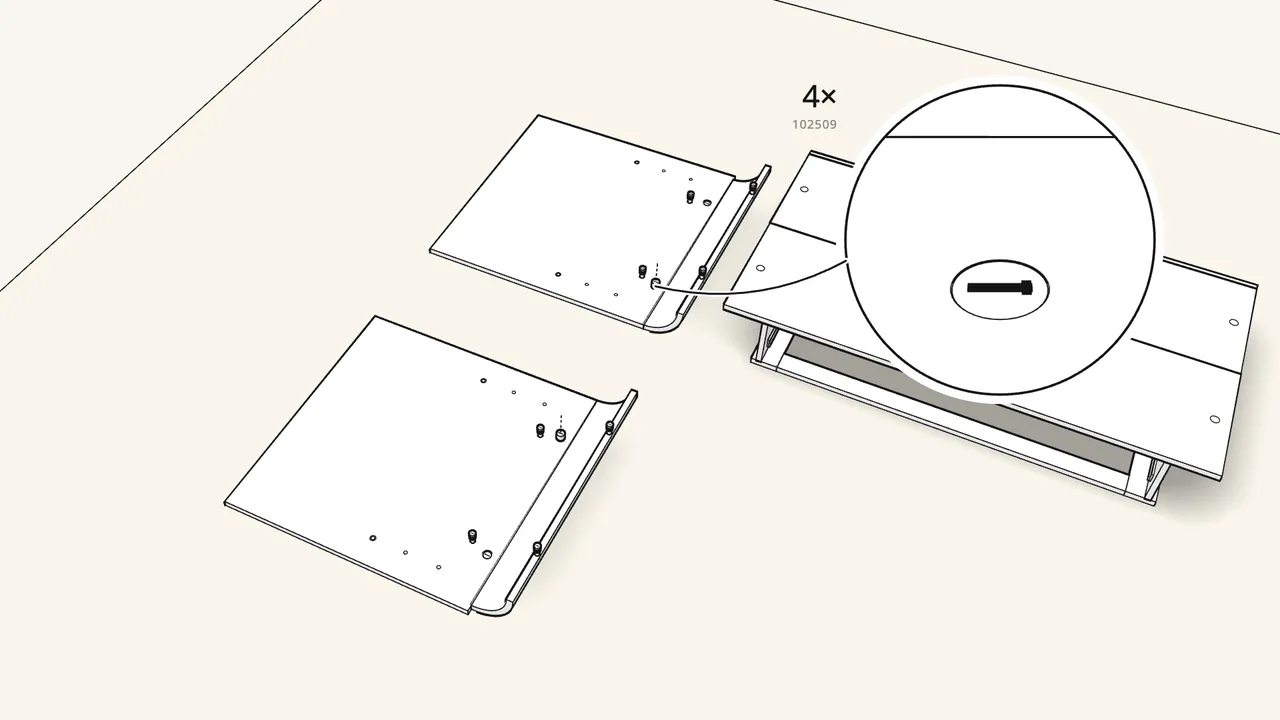
Step 7 · manual step 17–18
Push a curved piece onto each end panel, lock 4 cam locks.
Cam locks 102509.
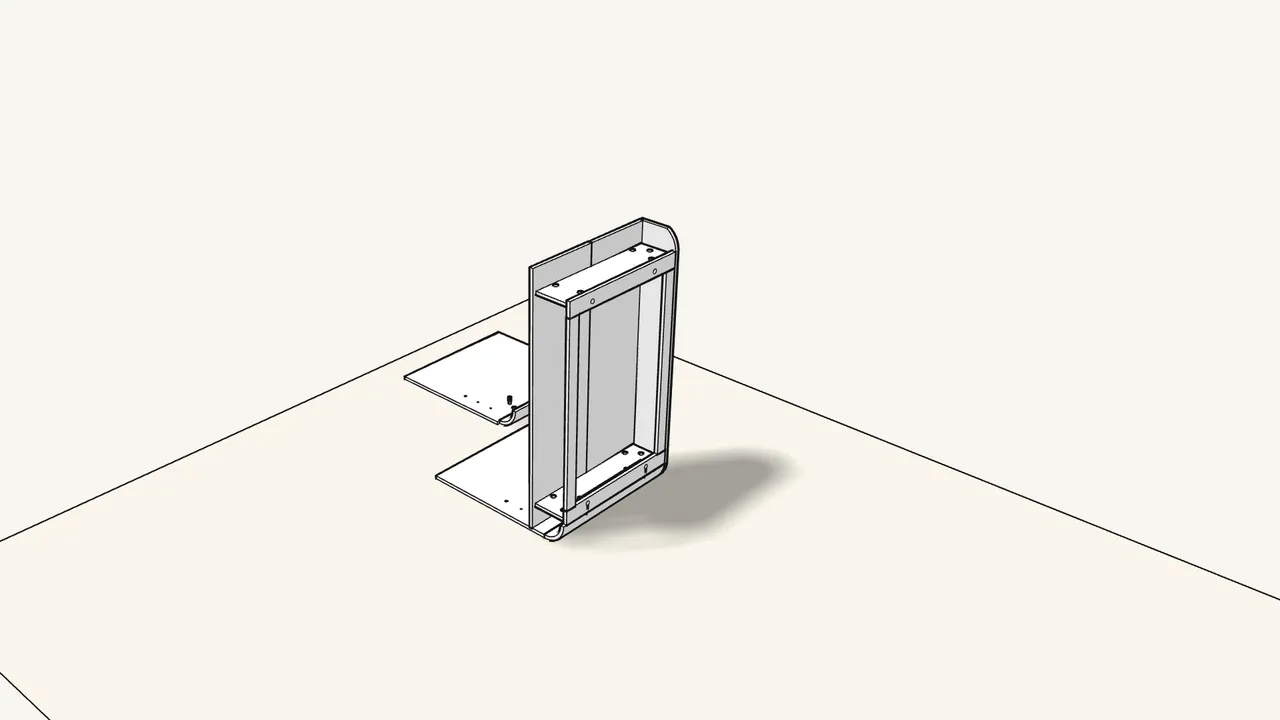
Step 8 · manual step 19
Two people: stand the base frame on end onto one end panel.
Press it on by hand — never use a hammer.
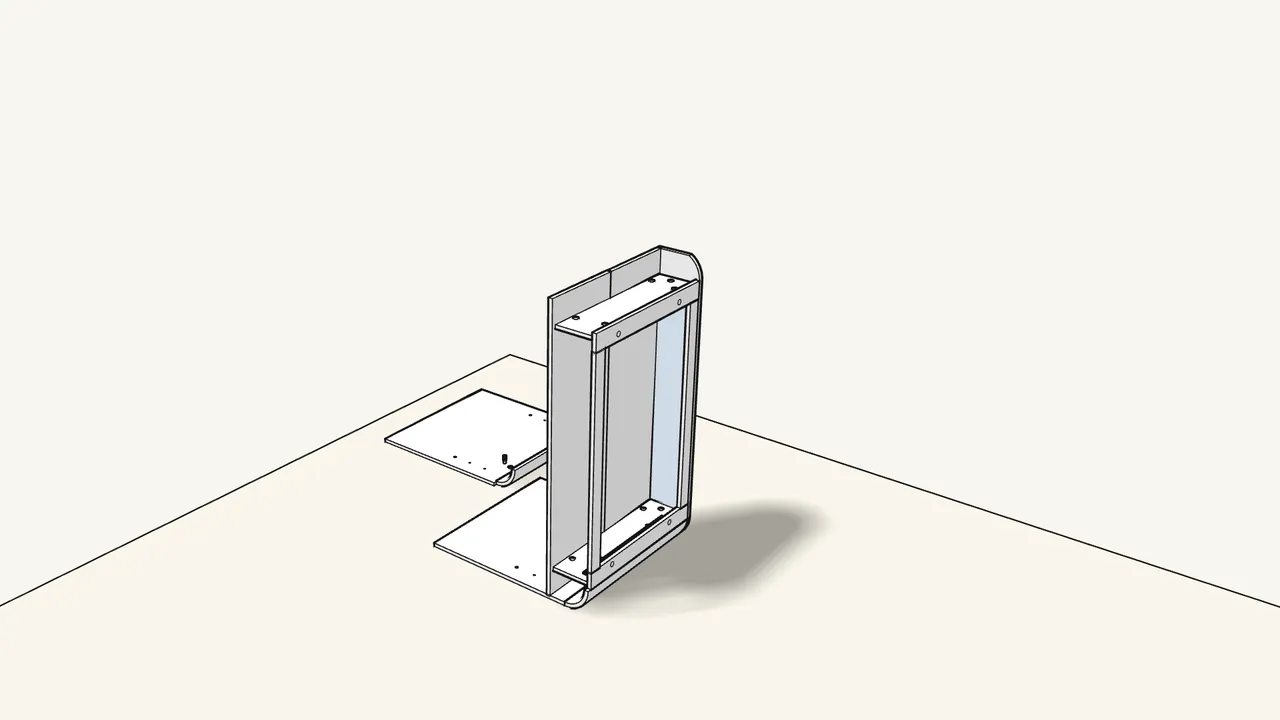
Step 9 · manual step 20
Slide the thin panel down into the frame.
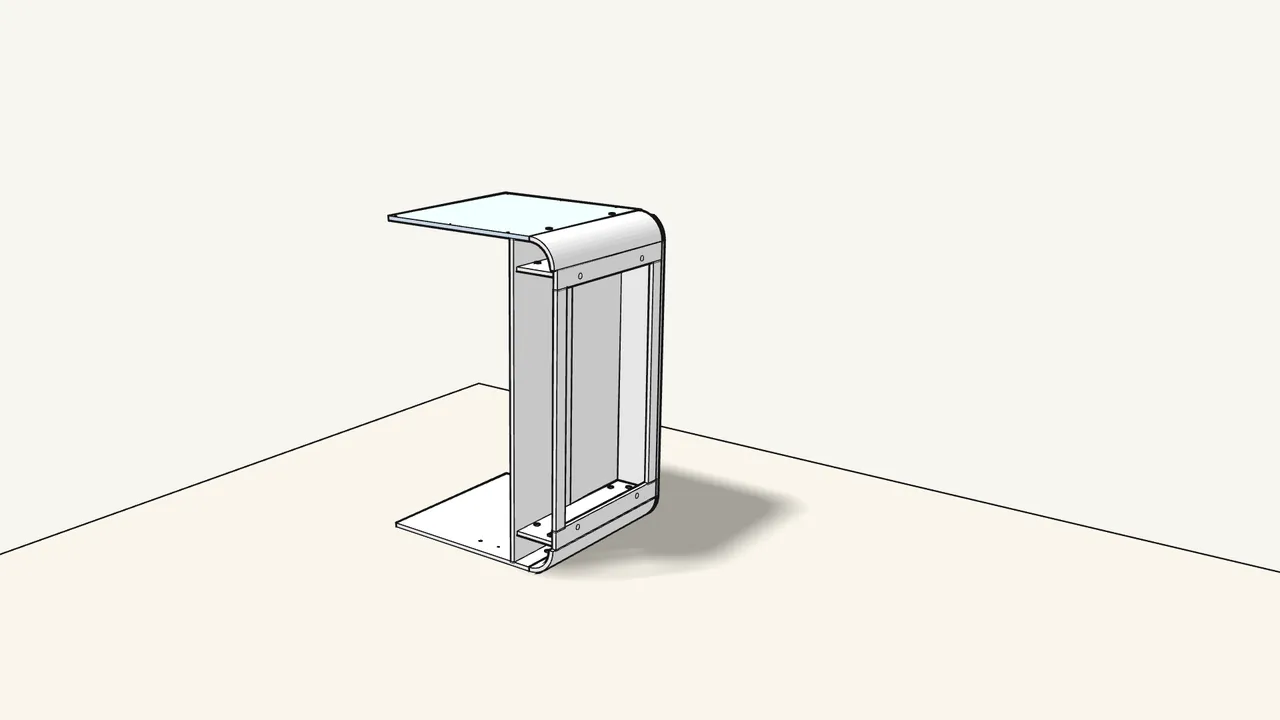
Step 10 · manual step 21
Put the other end panel on top.
Two people, press by hand — no hammer.
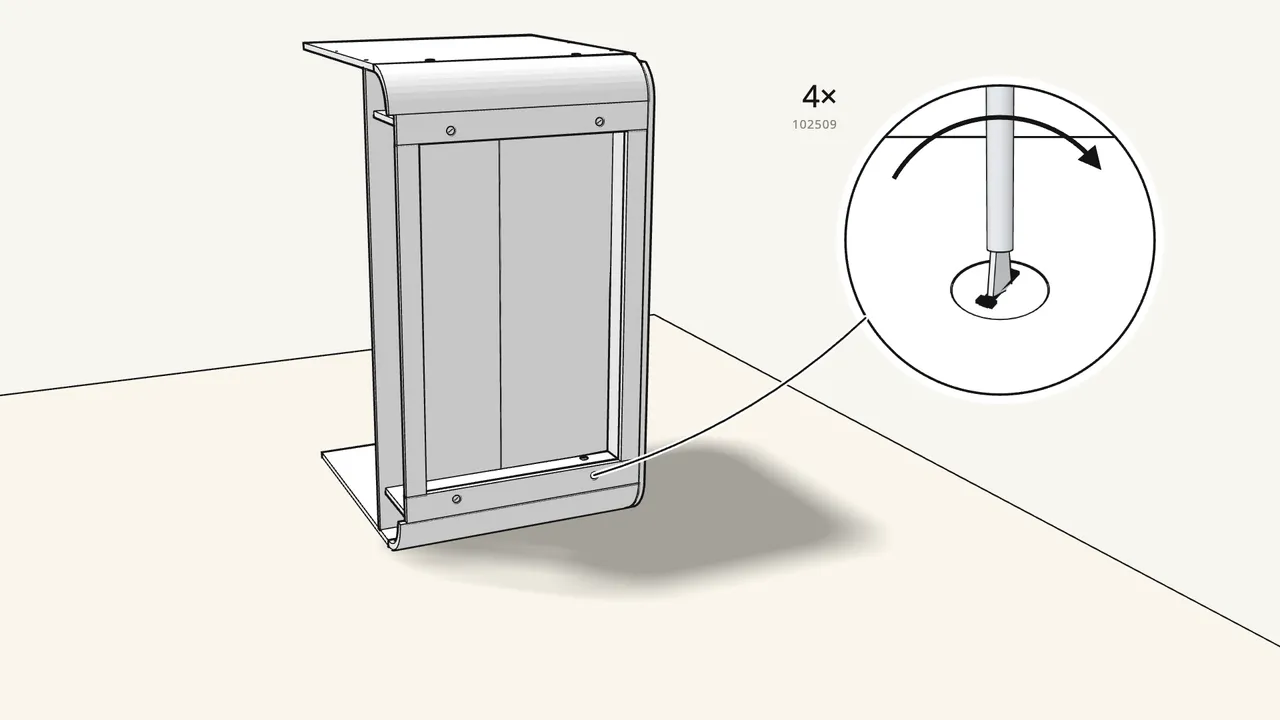
Step 11 · manual step 22
Insert 4 cam locks (102509) and turn them clockwise.
Step 12 · manual step 23
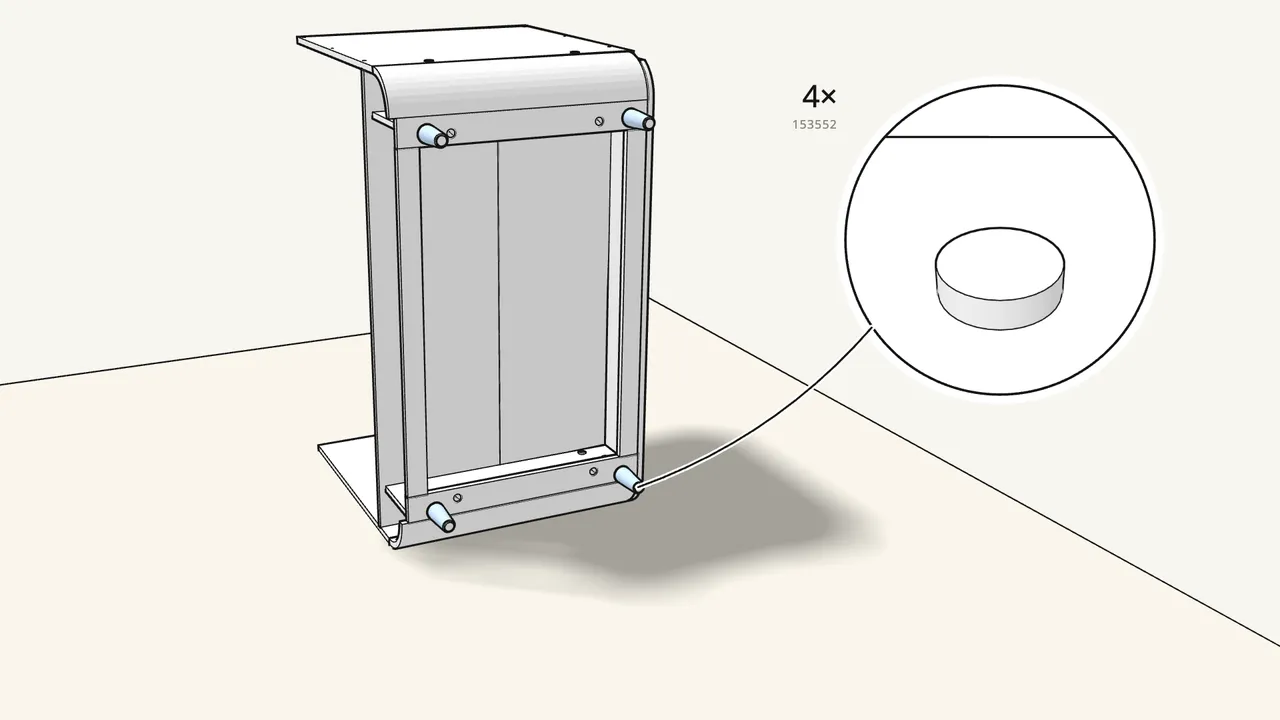
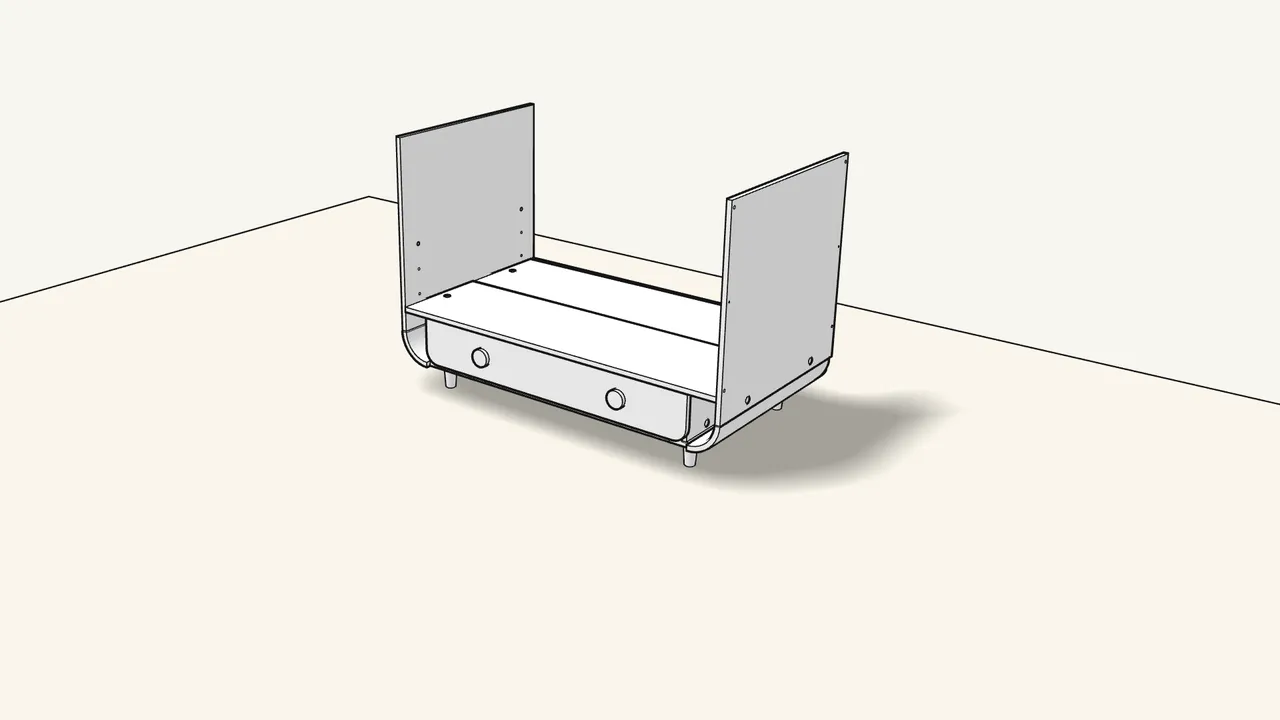
Press a glide (153552) into each leg and screw on the 4 legs.
Step 13 · manual step 24
Turn the frame around and lock 4 more cam locks (102509).
Step 14
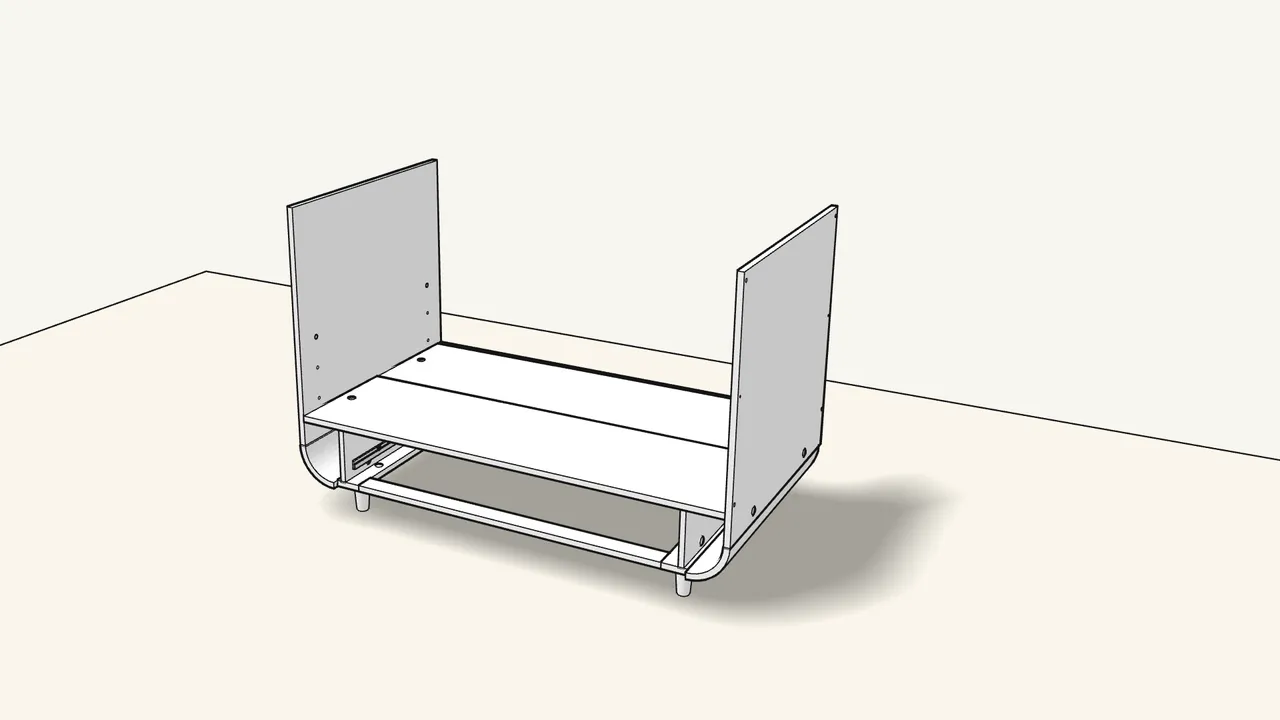
Stand the crib upright on its legs.
Step 15 · manual step 25–28
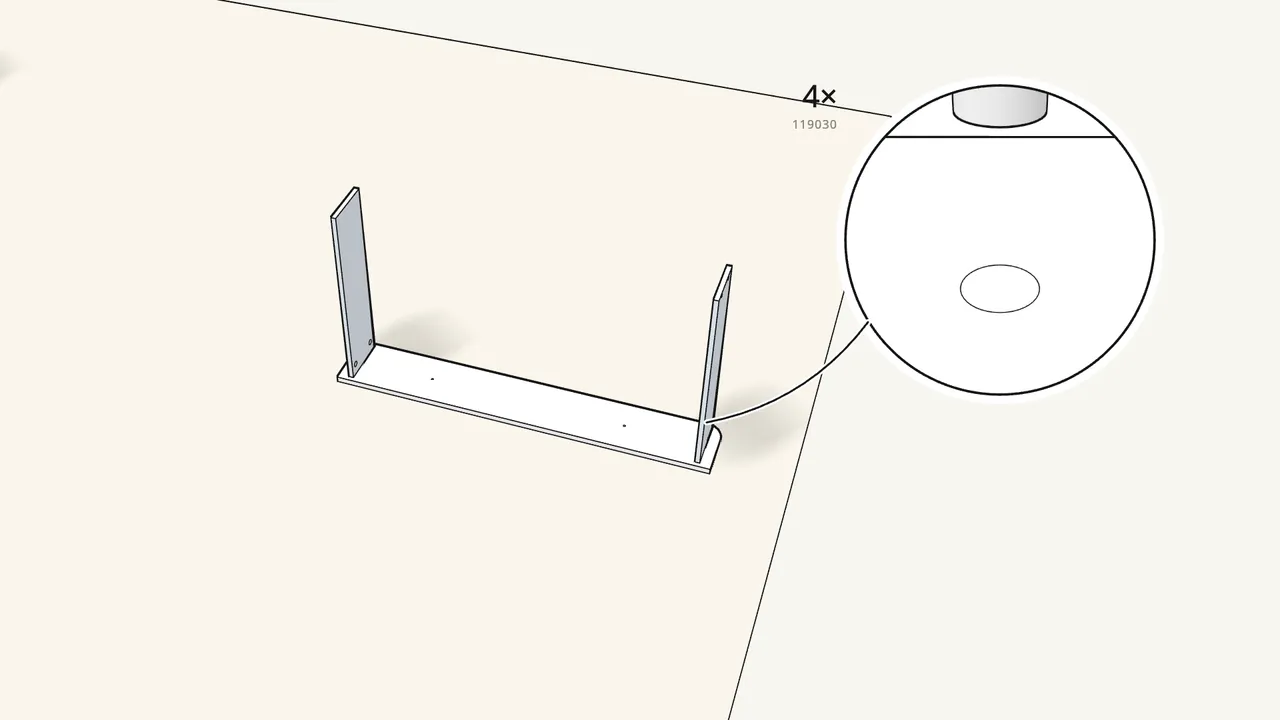
Drawer: fit both sides onto the drawer front, lock 4 cam locks.
4 cam bolts (118331) in the front, 4 dowels (101341) in the sides, cam locks 119030.
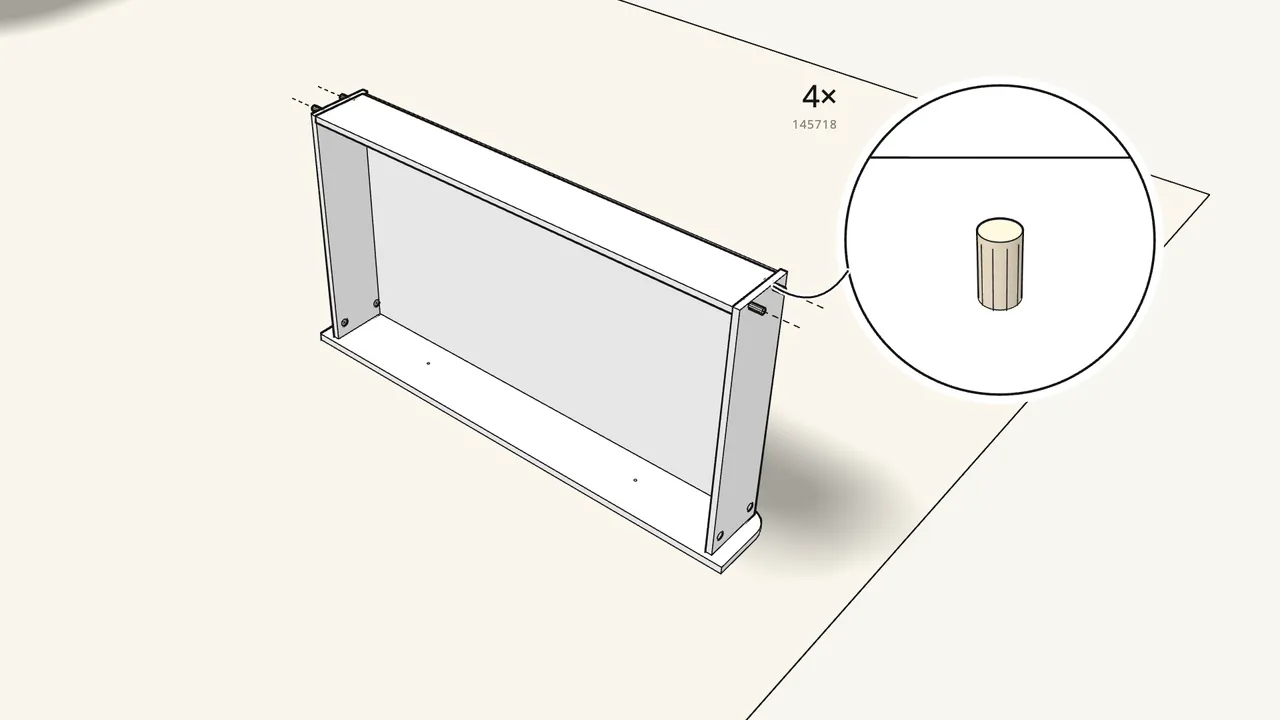
Step 16 · manual step 29–32
Slide in the drawer bottom, then fit the back.
4 plastic pins (145718) and 4 cam locks (119030).
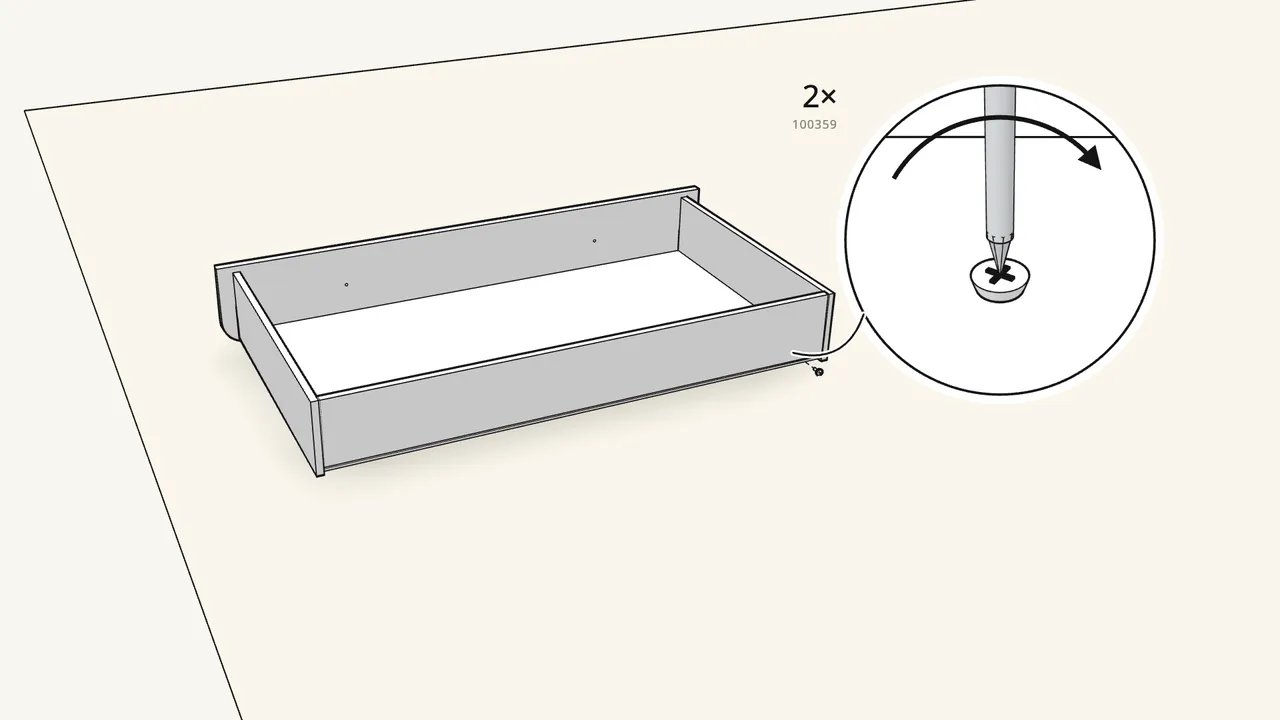
Step 17 · manual step 33–34
Turn the drawer over and fit the rail (10053148) underneath.
1 screw (100359) at each end.
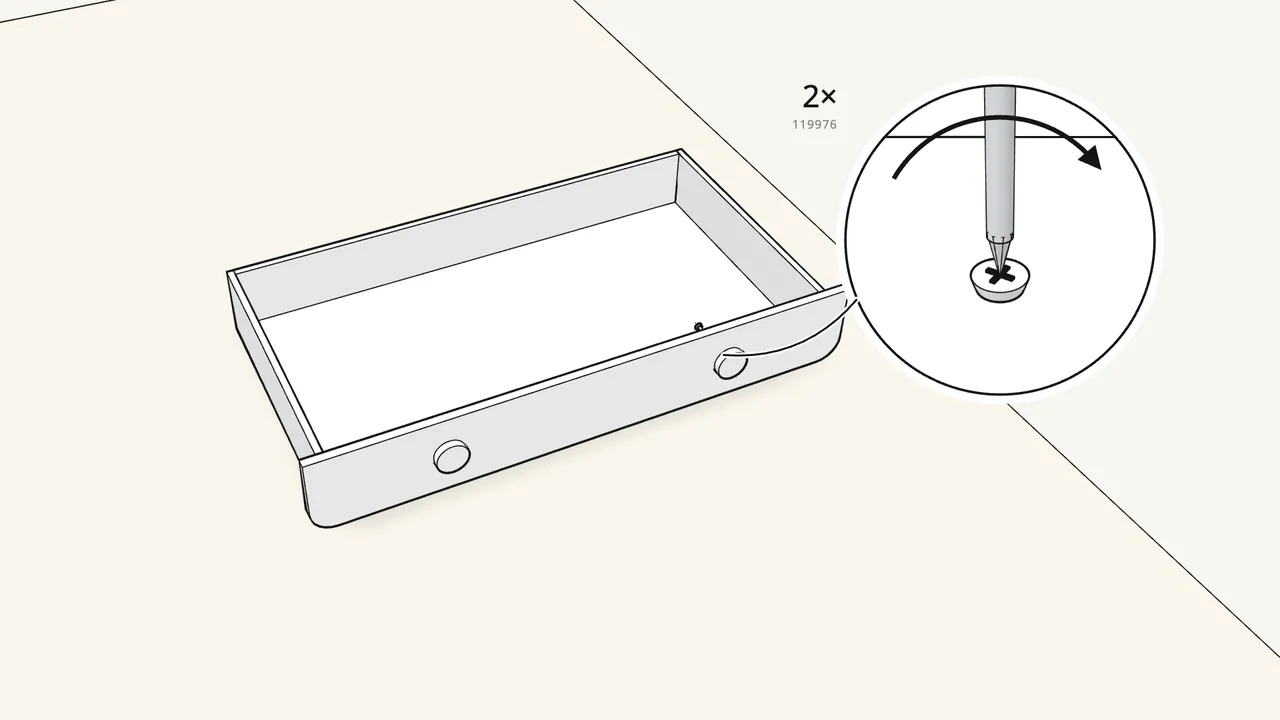
Step 18 · manual step 35
Fit the 2 knobs with 2 screws (119976).
Screw in from the inside of the drawer front.
Step 19 · manual step 36–37
Pull out both runners, set the drawer on them and push it in.
It clicks onto the runners — see the manual, step 37.
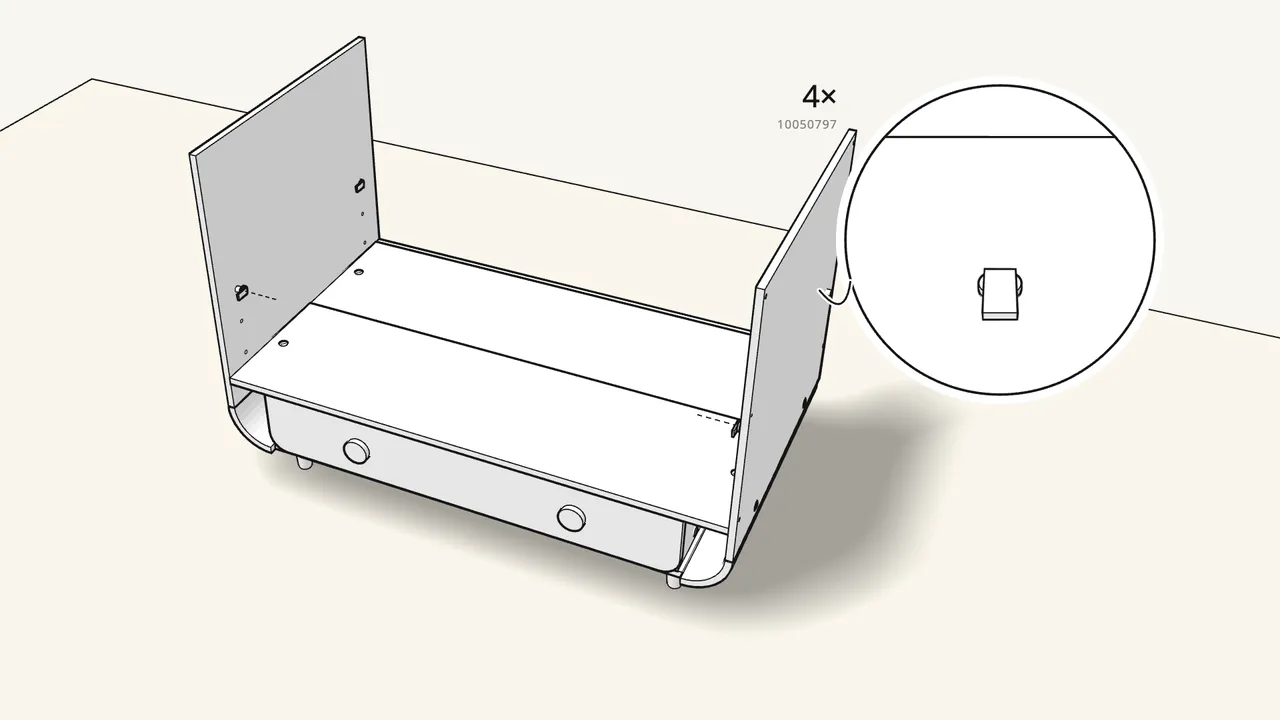
Step 20 · manual step 38
Screw the 4 L-pins (10050797) into the end panels.
Pick the height: top holes for a newborn — see the manual, step 38.
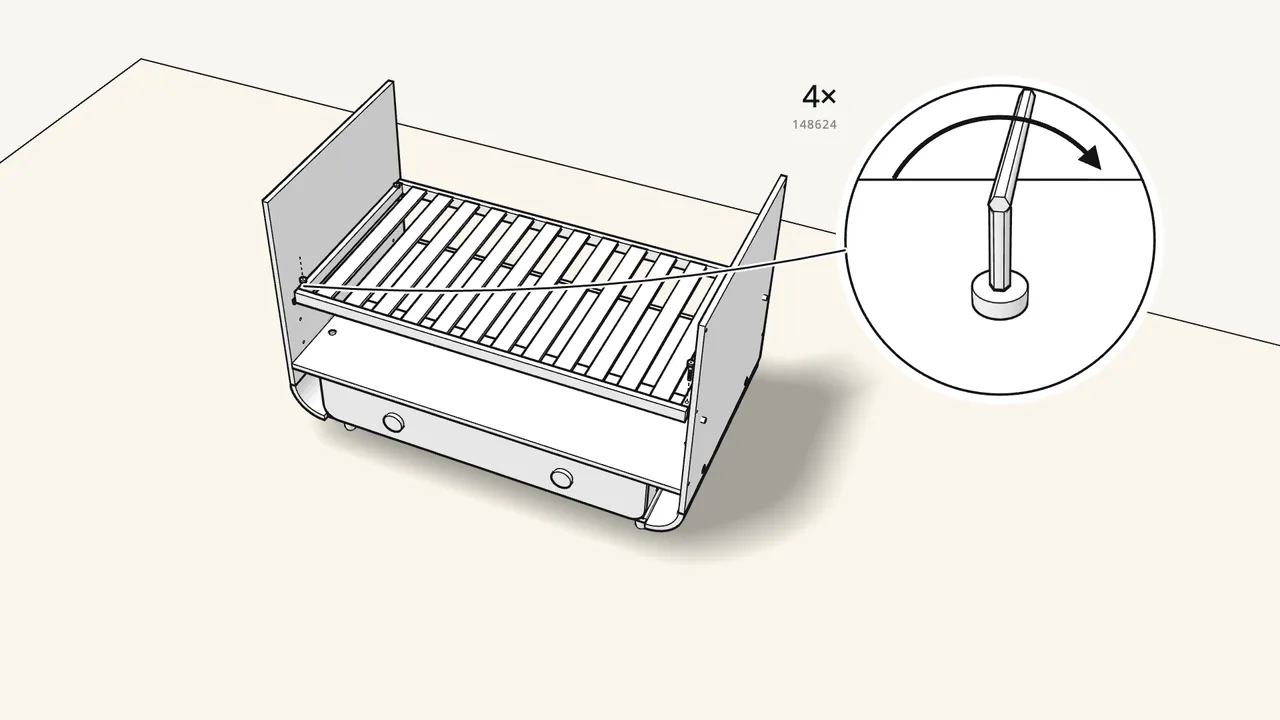
Step 21 · manual step 39–40
Lower the bed base onto the pins, lock with 4 bolts (148624).
Tighten with Allen key 100092.
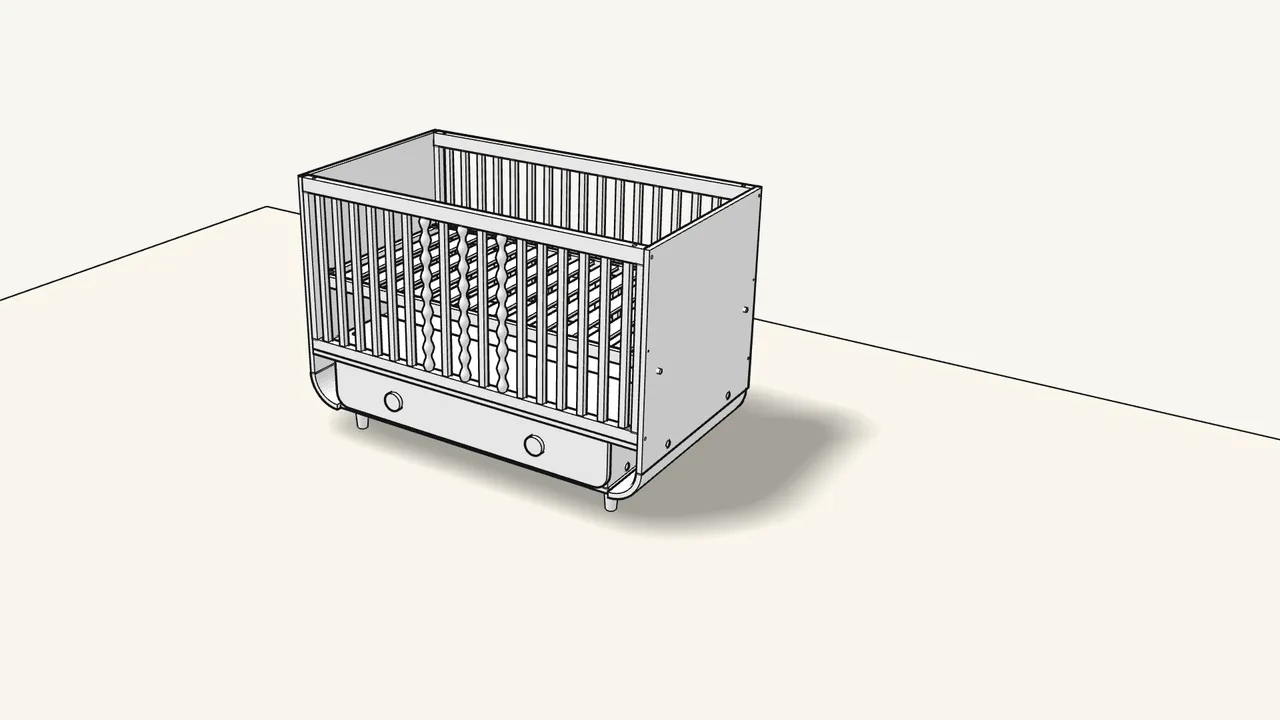
Step 22 · manual step 41
Slide in the two slatted sides between the end panels.
The side with the beaded spindles goes at the front.
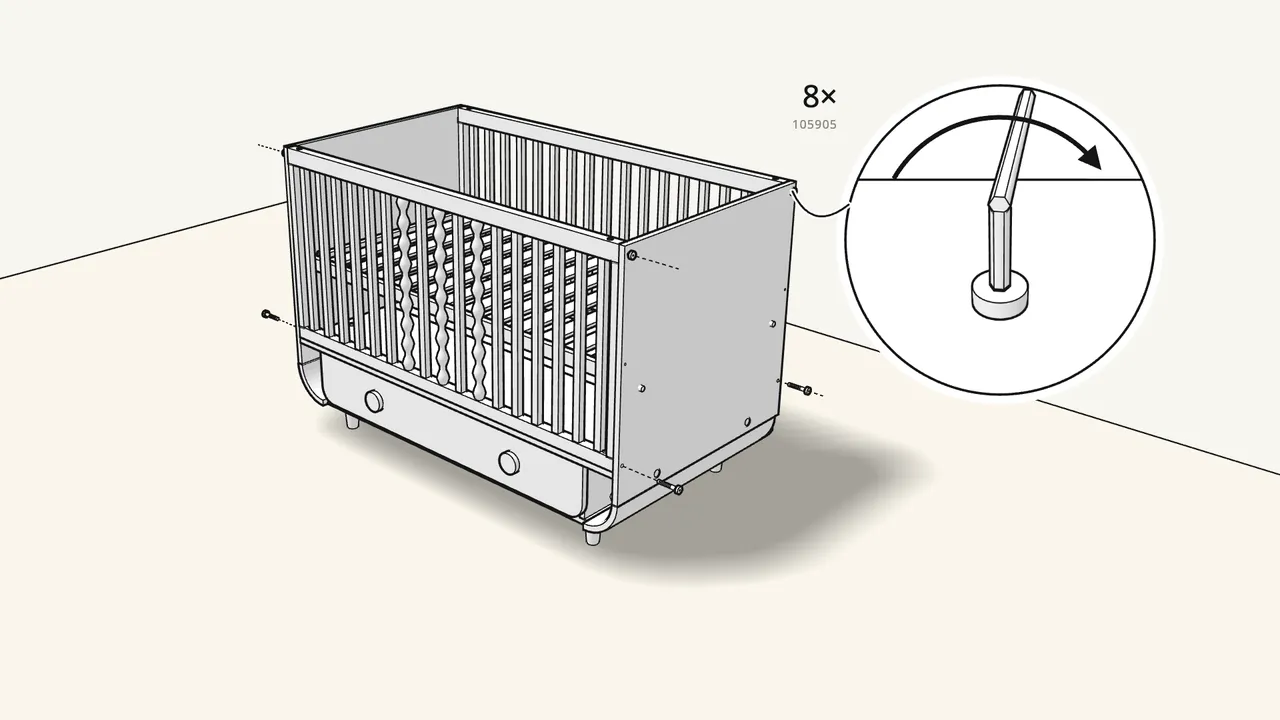
Step 23 · manual step 42–43
Drop in 8 barrel nuts (121114), then tighten 8 bolts (105905).
Through the end panels with Allen key 100092.
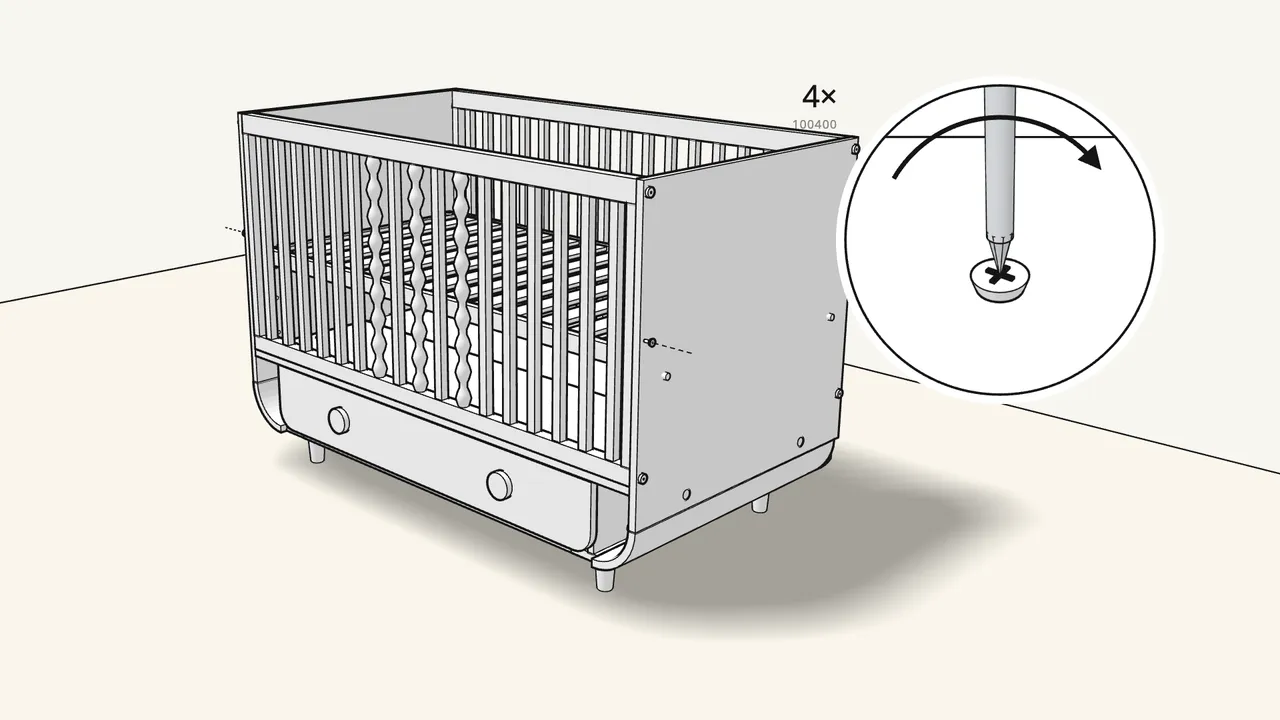
Step 24 · manual step 44
Fix 4 screws (100400) with sleeves (100646) through the end panels.
Tips & safety
- Never use a hammer on this crib. Press the frame and end panels together by hand — two people (manual steps 19–21).
- Lower the bed base as your baby grows. Move the L-pins to the lower holes — see the manual, p. 23 and 27.
Official instructions
This guide follows IKEA’s official assembly instructions (AA-2200899-2). Keep the printed manual to hand — if anything differs, the manual is right.