IKEA · Kids' Furniture
How to assemble IKEA MAMMUT Children's Table
Step-by-step IKEA MAMMUT Children's Table assembly: 8 illustrated steps, an animated video, the hardware list and the tools you need — following the official instructions (AA-263648-5).
- 8 illustrated steps
- 3 steps in the manual
- 1:41 video
- 77×55×48 cm cm
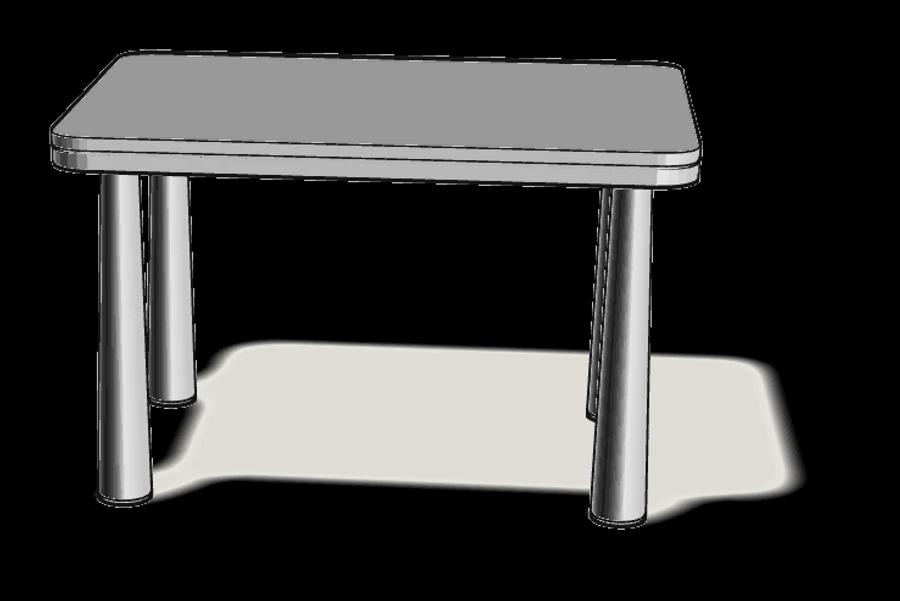
What you need
Tools
No tools needed.
Hardware in the box
See the manual.
Step-by-step assembly
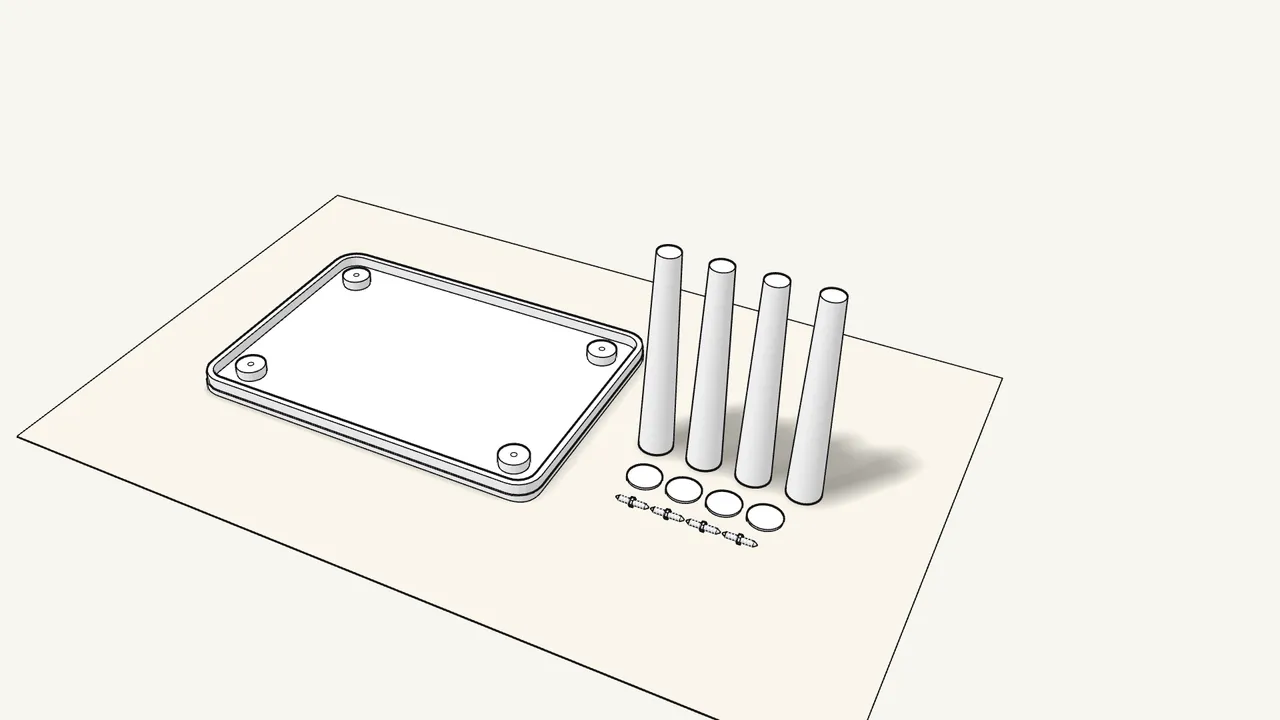
Step 1
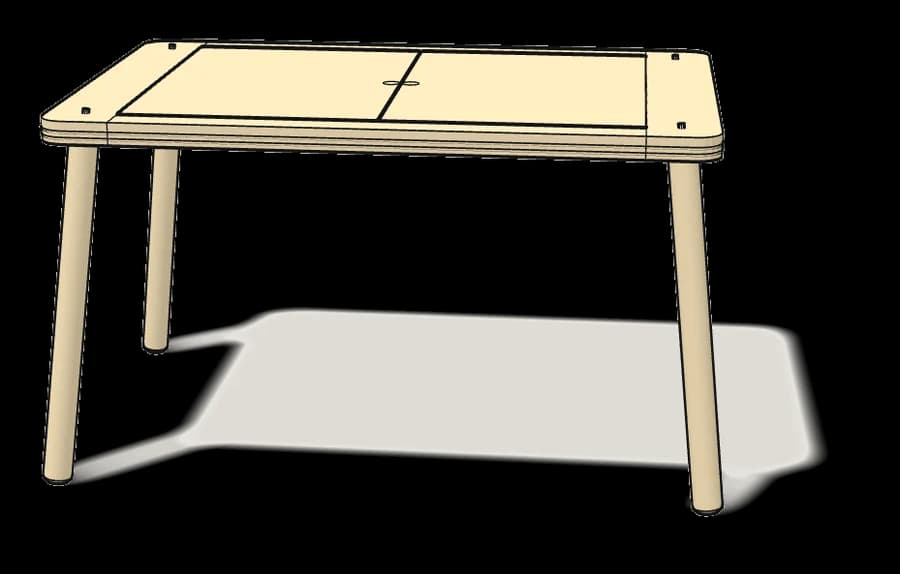
Unpack the tabletop, the 4 legs, the 4 caps and the 4 screws.
Work on a rug or the flattened box so nothing gets scratched.
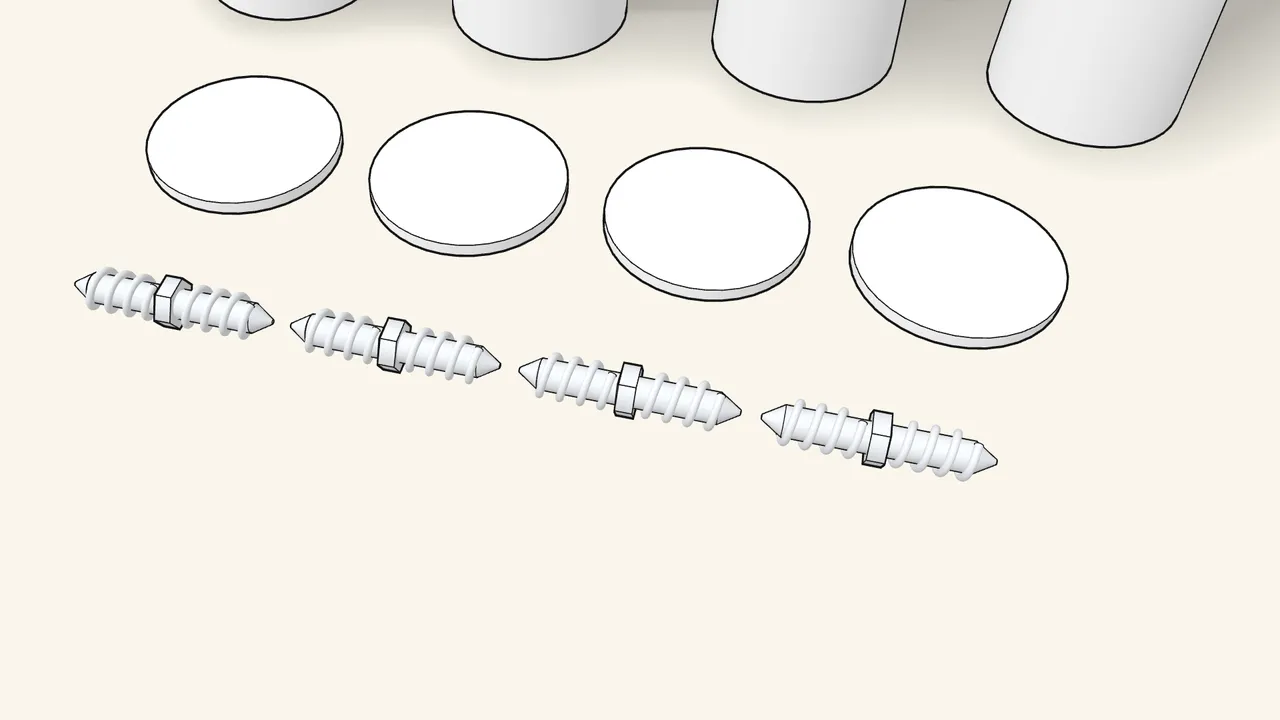
Step 2
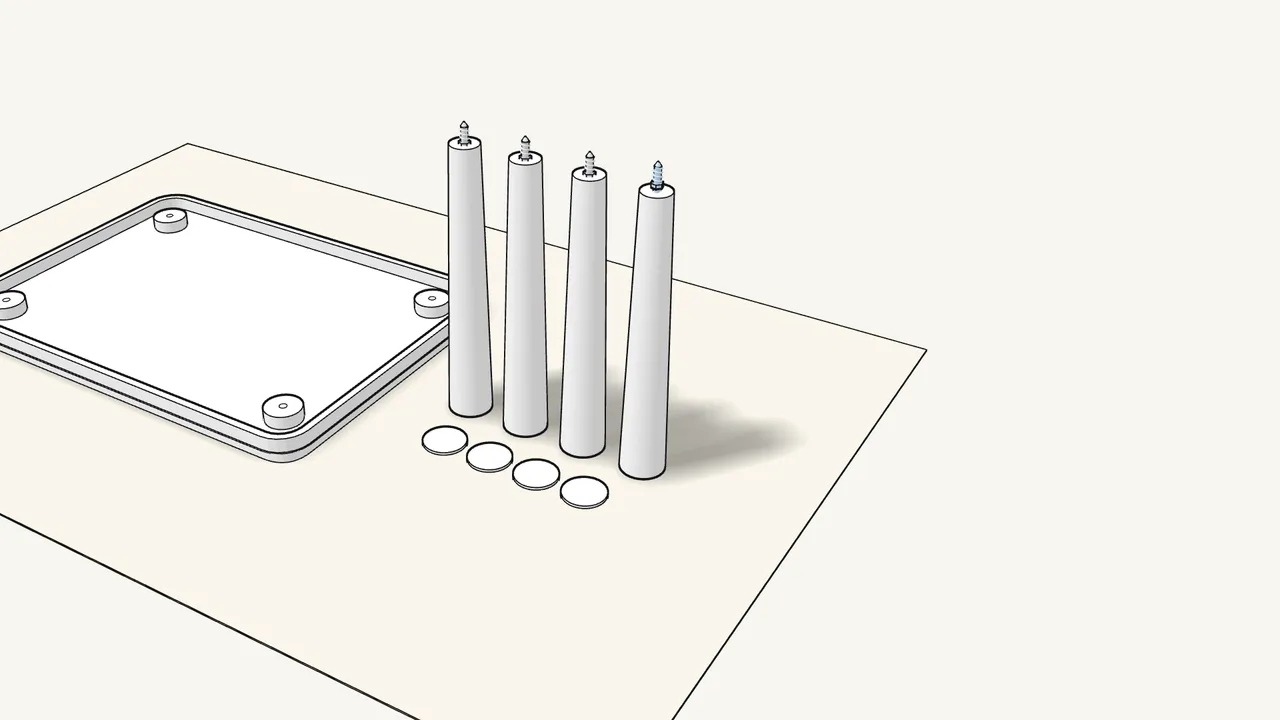
The 4 double-ended screws (115908).
Threaded at both ends, with a hex collar in the middle — one for each leg.
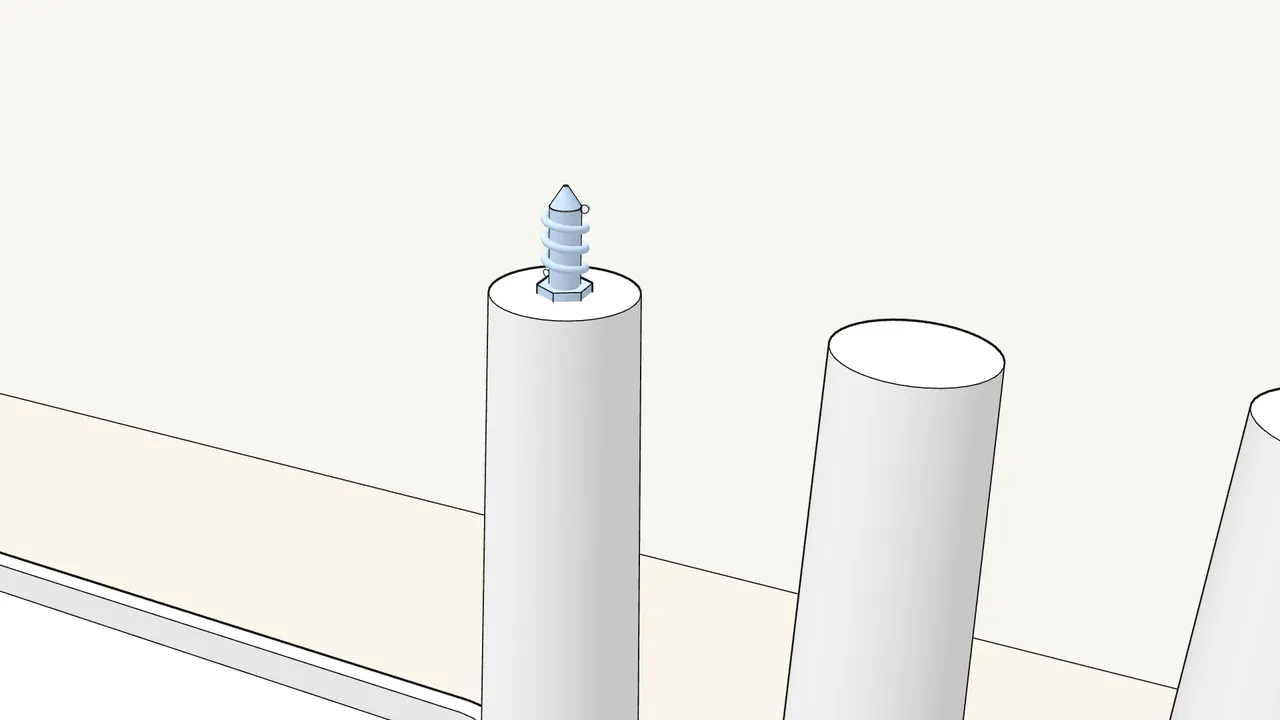
Step 3 · manual step 1
Screw a double-ended screw (115908) into a leg.
By hand, clockwise, into the narrow end — until the collar sits on the leg (see the manual, step 1).
Step 4 · manual step 1
Do the same with the other 3 legs.
One screw in each leg.
Step 5 · manual step 2
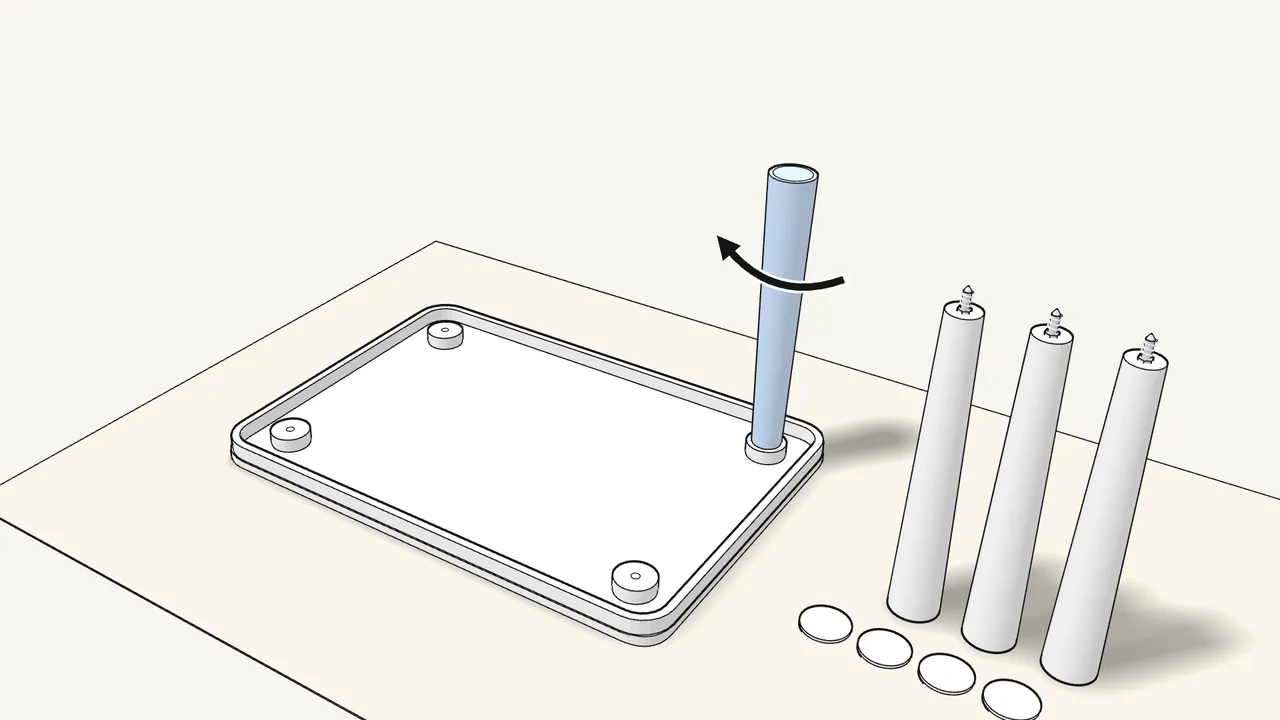
With the top upside down, screw in a leg.
Turn the leg clockwise by hand until it sits tight against the top.
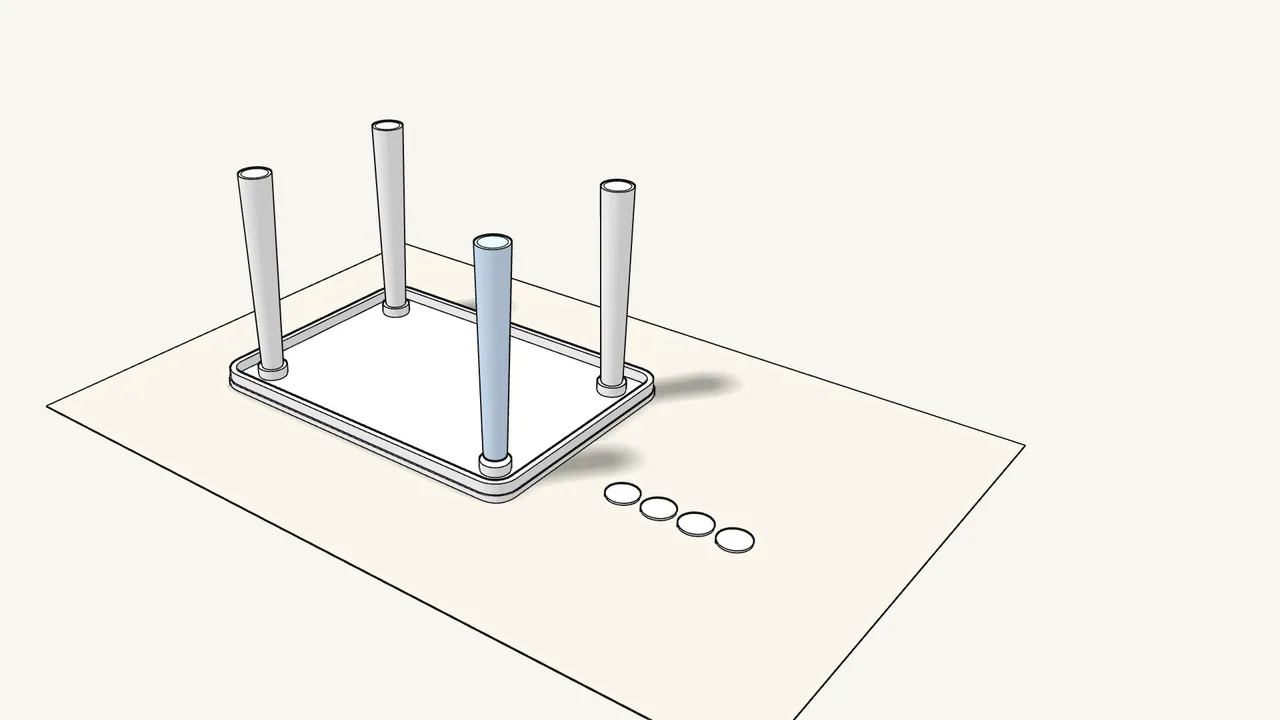
Step 6 · manual step 2
Screw in the other 3 legs the same way.
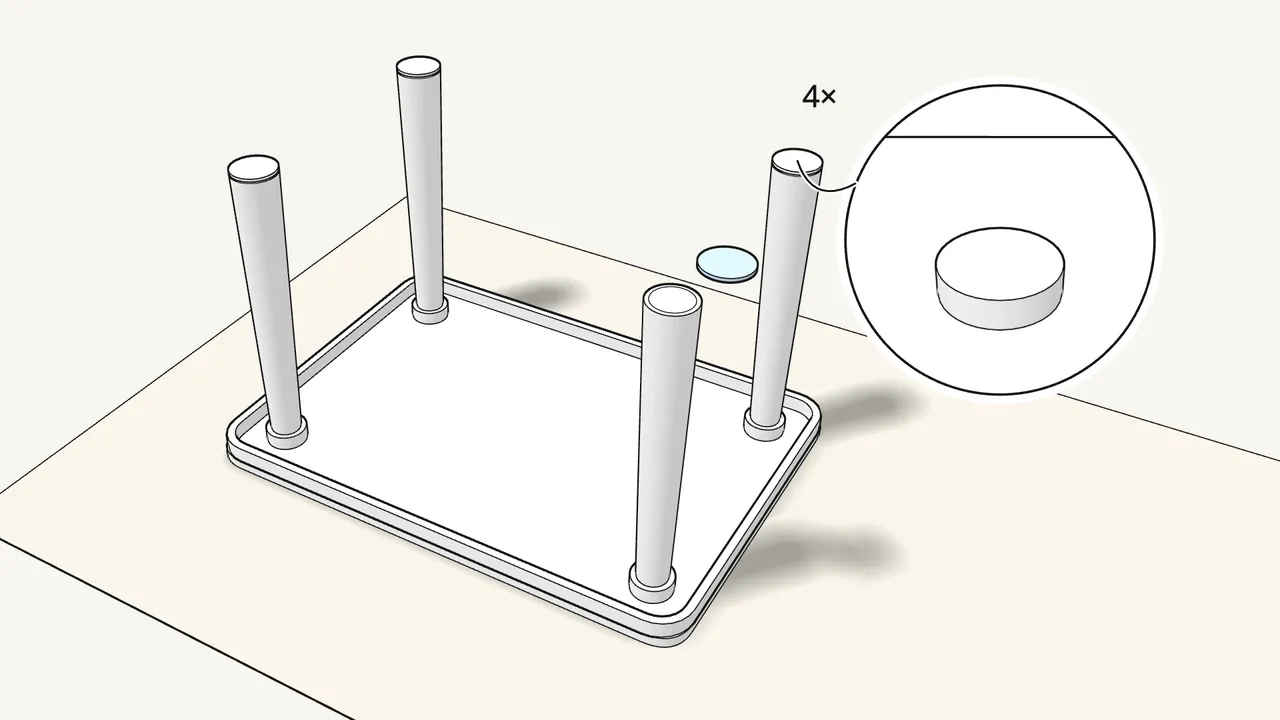
Step 7 · manual step 3
Press a cap onto the end of each leg.
4 caps — they close the open leg ends.
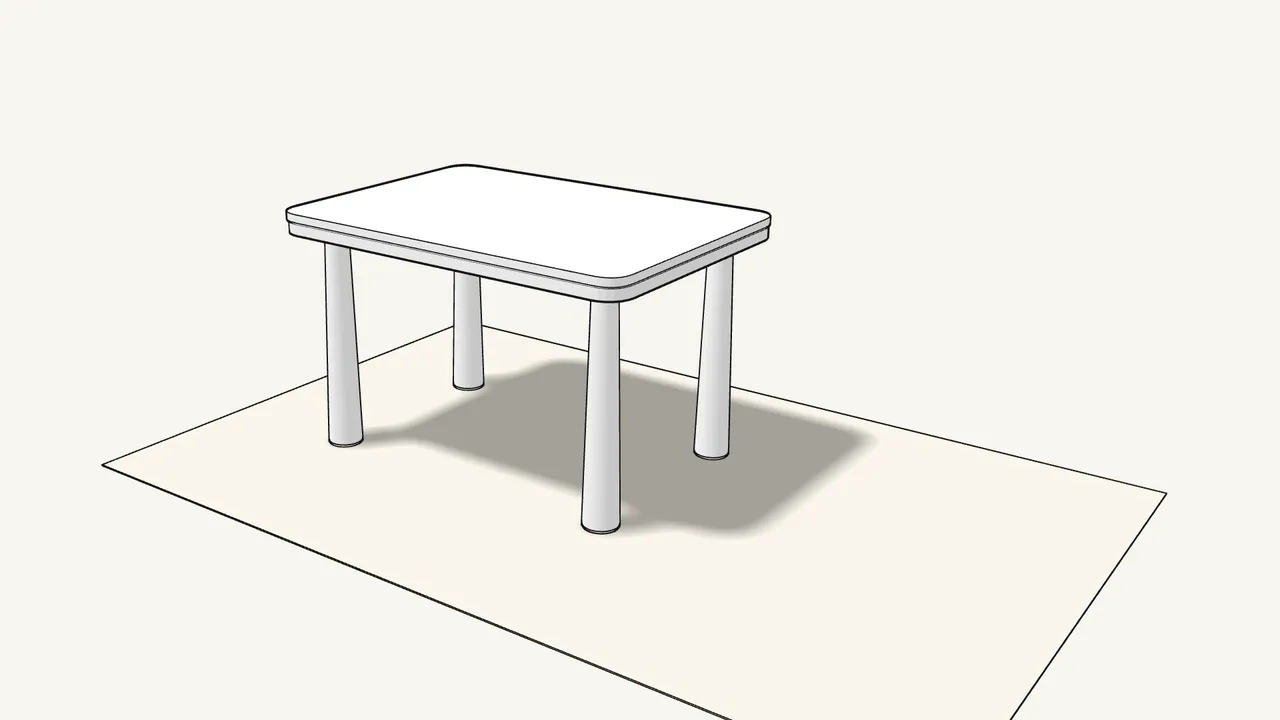
Step 8
Turn the table upright.
Tips & safety
- Assemble on a soft surface. The manual warns: on a hard floor the tabletop can get scratched — use a rug or the flattened box.
- Missing a part or not sure? The manual says: contact your IKEA store before you continue.
Official instructions
This guide follows IKEA’s official assembly instructions (AA-263648-5). Keep the printed manual to hand — if anything differs, the manual is right.