IKEA · Dressers & Drawer Units
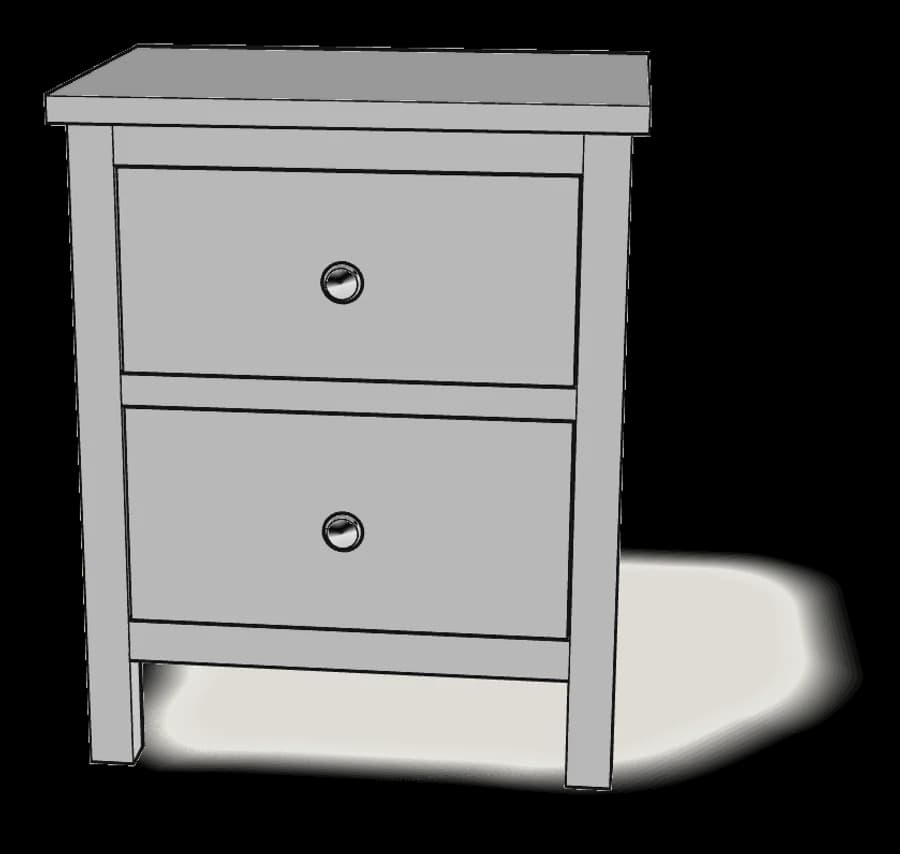
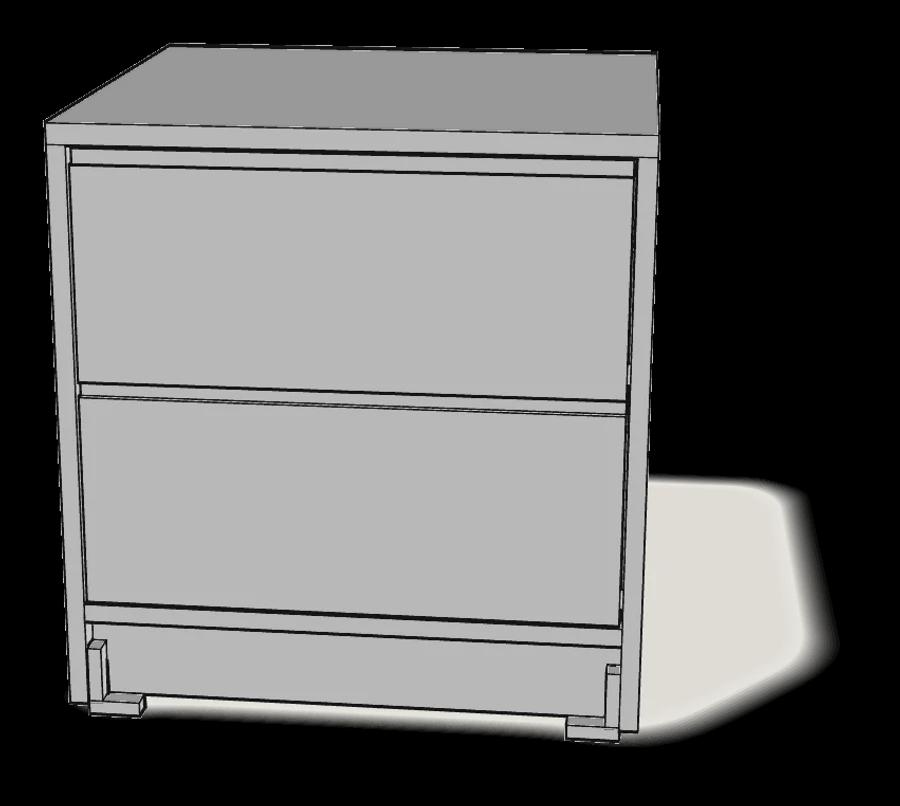
How to assemble IKEA STORKLINTA 2-Drawer Chest
Step-by-step IKEA STORKLINTA 2-Drawer Chest assembly: 25 illustrated steps, an animated video, the hardware list and the tools you need — following the official instructions (AA-2413748-4).
- 25 illustrated steps
- 31 steps in the manual
- 3:19 video
- 50×48×53 cm
What you need
Tools
- Flat-head screwdriver
- Phillips screwdriver
- Hammer
- Drill (for wall fixing)
You’ll need: flat-head and Phillips screwdrivers, a hammer, a pencil and a drill.
Hardware in the box
| Part no. (as printed in the manual) | Qty |
|---|---|
| 118331 | 16× |
| 119252 | 8× |
| 120076 | 16× |
| 101345 | 18× |
| 102553 | 2× |
| 105248 | 4× |
| 146114 | 24× |
| 151708 | 2× |
| 151707 | 2× |
| 10093081 | 4× |
| 10093082 | 4× |
| 145718 | 8× |
| 106989 | 2× |
| 109049 | 2× |
| 100823 | 4× |
| 109048 | 2× |
| 121714 | 2× |
Step-by-step assembly
Step 1
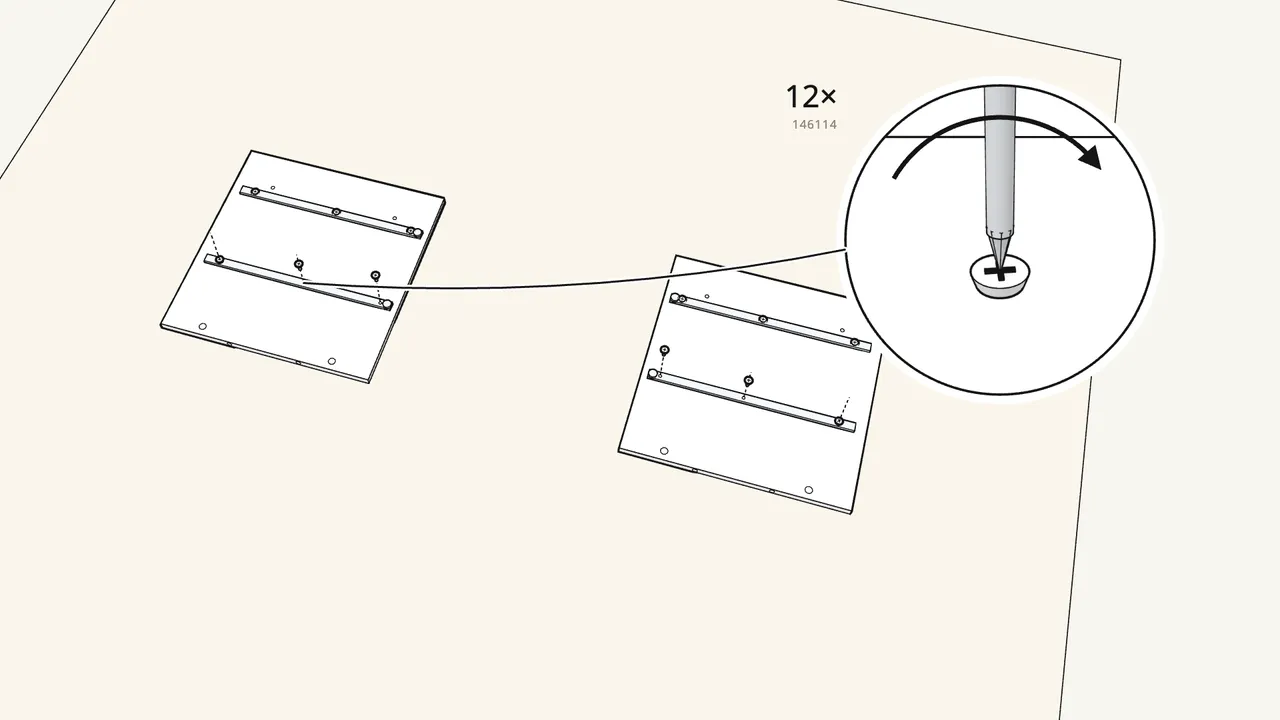
Screw the runners onto both side panels — 12 screws (146114).
CL runners on the left side, CR on the right — check the labels.
Step 2
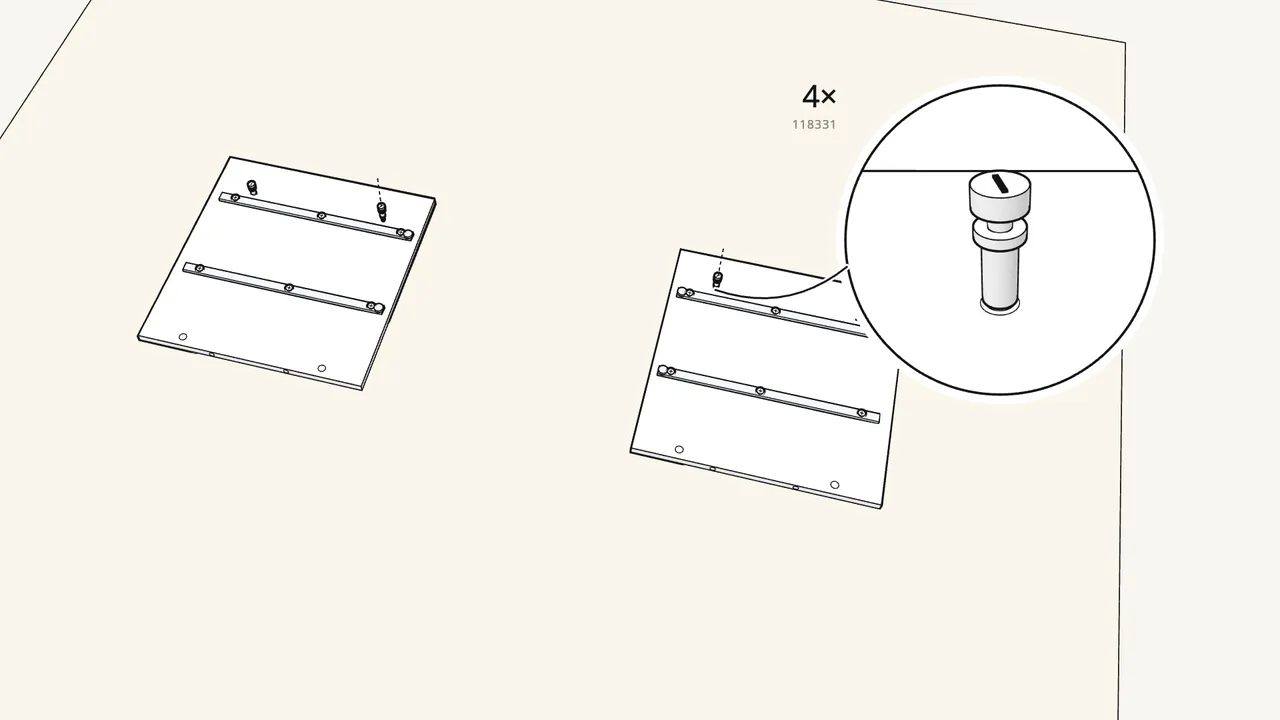
Screw 4 cam bolts (118331) into the sides — 2 per side.
Step 3
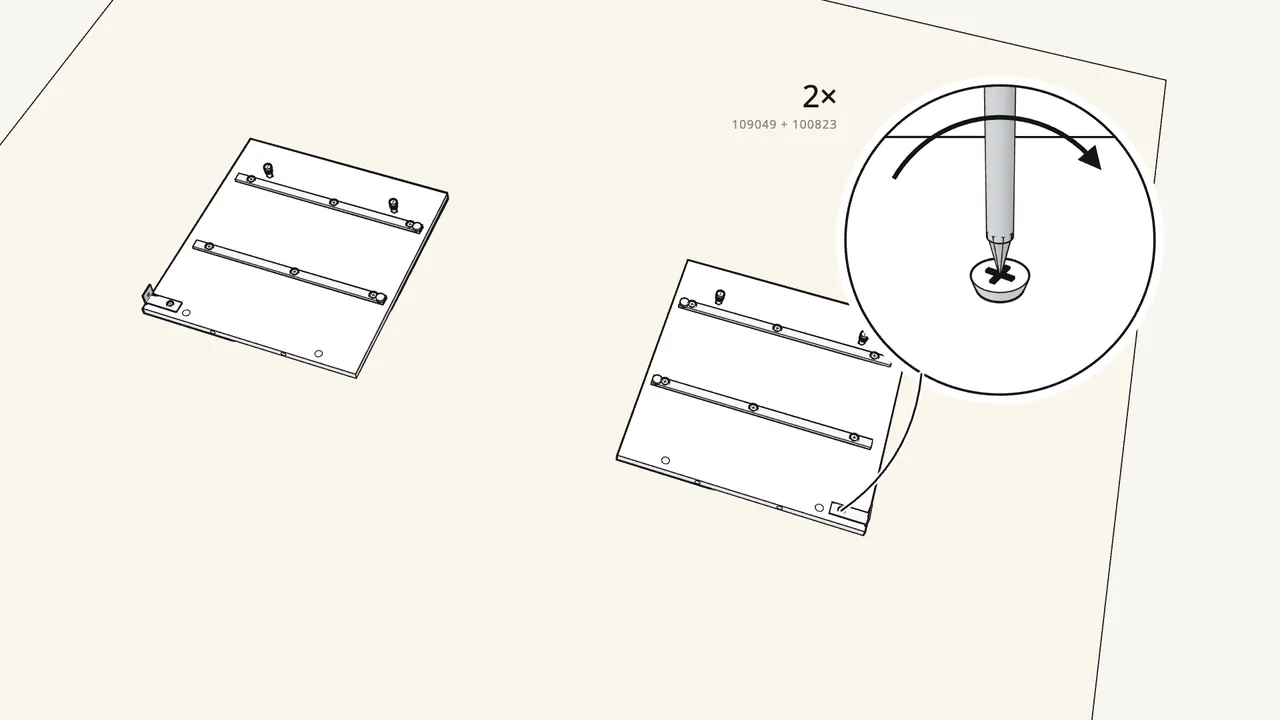
Fit a wall bracket (106989) at the top back corner of each side.
Screw 109049 with washer 100823 — one bracket per side panel.
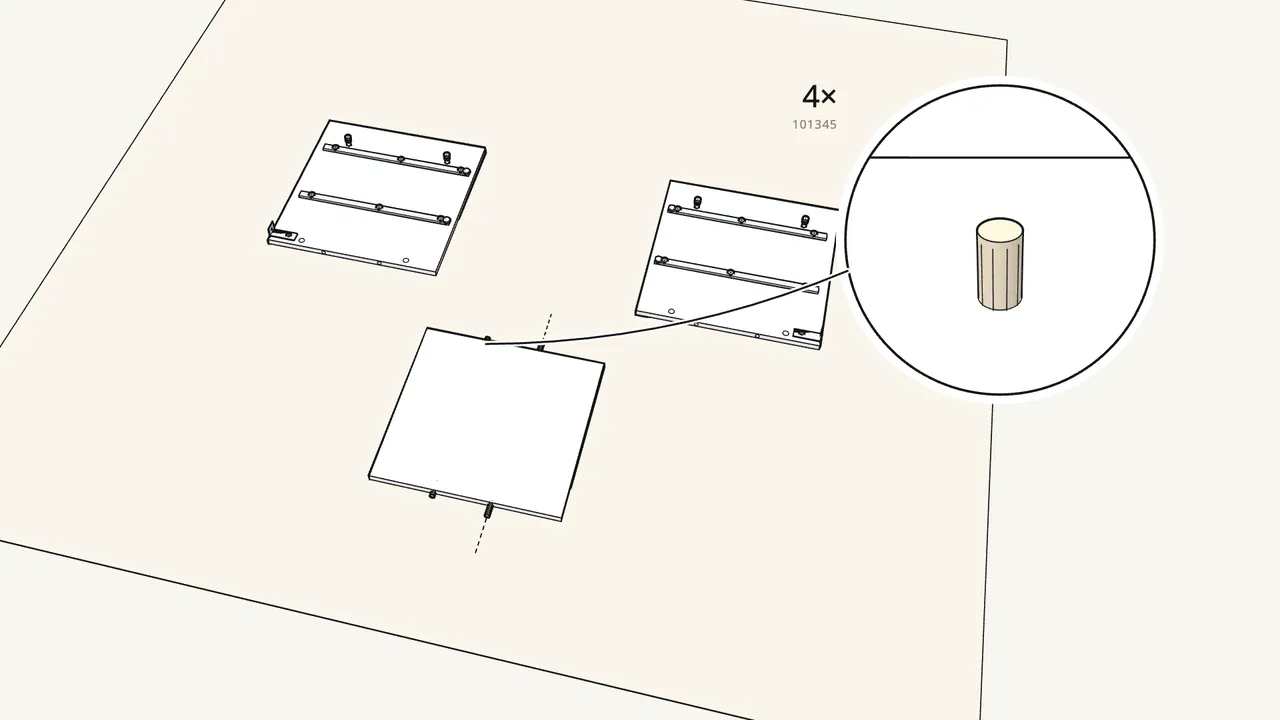
Step 4
Push 4 dowels (101345) into the edges of the bottom panel.
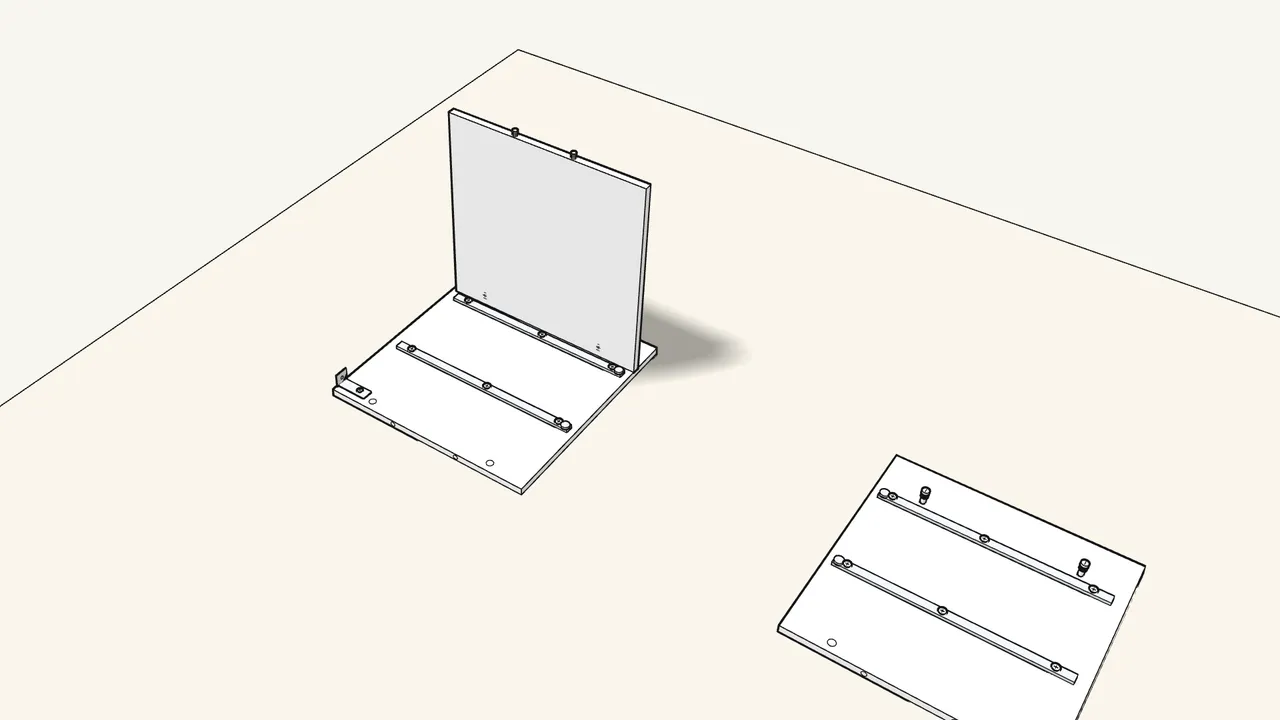
Step 5
Stand the bottom panel on the left side panel.
The bolts and dowels go into the holes in the side.
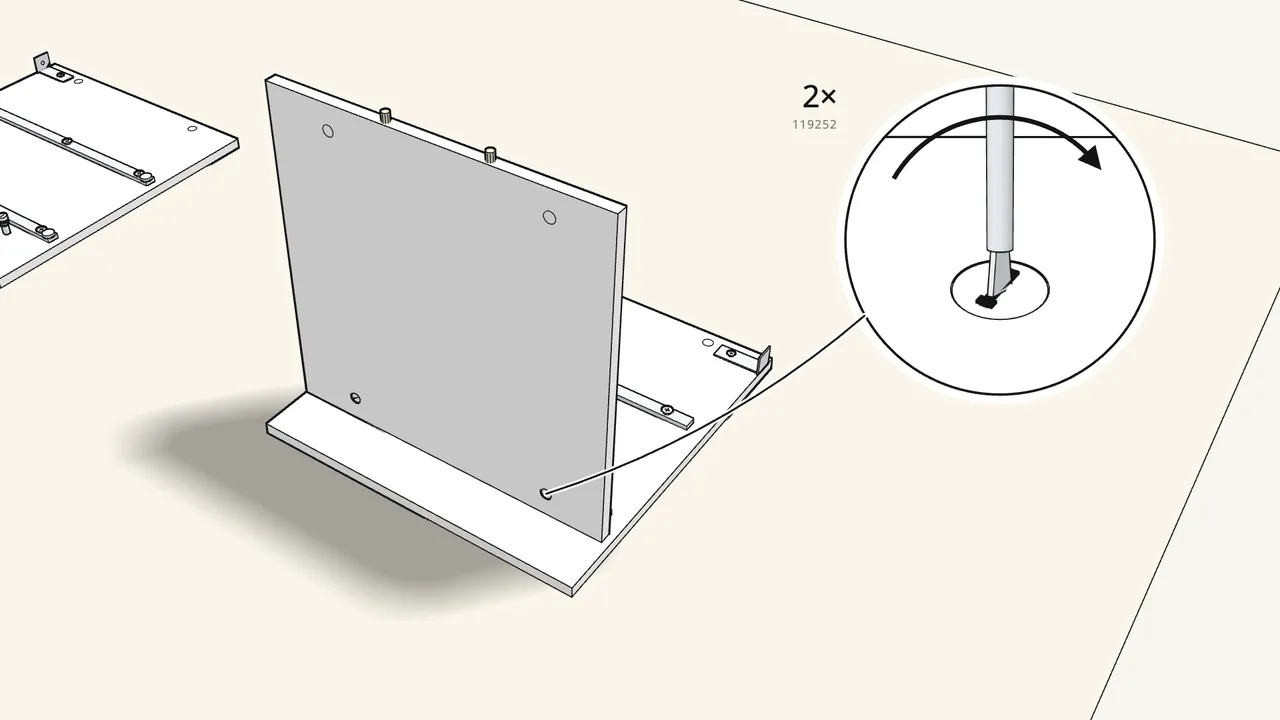
Step 6
Insert 2 cam locks (119252) and turn them clockwise.
Use 119250/119252 here — not the 120076 drawer cam locks.
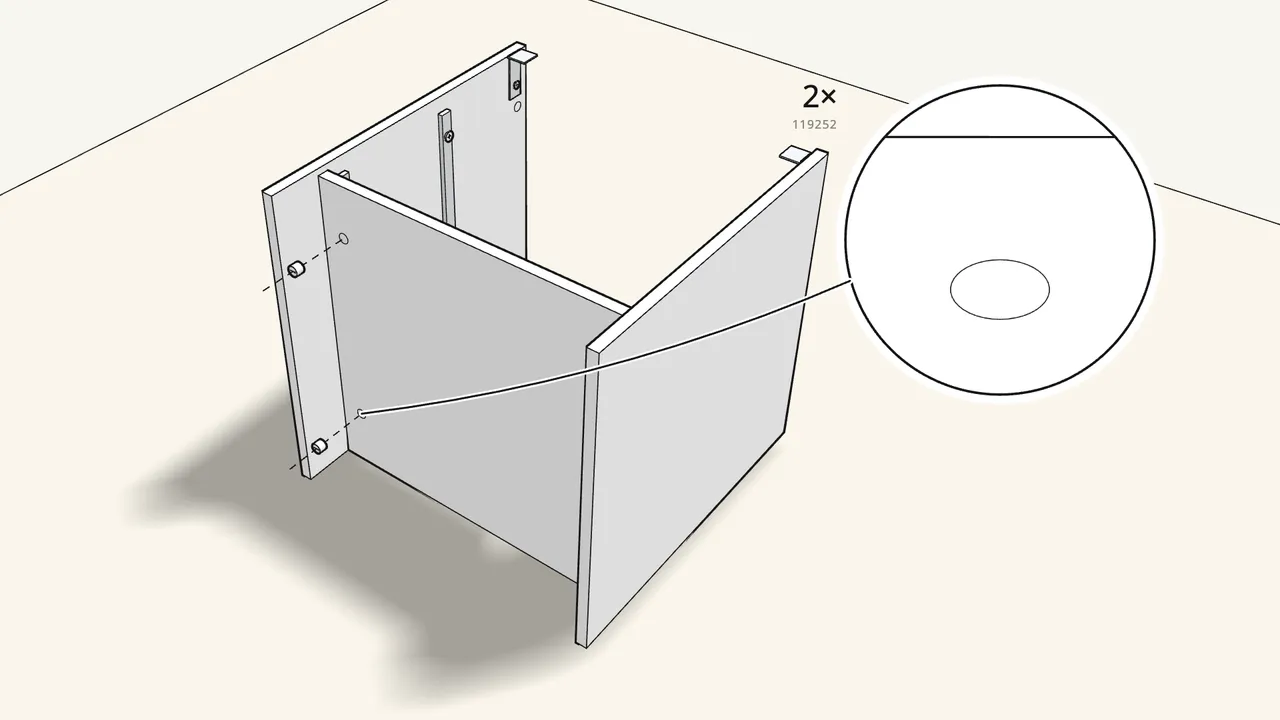
Step 7 · manual step 7–8
Turn the unit onto its front, fit the right side and lock 2 cam locks.
Cam locks 119252, turned clockwise.
Step 8 · manual step 9–10
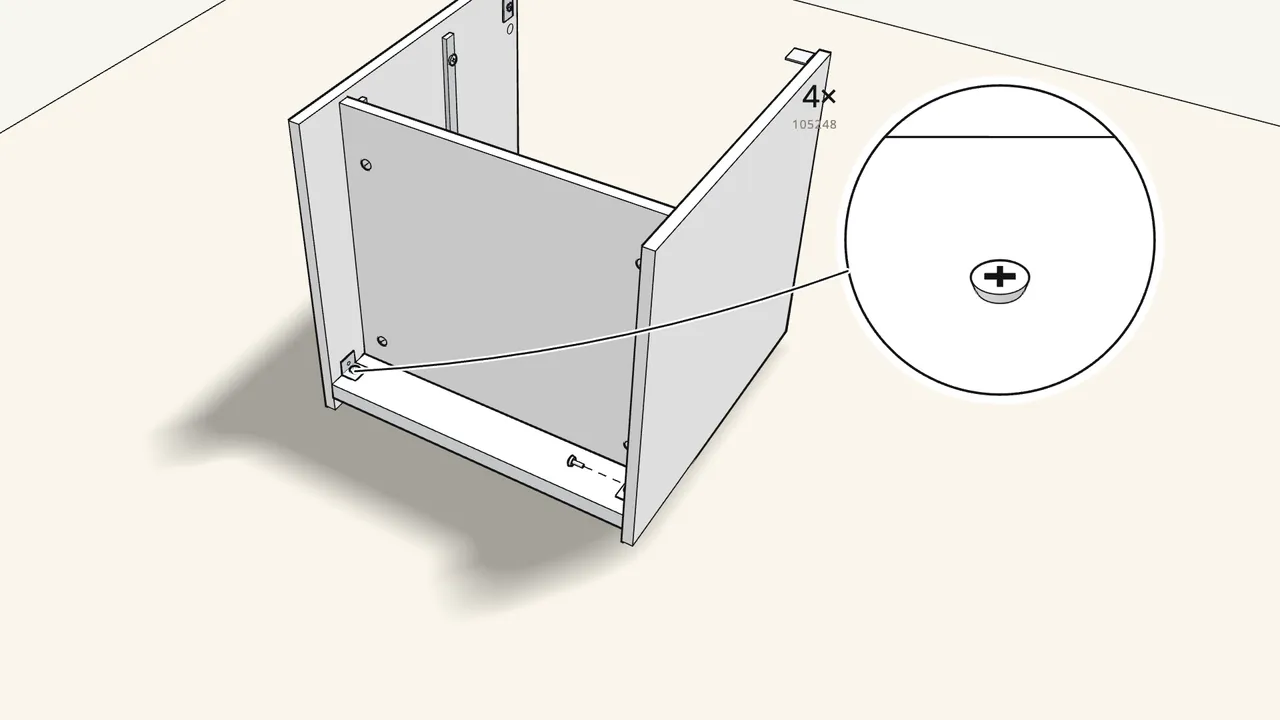
Screw 2 brackets (102553) to the plinth rail, then fix it to the sides.
4 screws (105248) in total: 2 into the rail, 2 into the side panels.
Step 9 · manual step 11–12
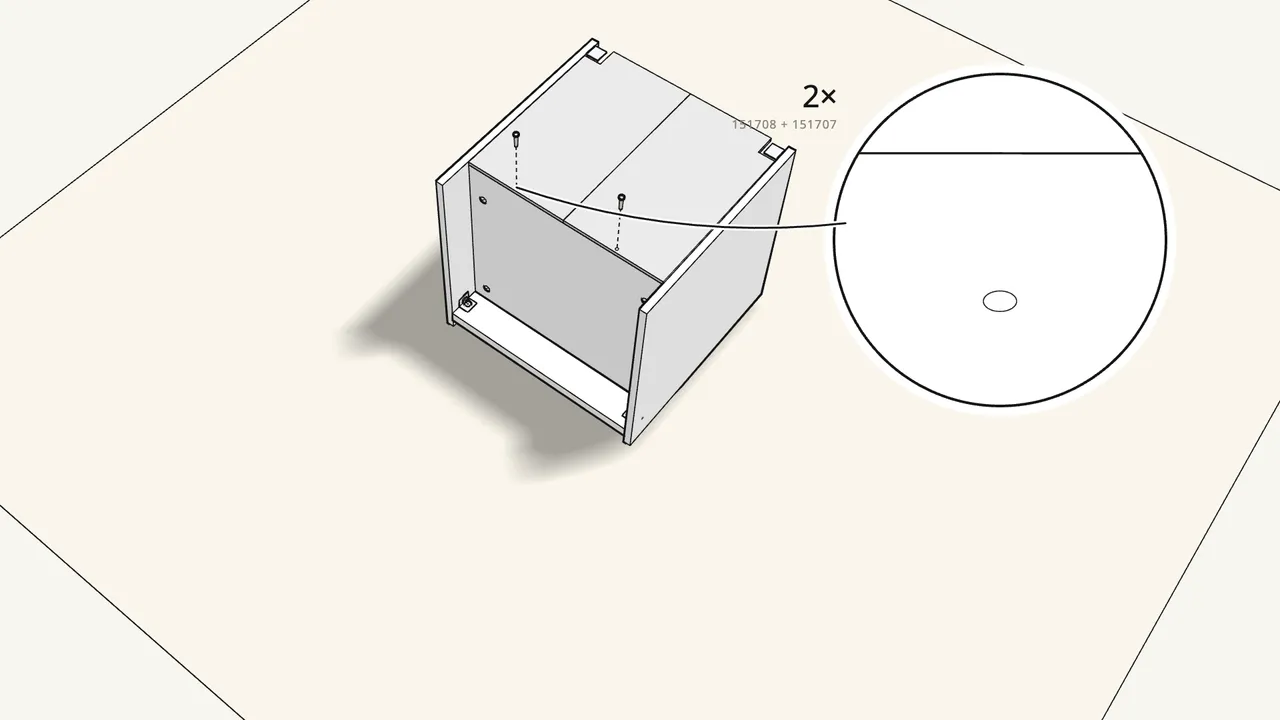
Unfold the back panel, slide it into the grooves and fix it with 2 rivets.
Push in rivet 151708, then press its pin 151707 in.
Step 10 · manual step 13
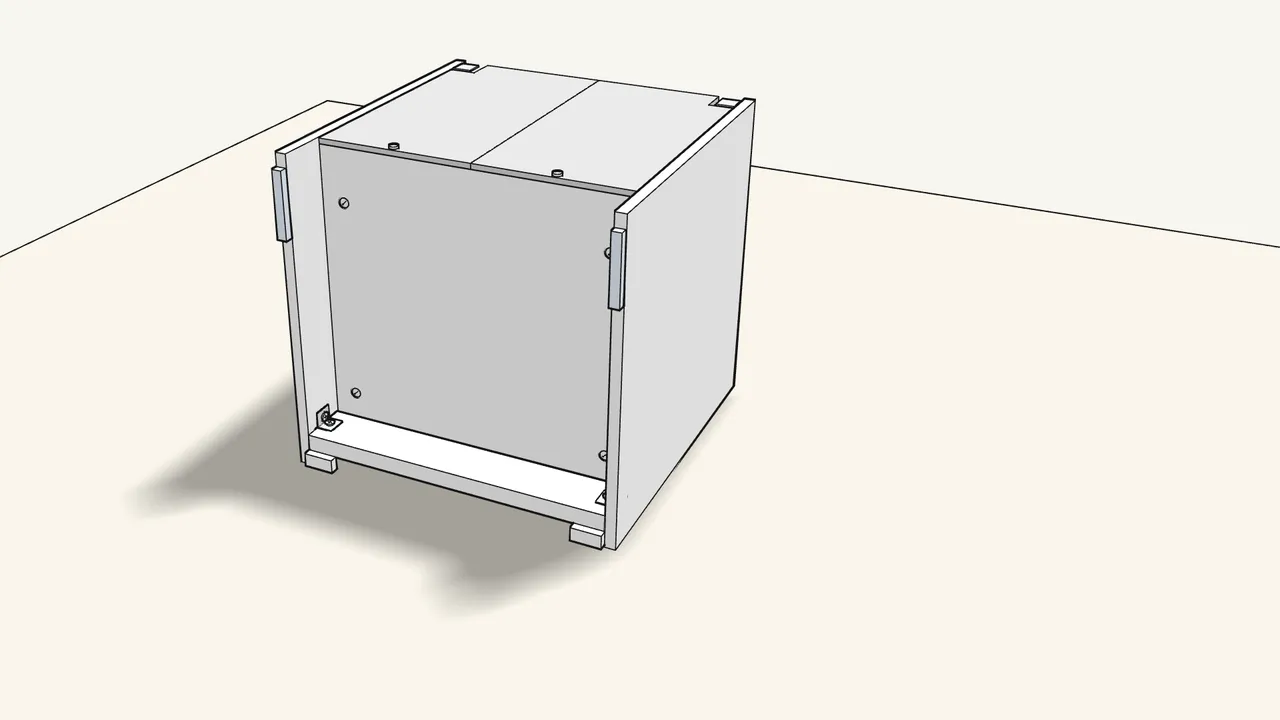
Press in the 2 L-shaped feet (10101849) and 2 straight ones (158568).
L-shaped at the plinth corners, straight ones at the back.
Step 11 · manual step 14
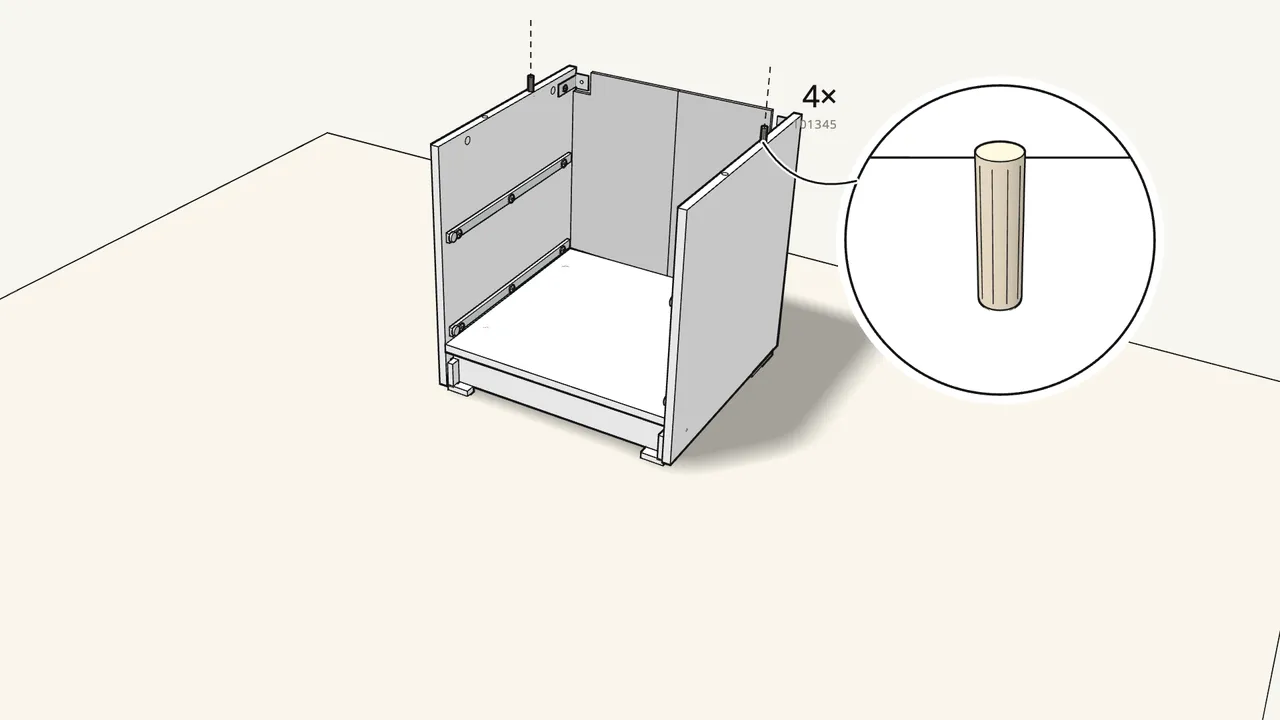
Stand the unit upright and push 4 dowels into the side tops.
4 dowels (101345), 2 per side.
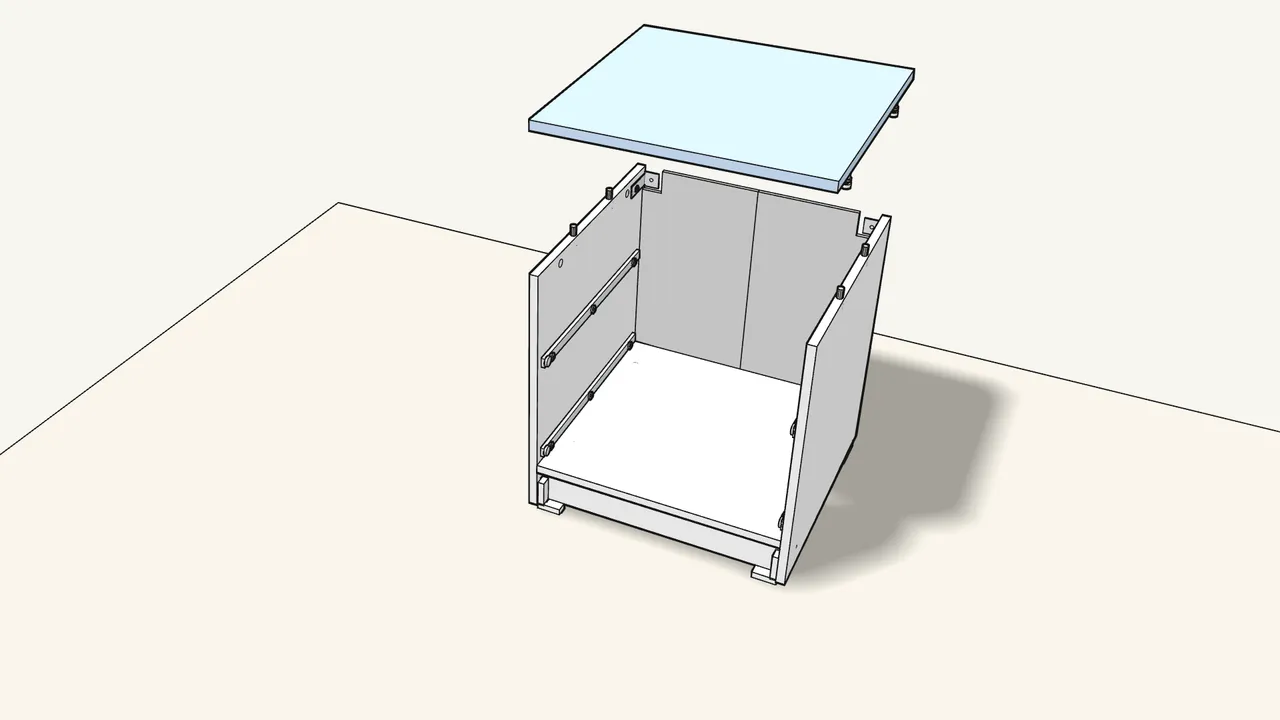
Step 12 · manual step 15–16
Screw 4 cam bolts (118331) into the top, then lower it on.
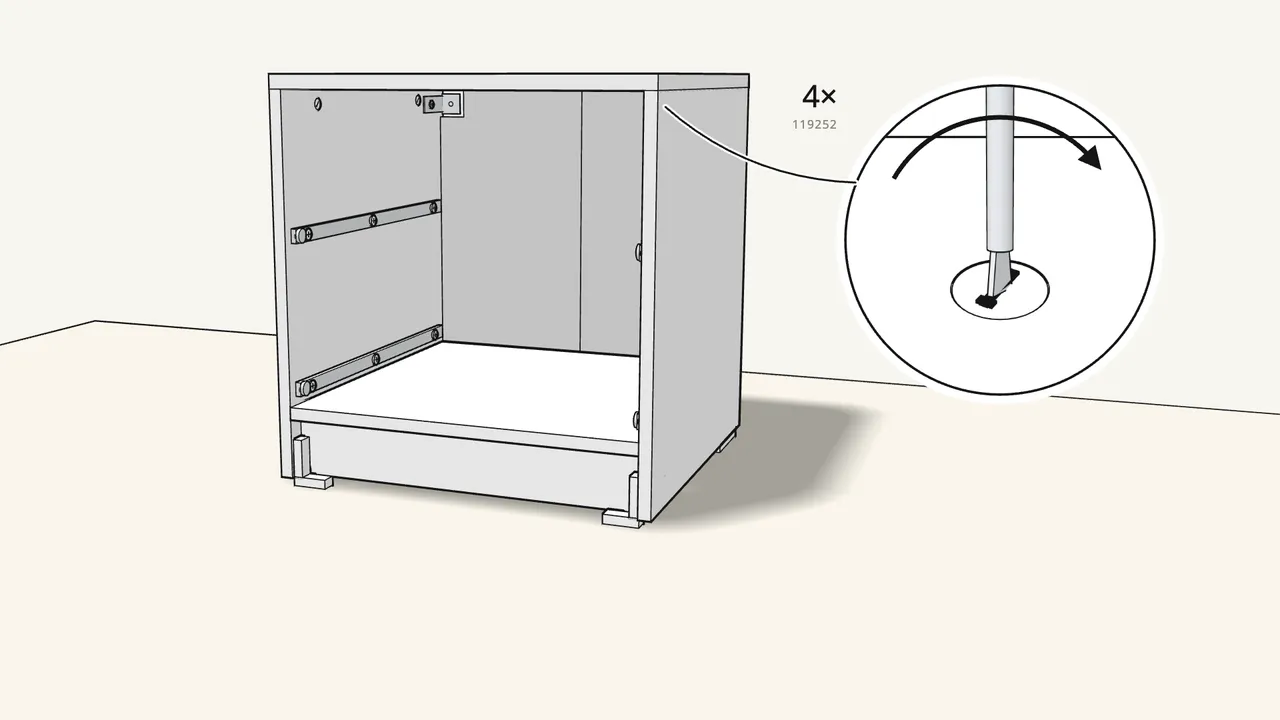
Step 13 · manual step 17
Lock the top with 4 cam locks (119252), turned clockwise.
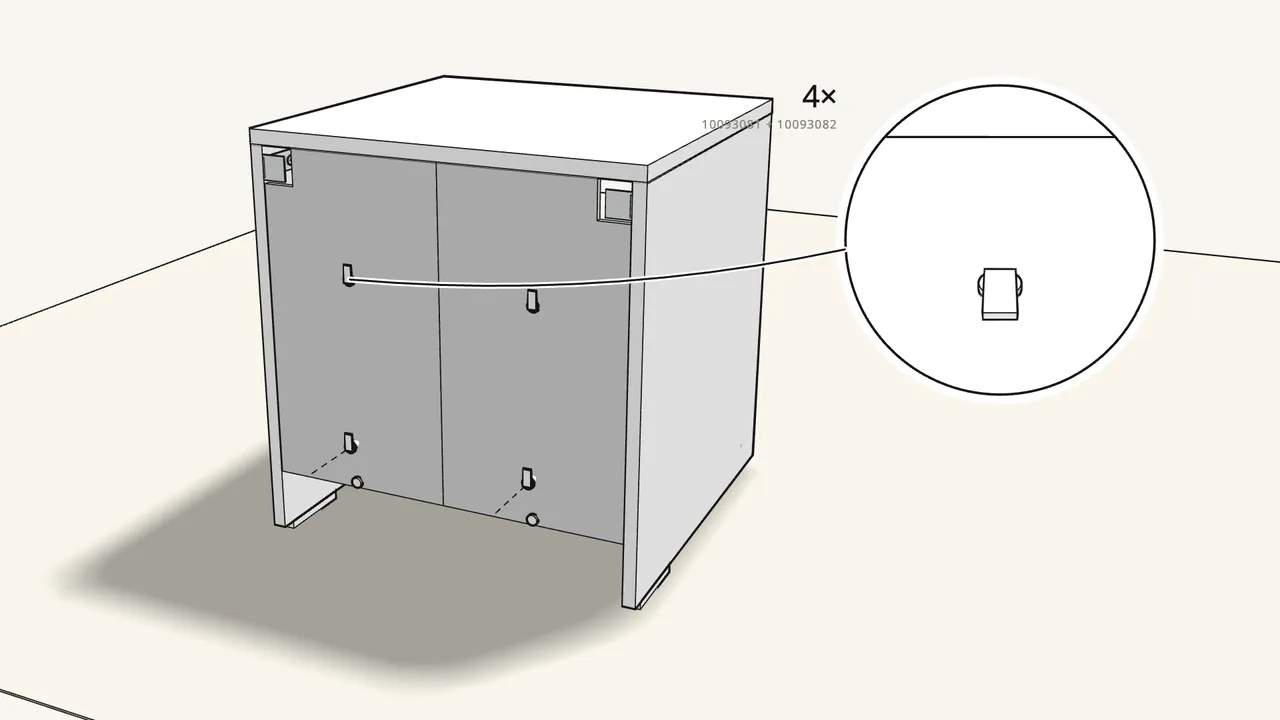
Step 14 · manual step 18
From the back, fit 4 clips to the back panel.
Push clip 10093081 in, then press insert 10093082 into it.
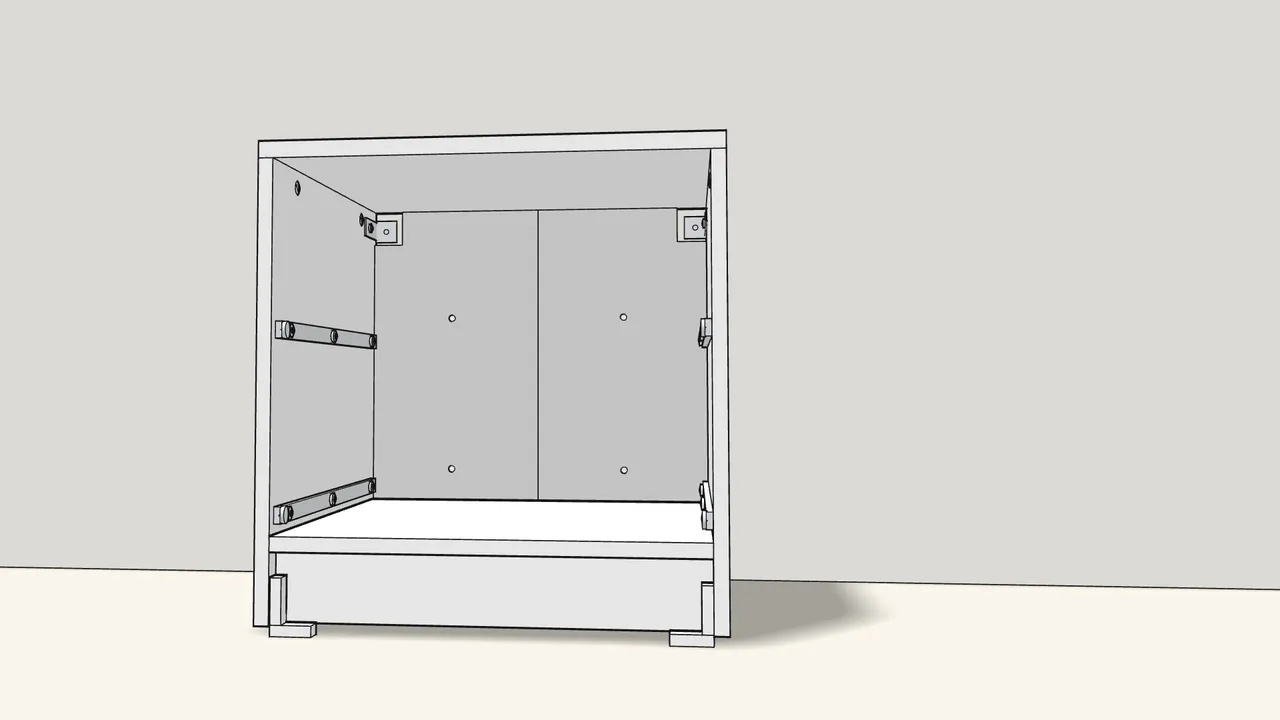
Step 15 · manual step 19
Place the chest against the wall and mark through both wall brackets.
Loosen, slide the bracket to the wall, re-tighten, then mark — see the manual, step 19.
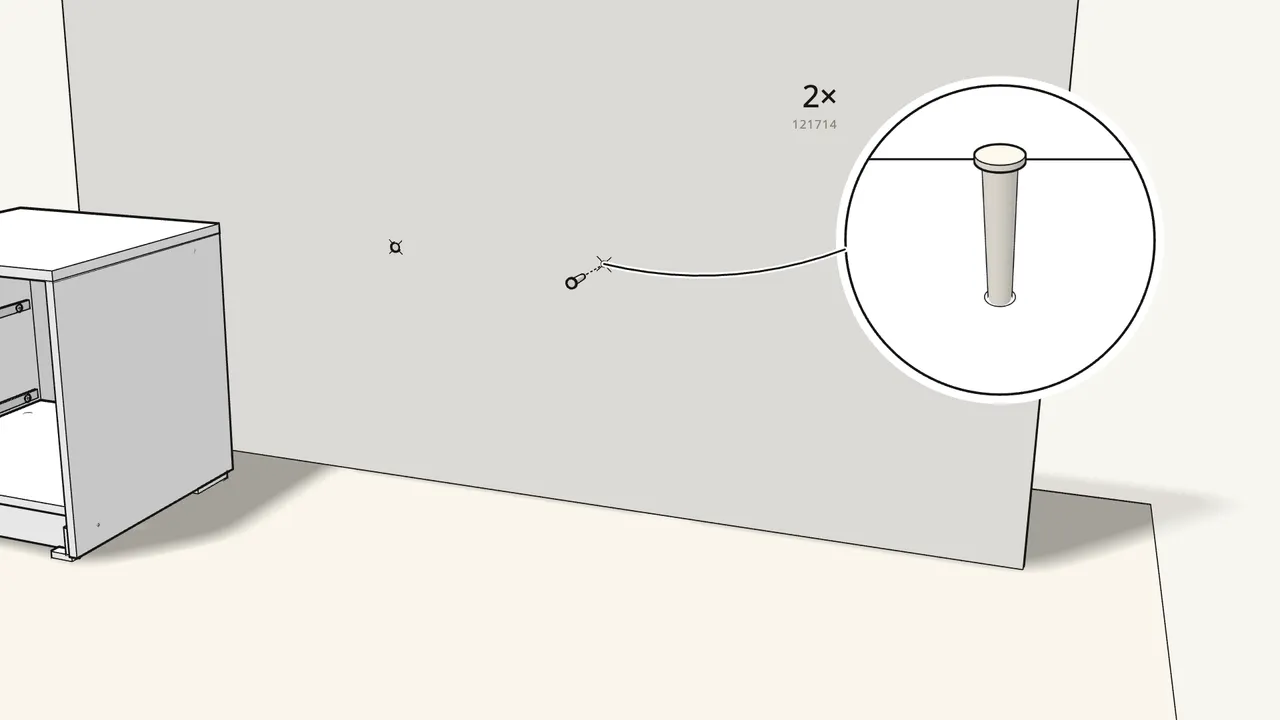
Step 16 · manual step 20–21
Move the chest away, drill and fit the plugs (121714).
The plugs suit most solid and hollow walls. For solid wood, use the screws without plugs.
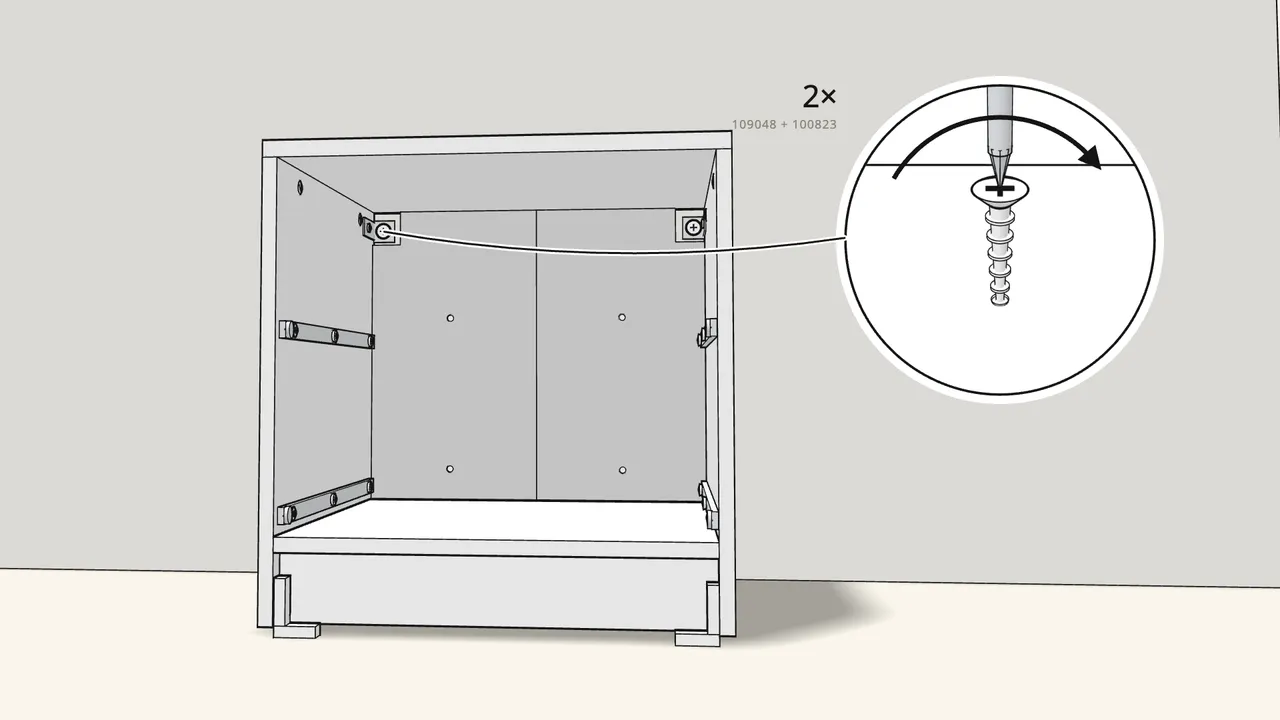
Step 17 · manual step 22
Push the chest back and screw both brackets to the wall.
2 screws (109048) with washers (100823), then tighten the bracket screws.
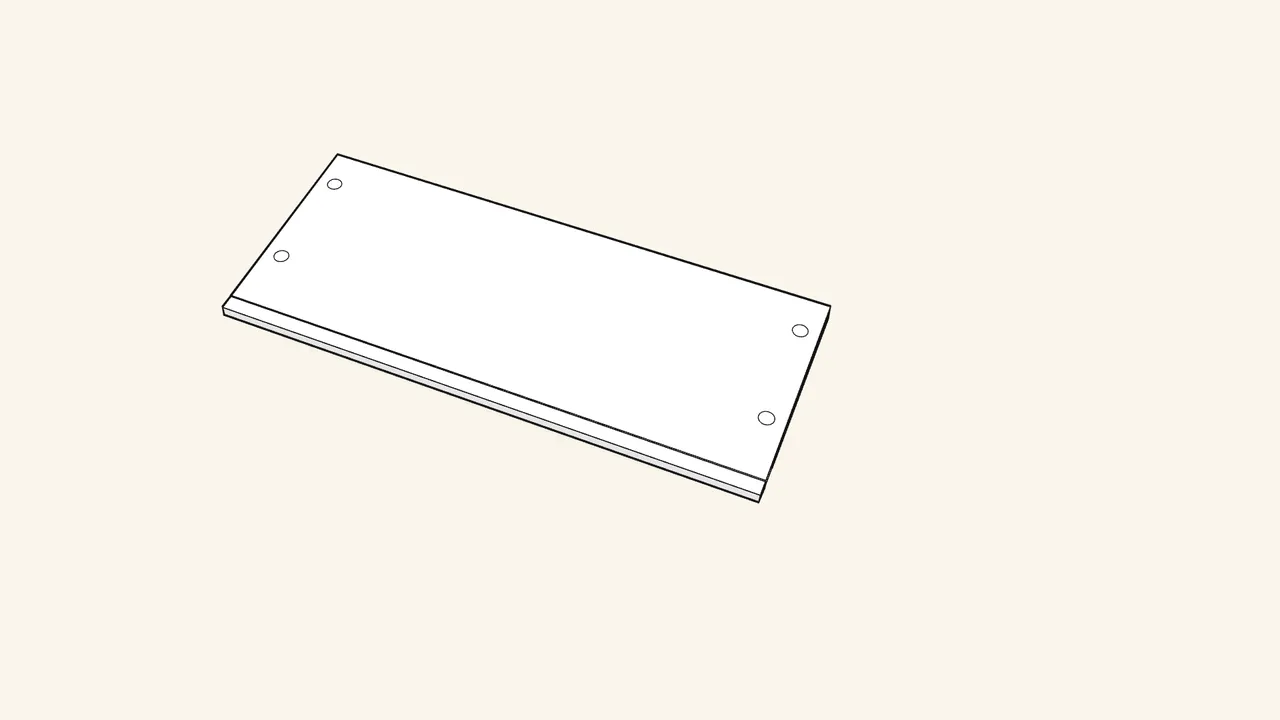
Step 18
Now the 2 drawers.
Both are built the same way — here is one, step by step.
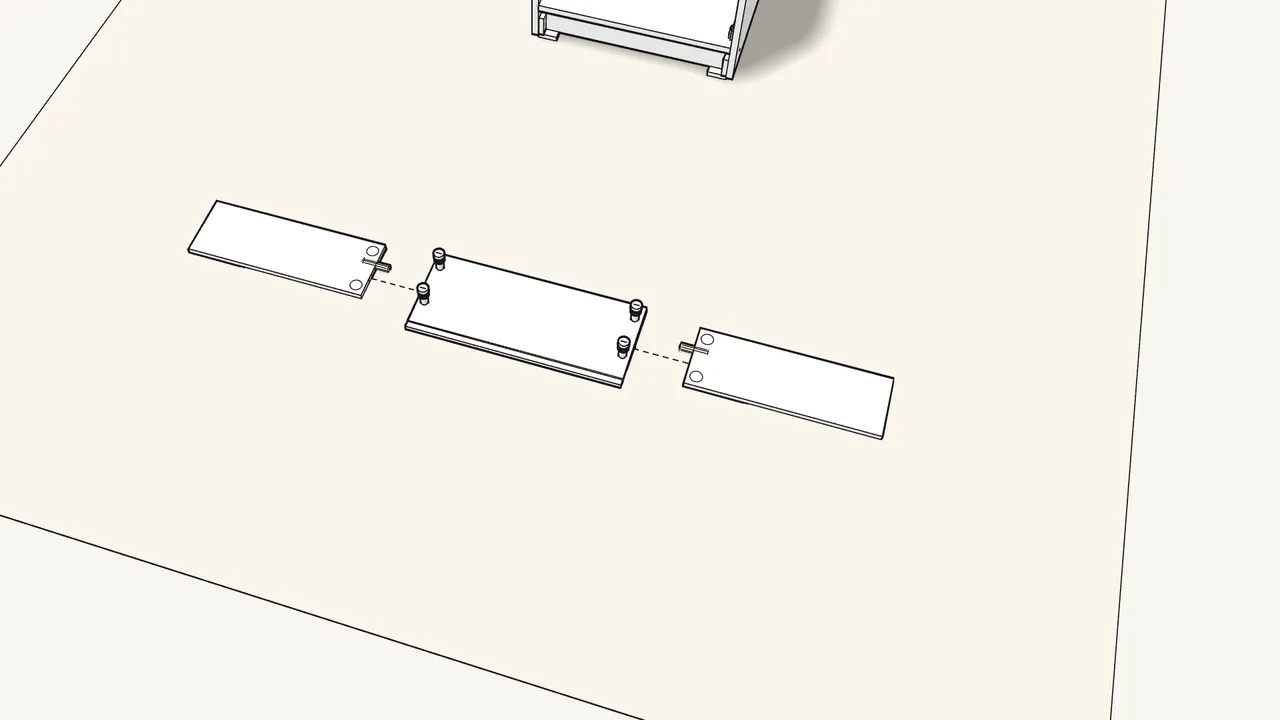
Step 19 · manual step 23–24
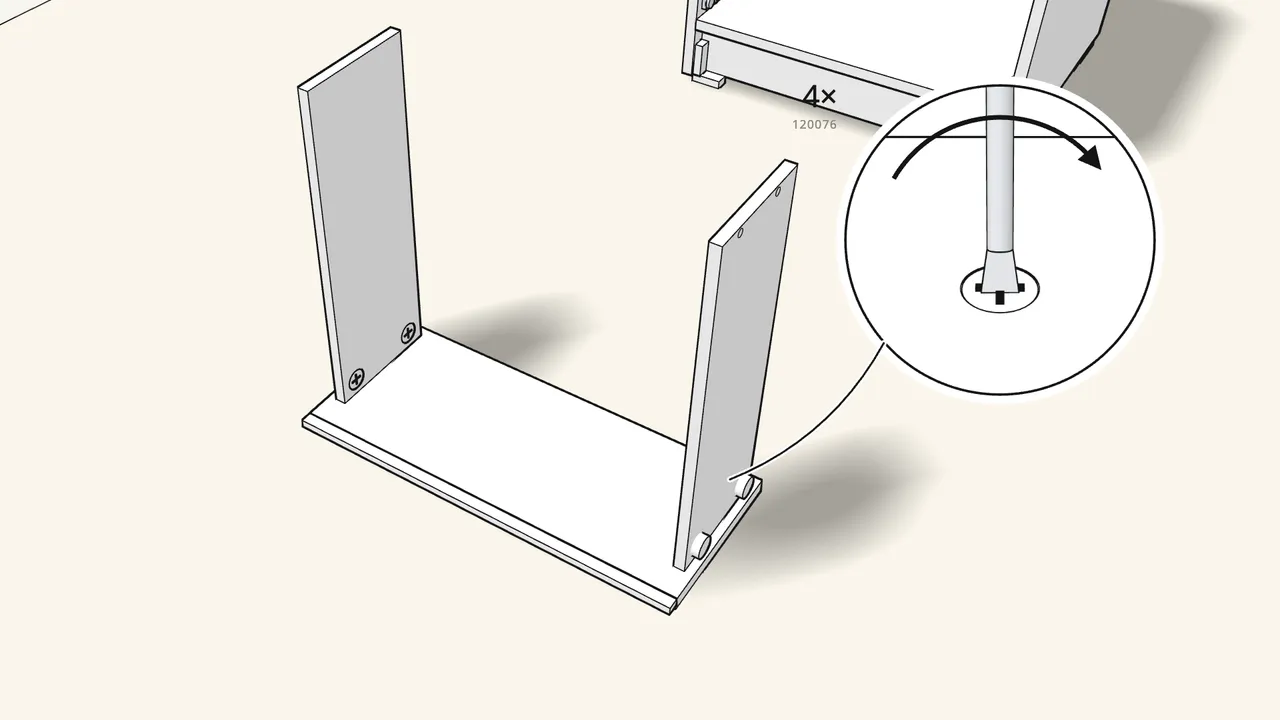
Lay the front face-down: 4 cam bolts in the front, 4 dowels in the sides.
Cam bolts 118331, dowels 101345.
Step 20 · manual step 25–26
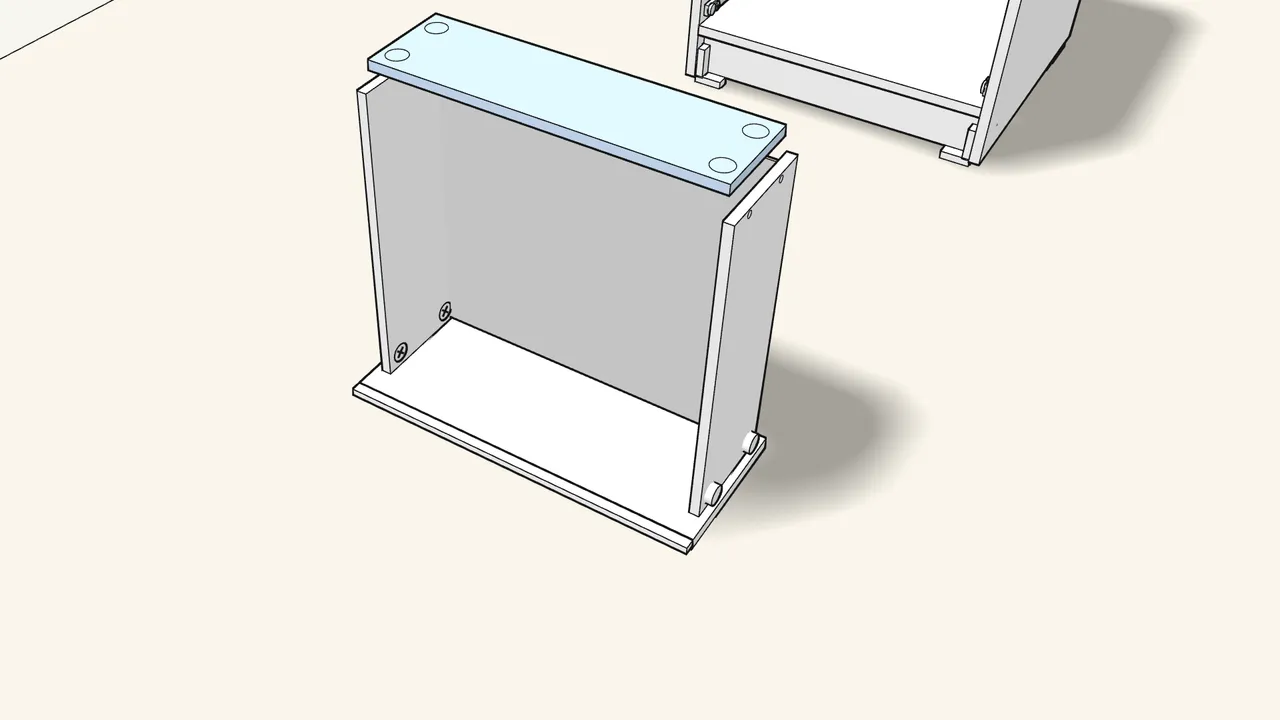
Stand the sides on the front and lock with 4 cam locks (120076).
Step 21 · manual step 27–28
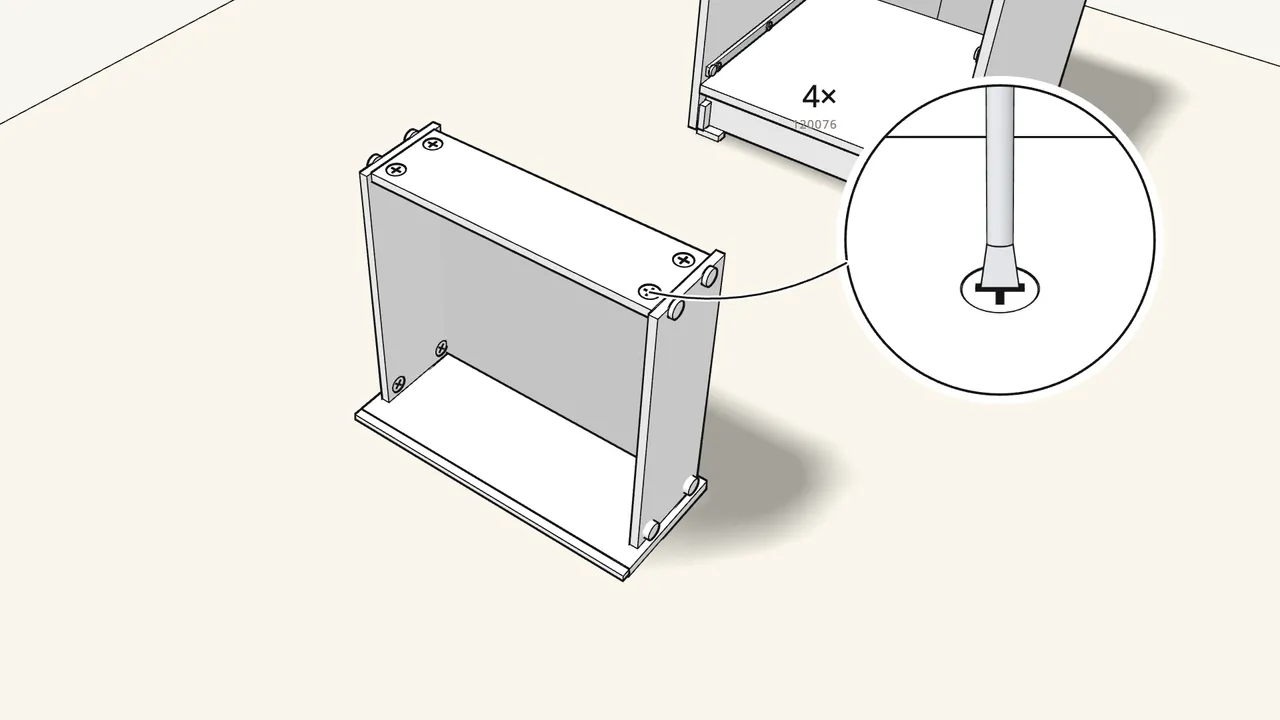
Slide the drawer bottom into the grooves, then put the back on.
Step 22 · manual step 29
Push in 4 pegs (145718) and lock 4 cam locks (120076).
Step 23 · manual step 30
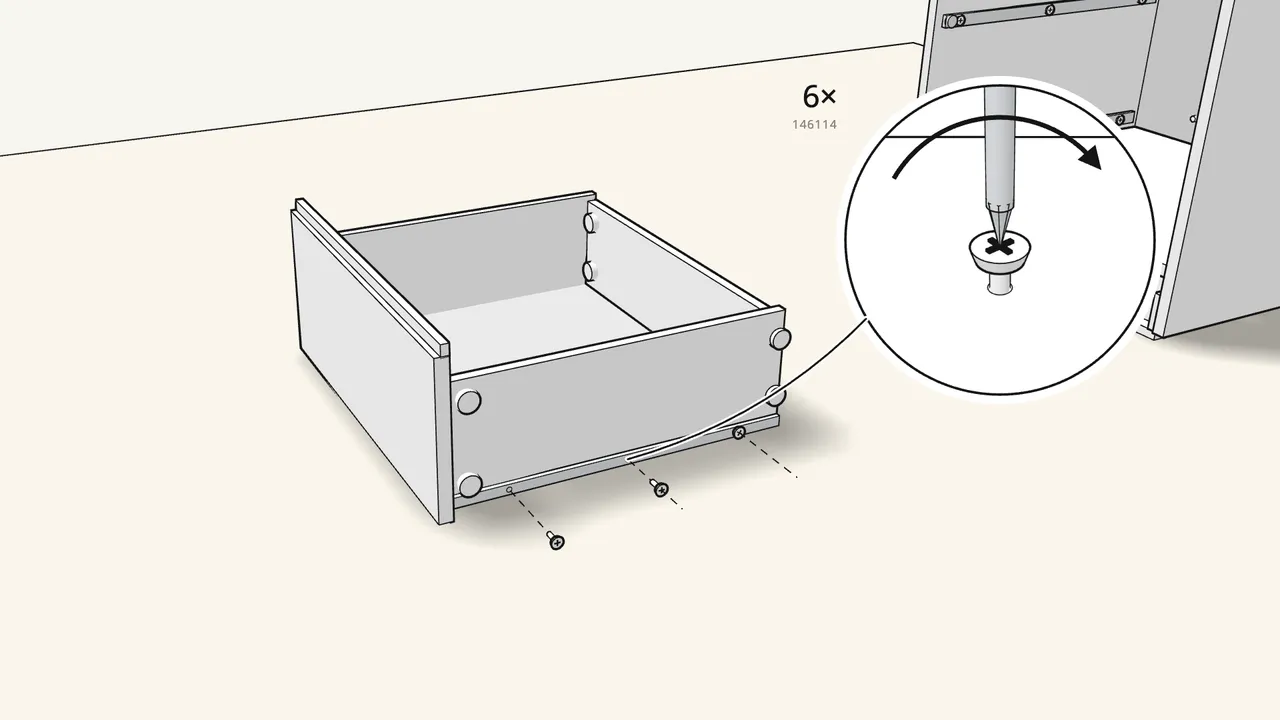
Turn the drawer over and screw on its runners — 6 screws (146114).
Match the drawer runners to the CL / CR runners in the frame.
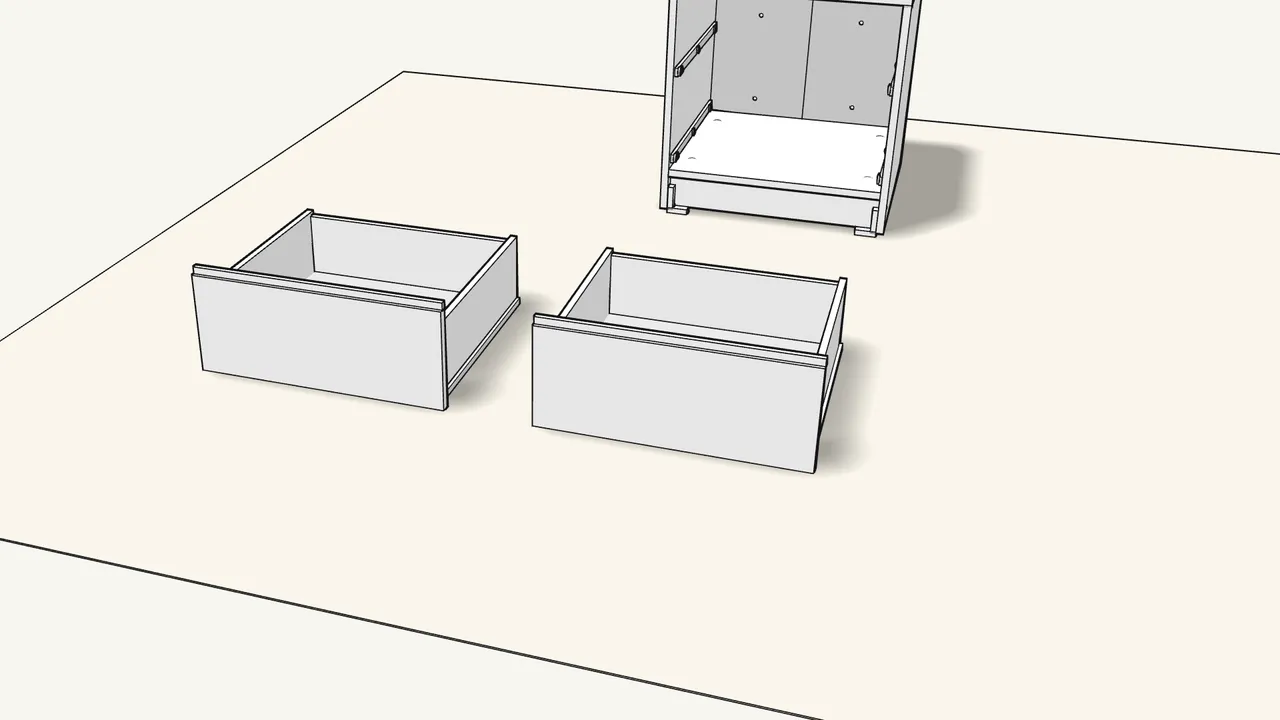
Step 24 · manual step 23–30
Build the second drawer the same way.
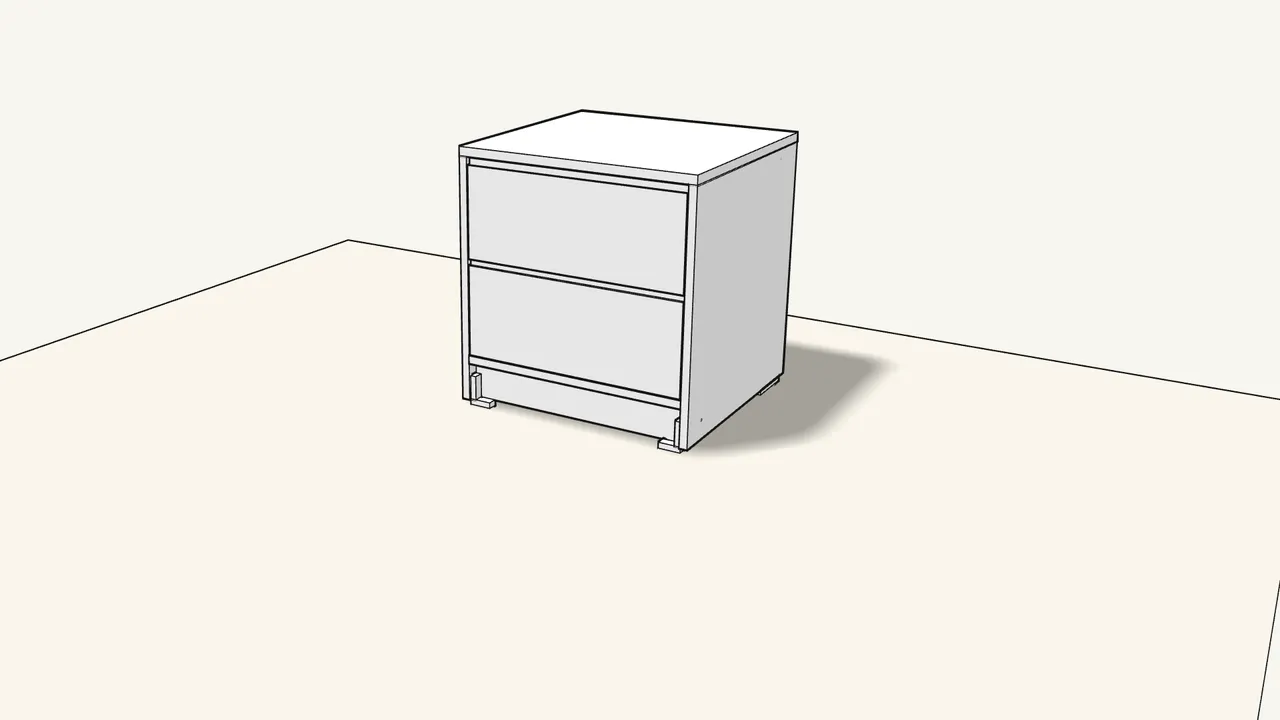
Step 25 · manual step 31
Slide the drawers onto the runners.
Open only one drawer at a time. Heaviest items in the lowest drawer.
Tips & safety
- Always fix the chest to the wall. Children have died from furniture tip-over. Use the wall fixing supplied. Never put a TV on this product.
- Open only one drawer at a time. Never let children climb, stand or hang on the drawers. Put the heaviest items in the lowest drawer.
Official instructions
This guide follows IKEA’s official assembly instructions (AA-2413748-4). Keep the printed manual to hand — if anything differs, the manual is right.