IKEA · Dressers & Drawer Units
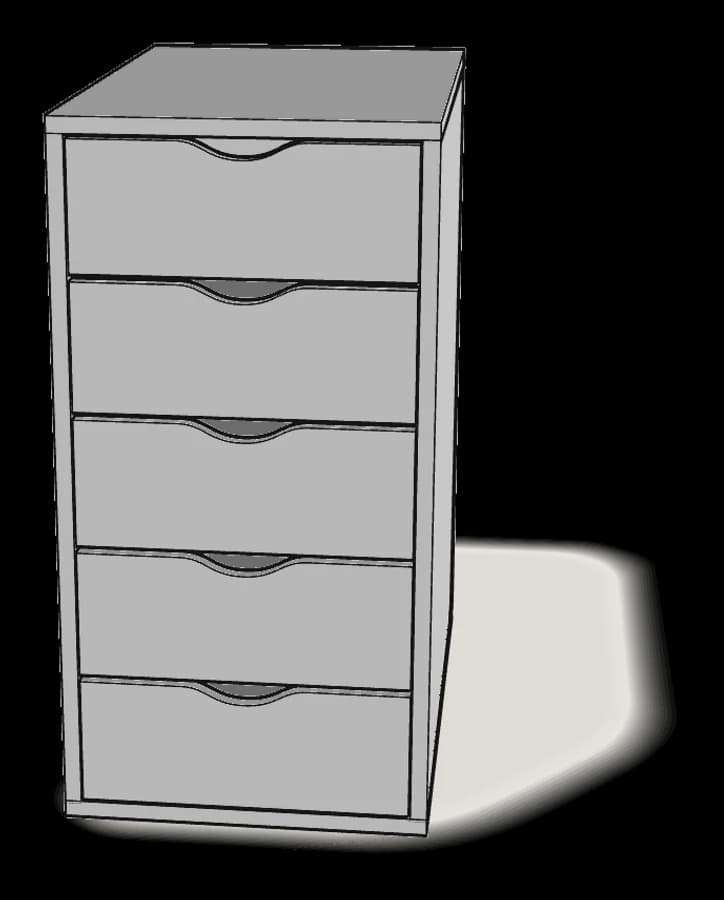
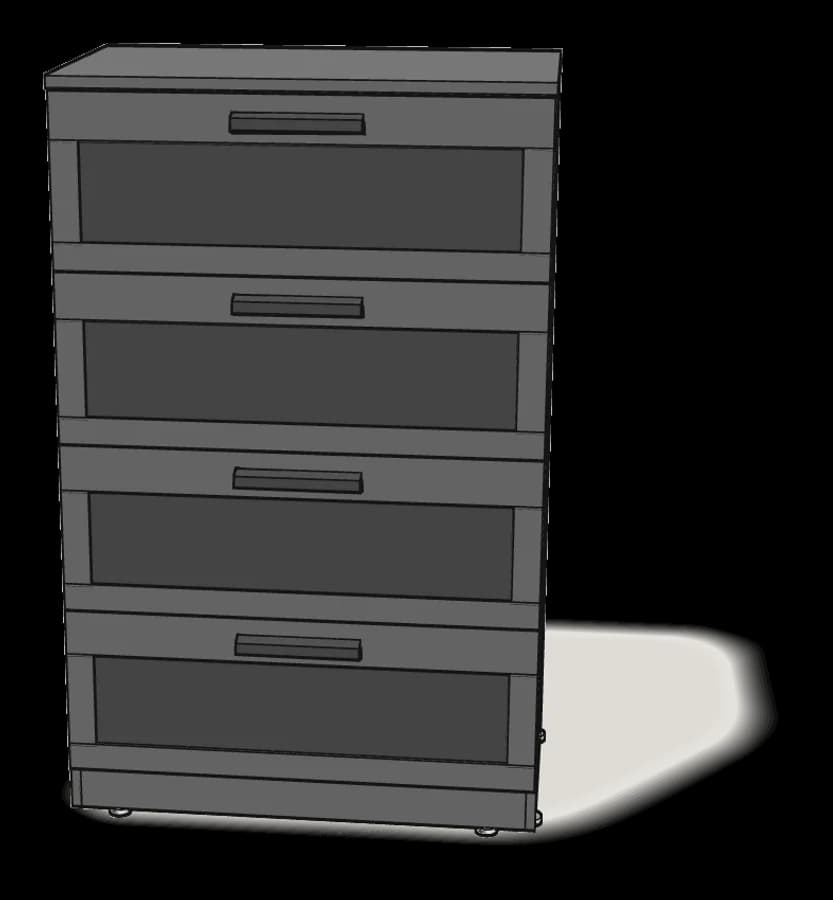
How to Assemble IKEA BRIMNES 4-Drawer Dresser
Step-by-step IKEA BRIMNES 4-drawer dresser assembly: 23 illustrated steps, an animated video, the hardware list and the tools you need — following the official instructions (AA-2408374-6).
- 23 illustrated steps
- 37 steps in the manual
- 3:20 video
- 78×46×124 cm
What you need
Tools
- Flat-head screwdriver
- Phillips screwdriver
- Hammer
- Drill (for wall fixing)
Hardware in the box
| Part no. (as printed in the manual) | Qty |
|---|---|
| 118331 | 28× |
| 119030 | 28× |
| 101345 | 40× |
| 146114 | 40× |
| 155669 | 10× |
| 110519 | 16× |
| 105344 | 8× |
| 109567 | 10× |
| 153548 | 6× |
| 107091 | 4× |
| 10038685 | 2× |
| 106989 | 2× |
| 109049 | 2× |
| 100823 | 4× |
| 10087223 | 2× |
Step-by-step assembly
Step 1
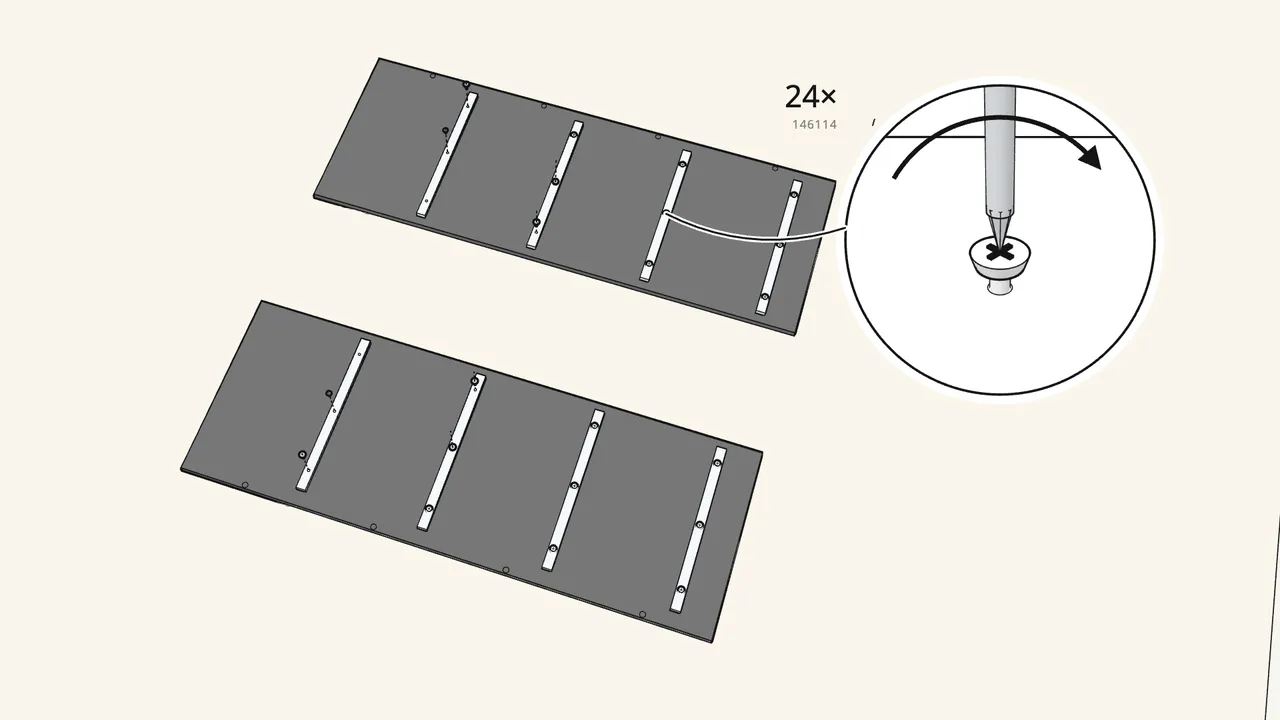
Screw 4 runners onto each side panel — 12 screws (146114) per side.
The runners are marked IKEA CR and IKEA CL — see the manual, step 1.
Step 2 · manual step 2–3
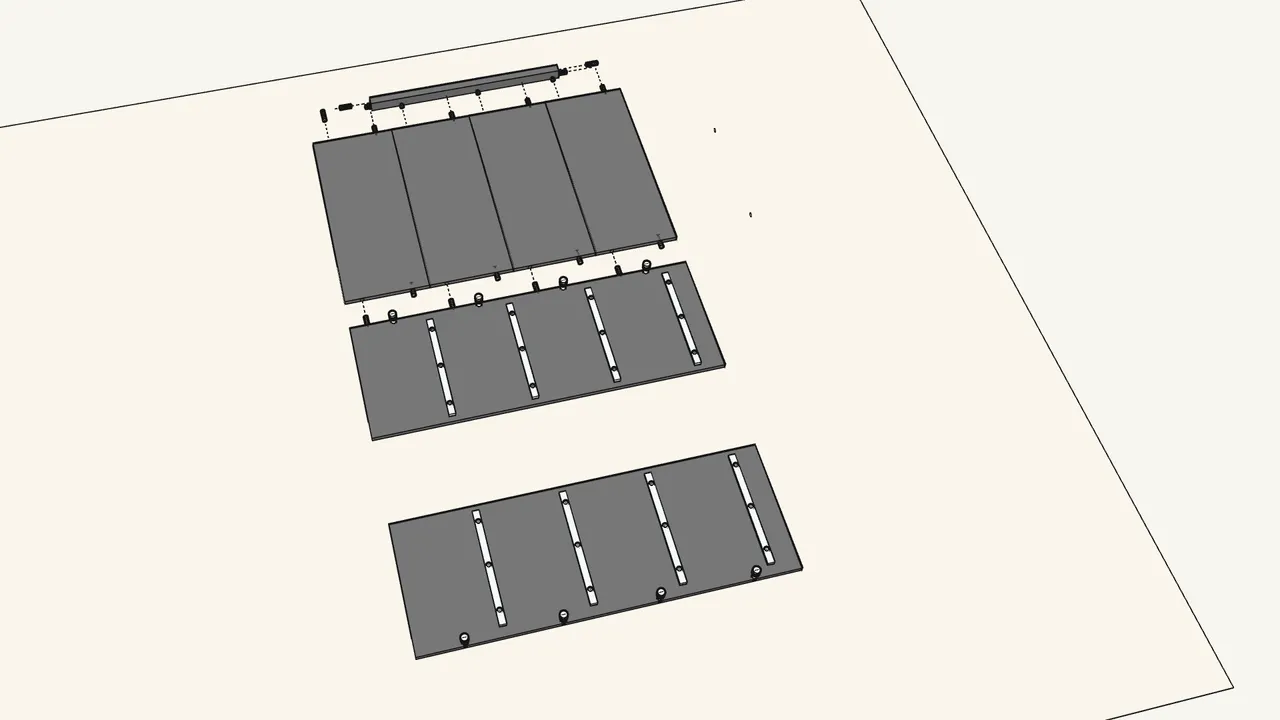
Screw 8 cam bolts (118331) into the sides. Push 20 dowels into the rail and back panels.
4 cam bolts per side. 4 dowels in each back panel, 4 in the rail.
Step 3 · manual step 4–5
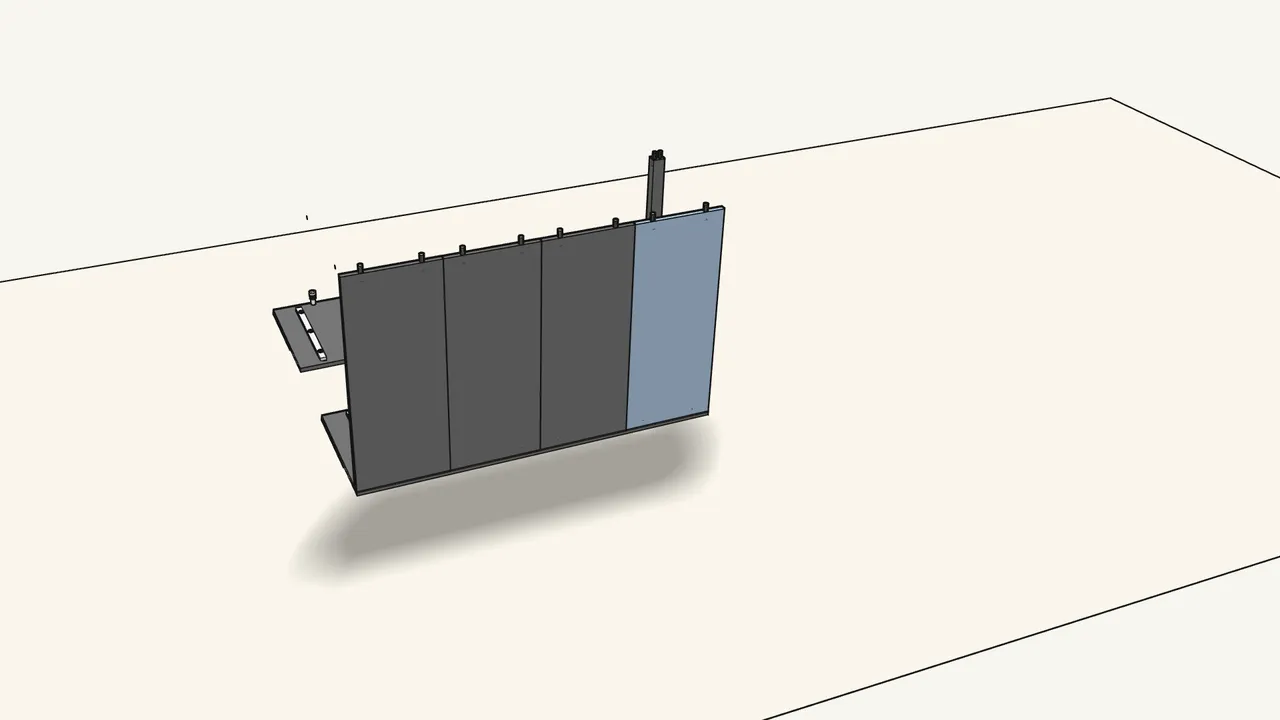
Push the rail and the 4 back panels into the lying side panel.
The rail goes at the top front corner; the back panels along the back edge.
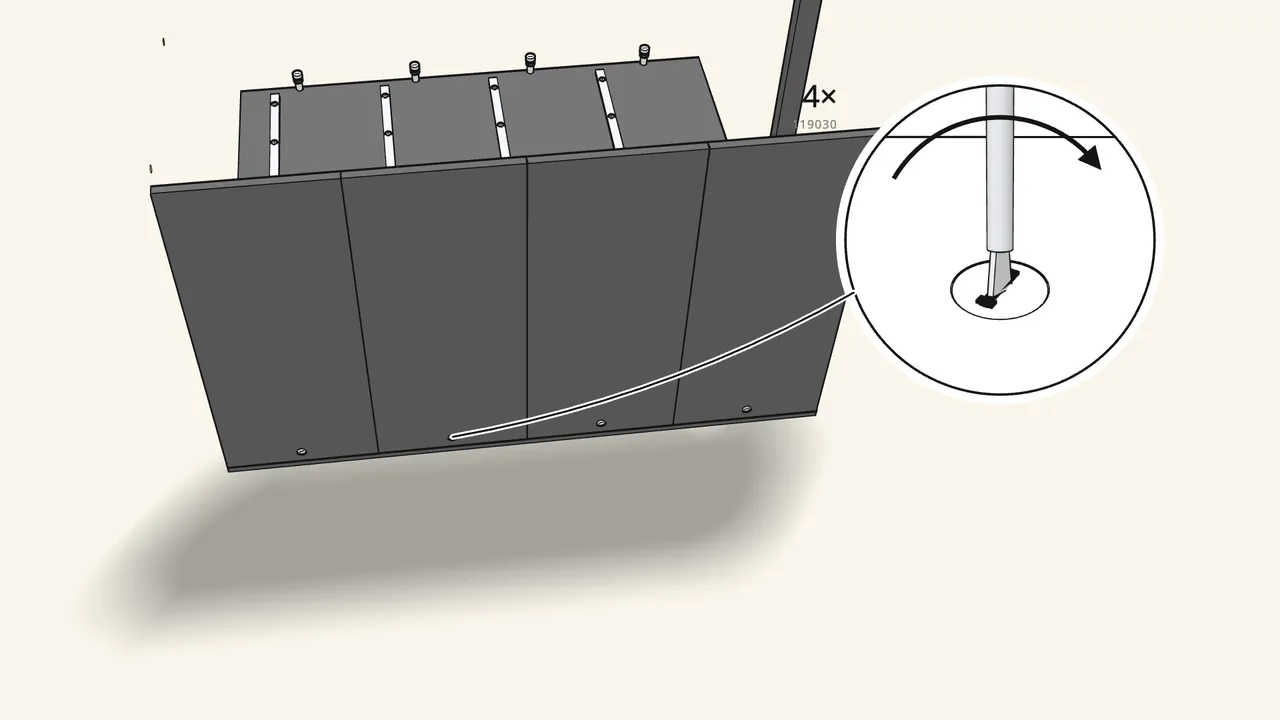
Step 4 · manual step 6
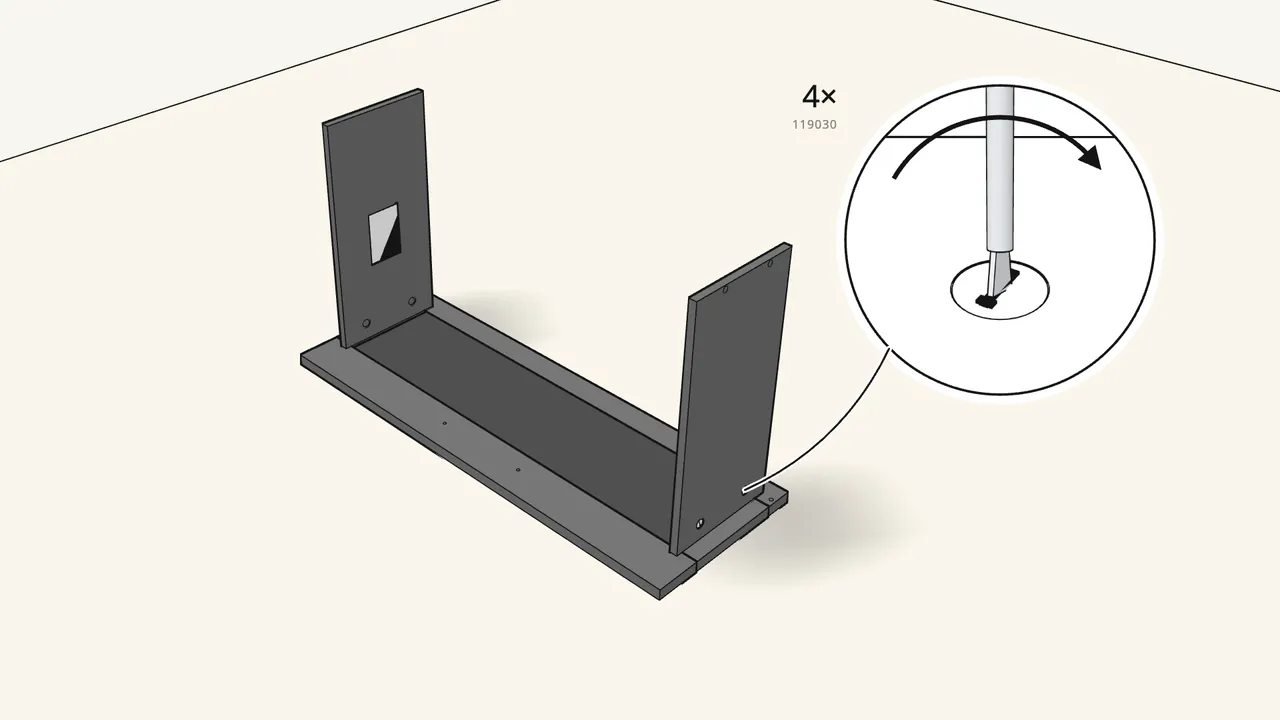
Insert 4 cam locks (119030) in the back panels and turn them clockwise.
Use a flat-head screwdriver.
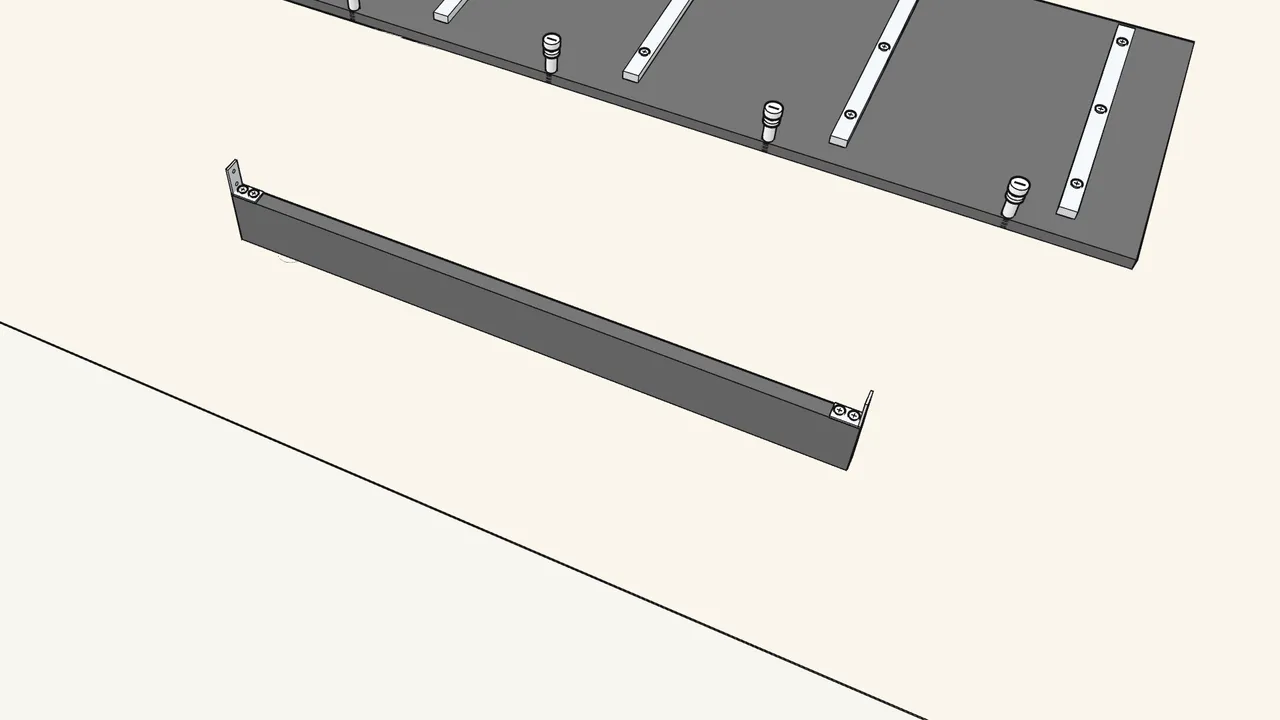
Step 5 · manual step 7–8
Screw a corner bracket to each end of the plinth. Press 2 feet underneath.
Brackets 10038685 with 4 screws (155669). Feet 153548.
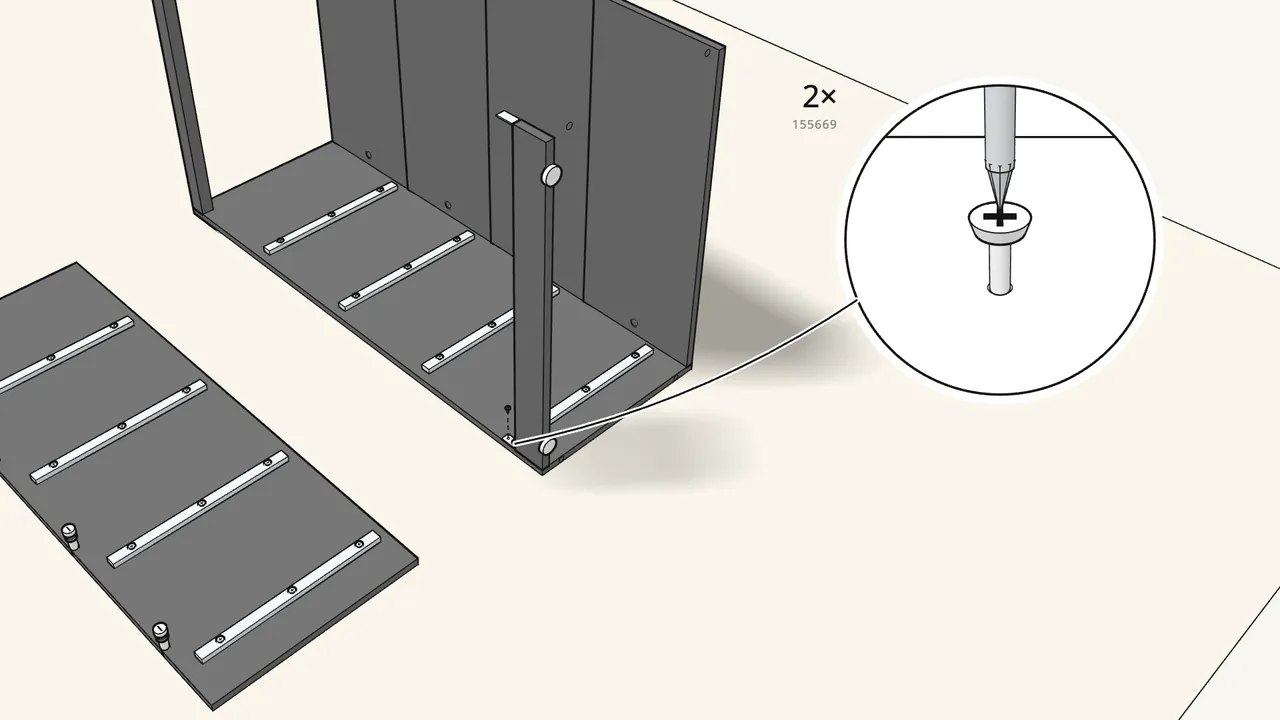
Step 6 · manual step 9
Fit the plinth to the bottom front corner. Fix it with 2 screws (155669).
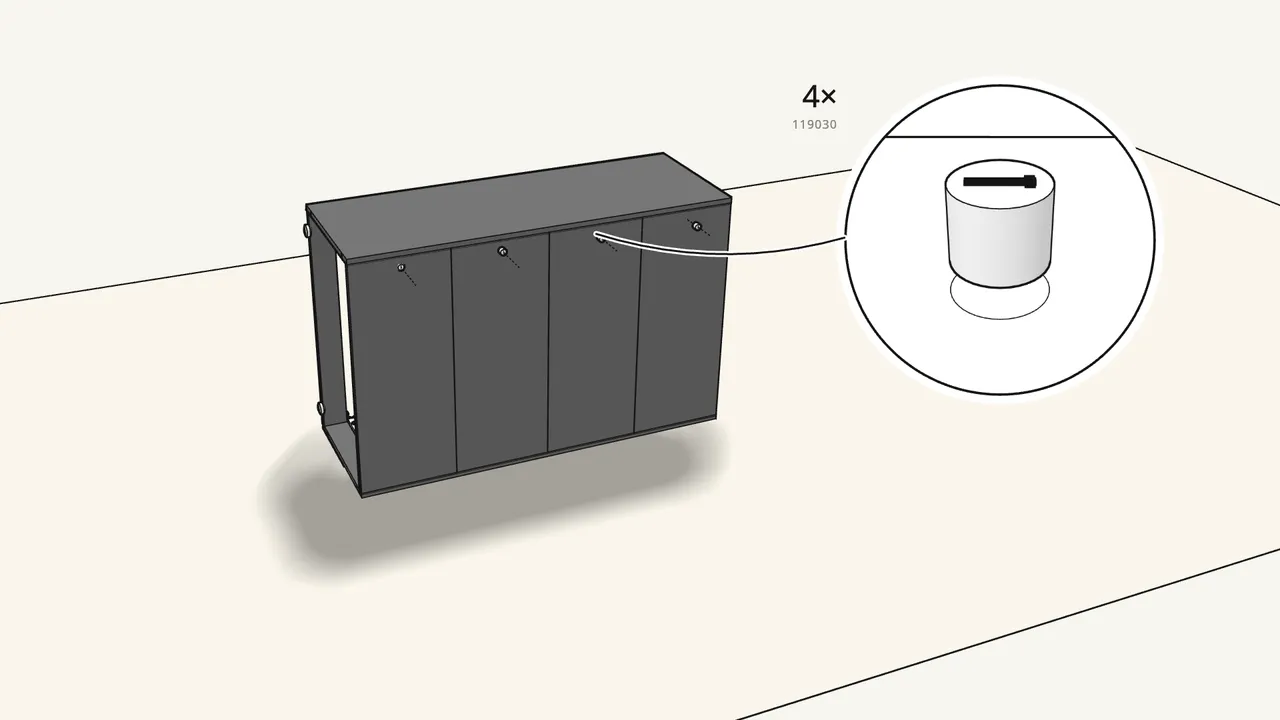
Step 7 · manual step 10–11
Lay the second side panel on top. Lock 4 more cam locks in the back.
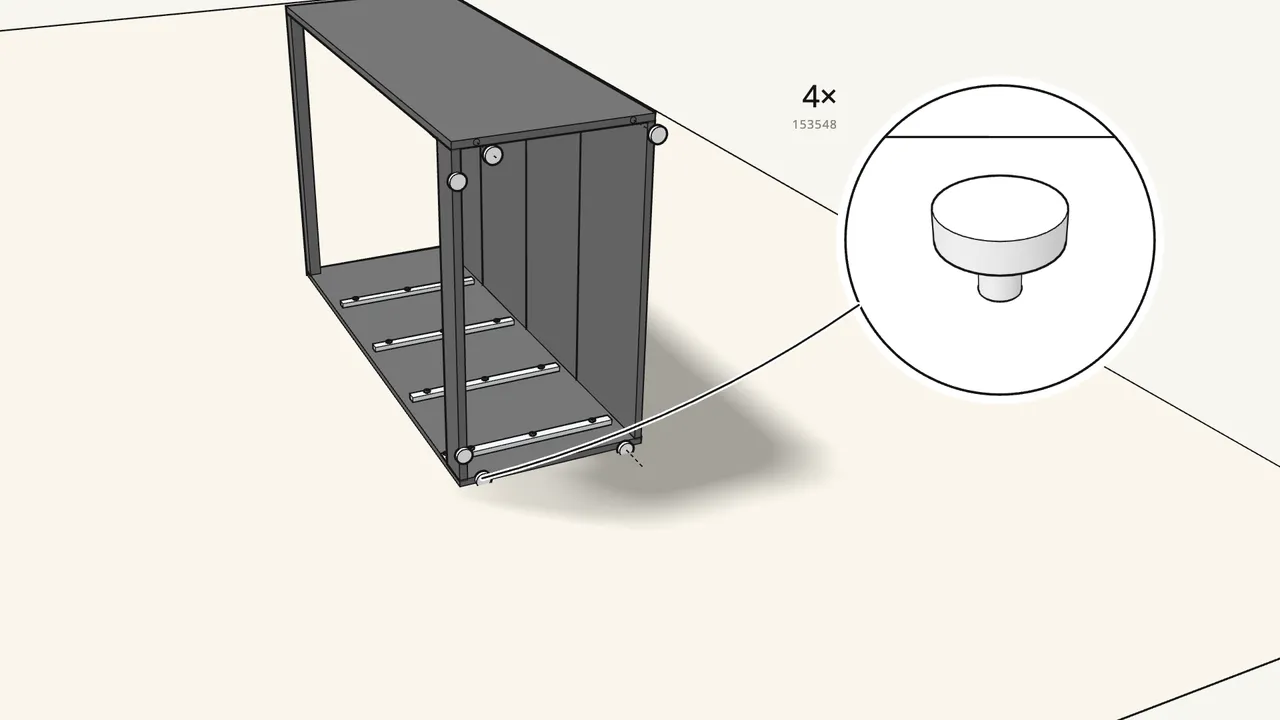
Step 8 · manual step 12–13
Screw the plinth bracket to this side (2 × 155669). Press 4 feet into the sides.
Feet 153548, two under each side panel.
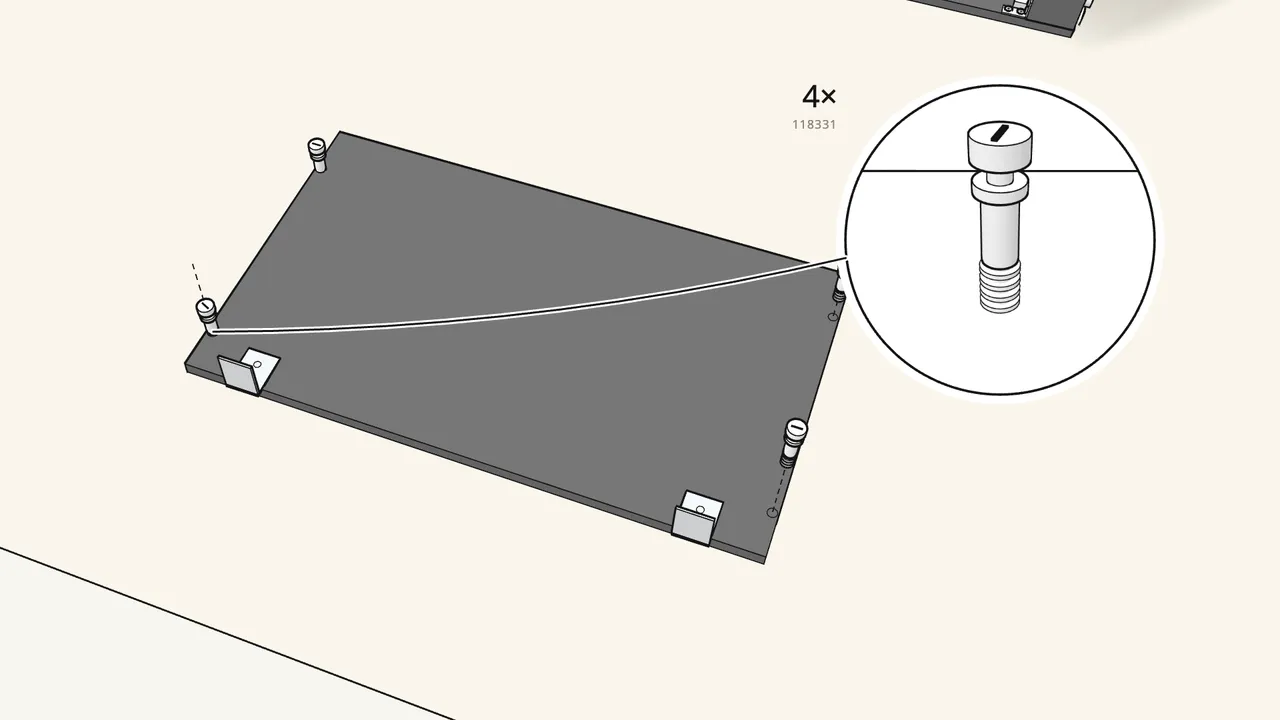
Step 9 · manual step 14–15
Top panel, upside down: fit the 2 wall brackets and 4 cam bolts.
Brackets 106989 with screws 109049 and washers 100823, at the back edge.
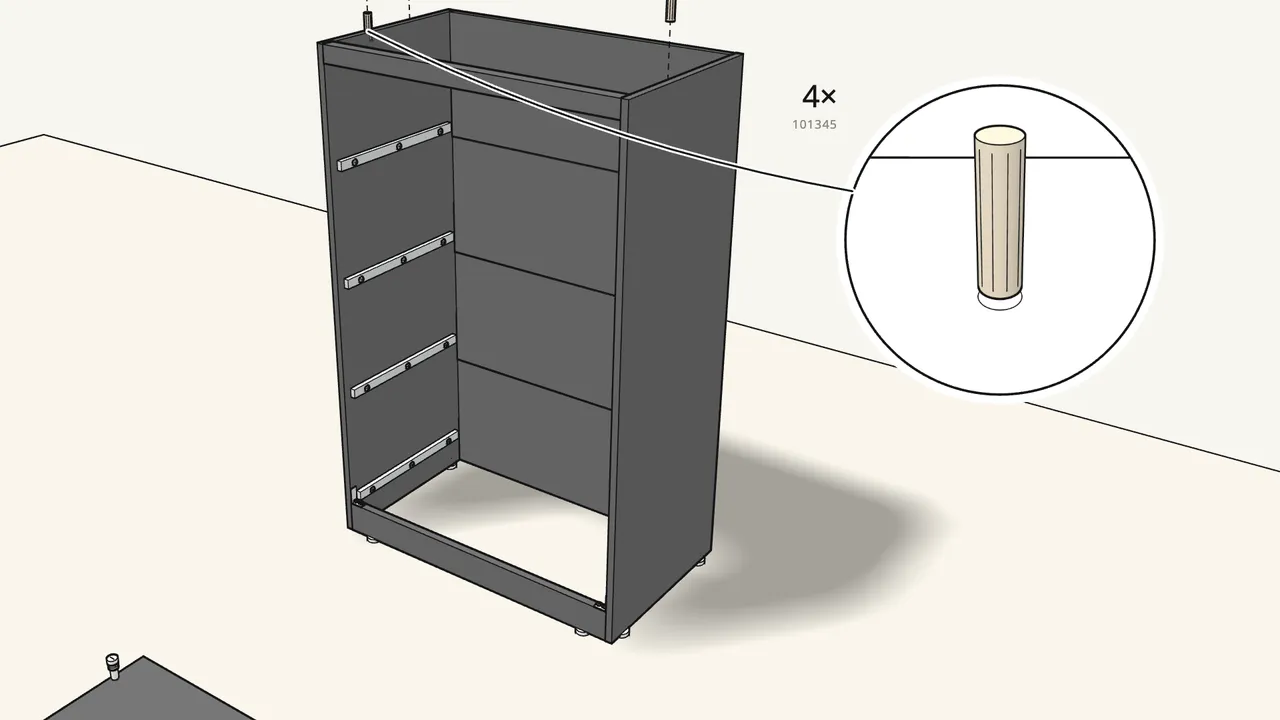
Step 10 · manual step 16
Stand the frame upright. Push 4 dowels into the top edges of the sides.
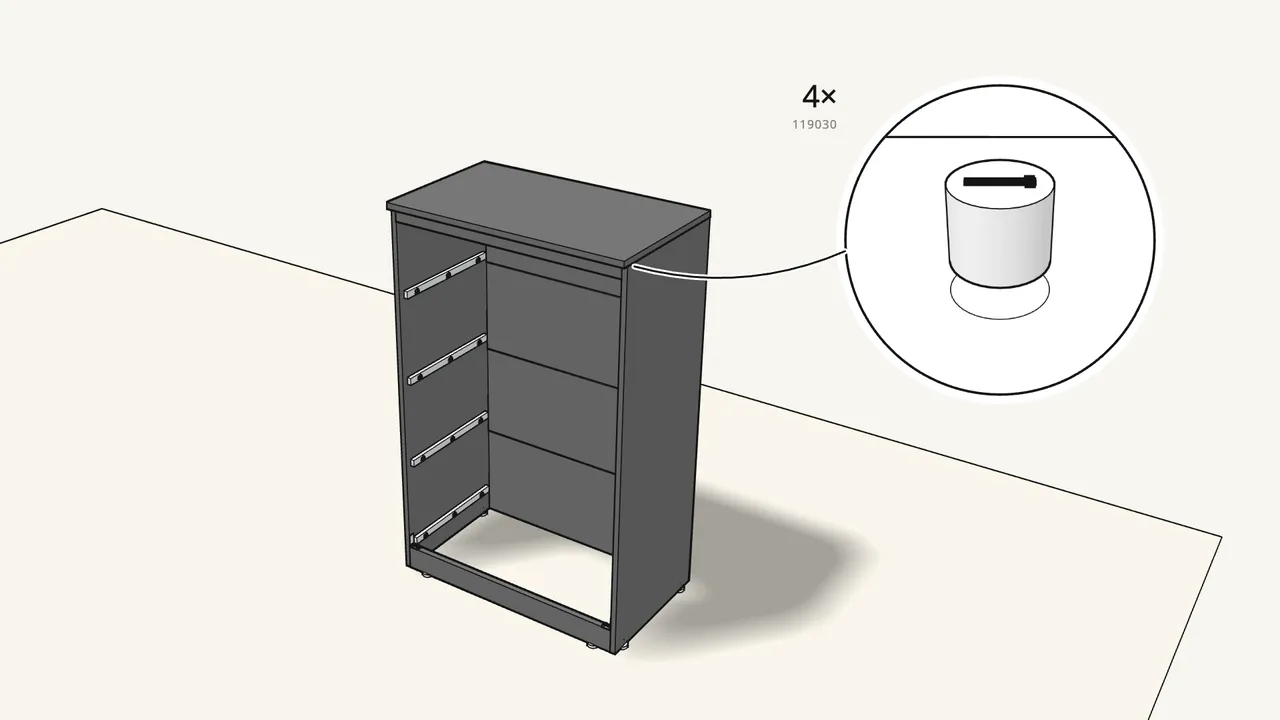
Step 11 · manual step 17–18
Lower the top on and lock it with 4 cam locks (119030).
The wall brackets go at the back.
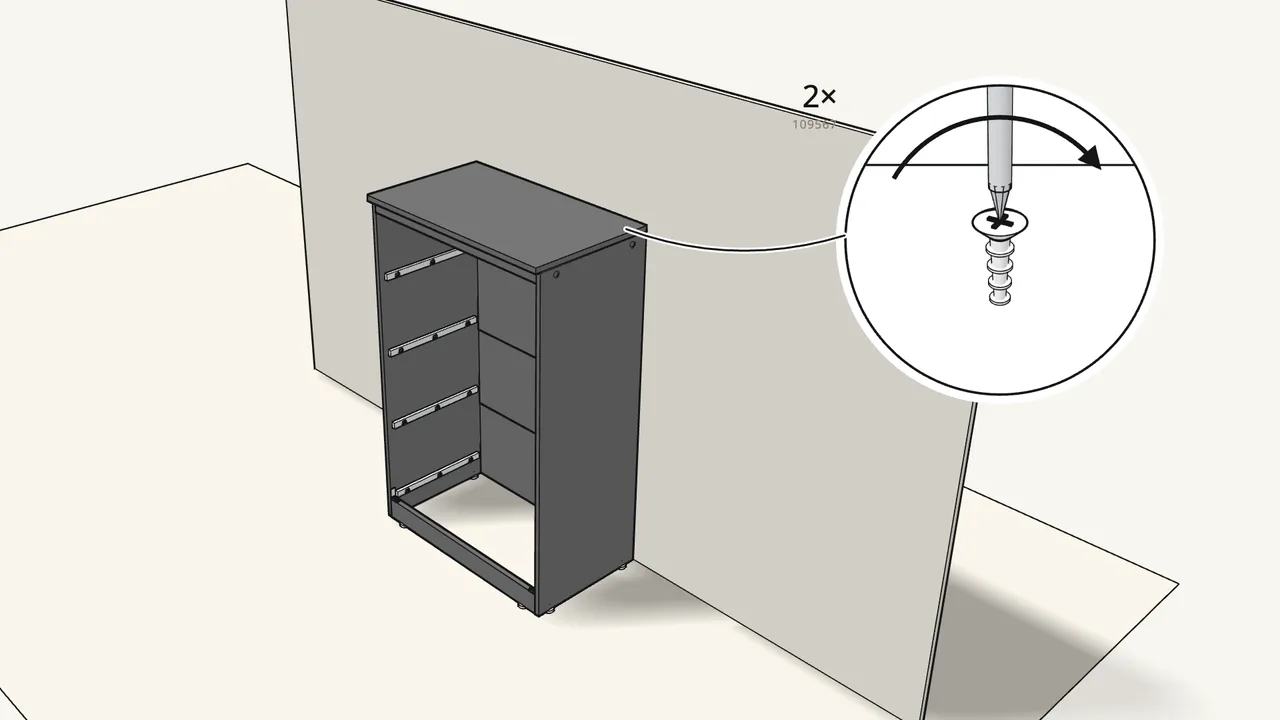
Step 12 · manual step 19–22
Push the dresser against the wall and fix both brackets to it.
Screws 109567 with washers 100823. The plugs suit most walls — in solid wood use screws only (Ø 1/8" hole).
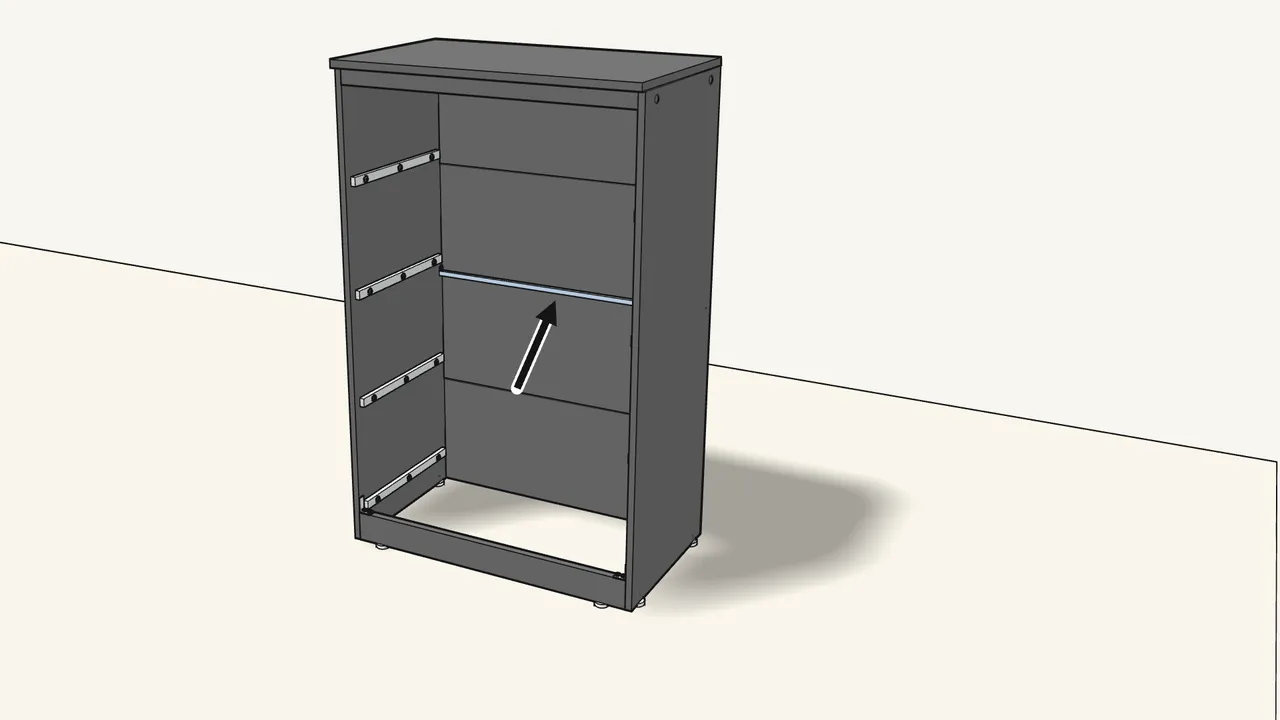
Step 13 · manual step 23
Screw 2 screws (155669) into the sides and hook on the metal back stay.
Stay 123770, halfway up at the back — see the manual, step 23.
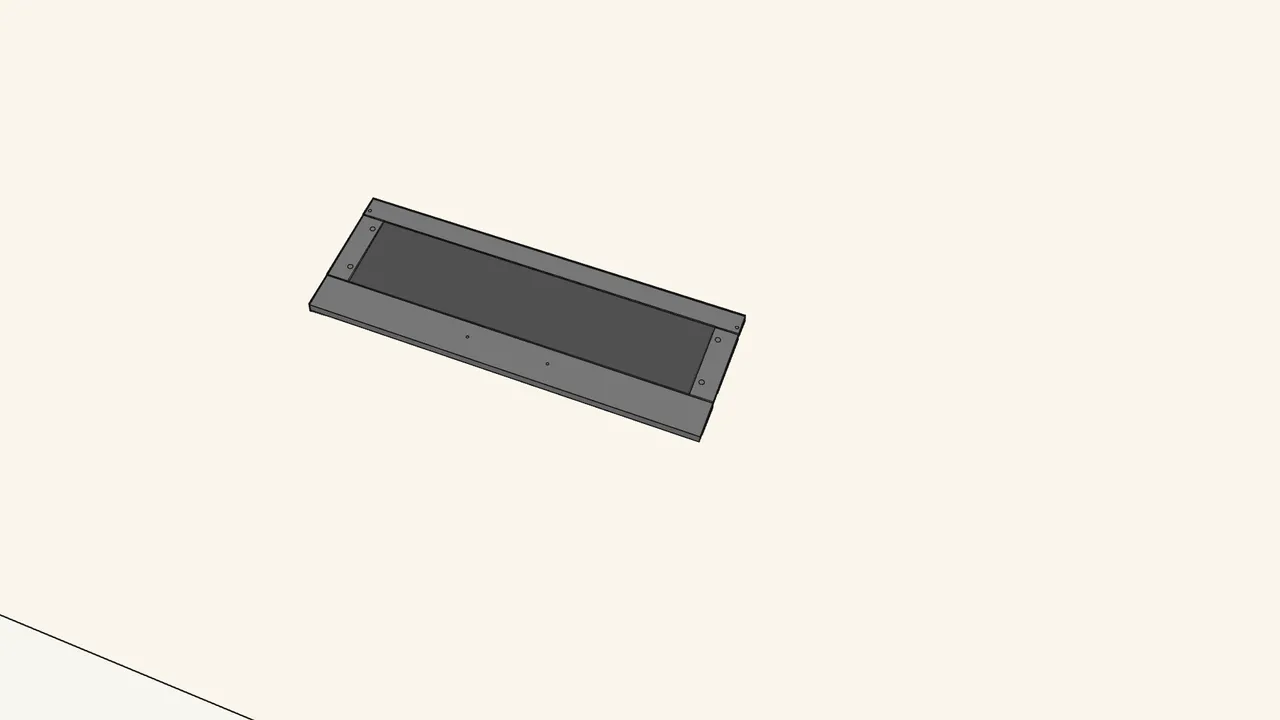
Step 14
Now the 4 drawers.
They’re built the same way. We’ll build the one with the warning label — it goes at the top.
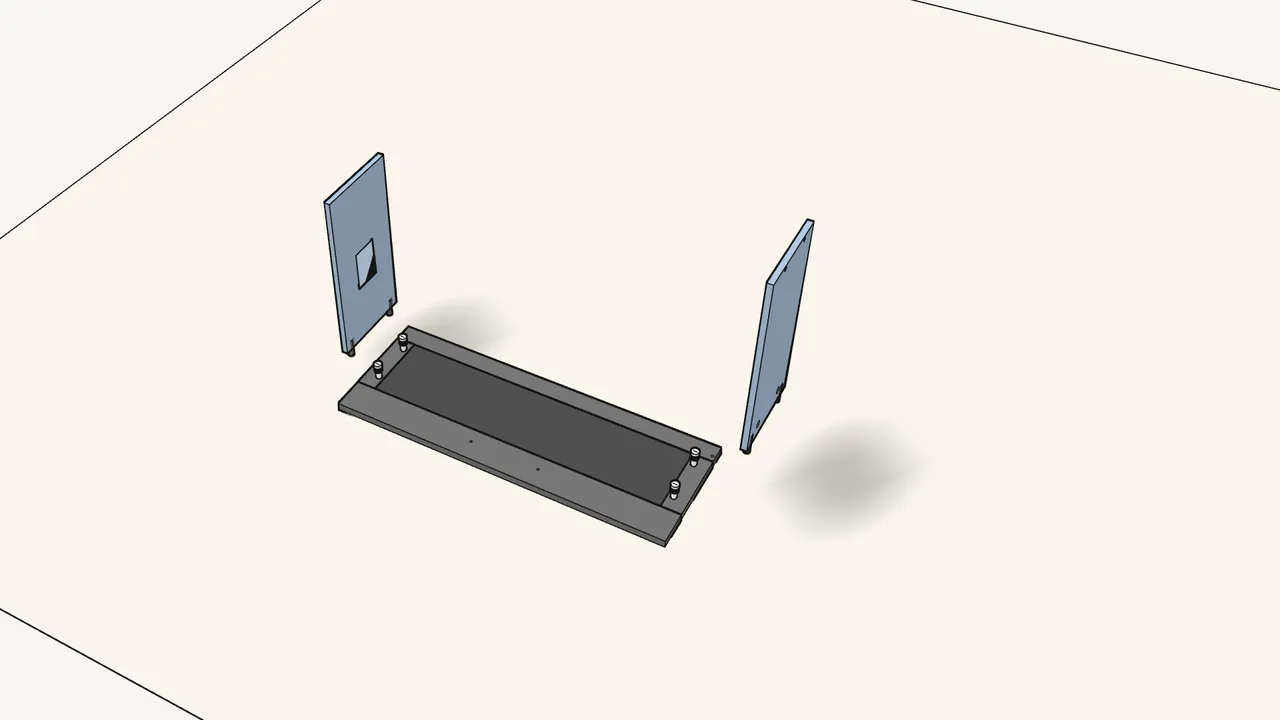
Step 15 · manual step 24–25
Screw 4 cam bolts into the front. Push 4 dowels into the sides and fit them.
Cam bolts 118331, dowels 101345. The side with the warning label: see the manual, step 25.
Step 16 · manual step 26
Insert 4 cam locks (119030) and turn them to lock.
Step 17 · manual step 27–29
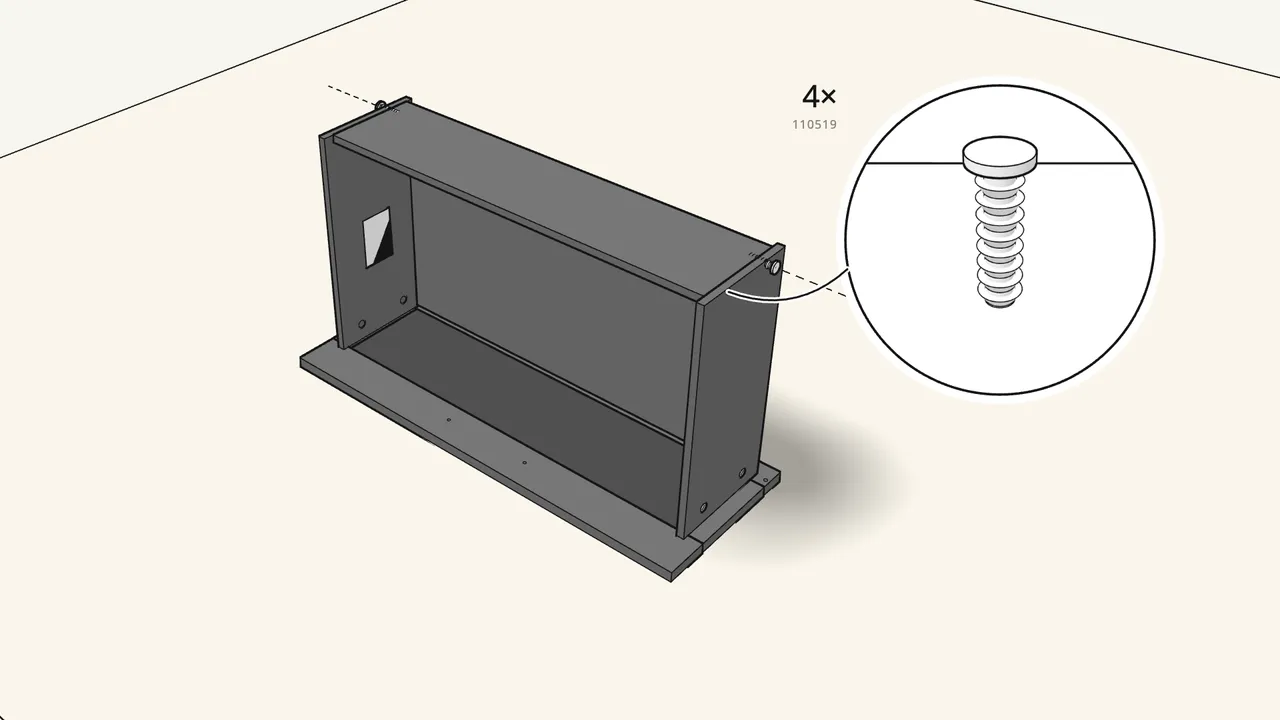
Slide the bottom into the grooves, lay the back on and tap in 4 screw-dowels.
Screw-dowels 110519, with the hammer.
Step 18 · manual step 30–32
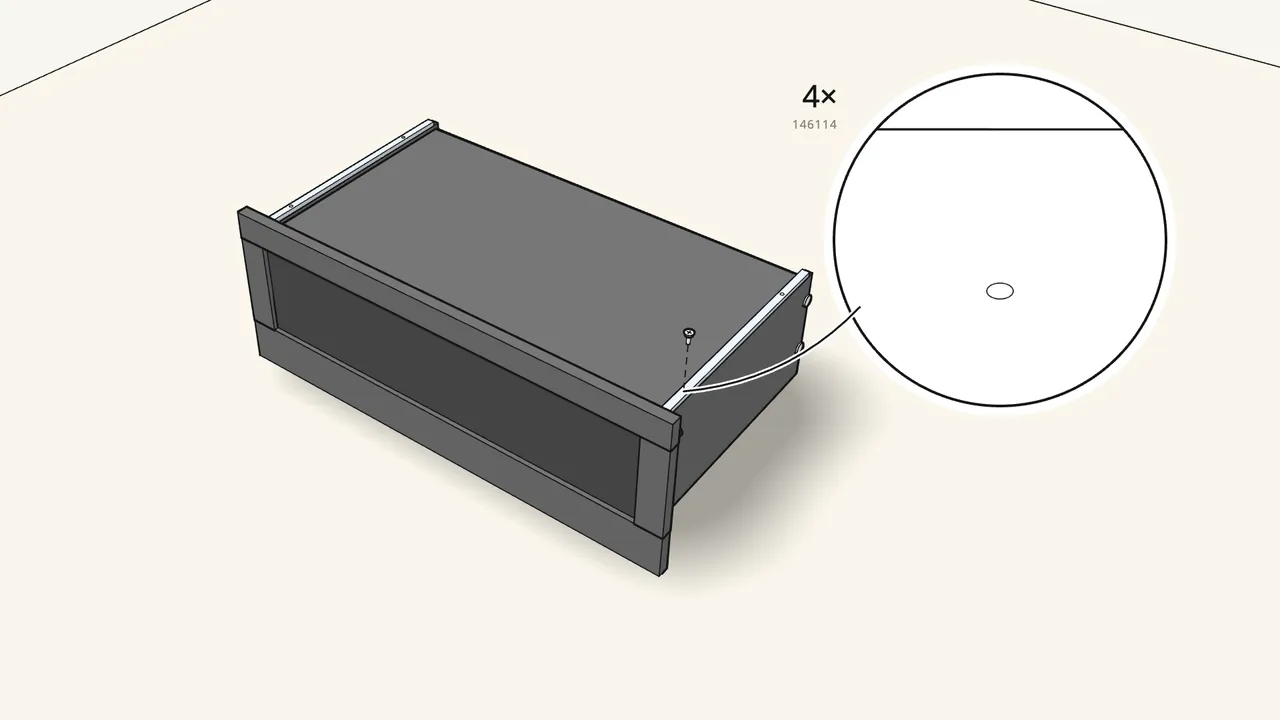
Stick on 2 bumpers. Turn the drawer over and screw on the runners.
Bumpers 107091. 4 screws 146114 — not 105344.
Step 19 · manual step 33–34
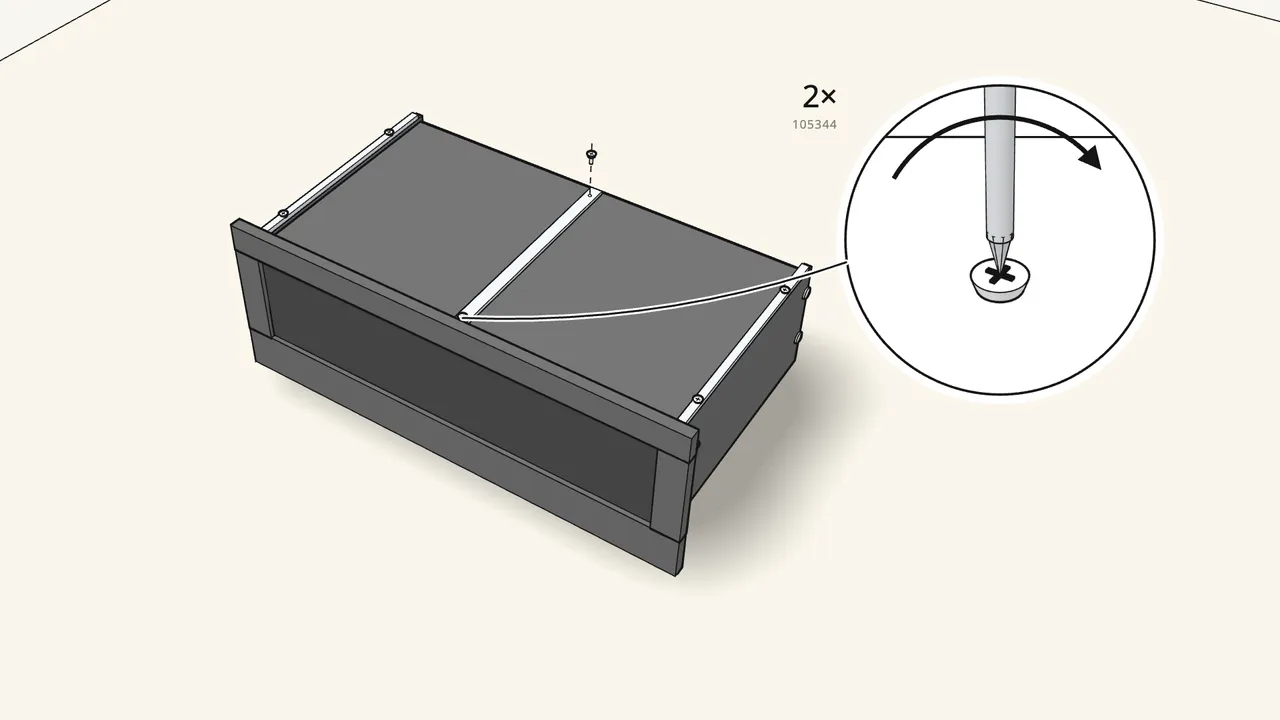
Screw the support bar (123771) under the bottom with 2 screws (105344).
Step 20 · manual step 35
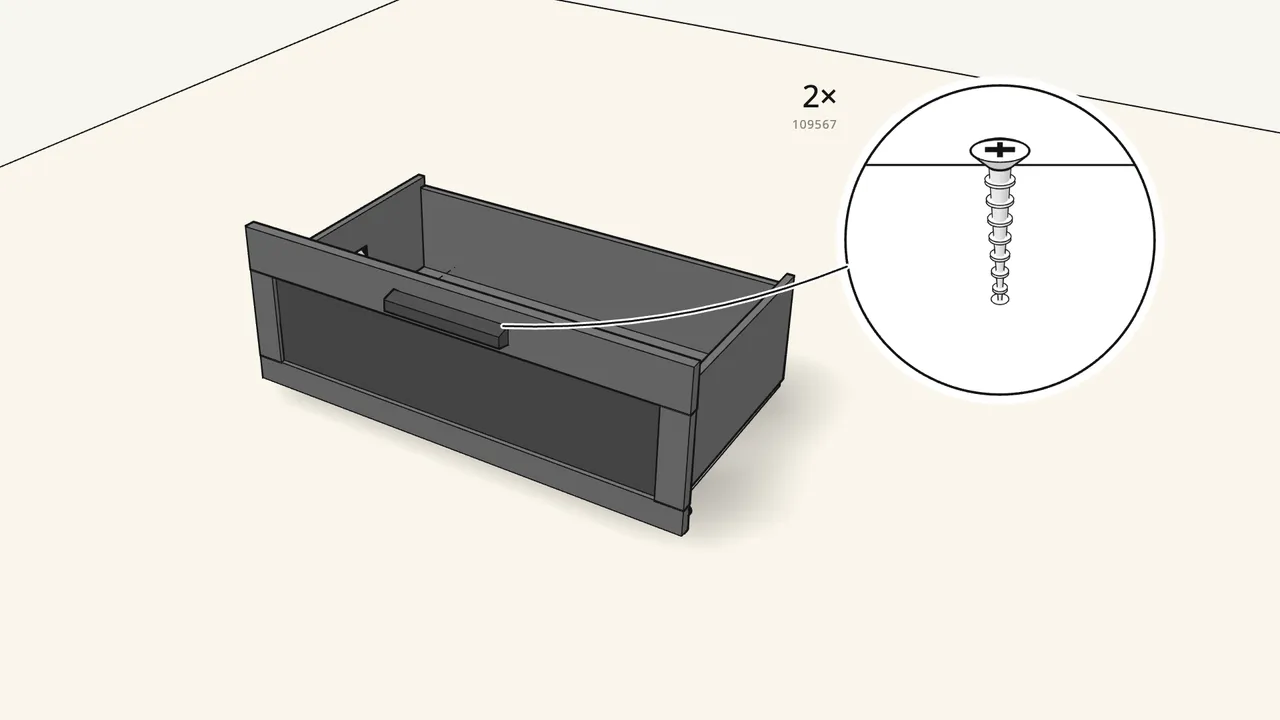
Turn it upright and screw on the handle from the inside (2 × 109567).
Step 21 · manual step 24–35
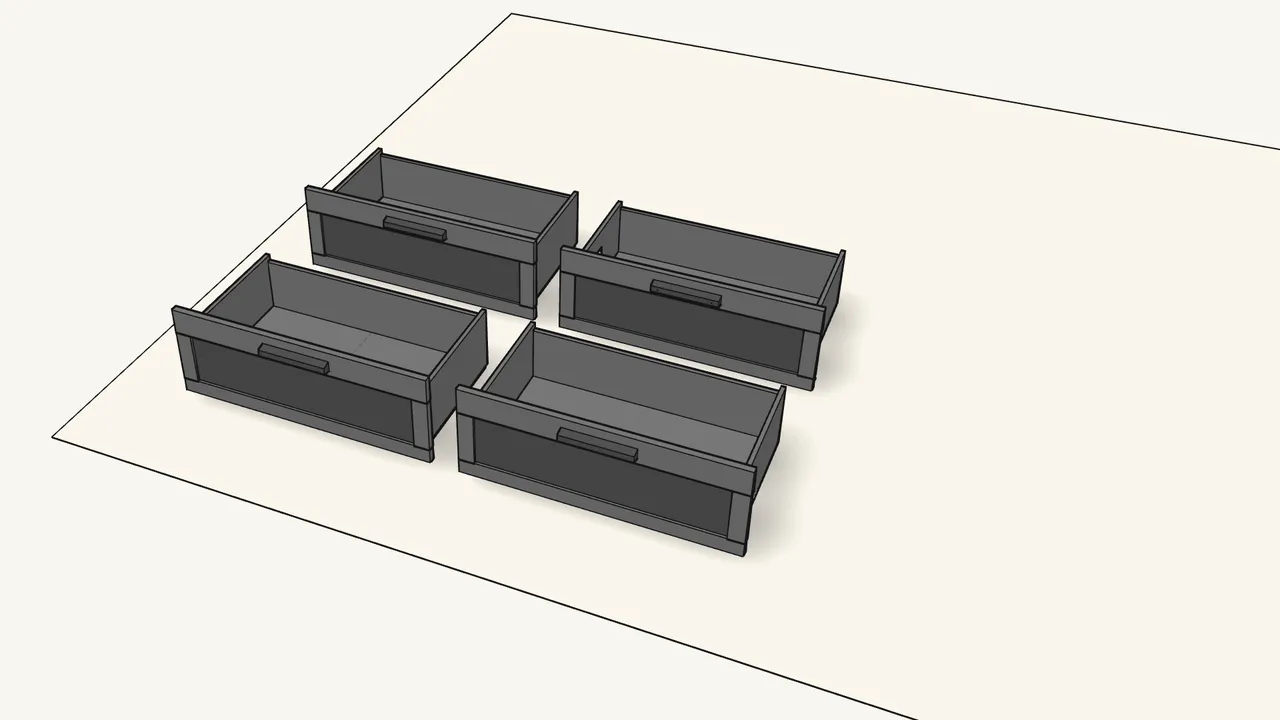
Build the other 3 drawers the same way.
Step 22 · manual step 36
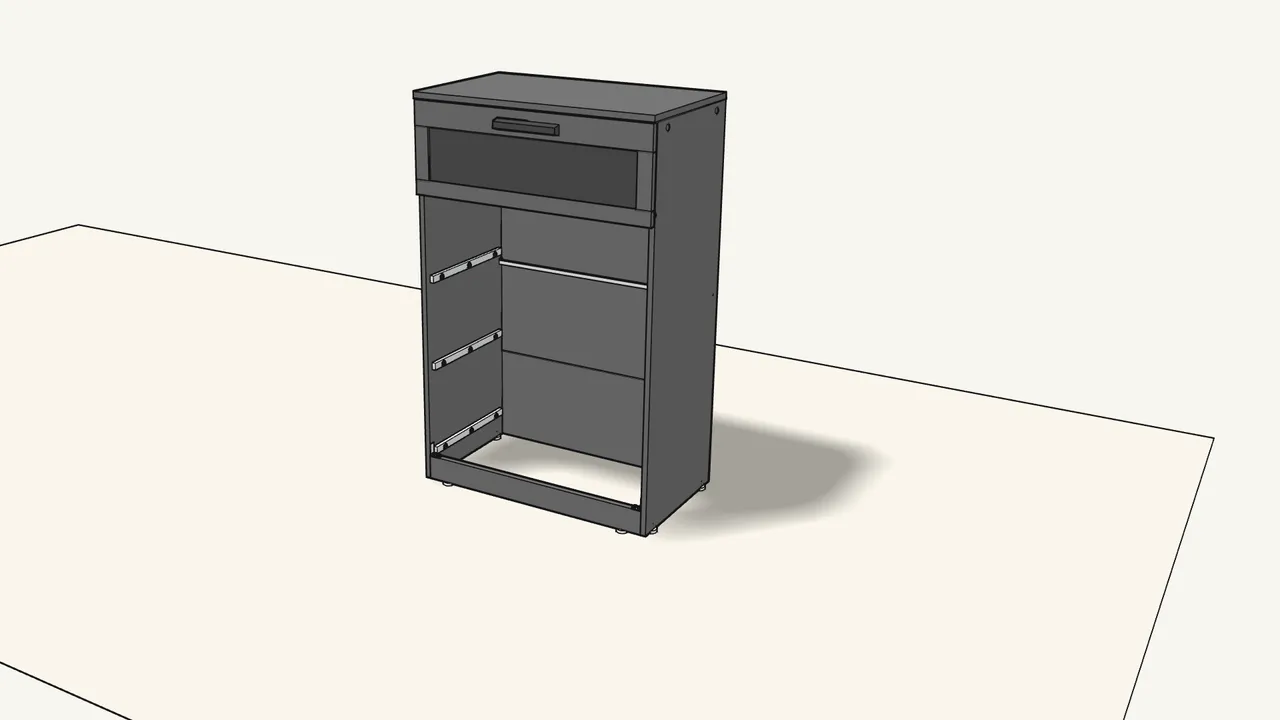
Slide the drawer with the warning label into the top slot.
Angle it in onto the runners as the manual shows.
Step 23 · manual step 37
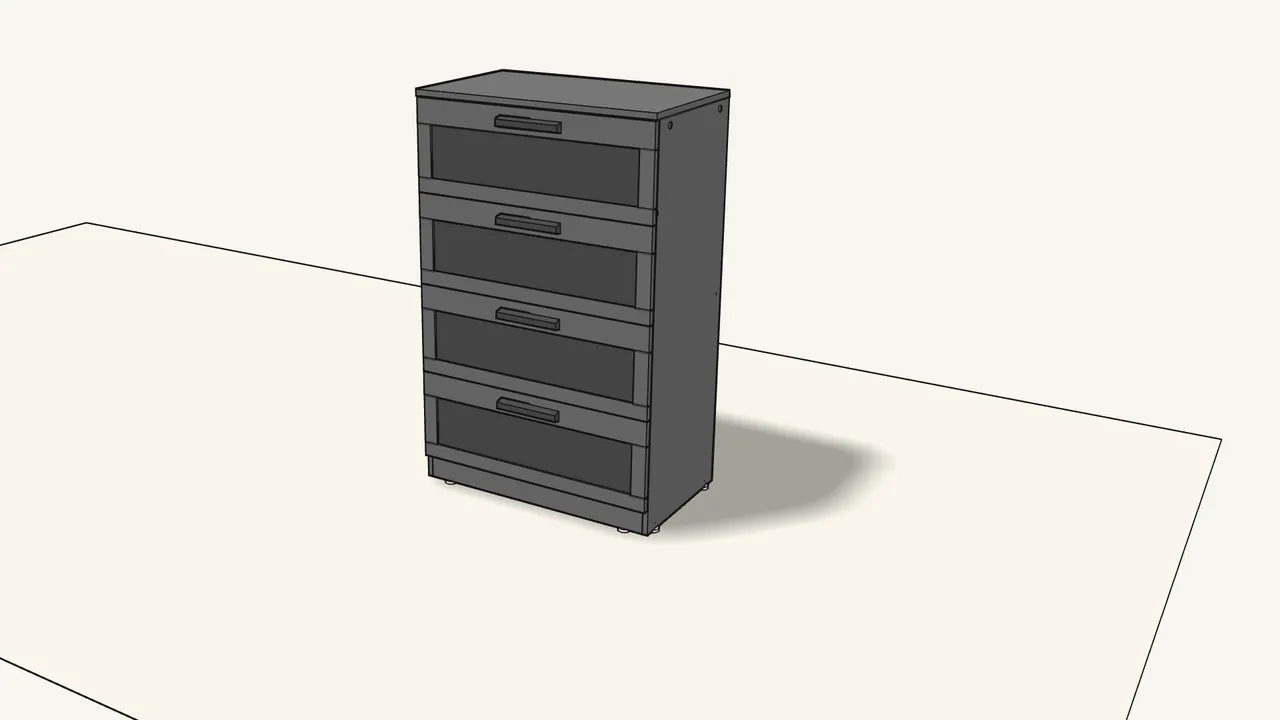
Slide the other 3 drawers in below it.
Tips & safety
- Always fix the dresser to the wall. Children have died from furniture tip-over. Never put a TV on it, and never let children climb or hang on the drawers.
- Open only one drawer at a time. Put the heaviest things in the lowest drawers.
Official instructions
This guide follows IKEA's official assembly instructions (AA-2408374-6). Keep the printed manual to hand — if anything differs, the manual is right.