IKEA · Dressers & Drawer Units
How to assemble IKEA BESTÅ Drawer Runner
Step-by-step IKEA BESTÅ Drawer Runner assembly: 10 illustrated steps, an animated video, the hardware list and the tools you need — following the official instructions (AA-1887971-3).
- 10 illustrated steps
- 7 steps in the manual
- 1:47 video
- 60×40×64 cm (fits a BESTÅ frame 60×40×64; runners ≈33 cm long) cm
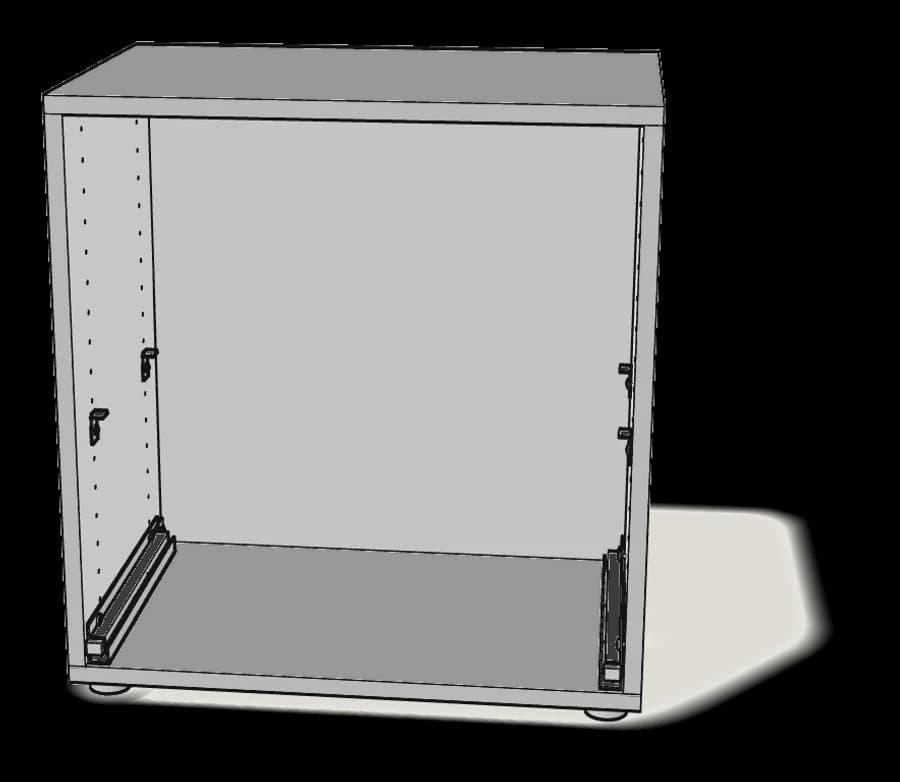
What you need
Tools
- Phillips screwdriver
Hardware in the box
| Part no. (as printed in the manual) | Qty |
|---|---|
| 155753 | 2× |
| 113135 | 2× |
| 116637 | 4× |
| 153635 | 4× |
| 115444 | 2× |
| 115443 | 2× |
Step-by-step assembly
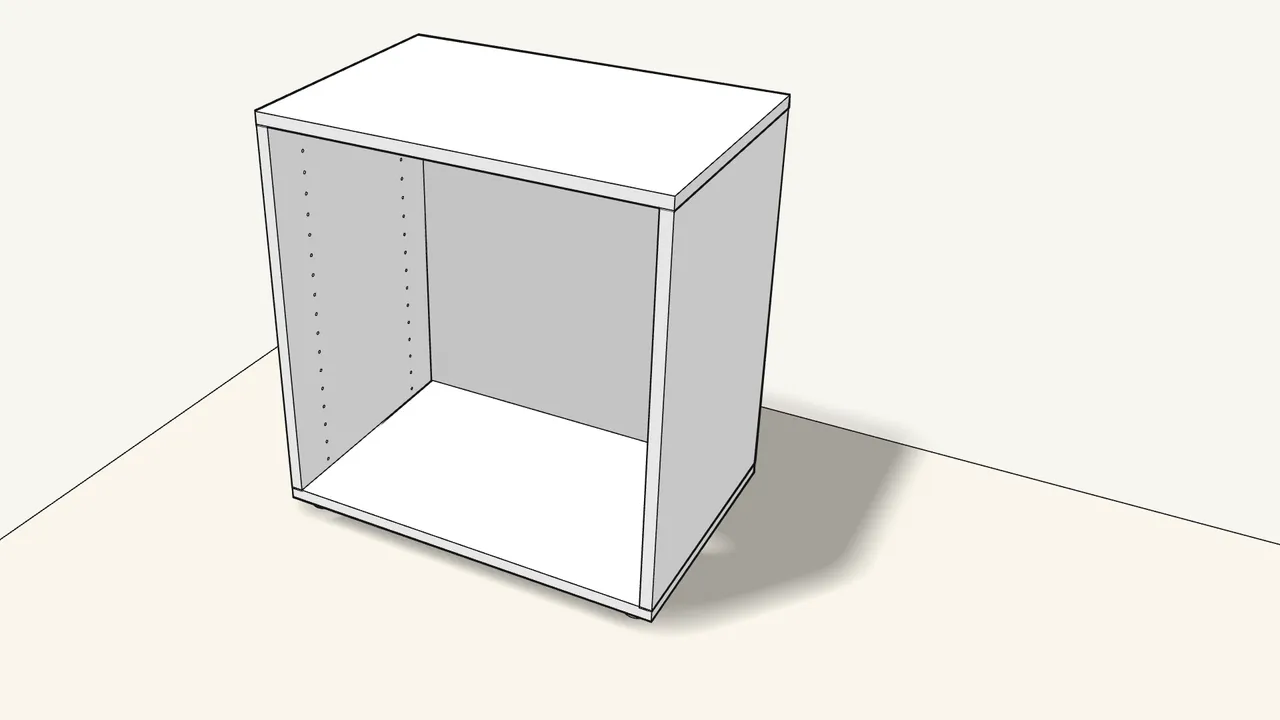
Step 1
Start with an assembled BESTÅ frame.
Lowest drawer: the runners go in the lowest holes (row 1). For more drawers, see the hole numbers on manual p. 4–5.
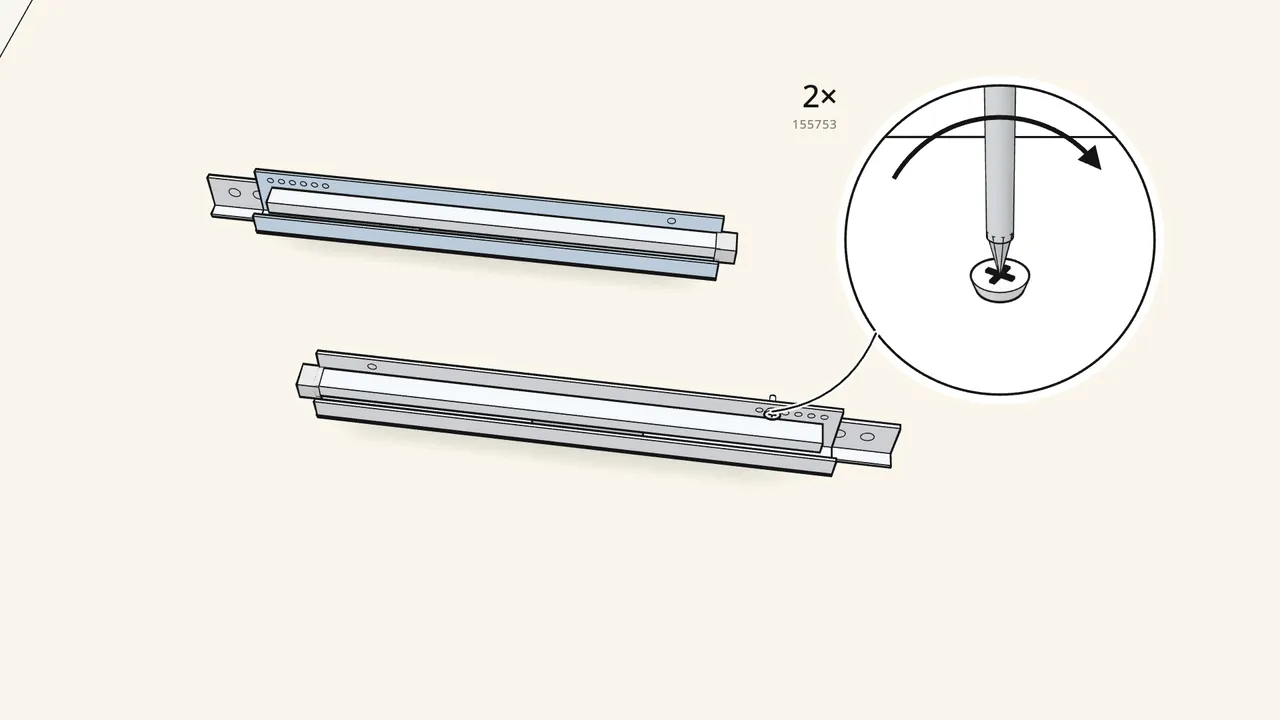
Step 2 · manual step 1
Screw each runner onto a rail (153578).
1 screw (155753) in hole 5 of each runner — 125327 left, 125328 right.
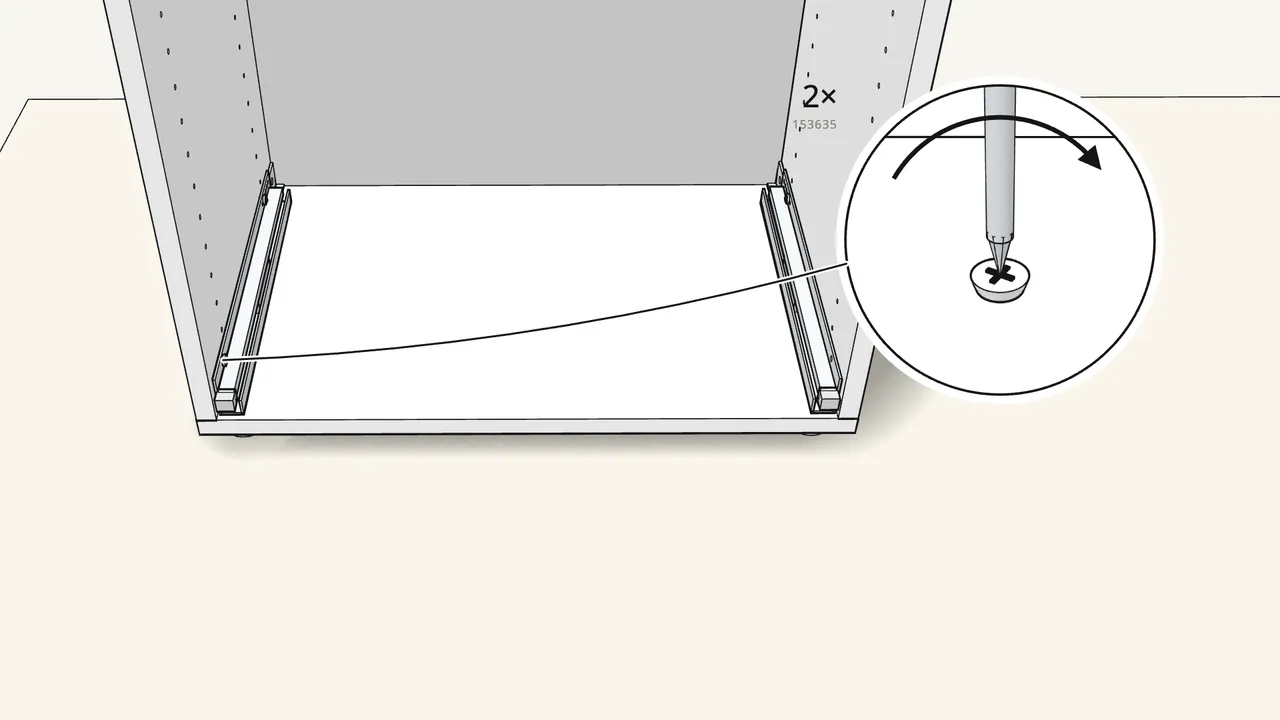
Step 3 · manual step 2
Place both runners on the lowest holes and screw in the front.
1 screw (153635) through the front of each runner.
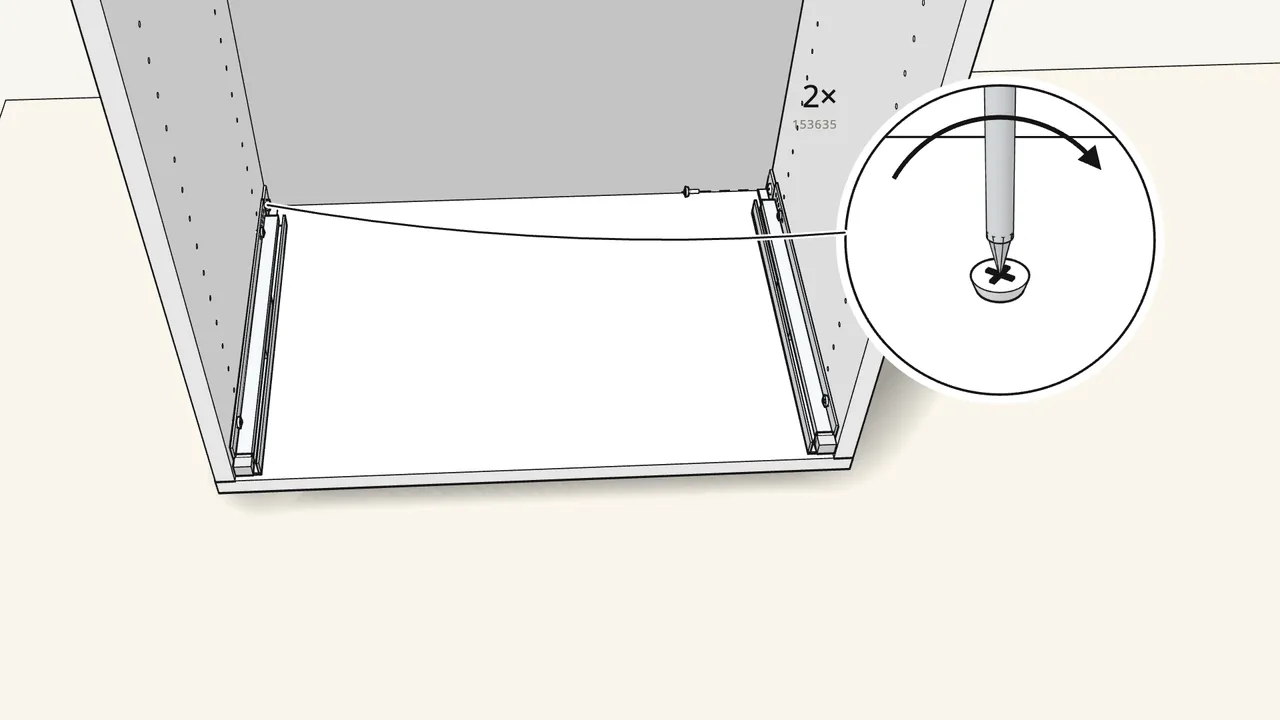
Step 4 · manual step 3
Screw the back of each rail to the side, with a washer.
1 screw (153635) + 1 washer (113135) per side.
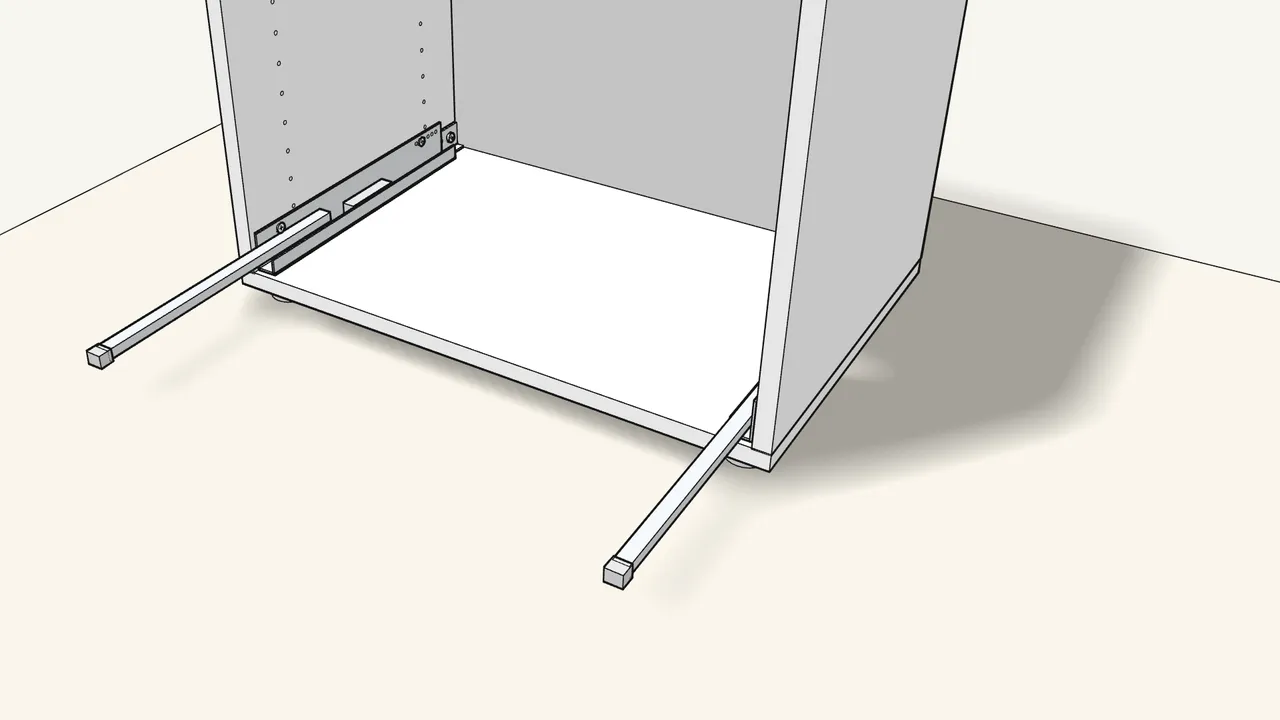
Step 5 · manual step 4
Pull both runners out towards you.
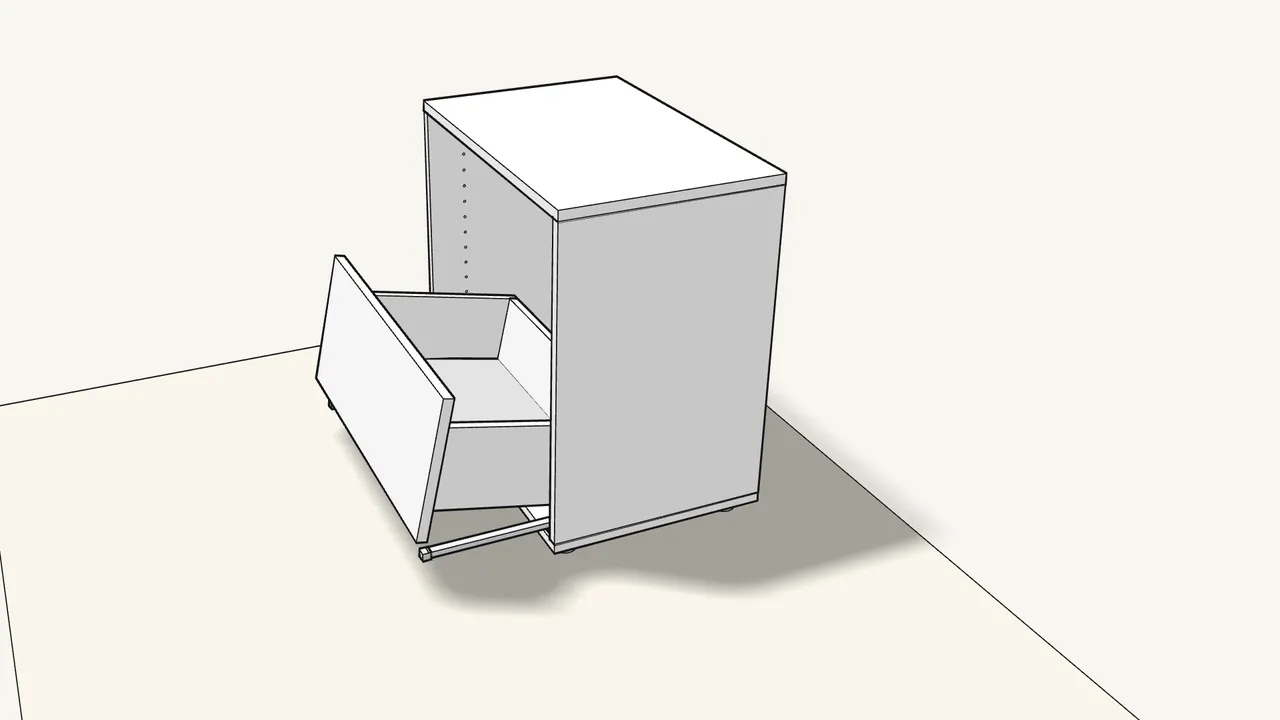
Step 6 · manual step 4
Hook the back of the drawer onto both runners (2×).
The drawer and front are sold separately.
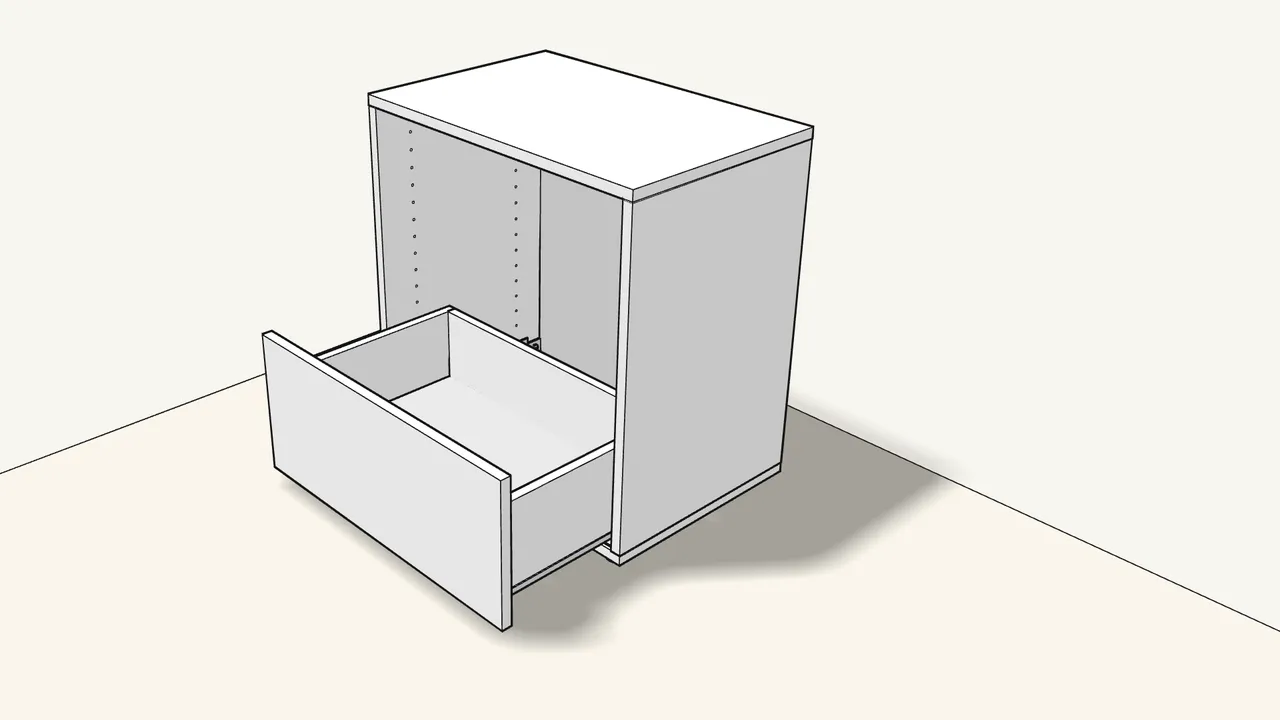
Step 7 · manual step 5
Press the front down until both locking devices click.
No click? Push the lever on each locking device until it clicks (2×).
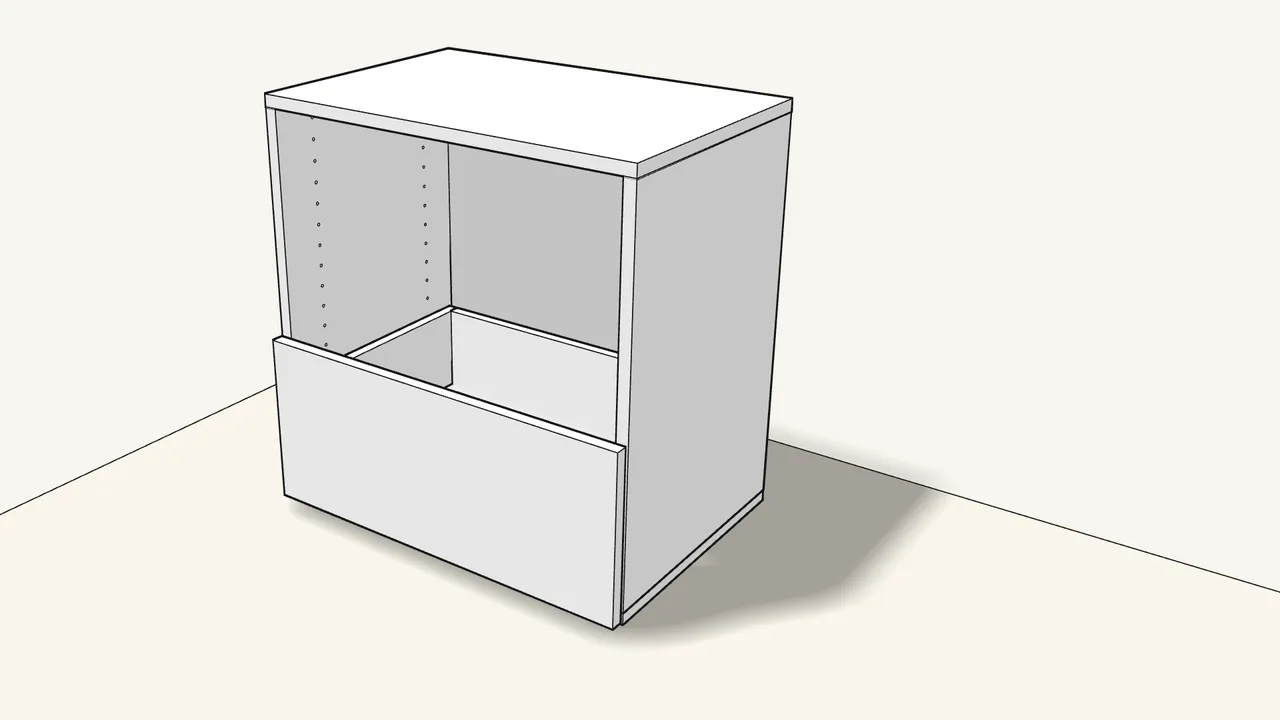
Step 8 · manual step 5
Push the drawer in — it closes softly.
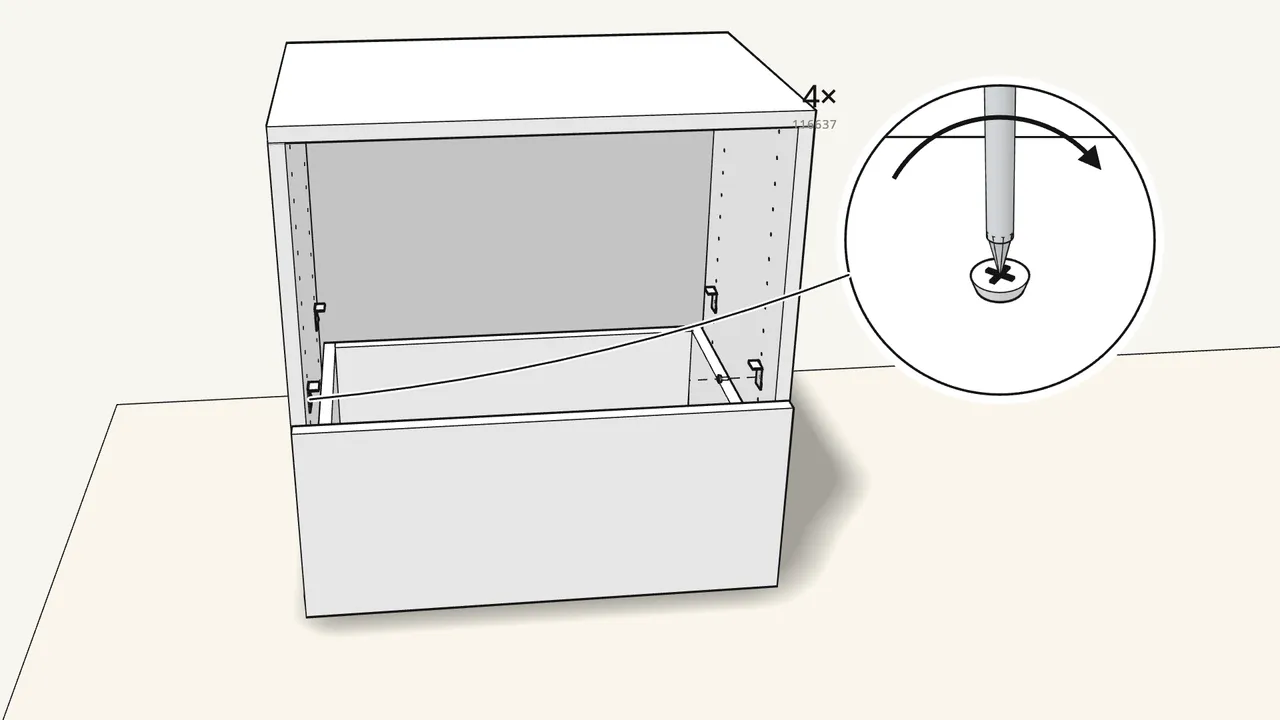
Step 9 · manual step 6
Screw the 4 brackets to the sides, just above the drawer.
115444 on the left, 115443 on the right — 1 screw (116637) each, front and back.
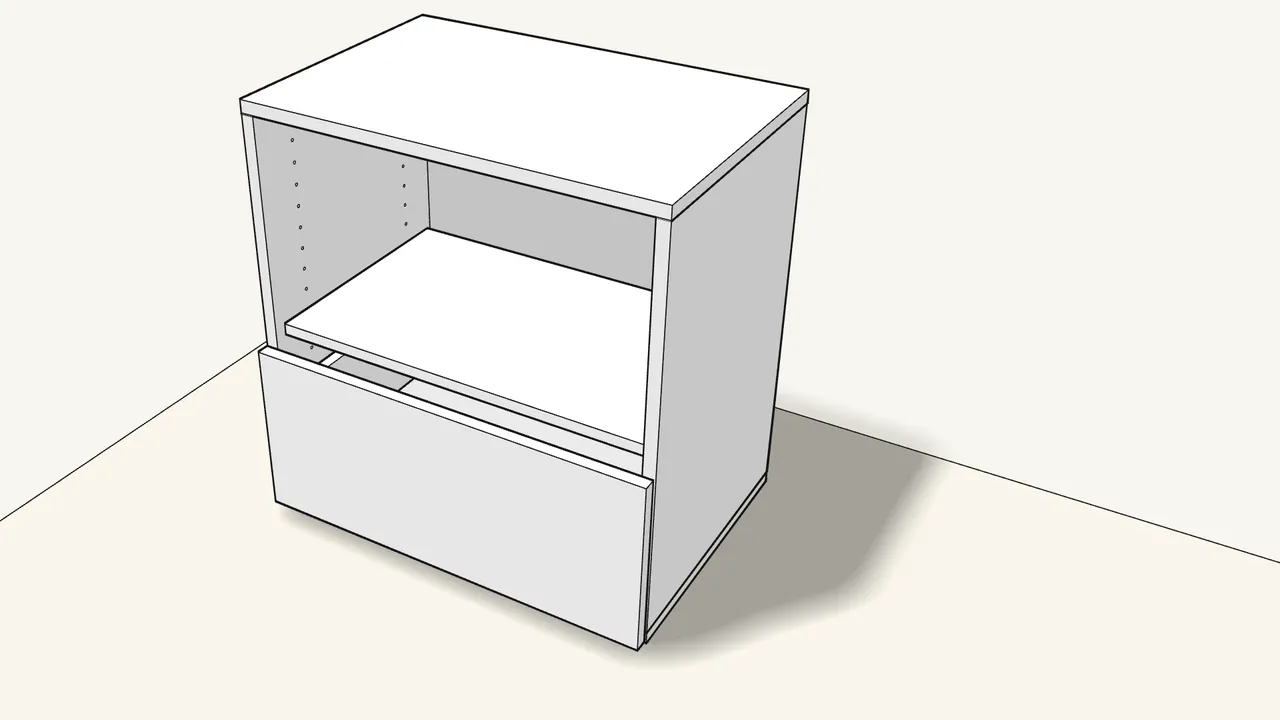
Step 10 · manual step 7
Lay the shelf on the brackets and press it down.
The shelf is sold separately.
Tips & safety
- Front not level? Slide the lever on each locking device out, adjust the height, then push the lever back until it clicks — manual p. 11.
- More than one drawer? The hole rows for each pair of runners are shown on manual p. 4–5.
Official instructions
This guide follows IKEA’s official assembly instructions (AA-1887971-3). Keep the printed manual to hand — if anything differs, the manual is right.