IKEA · Chairs & Stools
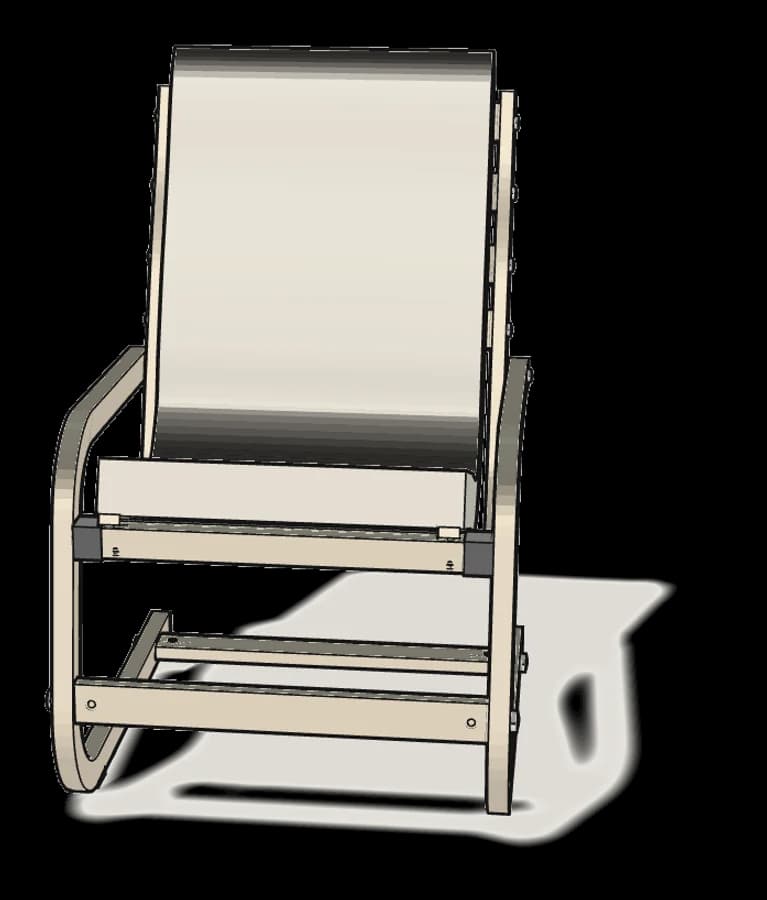
How to assemble IKEA VILDGÅS Junior Chair
Step-by-step IKEA VILDGÅS Junior Chair assembly: 12 illustrated steps, an animated video, the hardware list and the tools you need — following the official instructions (AA-2457352-3).
- 12 illustrated steps
- 11 steps in the manual
- 2:10 video
- ≈40×46×88 cm (estimated) cm
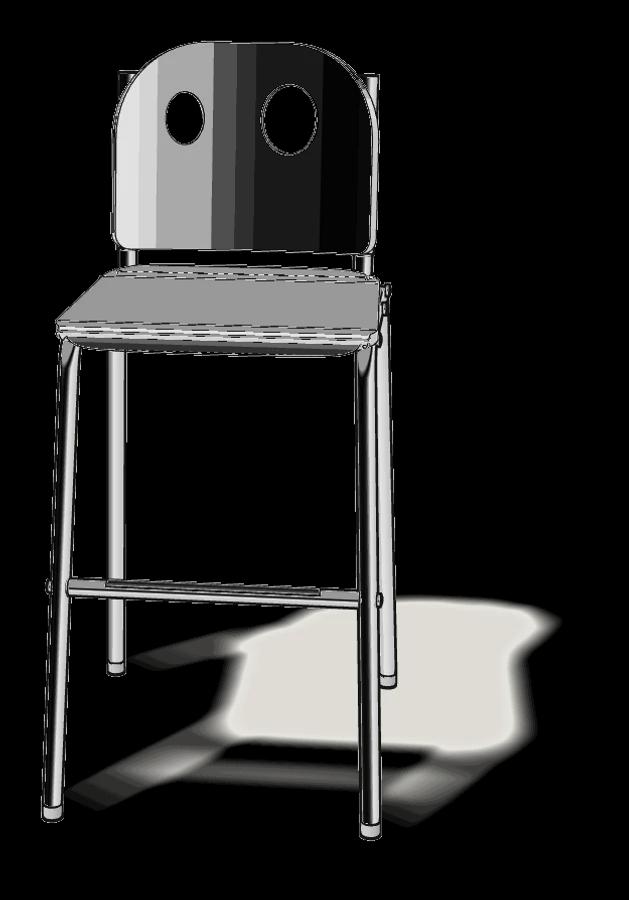
What you need
Tools
- Phillips screwdriver
You’ll need a Phillips screwdriver. The Allen key (100001) and the spanner (108184) come in the box.
Hardware in the box
| Part no. (as printed in the manual) | Qty |
|---|---|
| 194971 | 8× |
| 122901 | 6× |
| 100716 | 2× |
Step-by-step assembly
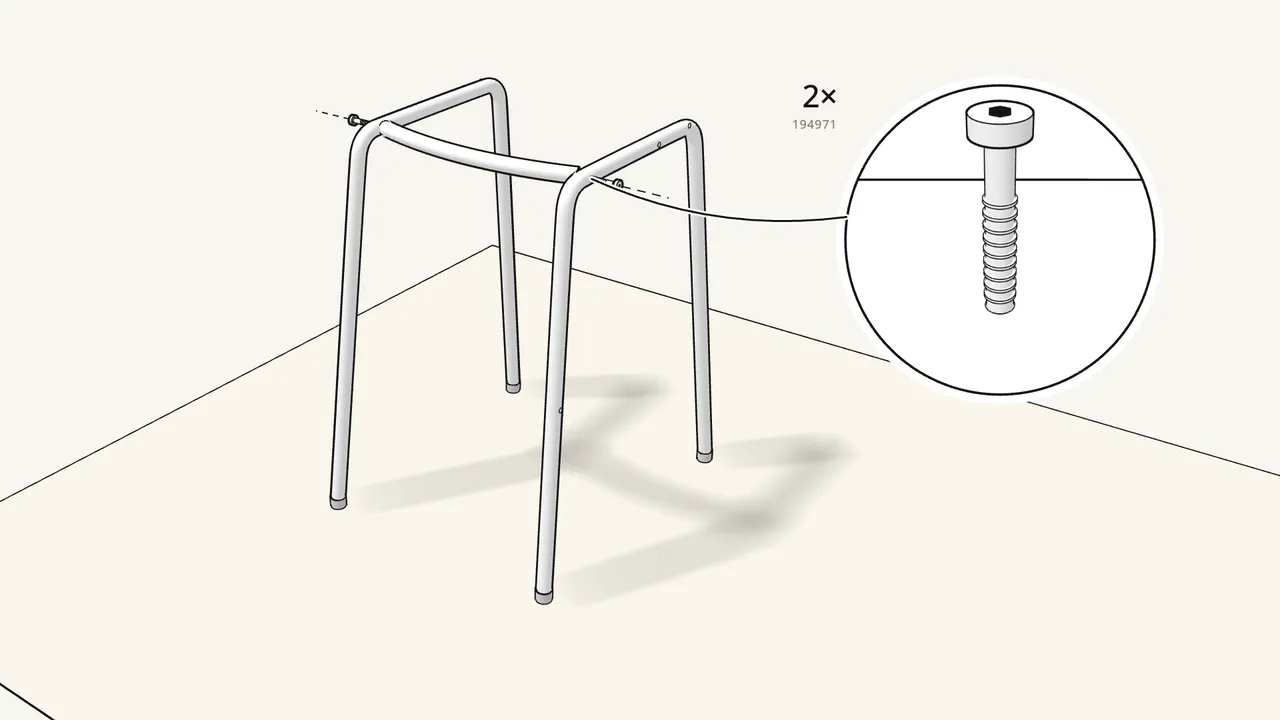
Step 1
Join the two leg frames with the curved rail — 2 bolts (194971).
Three rails look alike — pick the one shown in the box in manual step 1.
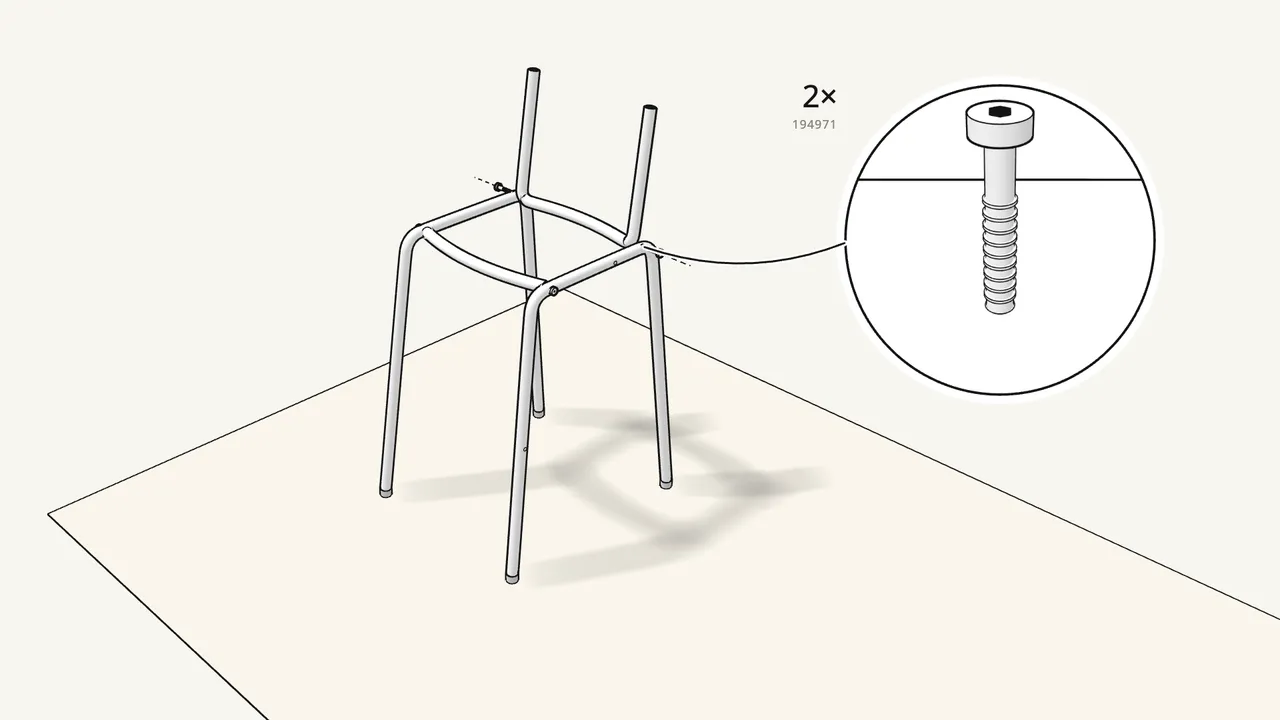
Step 2
Fit the backrest frame — 2 bolts (194971) and 2 nuts (100716).
Hold each nut with the spanner (108184) while you turn the bolt with the Allen key.
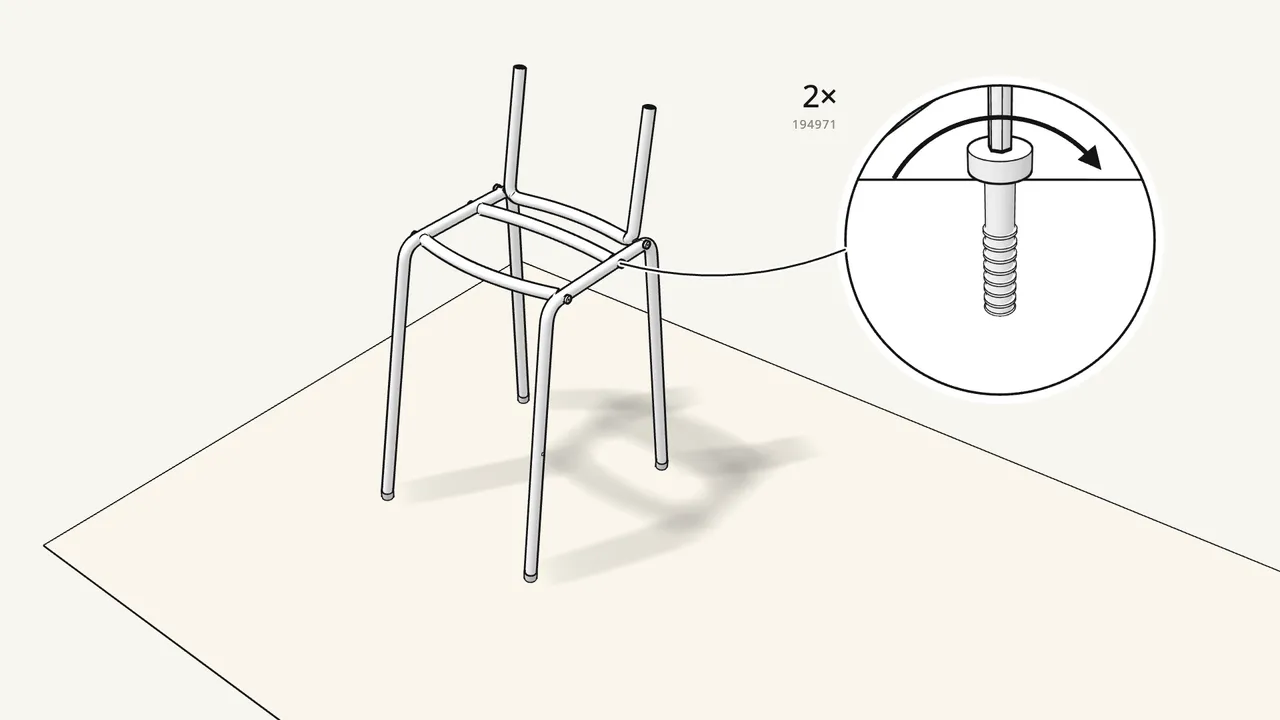
Step 3
Fit the second curved rail — 2 bolts (194971).
Use the curved rail, not a straight one (see the box in manual step 3).
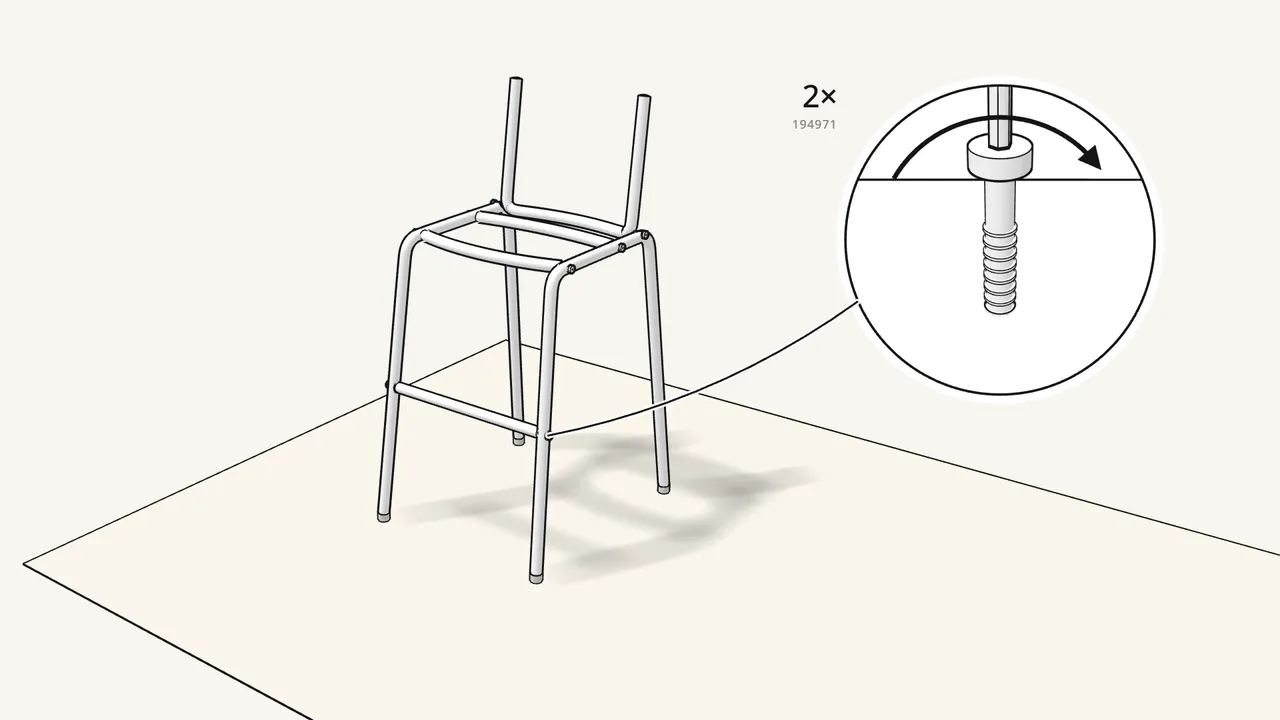
Step 4
Fit the footrest between the front legs — 2 bolts (194971).
Line up the holes in the flat ends with the holes in the legs.
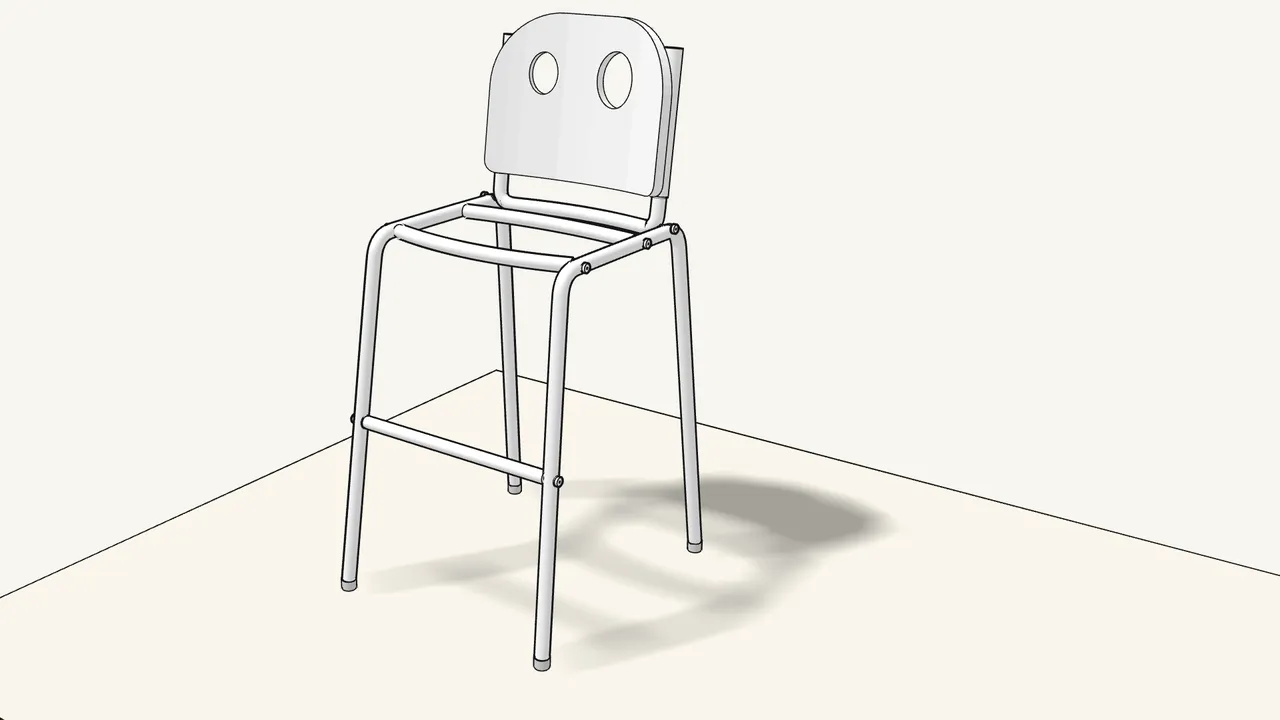
Step 5
Slide the backrest down onto the two uprights.
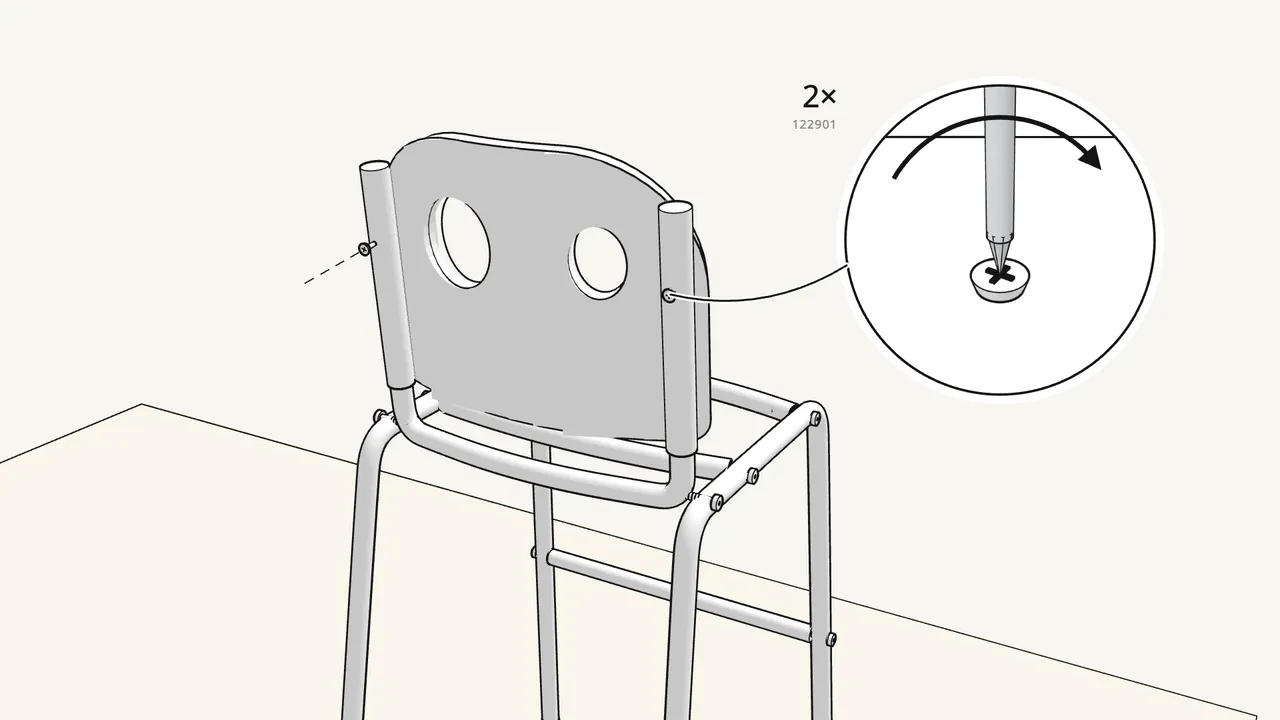
Step 6
Fix the backrest with 2 screws (122901) from behind.
Use the Phillips screwdriver.
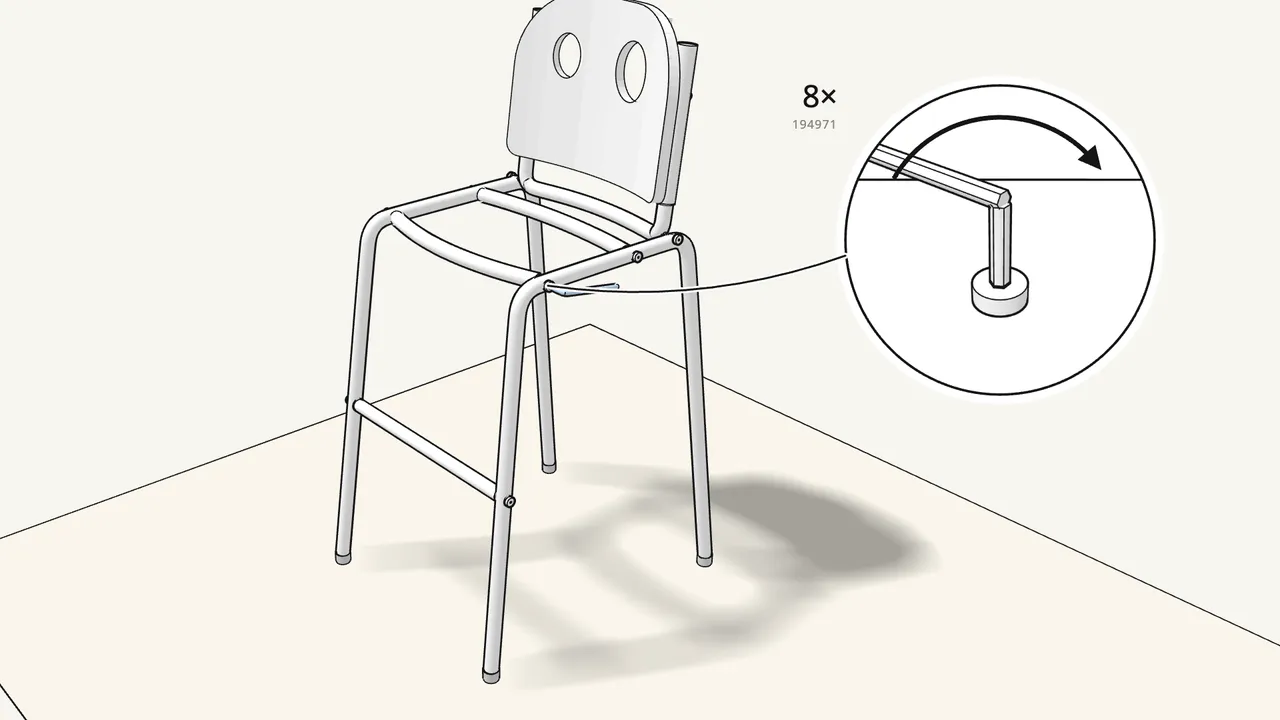
Step 7
Press down on the frame and tighten all 8 bolts with the Allen key.
Each bolt head must sit flush with the tube — no gap.
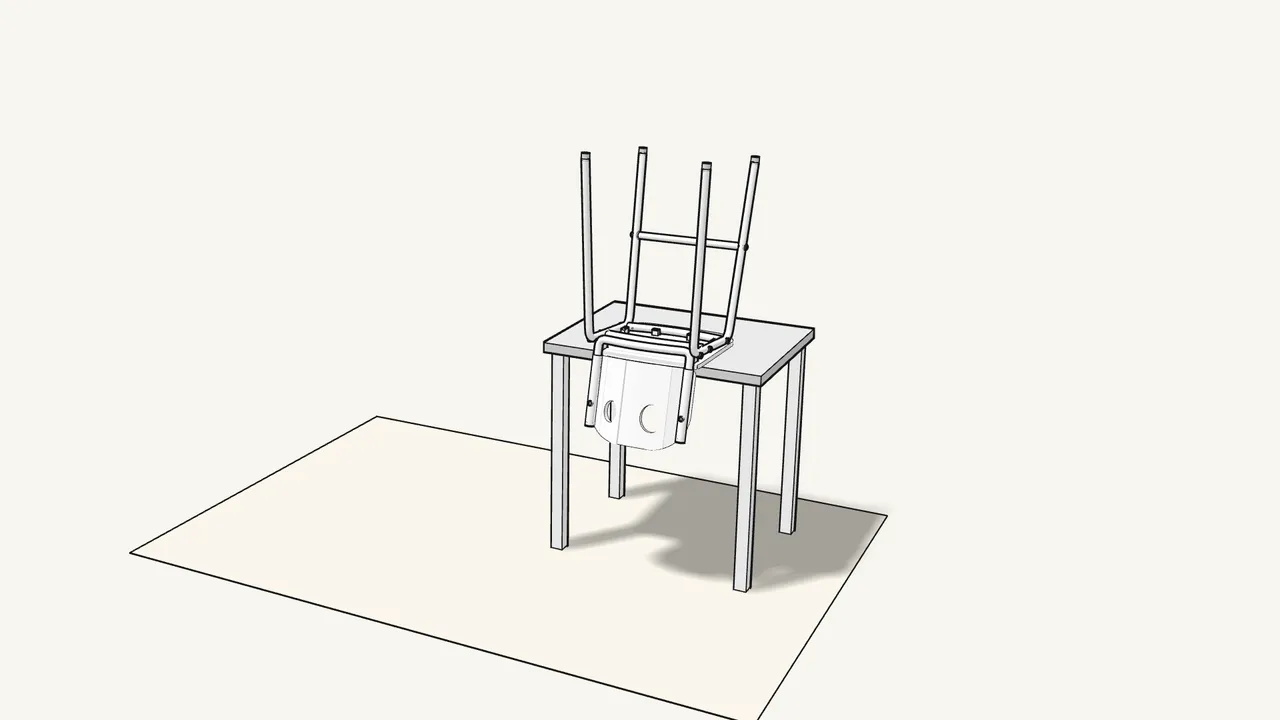
Step 8
Turn the chair upside down onto the seat on a table.
The backrest hangs over the table edge; the front rail goes into the 2 front clips.
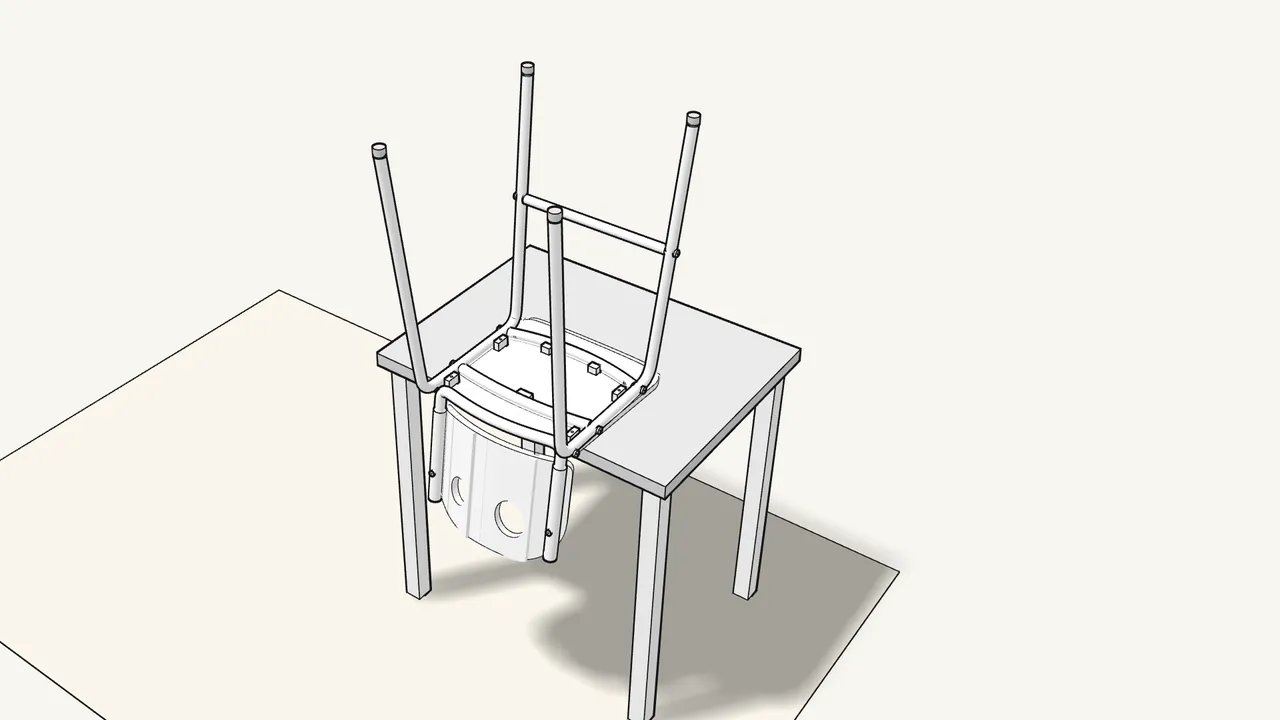
Step 9
Press down at the back until the back clip clicks onto the rail.
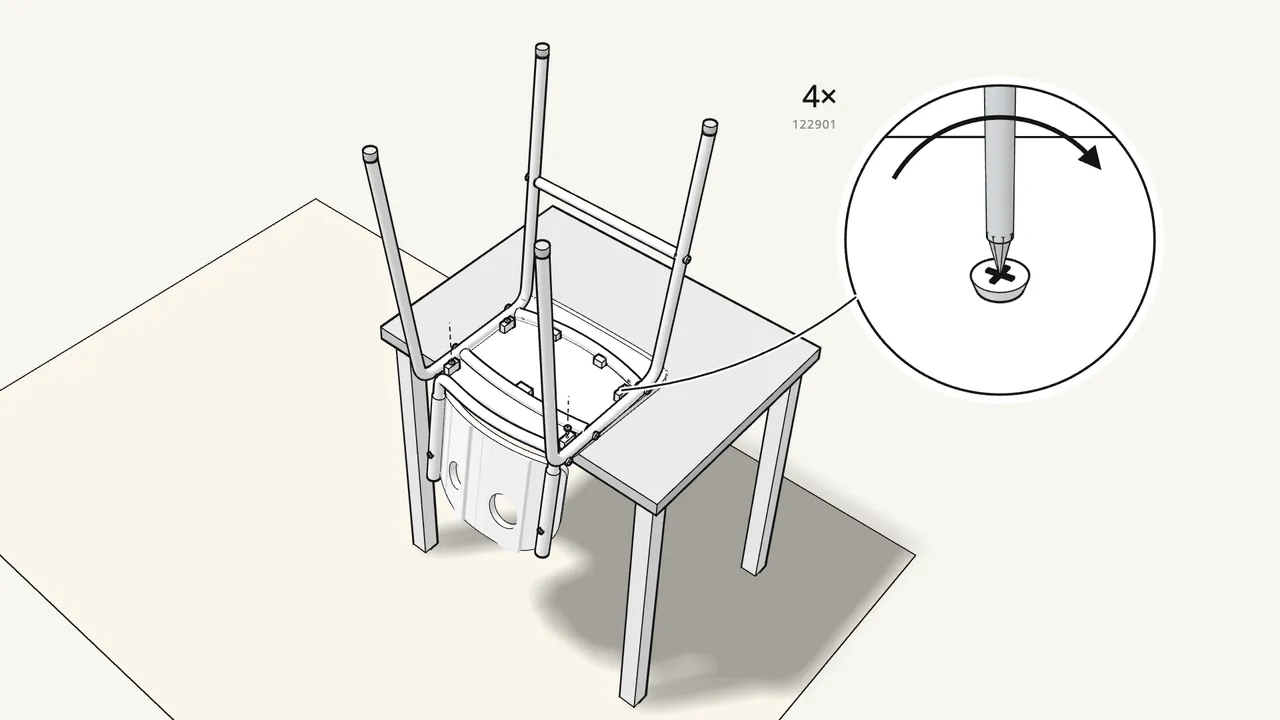
Step 10
Fix the seat with 4 screws (122901).
One screw through each bracket into the frame — use the Phillips screwdriver.
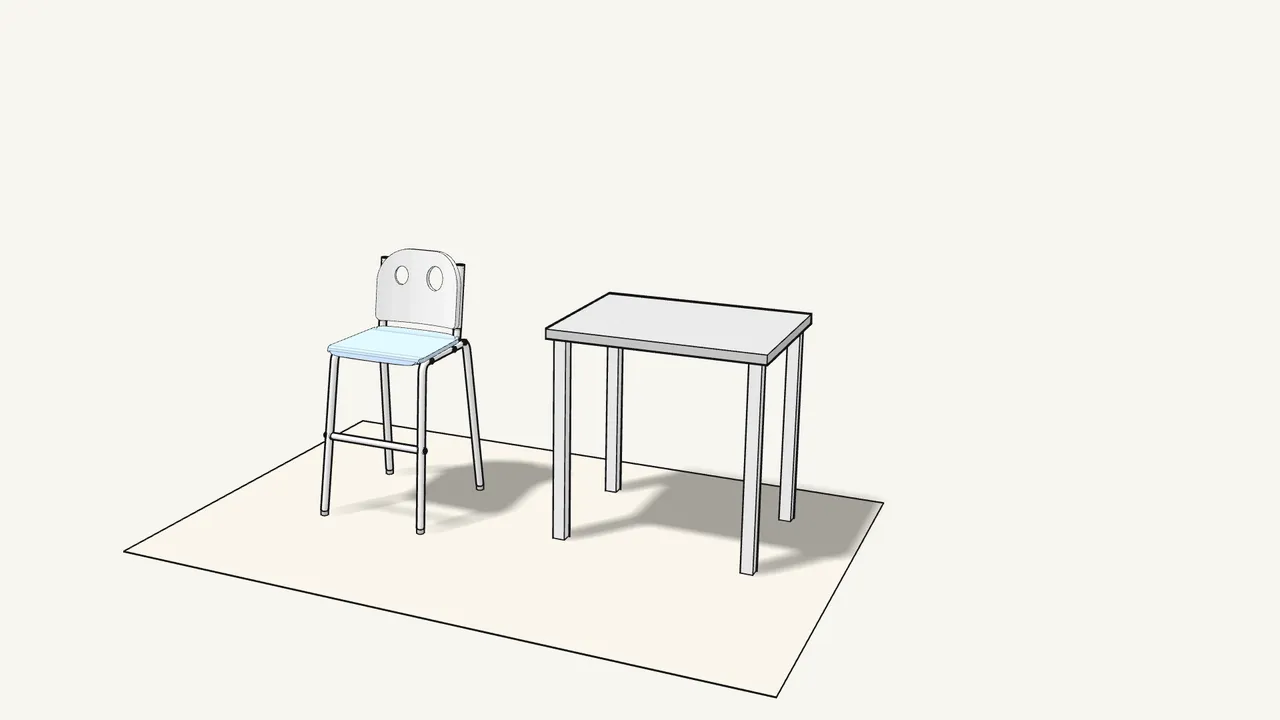
Step 11
Turn the chair over and stand it on the floor.
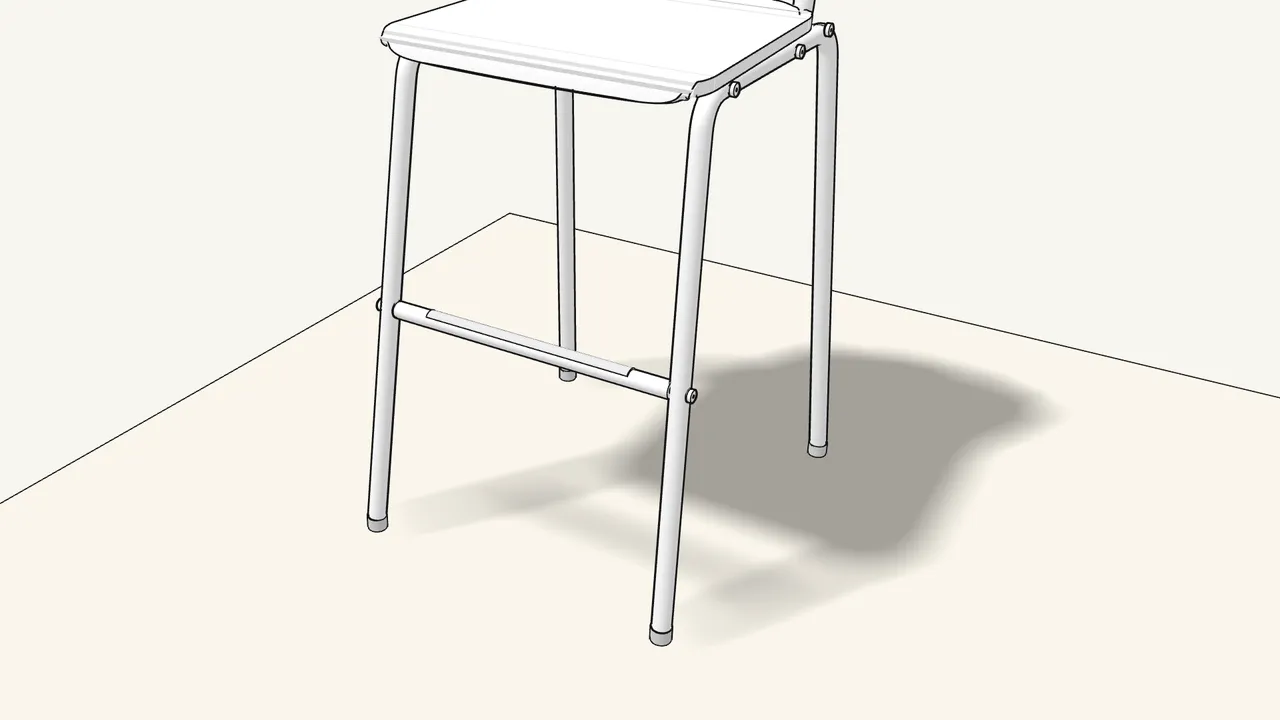
Step 12 · manual step 11
Wipe the footrest clean, then stick on the protective strip.
Strip 10132082 — centre it, with an equal gap at each end.
Tips & safety
- Bolt heads flush with the tubes. If a bolt head sticks out, tighten it again with the Allen key (manual steps 1–4 and 7).
- Protect the chair while you work. Build it on a rug or the cardboard from the box, never on a hard floor (manual page 2).
Official instructions
This guide follows IKEA’s official assembly instructions (AA-2457352-3). Keep the printed manual to hand — if anything differs, the manual is right.