IKEA · Chairs & Stools
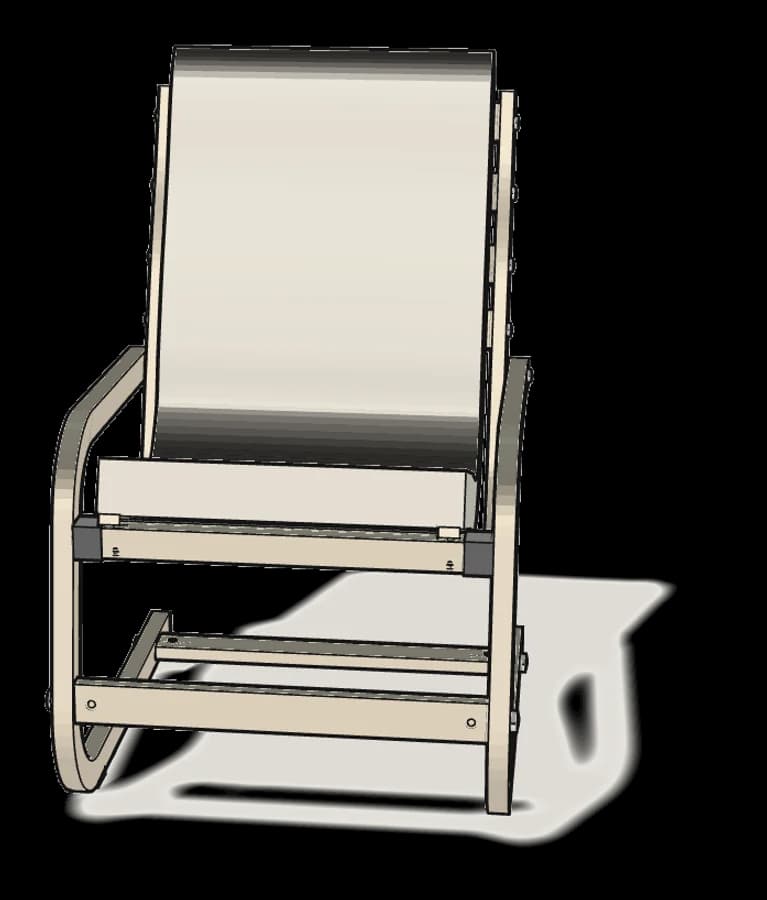
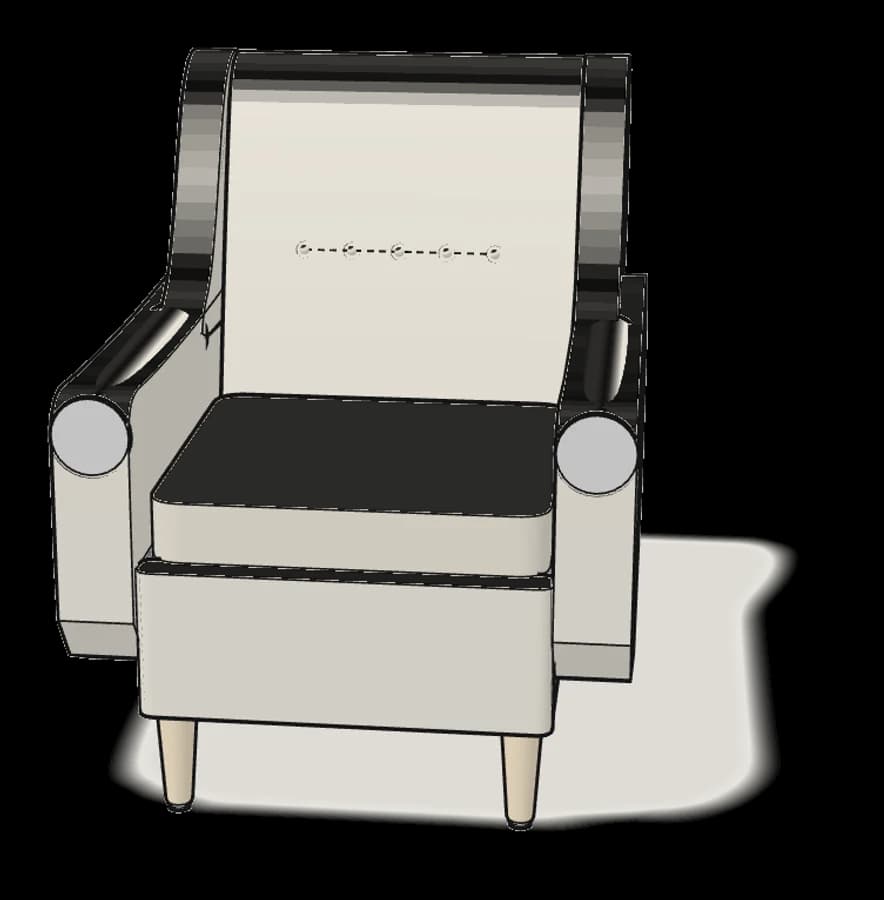
How to assemble IKEA VEDBO High Back Armchair
Step-by-step IKEA VEDBO High Back Armchair assembly: 12 illustrated steps, an animated video, the hardware list and the tools you need — following the official instructions (AA-1931411-2).
- 12 illustrated steps
- 7 steps in the manual
- 2:07 video
- 63×82×101 cm cm
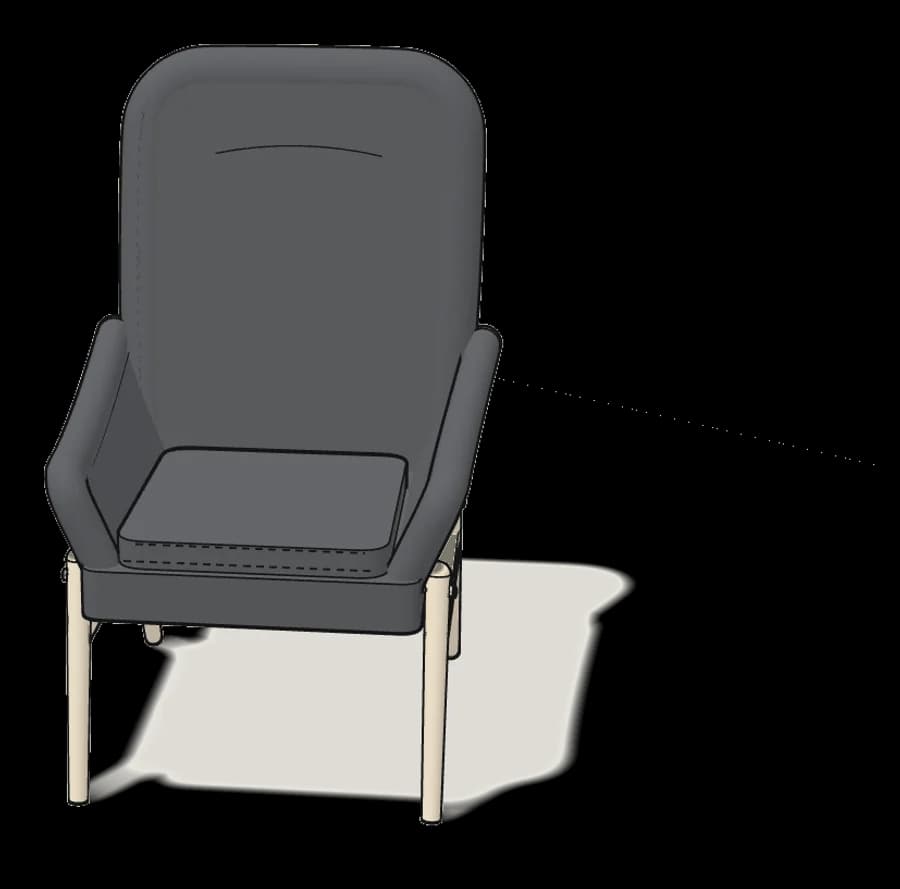
What you need
Tools
- Flat-head screwdriver
- Allen key (included)
Hardware in the box
| Part no. (as printed in the manual) | Qty |
|---|---|
| 156642 | 2× |
| 101343 | 4× |
| 121121 | 2× |
| 156384 | 6× |
| 156385 | 2× |
Step-by-step assembly
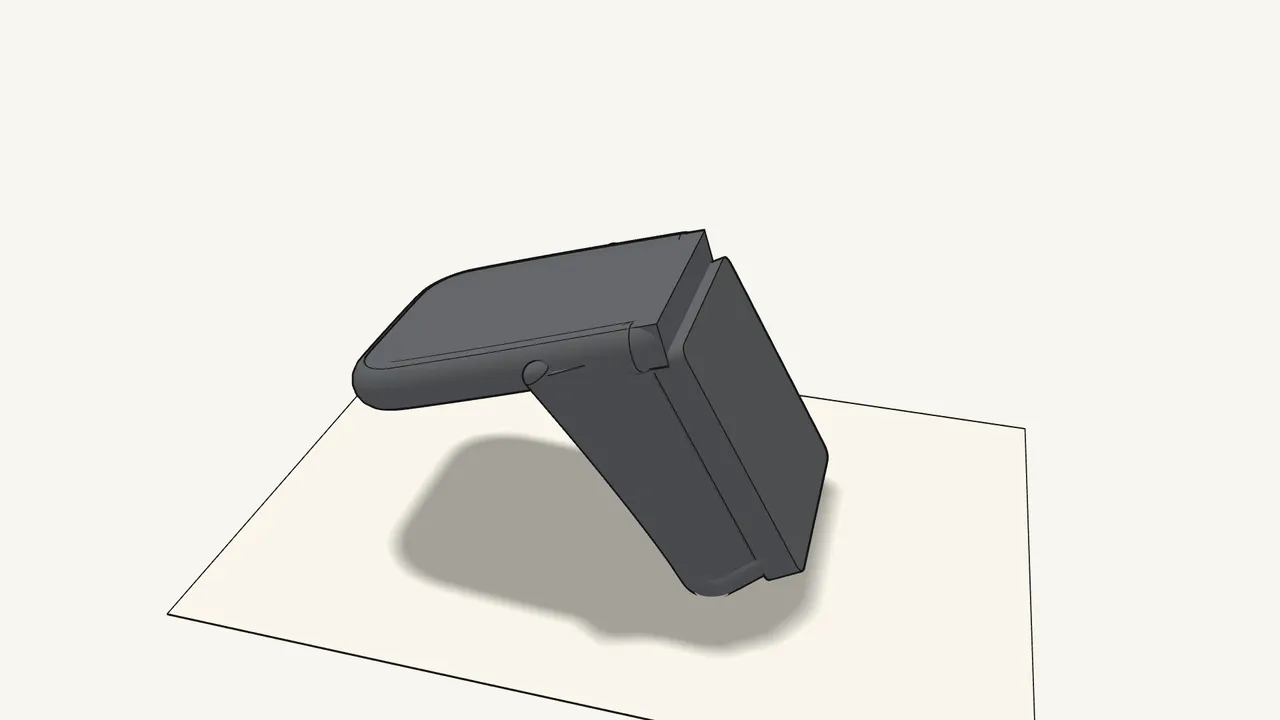
Step 1
Lay the seat shell upside down on a soft surface.
A rug or the flattened box protects the fabric.
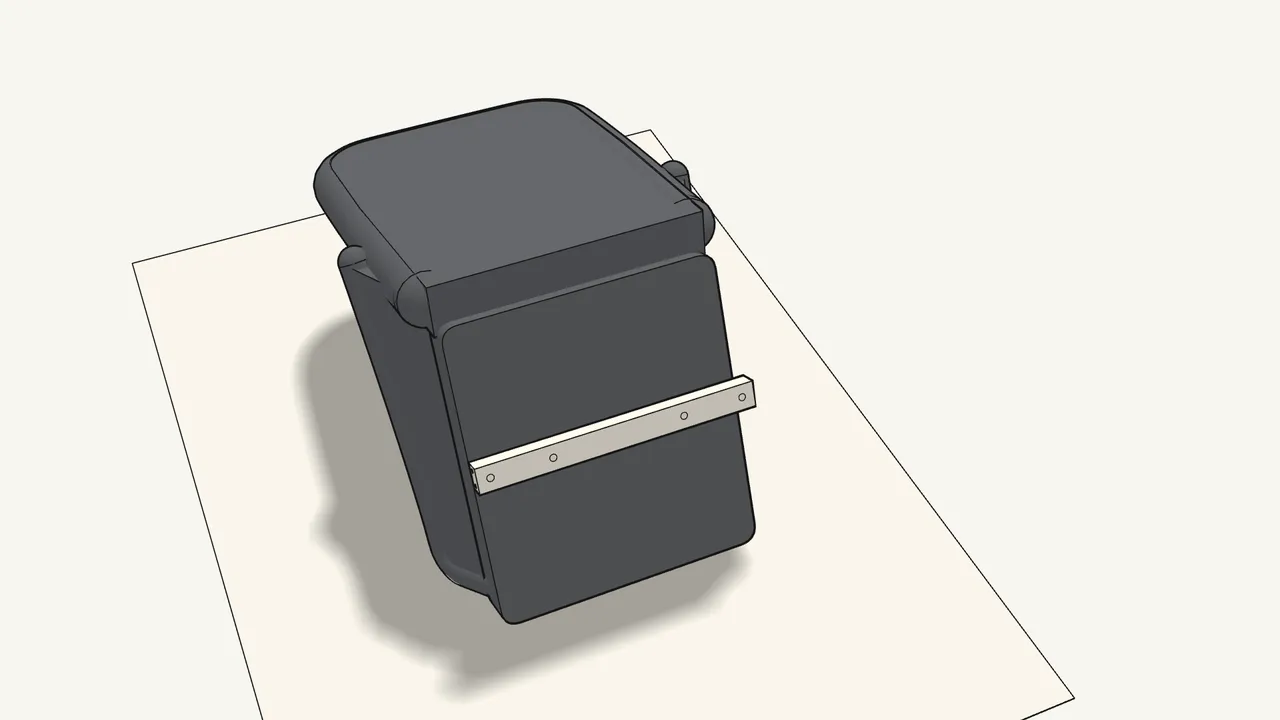
Step 2 · manual step 1
Place the 2 spacers (156642) and the rail on the seat.
The spacers sit over the 2 holes, under the rail.
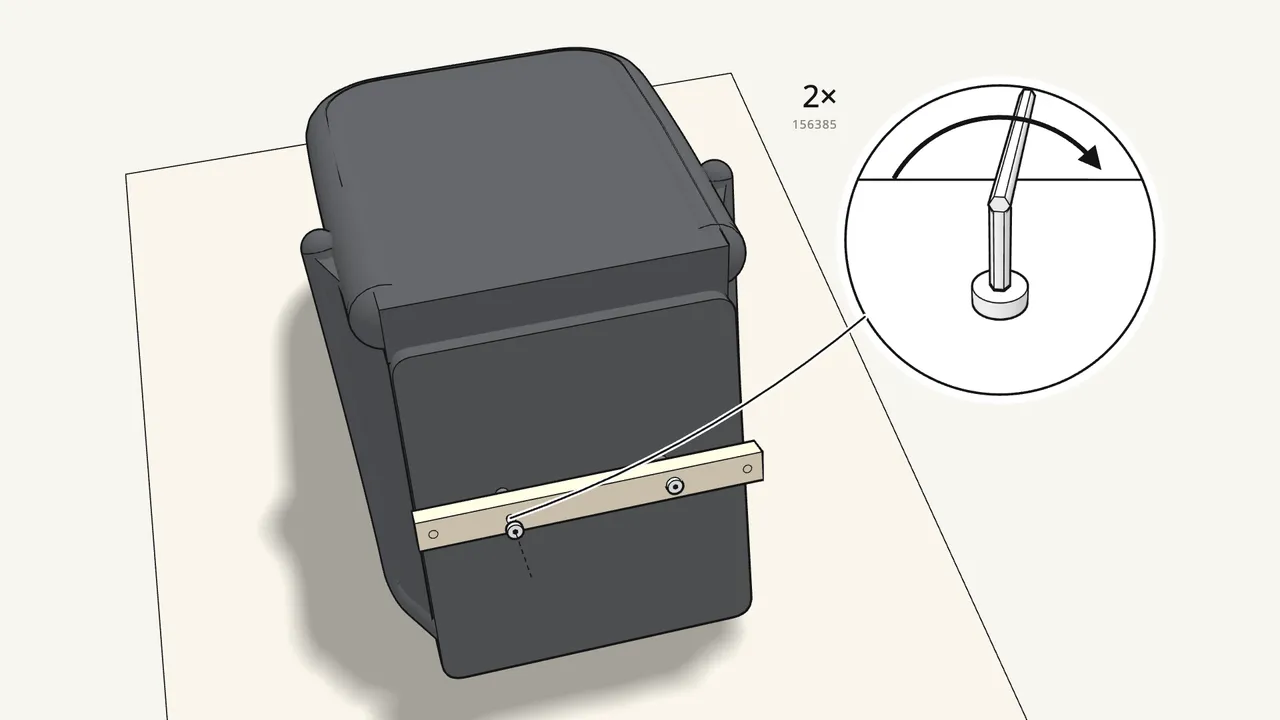
Step 3 · manual step 1
Screw in the 2 long bolts (156385) by hand.
Don’t tighten them yet — leave a small gap under the head (see the info box).
Step 4 · manual step 2
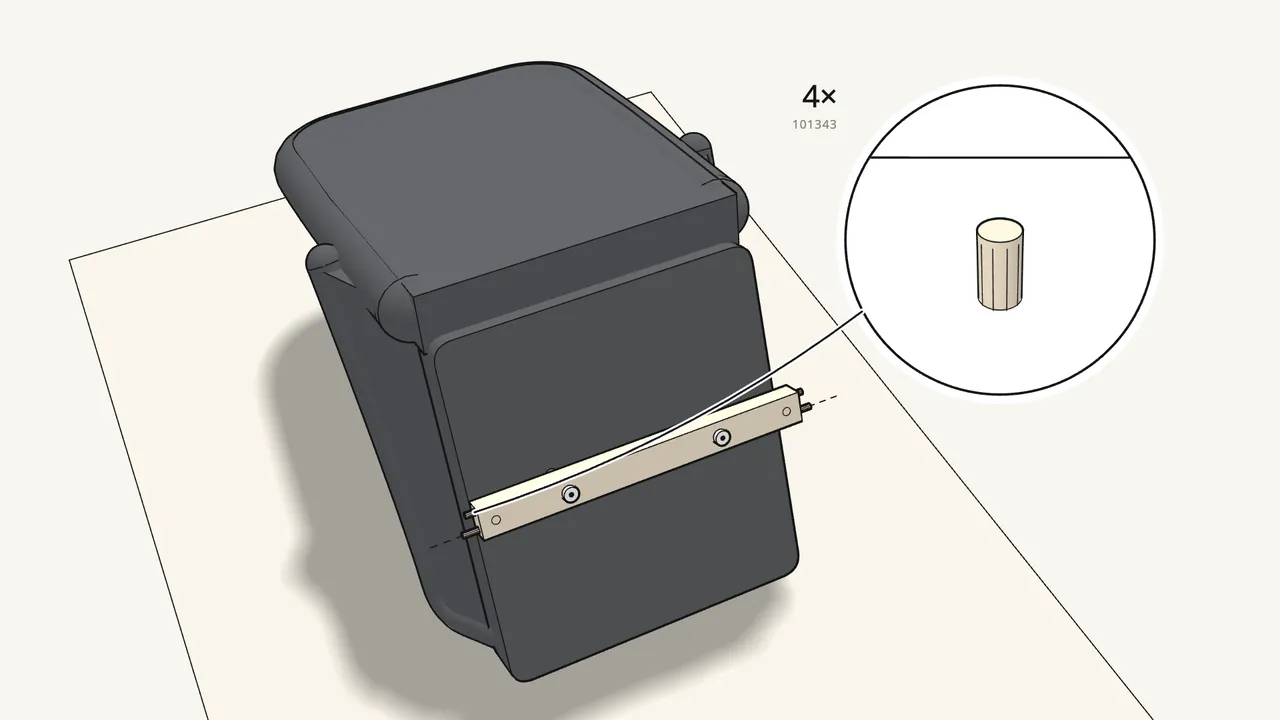
Push 2 dowels (101343) into each end of the rail.
Step 5 · manual step 3
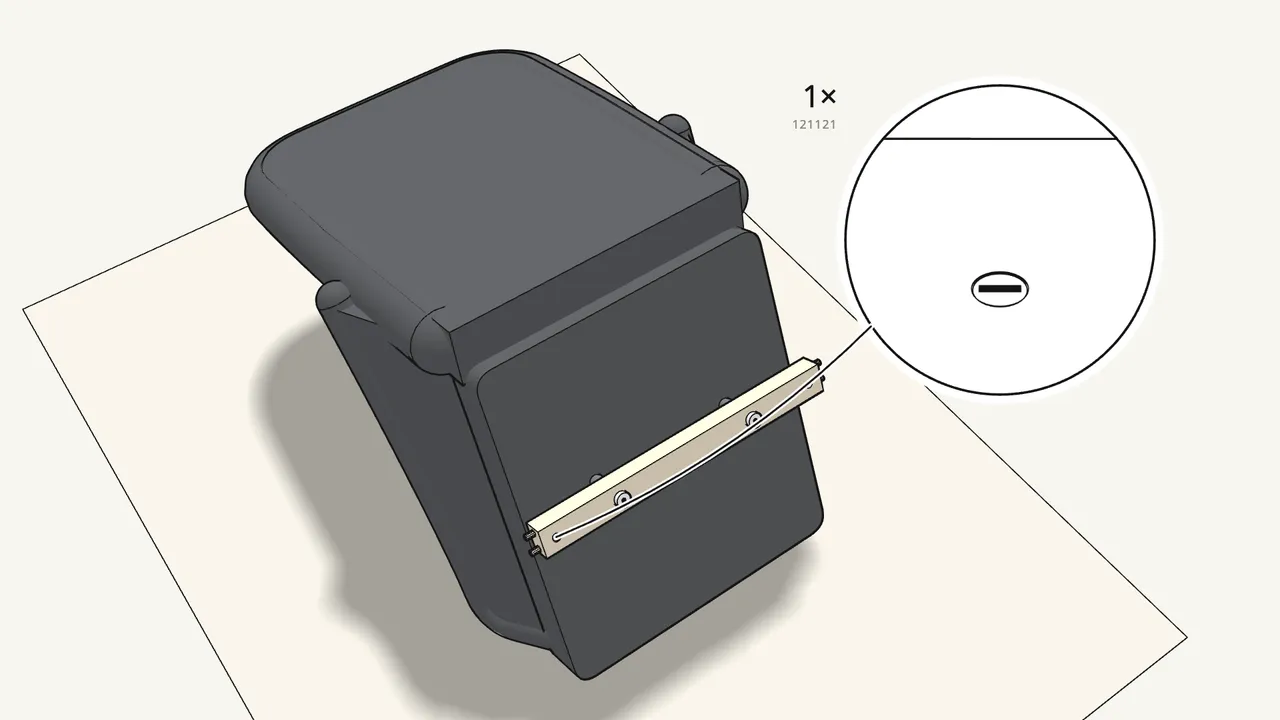
Insert a cross dowel (121121) near the end of the rail.
Turn its slot with the flat screwdriver so the hole lines up for the bolt.
Step 6 · manual step 3
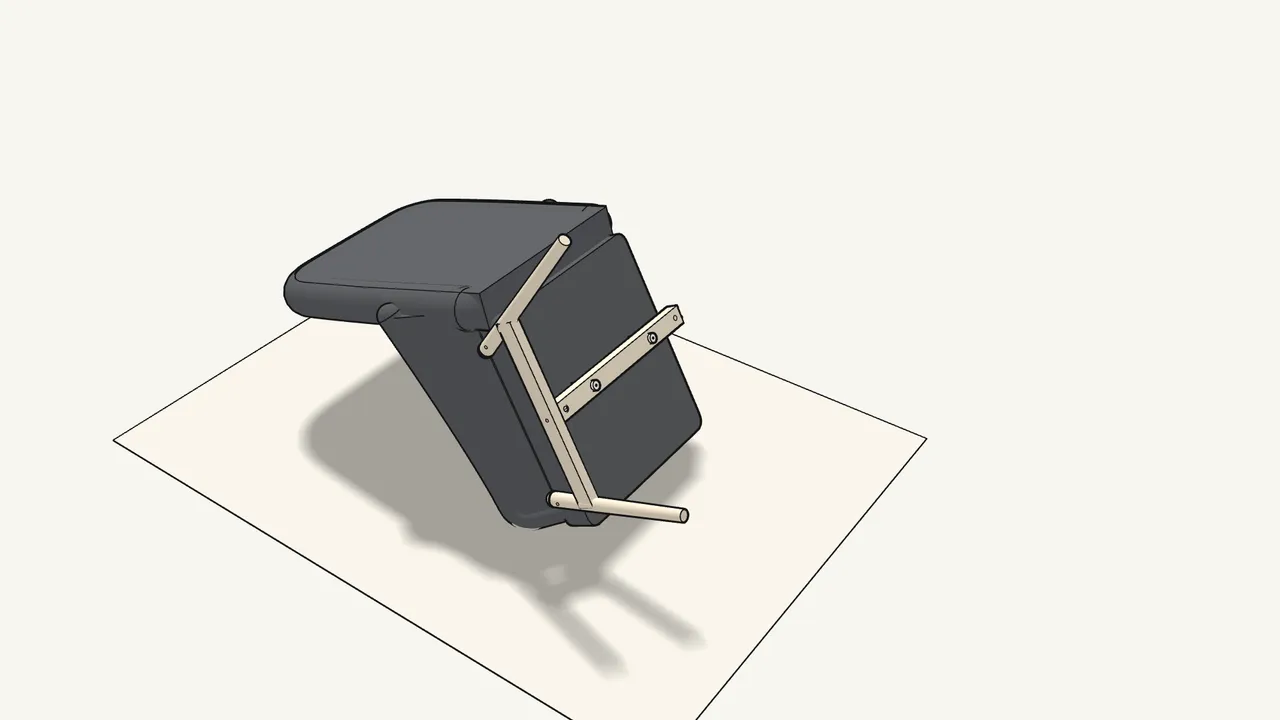
Fit a leg frame onto the end of the rail.
The slanted leg goes at the back — see the info box in step 3.
Step 7 · manual step 3
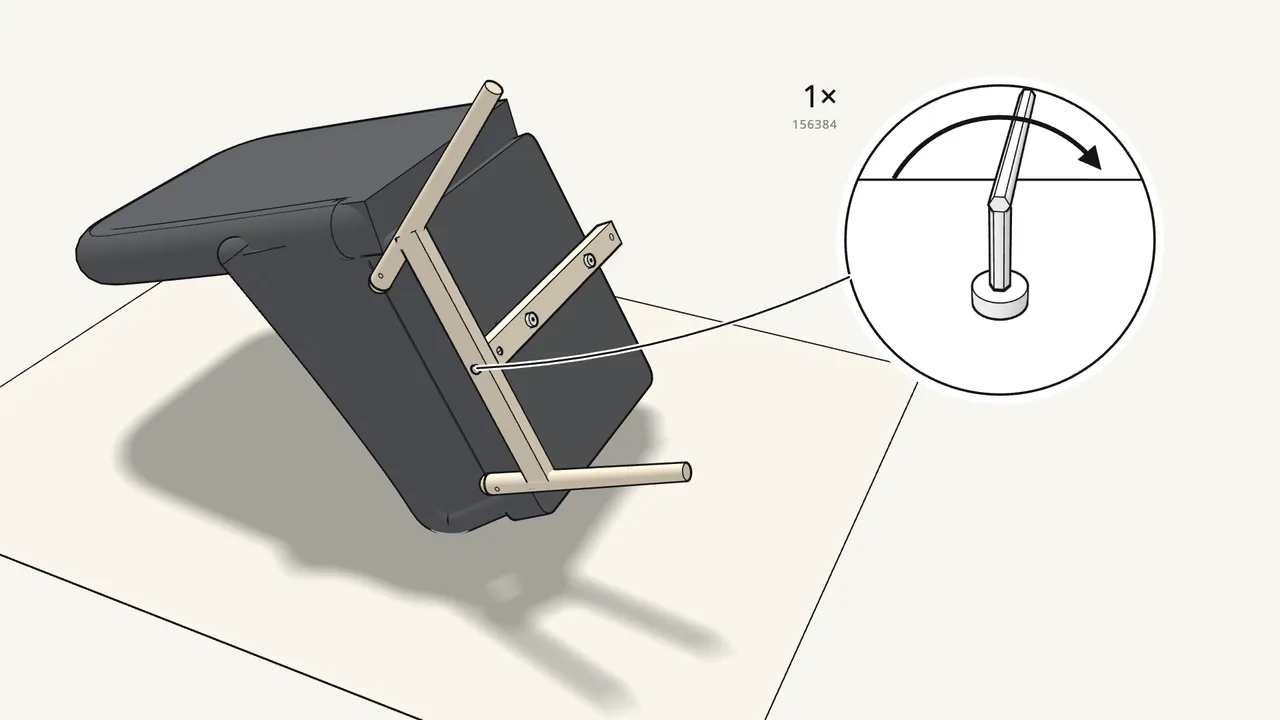
Screw a bolt (156384) through the frame into the cross dowel.
Not fully tight yet — leave a small gap (see the info box).
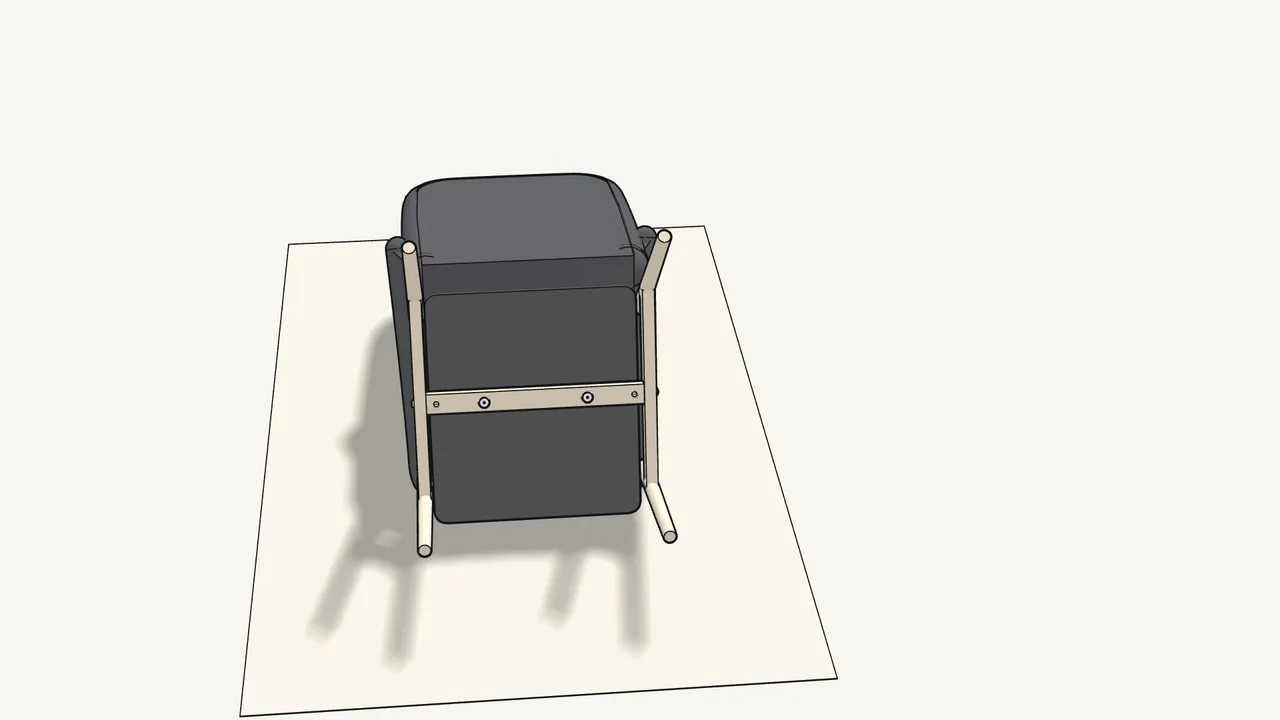
Step 8 · manual step 4
Fit the other leg frame the same way.
Cross dowel (121121), leg frame, then a bolt (156384) — slanted leg at the back.
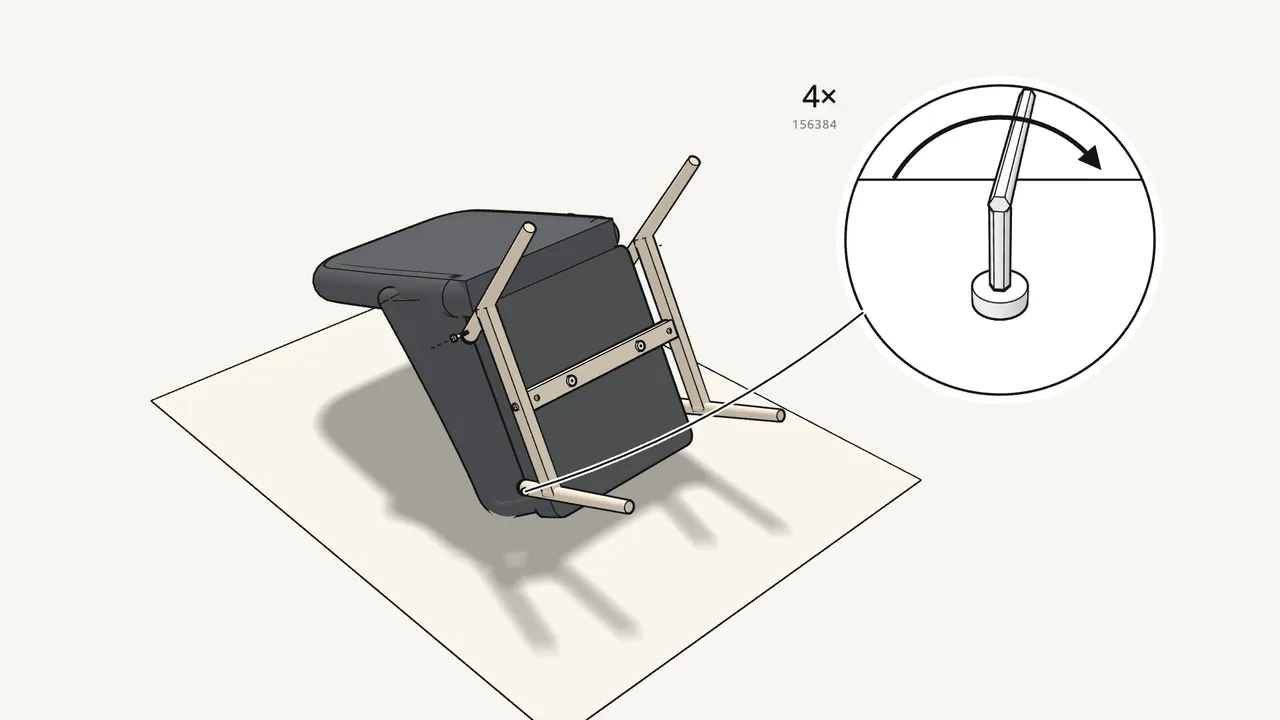
Step 9 · manual step 5
Screw 4 bolts (156384) through the tops of the legs into the seat.
Leave them slightly loose for now.
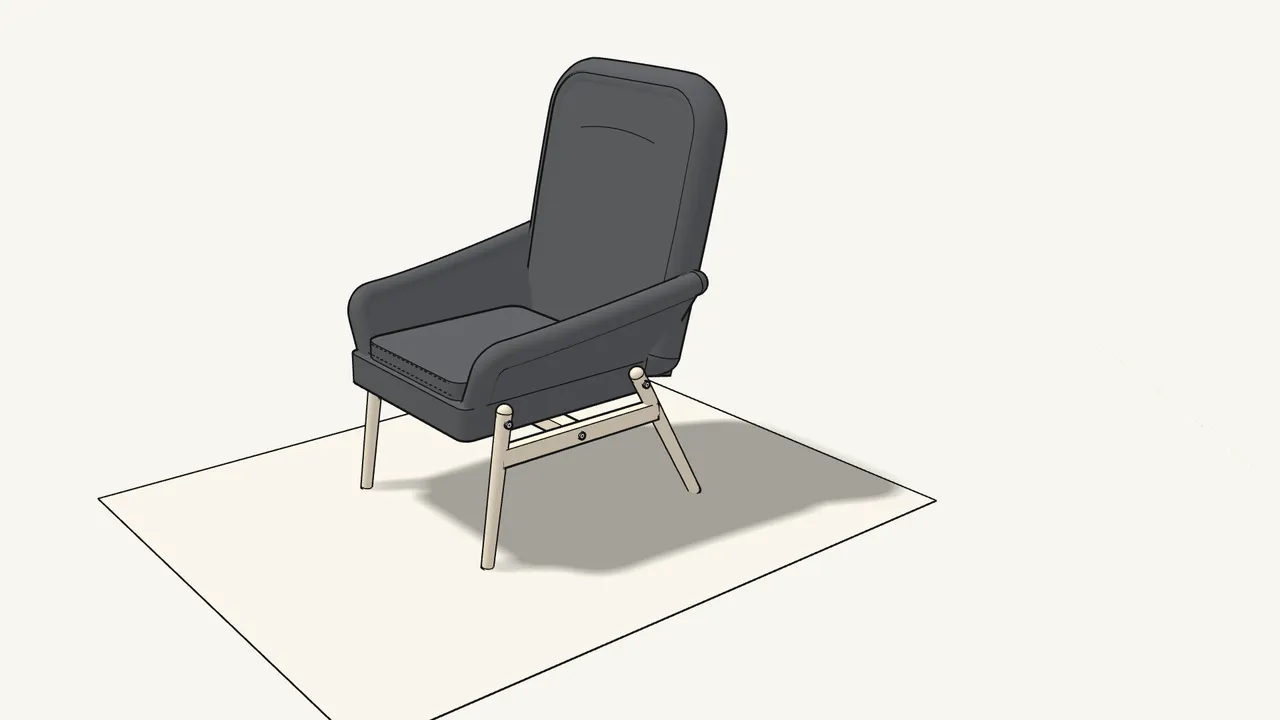
Step 10 · manual step 6
Turn the chair over onto its legs.
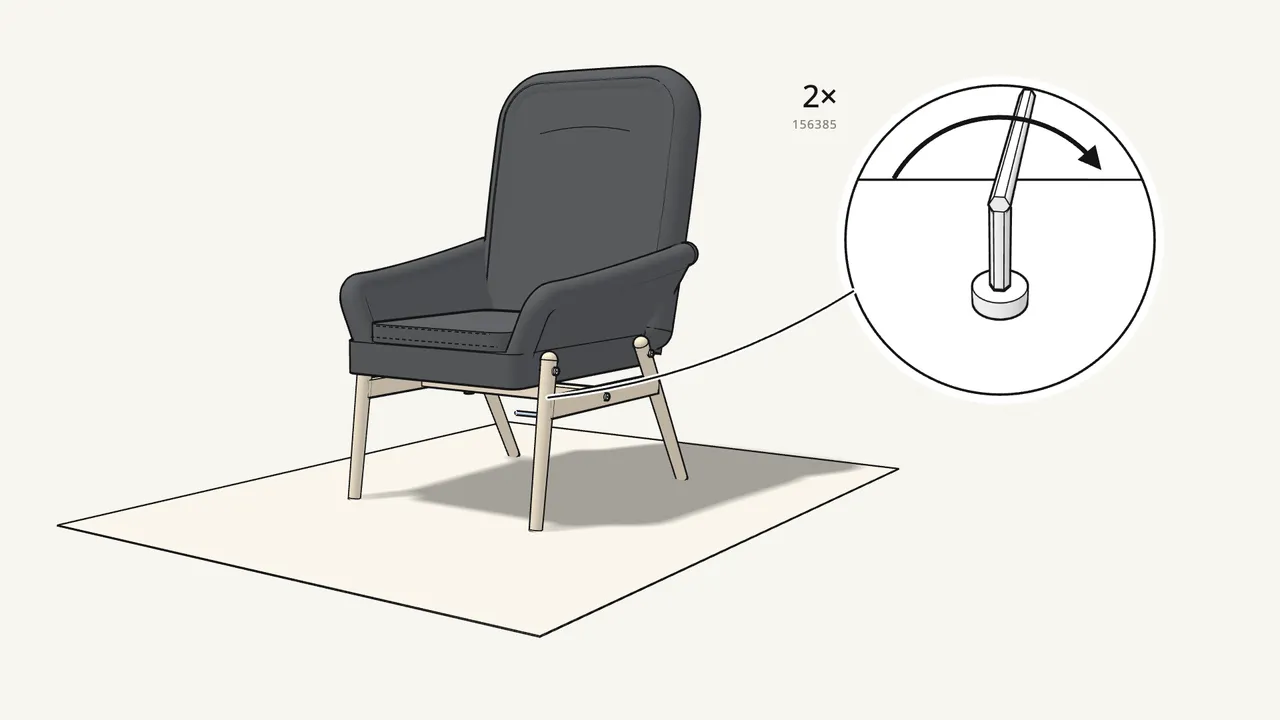
Step 11 · manual step 6
Tighten the 2 long bolts under the seat with the Allen key.
Turn until the heads sit tight against the rail.
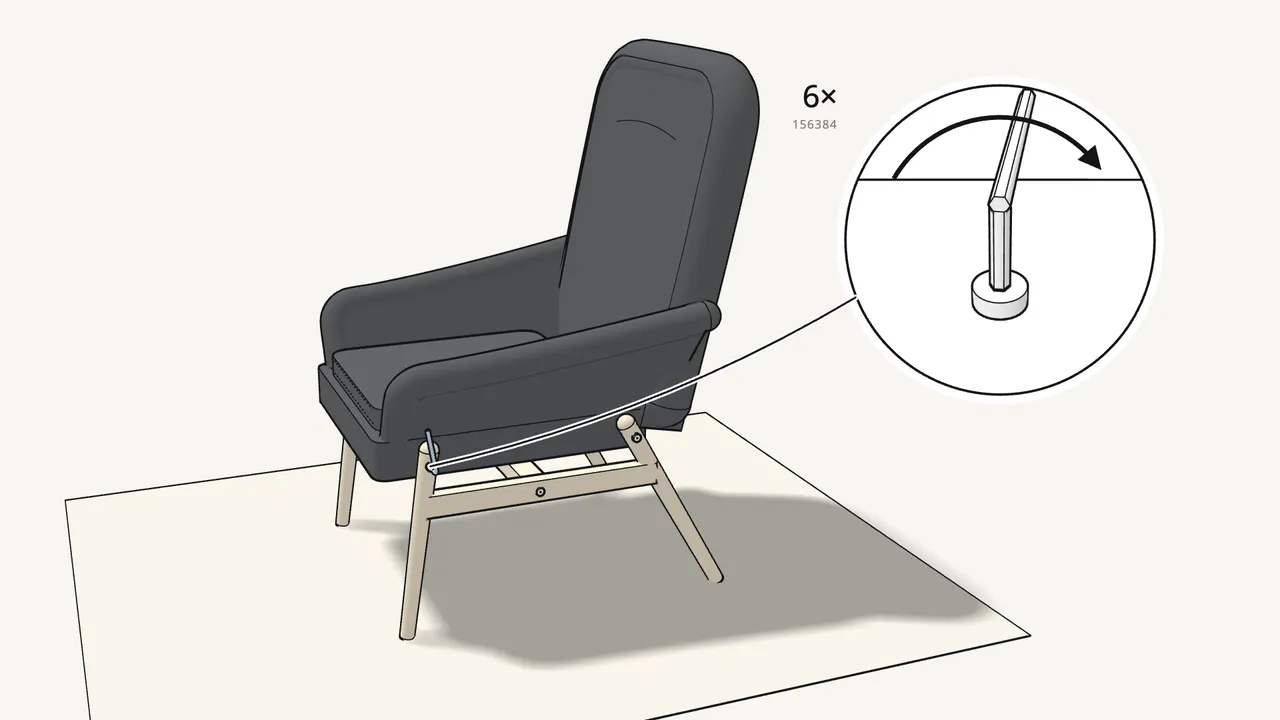
Step 12 · manual step 7
Tighten all 6 bolts (156384) with the Allen key.
2 in the side rails and 4 at the tops of the legs.
Tips & safety
- Tighten only at the end. All bolts stay a little loose until the chair stands on its legs (steps 6–7) — then everything lines up.
- Work on a soft surface. The manual shows the parts laid on a rug, so the fabric and legs don’t get scratched.
Official instructions
This guide follows IKEA’s official assembly instructions (AA-1931411-2). Keep the printed manual to hand — if anything differs, the manual is right.