IKEA · Chairs & Stools
How to assemble IKEA VALTORP Bench with Storage
Step-by-step IKEA VALTORP Bench with Storage assembly: 11 illustrated steps, an animated video, the hardware list and the tools you need — following the official instructions (AA-2418712-2).
- 11 illustrated steps
- 6 steps in the manual
- 1:52 video
- 103×41×46 cm
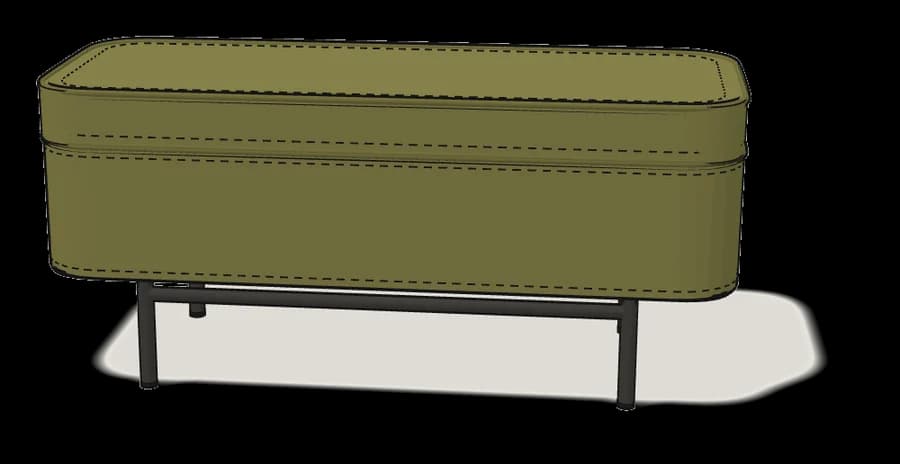
What you need
Tools
- Allen key (included)
Hardware in the box
| Part no. (as printed in the manual) | Qty |
|---|---|
| 111374 | 8× |
Step-by-step assembly
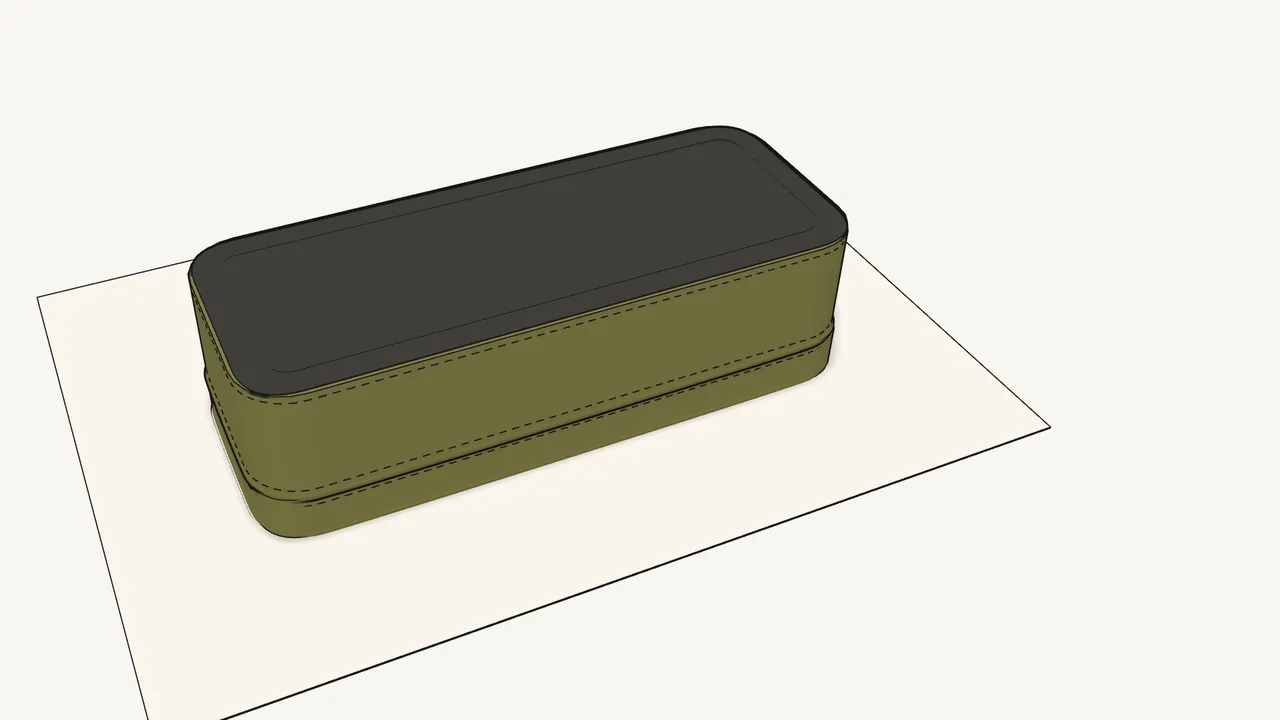
Step 1
Lay the bench upside down on a soft surface.
The lid rests on the rug; the underside faces up.
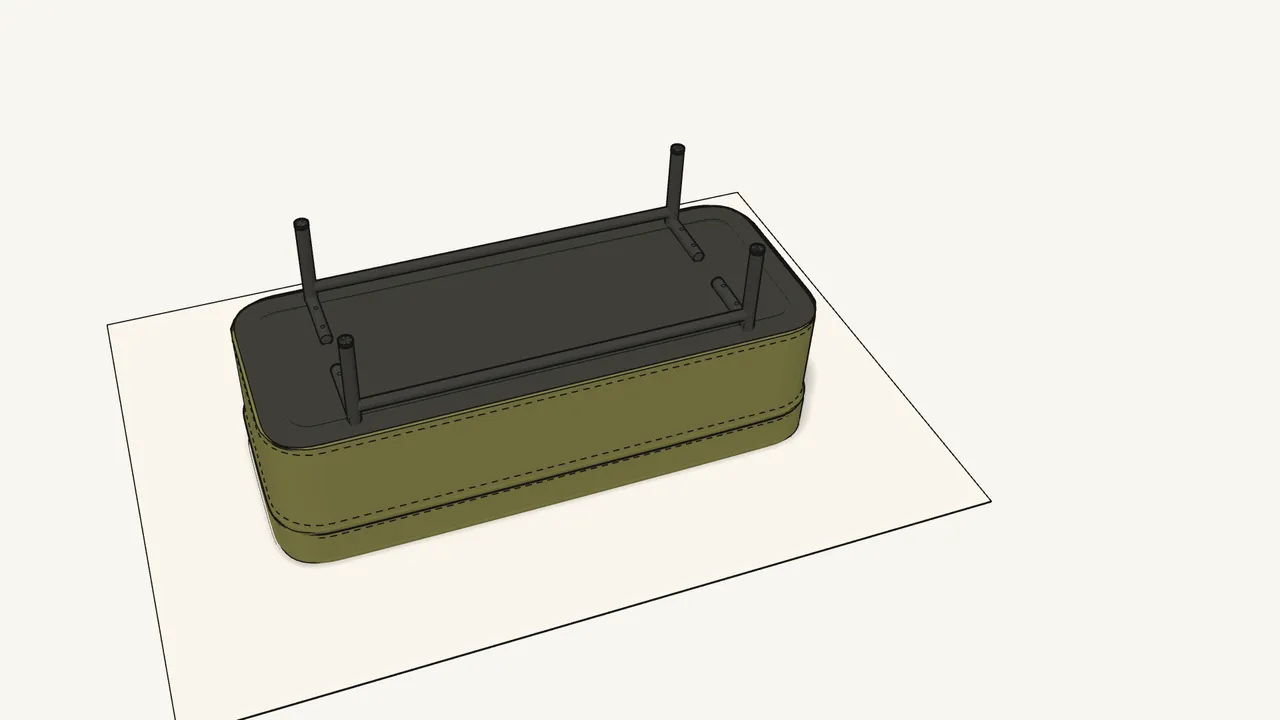
Step 2 · manual step 1
Place the two leg frames on the underside, over the holes.
The short arms lie flat on the bottom; the long rails run along the front and back.
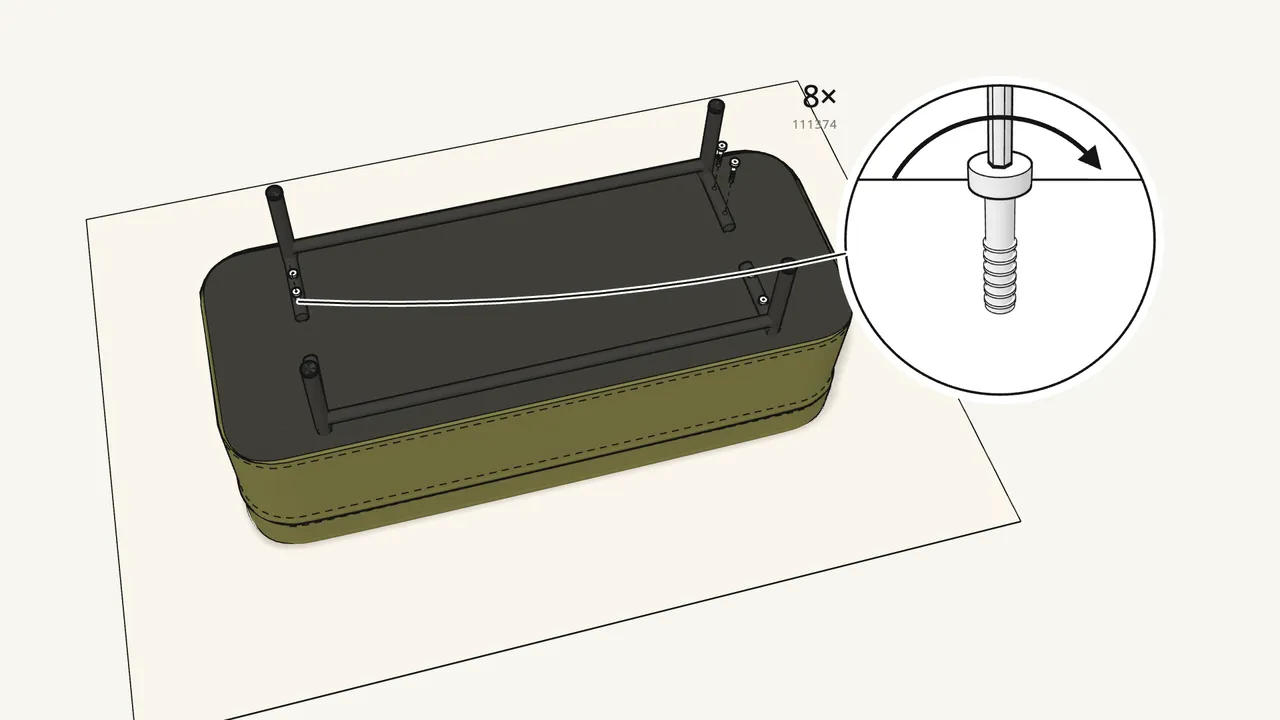
Step 3 · manual step 1
Fix the frames with 8 bolts (111374) and the Allen key.
2 bolts in each short arm — tighten them all firmly.
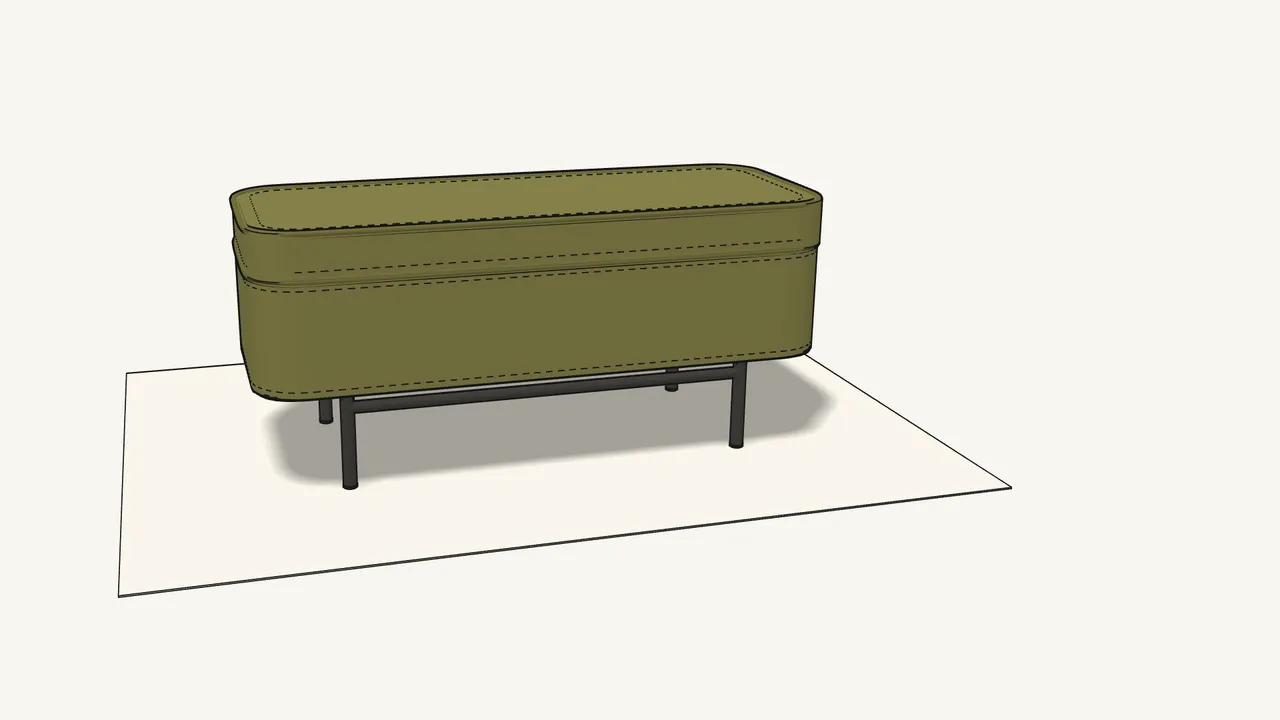
Step 4 · manual step 1
Turn the bench over onto its legs.
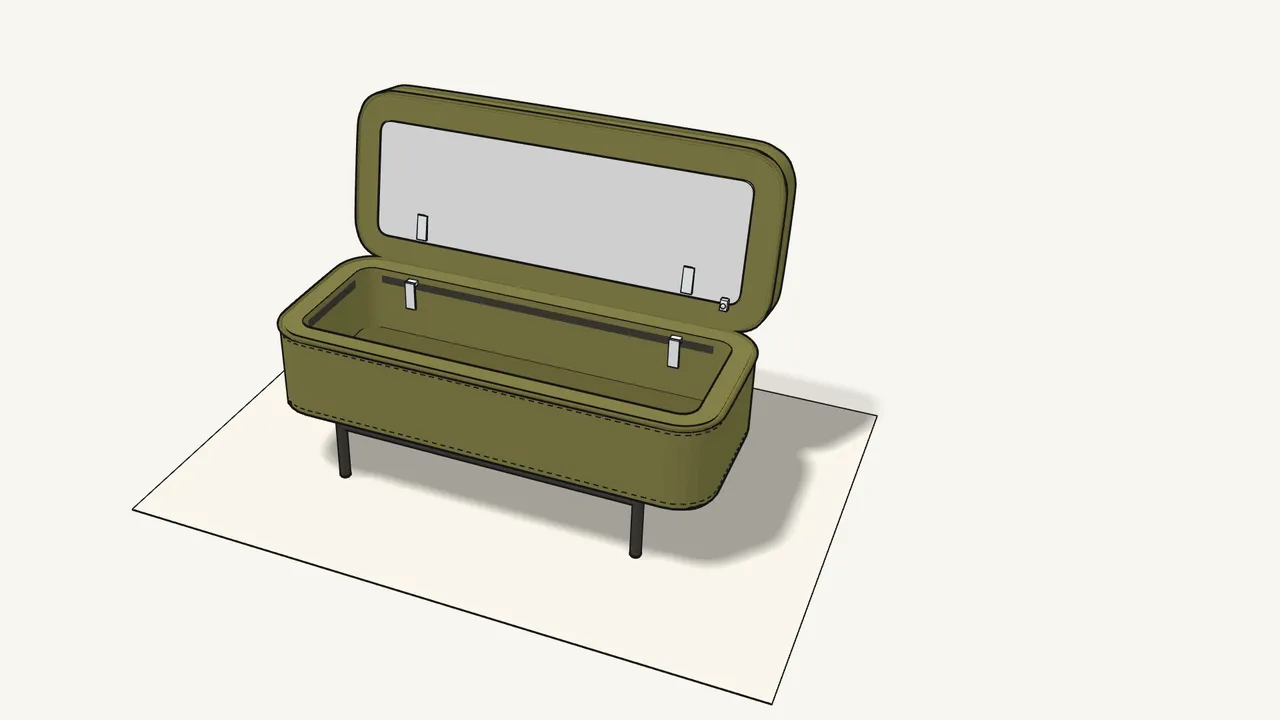
Step 5 · manual step 2
Open the lid.
It is already hinged at the back.
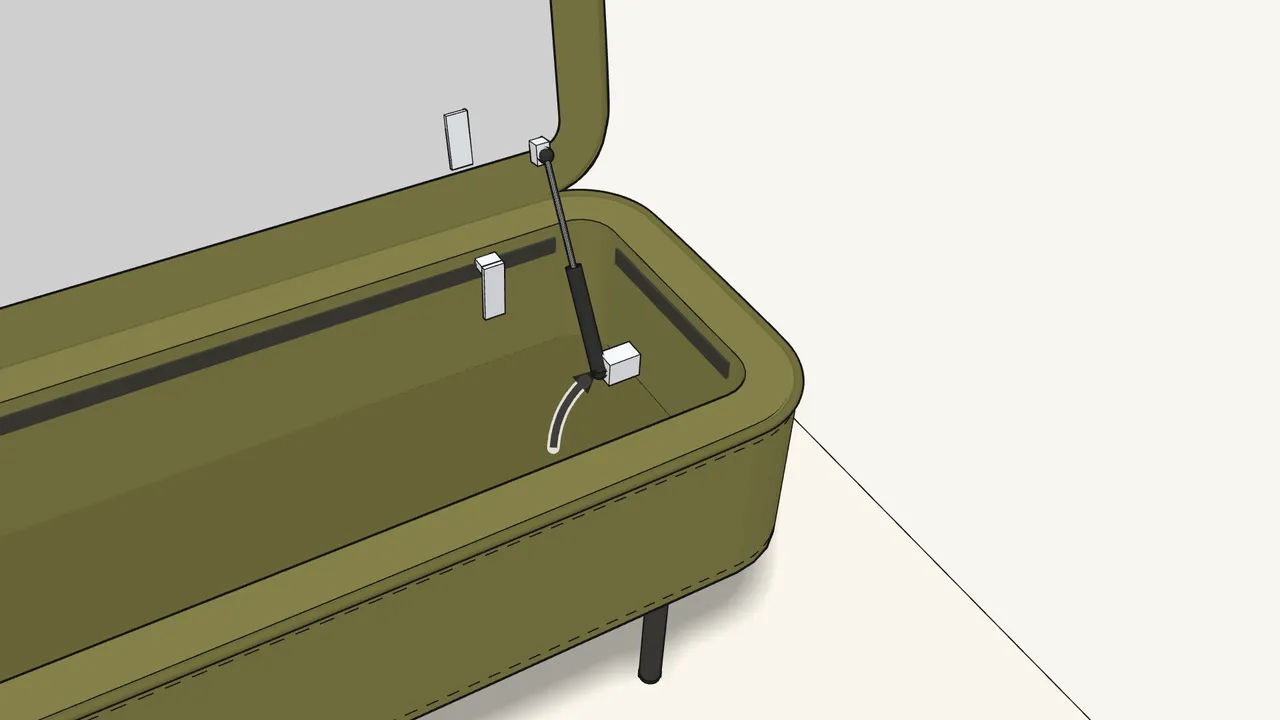
Step 6 · manual step 2
Press the gas spring onto the two ball studs until it clicks.
Top end onto the stud on the lid, bottom end onto the stud inside the right end.
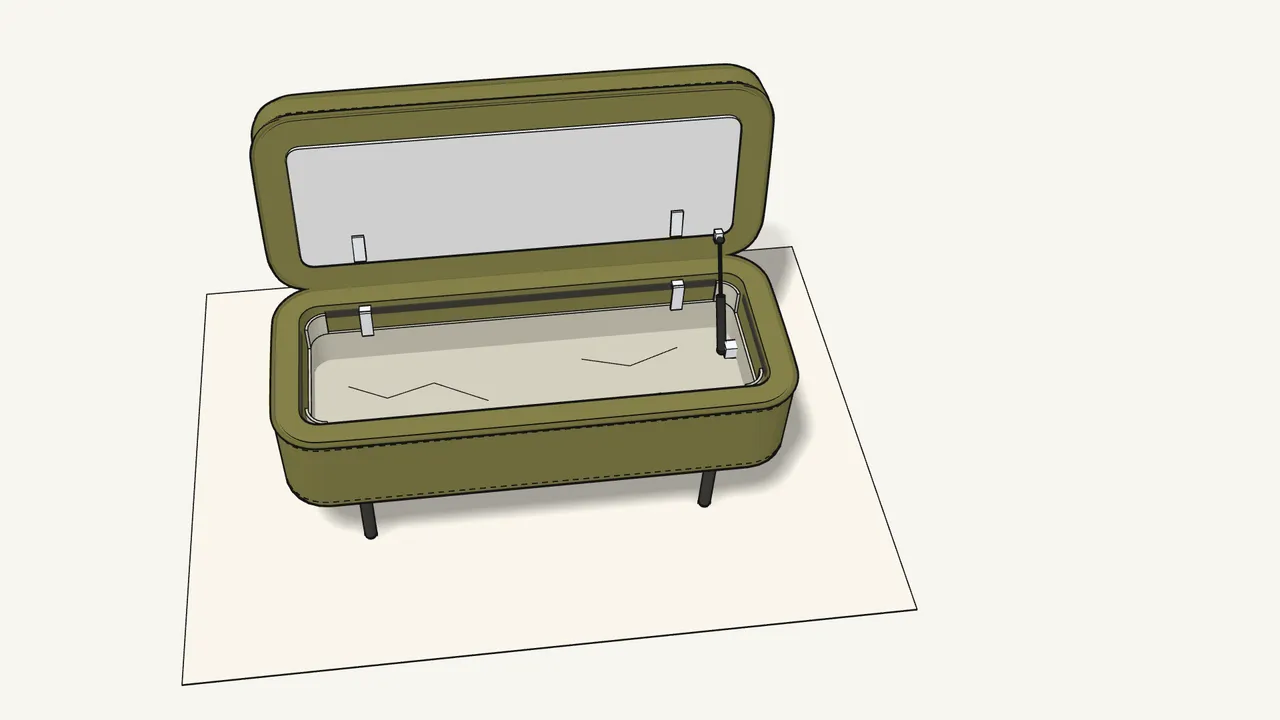
Step 7 · manual step 3
Put the fabric liner into the box.
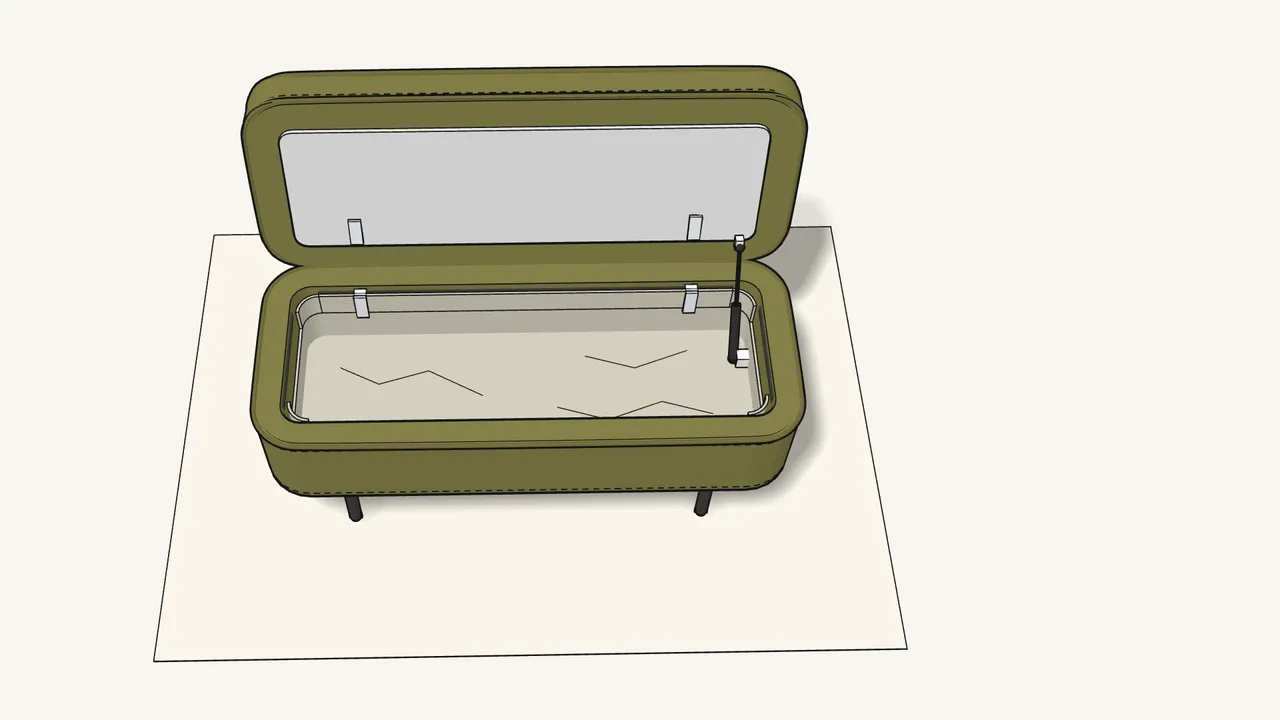
Step 8 · manual step 4
Fold up the back edge of the liner and press it onto the strip.
Work along the whole back edge.
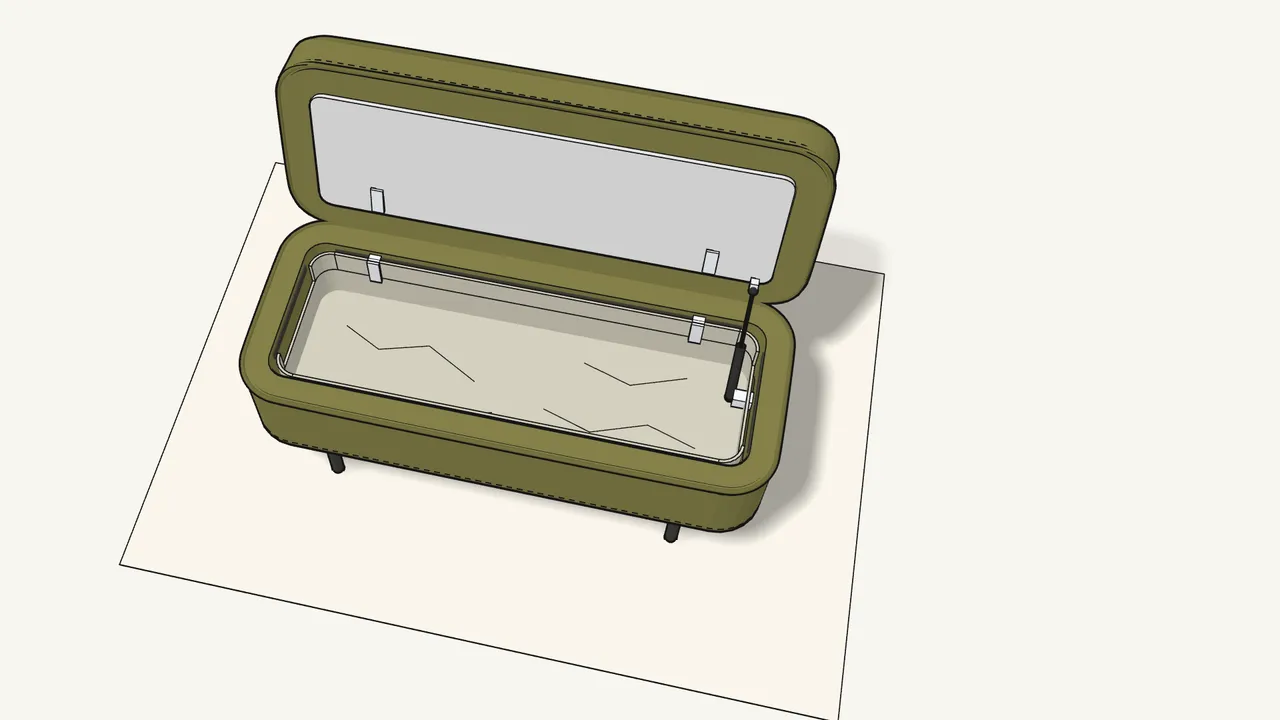
Step 9 · manual step 5
Do the same along the front edge.
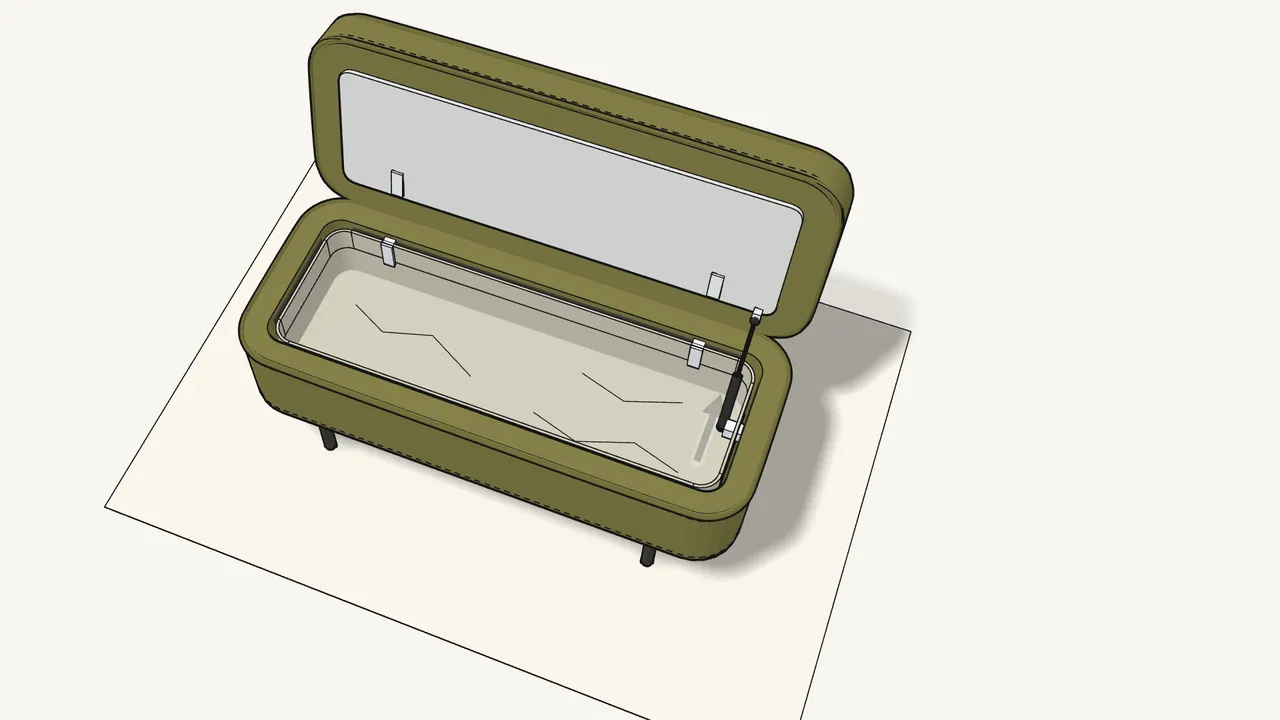
Step 10 · manual step 6
Press the liner onto the strips at both ends.
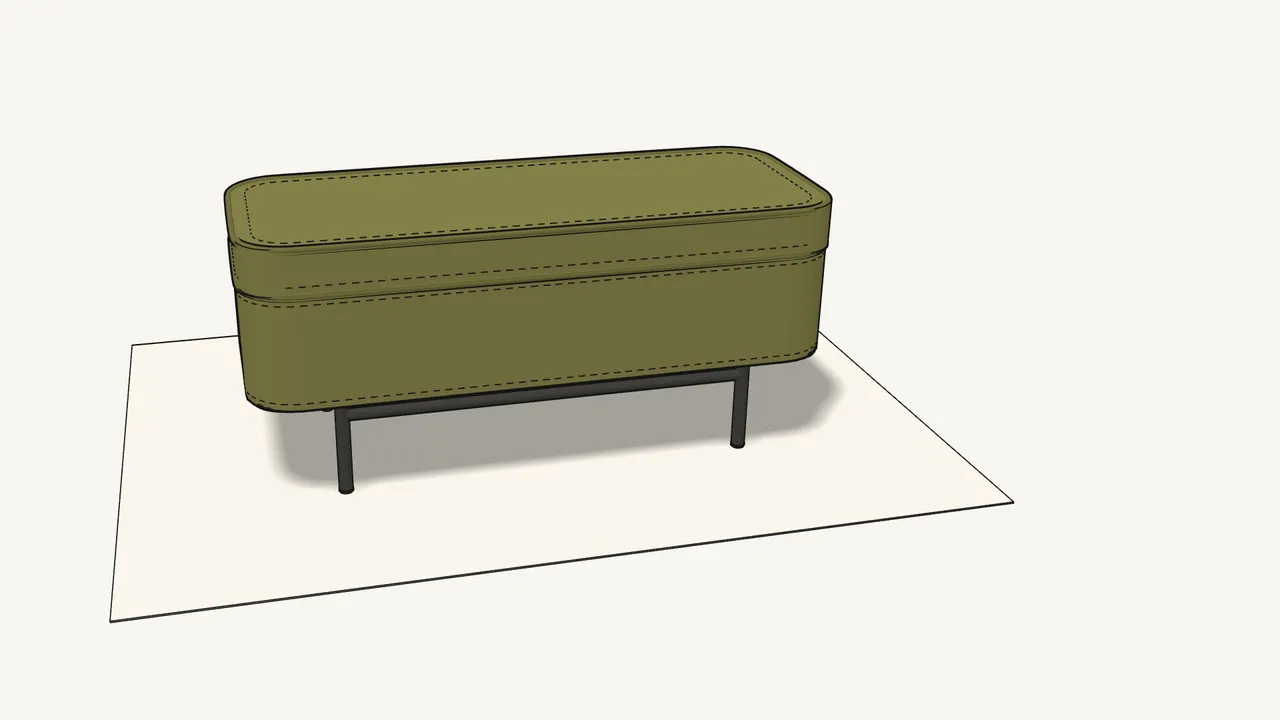
Step 11 · manual step 6
Close the lid.
The gas spring lowers it gently.
Tips & safety
- Assemble on a soft surface. Like the manual shows — a rug protects the fabric and the floor.
- Not sure about something? Contact your IKEA store or customer service — see page 2 of the manual.
Official instructions
This guide follows IKEA’s official assembly instructions (AA-2418712-2). Keep the printed manual to hand — if anything differs, the manual is right.