IKEA · Chairs & Stools
How to assemble IKEA TOLKNING Bench with Storage
Step-by-step IKEA TOLKNING Bench with Storage assembly: 7 illustrated steps, an animated video, the hardware list and the tools you need — following the official instructions (AA-2297795-2).
- 7 illustrated steps
- 3 steps in the manual
- 1:38 video
- 120×40×46 cm
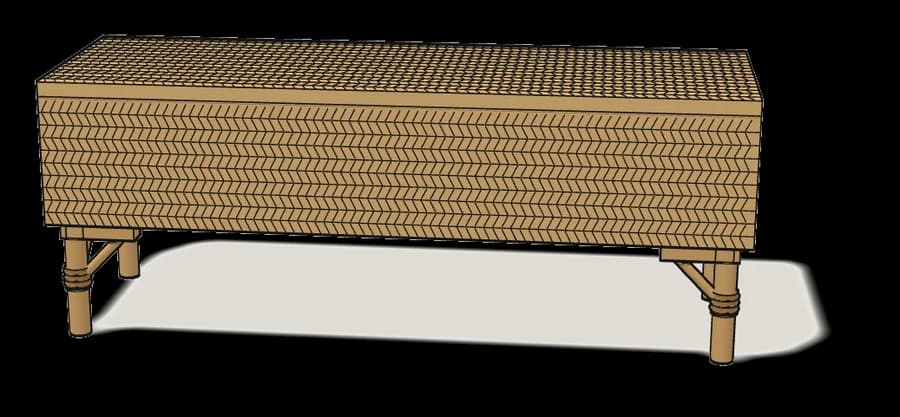
What you need
Tools
- Allen key (included)
Hardware in the box
| Part no. (as printed in the manual) | Qty |
|---|---|
| 104556 | 12× |
| 100842 | 12× |
Step-by-step assembly
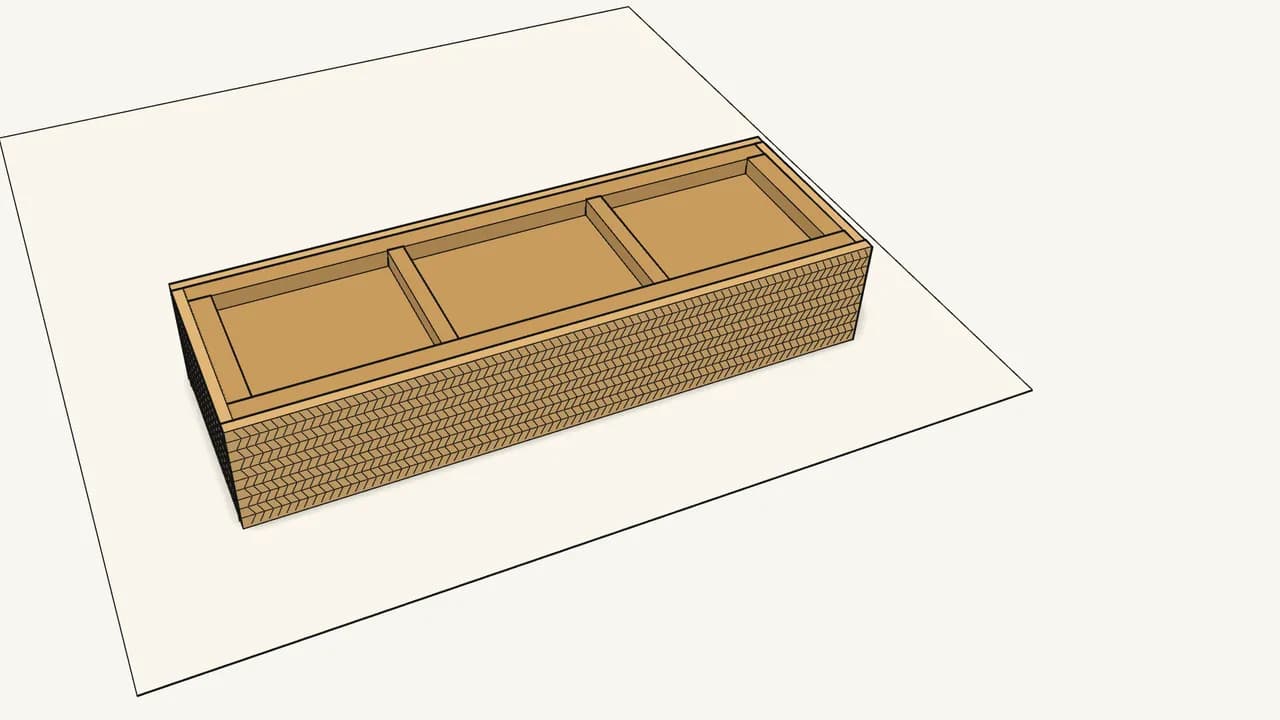
Step 1
Lay the box upside down on a soft surface.
The open top rests on the rug; the underside with its frame faces up.
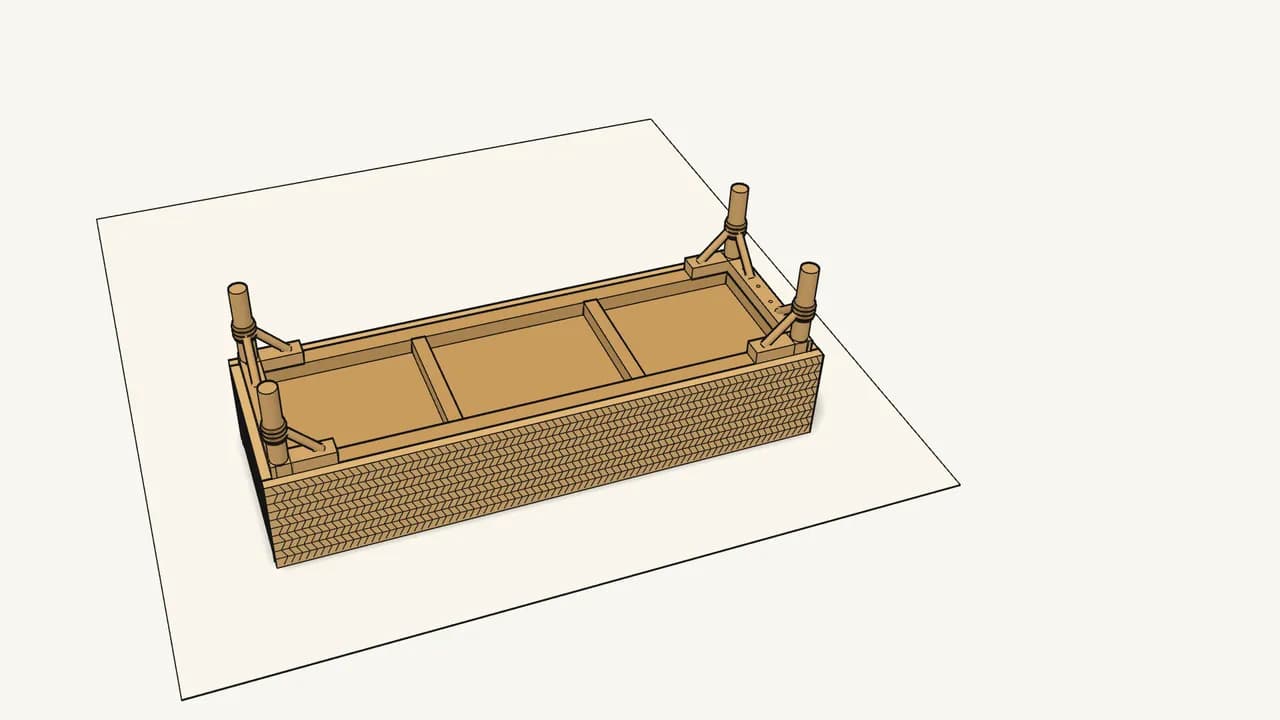
Step 2 · manual step 1
Place both leg frames on the underside, over the holes.
One at each end — the rail lies on the frame across the end.
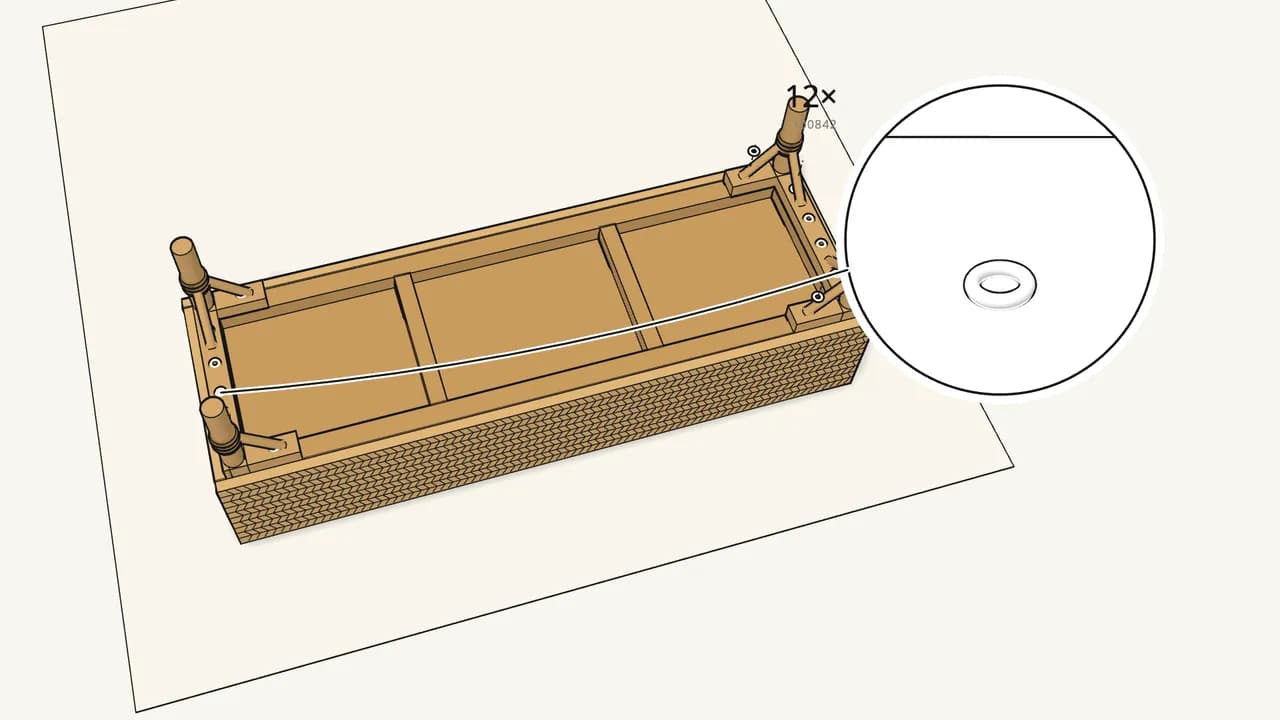
Step 3 · manual step 2
Put a washer (100842) over each of the 12 holes.
6 per leg frame — 4 in the rail and 1 in each end piece.
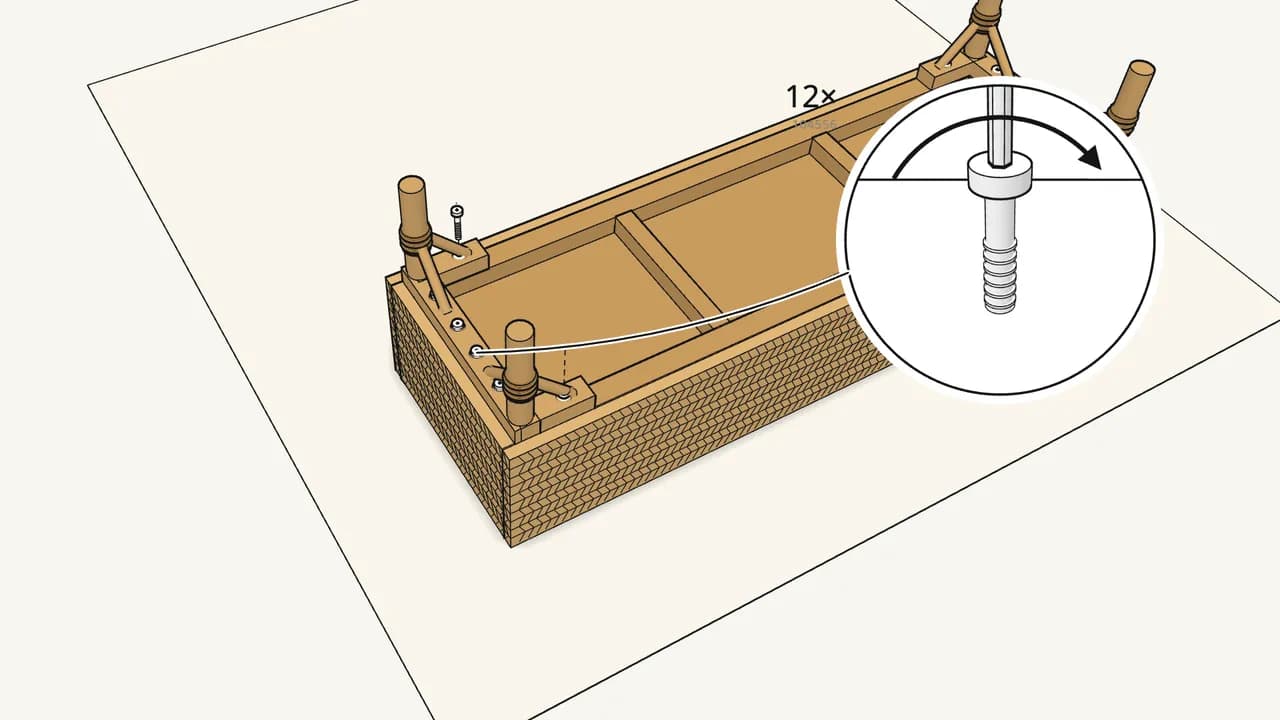
Step 4 · manual step 2
Screw in 6 bolts (104556) with the Allen key (130445).
Each bolt goes through its washer into the frame of the box.
Step 5 · manual step 2
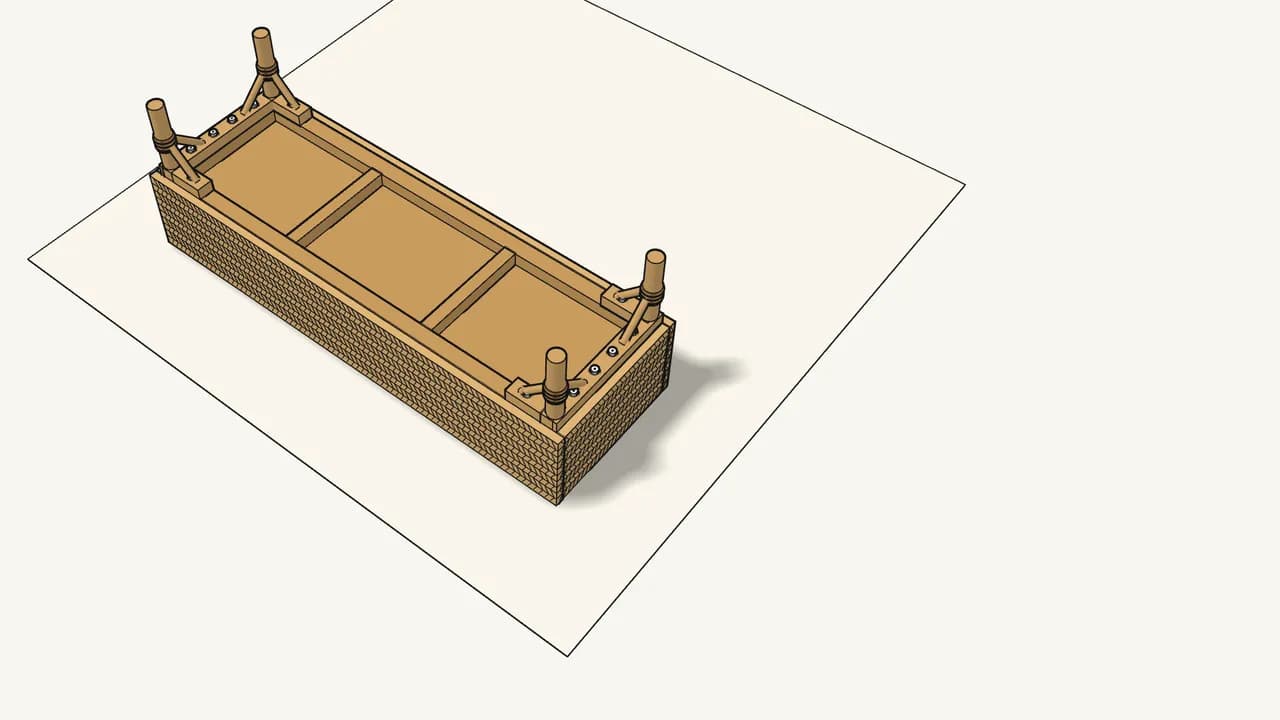
Fix the second leg frame the same way — 6 more bolts.
Tighten all 12 bolts firmly.
Step 6 · manual step 3
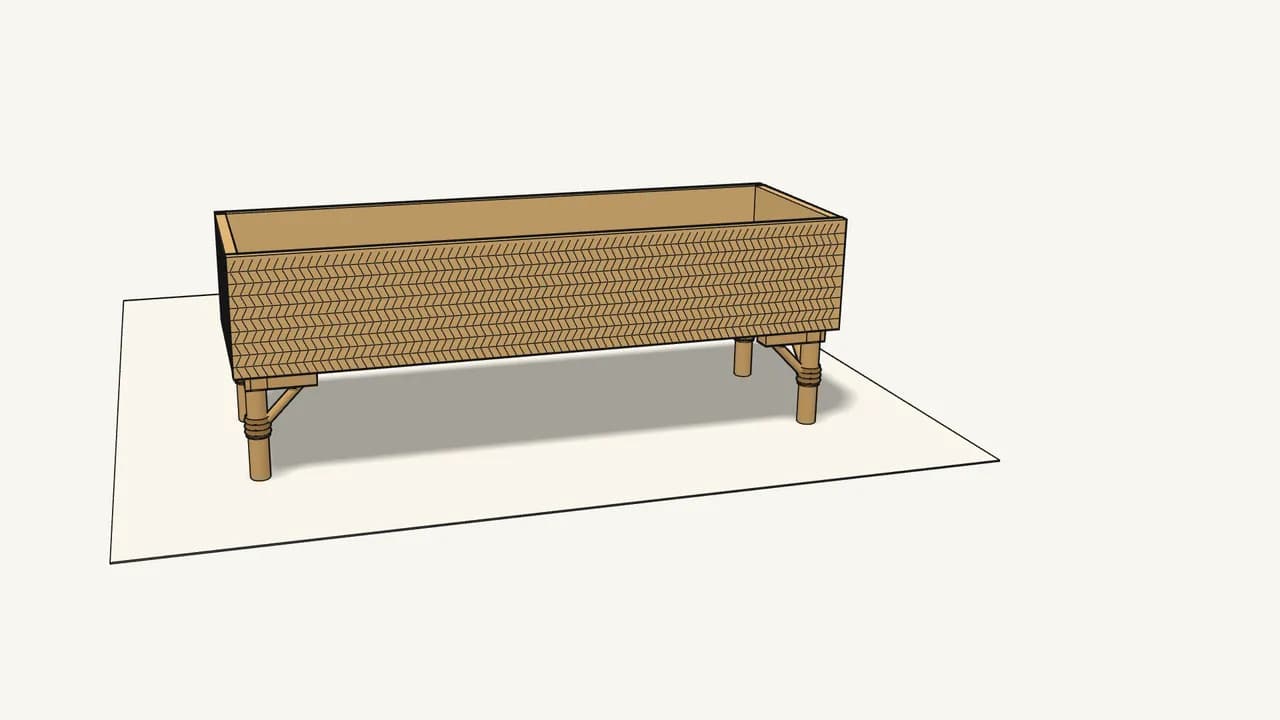
Turn the bench over onto its legs.
Step 7 · manual step 3
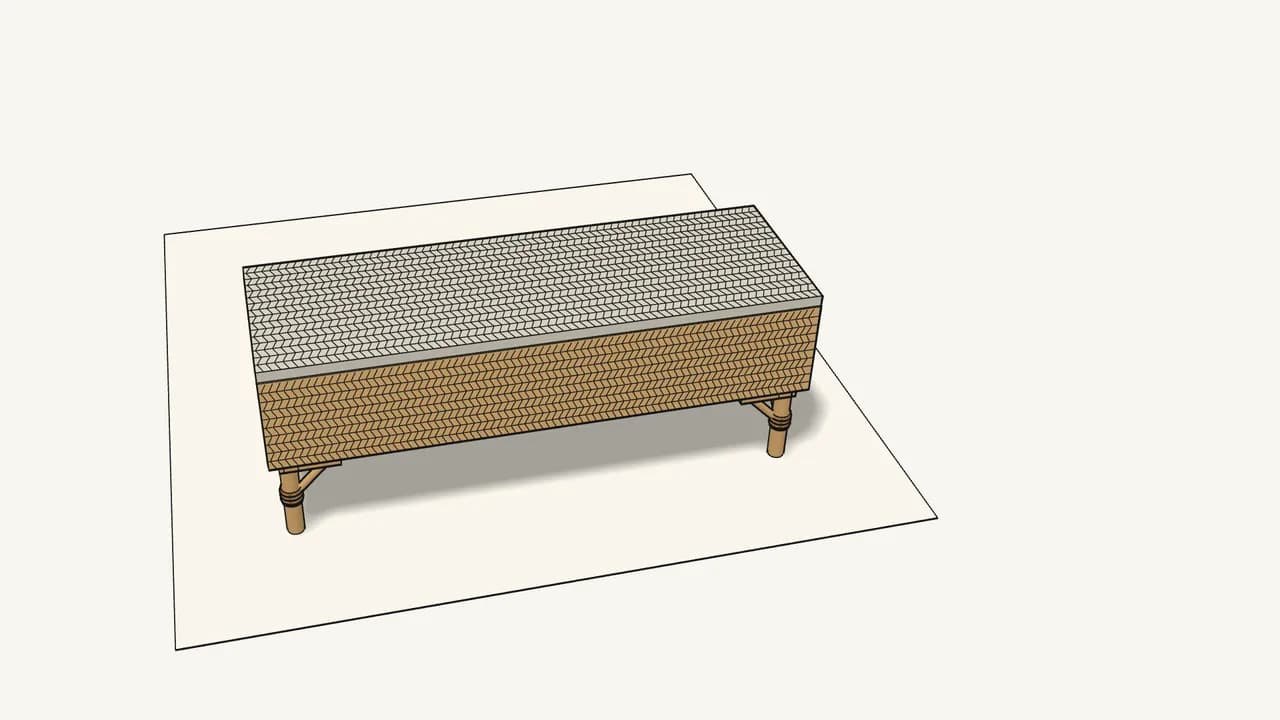
Lay the lid on top of the box.
It simply rests on the walls — no fittings needed.
Tips & safety
- Max. load 130 kg (286 lb). The limit for the top of the bench — see page 7 of the manual.
- Never stand on the bench. It’s not a step stool — the manual crosses this out.
- Not sure about something? Contact your IKEA store or customer service — see page 2 of the manual.
Official instructions
This guide follows IKEA’s official assembly instructions (AA-2297795-2). Keep the printed manual to hand — if anything differs, the manual is right.