IKEA · Chairs & Stools
How to assemble IKEA STYRSPEL Gaming Chair
Step-by-step IKEA STYRSPEL Gaming Chair assembly: 14 illustrated steps, an animated video, the hardware list and the tools you need — following the official instructions (AA-2314576-8).
- 14 illustrated steps
- 11 steps in the manual
- 2:17 video
- 66×66×134 cm cm
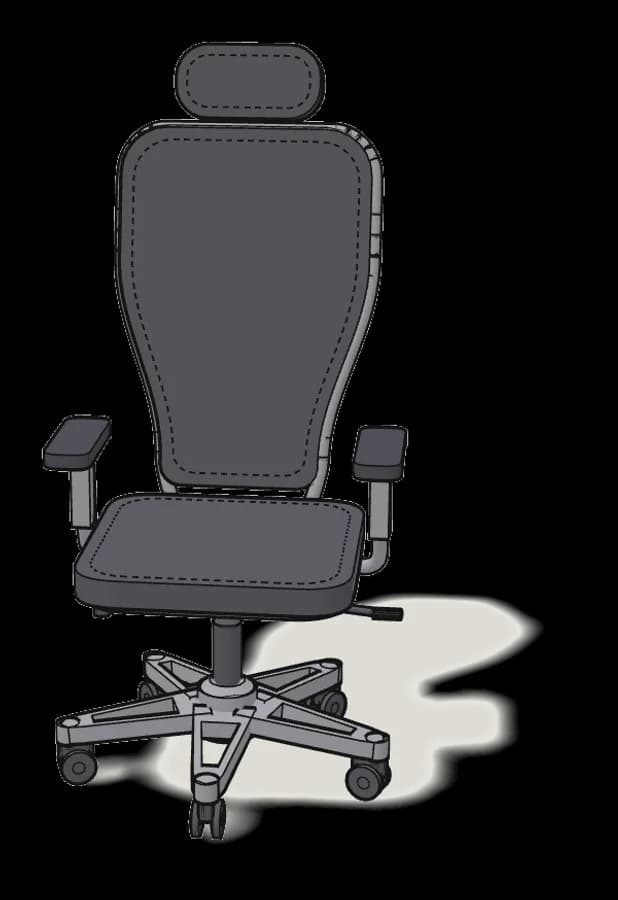
What you need
Tools
- Allen key (included)
You’ll need: only the Allen key (124345), included. A table helps in steps 3–8.
Hardware in the box
| Part no. (as printed in the manual) | Qty |
|---|---|
| 122134 | 7× |
| 122900 | 4× |
| 10068253 | 1× |
Step-by-step assembly
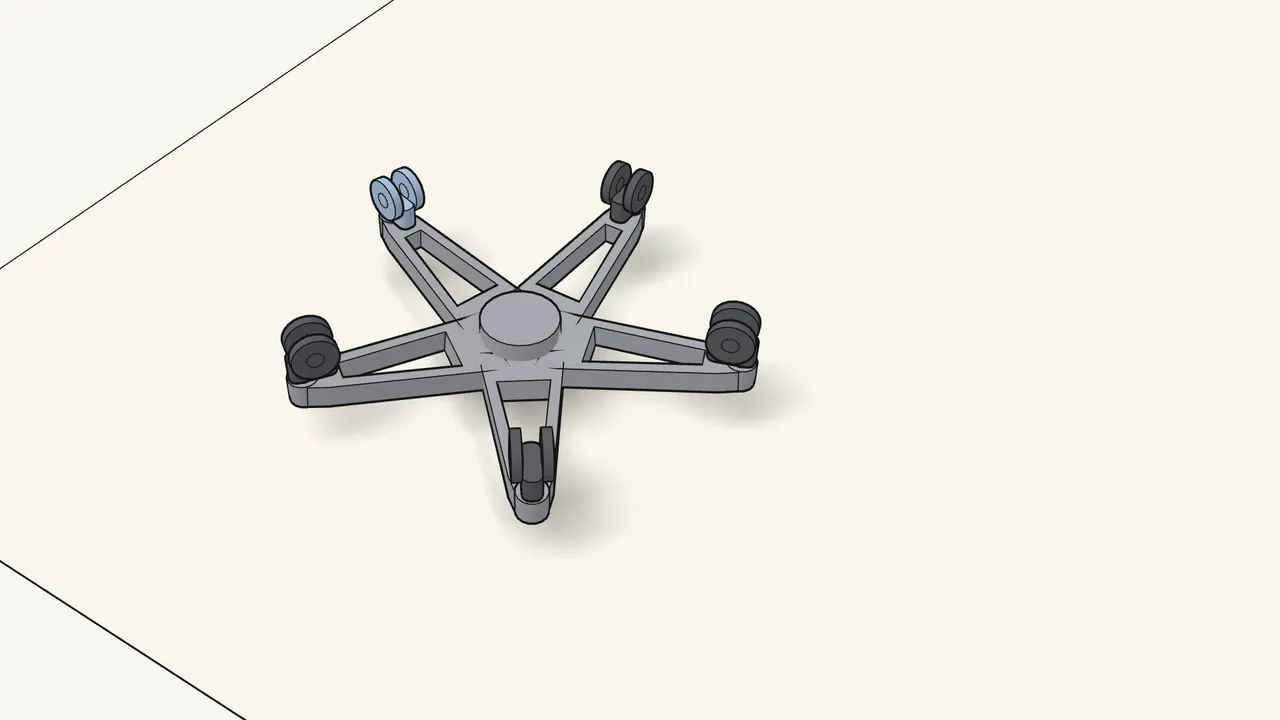
Step 1
Lay the base upside down and click in the 5 casters.
Push each caster in until it clicks — no gap under the caster.
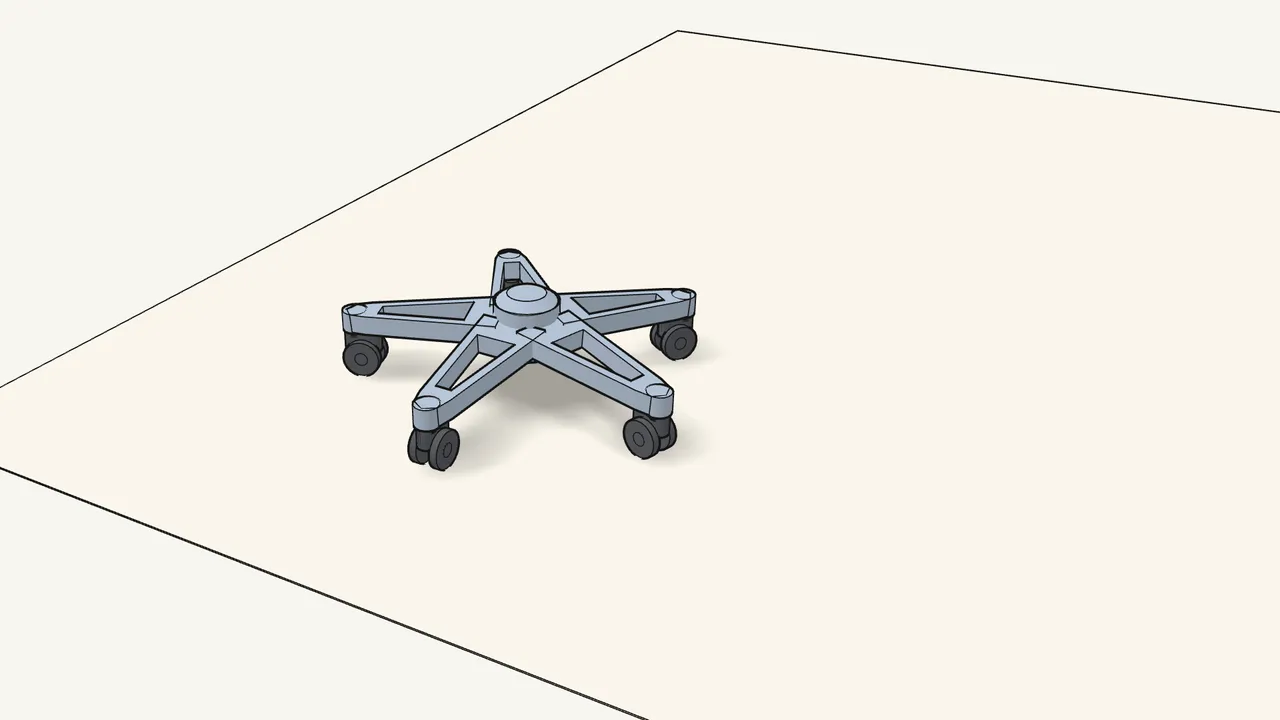
Step 2 · manual step 1
Turn the base over onto its casters.
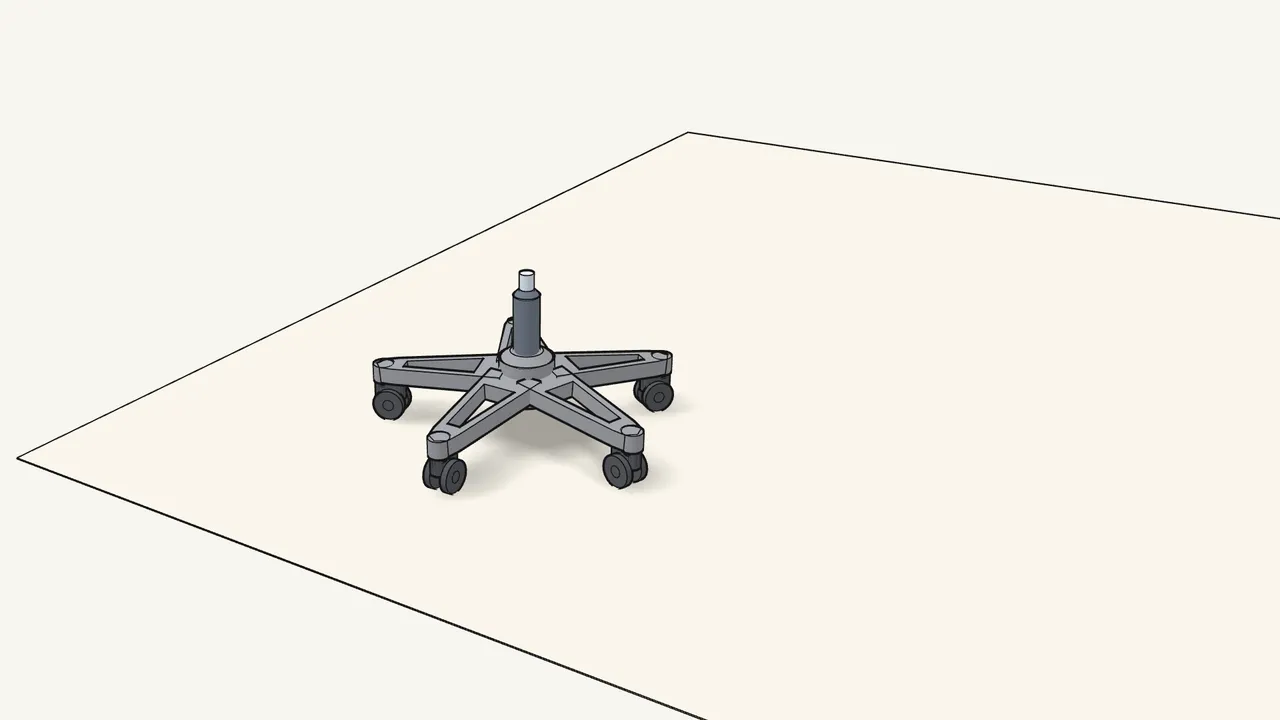
Step 3 · manual step 2
Put the gas cylinder into the hole in the centre of the base.
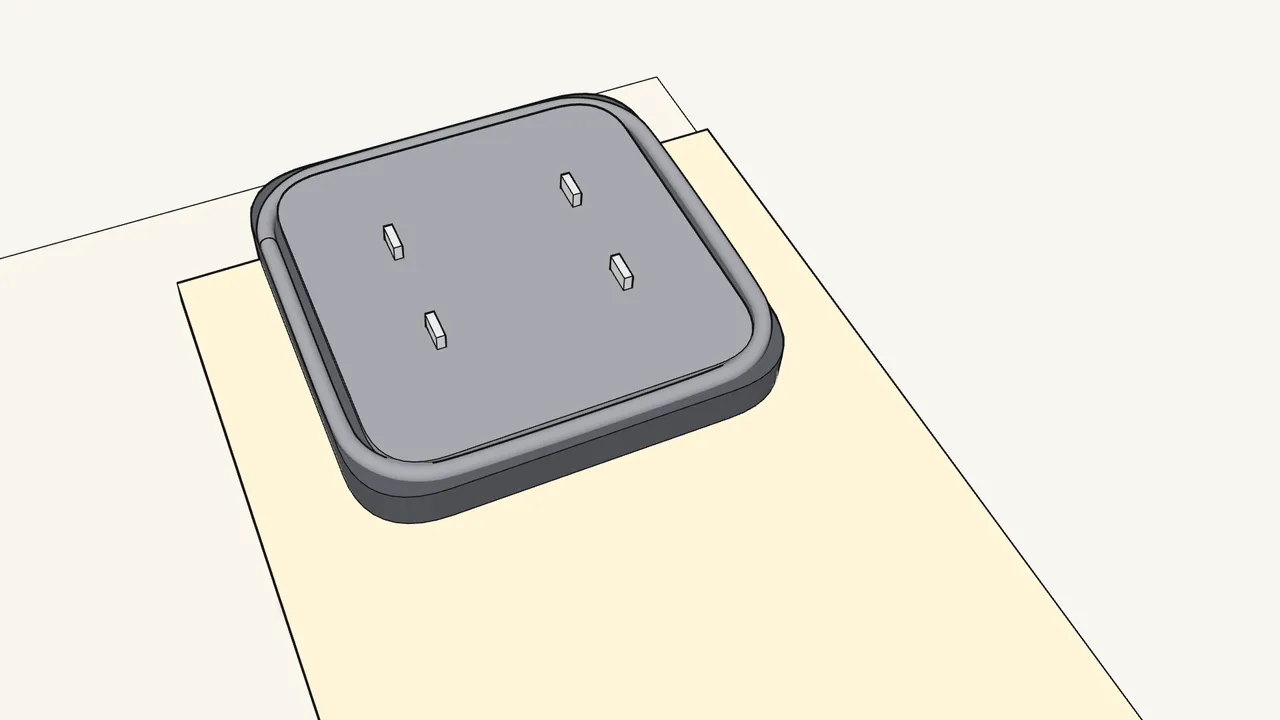
Step 4 · manual step 3
Lay the seat upside down on a table and pull up the 4 clips.
Pull each clip up until it clicks (manual p. 8).
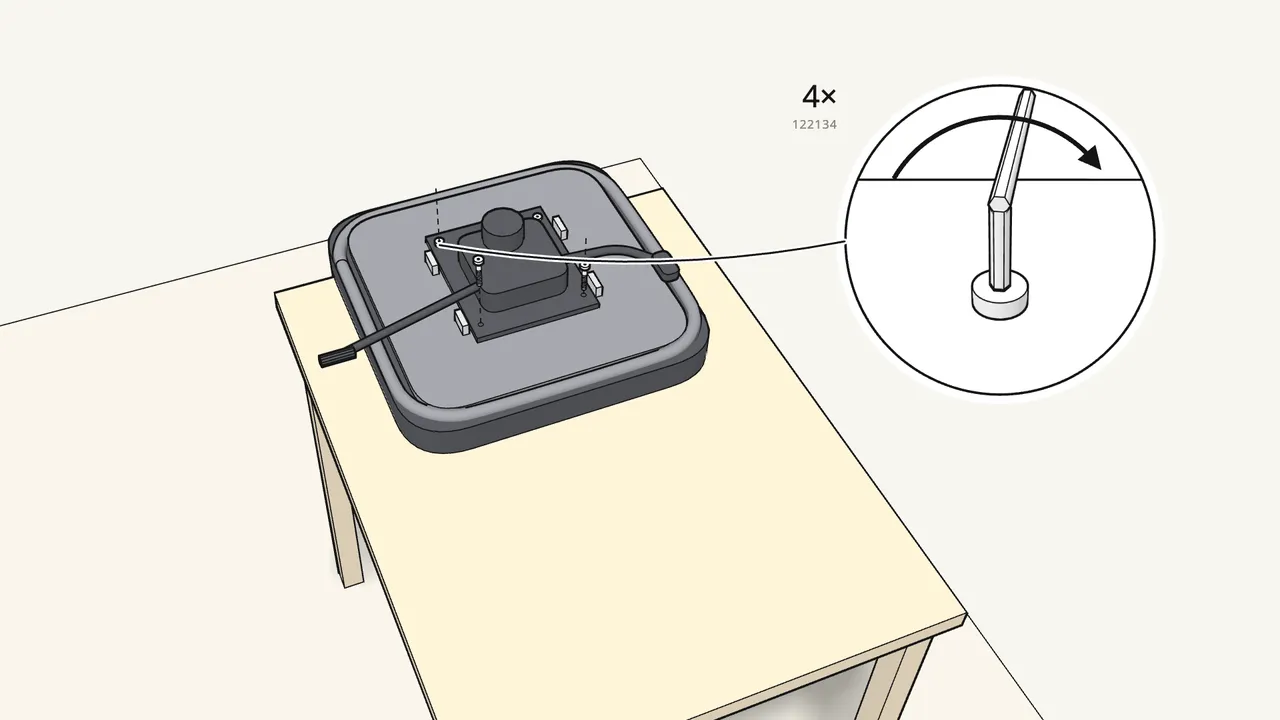
Step 5 · manual step 3
Fit the mechanism with 4 bolts (122134).
Levers as shown in the manual, step 3. Tighten with the Allen key.
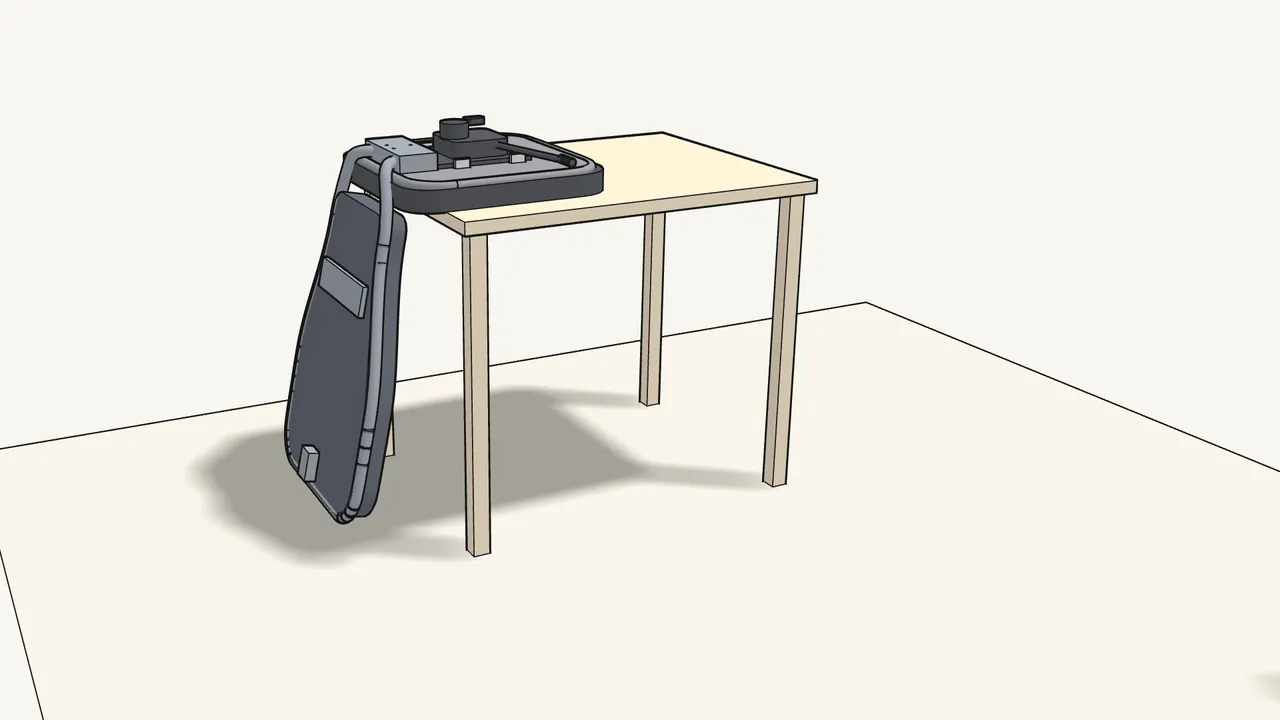
Step 6 · manual step 4
Slide the backrest bracket into the back of the mechanism.
Let the backrest hang over the edge of the table.
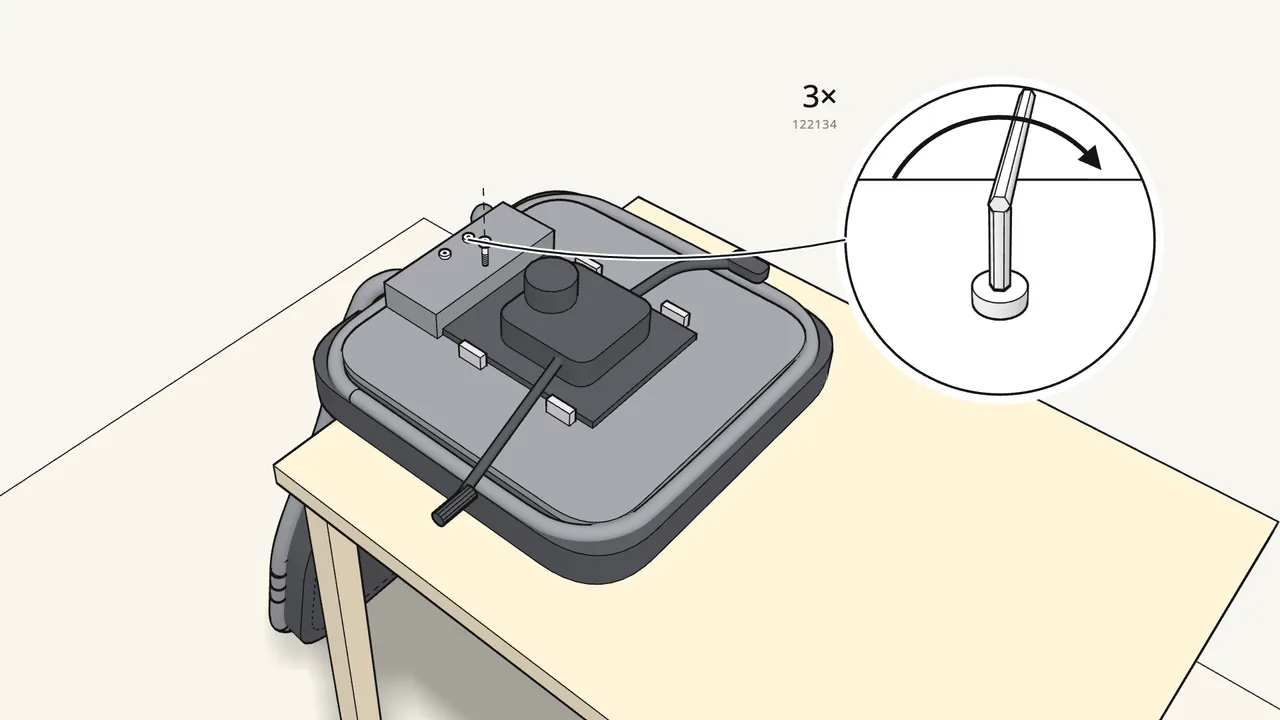
Step 7 · manual step 5
Fix the backrest with 3 bolts (122134).
Tighten with the Allen key.
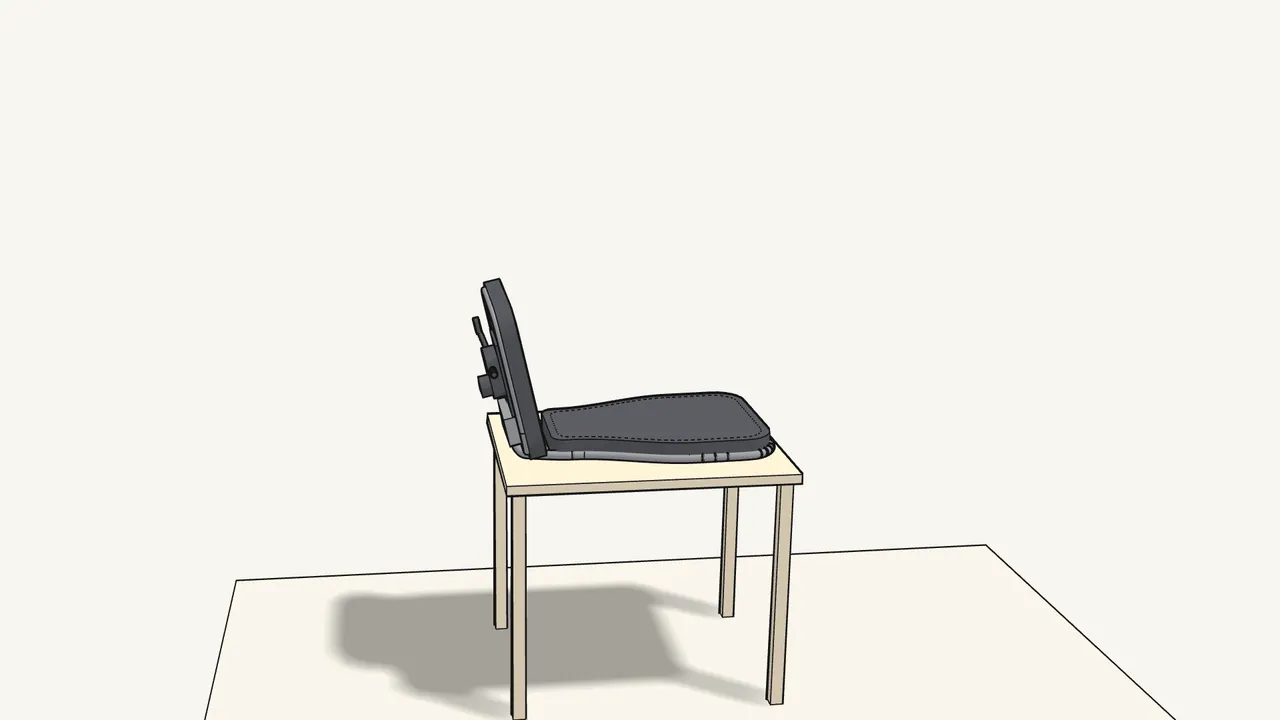
Step 8 · manual step 5
Turn the chair over so the backrest lies on the table.
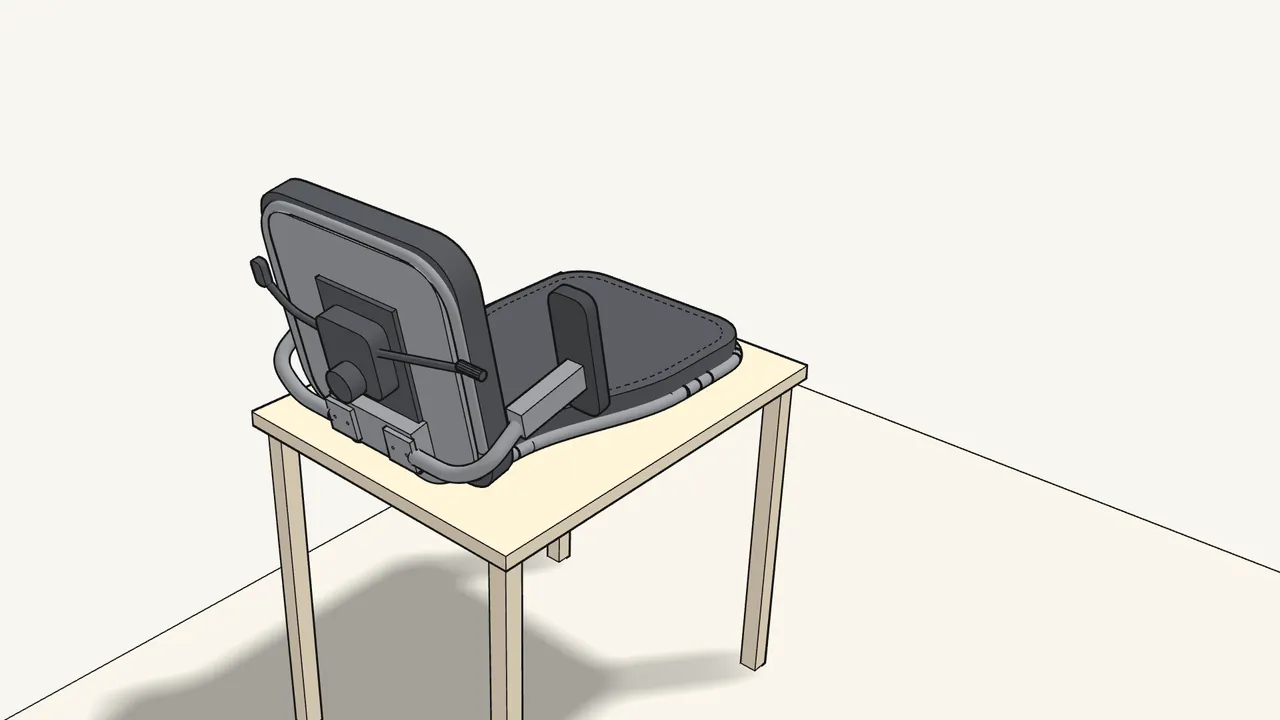
Step 9 · manual step 6
Slide the two armrests onto the bracket.
One from each side.
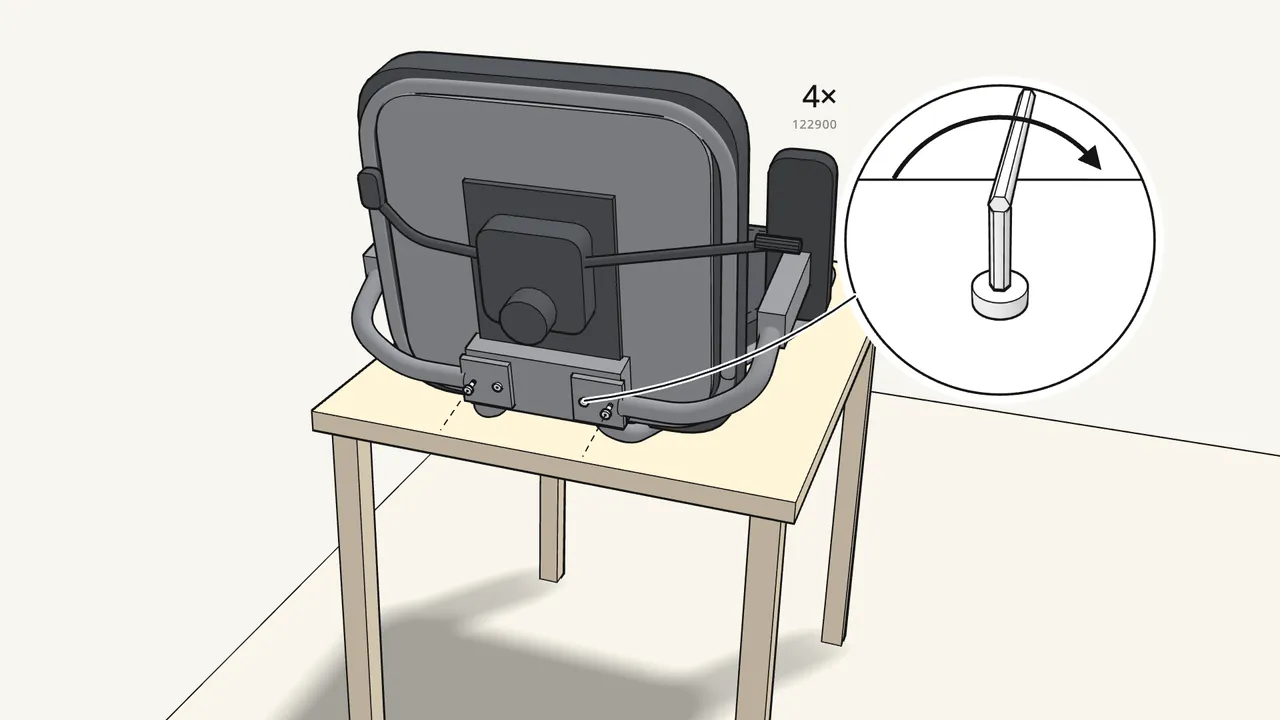
Step 10 · manual step 7
Insert 4 bolts (122900) — don’t tighten them fully yet.
Leave a small gap under each head.
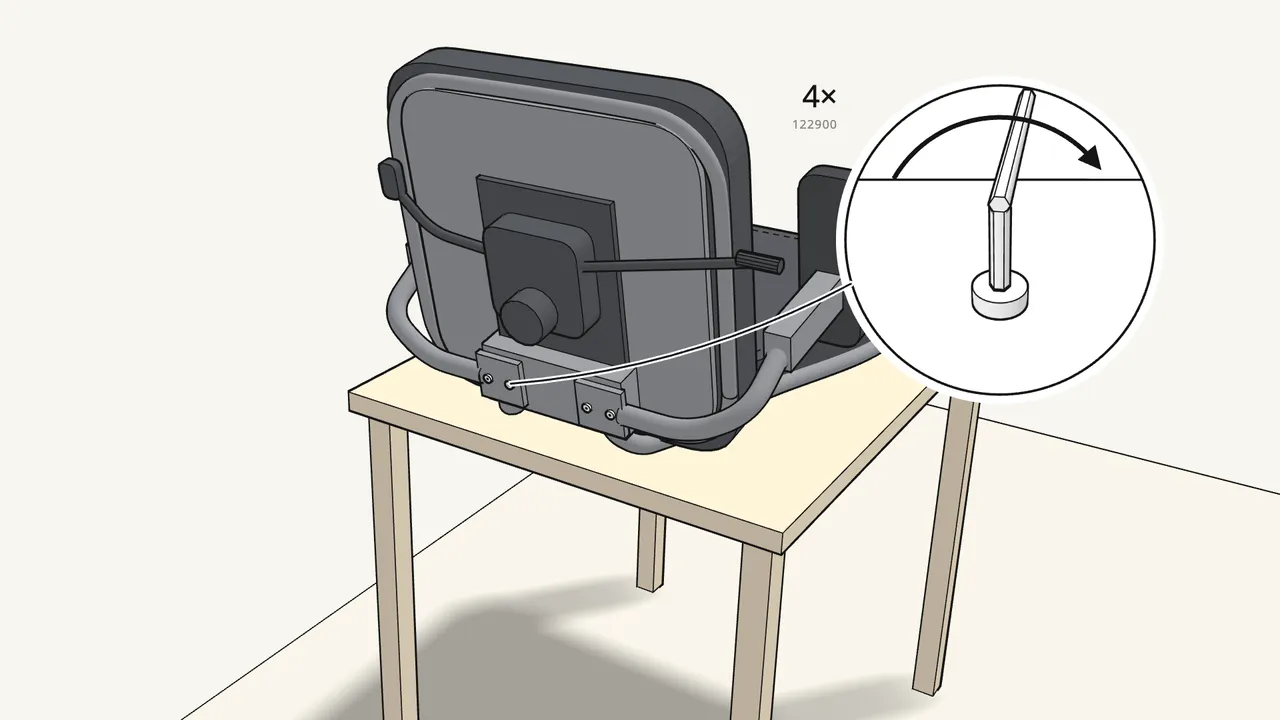
Step 11 · manual step 8
Now tighten all 4 bolts (122900) fully.
Use the Allen key.
Step 12 · manual step 9
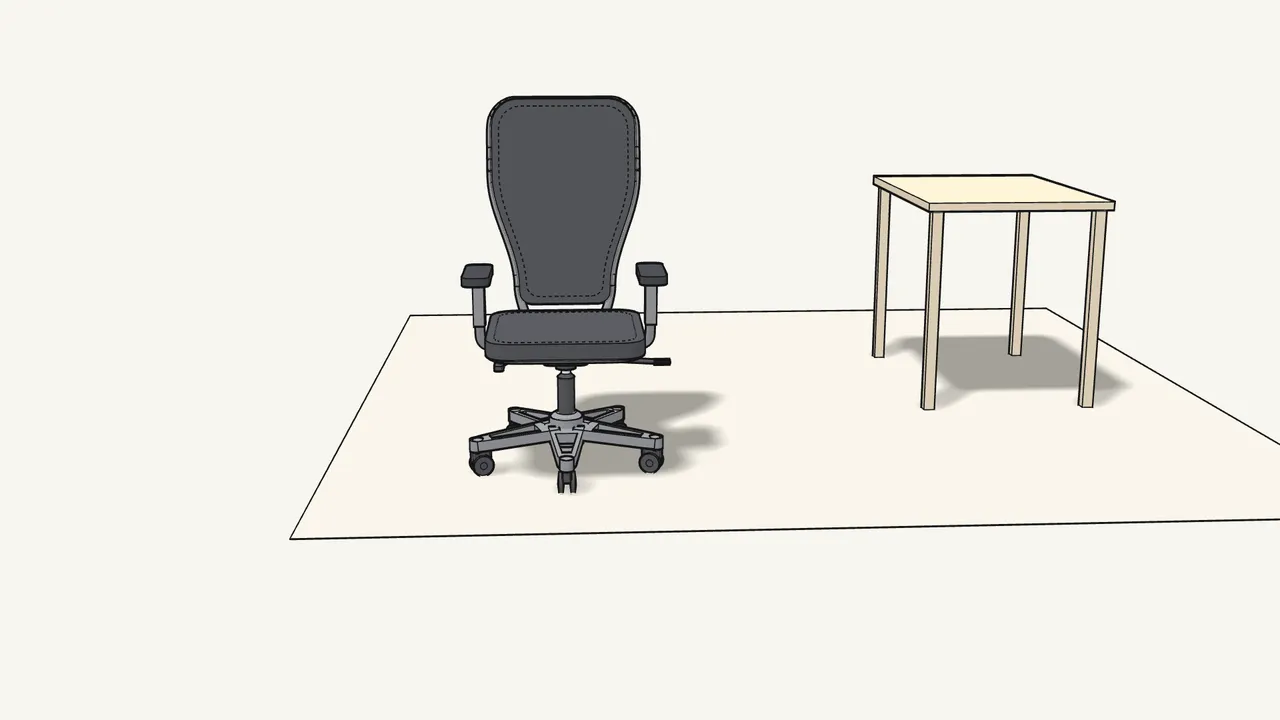
Turn the chair upright and put it onto the gas cylinder.
The top of the cylinder goes into the hole under the mechanism.
Step 13 · manual step 10
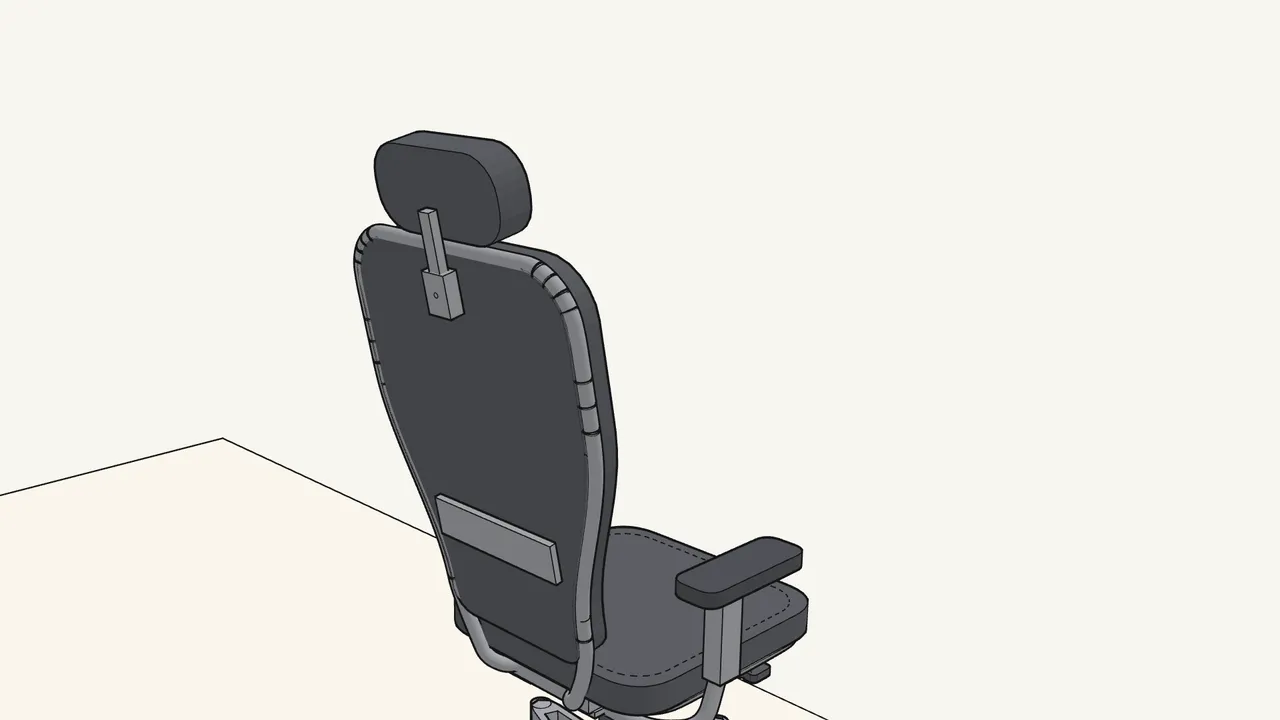
Slide the headrest down into the clip on the backrest.
Step 14 · manual step 11
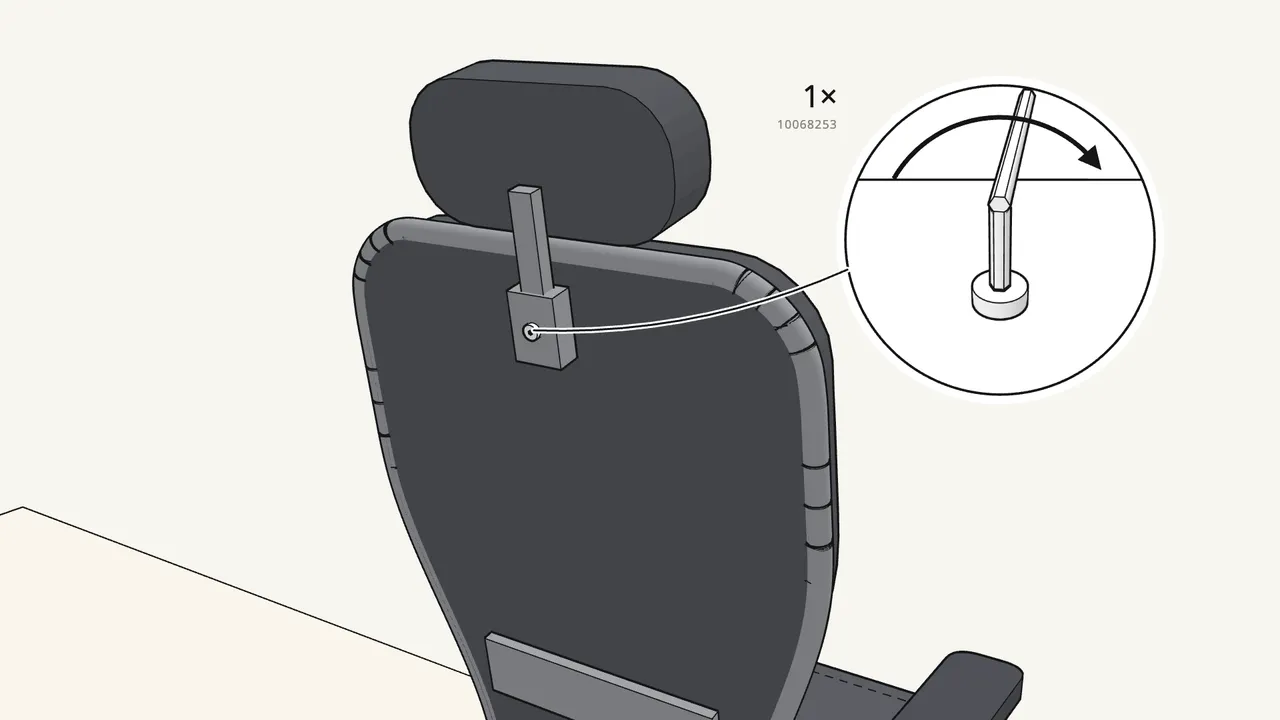
Fix the headrest with 1 bolt (10068253).
Tighten with the Allen key.
Tips & safety
- Warning: gas cylinder Only trained personnel may replace or repair the seat height adjustment parts (manual p. 5–7).
- Adjust the chair to fit you Seat height, seat depth and tilt lock are set with the levers under the seat; the headrest, lumbar support and armrests adjust too (manual p. 14–16).
Official instructions
This guide follows IKEA’s official assembly instructions (AA-2314576-8). Keep the printed manual to hand — if anything differs, the manual is right.