IKEA · Chairs & Stools
How to assemble IKEA ODGER Chair
Step-by-step IKEA ODGER Chair assembly: 8 illustrated steps, an animated video, the hardware list and the tools you need — following the official instructions (AA-2142403-5).
- 8 illustrated steps
- 5 steps in the manual
- 1:32 video
- 45×51×81 cm
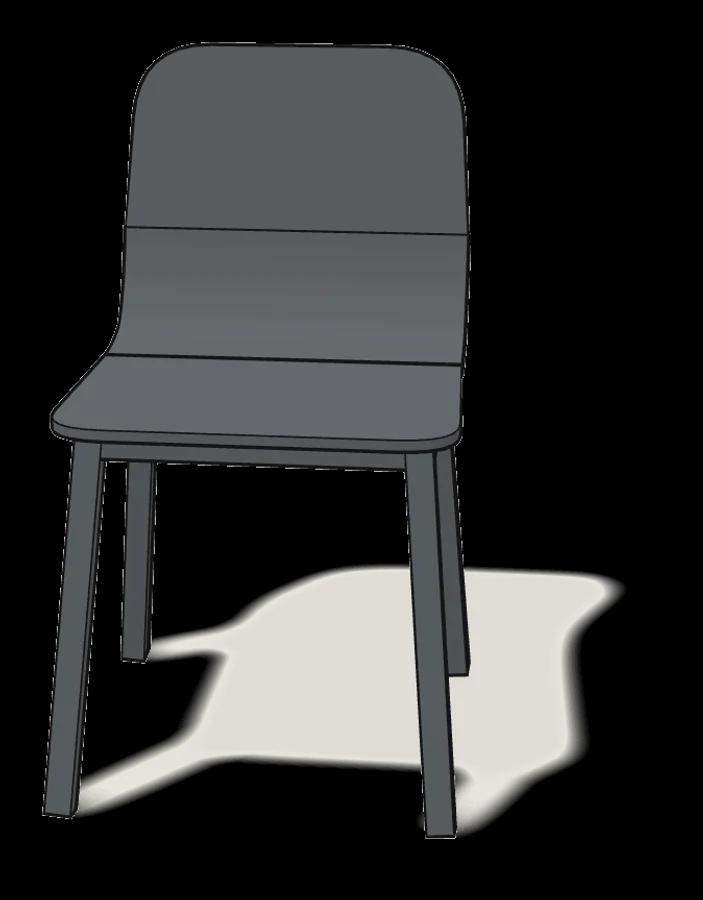
What you need
Tools
No tools needed.
Hardware in the box
| Part no. (as printed in the manual) | Qty |
|---|---|
| 156613 | 1× |
| 156614 | 1× |
Step-by-step assembly
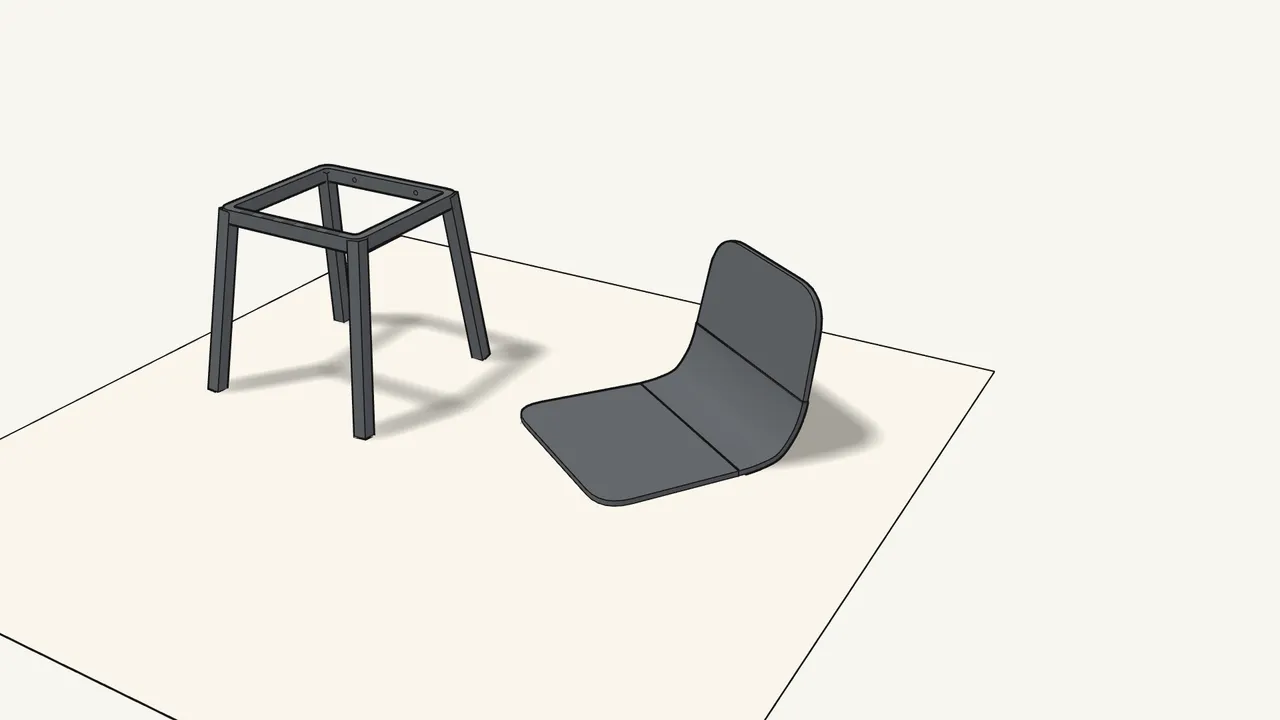
Step 1
Two main parts: the leg frame and the seat shell.
Plus the two locking levers.
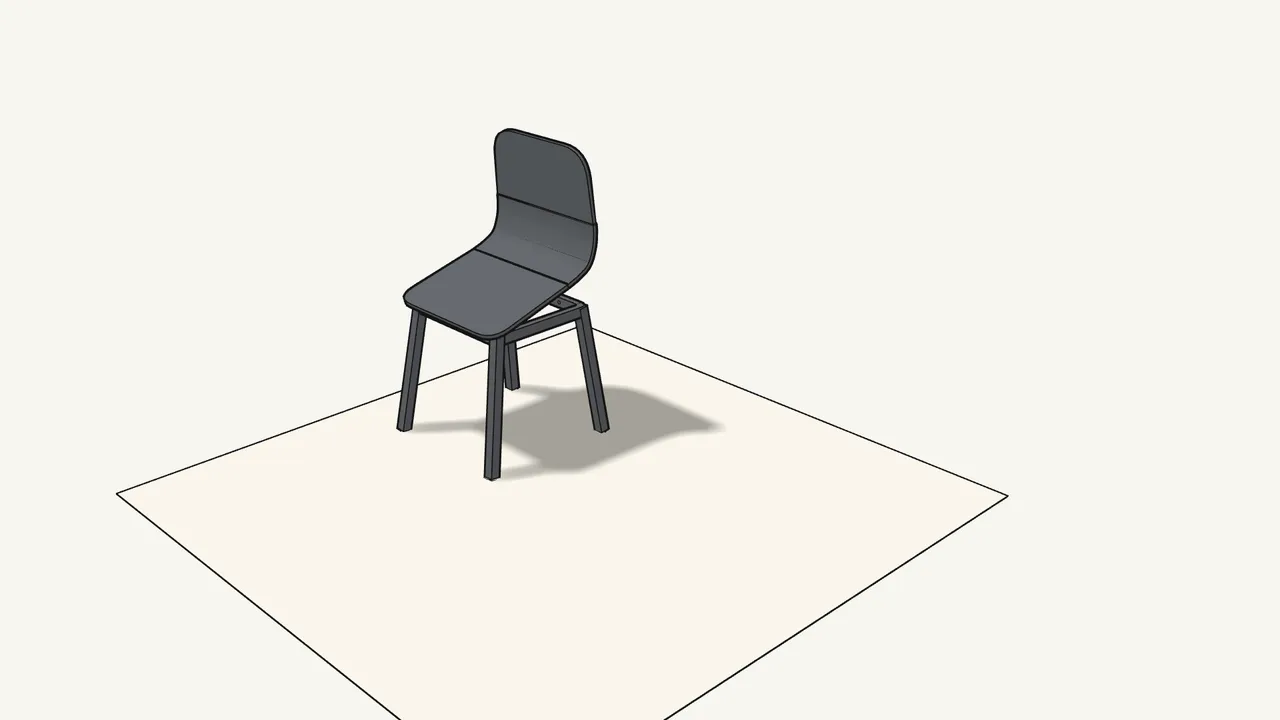
Step 2 · manual step 1
Hook the front edge of the seat into the front of the frame.
Tilt the seat back and slide its front edge into the slots.
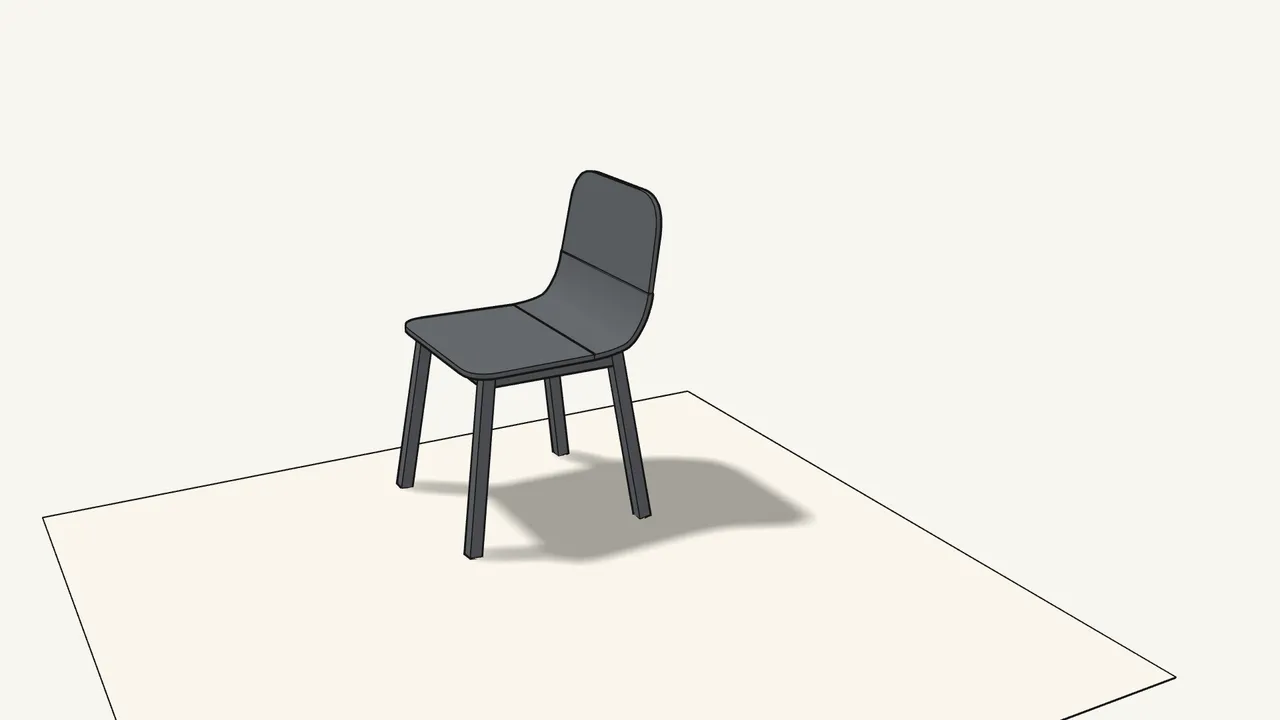
Step 3 · manual step 2
Press the back of the seat down onto the frame.
Hold the backrest and push down until the seat sits flat on the frame.
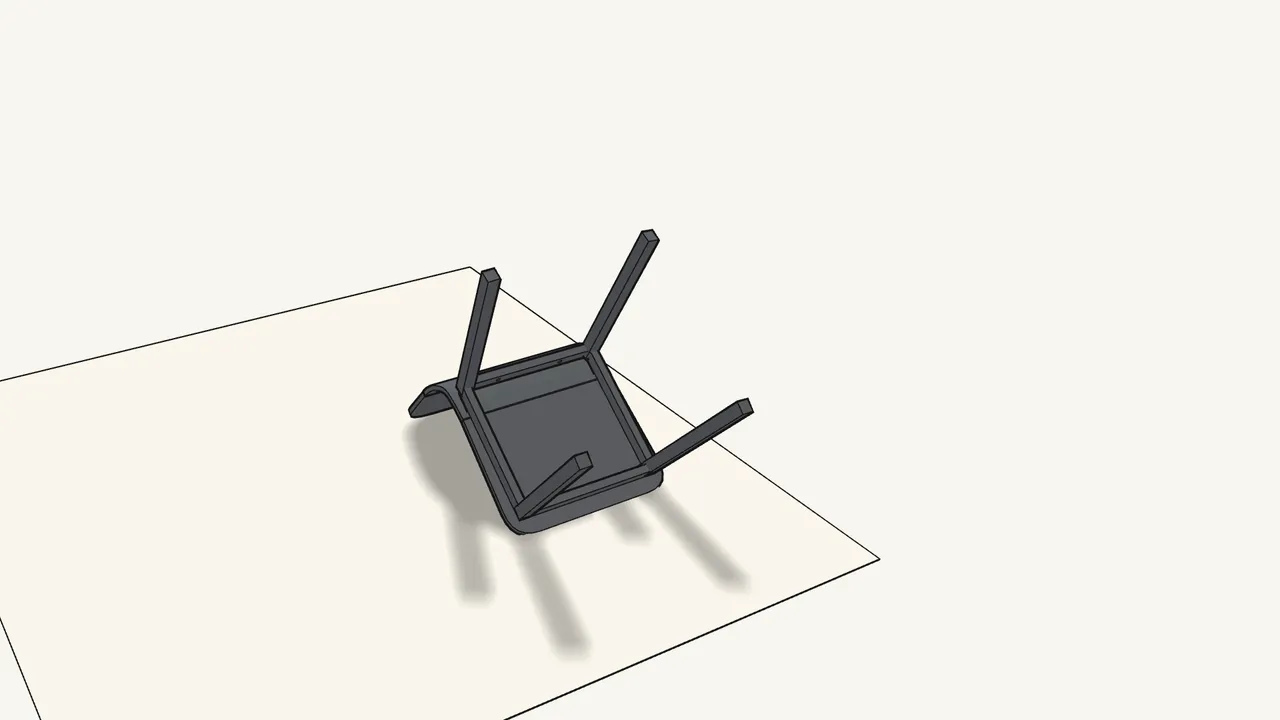
Step 4 · manual step 3
Turn the chair upside down onto a rug.
It rests on the front edge of the seat and the top of the backrest.
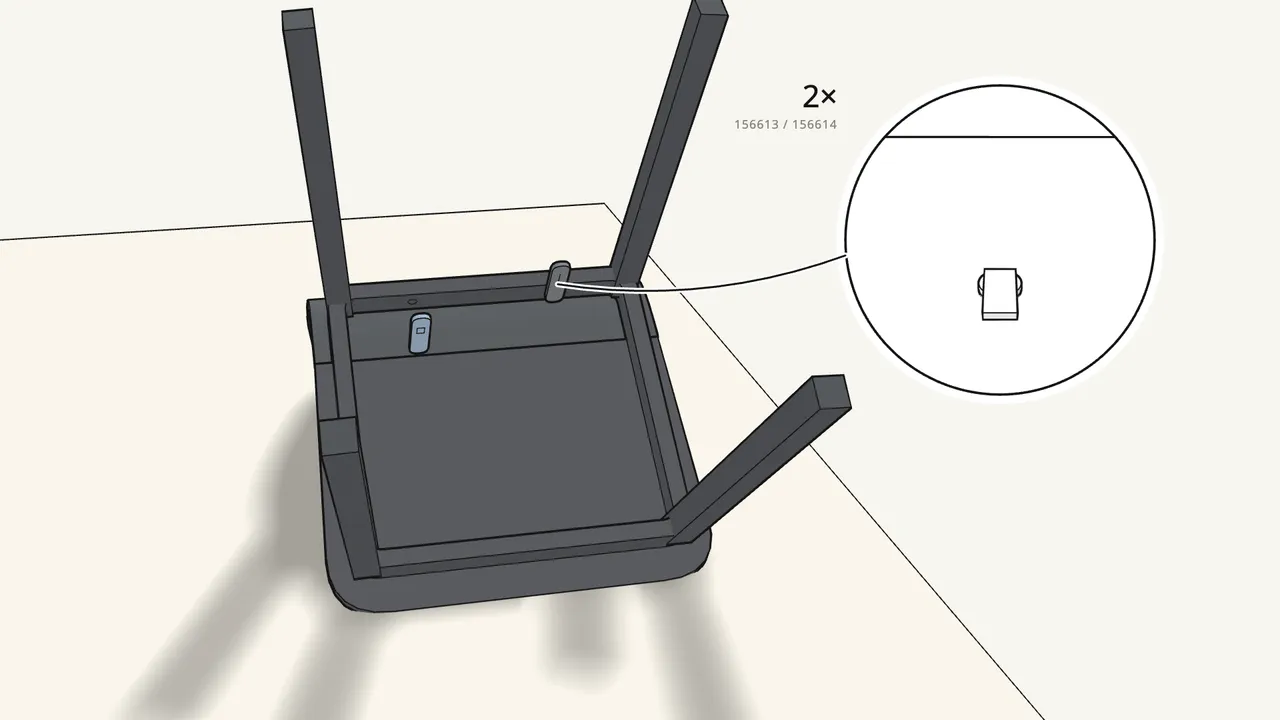
Step 5 · manual step 3
Push lever “I” and lever “O” into their holes in the frame.
Check the letters — see the manual, step 3. Press near the pin, not on the tip.
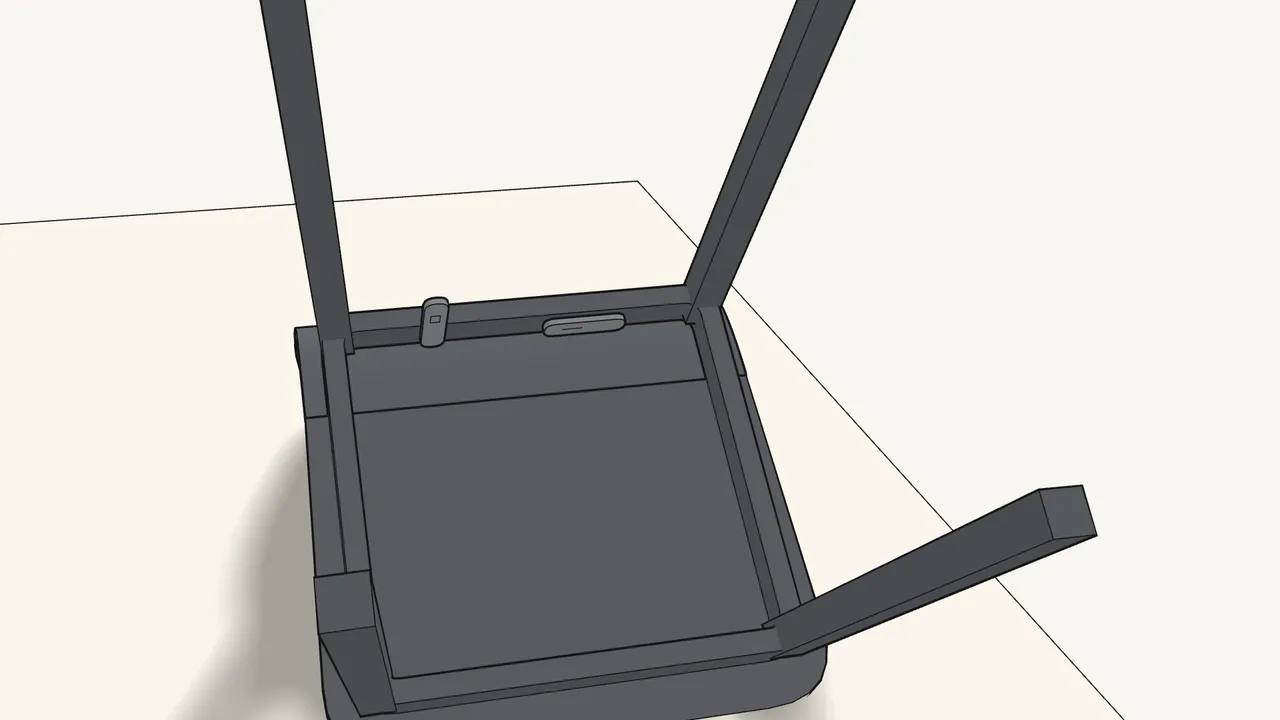
Step 6 · manual step 4
Turn lever “I” until it clicks.
It folds flat against the frame.
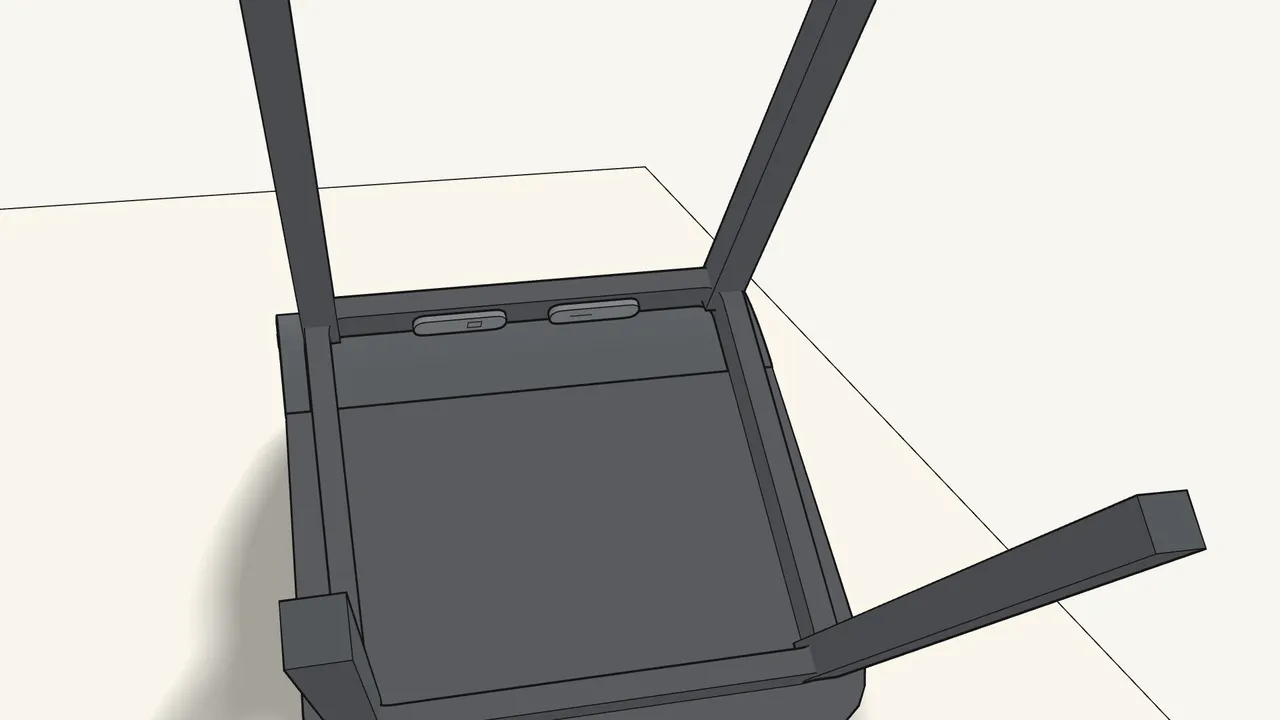
Step 7 · manual step 5
Turn lever “O” until it clicks.
Both levers now lie flat against the frame.
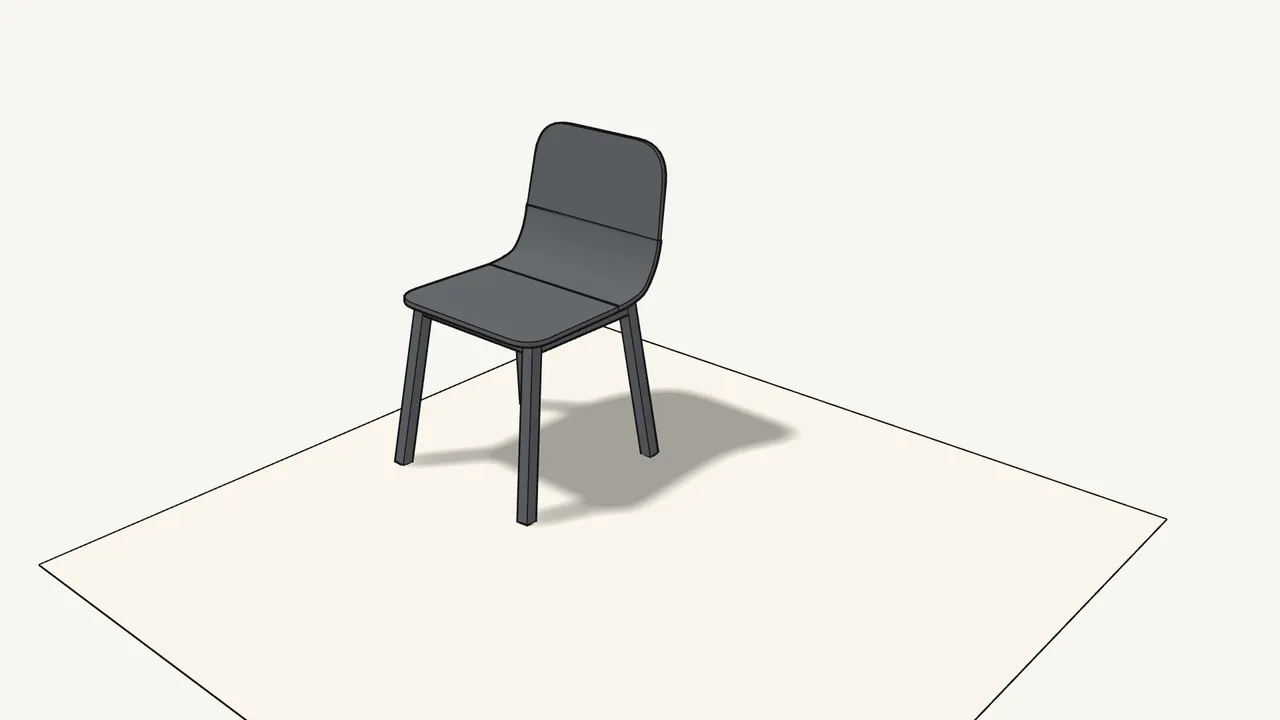
Step 8
Turn the chair back over.
Your ODGER chair is ready.
Tips & safety
- Listen for the click. Each lever should click into place when you turn it (manual, steps 4–5).
- Work on a rug. Turn the chair over onto something soft so the seat doesn’t get scratched.
Official instructions
This guide follows IKEA’s official assembly instructions (AA-2142403-5). Keep the printed manual to hand — if anything differs, the manual is right.