IKEA · Chairs & Stools
How to Assemble IKEA MARKUS Office Chair
Step-by-step IKEA MARKUS office chair assembly: 13 illustrated steps, an animated video, the hardware list and the tools you need — following the official instructions (AA-251870-22).
- 13 illustrated steps
- 11 steps in the manual
- 2:01 video
- 62×60×140 cm
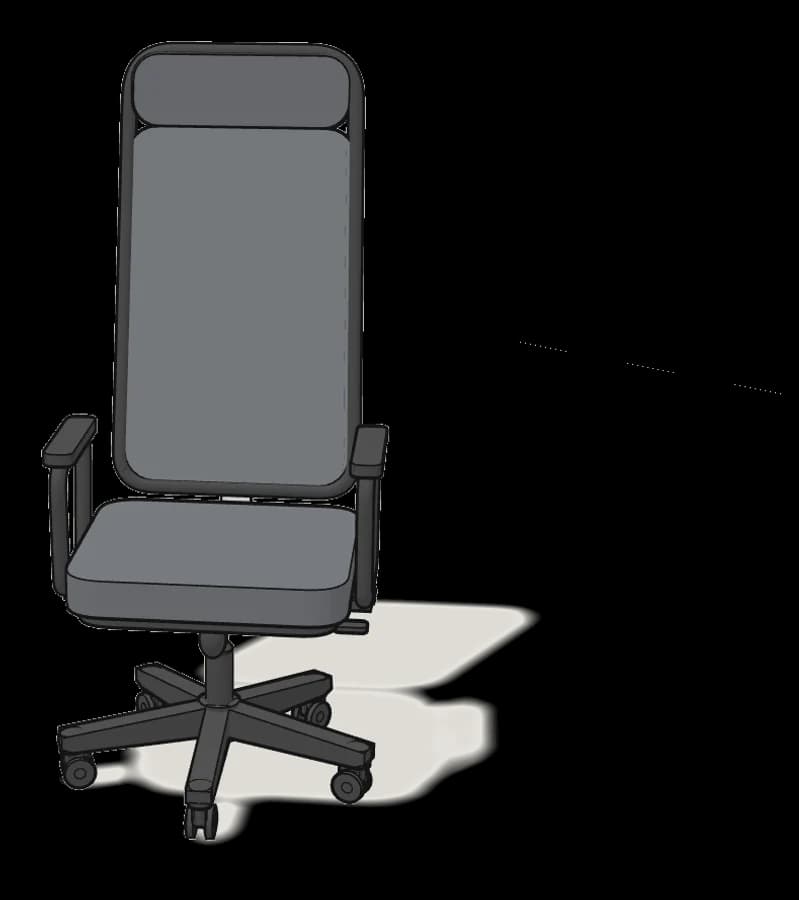
What you need
Tools
- Allen key (included)
You’ll need: only the Allen key (124345), included.
Hardware in the box
| Part no. (as printed in the manual) | Qty |
|---|---|
| 122134 | 6× |
| 115994 | 5× |
| 10049021 | 5× |
Step-by-step assembly
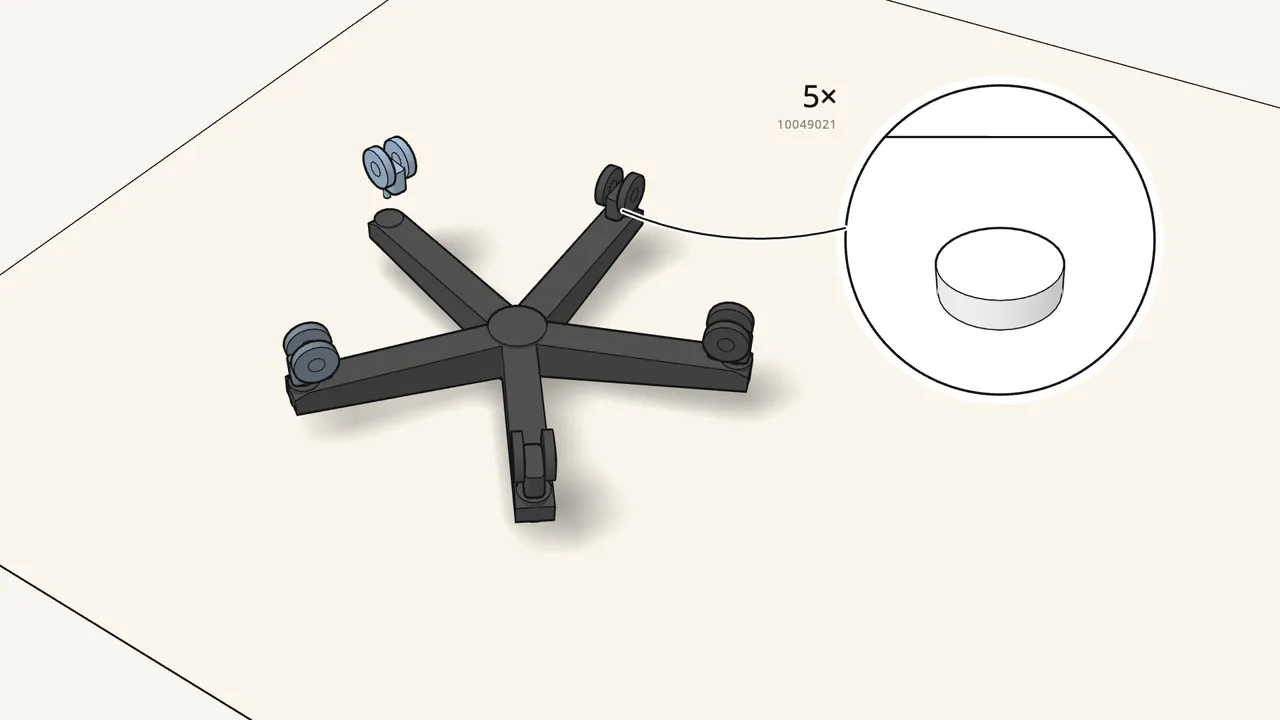
Step 1
Press the 5 casters into the legs of the base.
Push each one straight in — not at an angle.
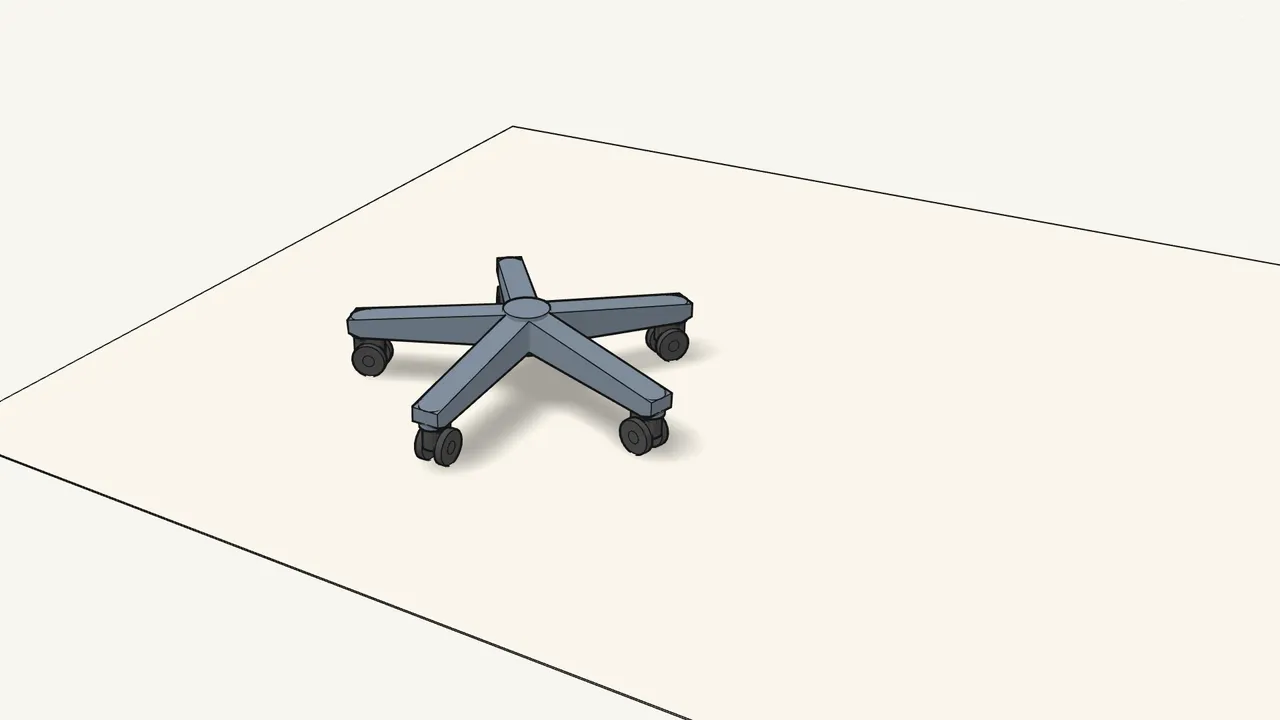
Step 2 · manual step 1
Turn the base over onto its casters.
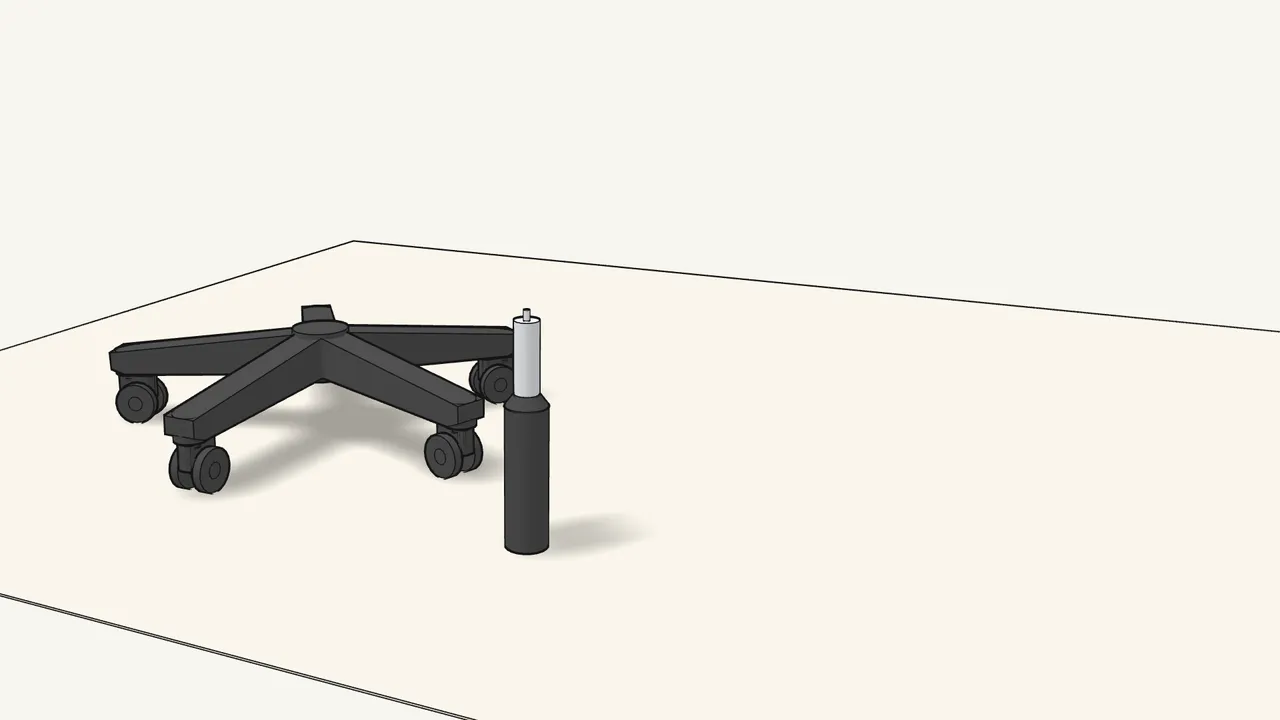
Step 3 · manual step 2
Pull the protective cap off the gas cylinder.
Recycle the cap.
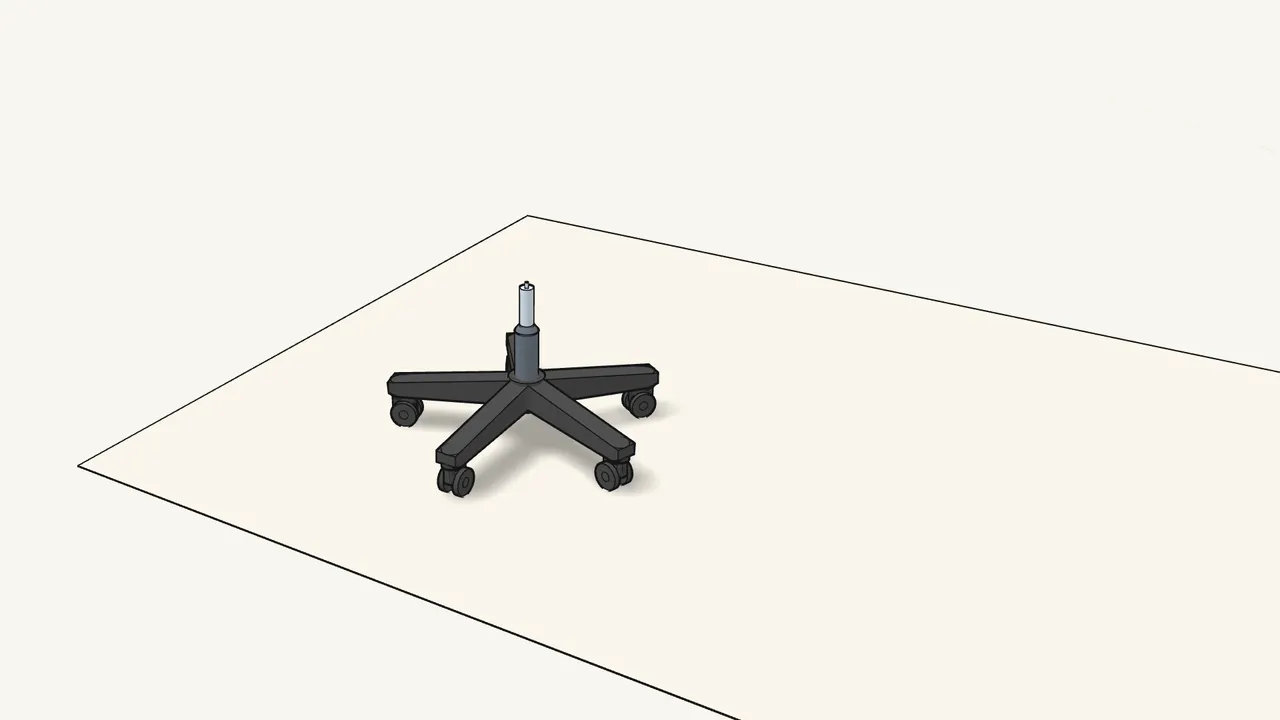
Step 4 · manual step 3
Put the gas cylinder into the hole in the base.
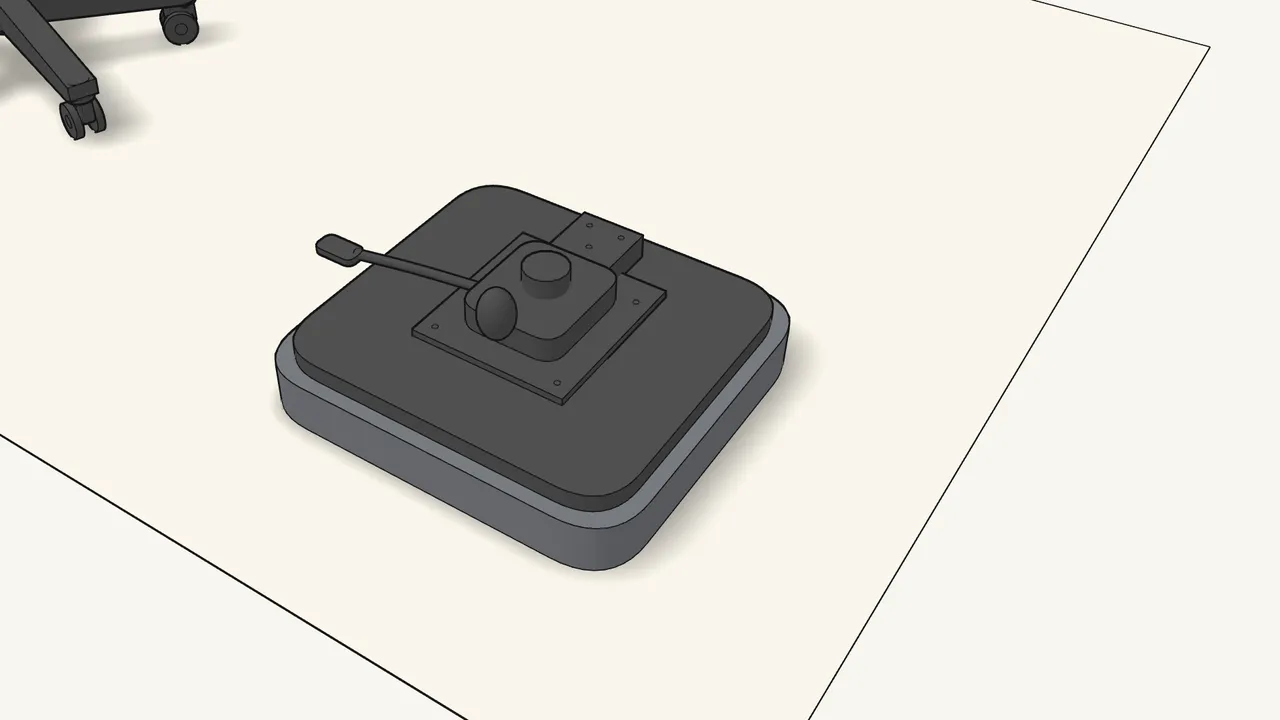
Step 5 · manual step 4
Lay the seat upside down on the rug.
The mechanism faces up.
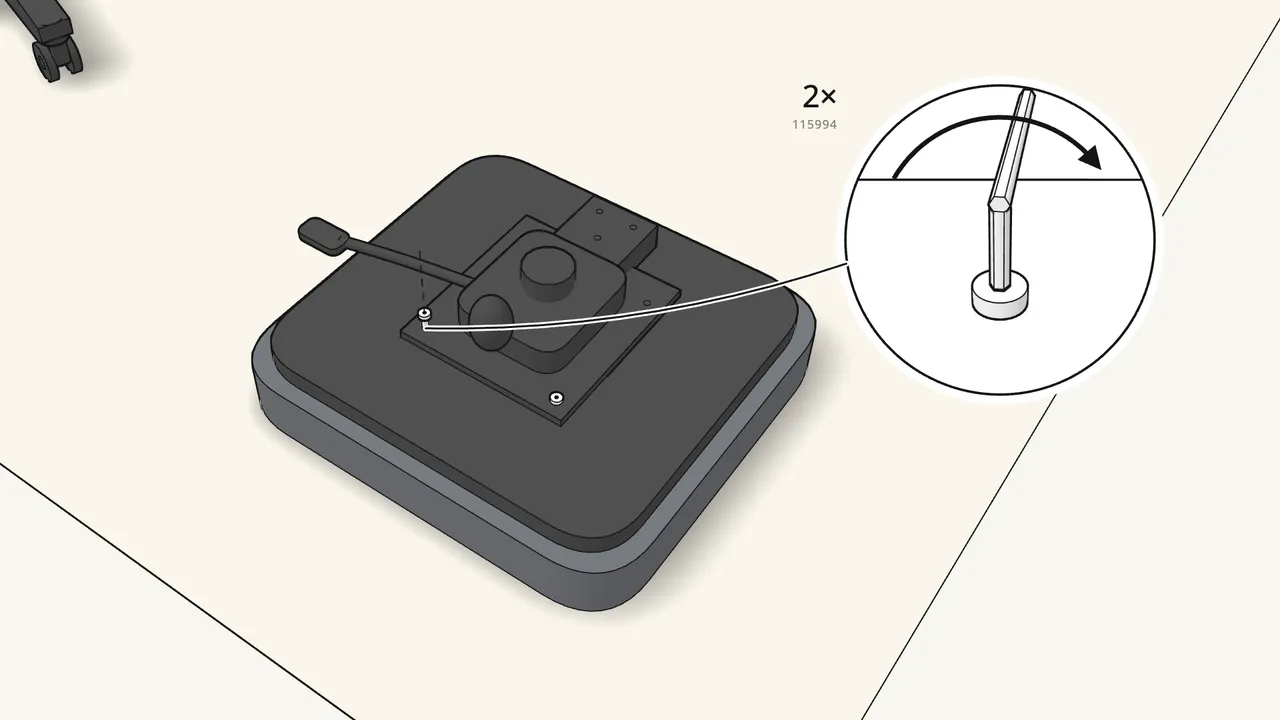
Step 6 · manual step 4
Screw 2 flange bolts (115994) through the mechanism.
The flange goes against the mechanism.
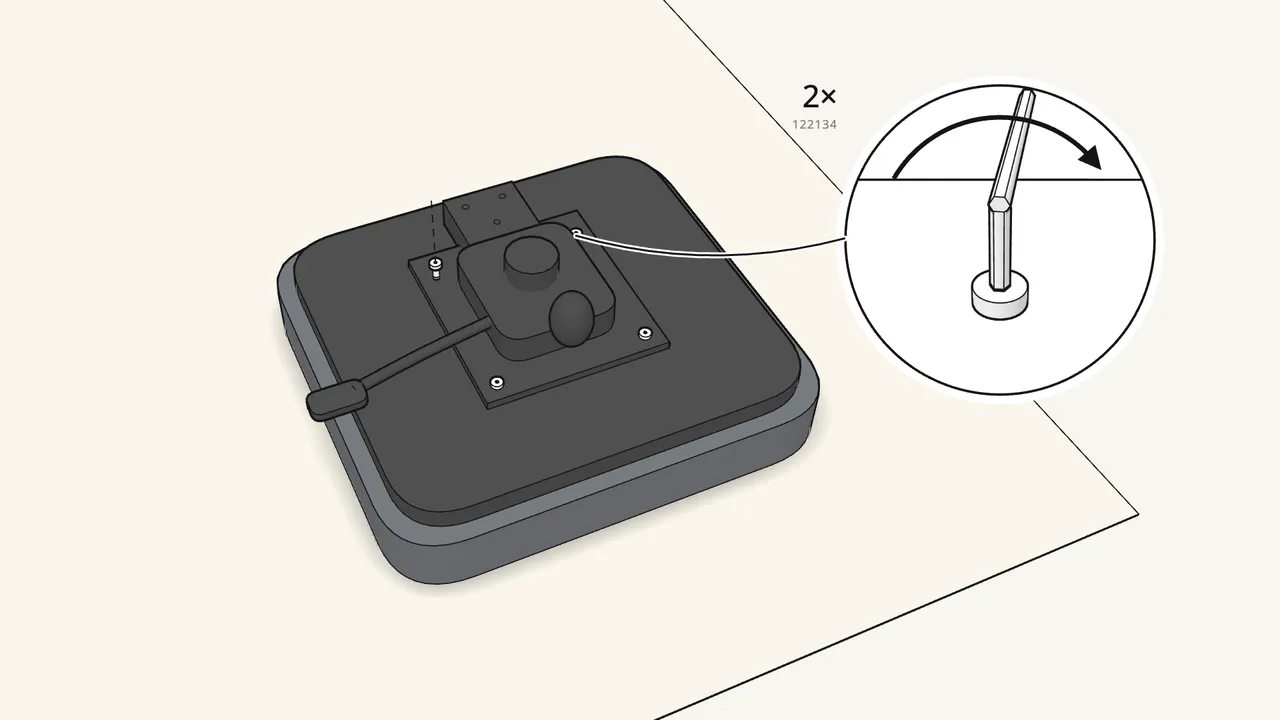
Step 7 · manual step 5
Screw 2 bolts (122134) into the other 2 holes.
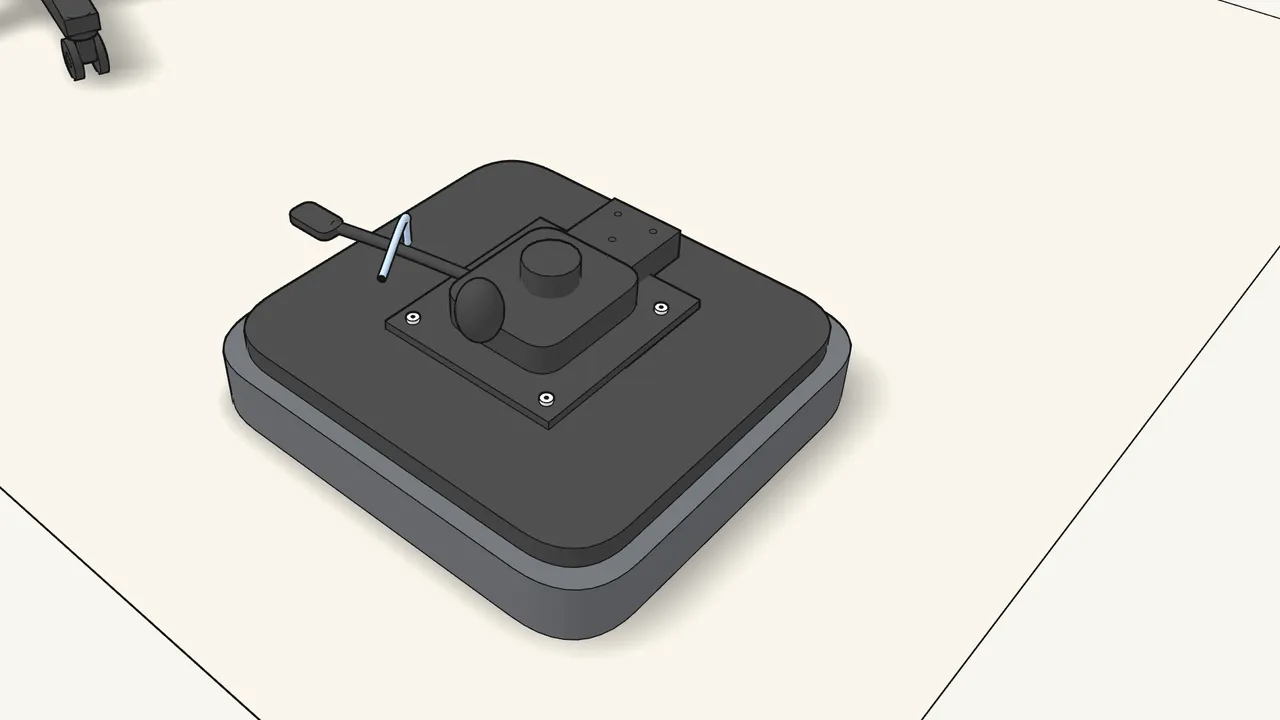
Step 8 · manual step 6
Tighten all 4 bolts with the Allen key.
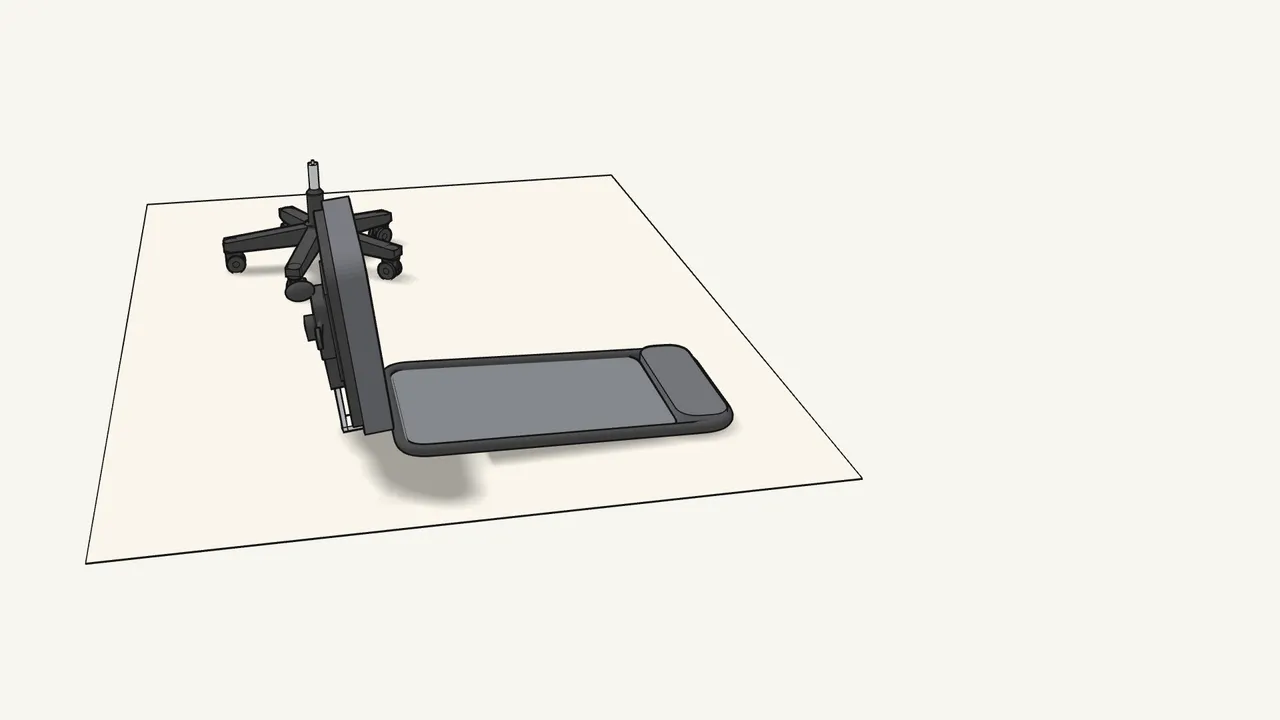
Step 9 · manual step 7
Lower the seat onto the backrest bracket.
The bracket slides into the mechanism.
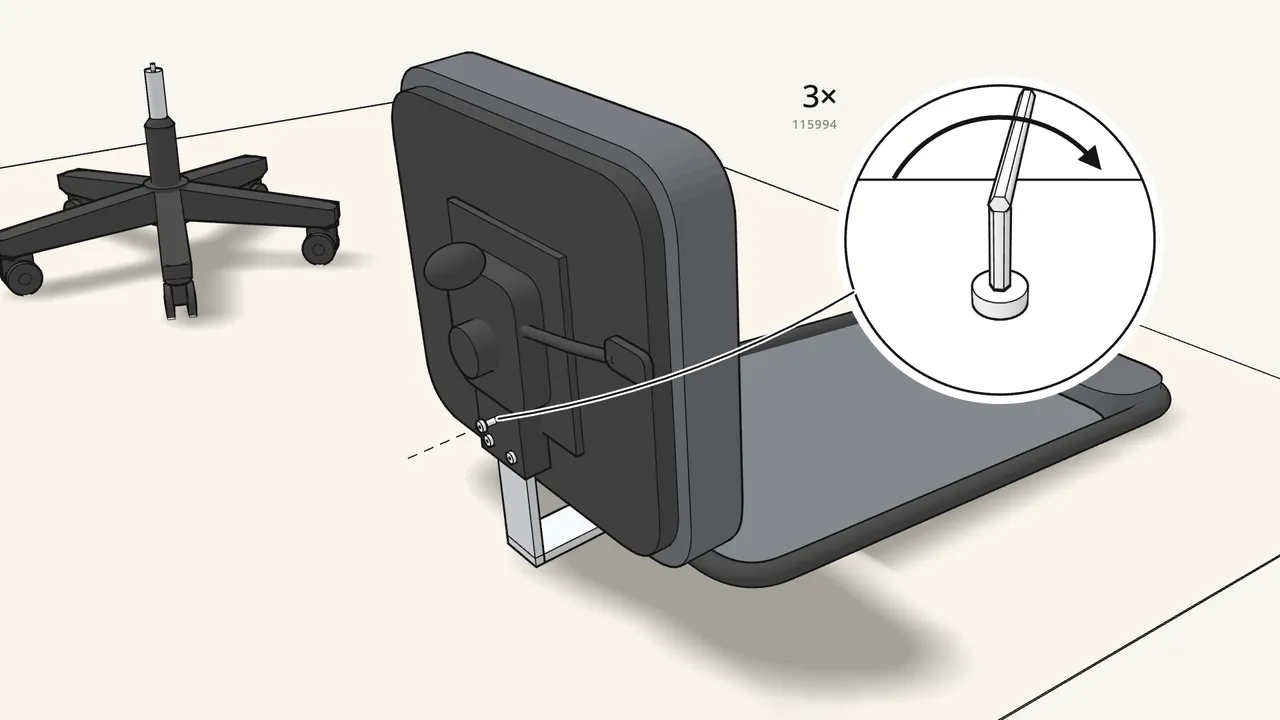
Step 10 · manual step 8
Screw in 3 flange bolts (115994).
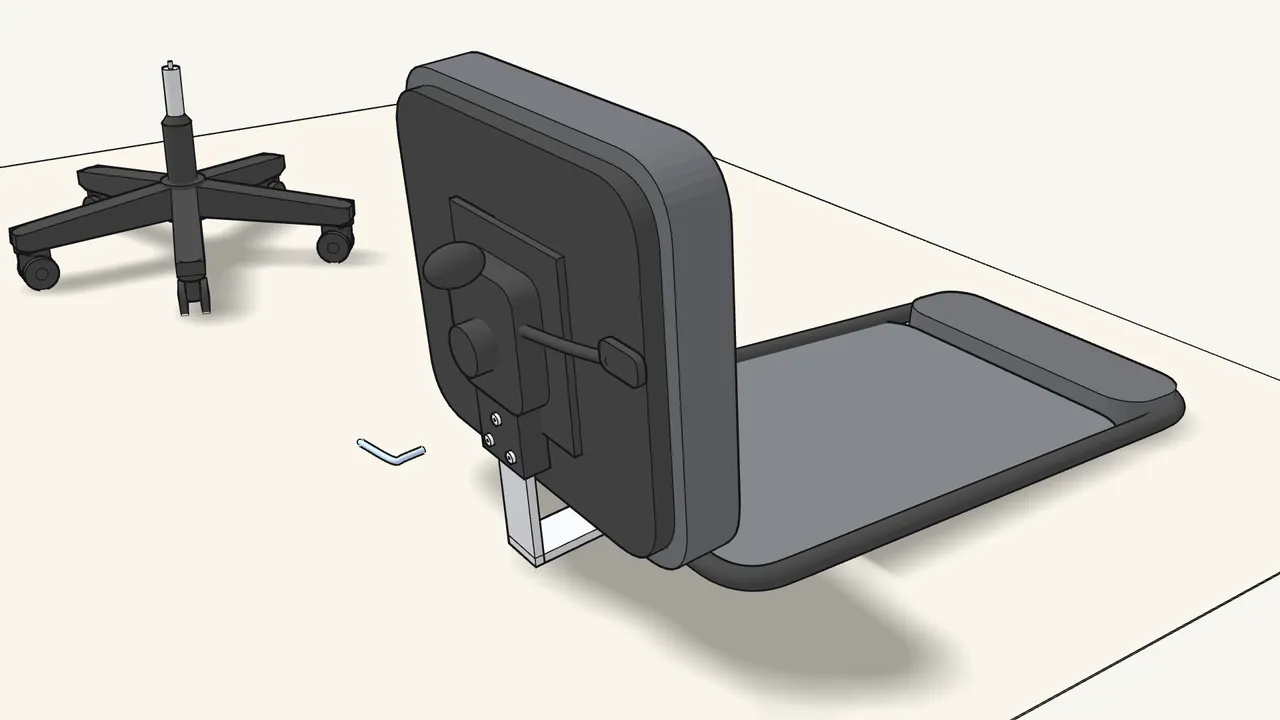
Step 11 · manual step 9
Tighten the 3 bolts with the Allen key.
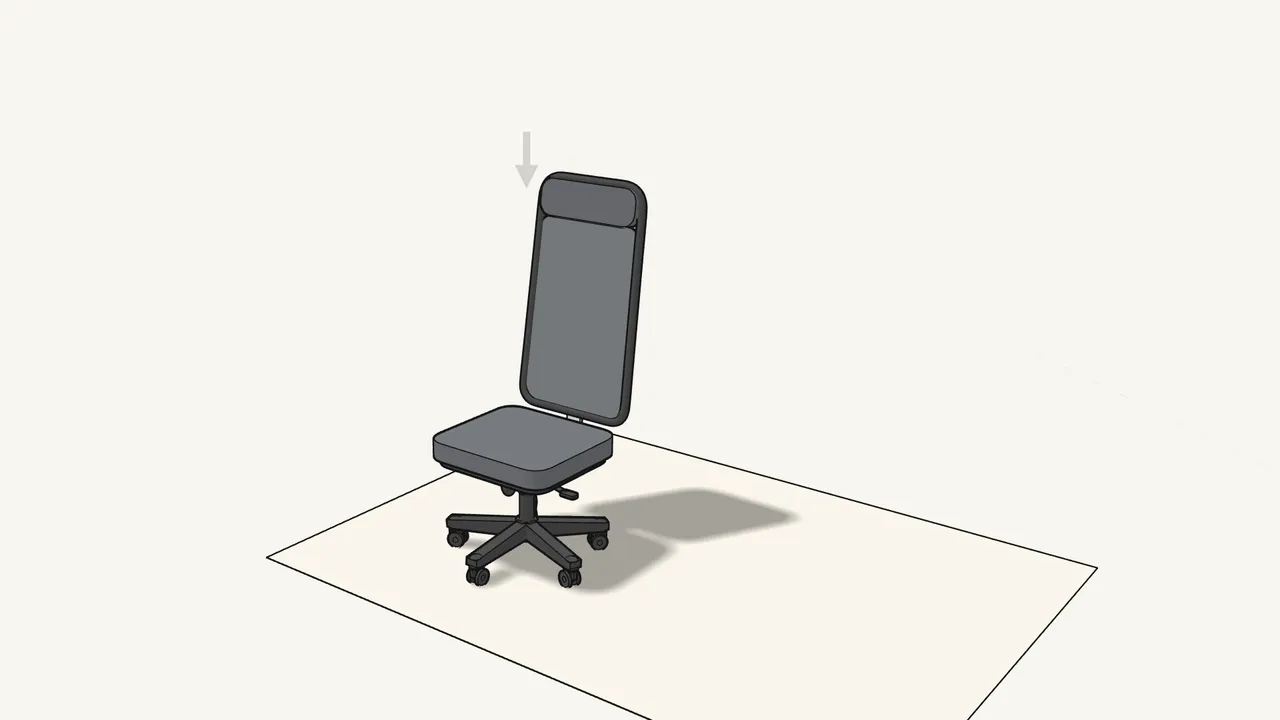
Step 12 · manual step 10
Lift the seat onto the gas cylinder — 2 people.
The top of the cylinder goes into the hole under the mechanism.
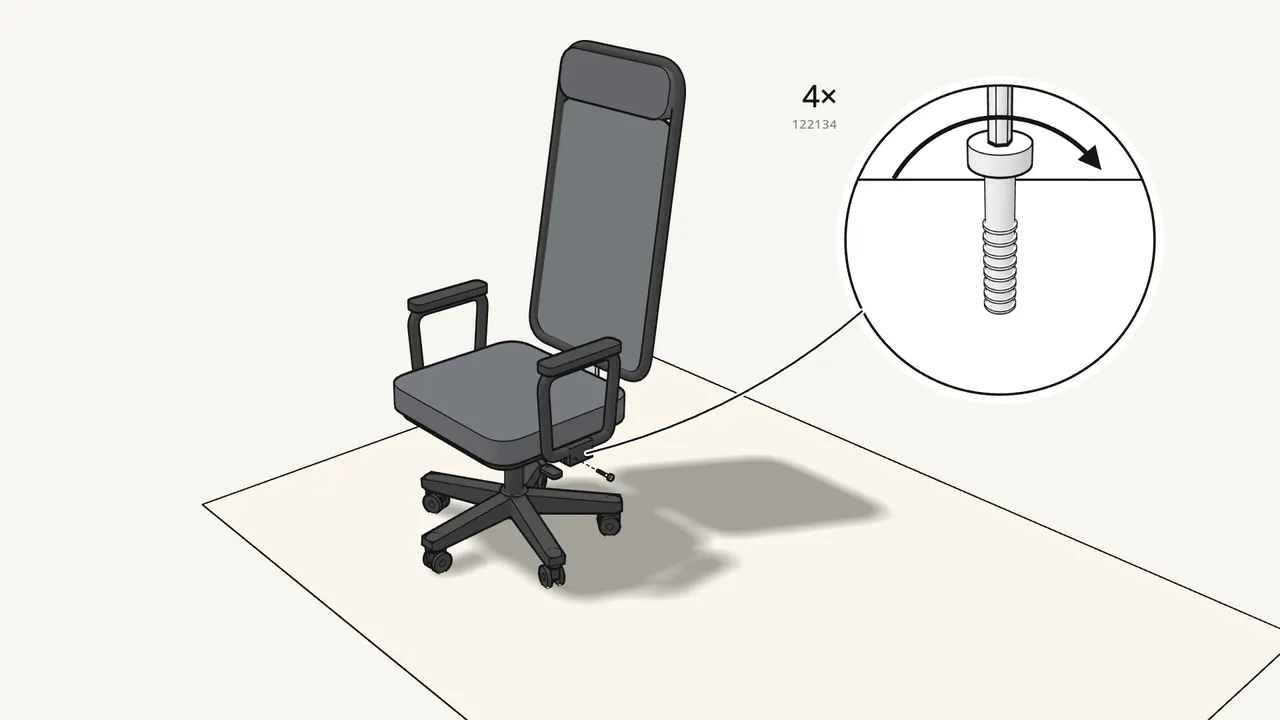
Step 13 · manual step 11
Fix each armrest with 2 bolts (122134).
4 bolts in total — tighten with the Allen key.
Tips & safety
- Warning: gas cylinder Only trained personnel may replace or repair the seat height adjustment parts (manual p. 7).
- Adjust the chair to fit you Lever for seat height, tilt lock, and the knob under the seat for tilt tension (manual p. 16).
Official instructions
This guide follows IKEA's official assembly instructions (AA-251870-22). Keep the printed manual to hand — if anything differs, the manual is right.