IKEA · Chairs & Stools
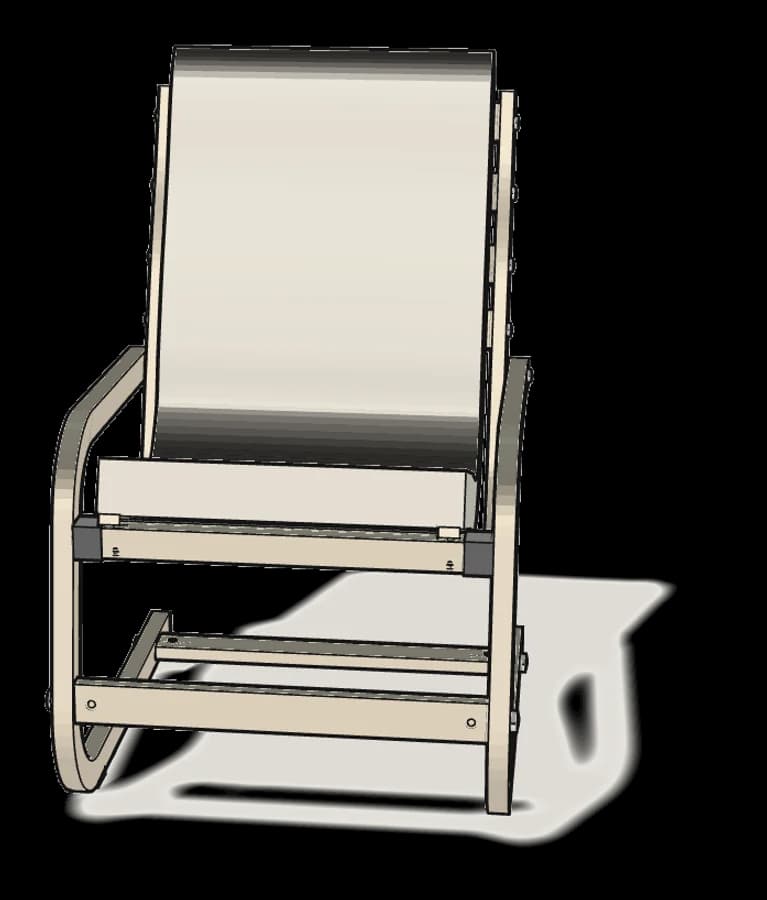
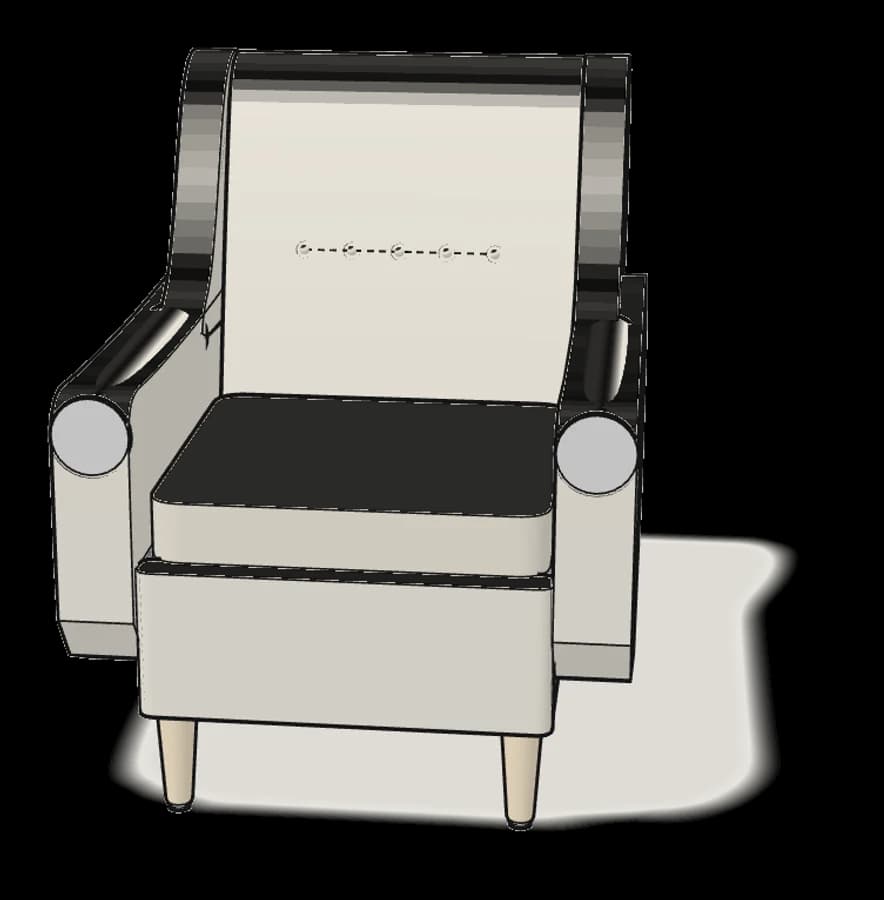
How to assemble IKEA LILLÅNÄS Chair
Step-by-step IKEA LILLÅNÄS Chair assembly: 6 illustrated steps, an animated video, the hardware list and the tools you need — following the official instructions (AA-2333997-2).
- 6 illustrated steps
- 3 steps in the manual
- 1:37 video
- 45×51×89 cm cm
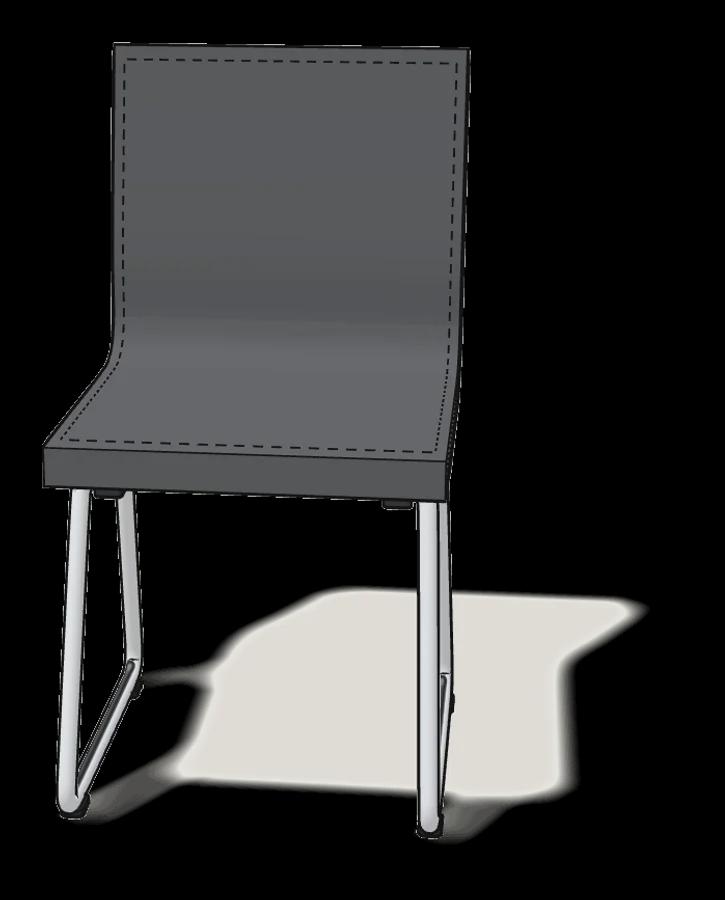
What you need
Tools
- Allen key (included)
No tools needed — the Allen key (108490) is included.
Hardware in the box
| Part no. (as printed in the manual) | Qty |
|---|---|
| 118690 | 4× |
Step-by-step assembly
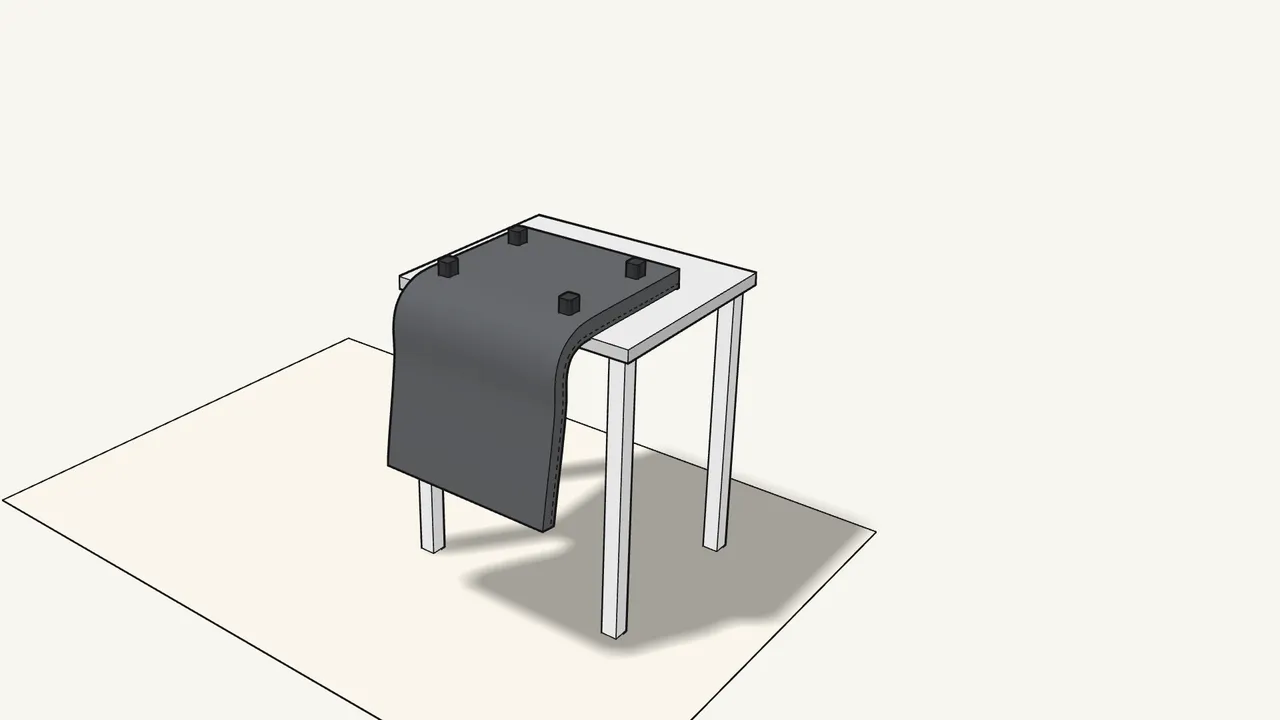
Step 1
Lay the seat upside down on a table.
The backrest hangs down over the edge of the table.
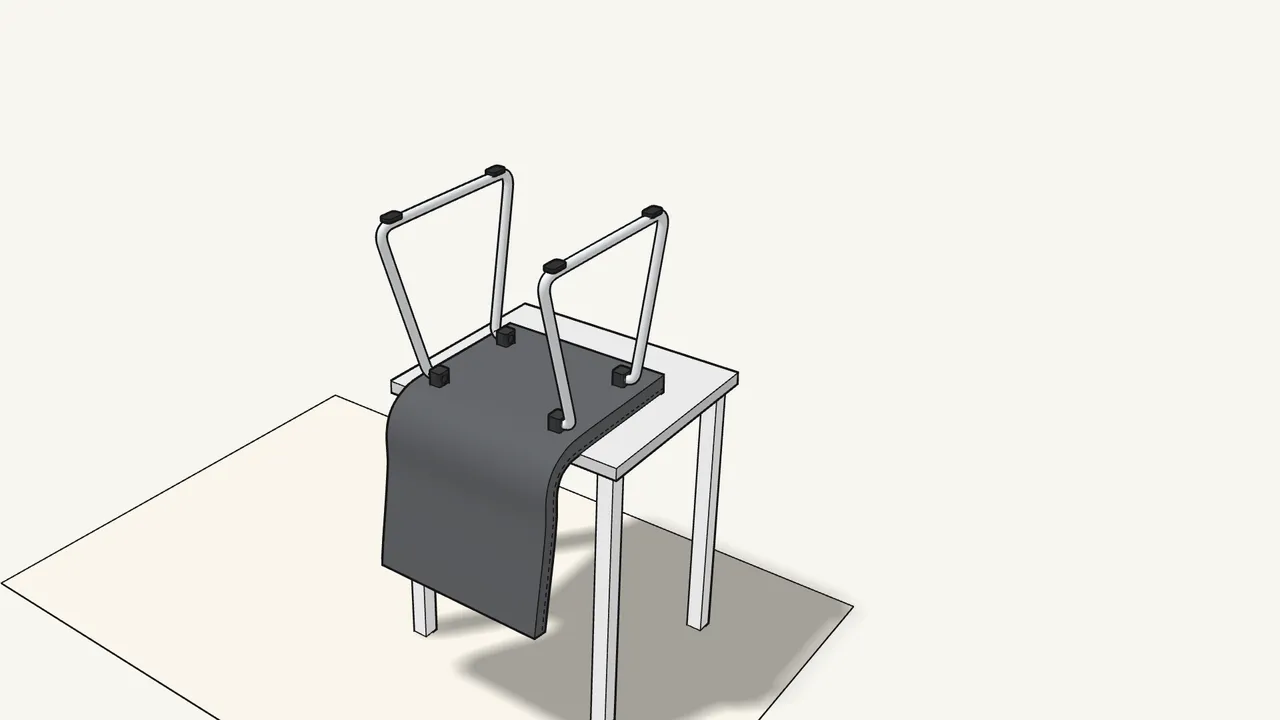
Step 2 · manual step 1
Push the tube ends of both leg frames into the 4 brackets.
Look for the dots on the tube ends — see the manual, step 1.
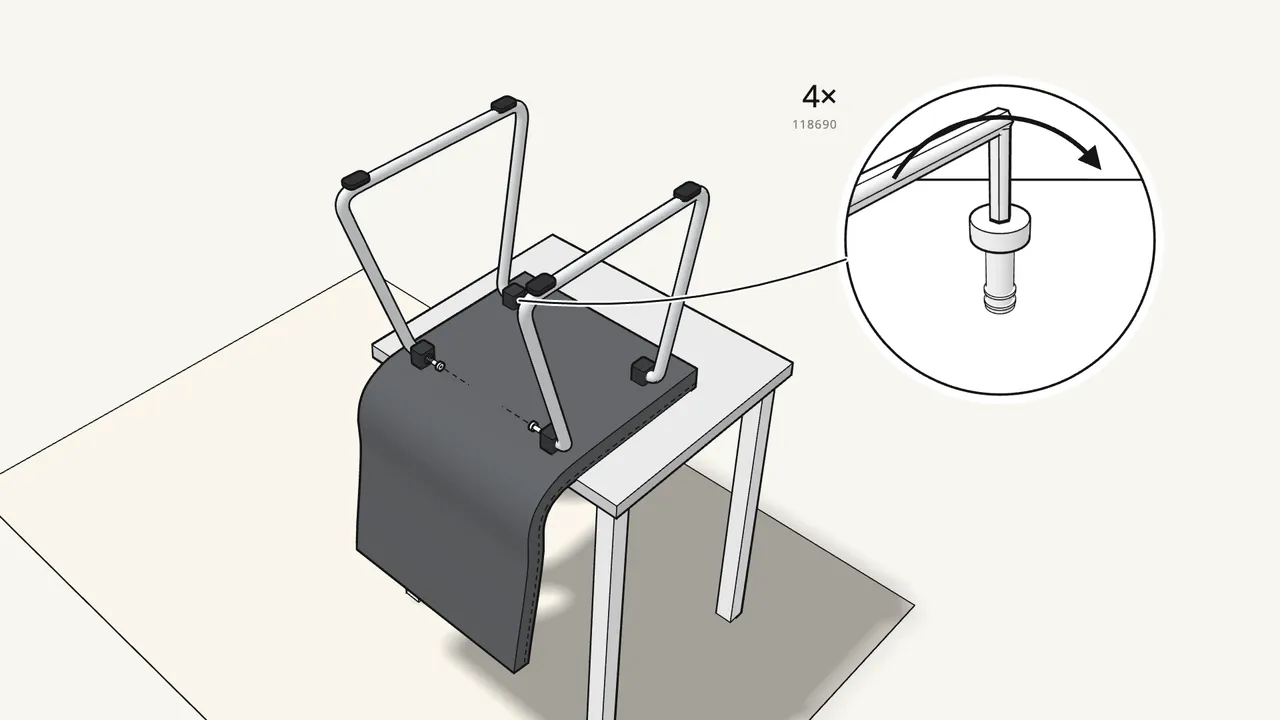
Step 3 · manual step 2
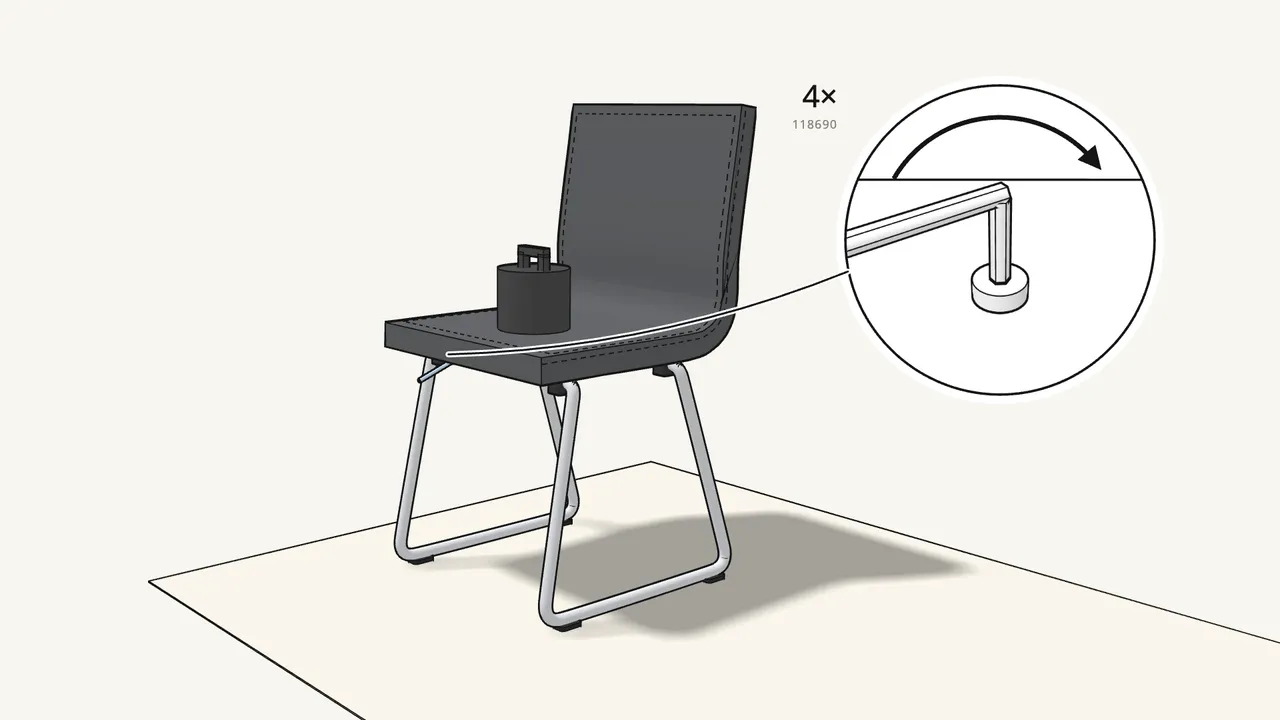
Screw the 4 bolts (118690) into the tube ends by hand.
Leave them a little loose — don’t tighten them fully yet.
Step 4 · manual step 3
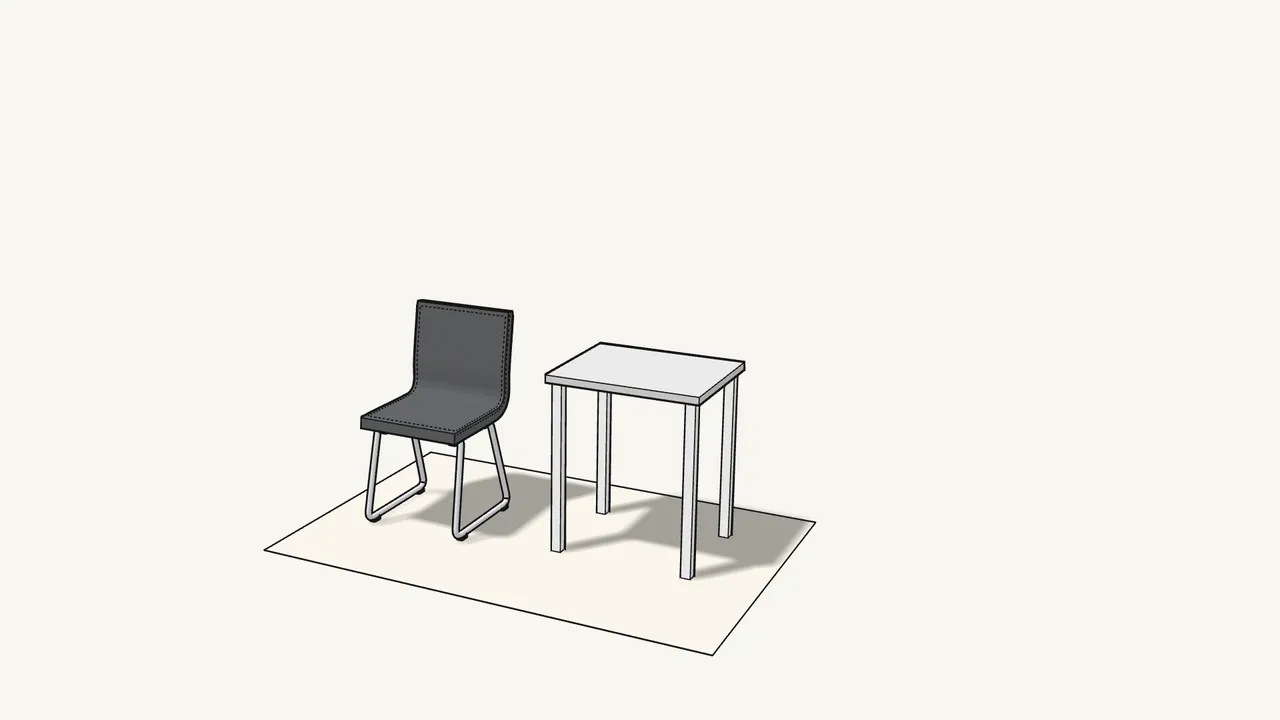
Turn the chair over and stand it on the floor.
Step 5 · manual step 3
Put weight on the seat and tighten the 4 bolts with the Allen key.
Turn each one until the head sits tight — no gap.
Step 6
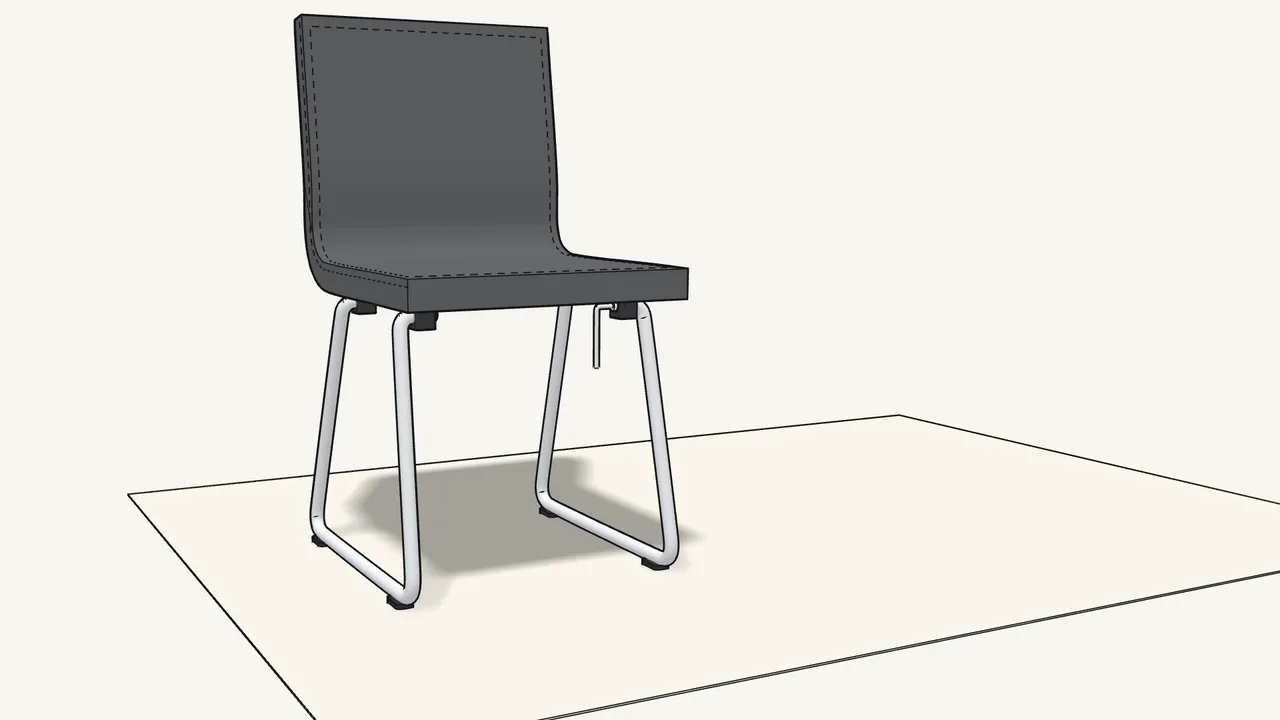
Chair rocks? Press it down on a flat floor and tighten the bolts again.
All 4 feet must touch the floor — manual page 6.
Tips & safety
- Work on a soft surface. The manual shows a rug under the parts, so the fabric and chrome don’t get scratched.
- The cover can be taken off. Unhook its edge under the seat and pull it up over the backrest — manual page 7 shows how to refit it.
Official instructions
This guide follows IKEA’s official assembly instructions (AA-2333997-2). Keep the printed manual to hand — if anything differs, the manual is right.