IKEA · Chairs & Stools
How to assemble IKEA LIDKULLEN Sit/Stand Support
Step-by-step IKEA LIDKULLEN Sit/Stand Support assembly: 8 illustrated steps, an animated video, the hardware list and the tools you need — following the official instructions (AA-2146910-4).
- 8 illustrated steps
- 4 steps in the manual
- 1:34 video
- 66×66×65–85 cm (approx.) cm
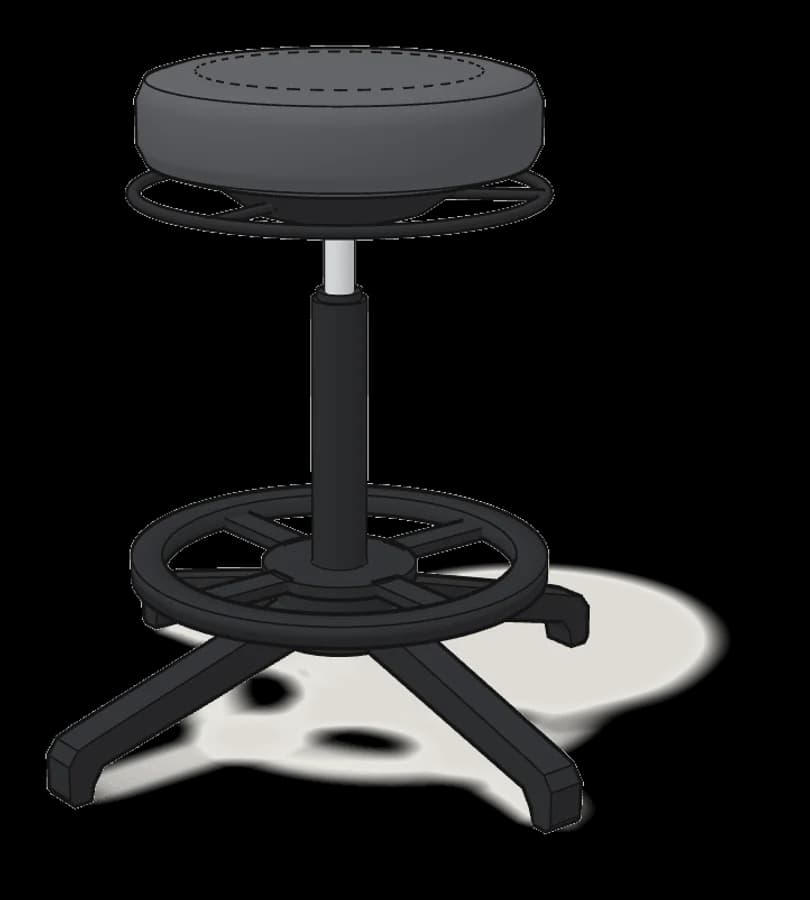
What you need
Tools
- Allen key (included)
You’ll need: only the Allen key (124345), included.
Hardware in the box
| Part no. (as printed in the manual) | Qty |
|---|---|
| 152546 | 4× |
Step-by-step assembly
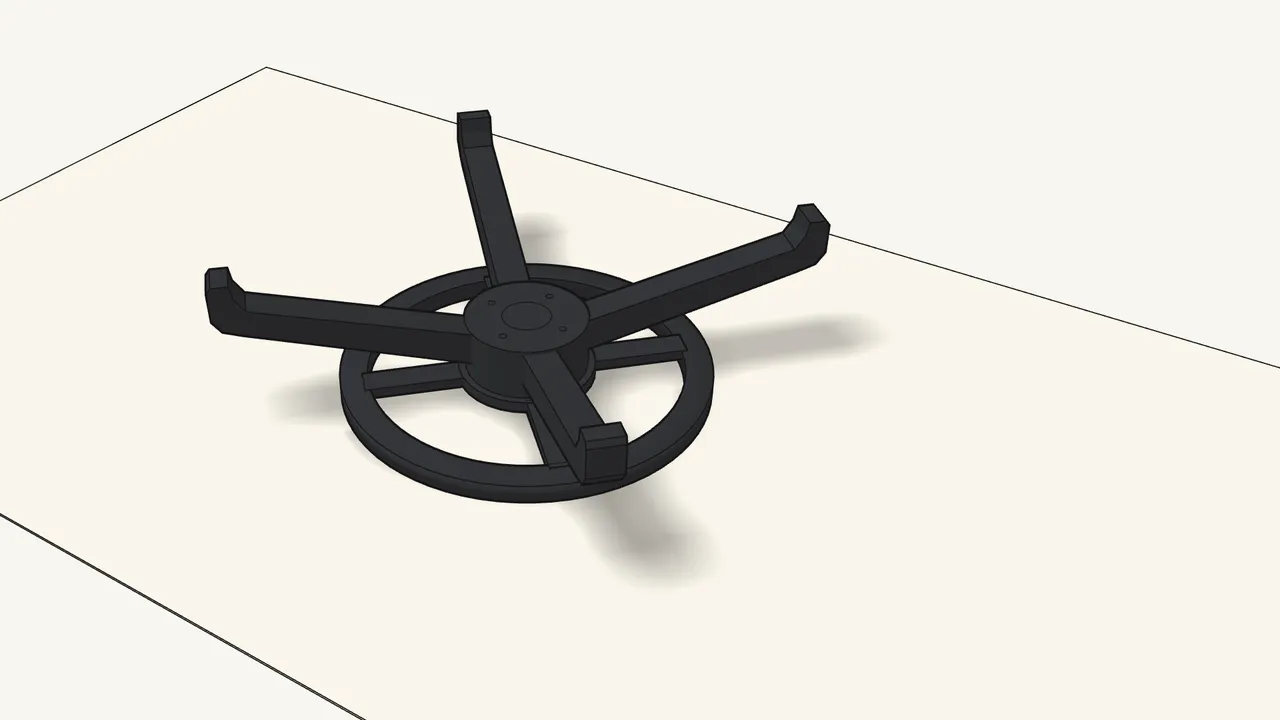
Step 1
Lay the foot ring on the rug. Put the base upside down on it.
Work on a rug or the box so nothing gets scratched.
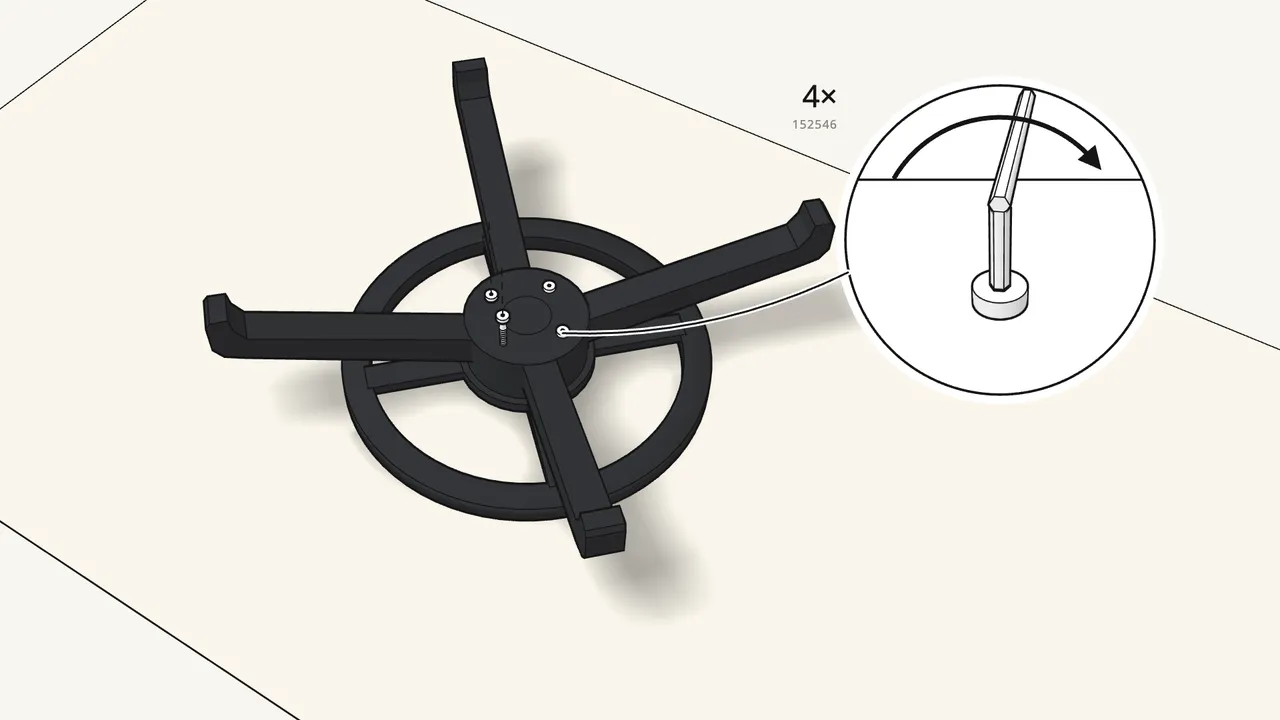
Step 2 · manual step 1
Fix the base to the foot ring with 4 bolts (152546).
Tighten them with the Allen key (124345).
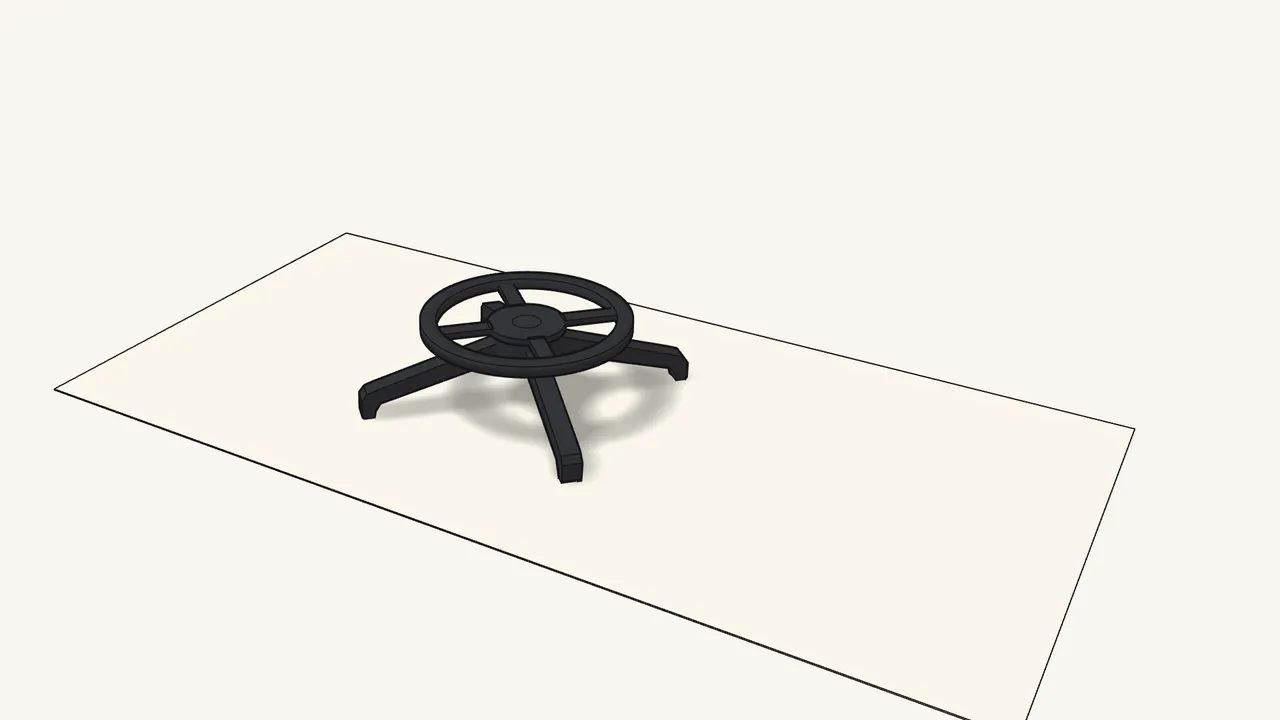
Step 3 · manual step 1
Turn the base over.
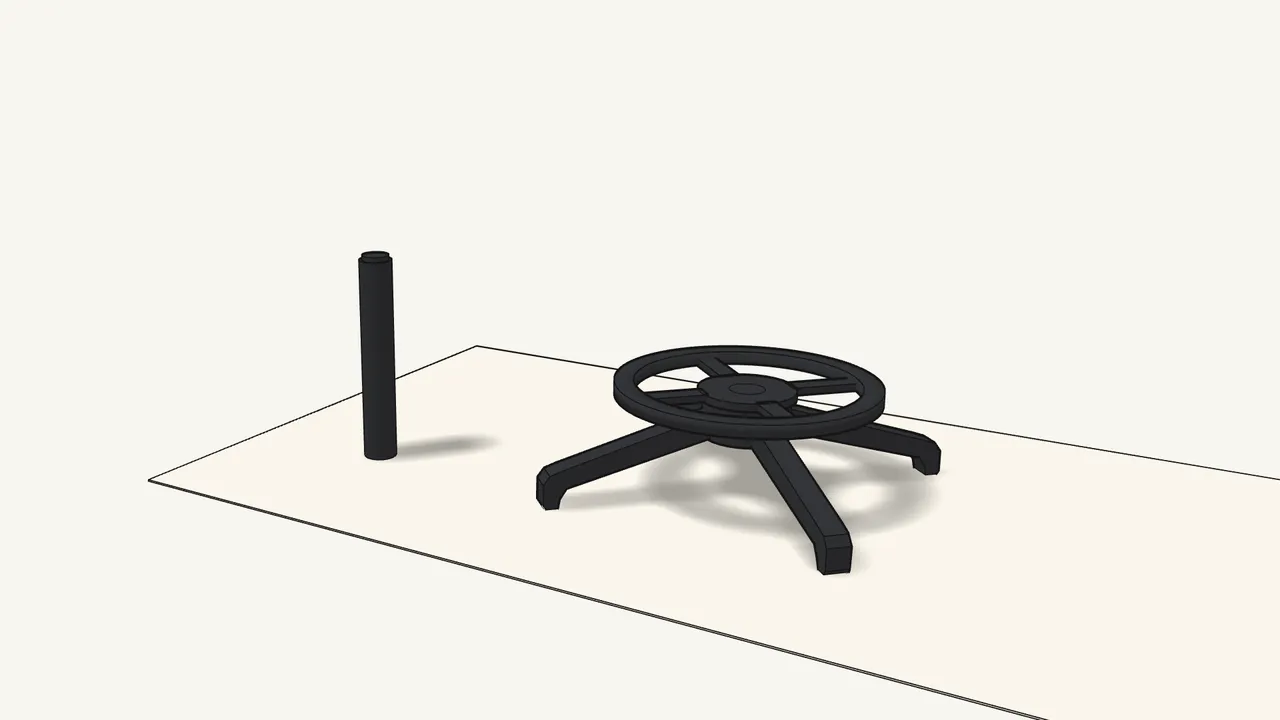
Step 4 · manual step 2
Pull the plastic cap off the top of the gas cylinder.
You don’t need it — recycle it.
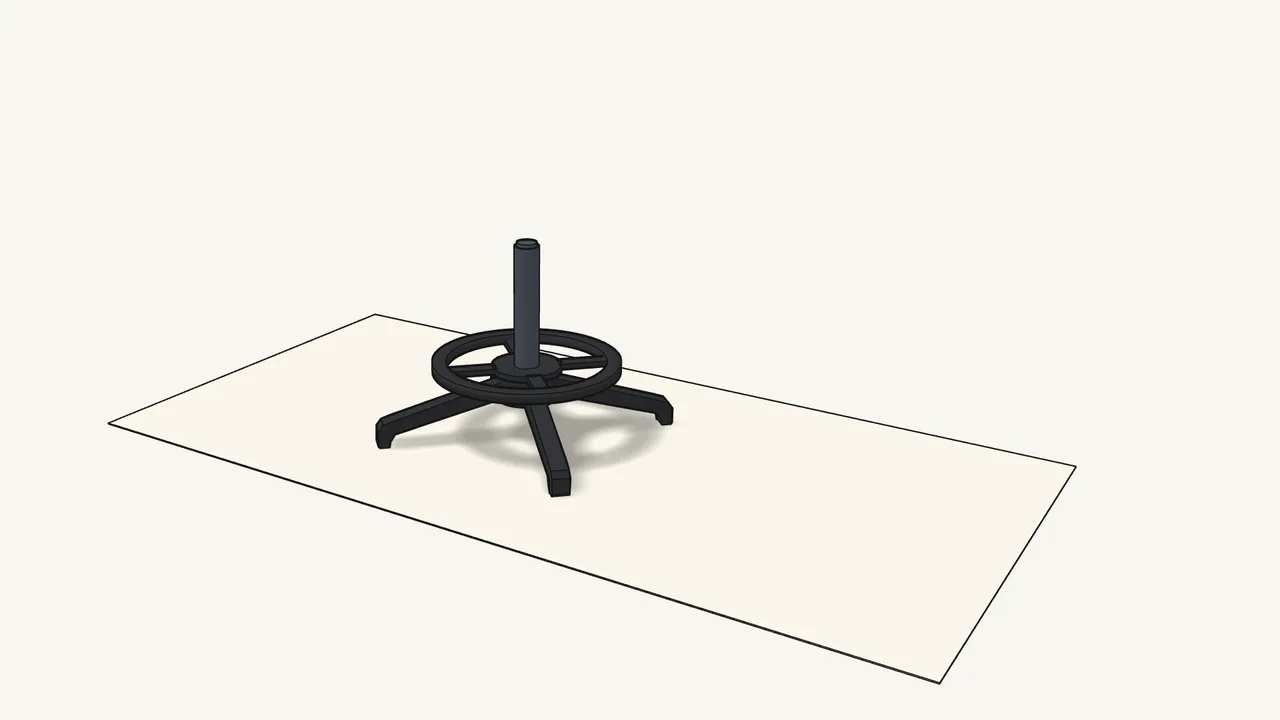
Step 5 · manual step 3
Put the gas cylinder into the hole in the centre of the base.
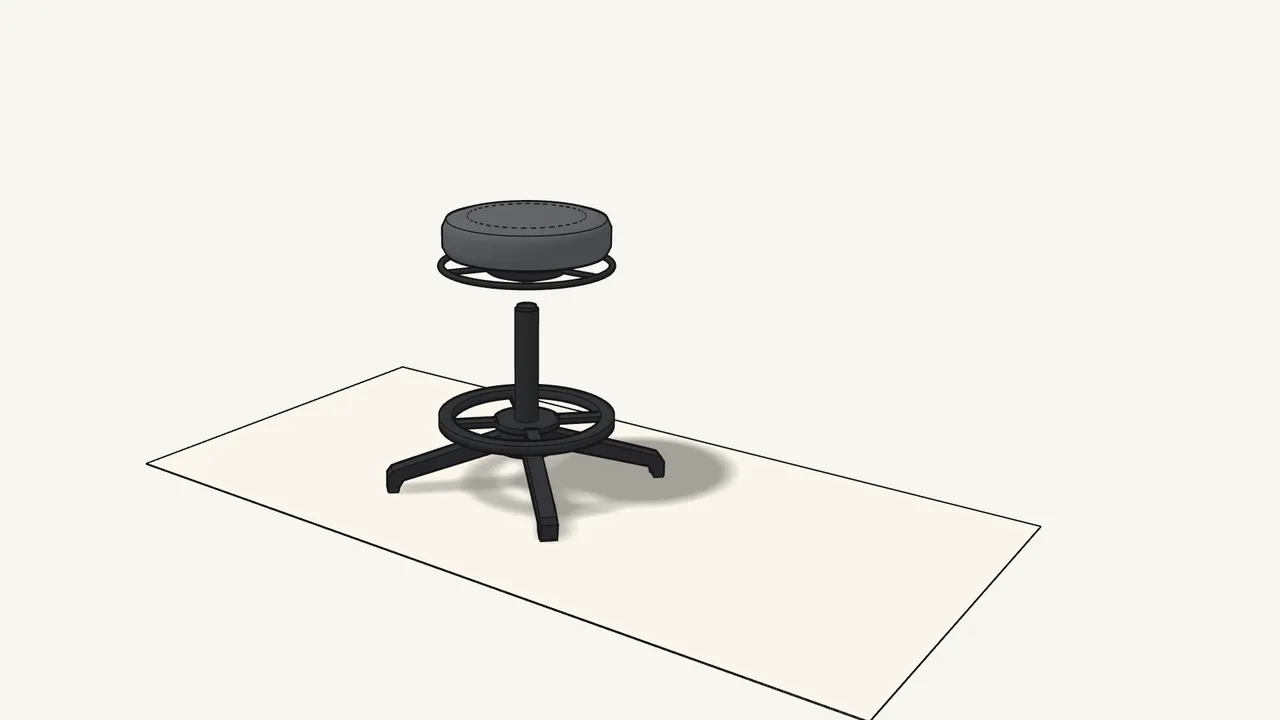
Step 6 · manual step 4
Put the seat onto the gas cylinder.
The top of the cylinder goes into the hole under the seat.
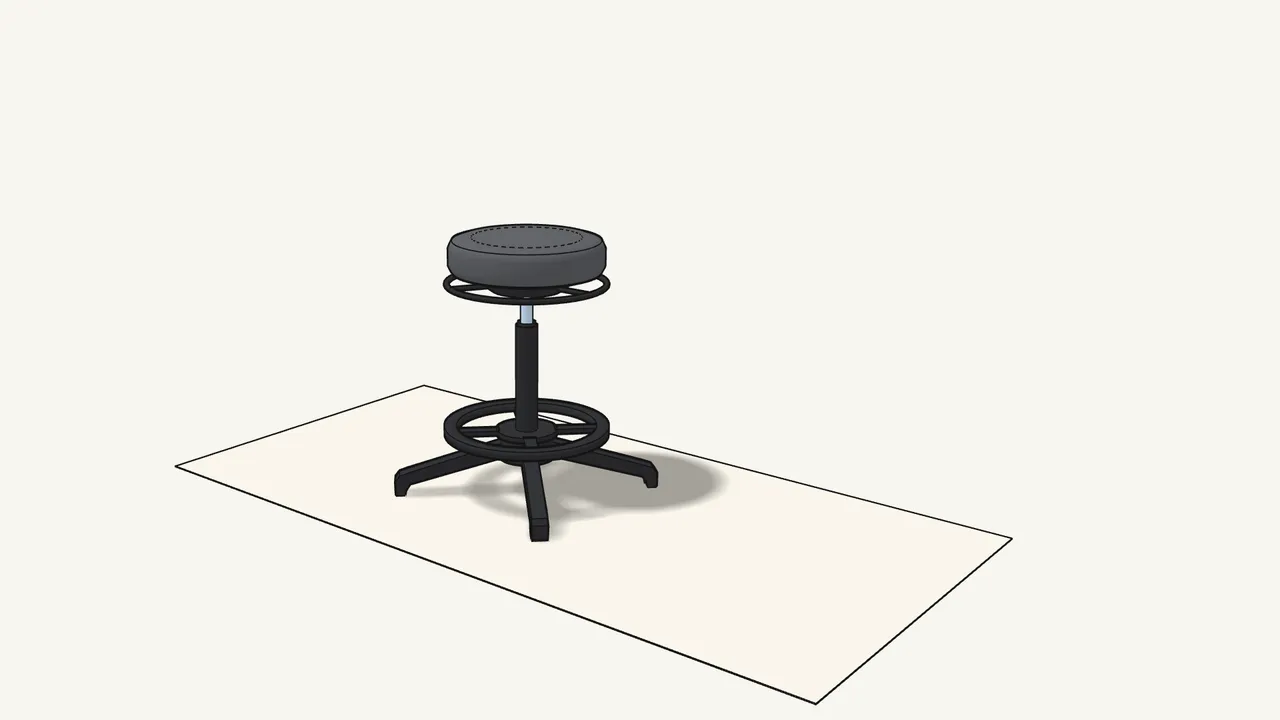
Step 7
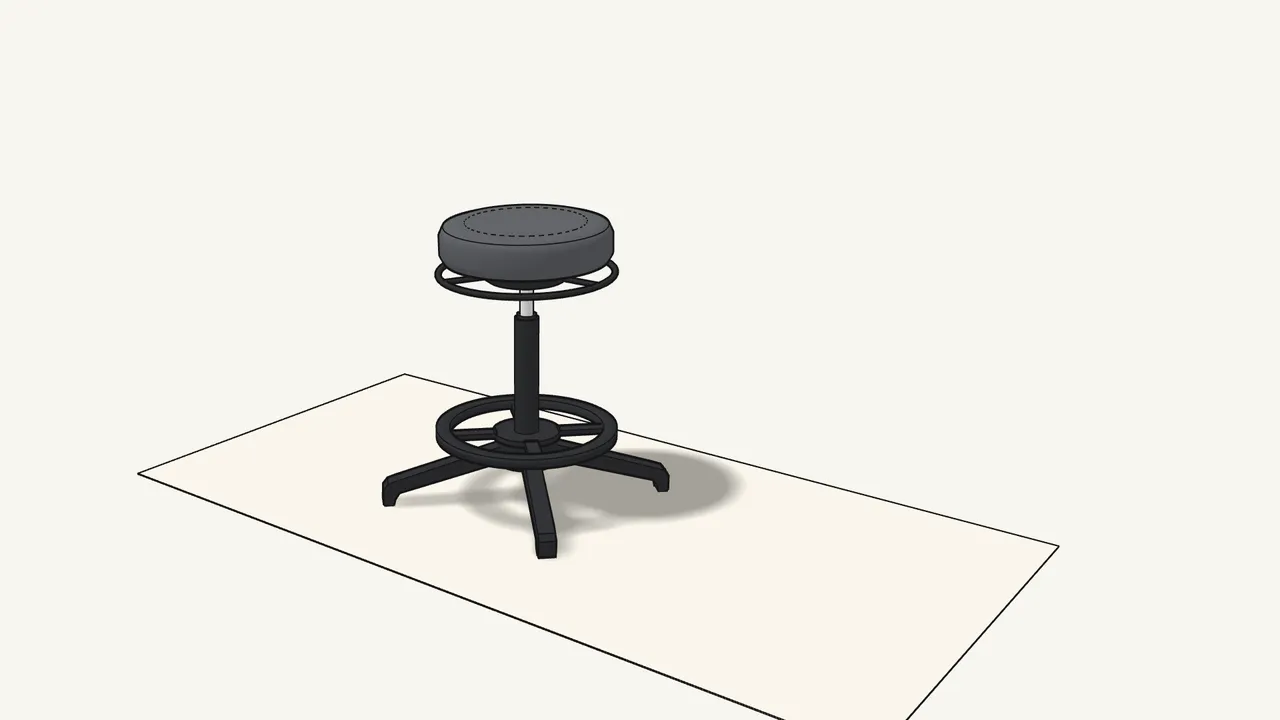
Lift the ring under the seat to raise or lower it.
See the manual, page 6.
Step 8
The seat tilts and rocks as you move.
See the manual, page 6.
Tips & safety
- Washable seat cover Pull the cover off the seat to wash it in the machine (manual p. 7).
- Warning: gas cylinder Only trained personnel may replace or repair the seat height adjustment parts (manual p. 8).
Official instructions
This guide follows IKEA’s official assembly instructions (AA-2146910-4). Keep the printed manual to hand — if anything differs, the manual is right.