IKEA · Chairs & Stools
How to assemble IKEA KIVIK Sofa
Step-by-step IKEA KIVIK Sofa assembly: 15 illustrated steps, an animated video, the hardware list and the tools you need — following the official instructions (AA-2342501-1).
- 15 illustrated steps
- 10 steps in the manual
- 2:22 video
- 228×95×83 cm
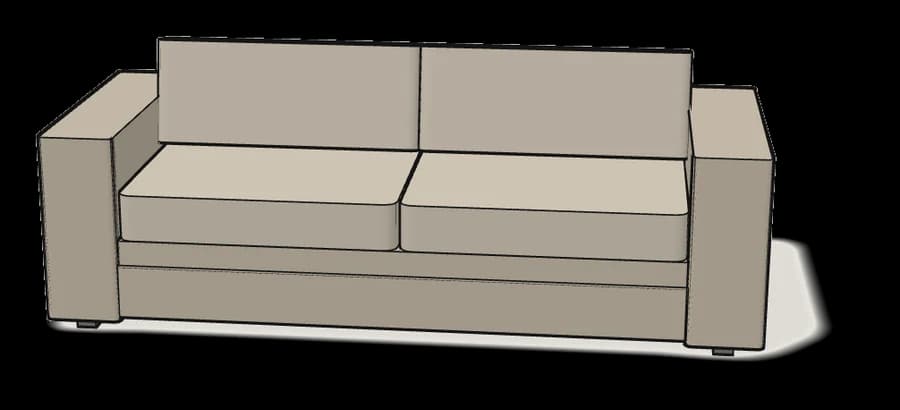
What you need
Tools
- Spanner (included)
You’ll need: tool 120202 (1×) — the socket tool that comes in the box.
Hardware in the box
| Part no. (as printed in the manual) | Qty |
|---|---|
| 110019 | 4× |
| 117175 | 8× |
| 100712 | 12× |
| 100854 | 12× |
| 121236 | 4× |
Step-by-step assembly
Step 1
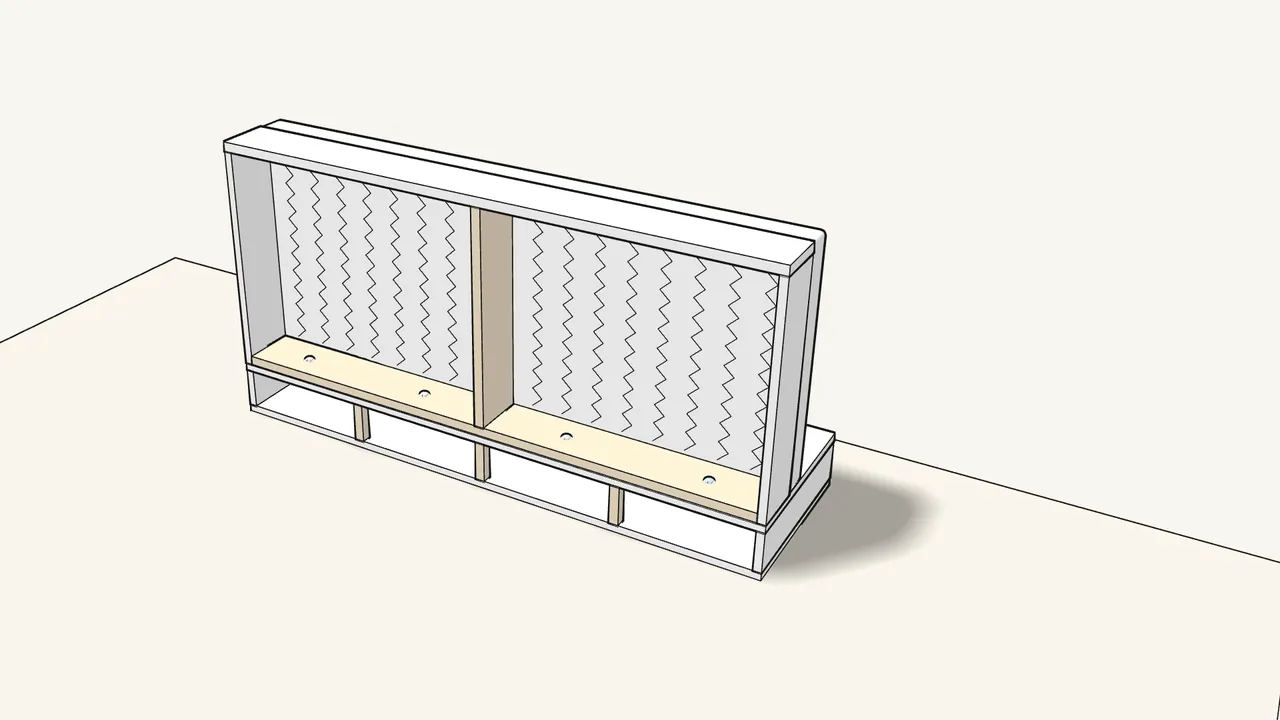
Lower the seat frame onto the back frame and push in 4 bolts (110019).
Both parts lie on their backs, springs facing you — as in the manual.
Step 2 · manual step 1
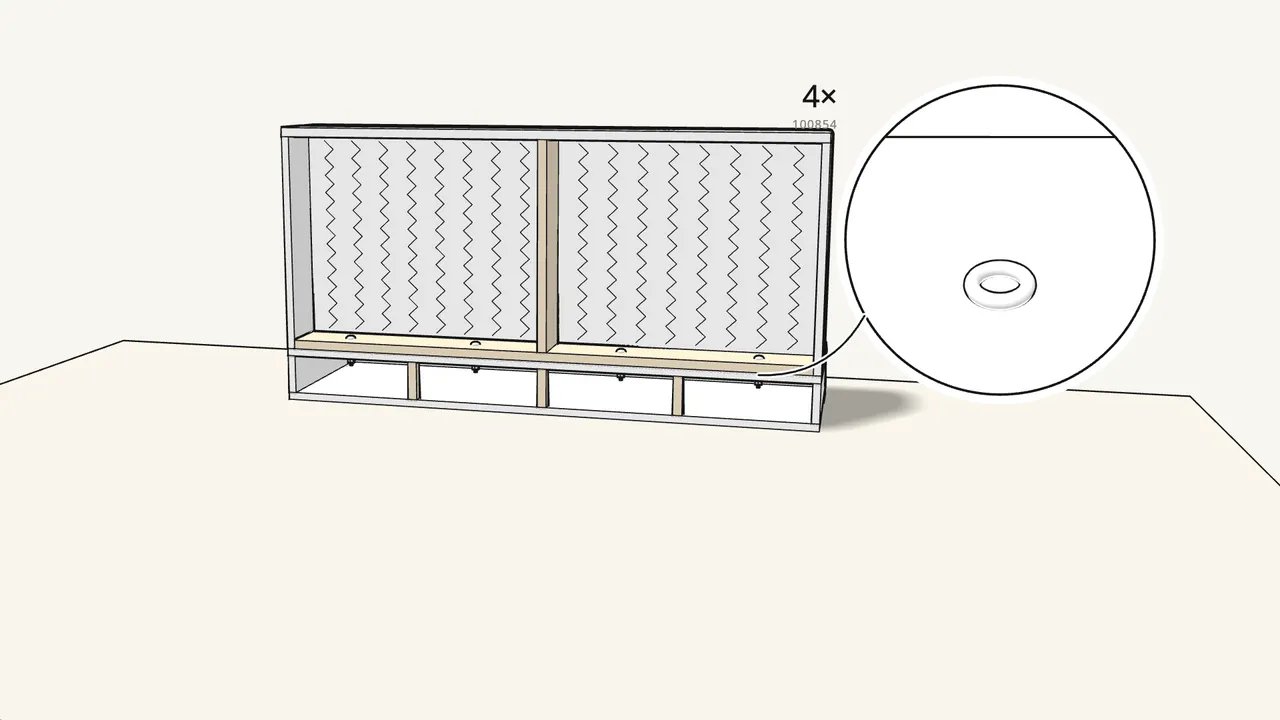
Fit a washer (100854) and a nut (100712) on each bolt.
Tighten them with the tool (120202).
Step 3 · manual step 2
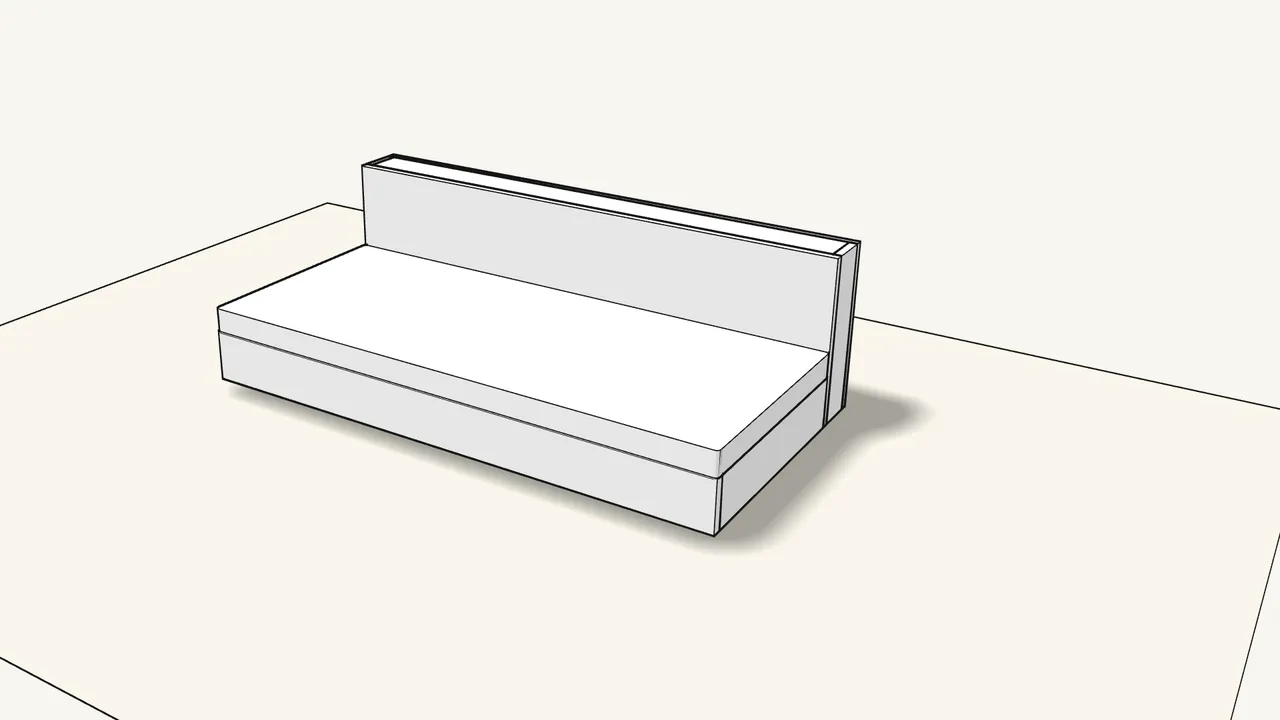
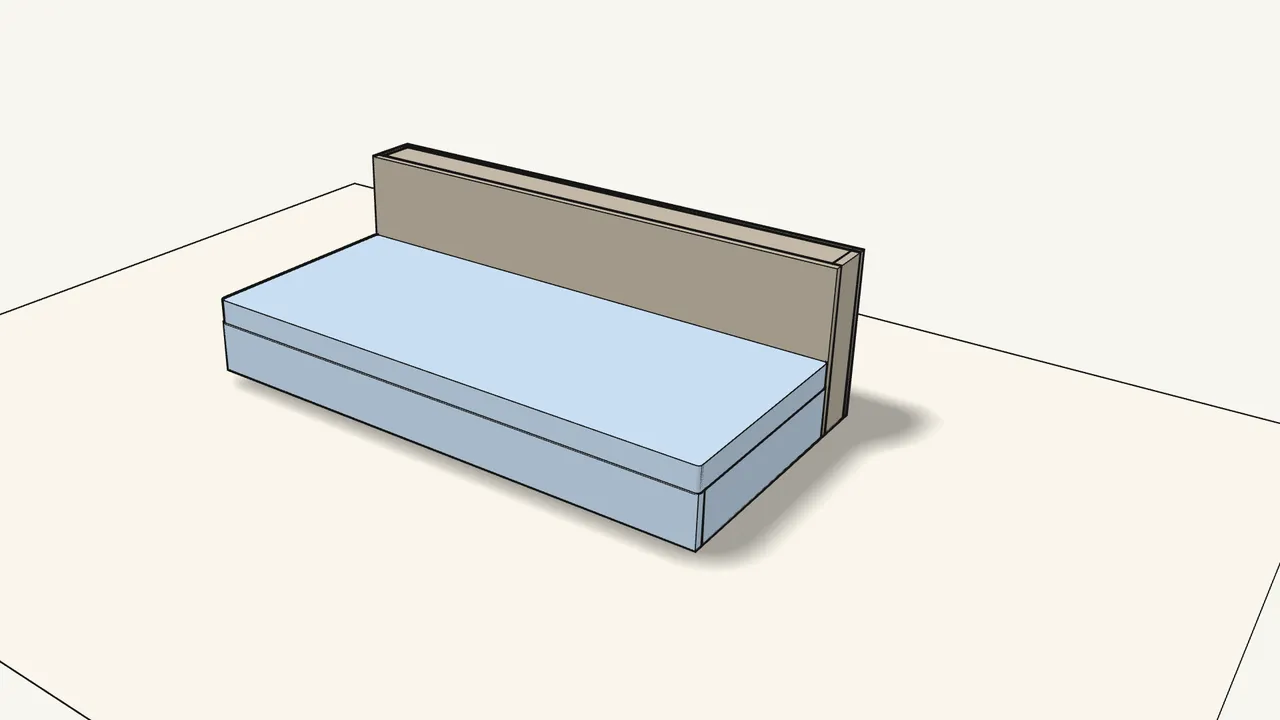
Turn the seat section upright.
Step 4 · manual step 2
Pull the cover over the backrest and the seat.
Tuck it into the gap between seat and back, then fasten the edges underneath (manual pp. 6–7).
Step 5 · manual step 3
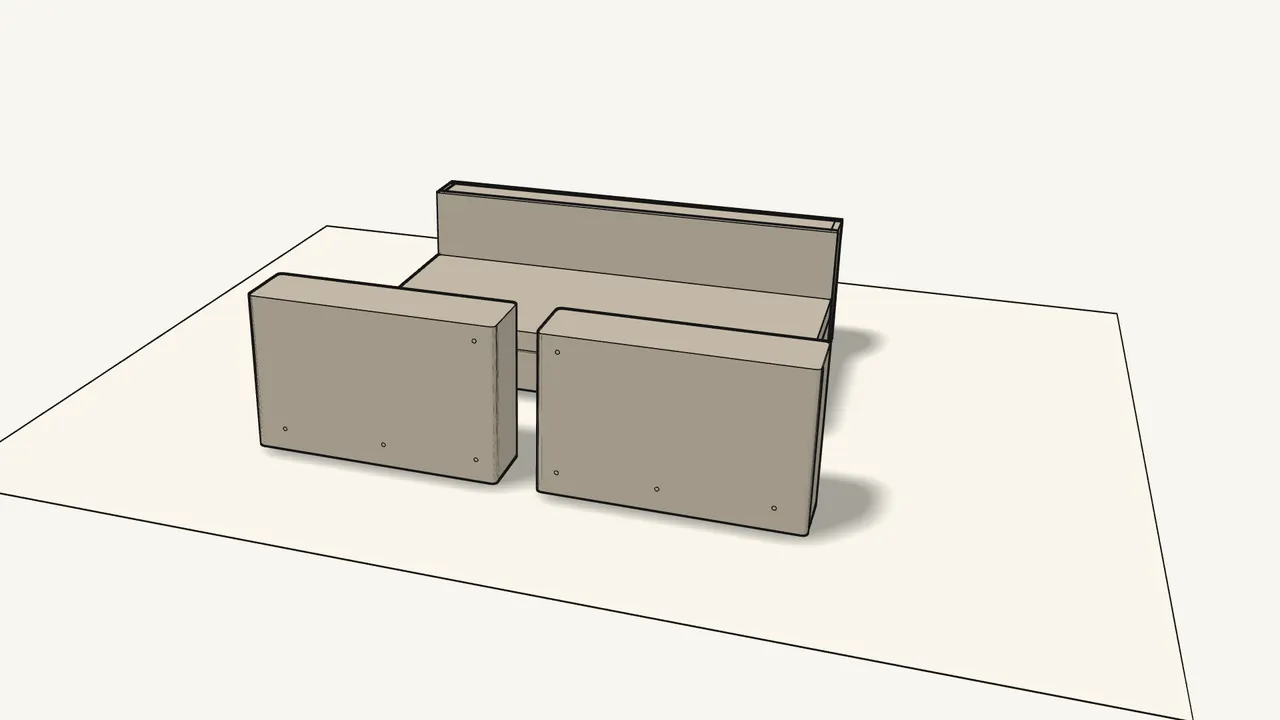
Pull the covers down over the 2 armrests.
Smooth the corners, then fasten the cover underneath — see the manual, step 3.
Step 6 · manual step 4
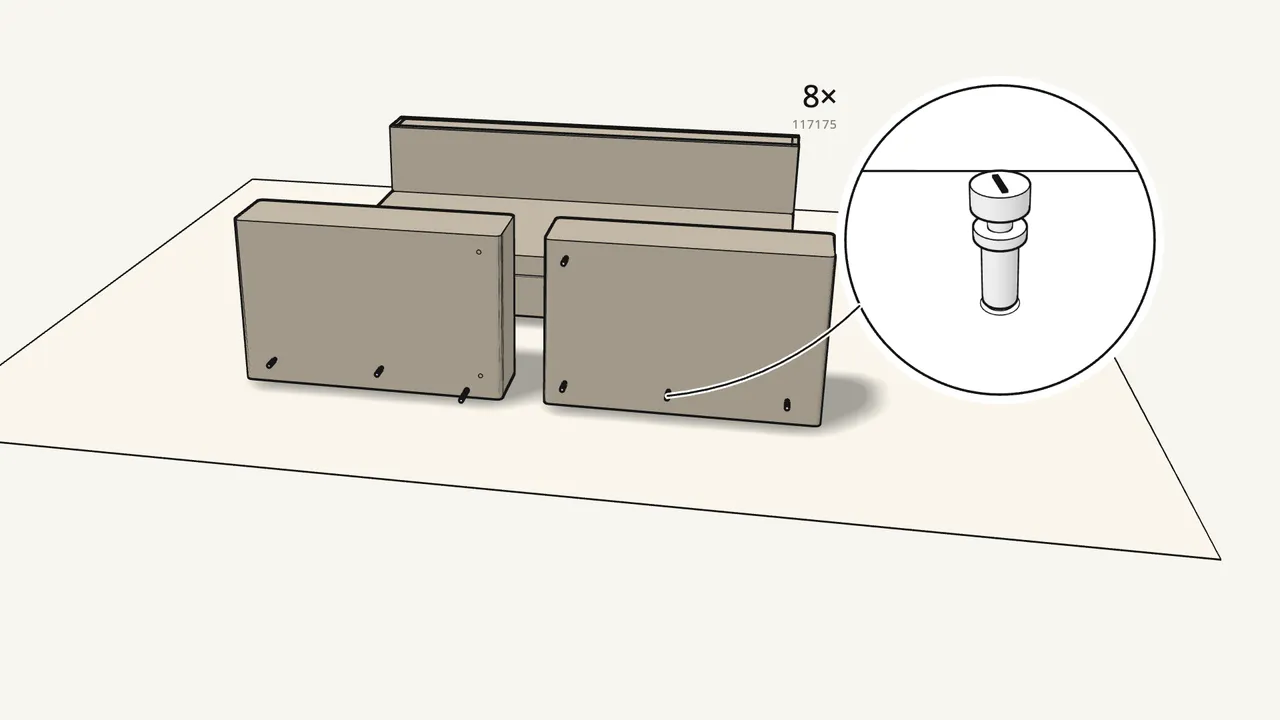
Screw 4 threaded rods (117175) into each armrest by hand.
8 in total, into the holes on the inner side.
Step 7 · manual step 5
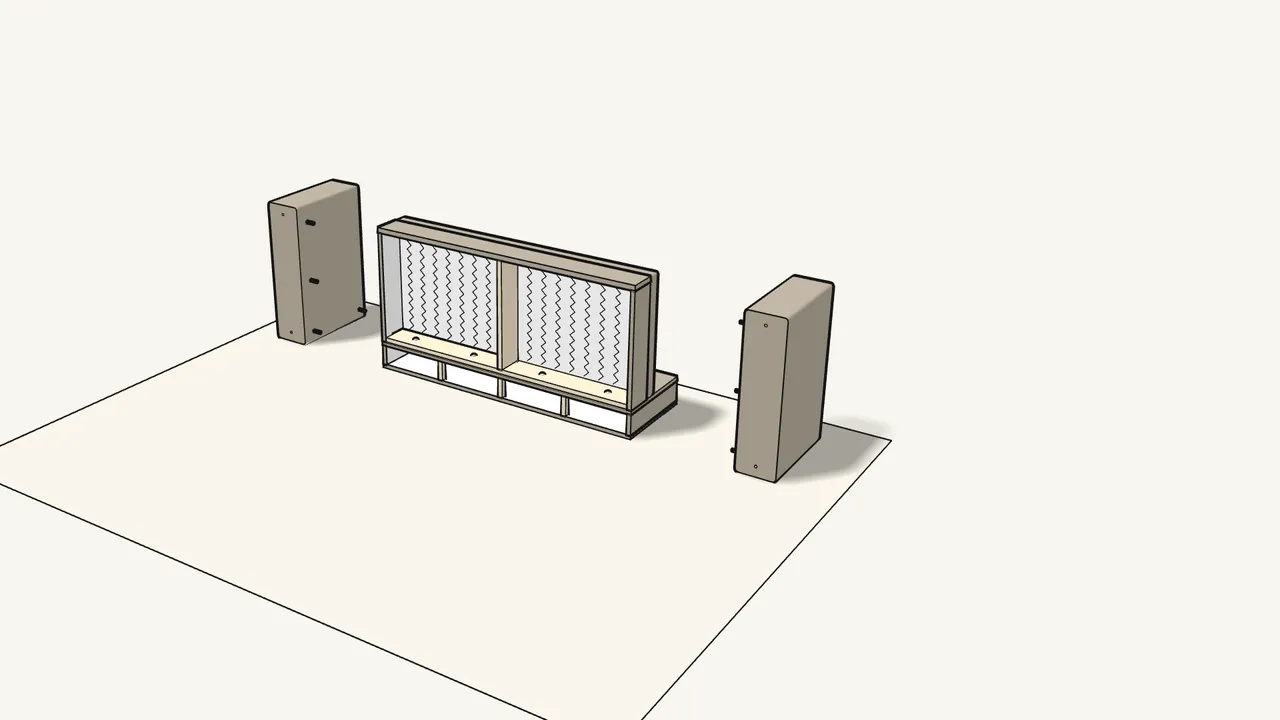
Lay the seat section on its back, armrests beside it.
This is how the manual shows step 5.
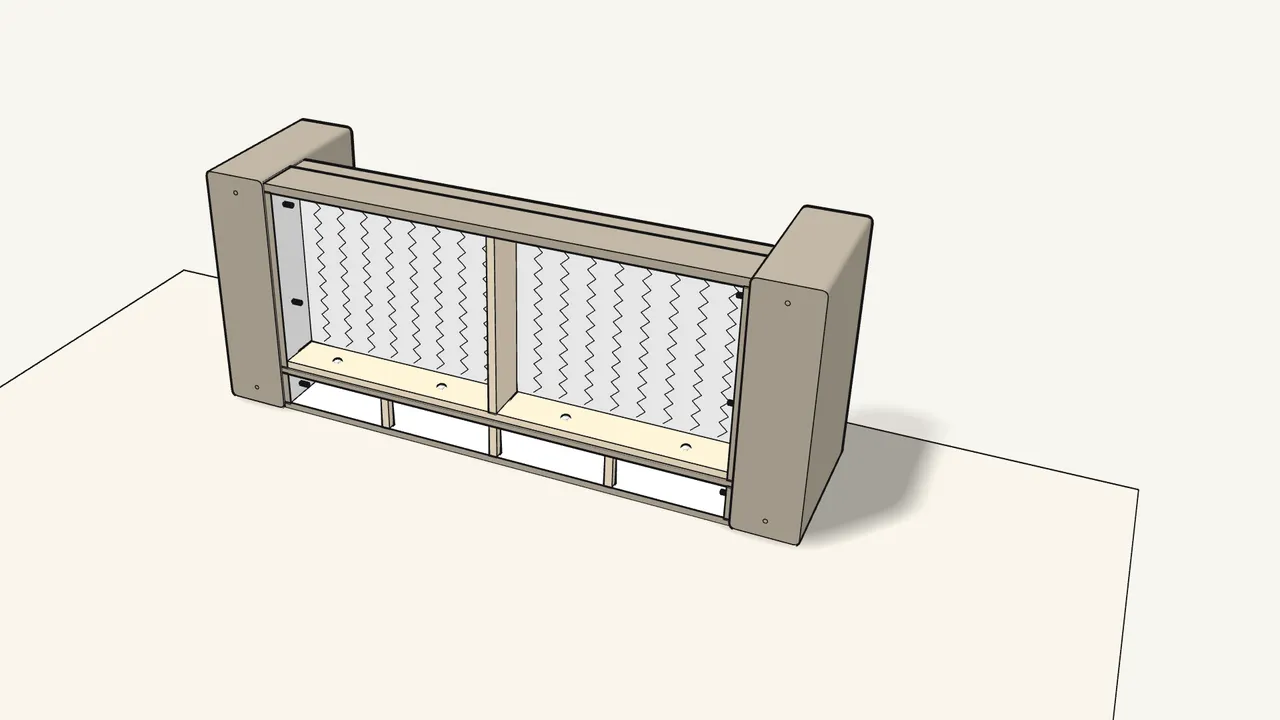
Step 8 · manual step 5
Push the armrests on — the rods go through the holes in the seat section.
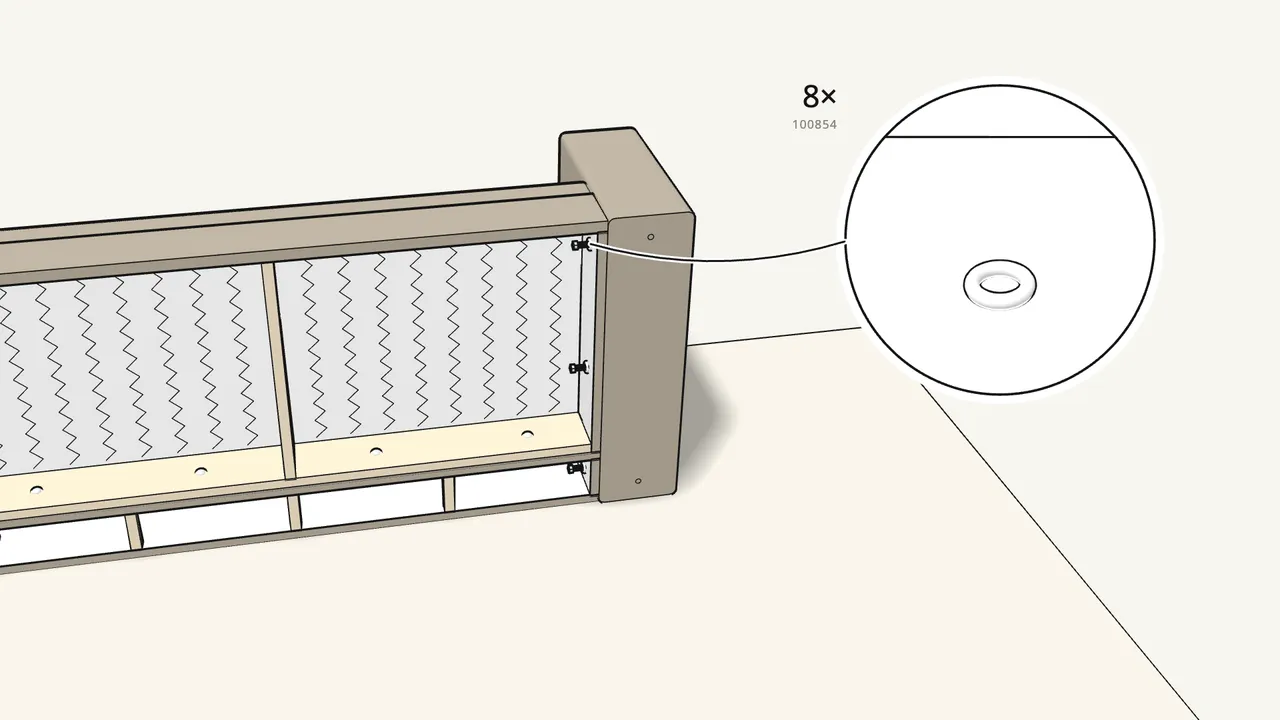
Step 9 · manual step 5
Fit a washer (100854) and a nut (100712) on each of the 8 rods.
Tighten all 8 nuts with the tool (120202).
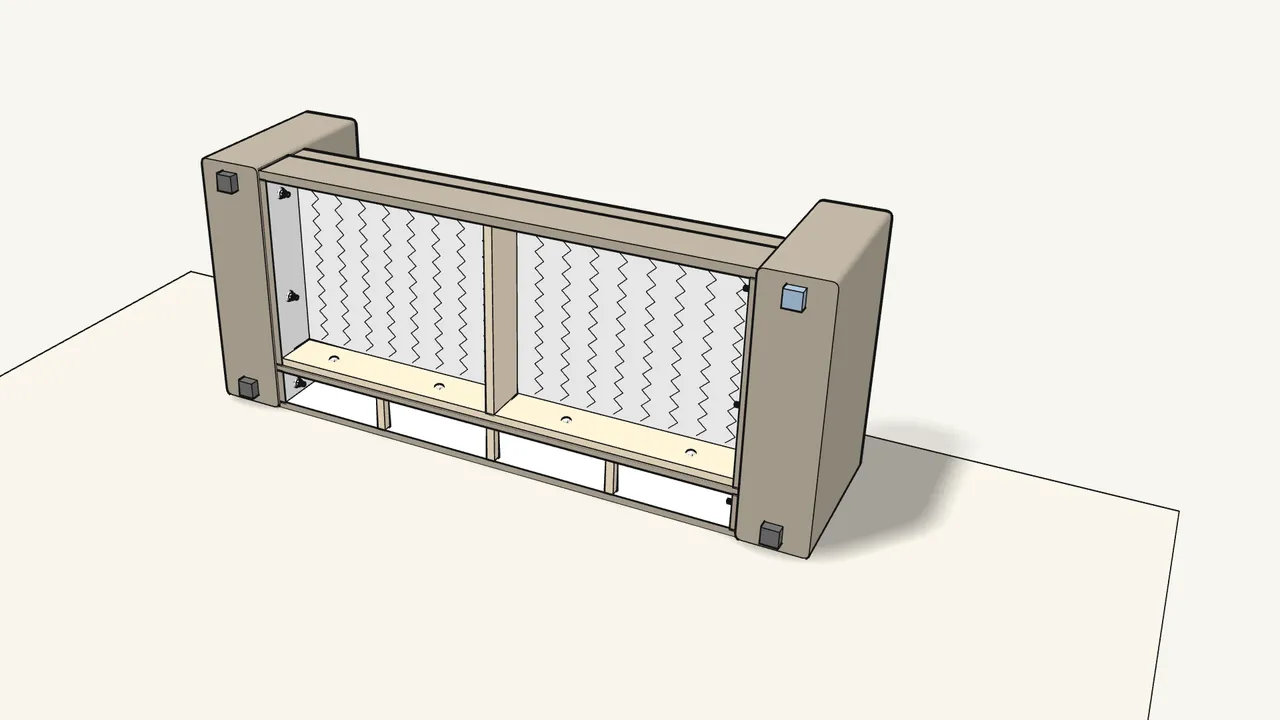
Step 10 · manual step 6
Screw the 4 legs (121236) into the bottom of the armrests.
Turn them in by hand.
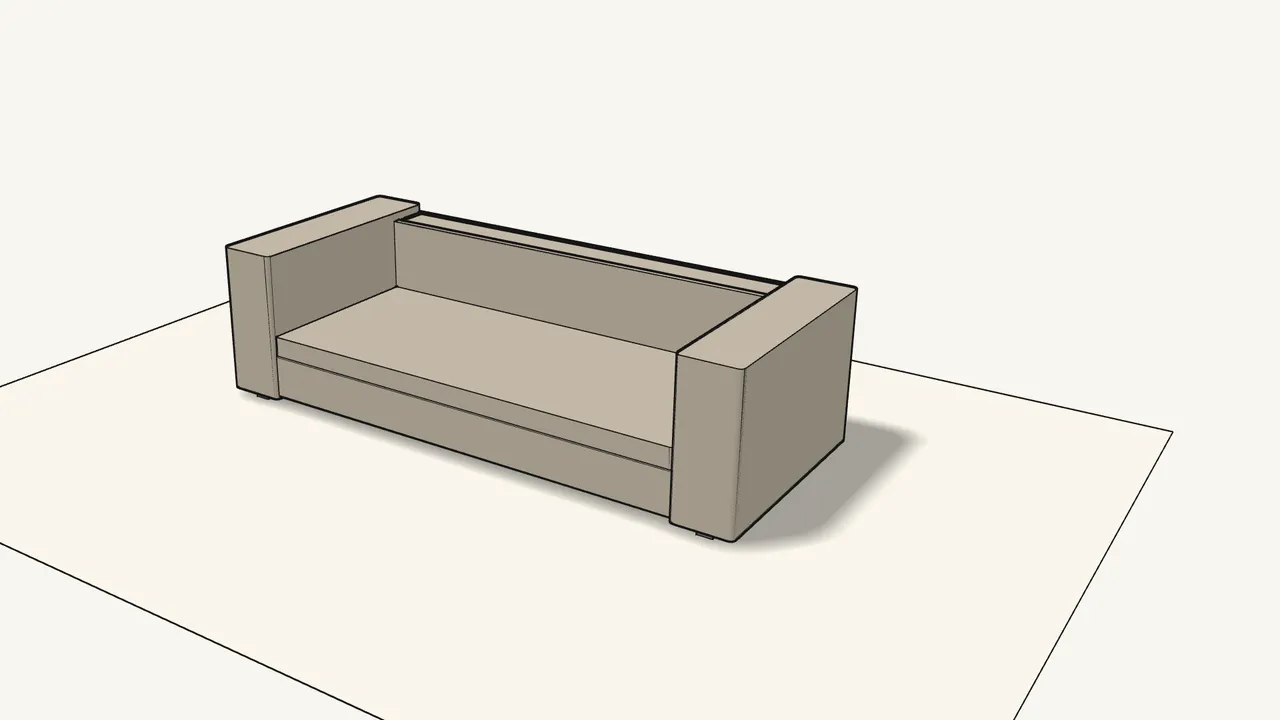
Step 11 · manual step 6
Tip the sofa forward onto its legs.
Lift it together — 2 people.
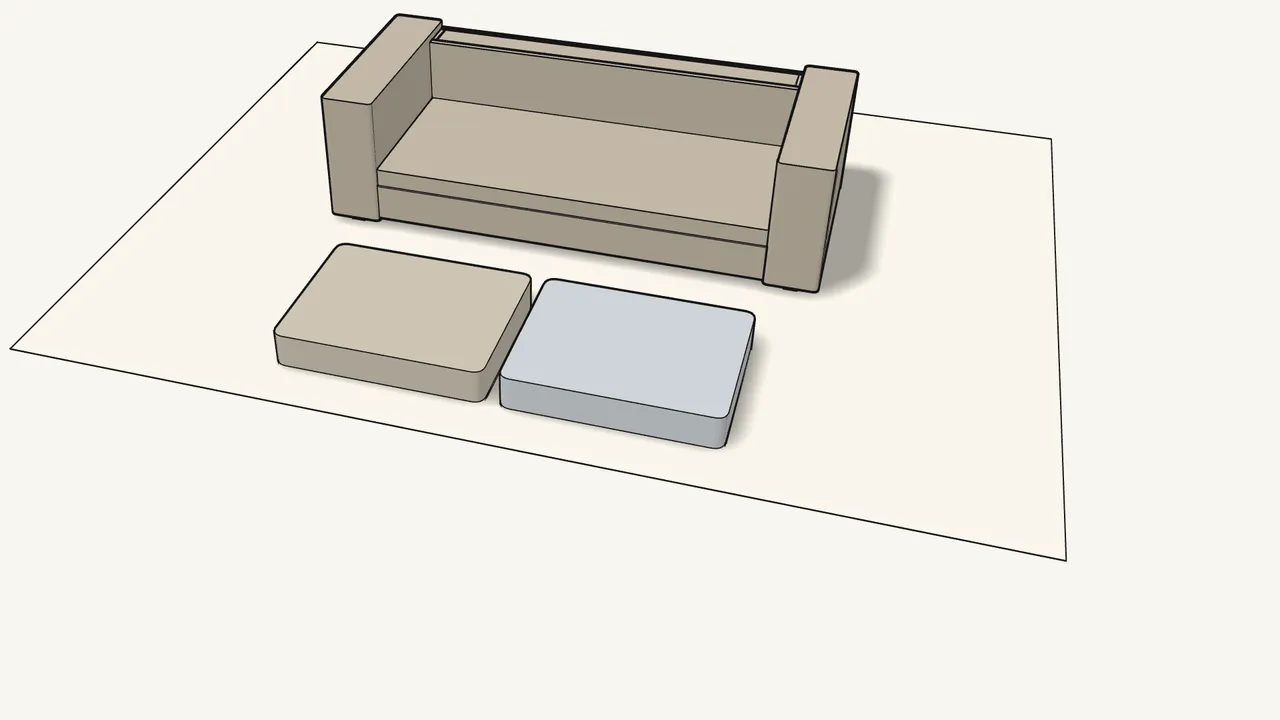
Step 12 · manual step 7
Put the covers on the 2 seat cushions and zip them closed.
Fill out the corners so there are no folds.
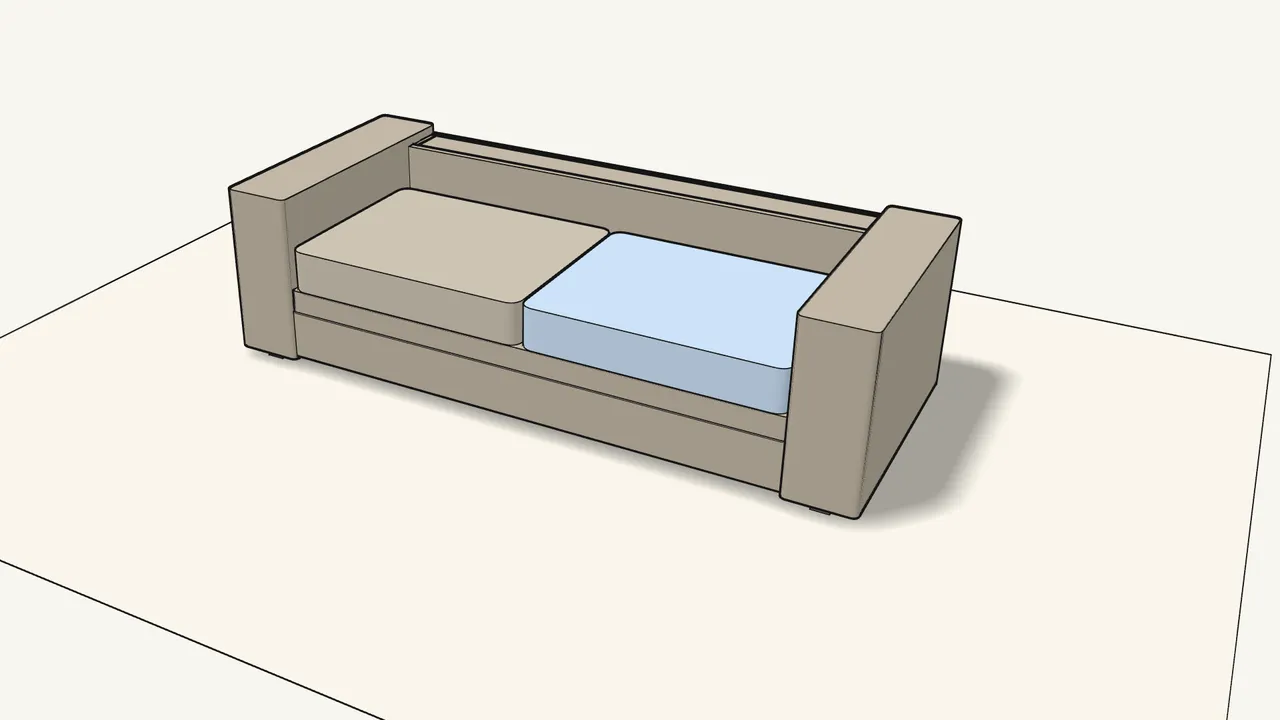
Step 13 · manual step 8
Place the 2 seat cushions on the seat.
Check which side faces up and where the zip goes — see the manual, step 8.
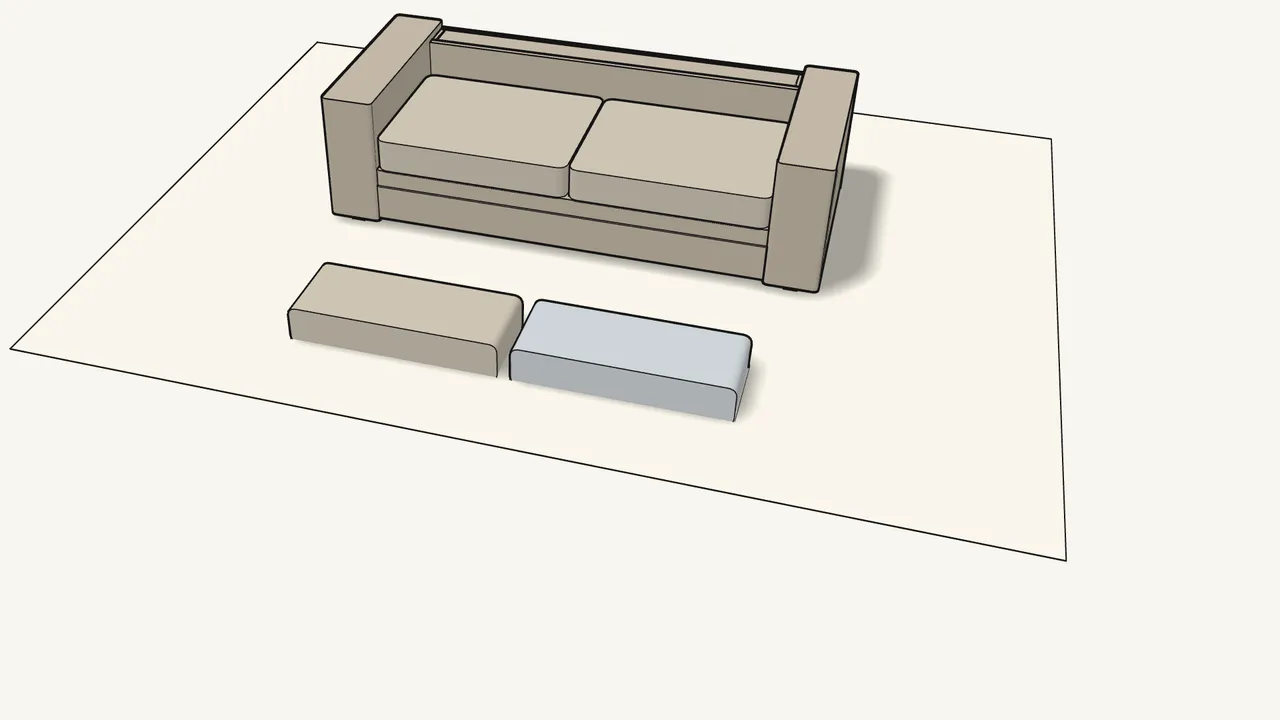
Step 14 · manual step 9
Put the covers on the 2 back cushions and zip them closed.
Fill out the corners so there are no folds.
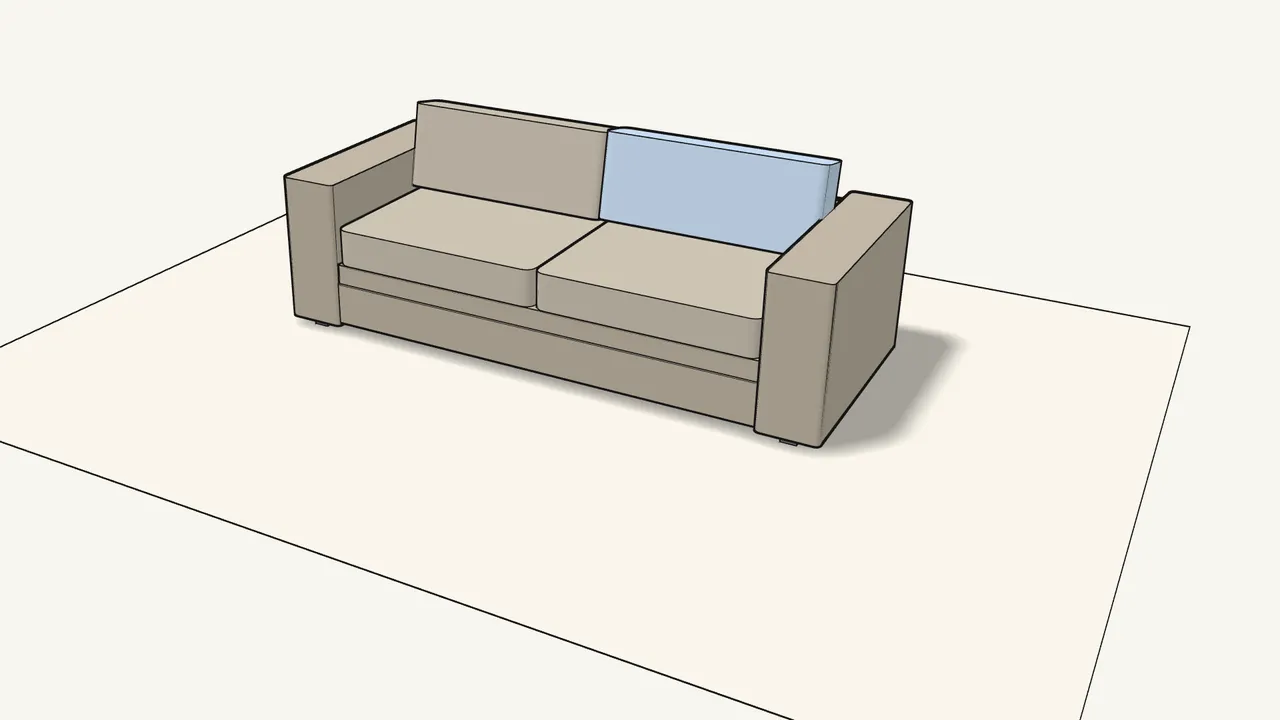
Step 15 · manual step 10
Place the 2 back cushions against the backrest.
Zip side as shown in the manual, step 10.
Tips & safety
- Plump the cushions Smooth out and plump the seat and back cushions now and then to keep their shape — see the last pages of the manual.
- Keep the manual and the tool The last page shows a pocket inside the armrest for this manual and the tool (120202).
Official instructions
This guide follows IKEA’s official assembly instructions (AA-2342501-1). Keep the printed manual to hand — if anything differs, the manual is right.