IKEA · Chairs & Stools
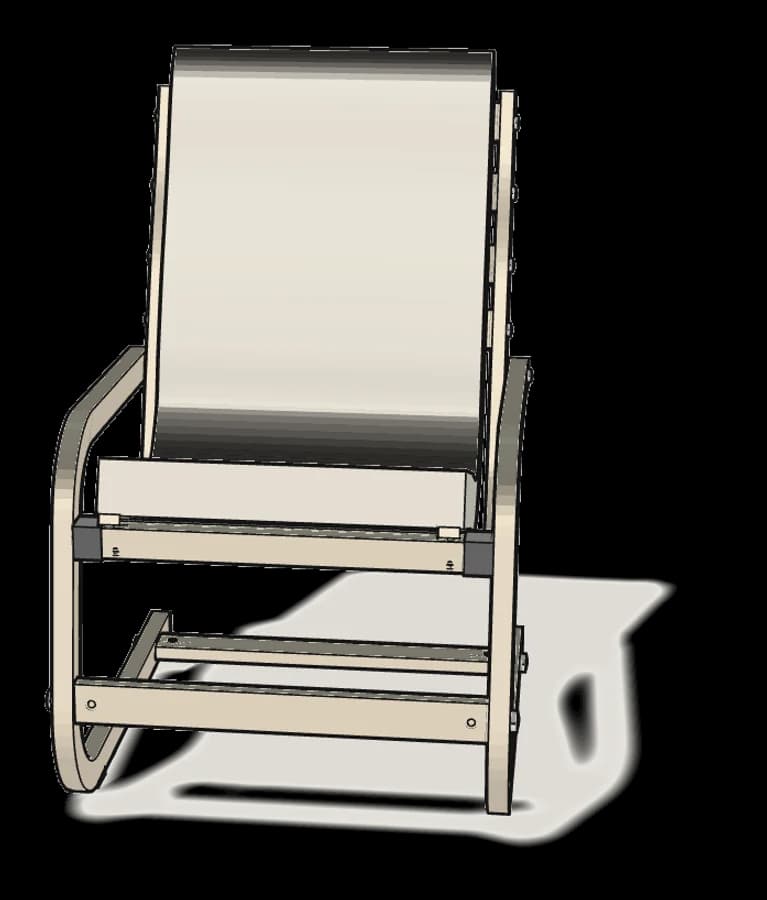
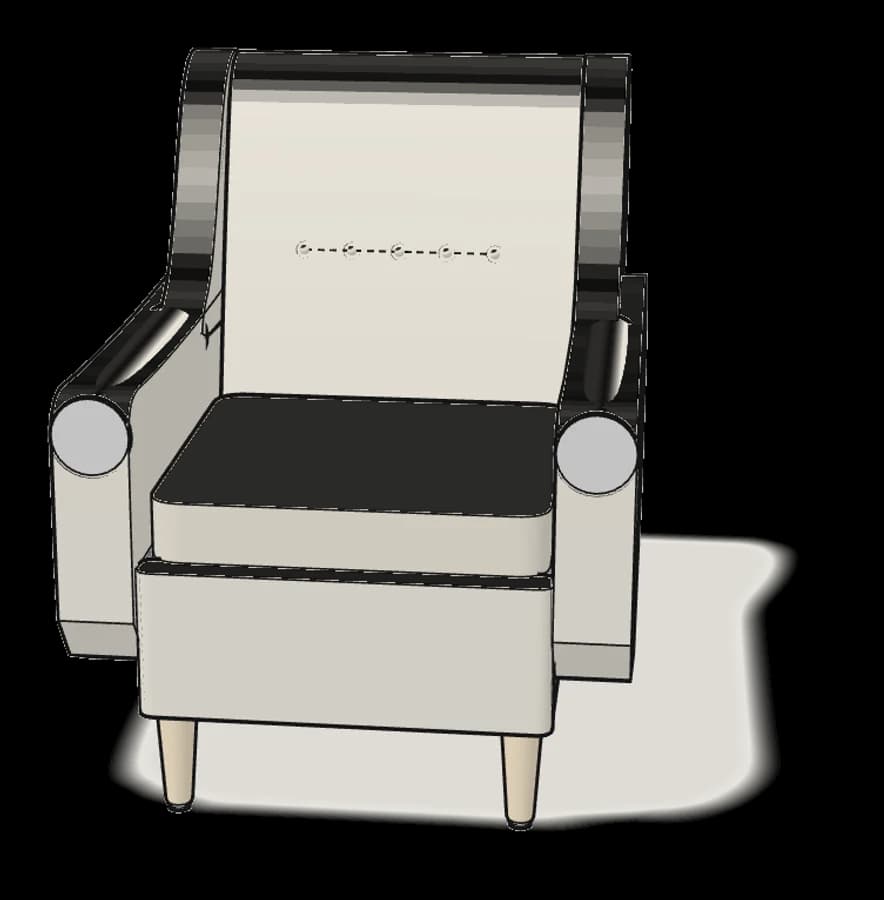
How to assemble IKEA KÄTTIL Chair
Step-by-step IKEA KÄTTIL Chair assembly: 13 illustrated steps, an animated video, the hardware list and the tools you need — following the official instructions (AA-2249303-4).
- 13 illustrated steps
- 8 steps in the manual
- 2:10 video
- 45×56×96 cm
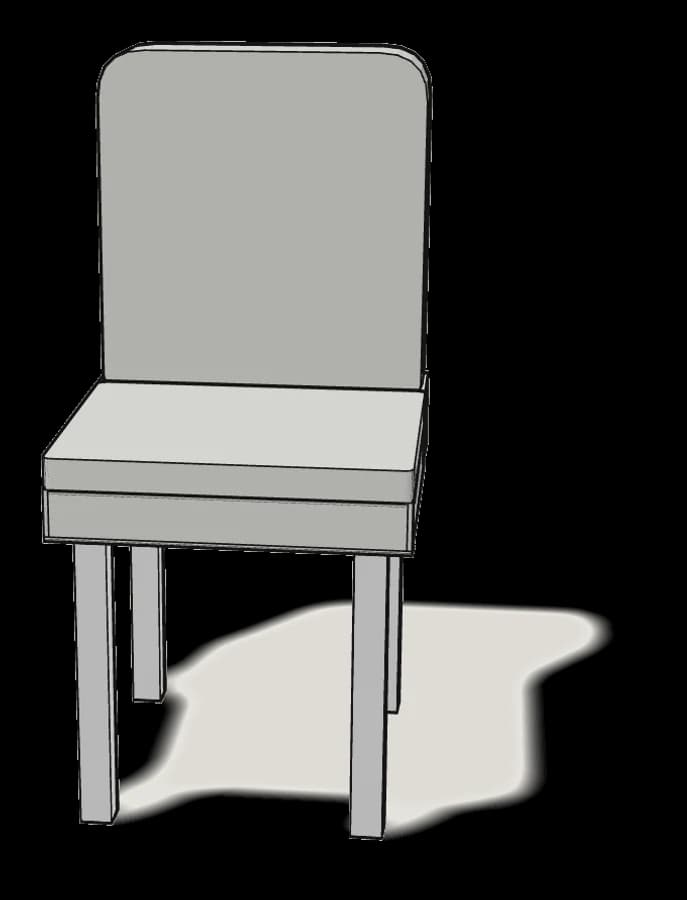
What you need
Tools
- Allen key (included)
No tools needed — the Allen key (124325) is included.
Hardware in the box
| Part no. (as printed in the manual) | Qty |
|---|---|
| 133117 | 4× |
| 100843 | 4× |
| 100837 | 4× |
Step-by-step assembly
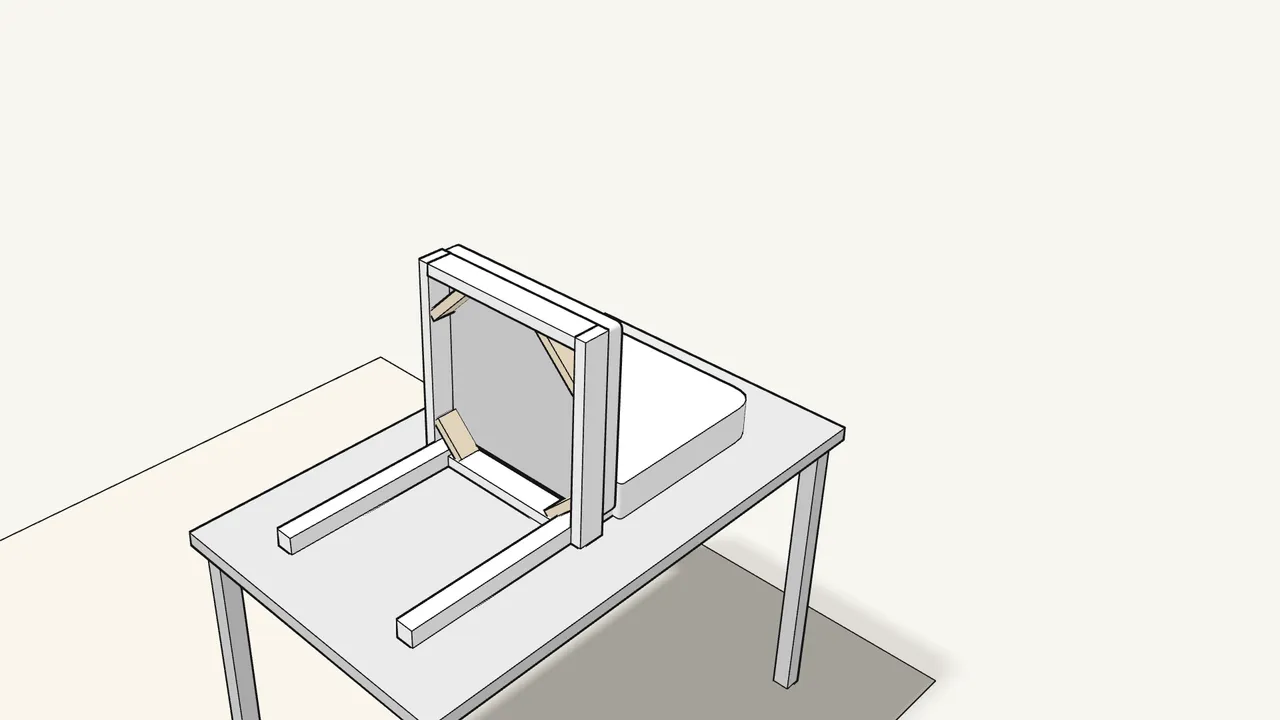
Step 1
Place the seat frame on the back legs, next to the backrest.
The backrest lies on its back on a table, on a soft cloth.
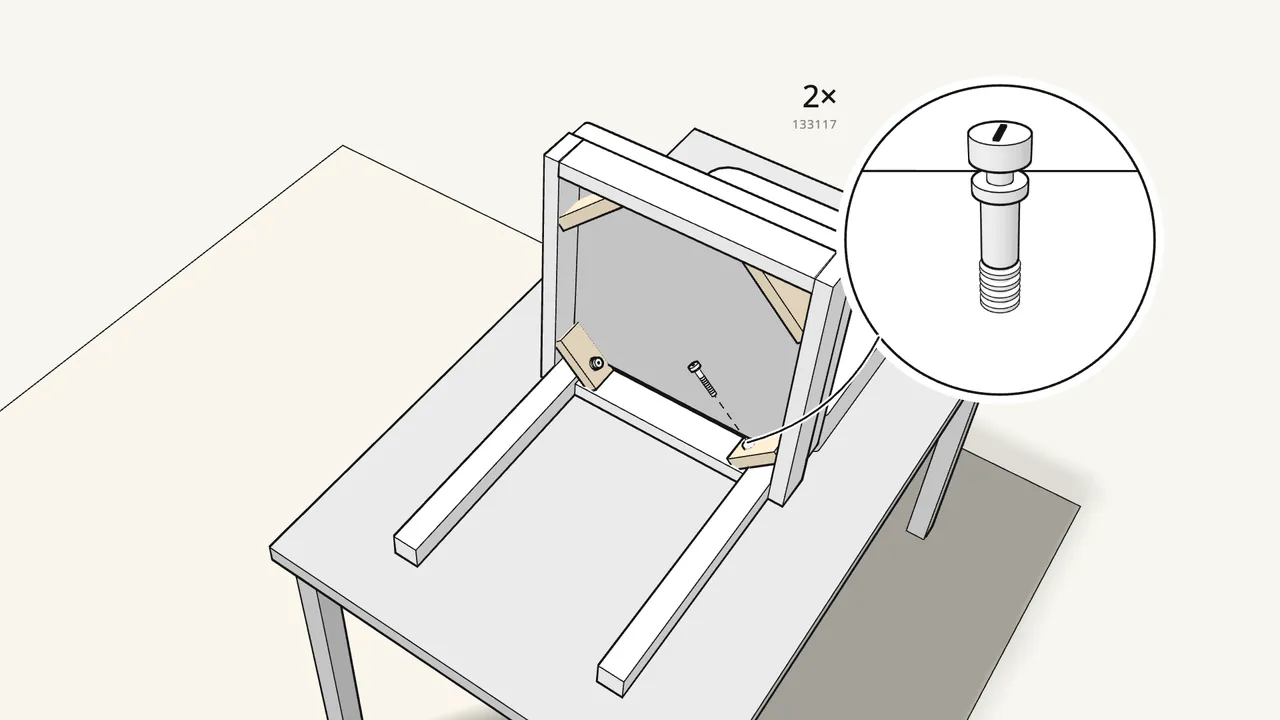
Step 2 · manual step 1
Fit washer 100837, spring washer 100843 and bolt 133117.
2× — through the corner blocks into the back legs. Screw in by hand.
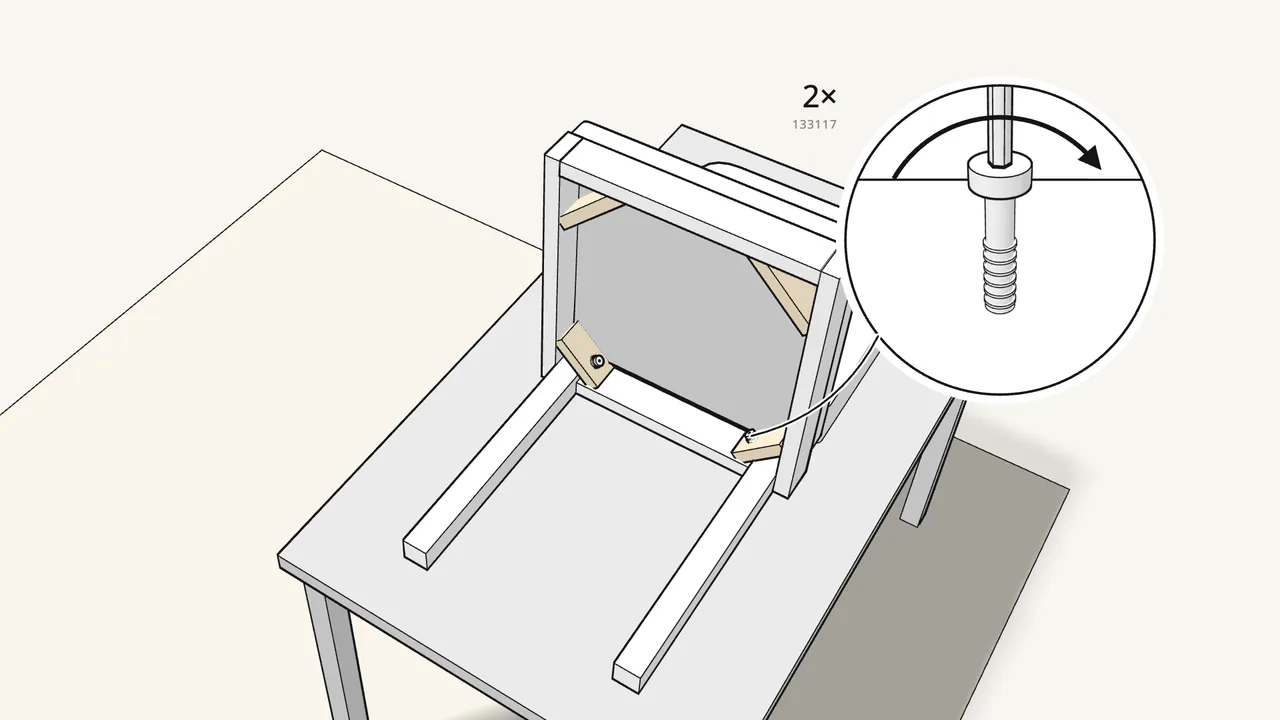
Step 3 · manual step 2
Tighten the 2 bolts with the Allen key.
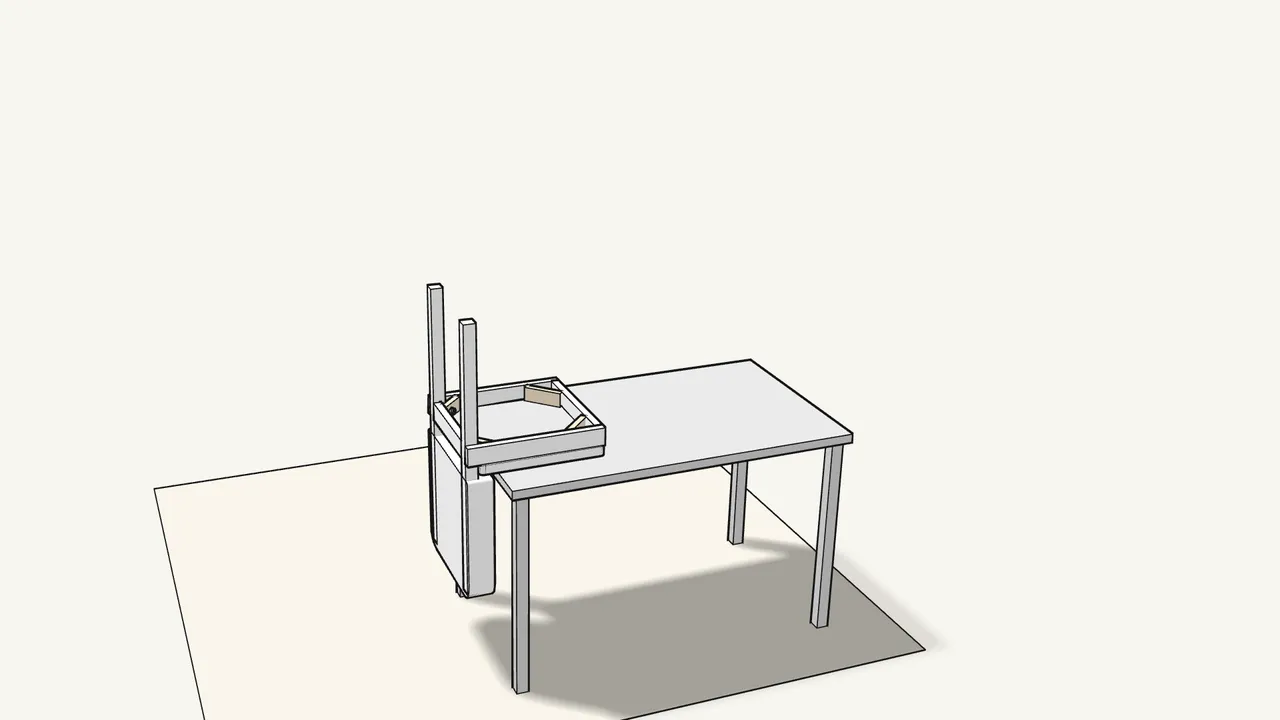
Step 4 · manual step 3
Turn the chair over.
Seat upside down on the table, the backrest hanging over the edge.
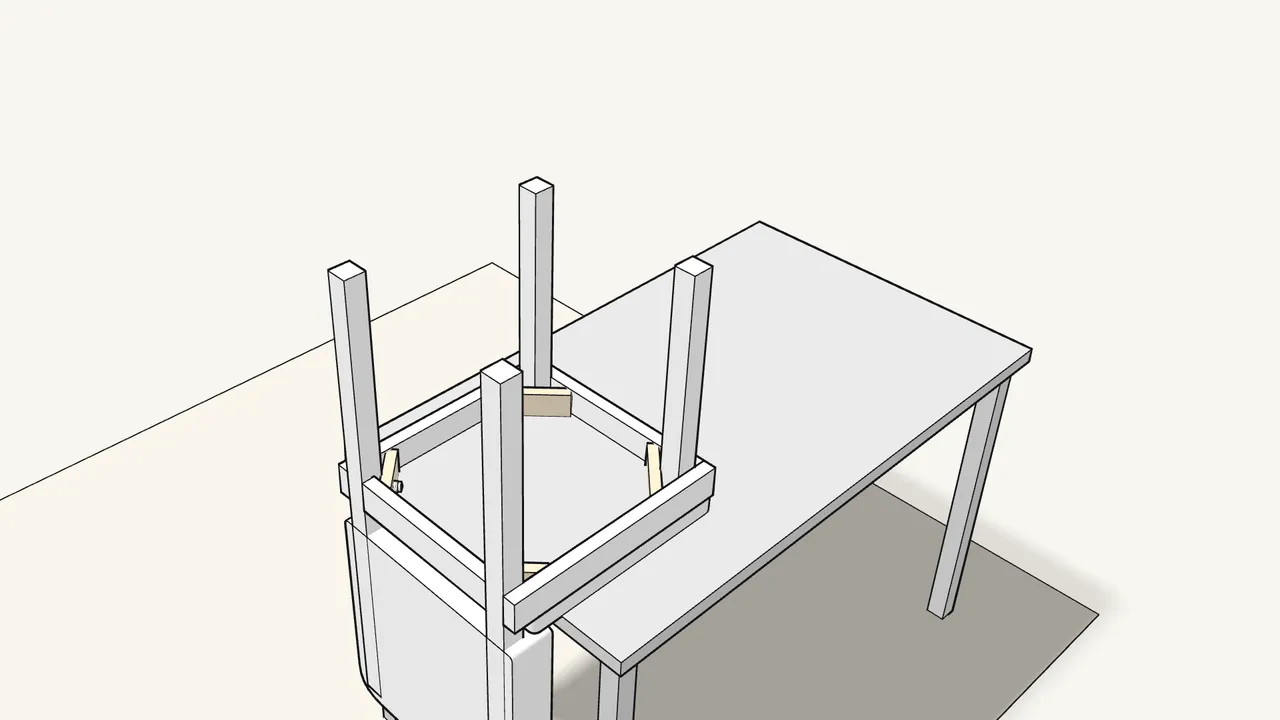
Step 5 · manual step 3
Push the 2 front legs into the front corners.
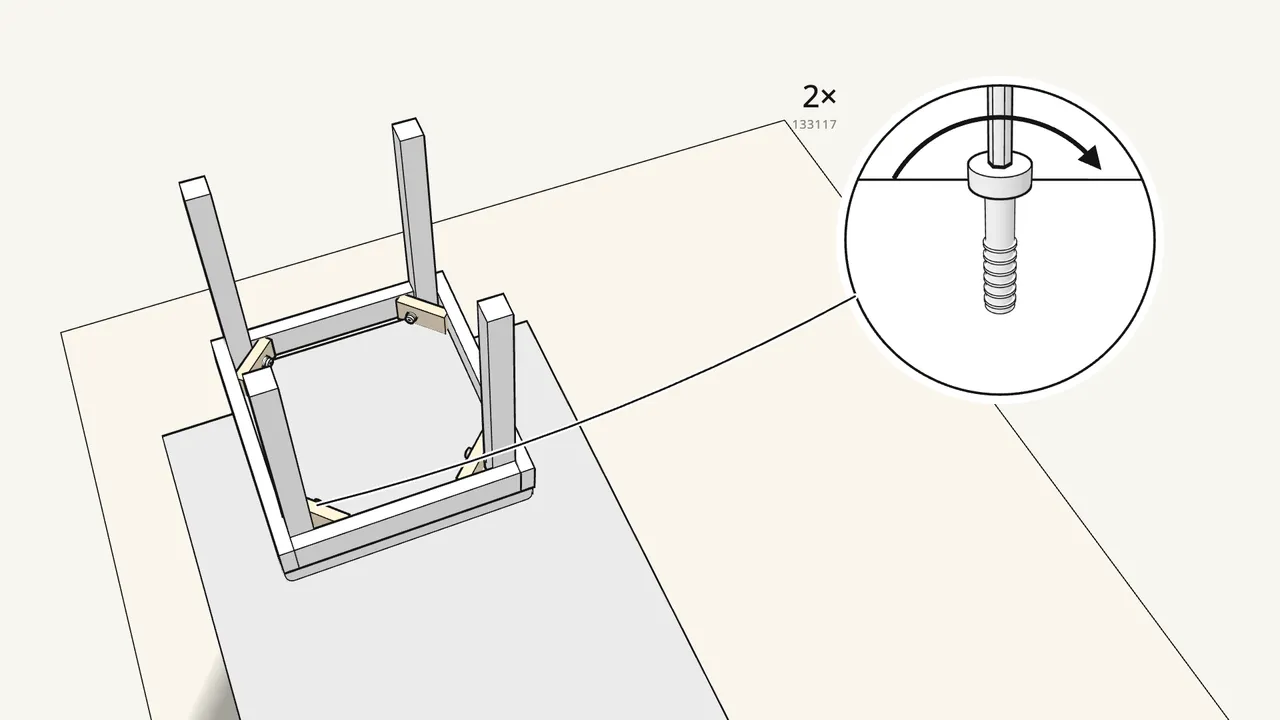
Step 6 · manual step 3
Fit the other 2 washers, spring washers and bolts.
Through the corner blocks into the front legs, then tighten with the Allen key.
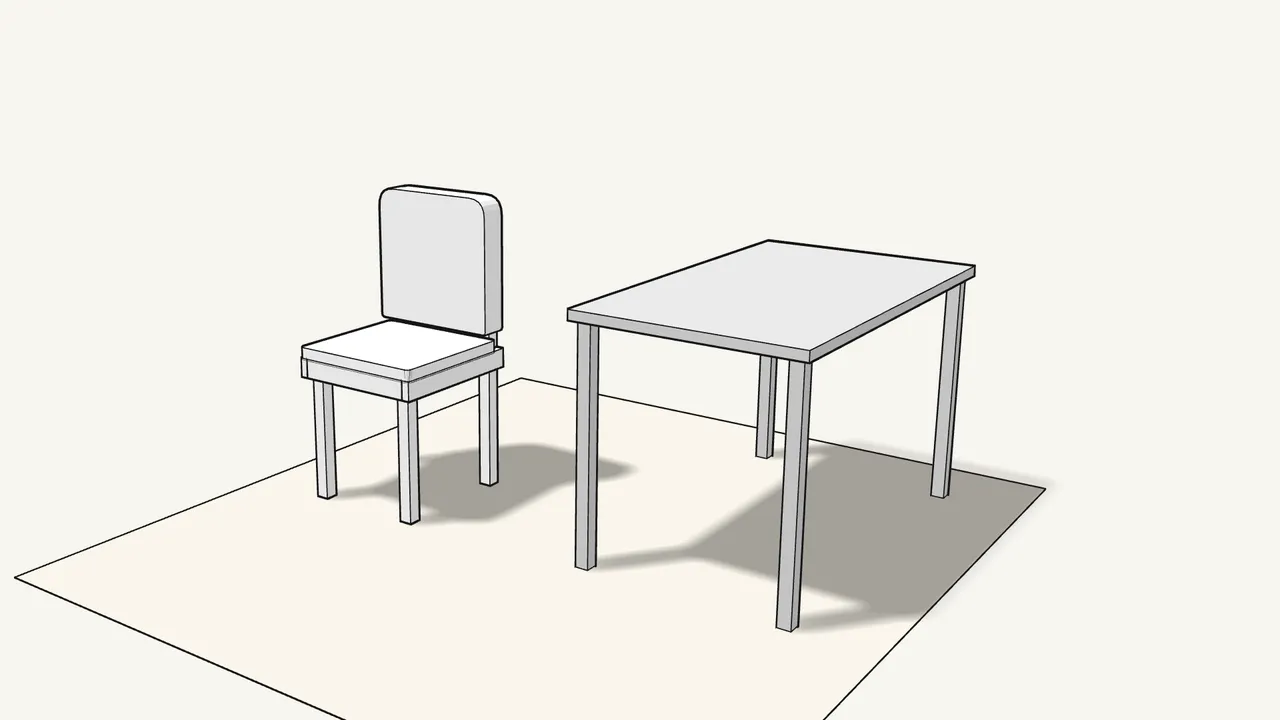
Step 7 · manual step 3
Turn the chair the right way up.
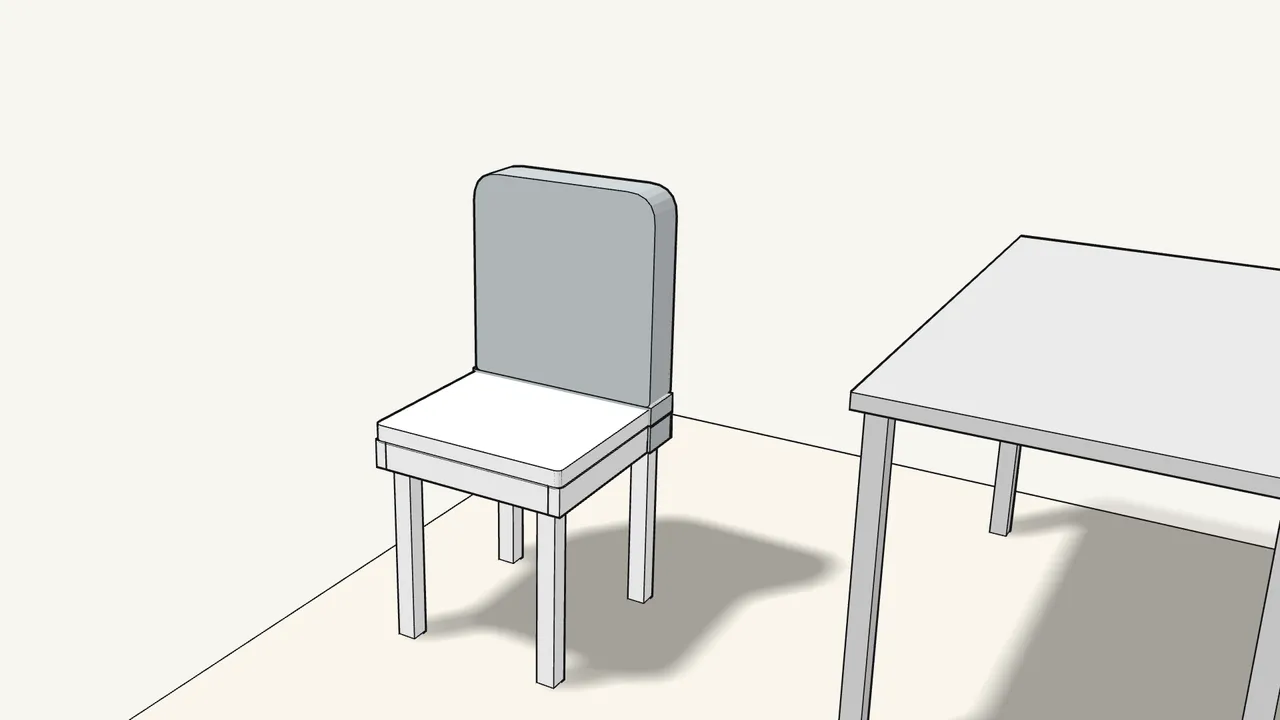
Step 8 · manual step 4–5
Pull the cover down over the backrest.
Smooth it all the way down to the seat.
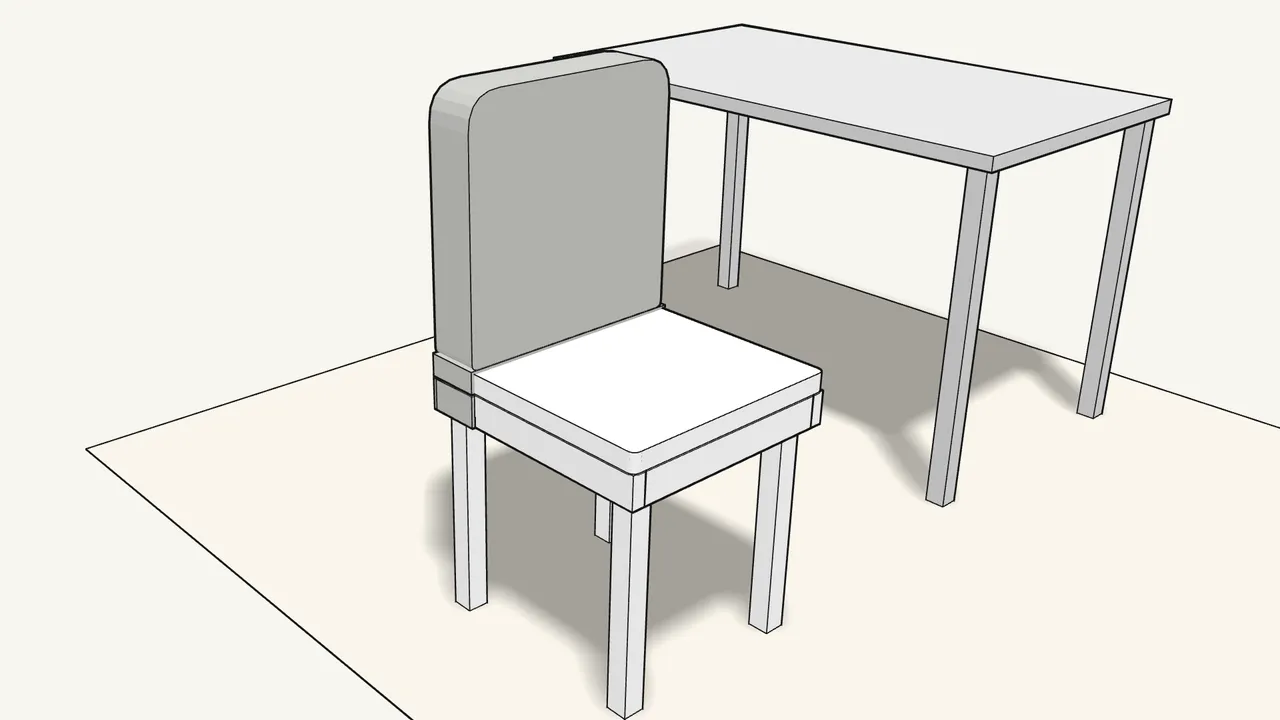
Step 9 · manual step 6
Push the flap at the bottom of the backrest cover through the gap.
Between the backrest and the seat, then pull it down at the back — see the manual, step 6.
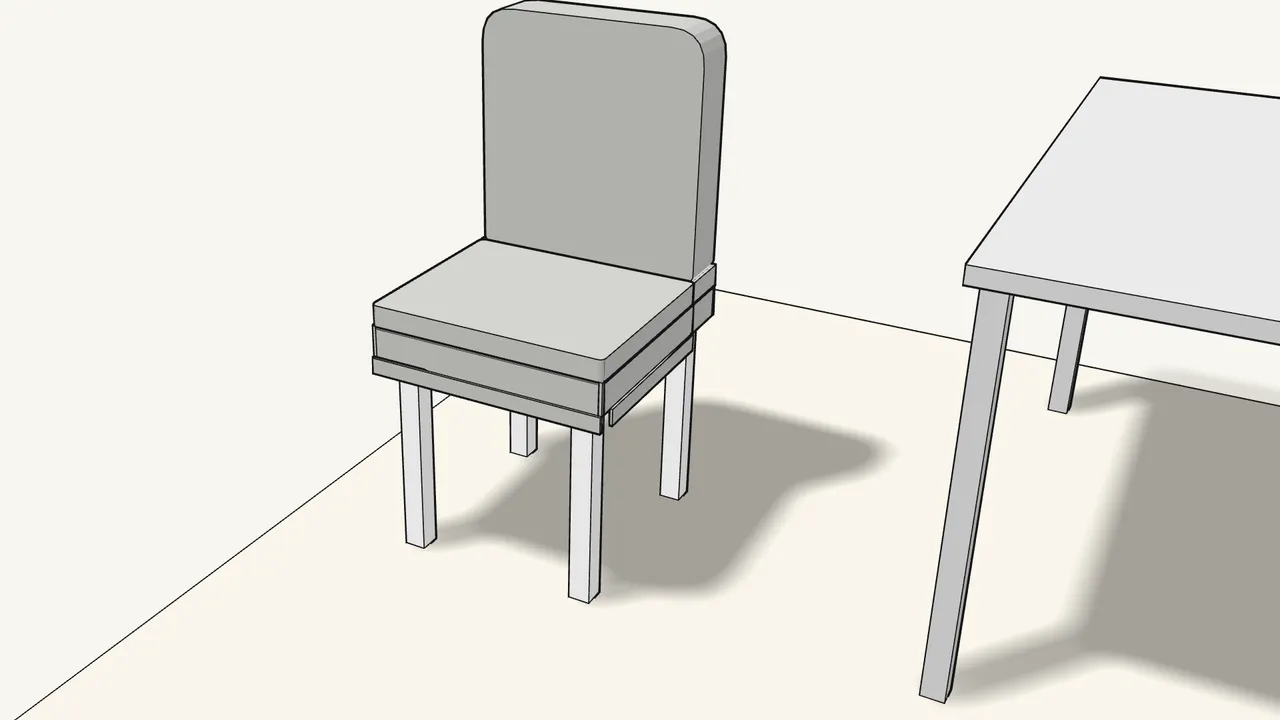
Step 10 · manual step 7
Pull the cover over the seat and fold the edges down.
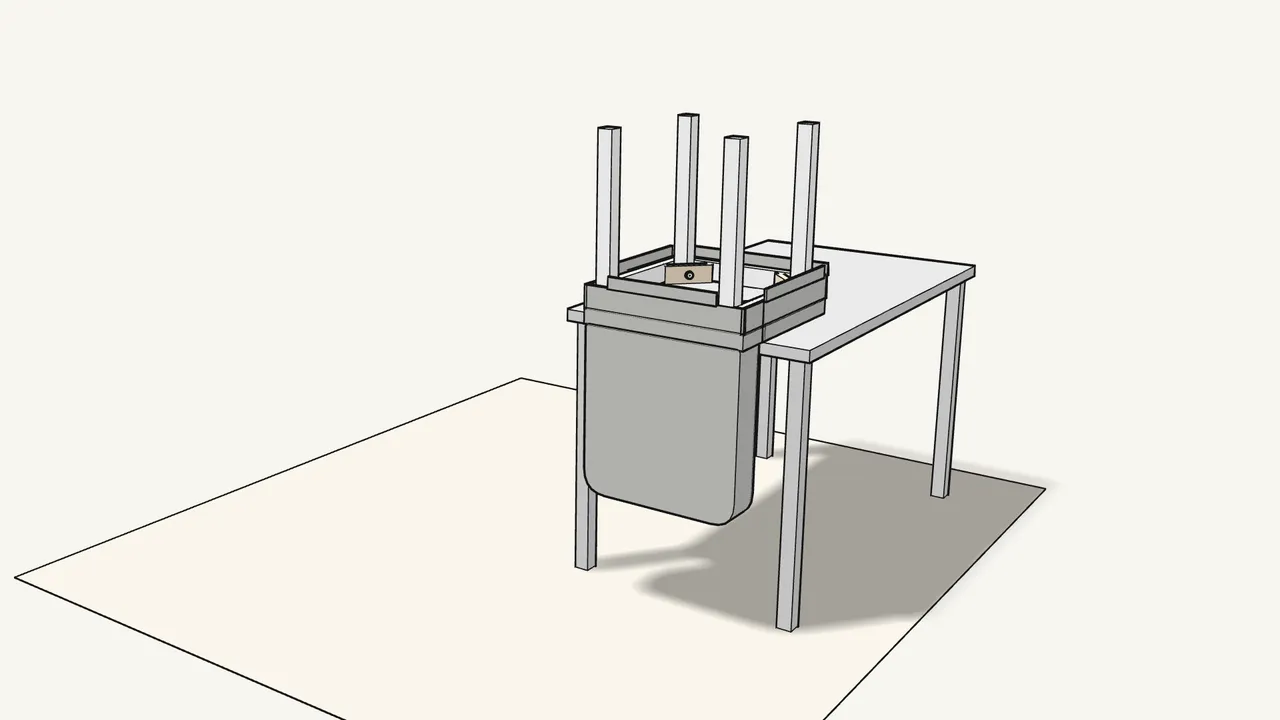
Step 11 · manual step 8
Turn the chair upside down on the table.
Let the backrest hang down over the edge.
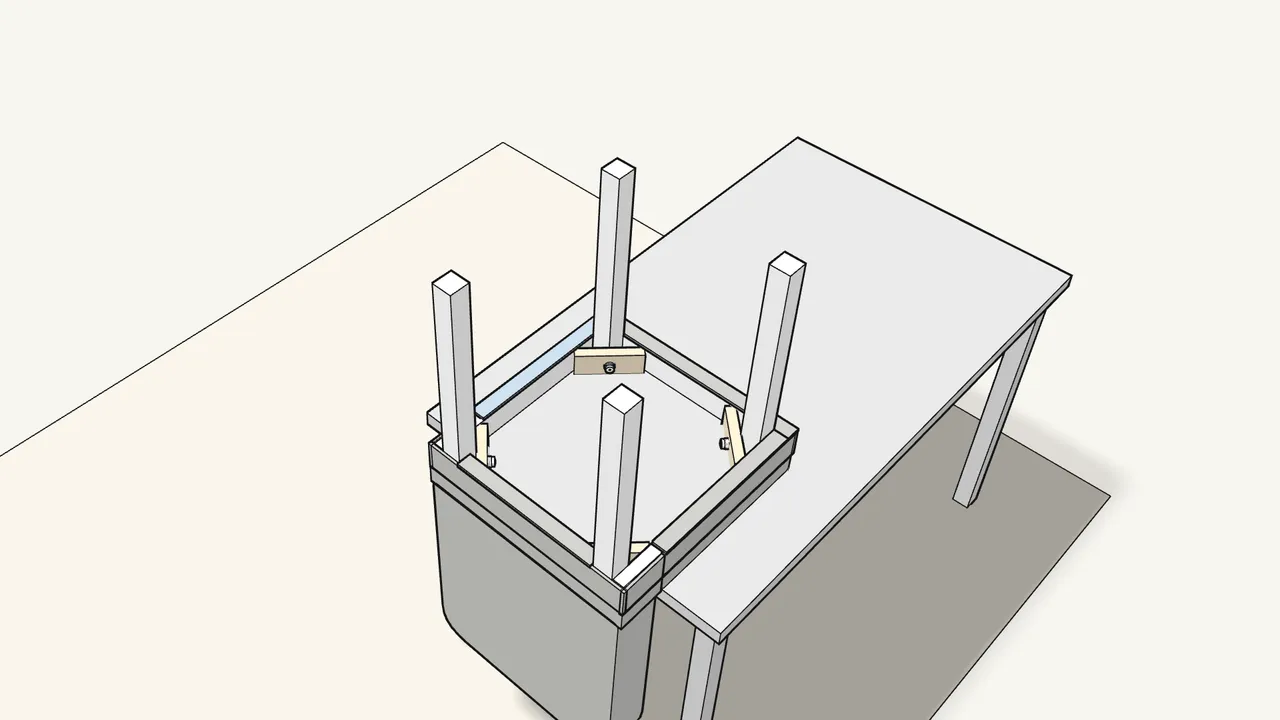
Step 12 · manual step 8
Tuck the cover edges in under the seat frame.
Press them in all the way round — see the manual, step 8.
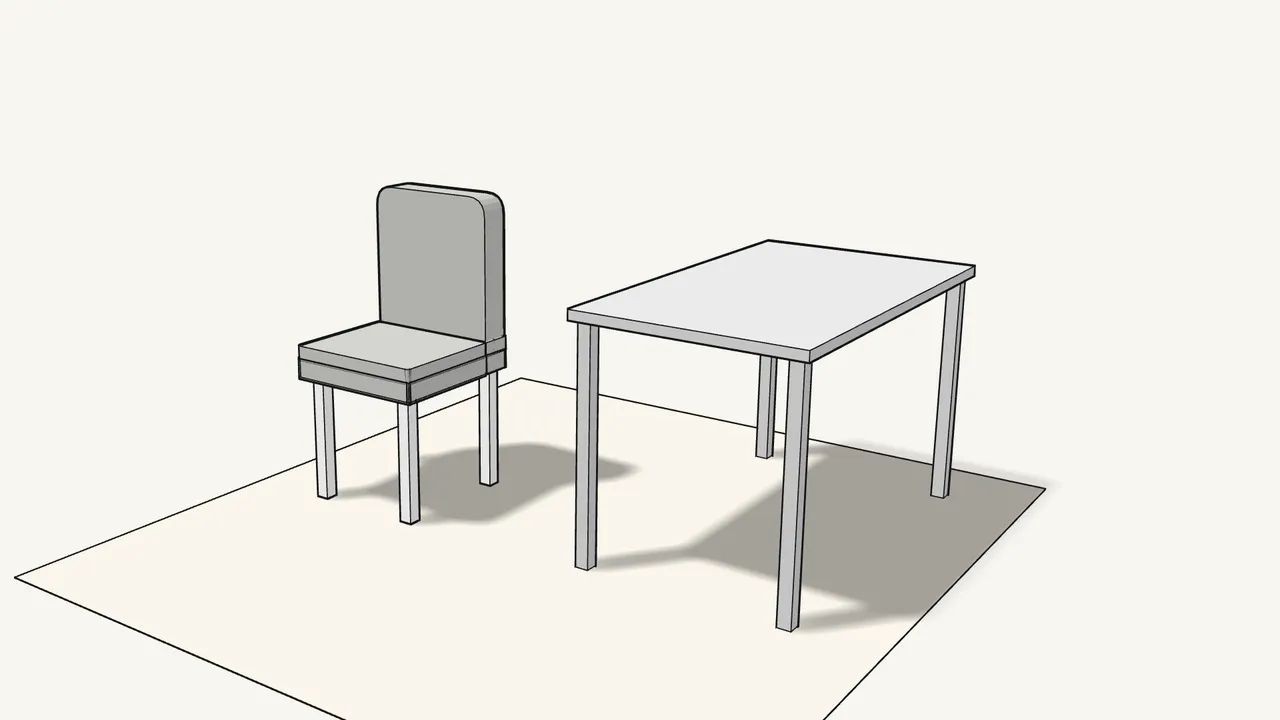
Step 13
Turn the chair the right way up.
Your KÄTTIL chair is ready.
Tips & safety
- Re-tighten after two weeks. Tighten the bolts well. For extra stability, tighten them again about two weeks after assembly.
- Work on a soft surface. The manual shows the parts laid on a rug or cloth so nothing gets scratched.
Official instructions
This guide follows IKEA’s official assembly instructions (AA-2249303-4). Keep the printed manual to hand — if anything differs, the manual is right.