IKEA · Chairs & Stools
How to assemble IKEA HYLTARP Sofa
Step-by-step IKEA HYLTARP Sofa assembly: 20 illustrated steps, an animated video, the hardware list and the tools you need — following the official instructions (AA-2361790-2).
- 20 illustrated steps
- 21 steps in the manual
- 3:02 video
- 206×97×88 cm
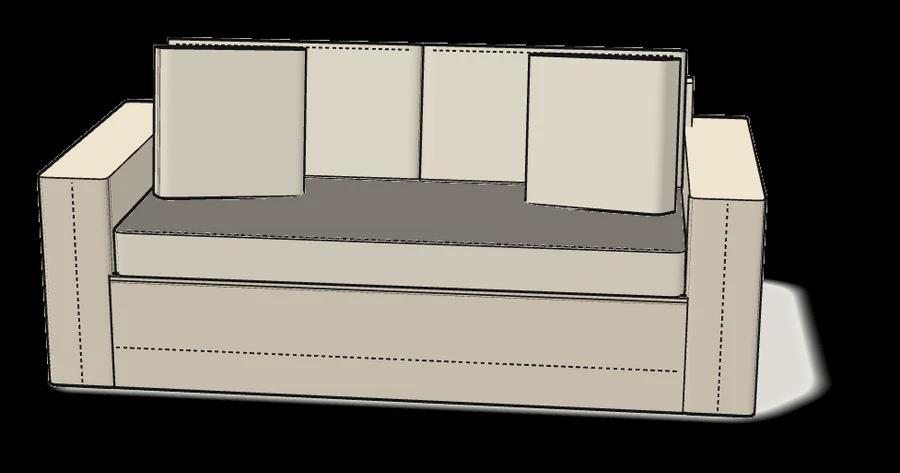
What you need
Tools
- Spanner (included)
You’ll need: tool 120202 (1×) — the box spanner that comes in the box.
Hardware in the box
| Part no. (as printed in the manual) | Qty |
|---|---|
| 10047226 | 10× |
| 100854 | 6× |
| 100712 | 6× |
| 194377 | 4× |
| 10098884 | 4× |
| 10002300 | 1× |
Step-by-step assembly
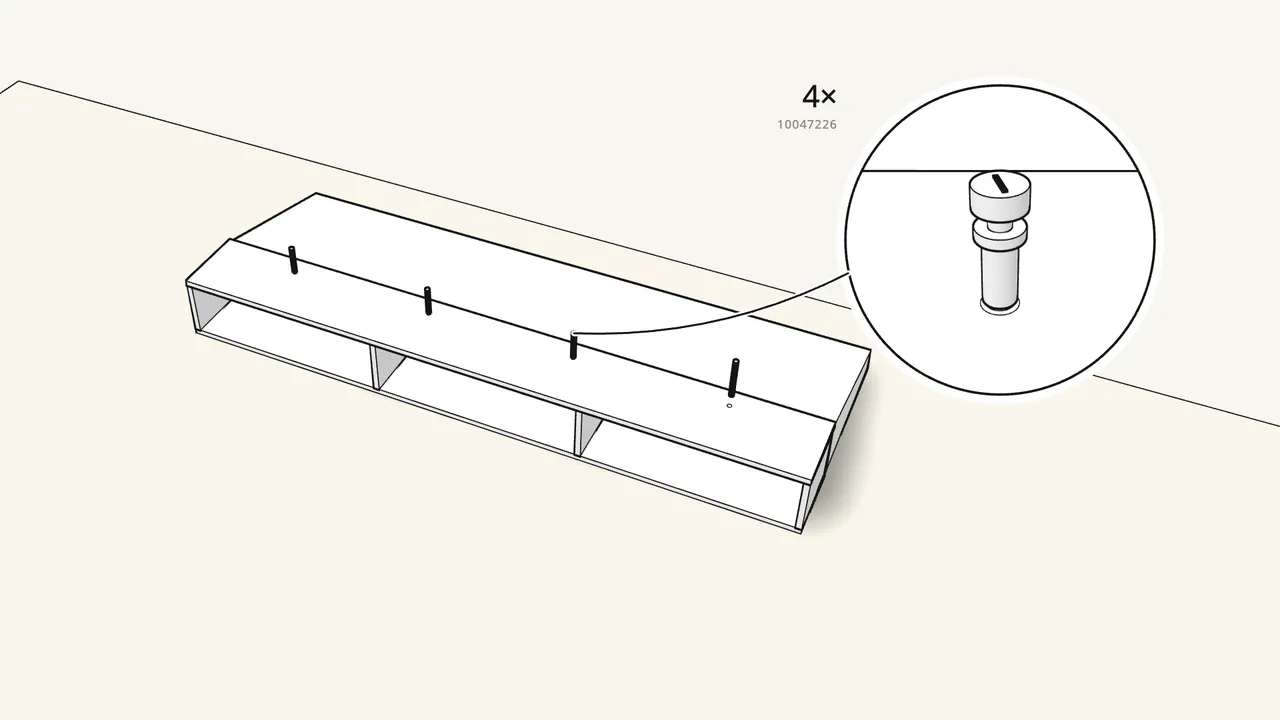
Step 1
Screw 4 studs (10047226) into the back unit.
Lay it on its back. Turn the studs in by hand, all the way.
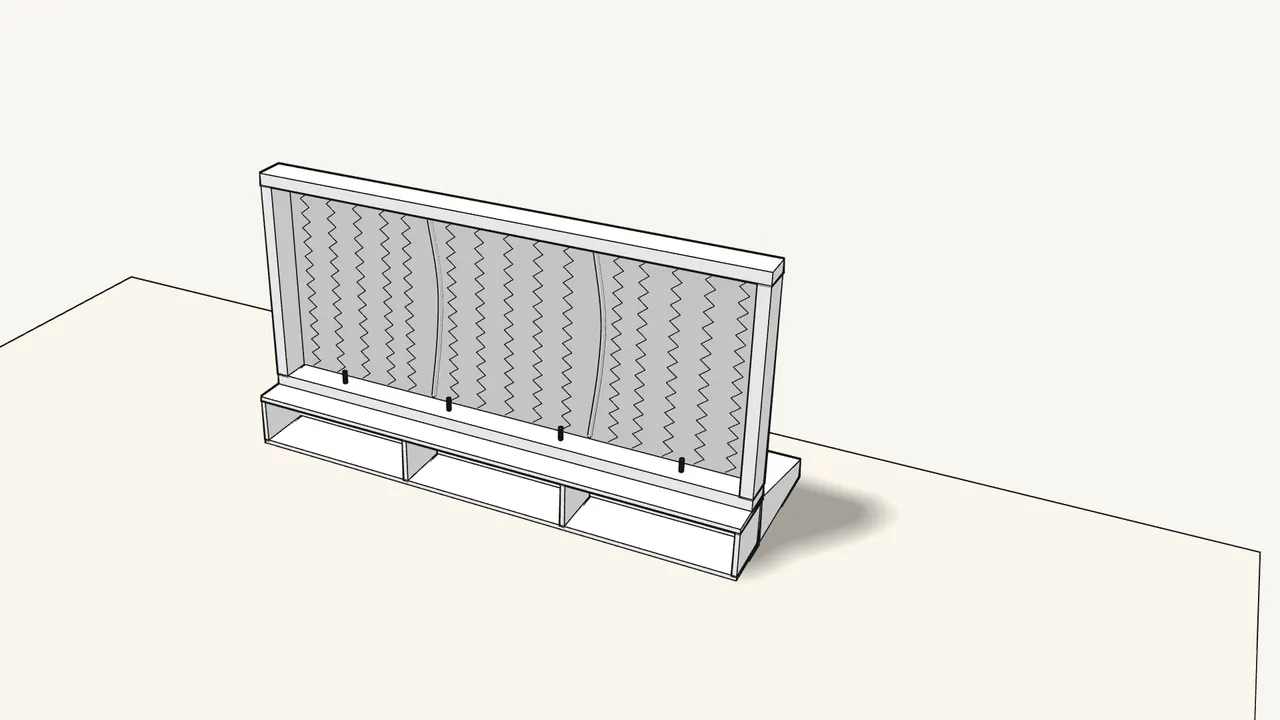
Step 2
Lower the seat frame onto the 4 studs.
The studs go through the holes in its rear rail.
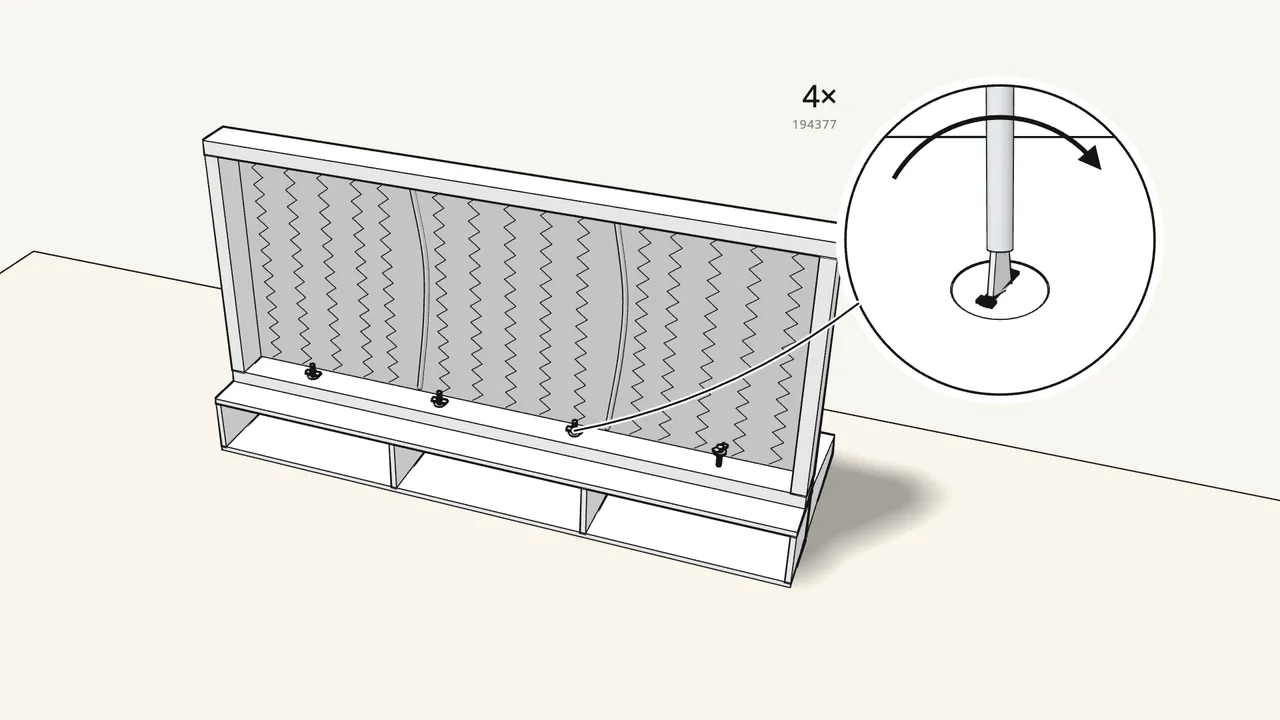
Step 3
Push a wing nut (194377) onto each stud and turn it tight.
4 in all — by hand.
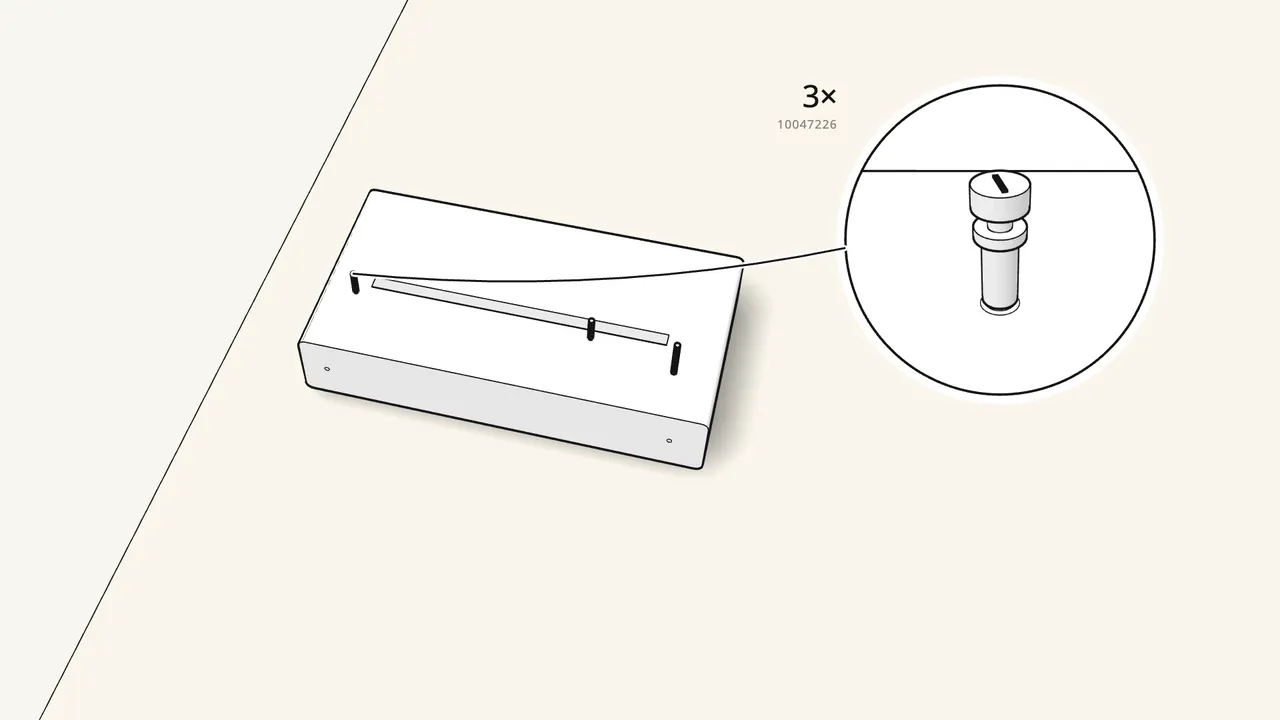
Step 4
Screw 3 studs (10047226) into the first armrest.
Into the holes on its inner side, by hand.
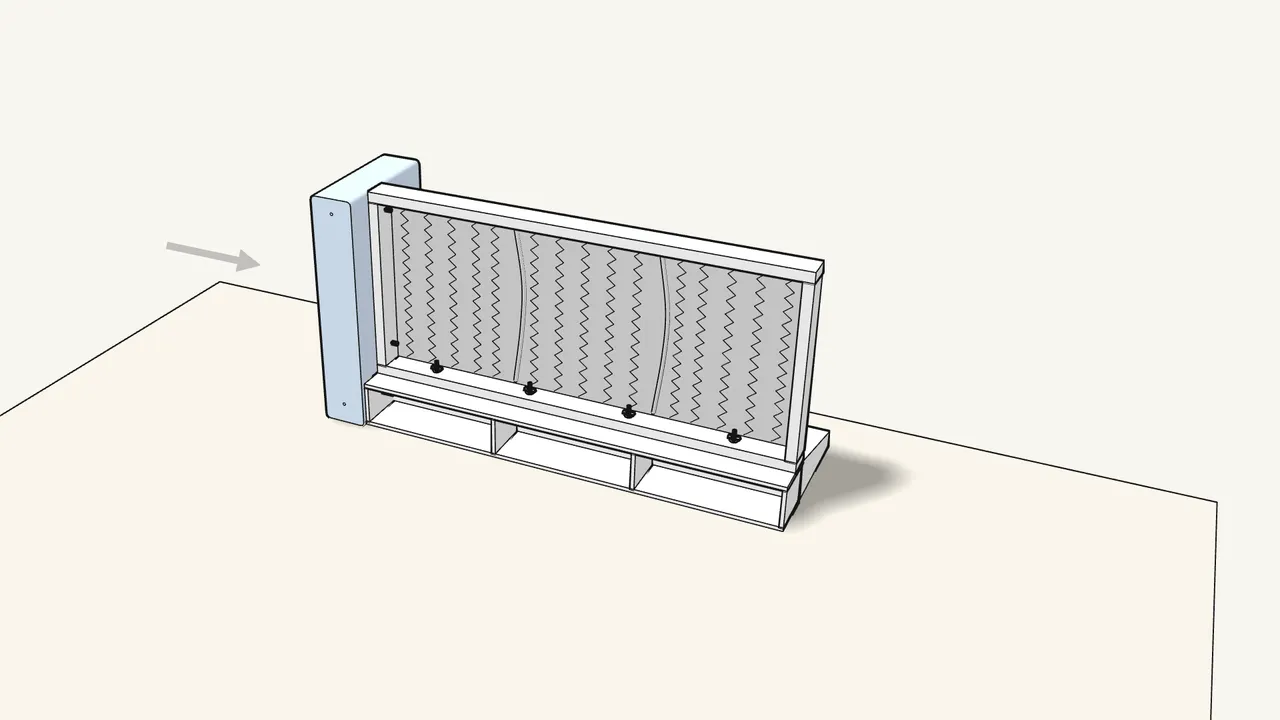
Step 5
Fit the armrest onto the side of the frame.
The studs go through the holes in the seat frame and back unit.
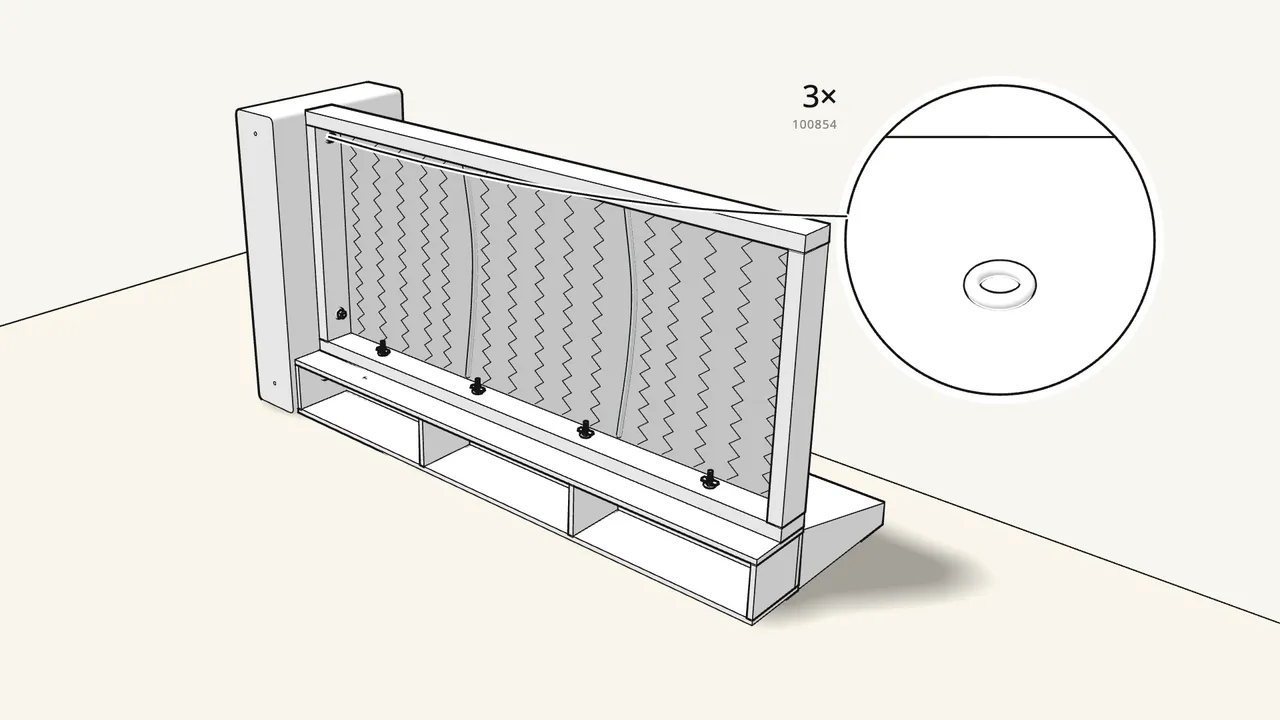
Step 6
Fit a washer (100854) and a nut (100712) on each stud.
From inside the frame. Tighten with the tool (120202).
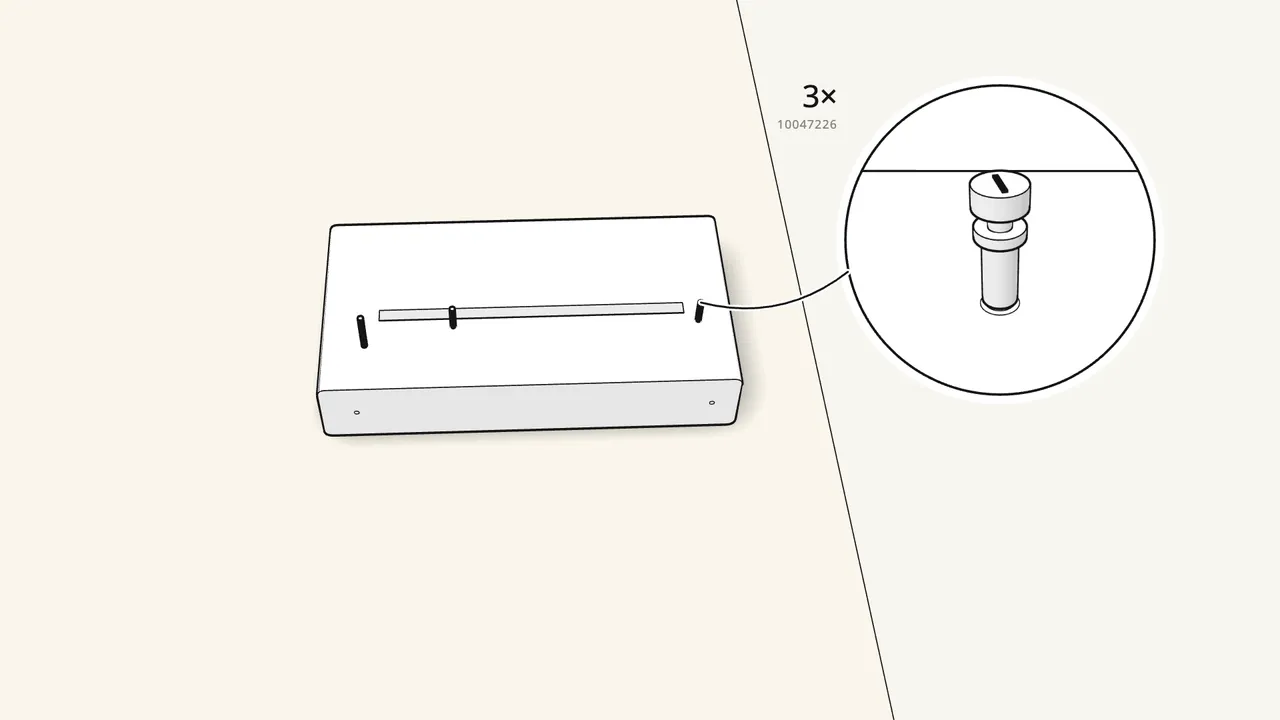
Step 7
Screw 3 studs into the other armrest.
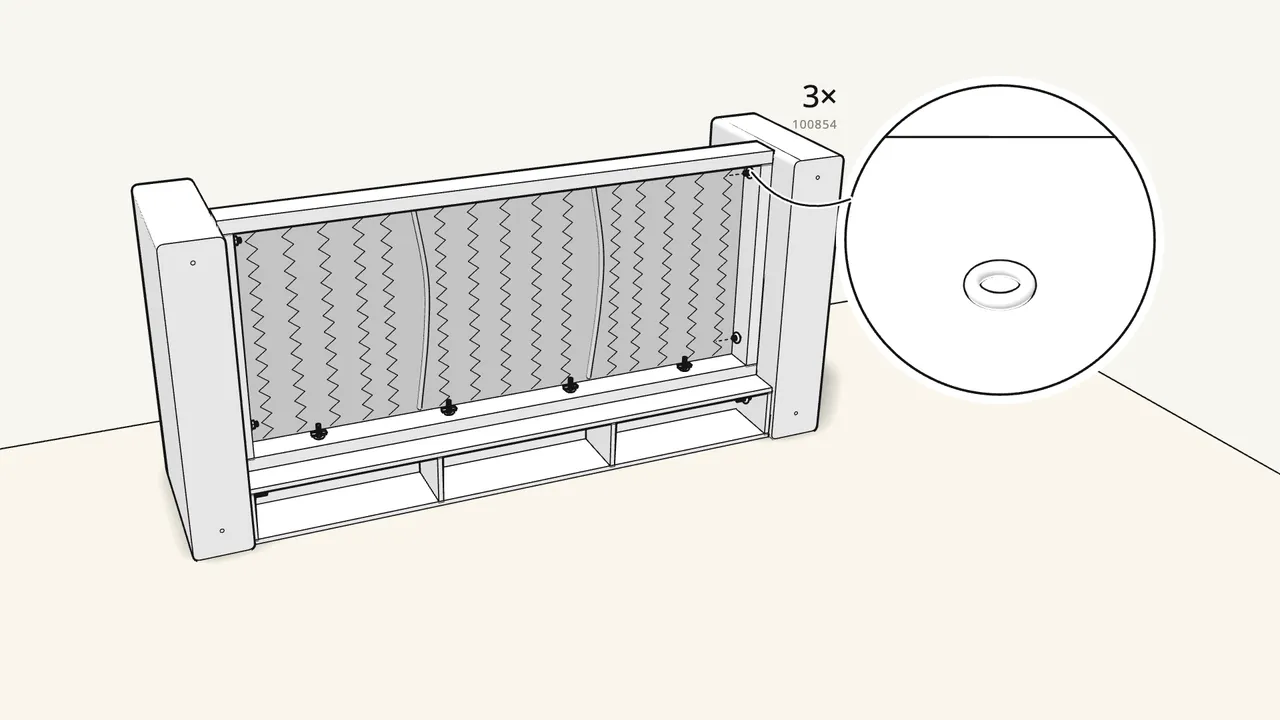
Step 8 · manual step 8–9
Fit it onto the other side and fix it the same way.
Washer (100854) + nut (100712) on each stud — tighten with the tool.
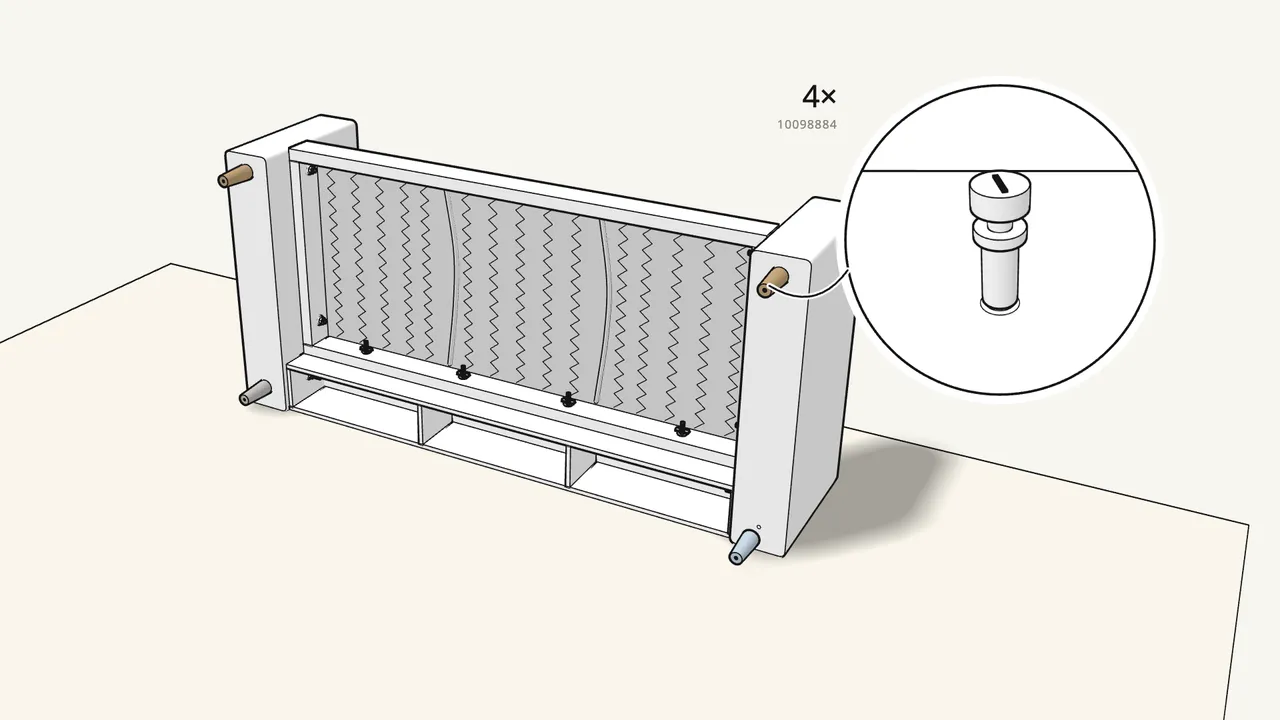
Step 9 · manual step 10
Screw the 4 legs (10098884) into the armrests.
By hand, until they sit tight.
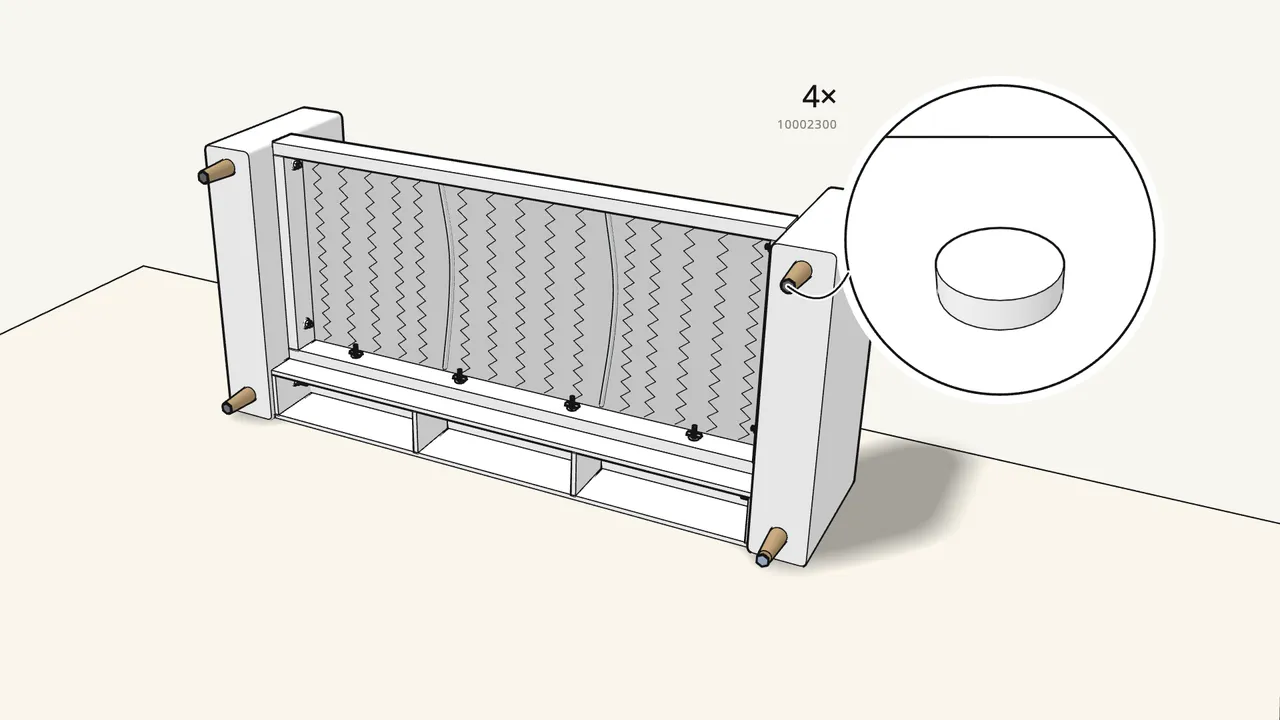
Step 10 · manual step 11
Stick a felt pad (10002300) under each leg.
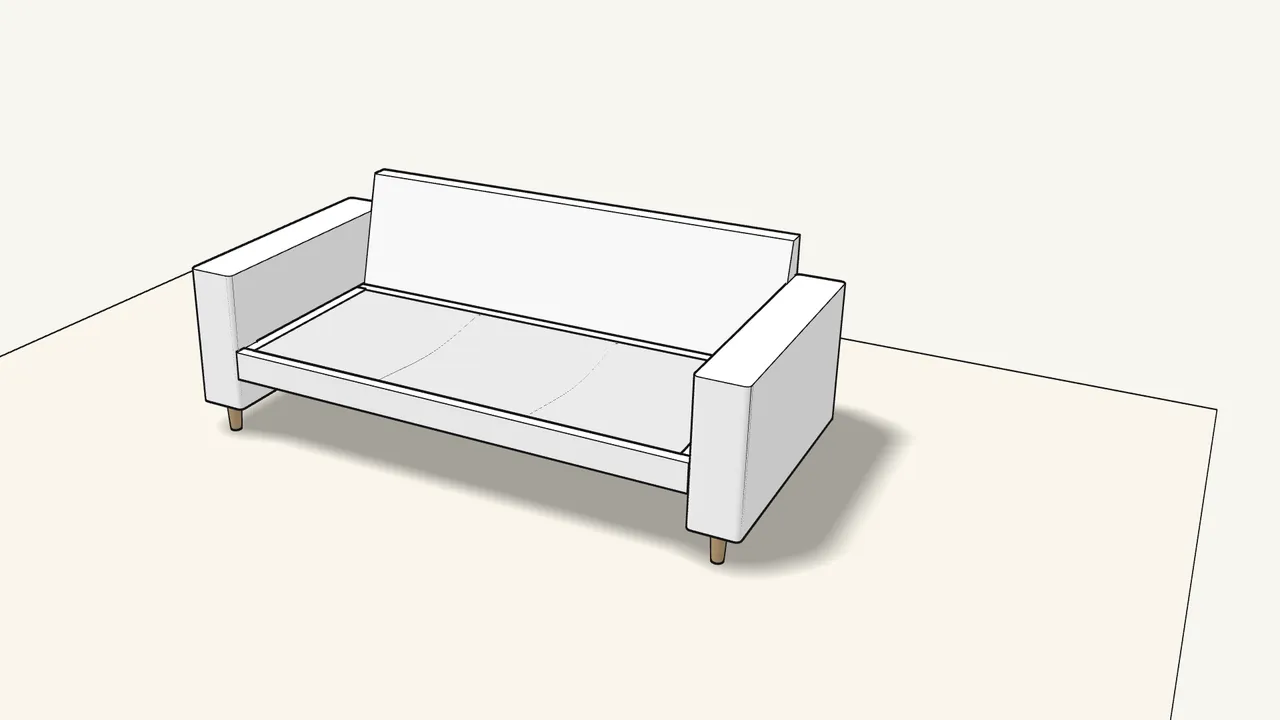
Step 11
Turn the sofa up onto its legs.
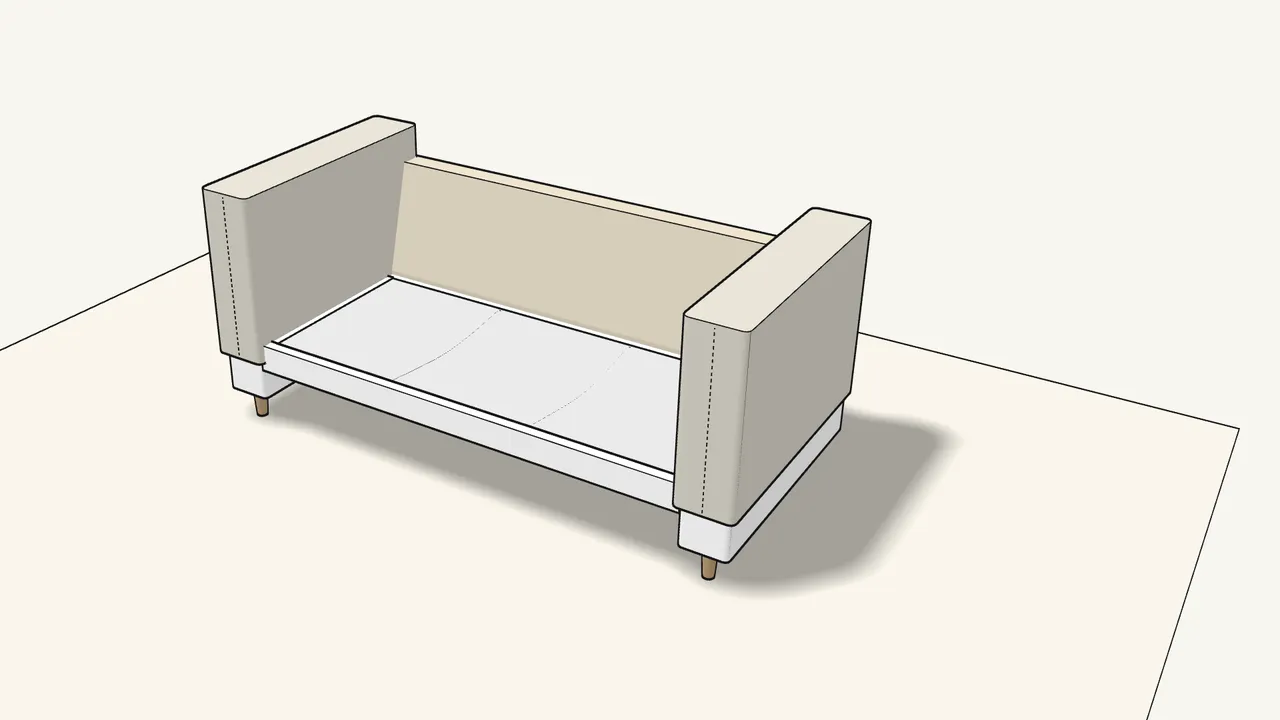
Step 12
Pull the cover over the backrest and the armrests.
Seams on the edges of the armrests — see the close-up, step 12.
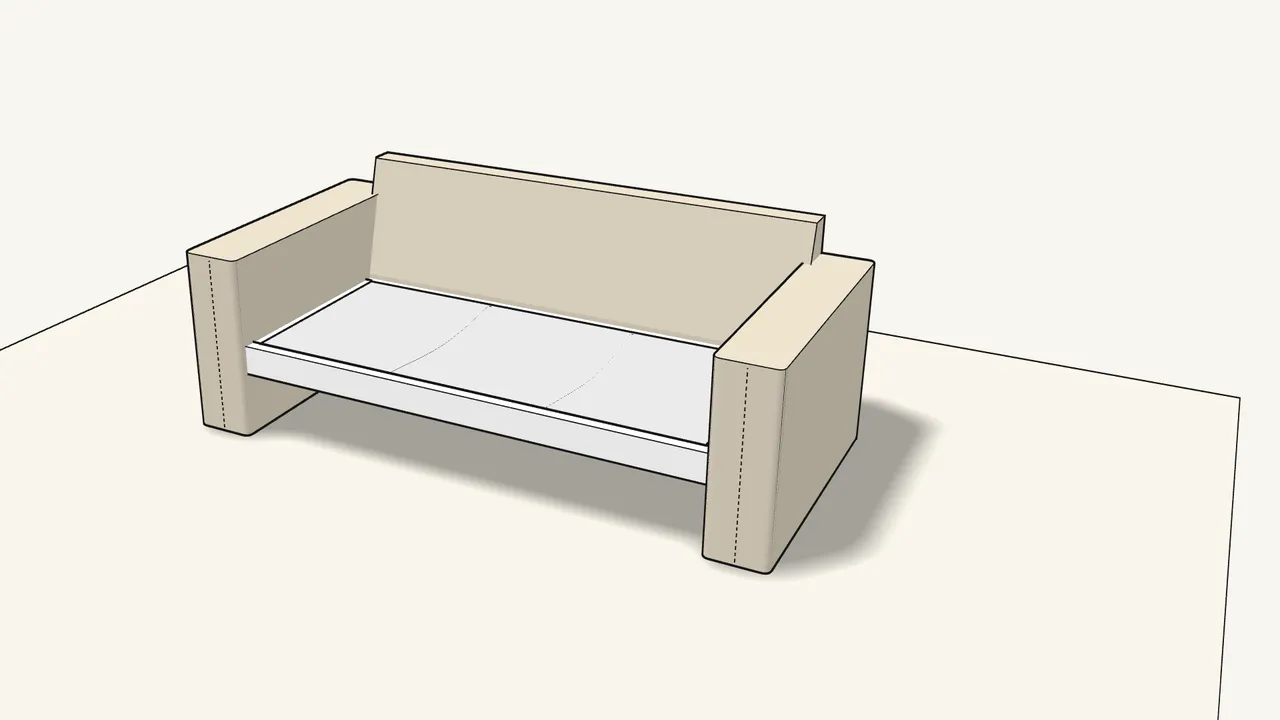
Step 13
Pull it down over the fronts and sides of the armrests.
Check the seams sit straight on the edges.
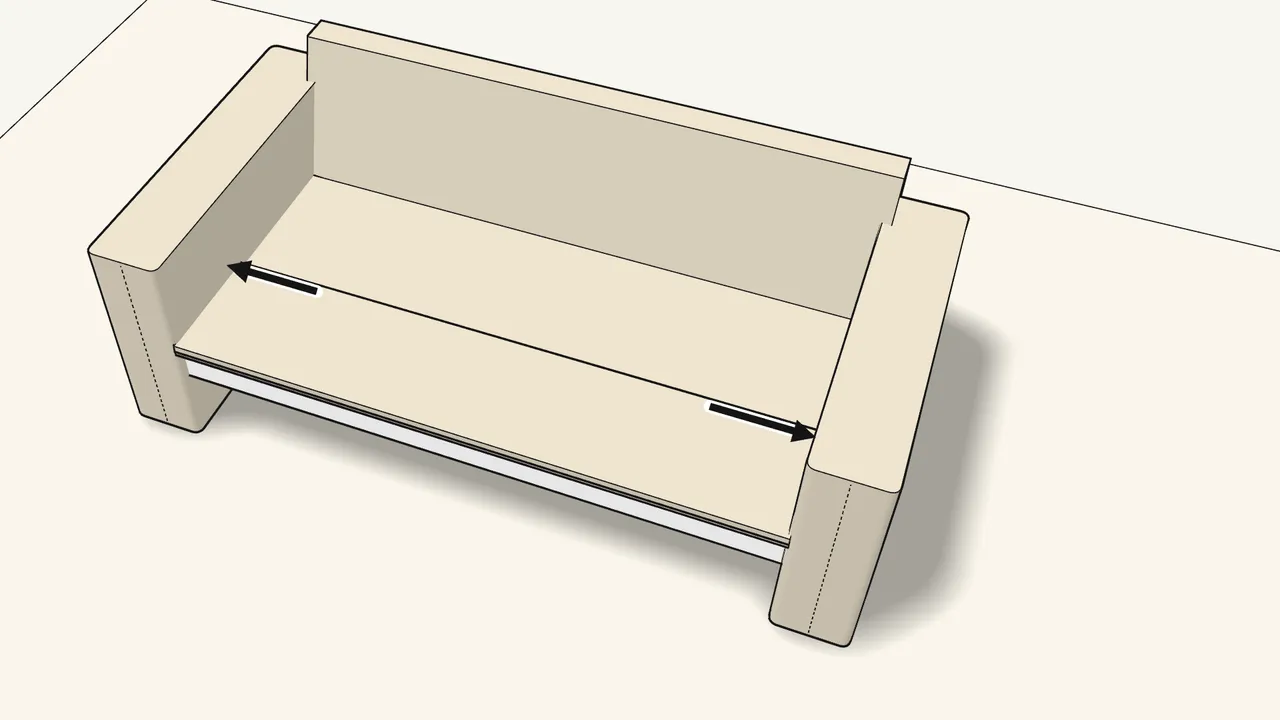
Step 14
Smooth the cover over the seat and tuck it in.
Along the backrest and both armrests — see the close-up, step 14.
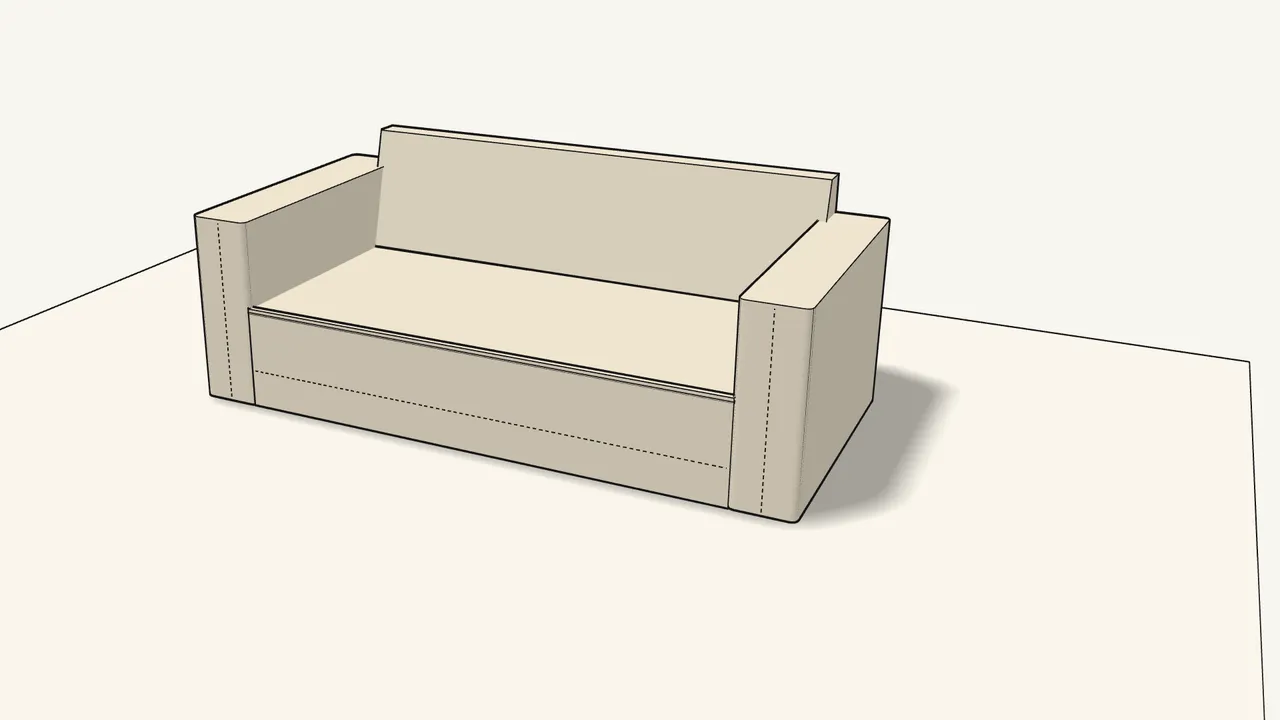
Step 15
Pull the front down and tuck it in along the seat.
Pull it straight and smooth — see the info boxes, step 15.
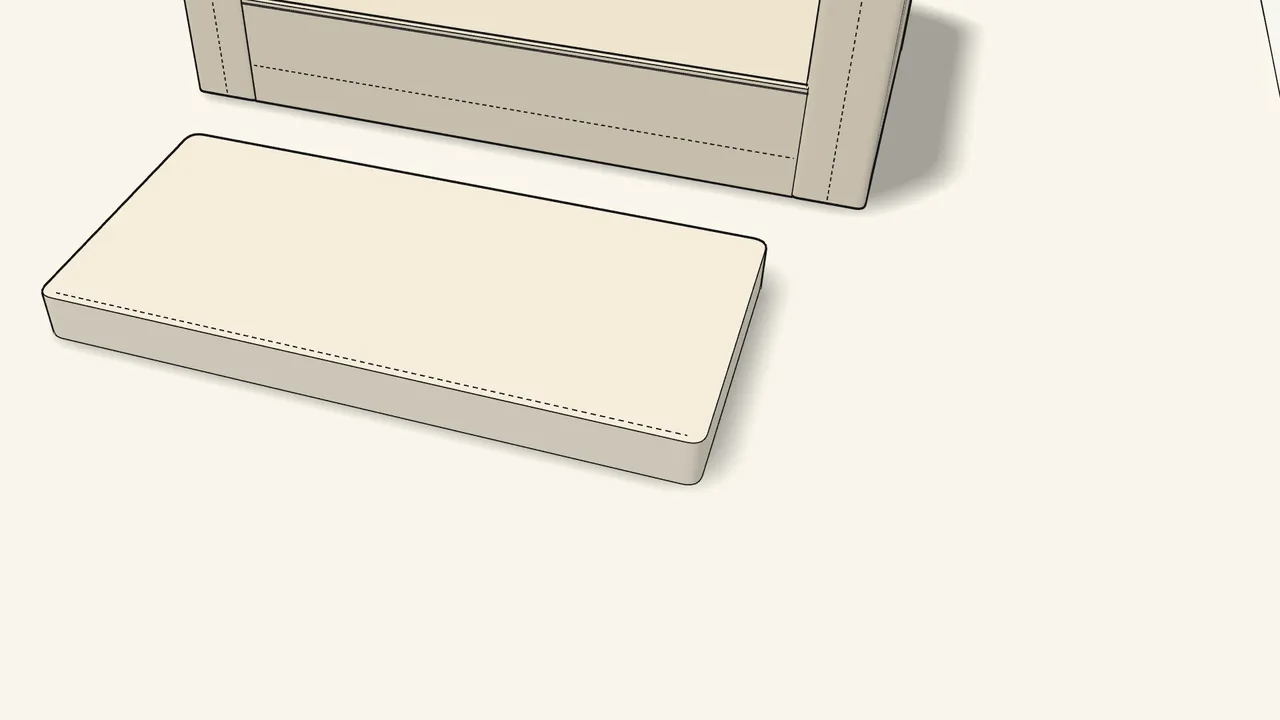
Step 16
Put the cover on the seat cushion — 2 people.
Zip it closed. See the info box, step 16.
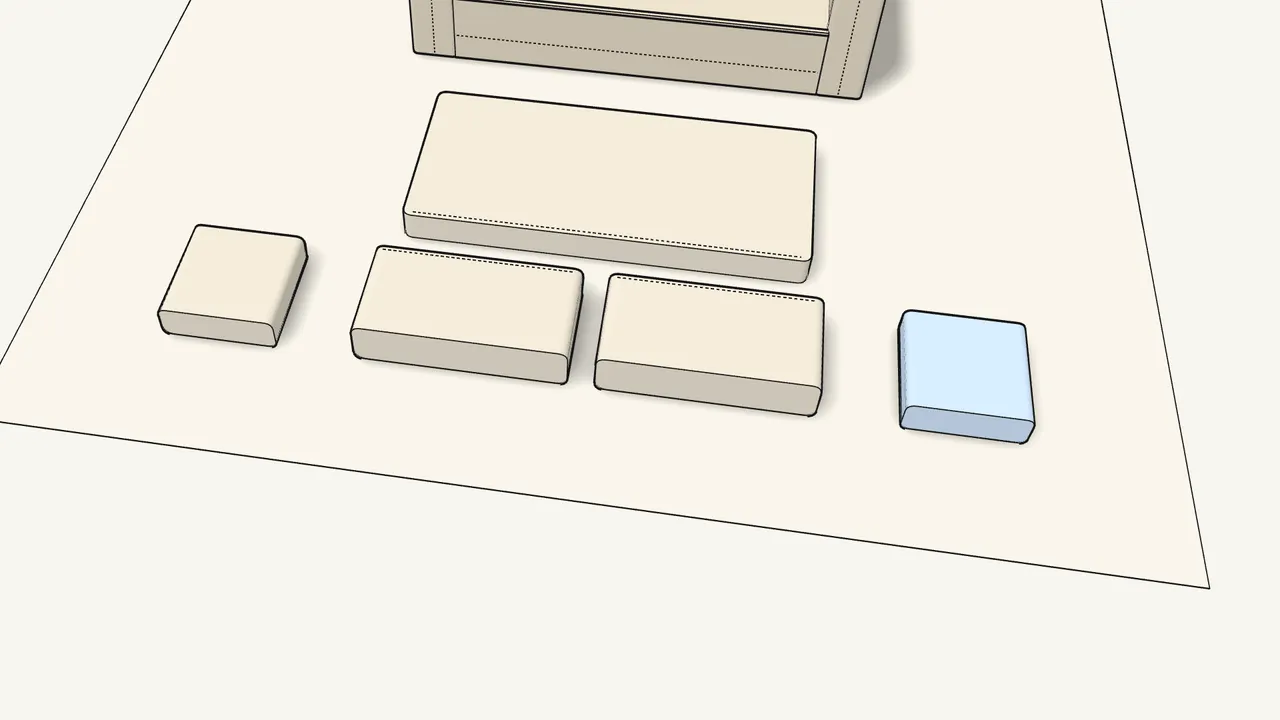
Step 17 · manual step 17–18
Put the covers on the 2 back cushions and 2 scatter cushions.
Push the corners well in, then zip them closed.
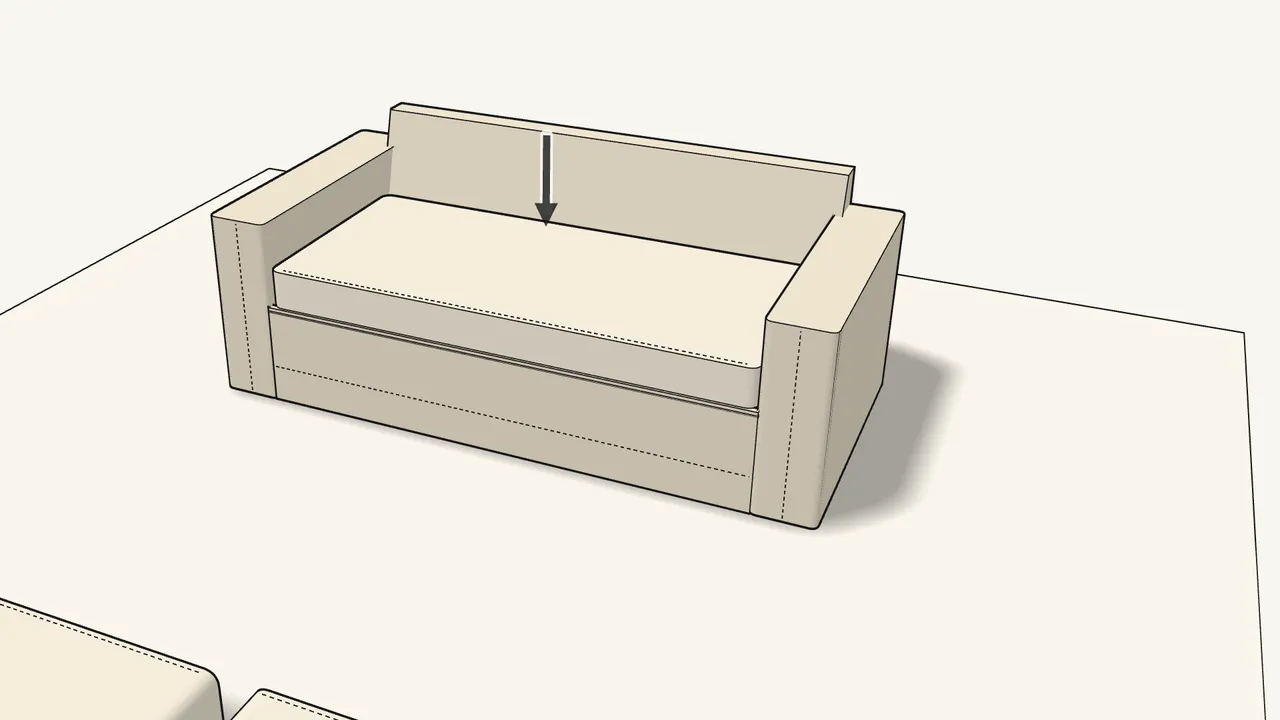
Step 18 · manual step 19
Place the seat cushion on the seat.
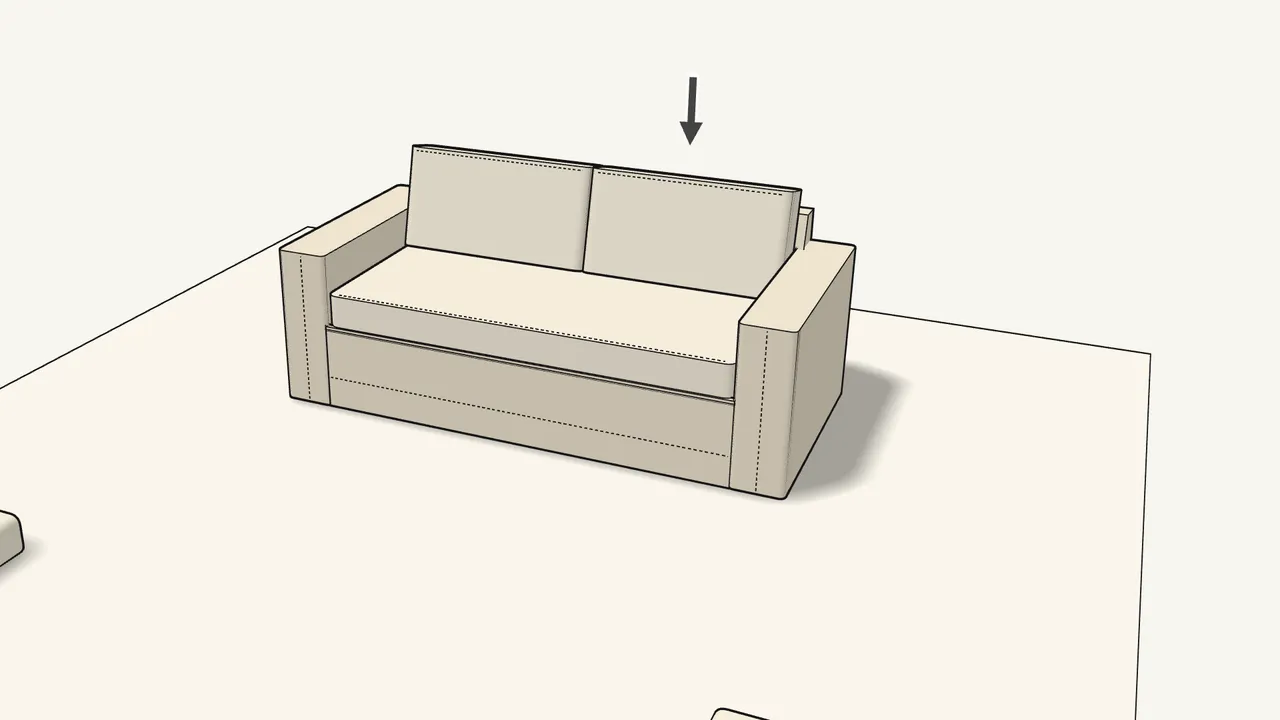
Step 19 · manual step 20
Put the 2 back cushions in place.
They rest on the seat cushion against the backrest.
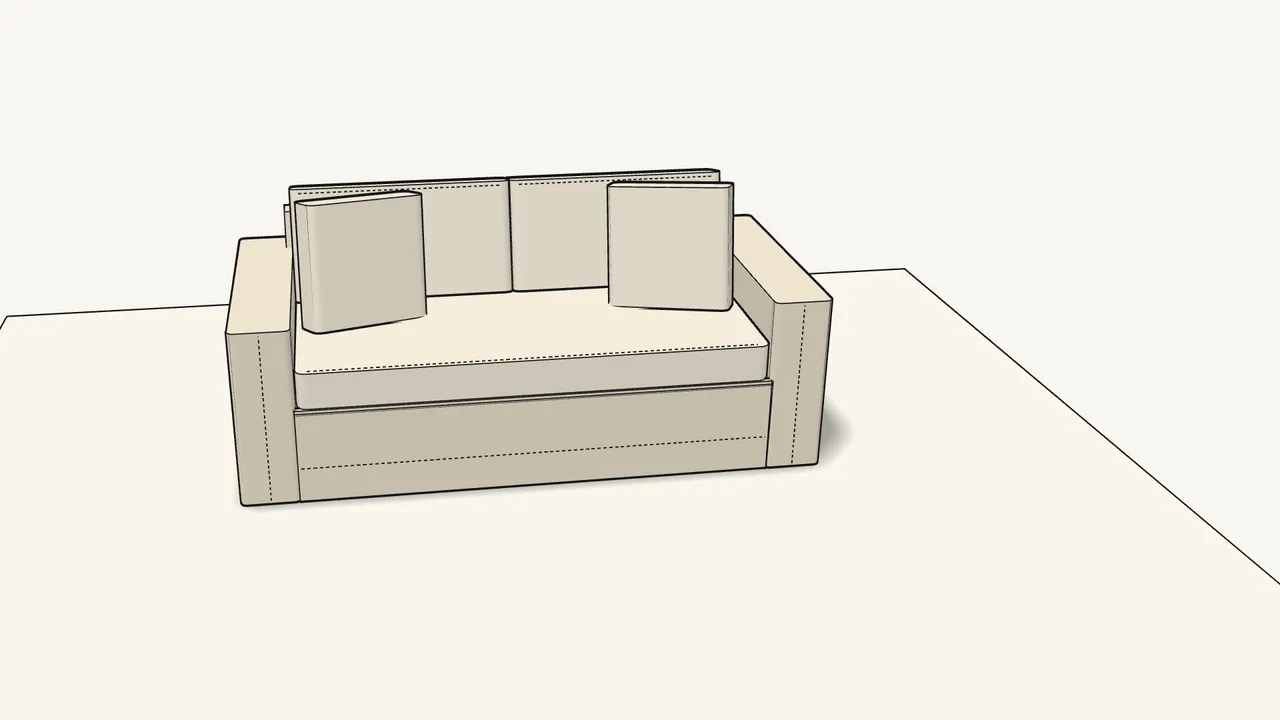
Step 20 · manual step 21
Add the 2 scatter cushions in the corners.
Tips & safety
- Creased cover? Check the care label first — the info page after step 11 shows how (and how not) to iron it.
- Keep it in shape Plump and turn the cushions and vacuum the cover regularly — info page at the back of the manual.
Official instructions
This guide follows IKEA’s official assembly instructions (AA-2361790-2). Keep the printed manual to hand — if anything differs, the manual is right.