IKEA · Chairs & Stools
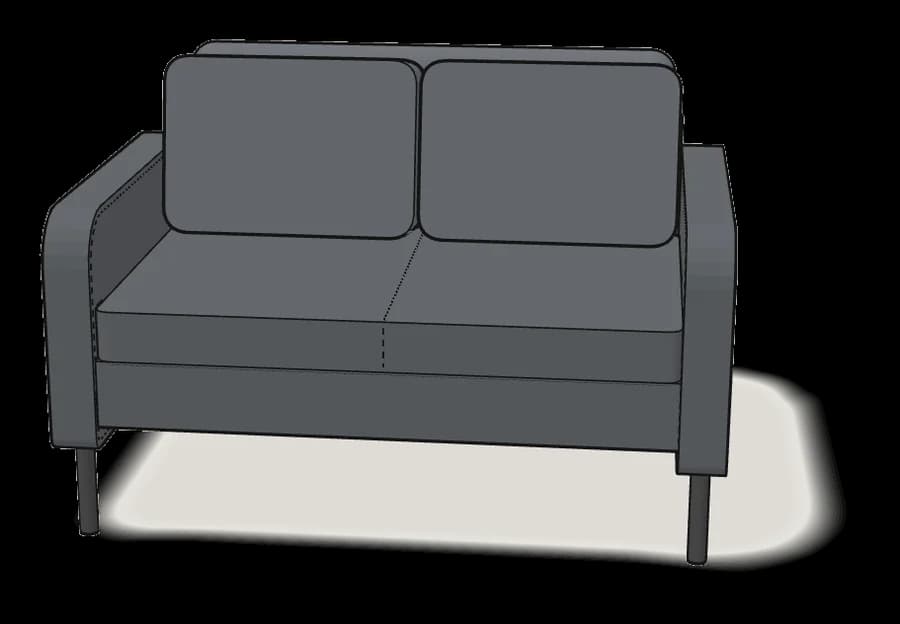
How to assemble IKEA GLOSTAD Loveseat
Step-by-step IKEA GLOSTAD Loveseat assembly: 13 illustrated steps, an animated video, the hardware list and the tools you need — following the official instructions (AA-2233219-1).
- 13 illustrated steps
- 10 steps in the manual
- 2:00 video
- 117×79×77 cm
What you need
Tools
- Spanner (included)
You’ll need: the spanner (110470) that comes in the box.
Hardware in the box
| Part no. (as printed in the manual) | Qty |
|---|---|
| 159134 | 8× |
| 100854 | 8× |
| 100712 | 8× |
Step-by-step assembly
Step 1
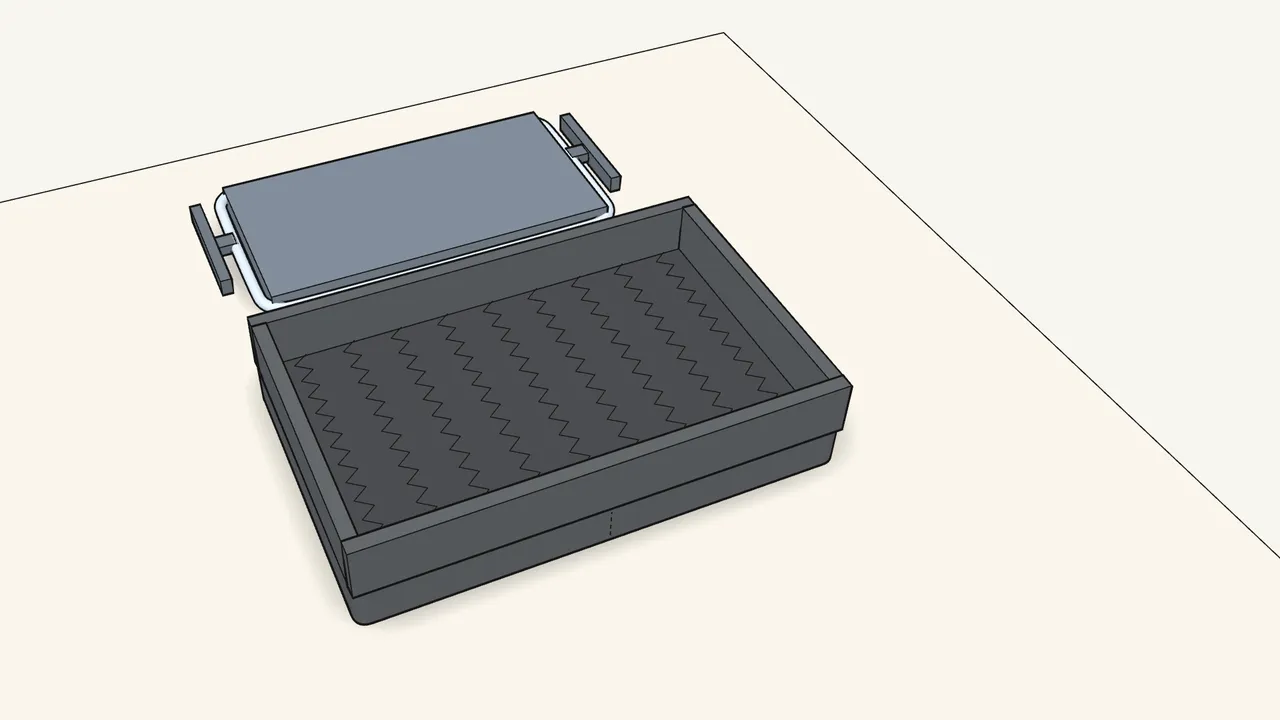
Lift the backrest out of the seat frame.
It is packed inside the seat, which lies upside down.
Step 2
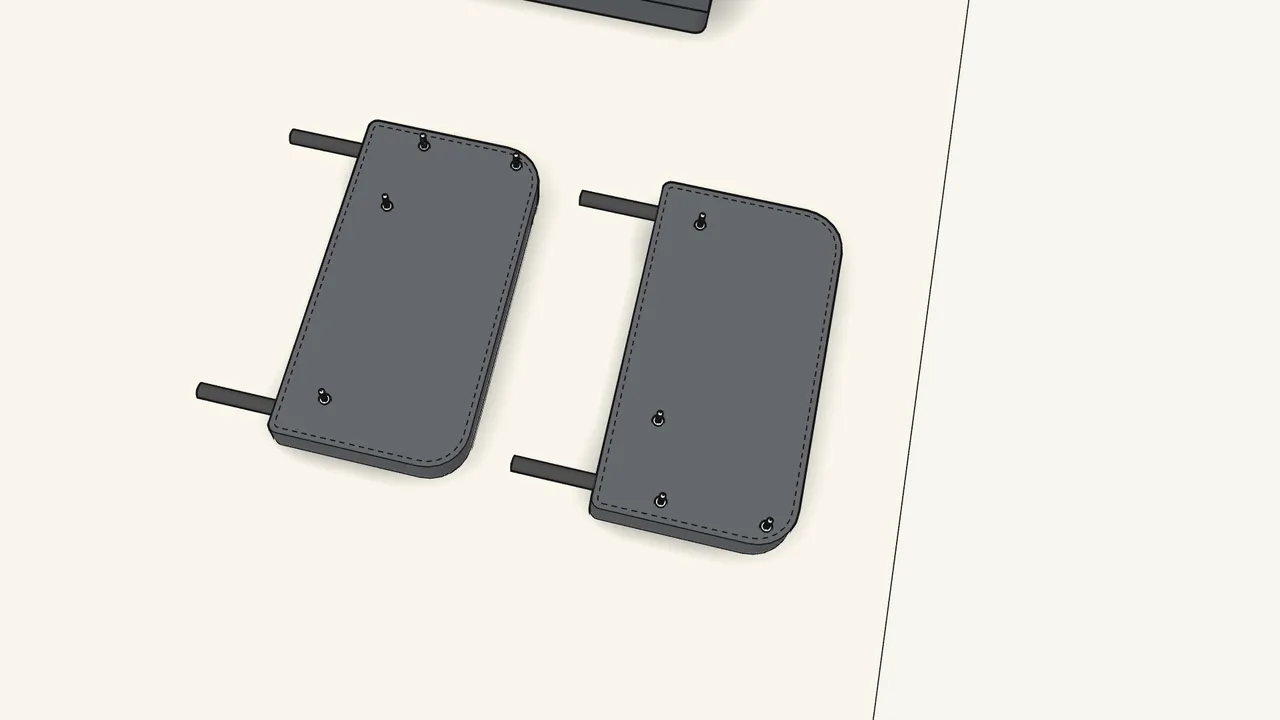
Screw 8 threaded studs (159134) into the 2 armrests by hand.
Pointed end up. Turn until the collar sits flat against the armrest.
Step 3
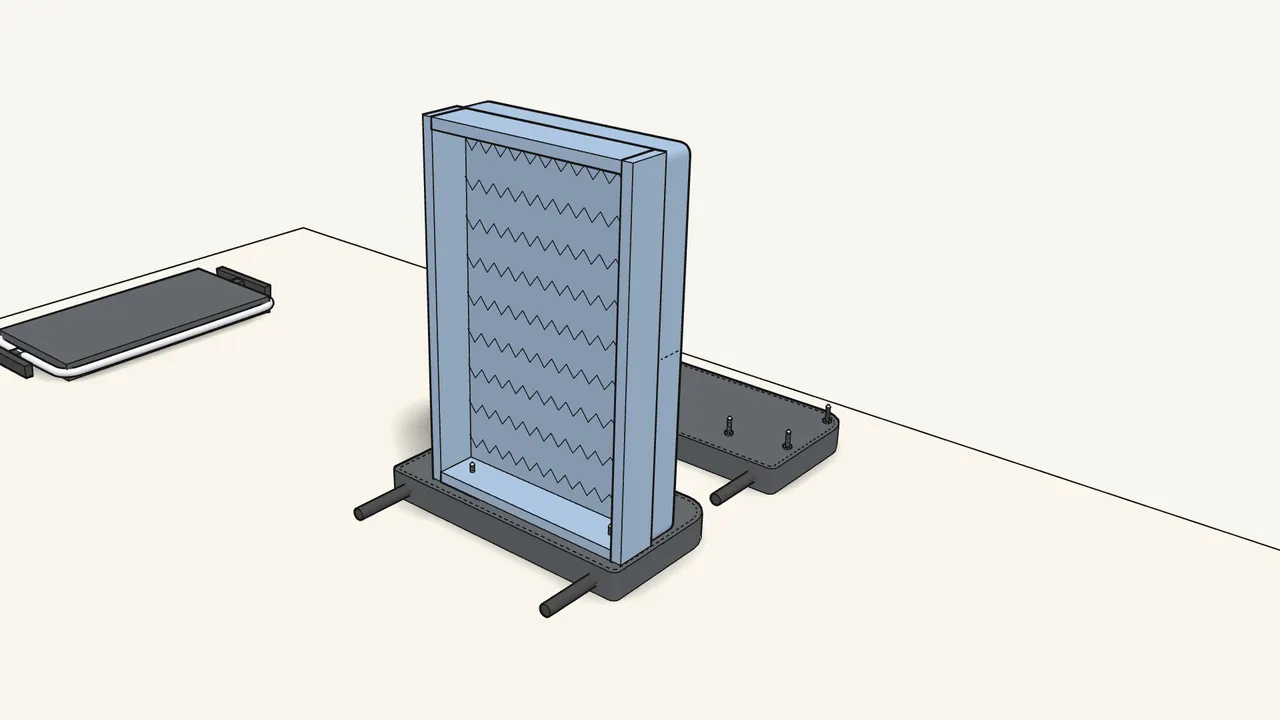
Lower the seat frame onto 2 studs of one armrest.
Grip-strip side towards the backrest — see the info box in step 3.
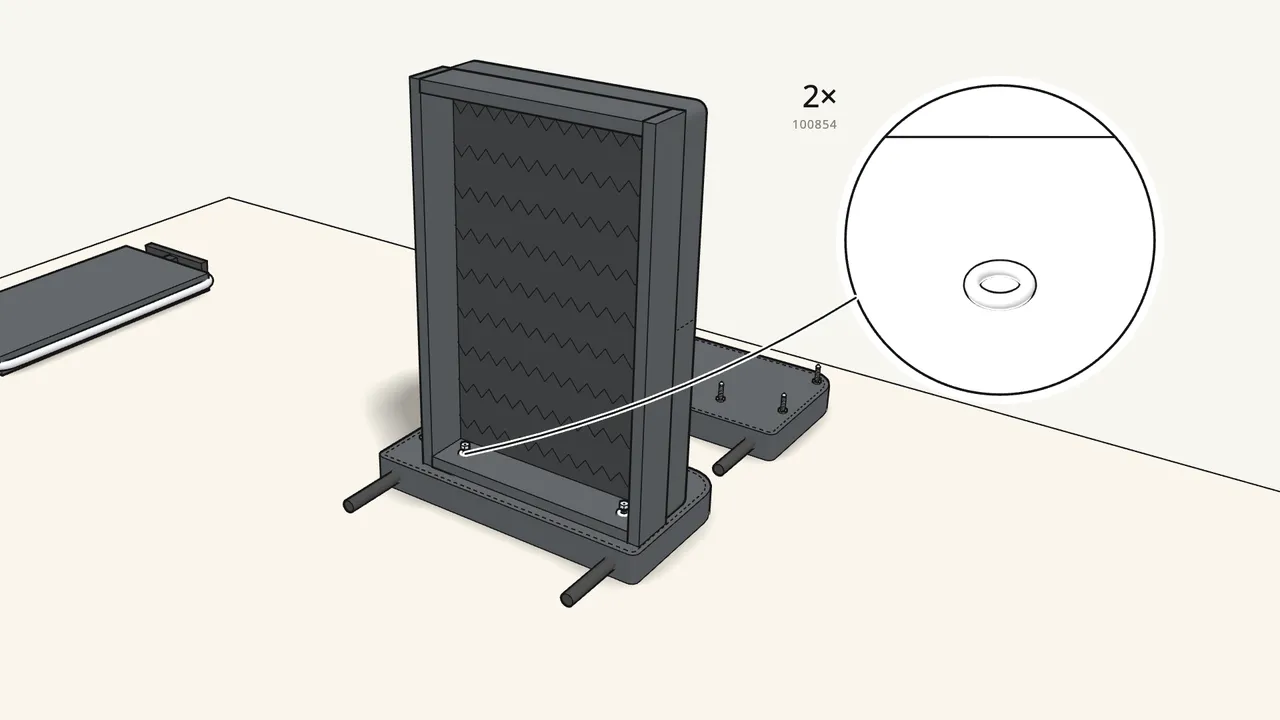
Step 4 · manual step 3
Fit a washer (100854) and a nut (100712) on each stud.
Tighten with the spanner (110470).
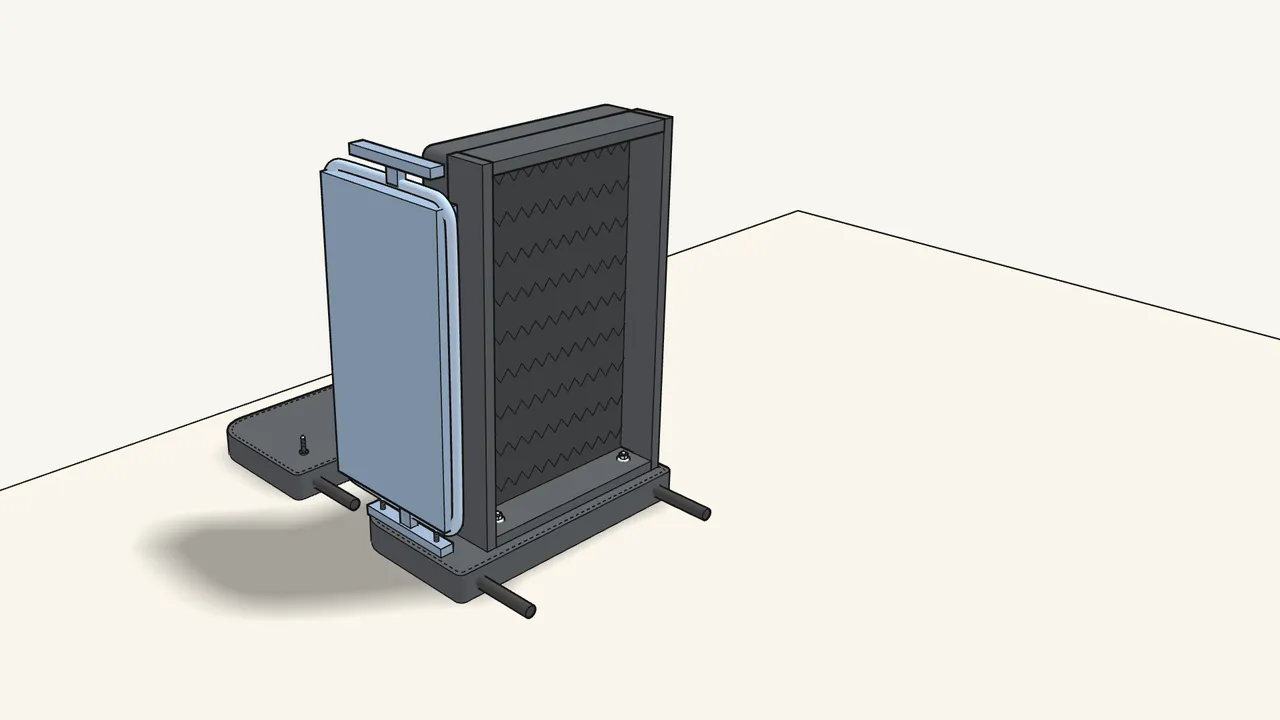
Step 5 · manual step 4
Place the backrest on the other 2 studs.
Bracket over the studs — see the manual, step 4, for the orientation.
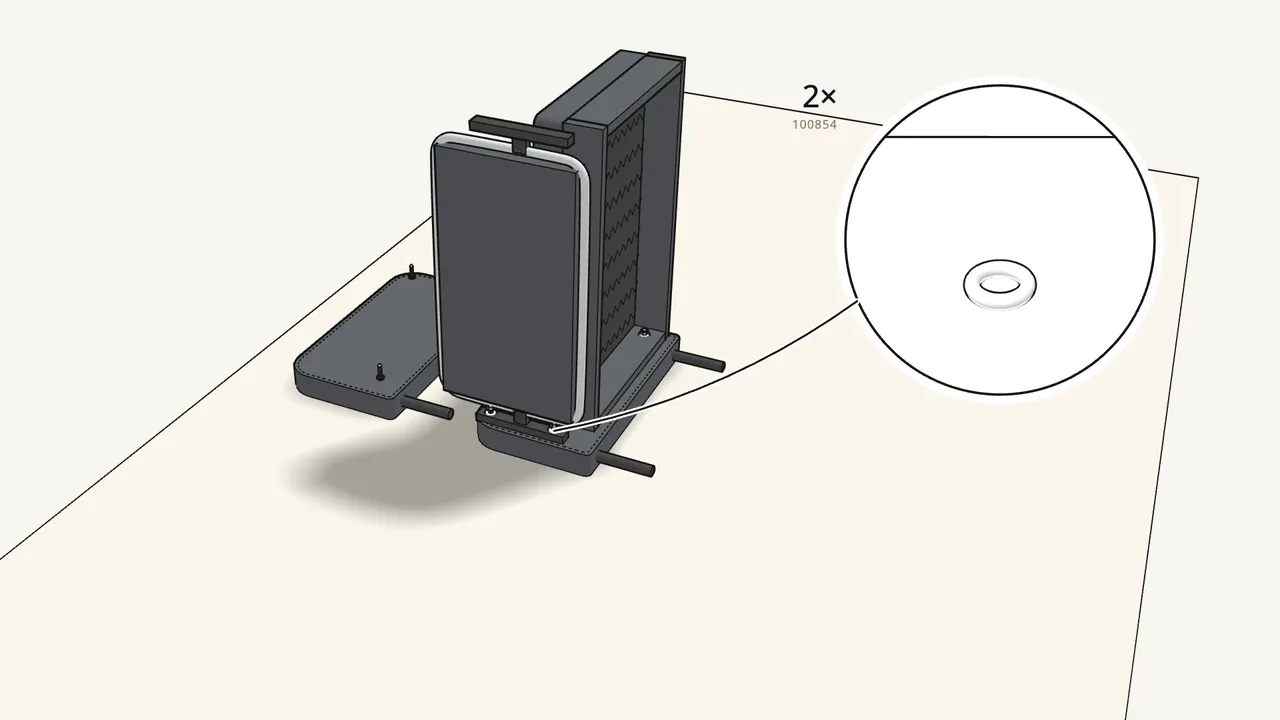
Step 6 · manual step 4
Fix it with 2 washers (100854) and 2 nuts (100712).
Tighten with the spanner (110470).
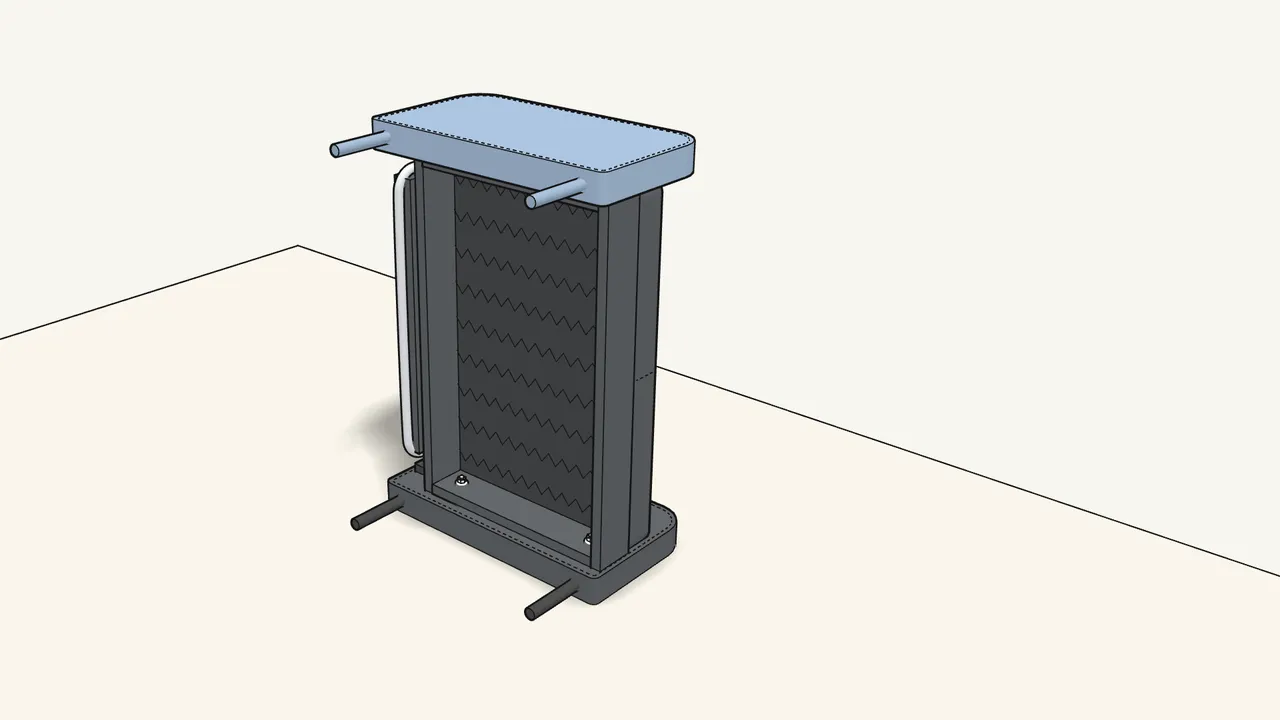
Step 7 · manual step 5
Lower the second armrest onto the seat and backrest.
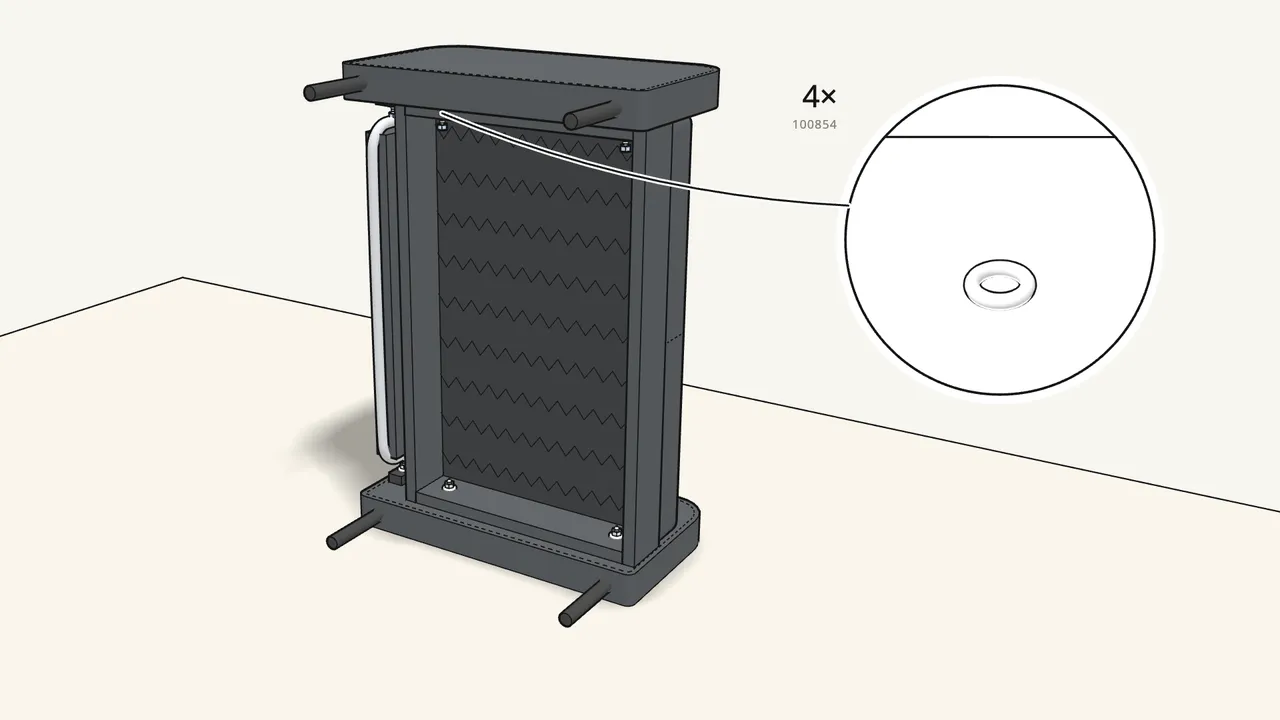
Step 8 · manual step 5
Fix it with 4 washers and 4 nuts from the inside.
Tighten all 8 nuts firmly with the spanner.
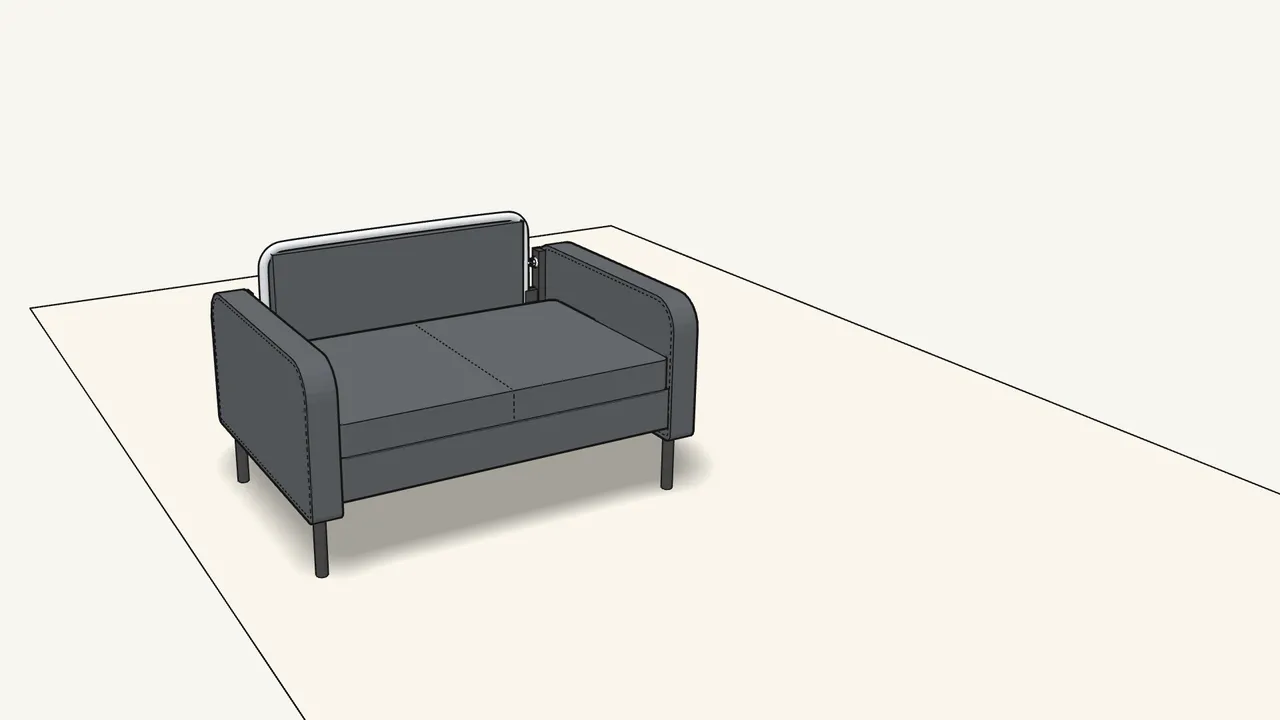
Step 9 · manual step 5
Turn the sofa upright onto its legs.
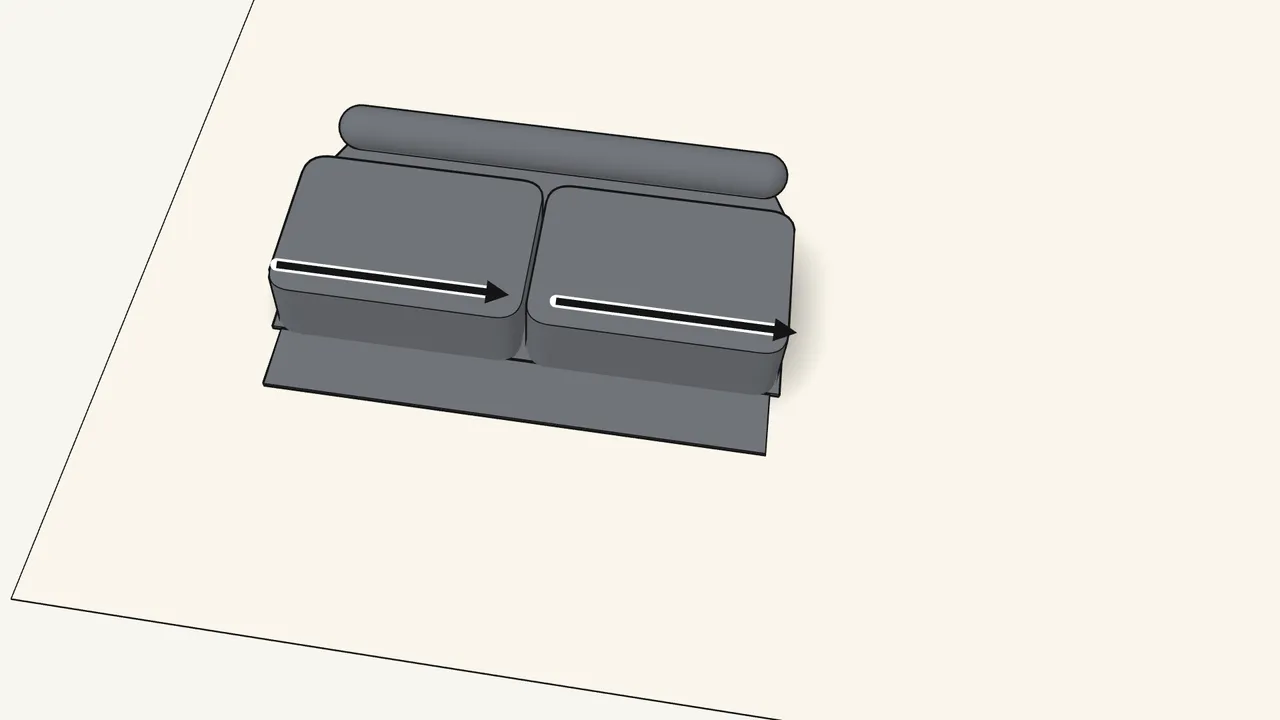
Step 10 · manual step 6–7
Push the 2 inserts into the back-cushion cover and close the zips.
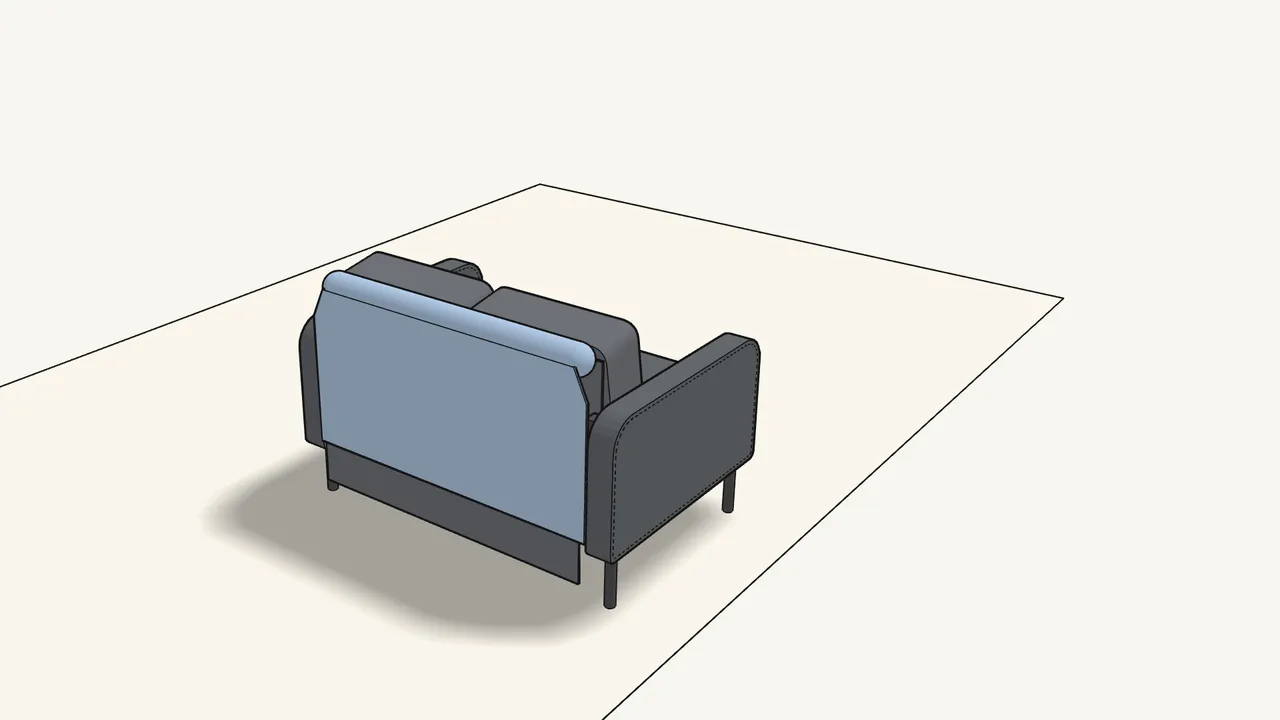
Step 11 · manual step 8
Pull the cushion cover down over the backrest.
The cushions go in front, the fabric hangs down at the back.
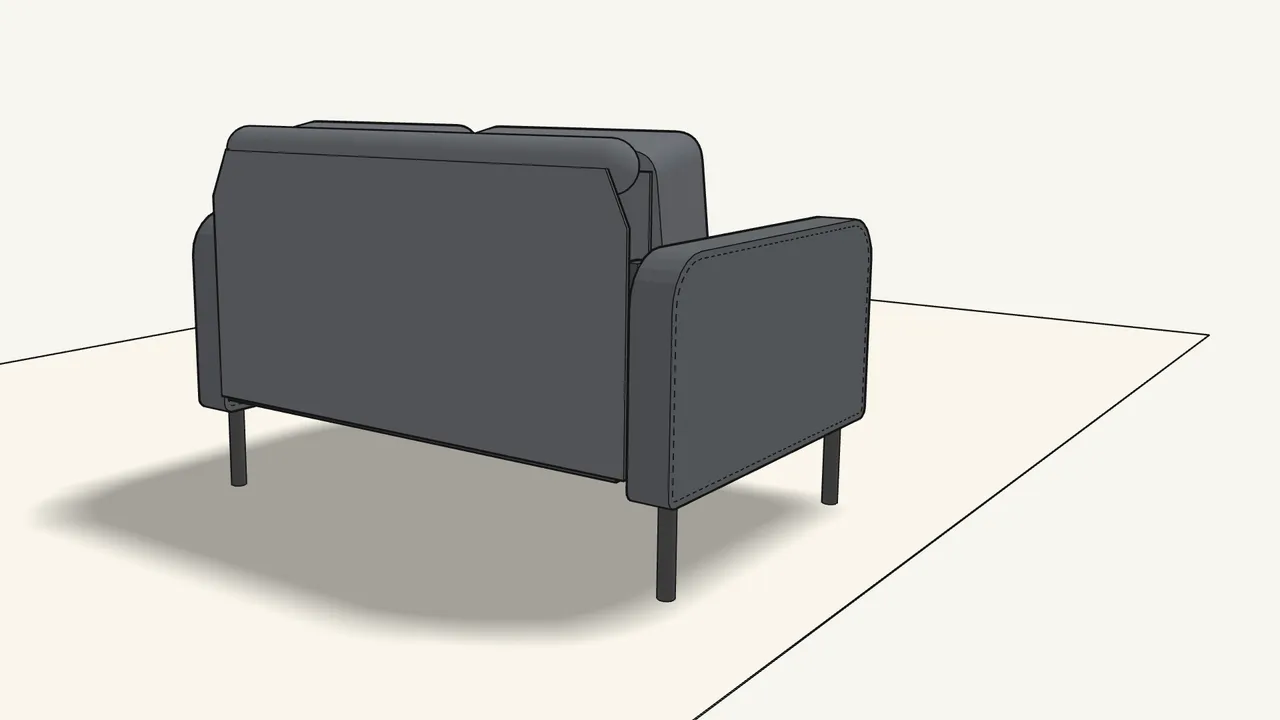
Step 12 · manual step 9
Fold the lower edge under and press it onto the grip strip.
Smooth it out along the whole width.
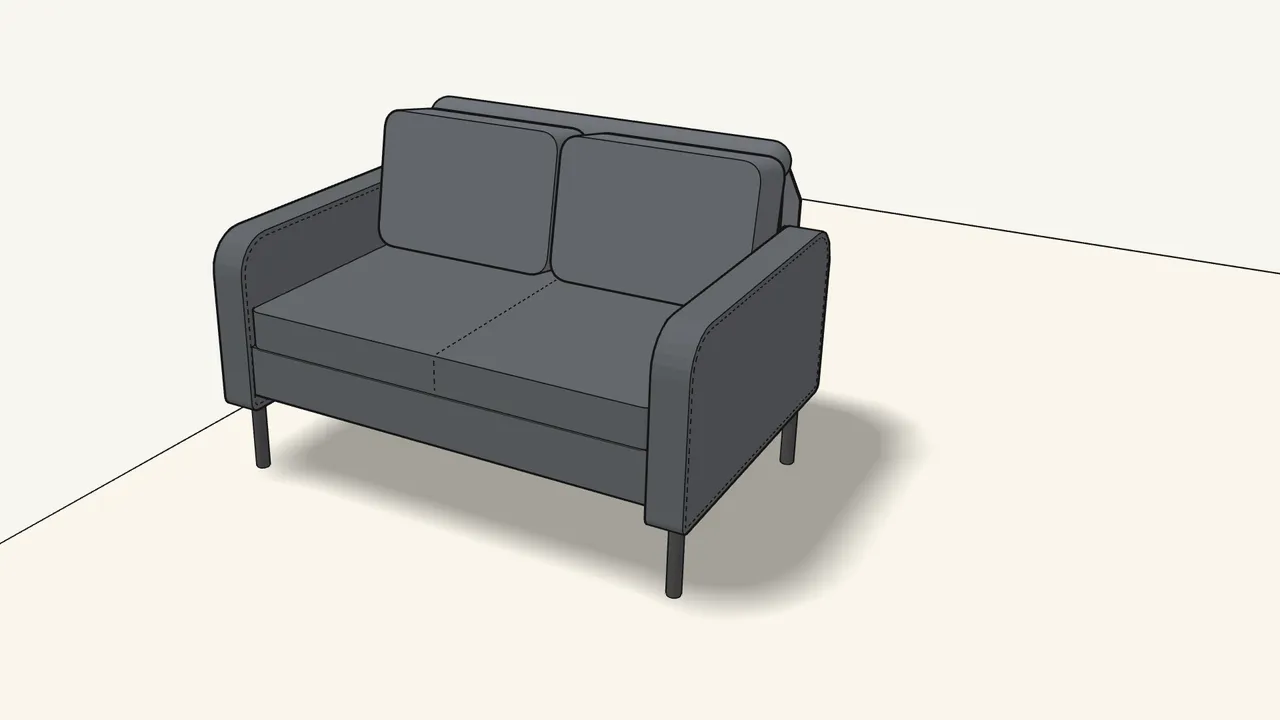
Step 13 · manual step 10
Smooth out the back cushions.
Tips & safety
- Studs the right way round Pointed end up, with the collar flat against the armrest — see the info boxes in step 2.
- Assemble on a soft surface Lay the parts on a rug or the packaging so the fabric and legs aren’t scratched.
Official instructions
This guide follows IKEA’s official assembly instructions (AA-2233219-1). Keep the printed manual to hand — if anything differs, the manual is right.