IKEA · Chairs & Stools
How to assemble IKEA GAMLEHULT Ottoman with Storage
Step-by-step IKEA GAMLEHULT Ottoman with Storage assembly: 8 illustrated steps, an animated video, the hardware list and the tools you need — following the official instructions (AA-2121112-1).
- 8 illustrated steps
- 4 steps in the manual
- 1:49 video
- 72×52×40 cm
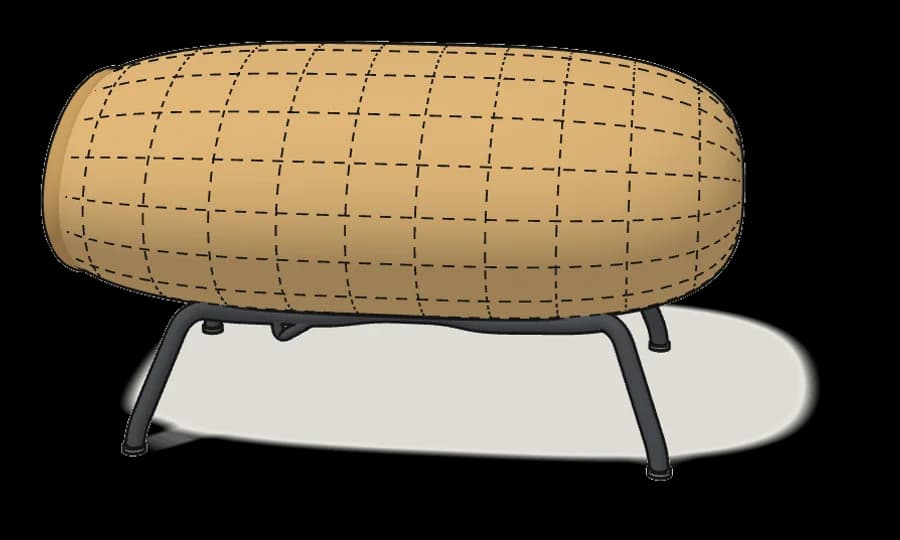
What you need
Tools
- Allen key (included)
Hardware in the box
| Part no. (as printed in the manual) | Qty |
|---|---|
| 100260 | 6× |
| 102428 | 4× |
Step-by-step assembly
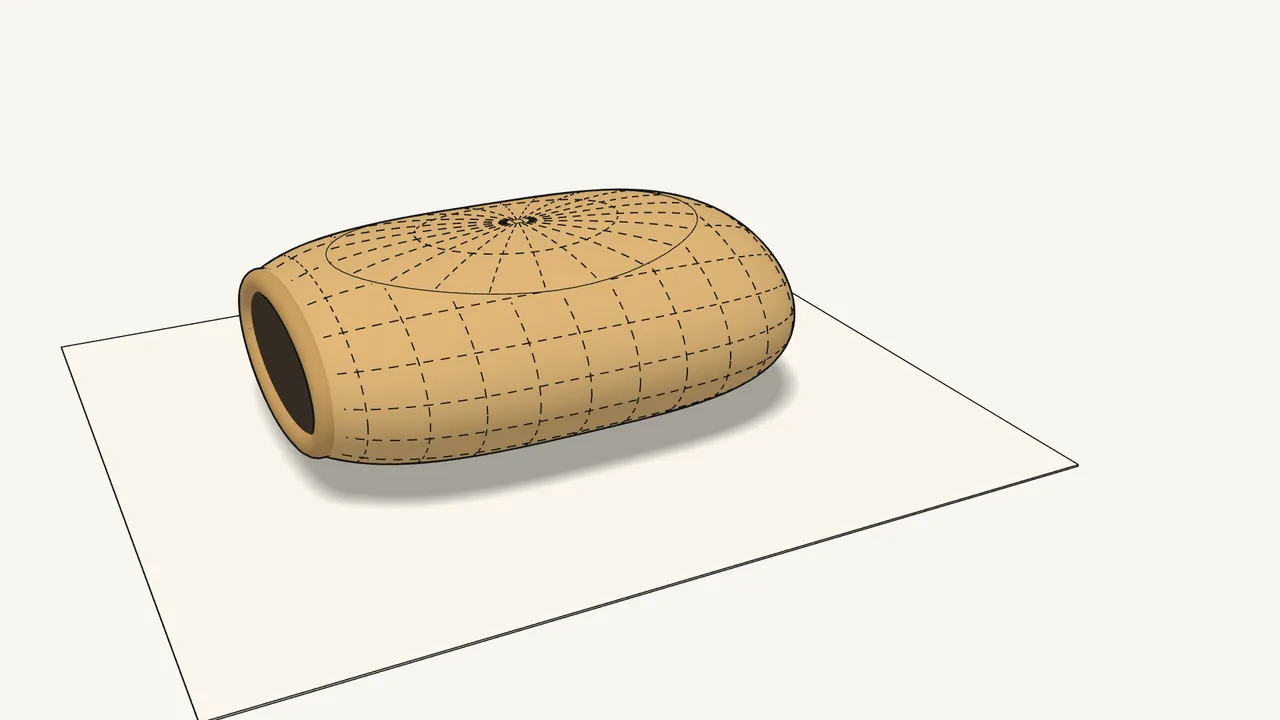
Step 1
Lay the ottoman upside down on a soft surface.
A rug protects the rattan while you work.
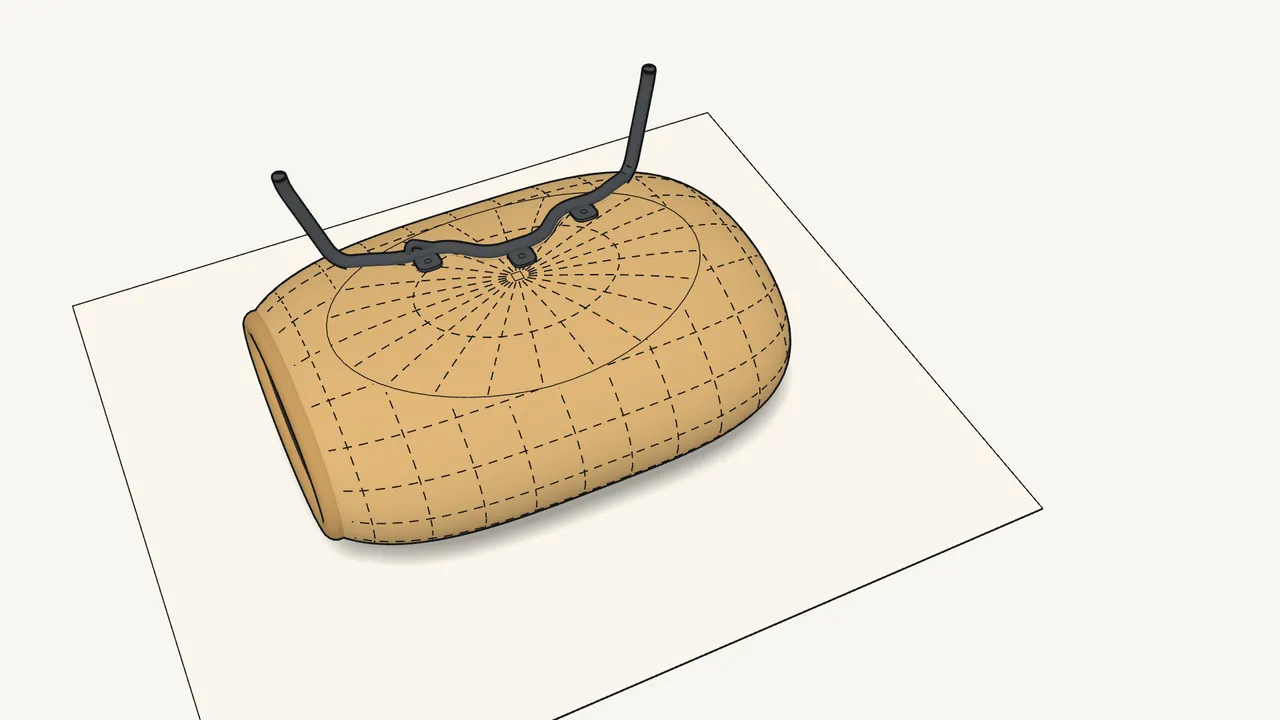
Step 2 · manual step 1
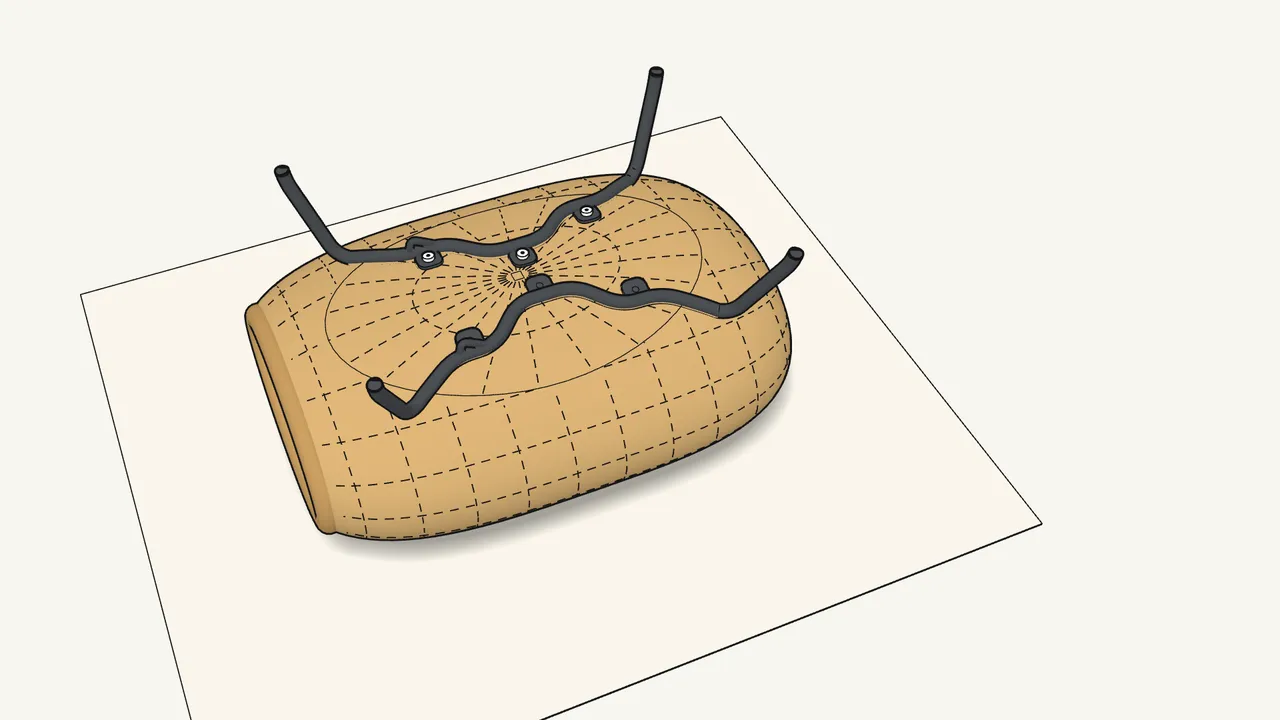
Place one leg frame on the bottom.
Its 3 tabs lie flat against the bottom, over the holes.
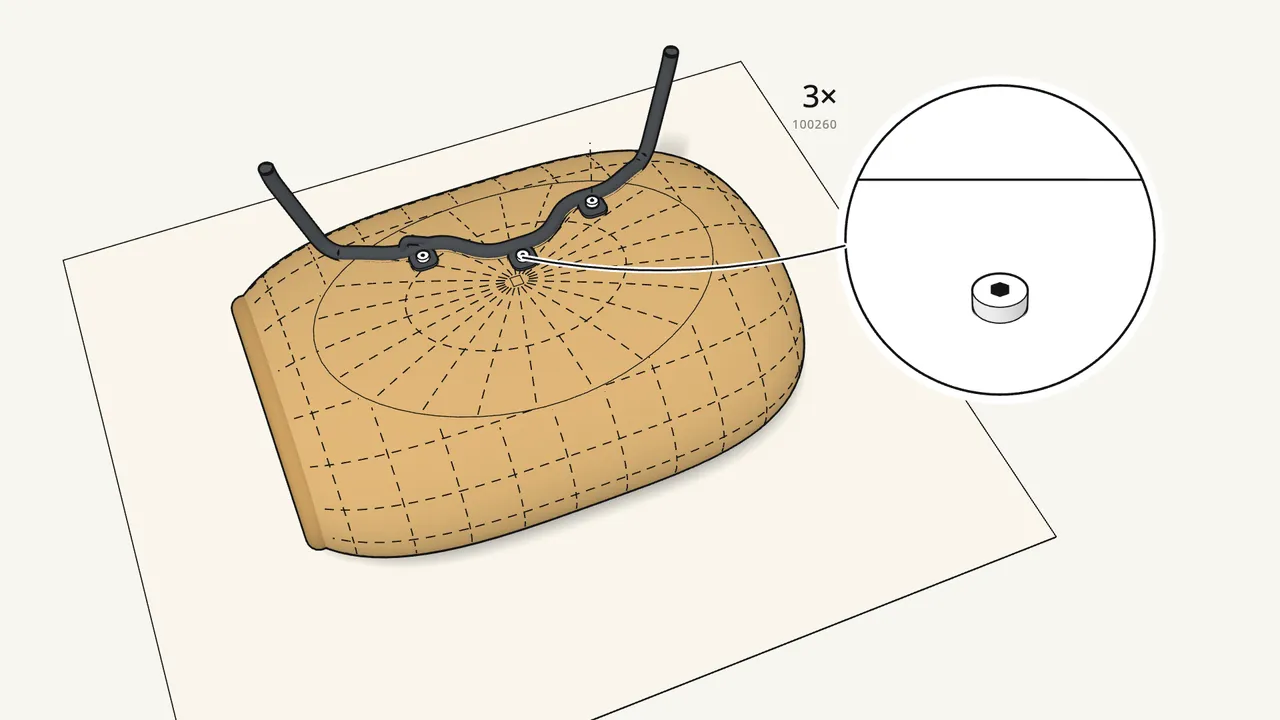
Step 3 · manual step 1
Fix it with 3 bolts (100260) and the Allen key (108490).
Don’t tighten them fully yet — leave a small gap under the heads.
Step 4 · manual step 2
Place the second leg frame the same way.
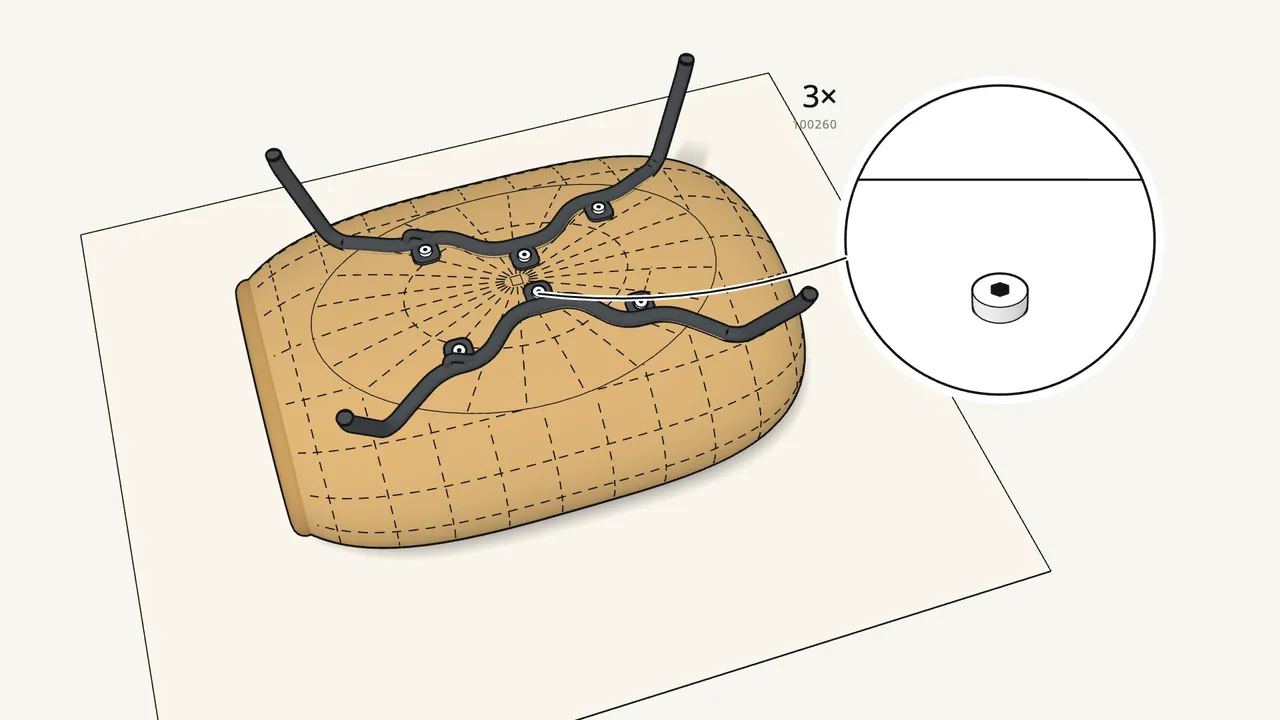
Step 5 · manual step 2
Fix it with 3 bolts (100260) — again, not fully tight.
Leave a small gap under each head, as in the manual.
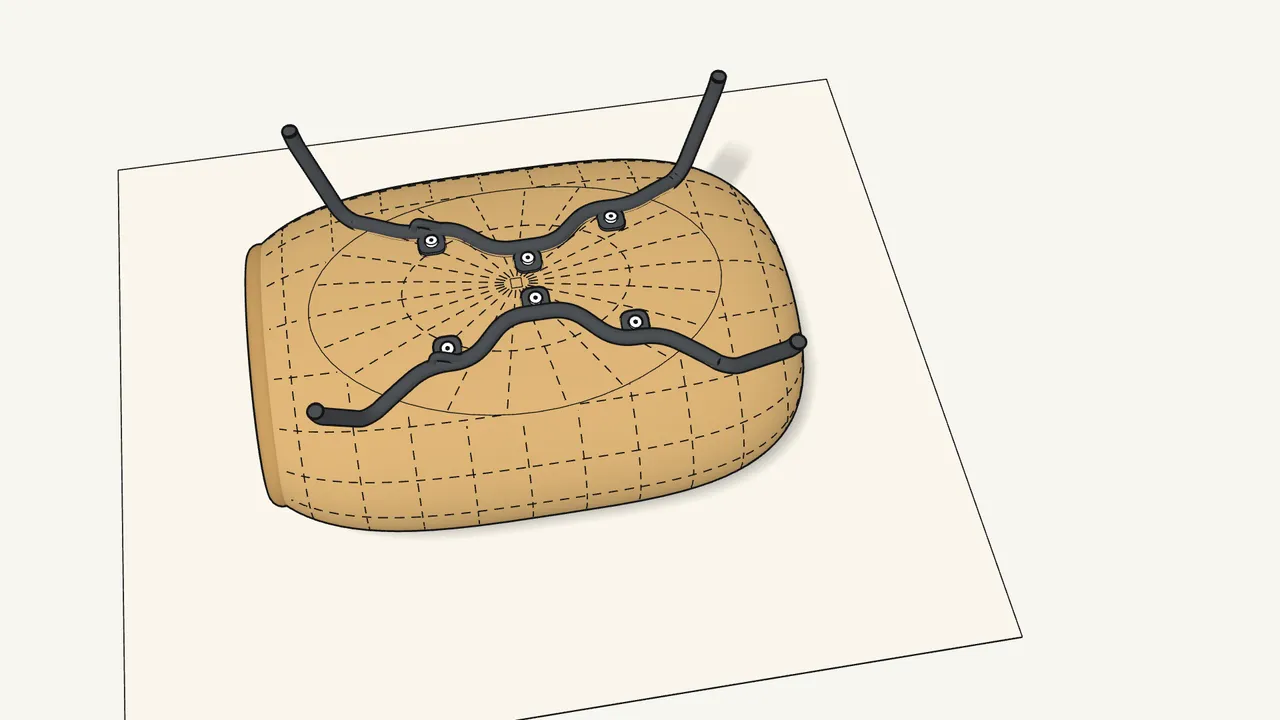
Step 6 · manual step 3
Now tighten all 6 bolts firmly with the Allen key.
Each head must sit tight against its tab — no gap.
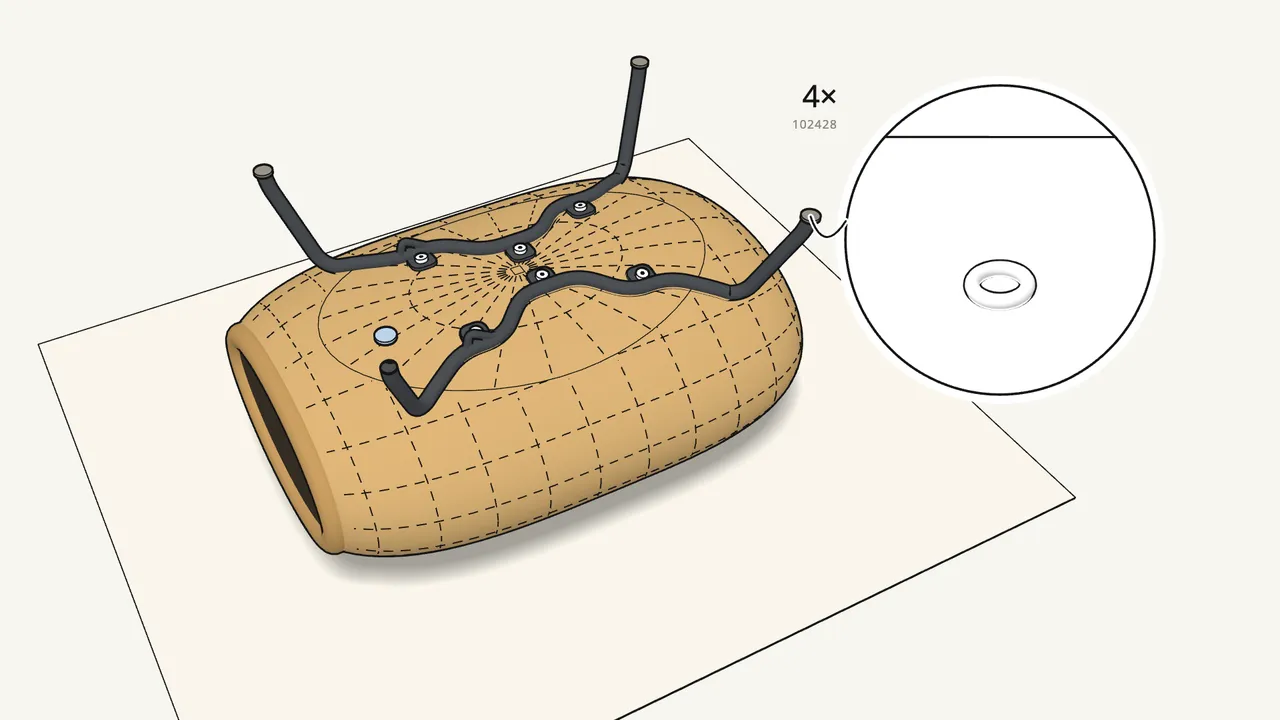
Step 7 · manual step 4
Stick a felt pad (102428) onto the end of each leg.
4 pads — press them on firmly.
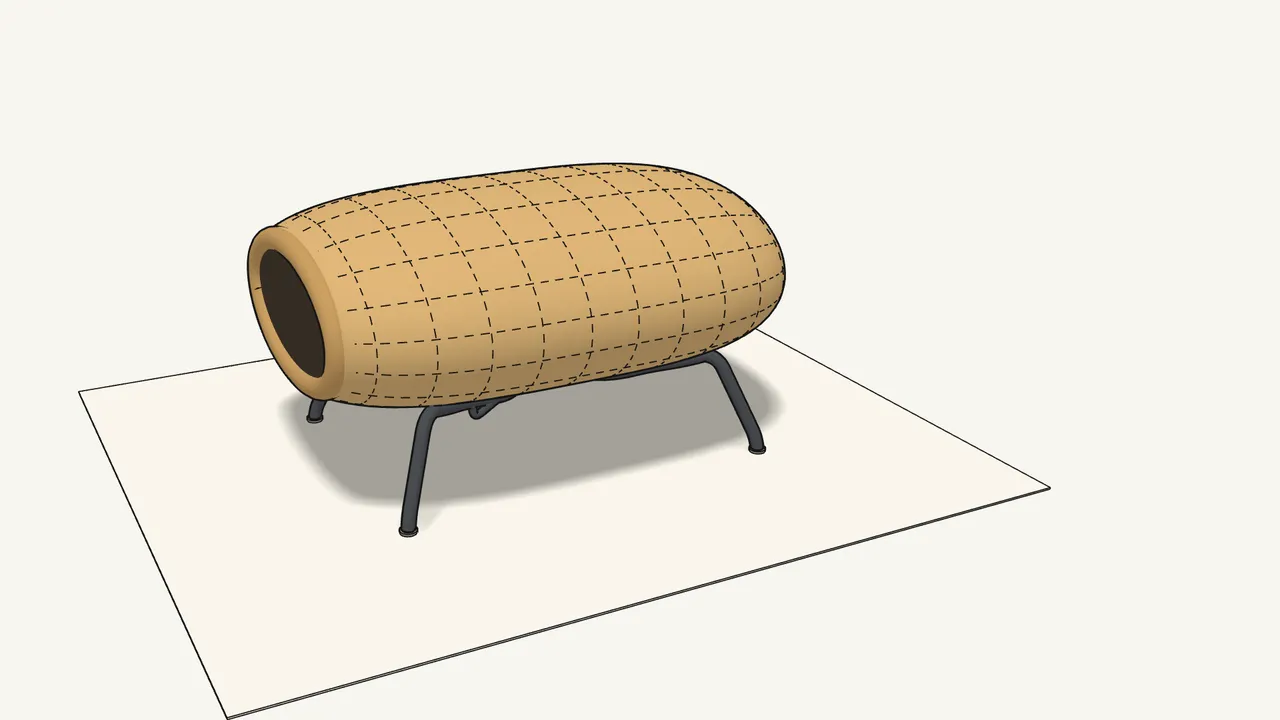
Step 8 · manual step 4
Turn the ottoman over onto its legs.
The storage space is reached through the opening at the end.
Tips & safety
- Assemble on a soft surface. Like the manual shows — a rug keeps the rattan and the floor from getting scratched.
- Check the 6 bolts now and then. If the legs ever feel loose, tighten the bolts again with the Allen key.
- Not sure about something? Contact your IKEA store or customer service — see page 2 of the manual.
Official instructions
This guide follows IKEA’s official assembly instructions (AA-2121112-1). Keep the printed manual to hand — if anything differs, the manual is right.