IKEA · Chairs & Stools
How to Assemble IKEA FLINTAN Office Chair
Step-by-step IKEA FLINTAN office chair assembly: 13 illustrated steps, an animated video, the hardware list and the tools you need — following the official instructions (AA-2732247-1).
- 13 illustrated steps
- 10 steps in the manual
- 2:11 video
- 67×67×85-97 cm cm
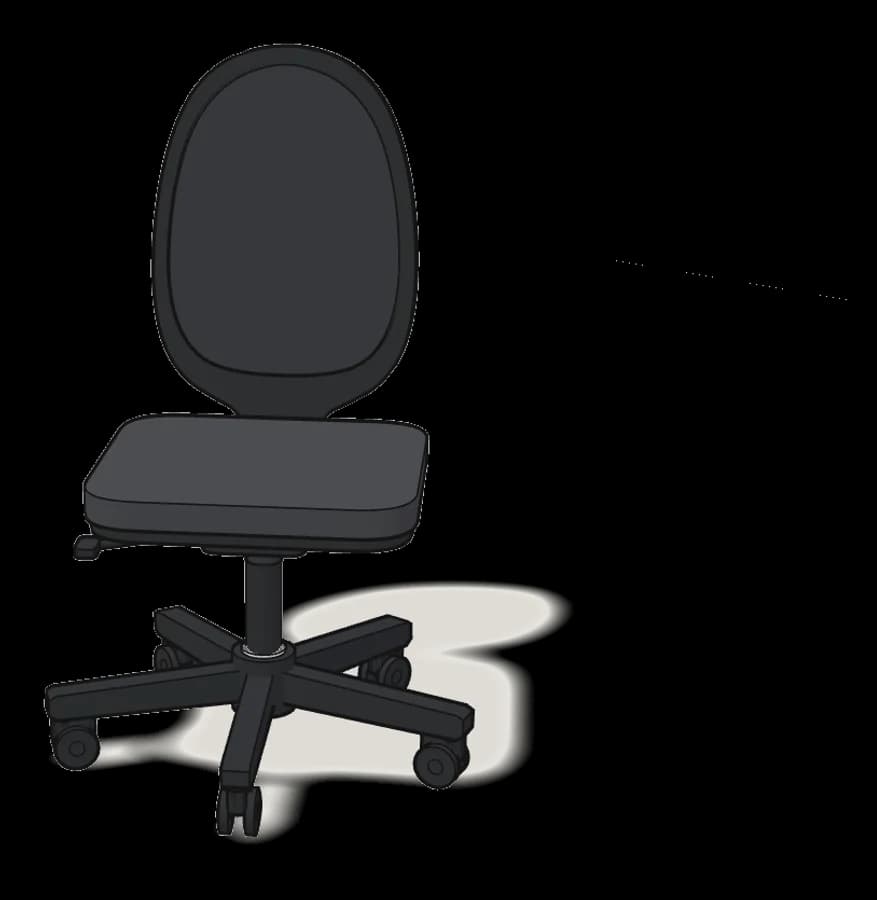
What you need
Tools
- Allen key (included)
You’ll need: only the Allen key (124345), included.
Hardware in the box
| Part no. (as printed in the manual) | Qty |
|---|---|
| 10169664 | 4× |
| 115994 | 7× |
| 122898 | 10× |
| 130912 | 4× |
Step-by-step assembly
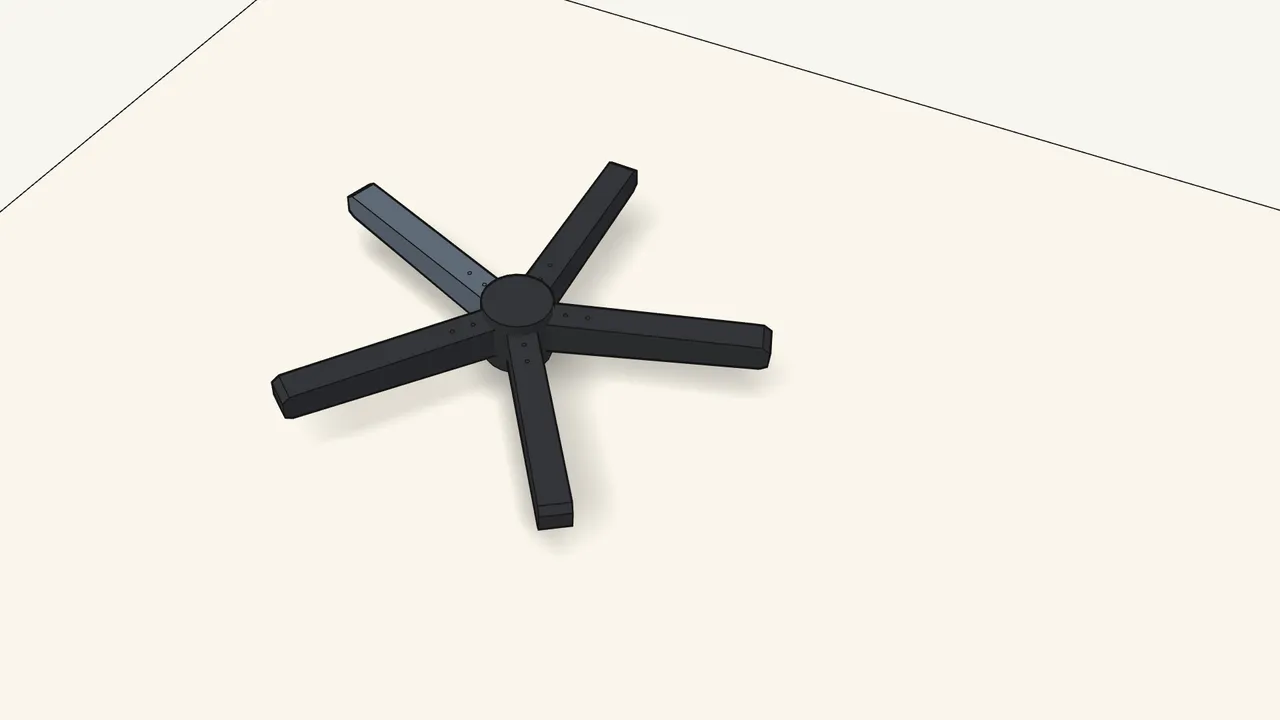
Step 1
Slide the legs into the centre hub.
Work on a rug or the box to avoid scratches. The hub lies upside down.
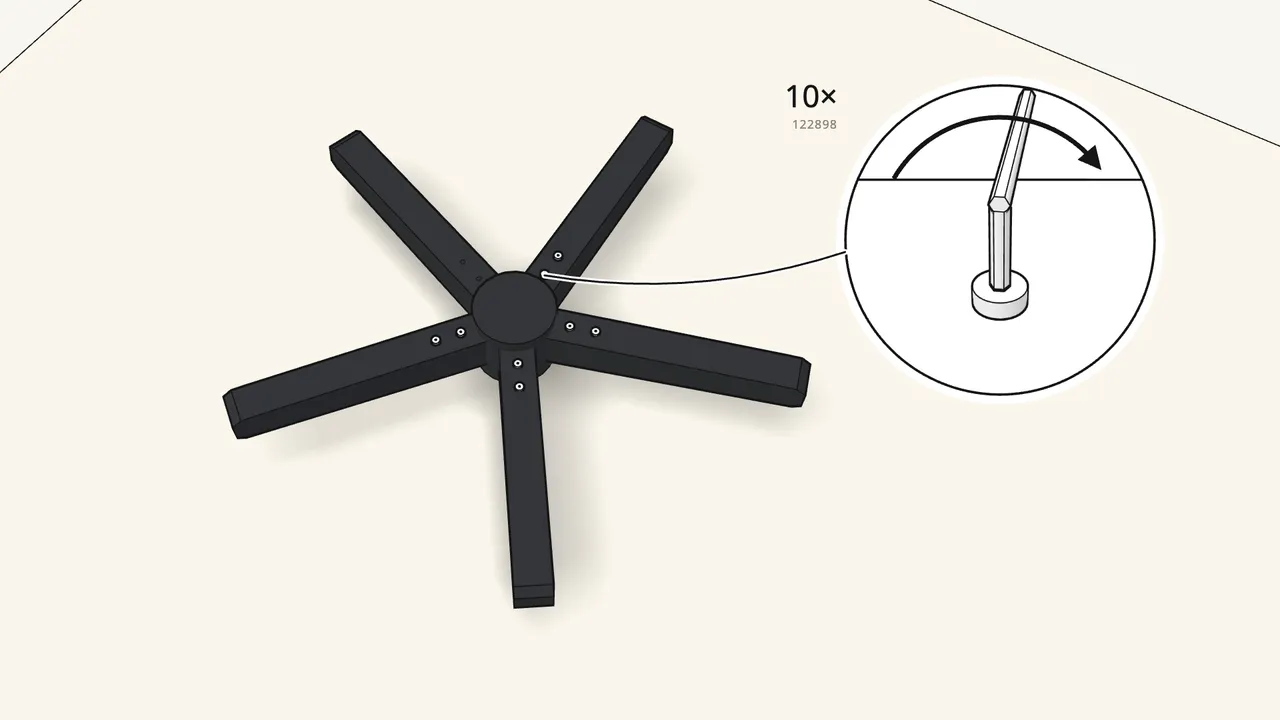
Step 2
Fix the legs with the short screws (122898) and the Allen key.
Use 122898 here — not the larger 115994 bolts.
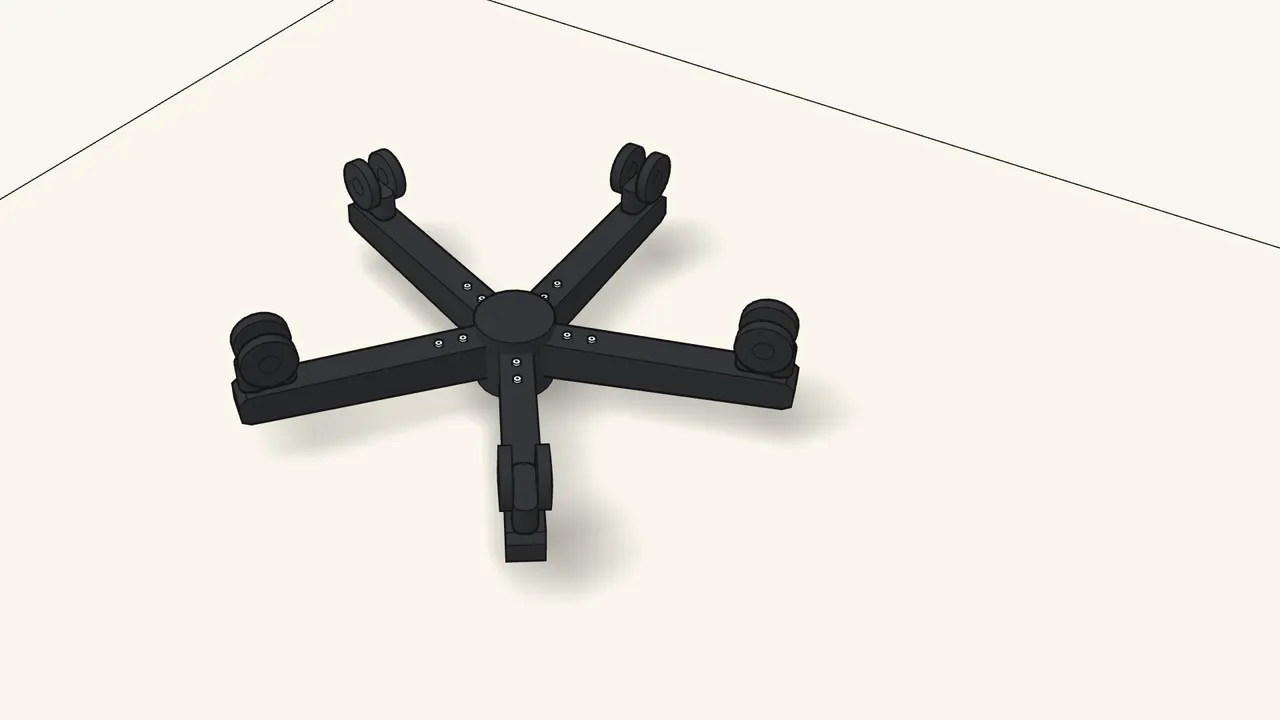
Step 3
Press the 5 casters (10049269) into the ends of the legs.
Push each one straight in — not at an angle.
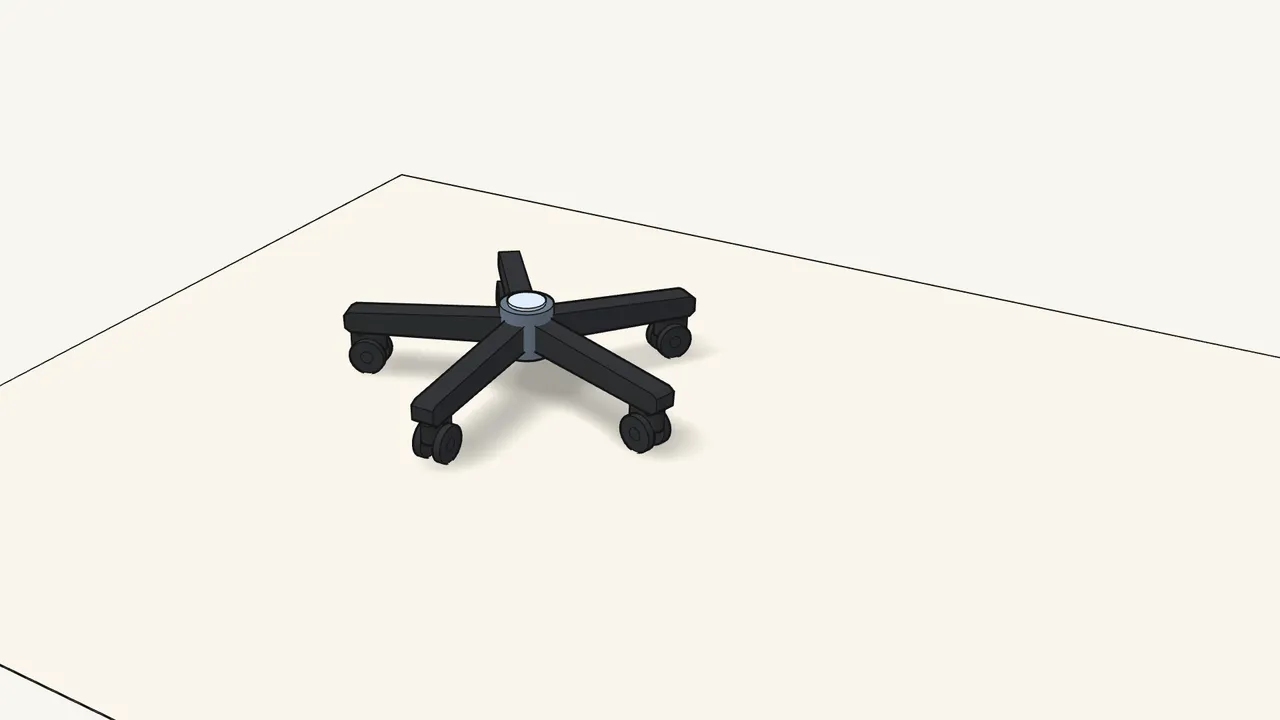
Step 4 · manual step 3
Turn the base over onto its casters.
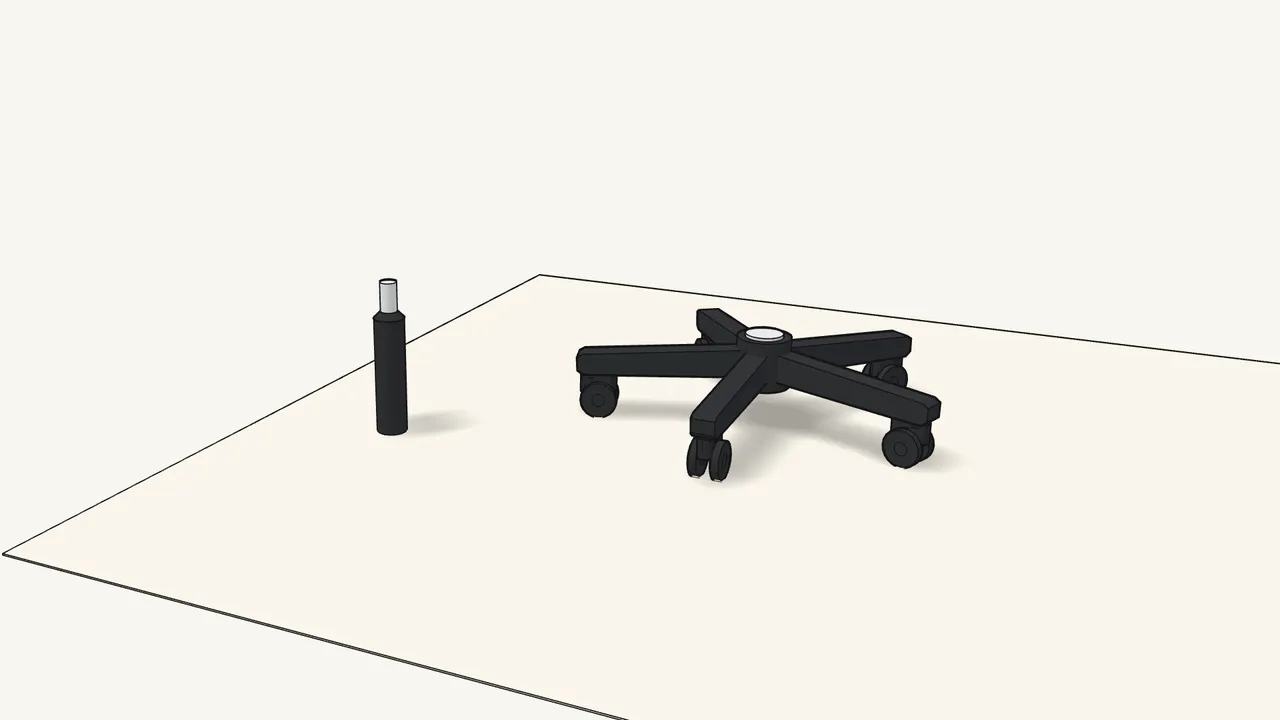
Step 5 · manual step 4
Pull the protective cap off the top of the gas cylinder.
Recycle the cap.
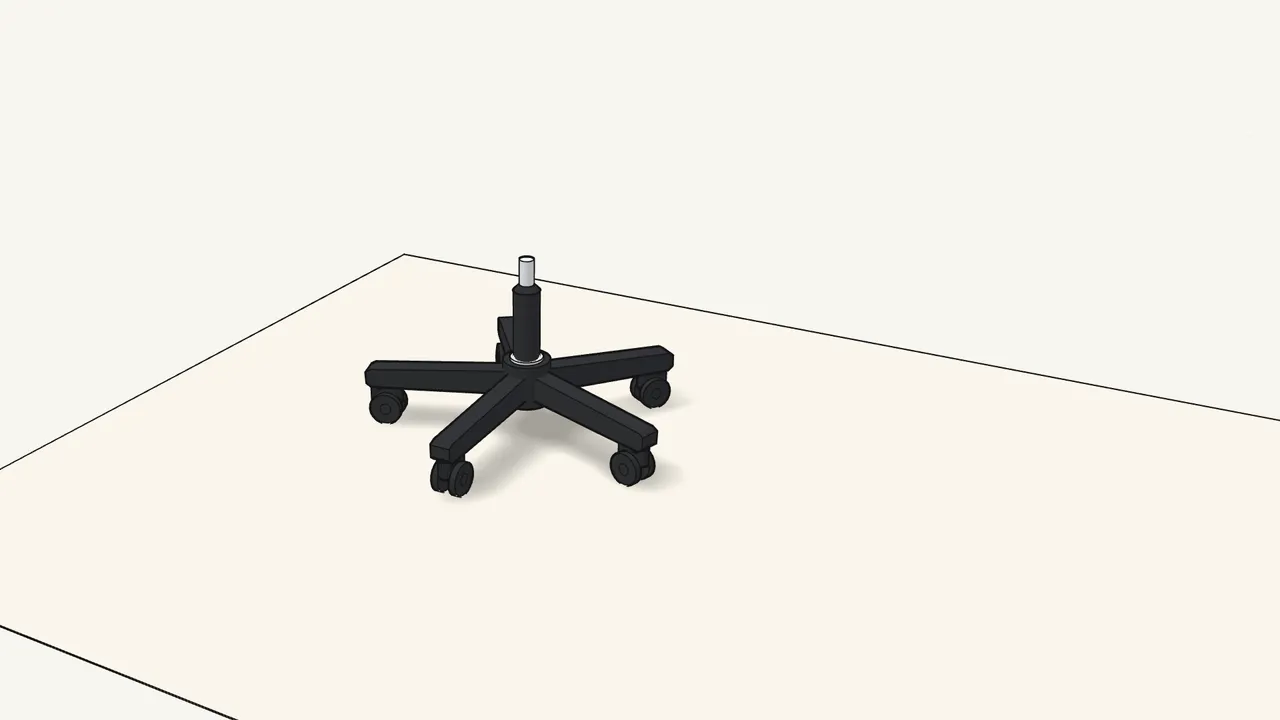
Step 6 · manual step 5
Put the gas cylinder into the hole in the centre of the base.
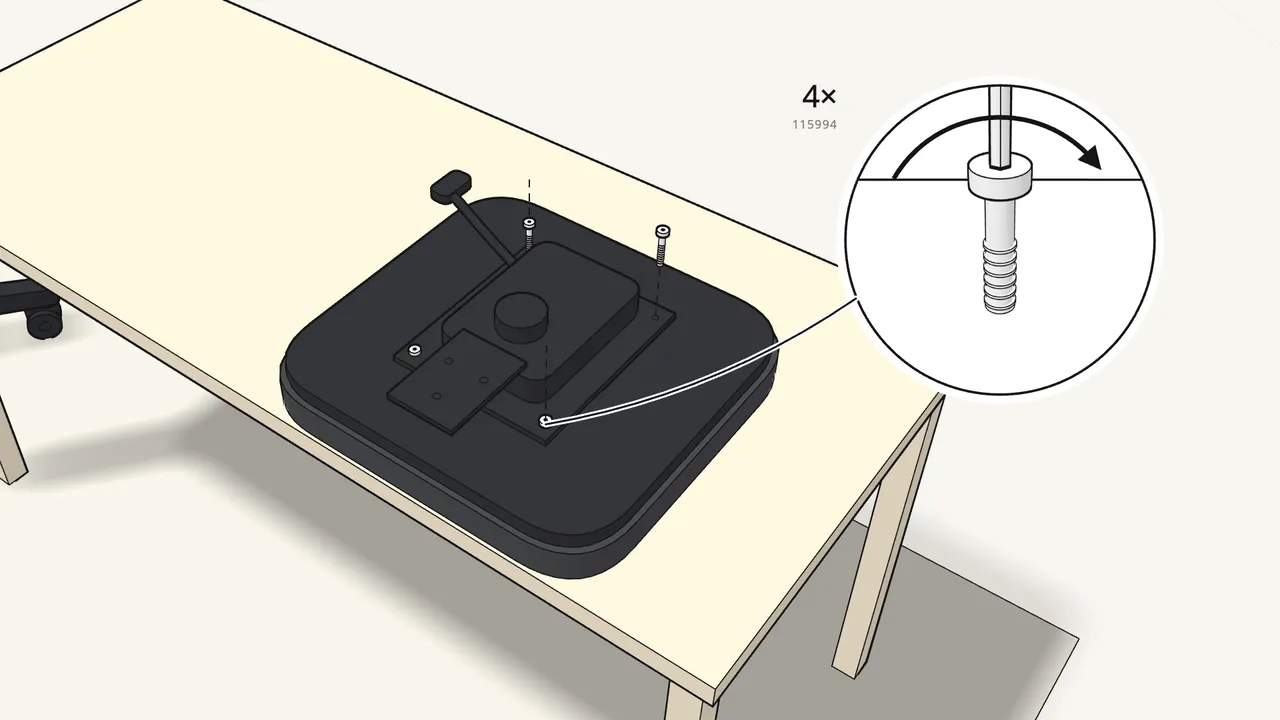
Step 7 · manual step 6
Lay the seat upside down and place the mechanism on it.
Screw in 4 bolts (115994) by hand.
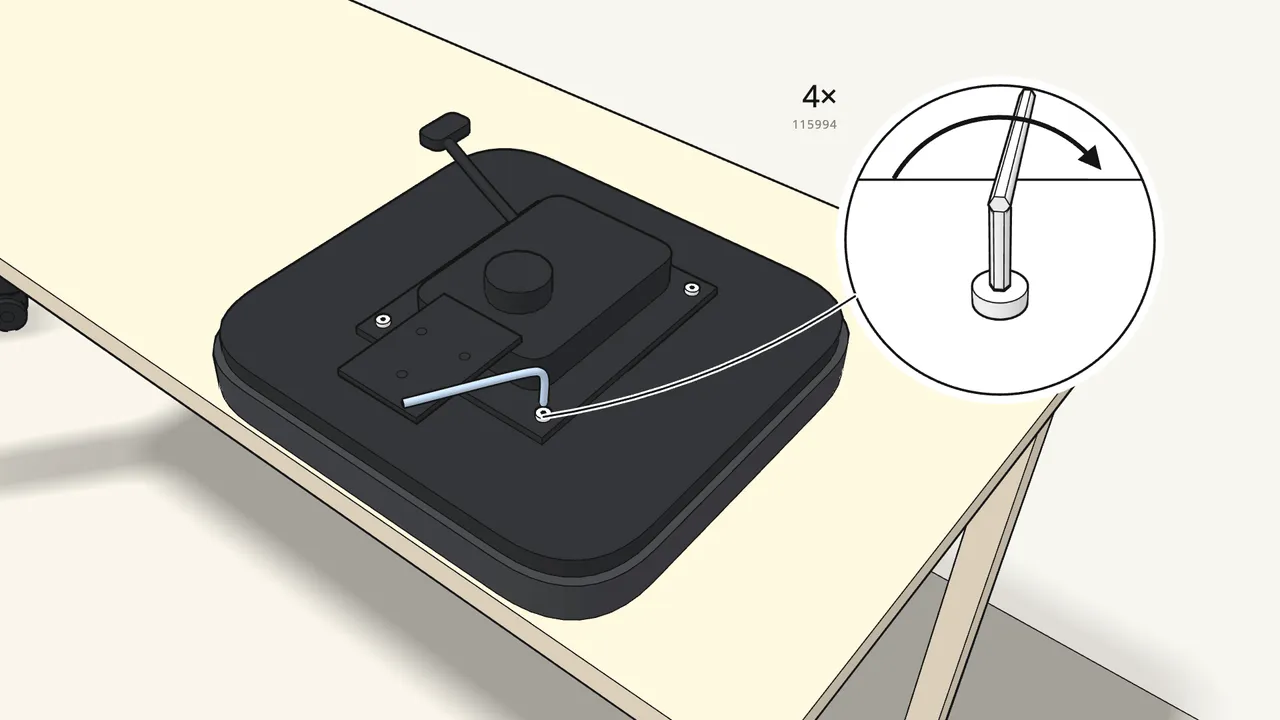
Step 8 · manual step 7
Tighten the 4 bolts with the Allen key.
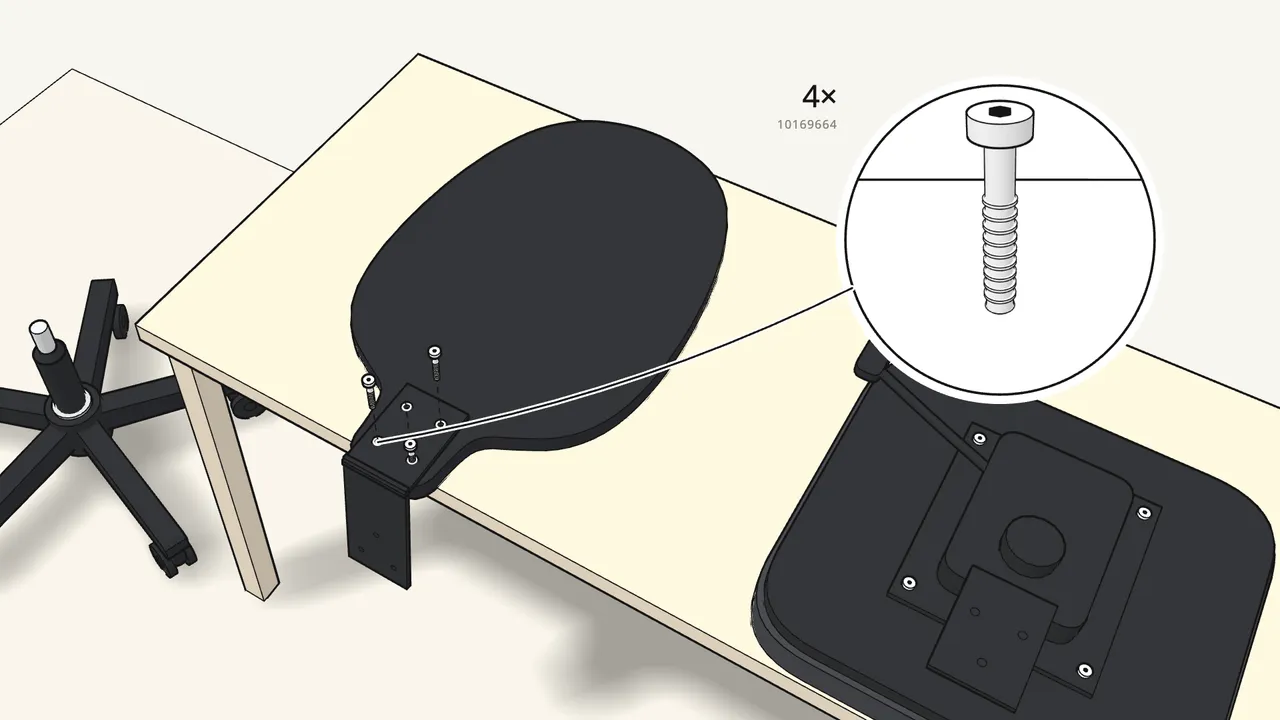
Step 9 · manual step 8
Fix the bracket to the backrest with 4 bolts (10169664).
Put a spring washer (130912) on each bolt, then tighten with the Allen key.
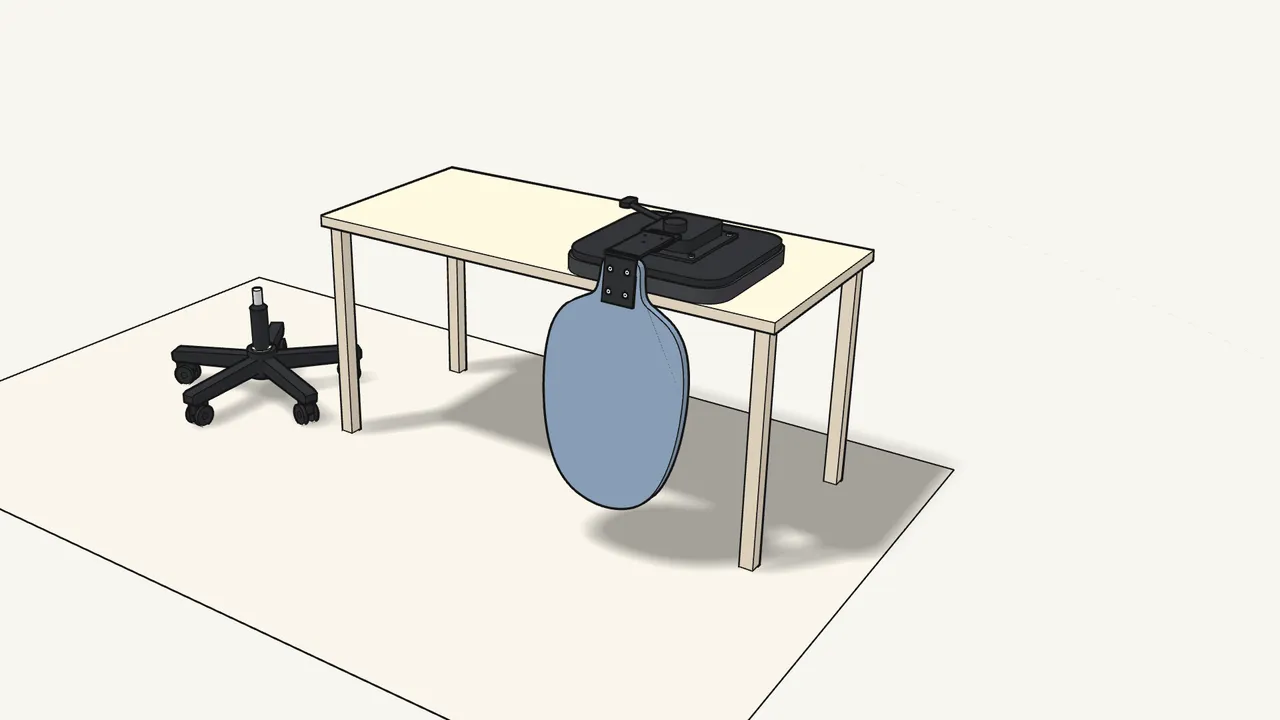
Step 10 · manual step 9
Slide the backrest bracket onto the back of the mechanism.
Rest the seat upside down on a table edge so the backrest can hang down.
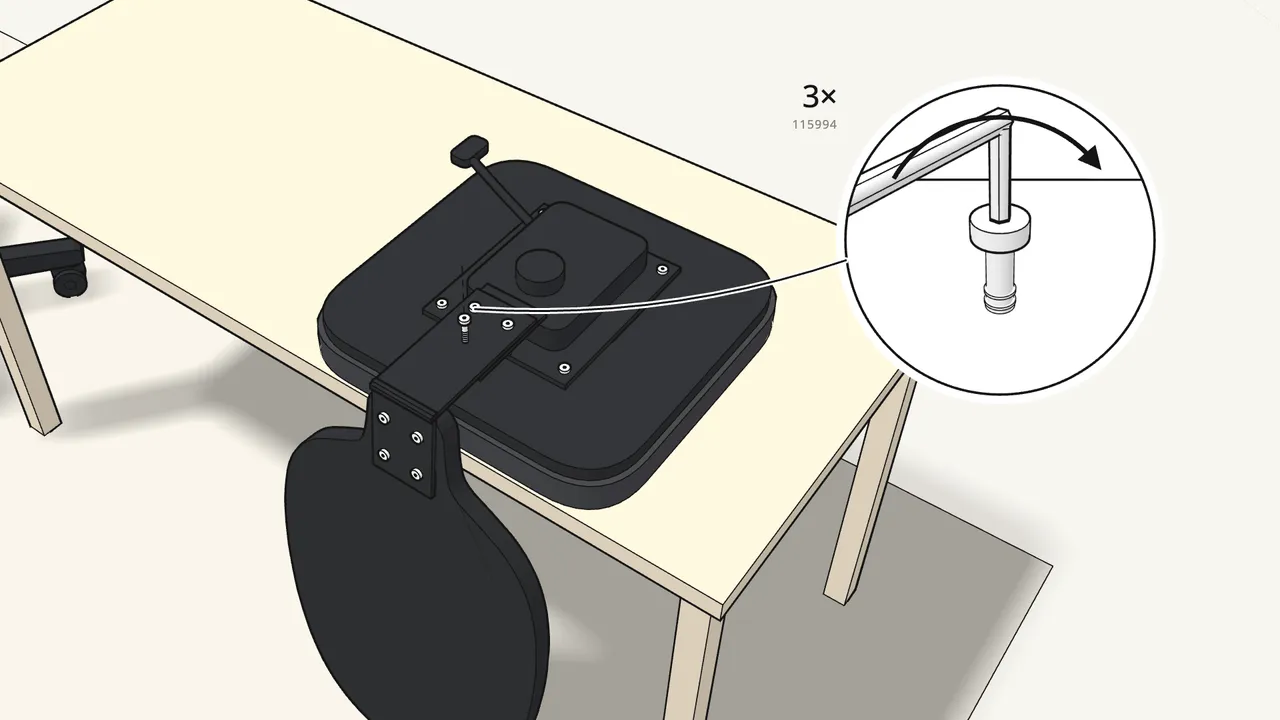
Step 11 · manual step 9
Fix it with 3 bolts (115994), then tighten with the Allen key.
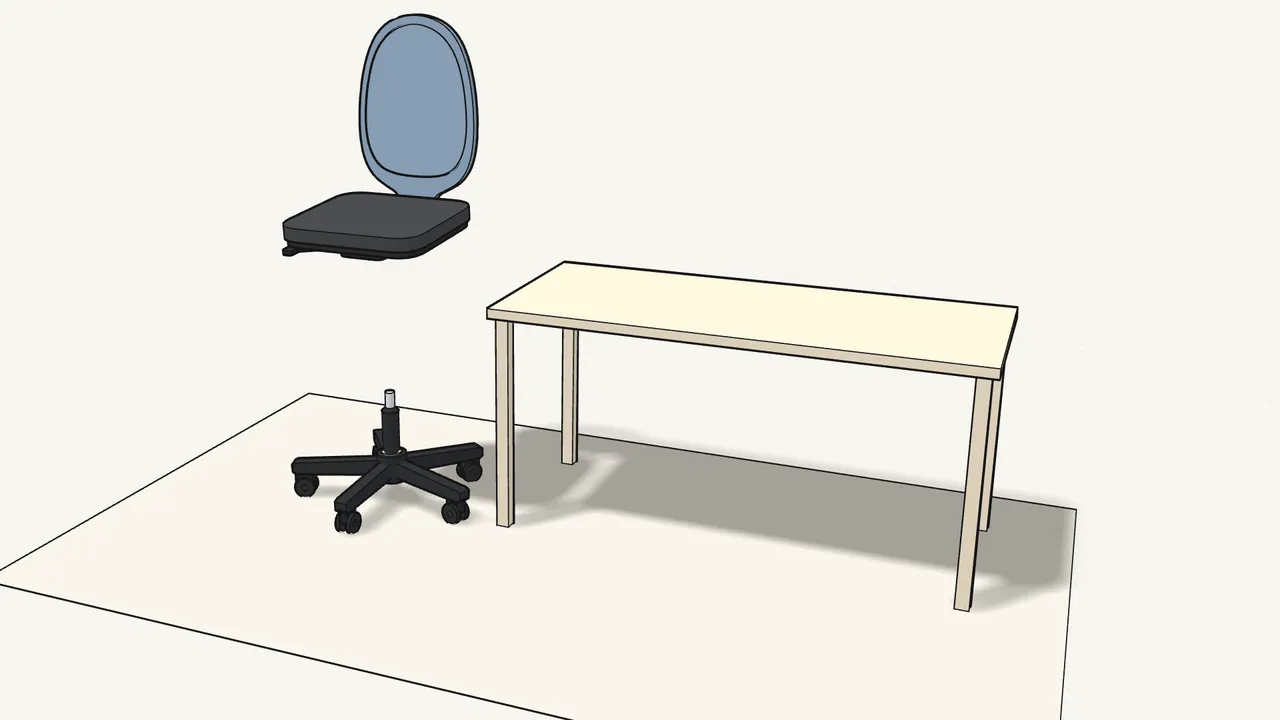
Step 12 · manual step 10
Turn the seat over.
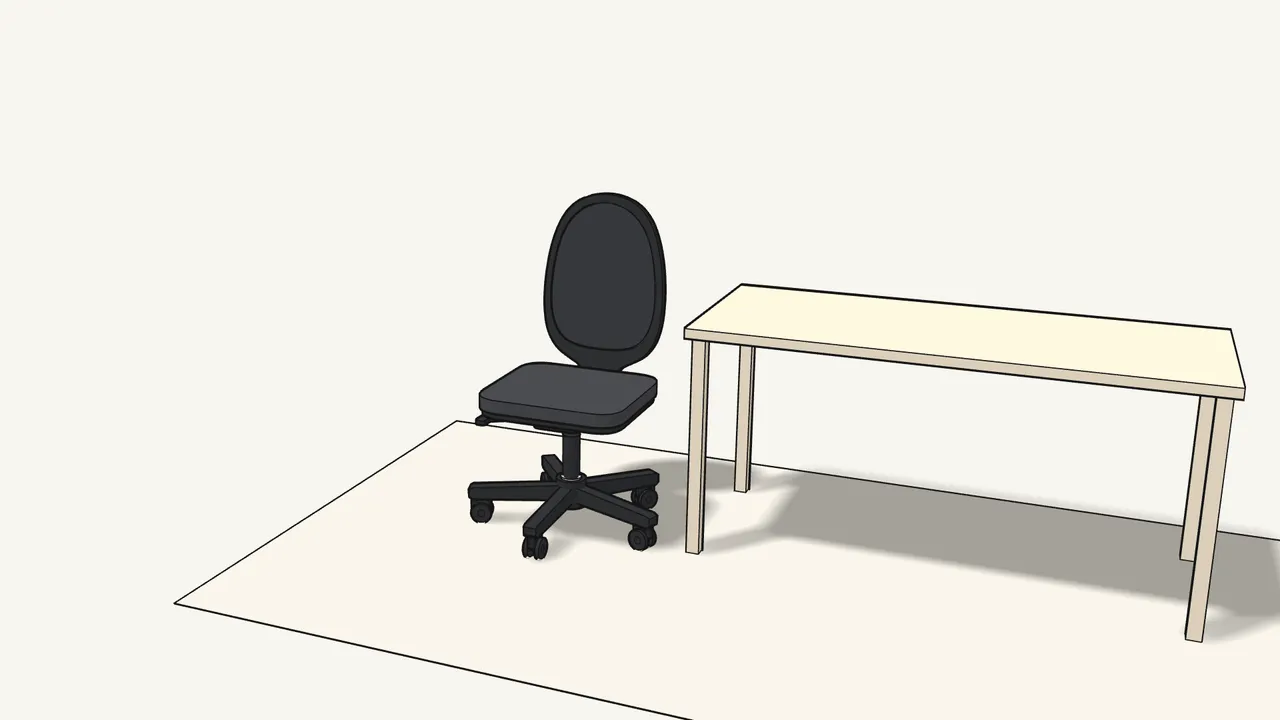
Step 13 · manual step 10
Put the seat onto the gas cylinder.
The top of the cylinder goes into the hole under the mechanism.
Tips & safety
- Warning: gas cylinder Only trained personnel may replace or repair the seat height adjustment parts (manual p. 7).
- Adjust the chair to fit you Lift the lever under the seat to change the height; move it sideways to lock or unlock the backrest tilt (manual p. 15).
- Washable seat cover The seat cover can be taken off and washed — see manual p. 16.
Official instructions
This guide follows IKEA's official assembly instructions (AA-2732247-1). Keep the printed manual to hand — if anything differs, the manual is right.