IKEA · Chairs & Stools
How to assemble IKEA DYVLINGE Swivel Chair
Step-by-step IKEA DYVLINGE Swivel Chair assembly: 12 illustrated steps, an animated video, the hardware list and the tools you need — following the official instructions (AA-2396226-1).
- 12 illustrated steps
- 7 steps in the manual
- 1:47 video
- 66×70×82 cm cm
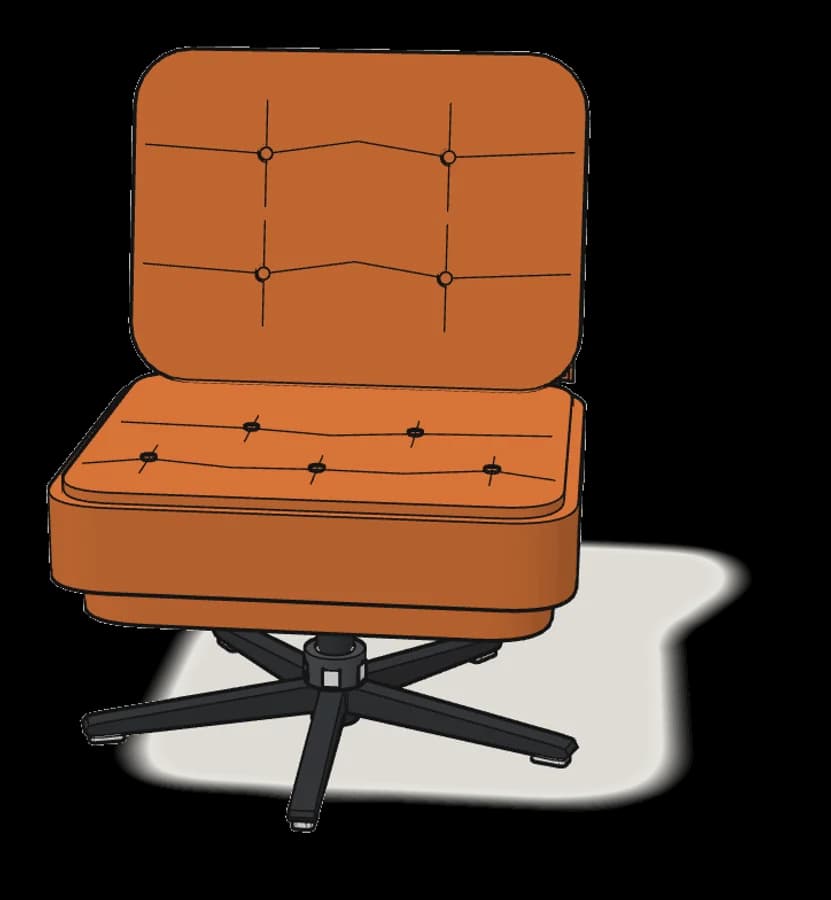
What you need
Tools
No tools needed.
Hardware in the box
See the manual.
Step-by-step assembly
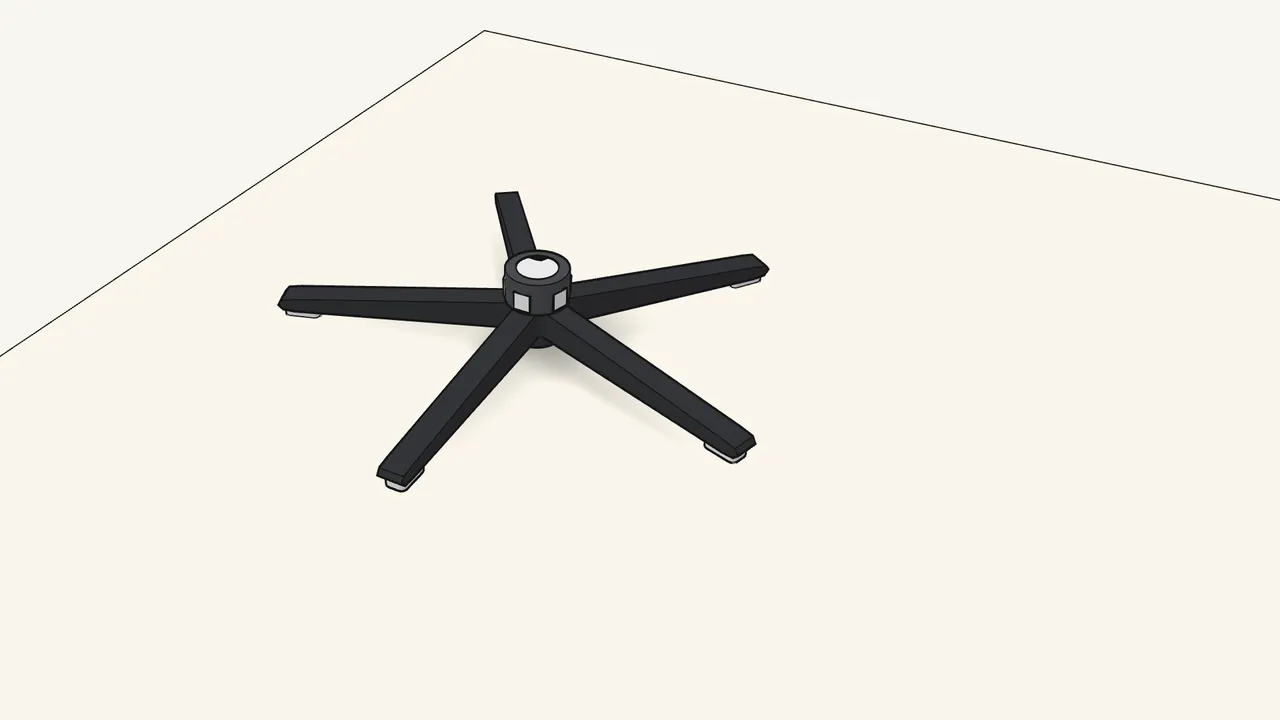
Step 1
Press the plastic cover down onto the centre of the base.
Work on a rug or the box. Push the cover all the way down over the hub.
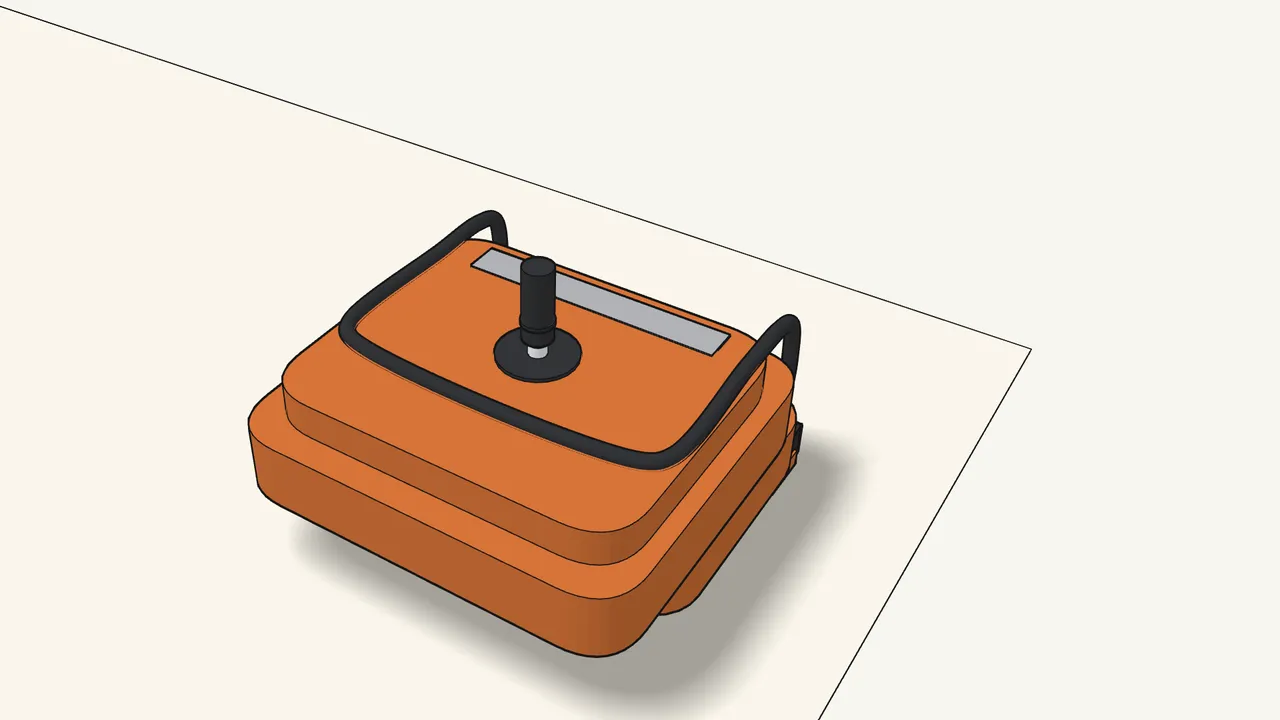
Step 2
Lay the seat upside down and push the column into the plate.
The narrow end of the column goes into the hole in the middle.
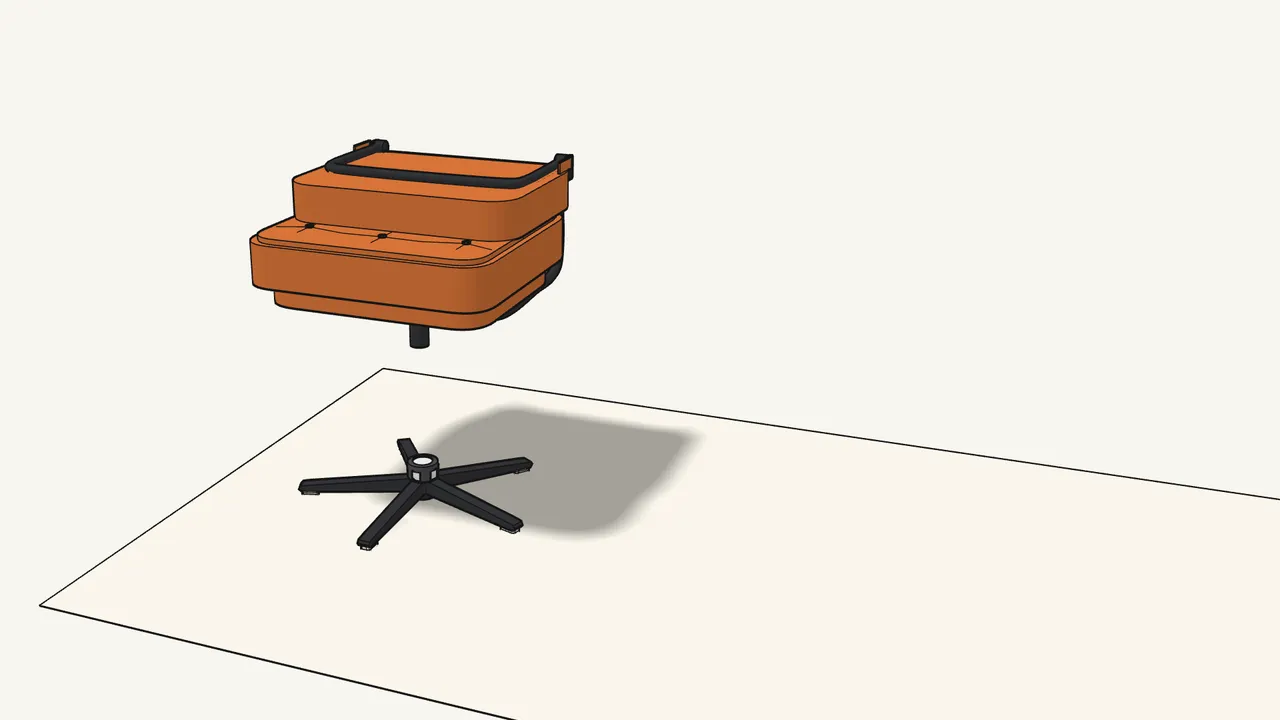
Step 3
Turn the seat over and hold it above the base.
Line the column up with the hole in the centre of the hub.
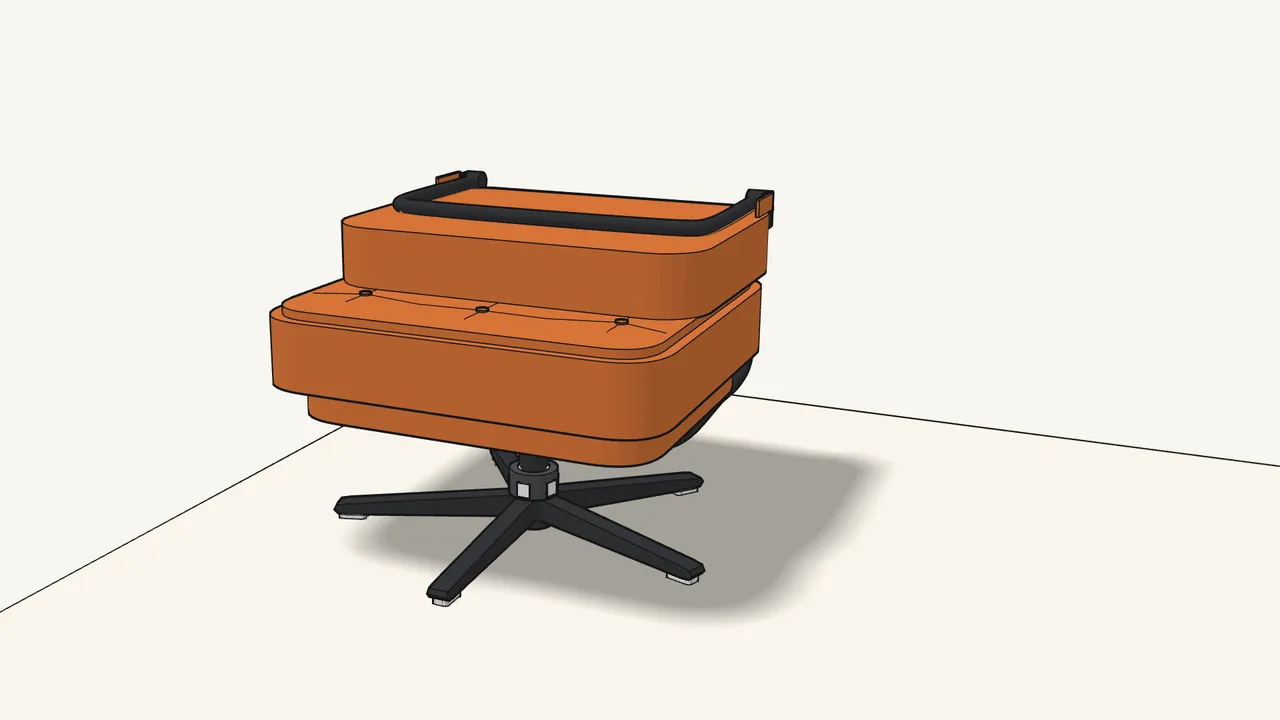
Step 4 · manual step 3
Lower the column into the base.
Push it straight down into the hole in the centre of the hub.
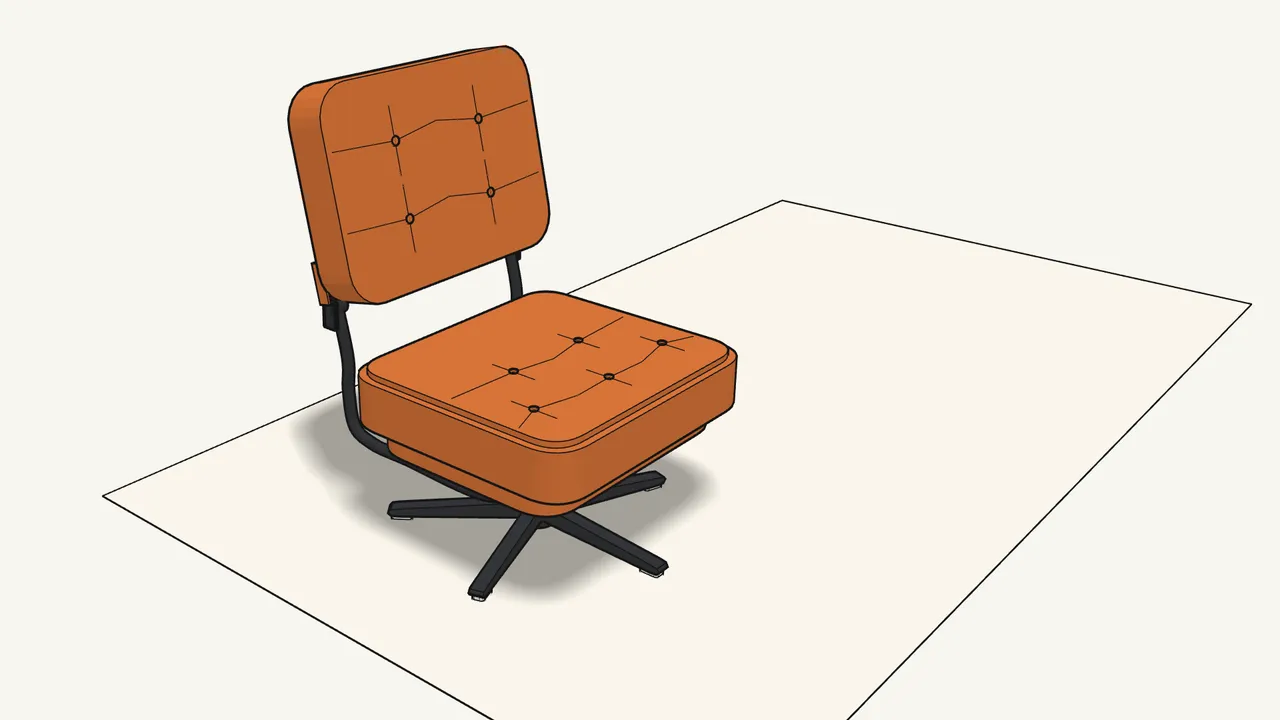
Step 5 · manual step 4
Lift the backrest up until the hinges click into place.
Check that both sides have locked (see the manual, step 4).
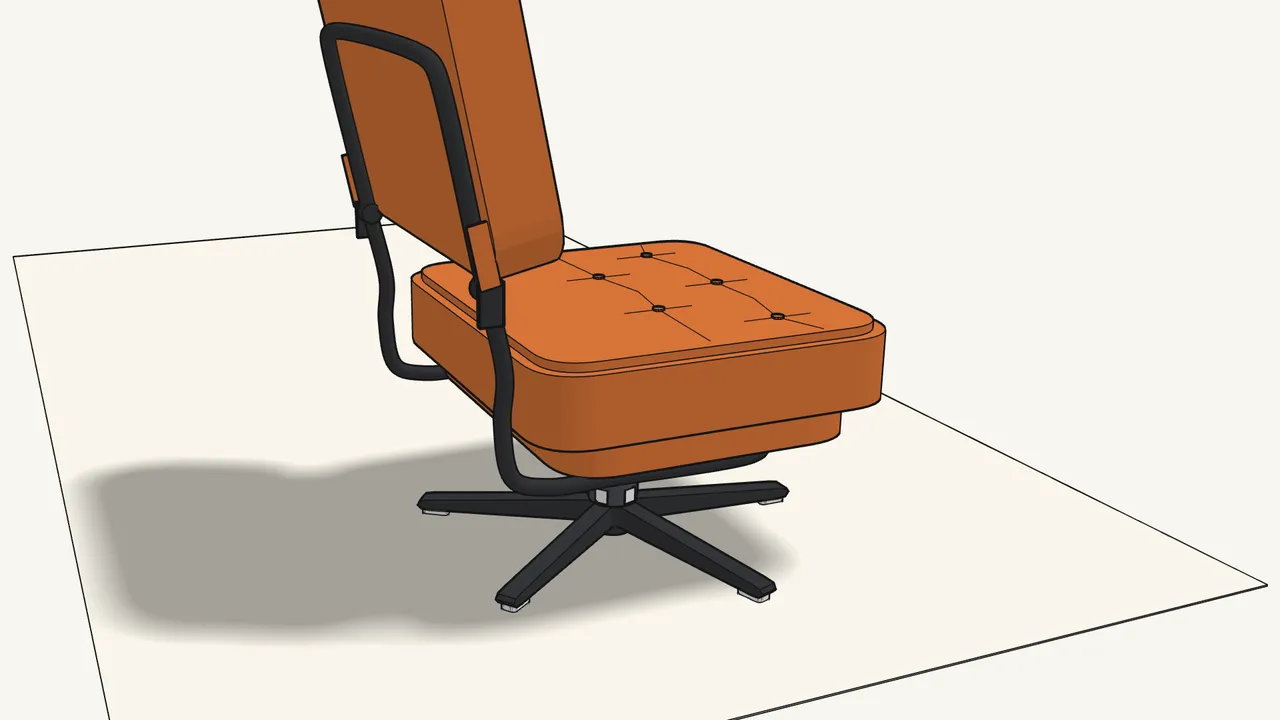
Step 6 · manual step 4
Listen for the click on each side.
The hinge locks the backrest upright.
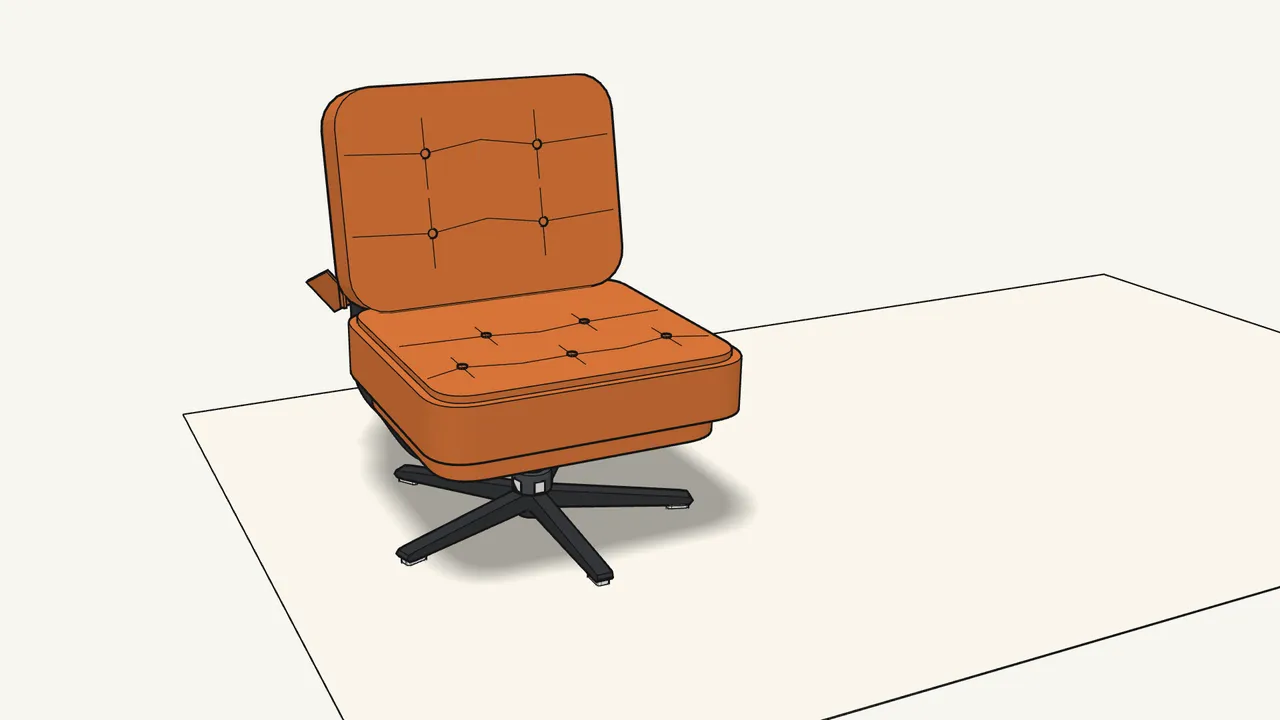
Step 7 · manual step 5
Push the backrest down as far as it goes.
It slides down the frame until it meets the seat.
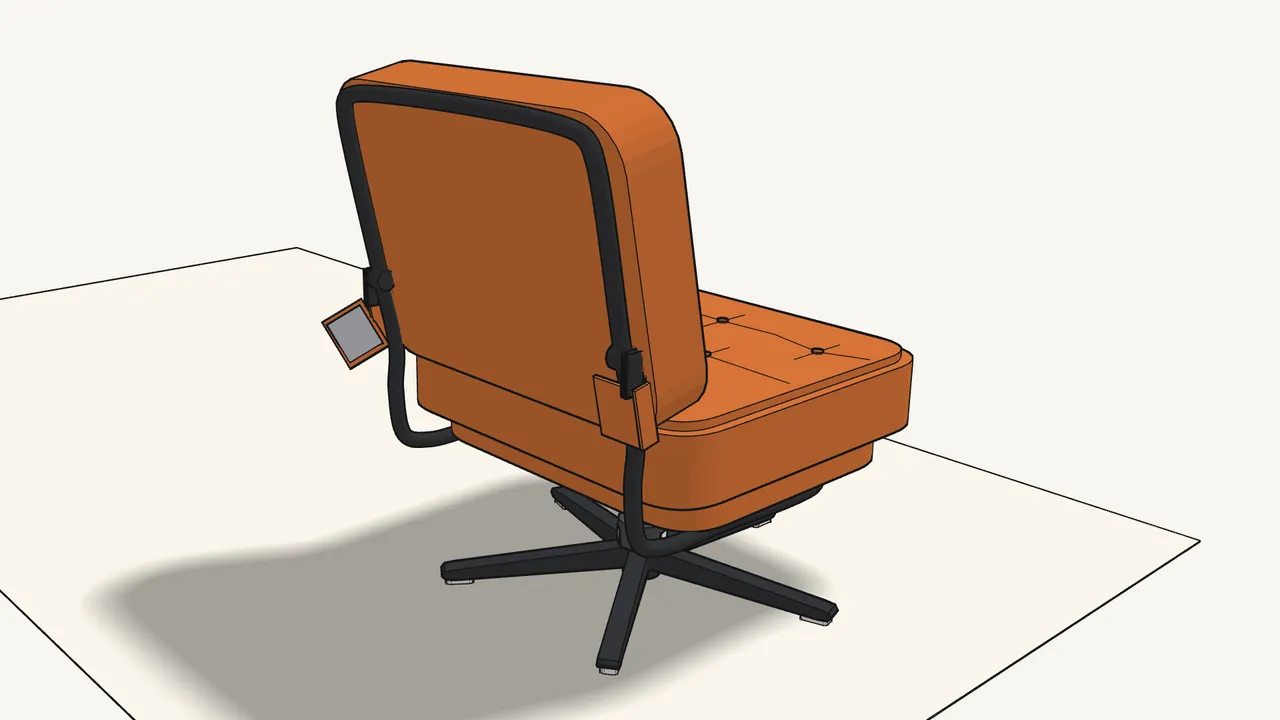
Step 8 · manual step 6
Fasten the hook-and-loop at the lower back corner.
Press the grey strips together, then fold the flap around the frame tube.
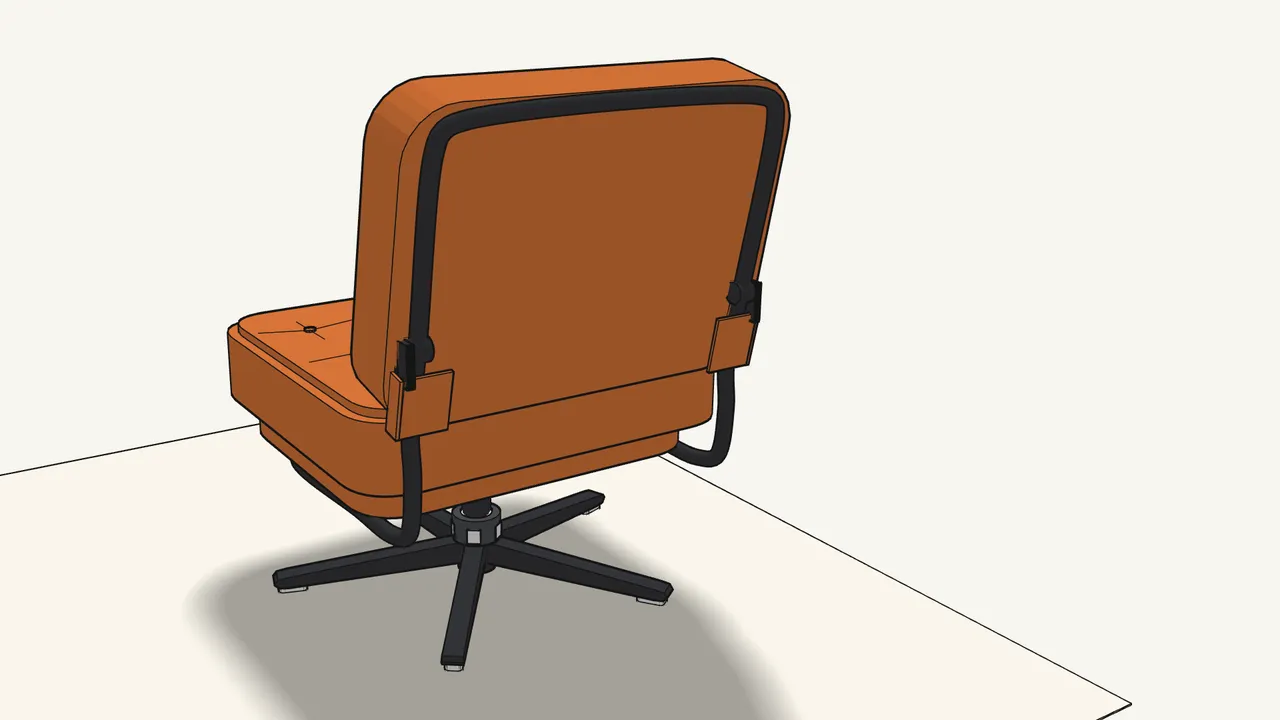
Step 9 · manual step 6
Do the same at the other corner.
The manual shows this 2× — once on each side.
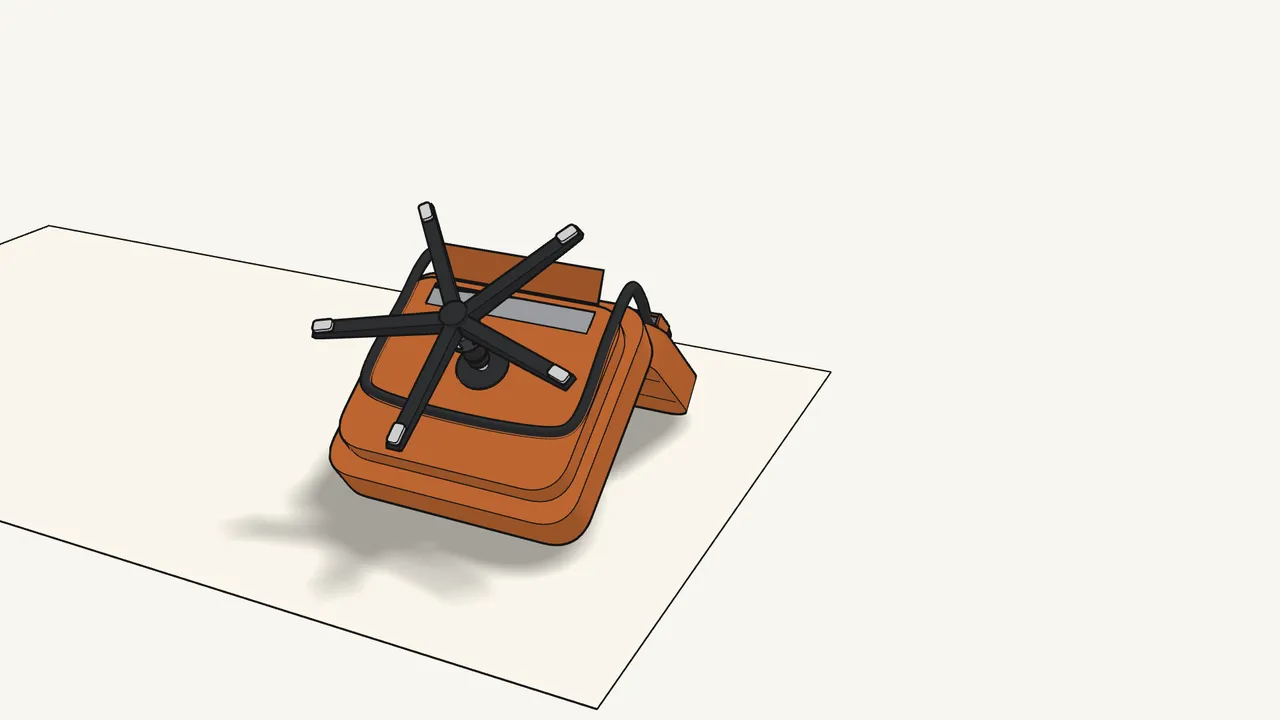
Step 10 · manual step 7
Turn the chair over.
Lay it upside down on the rug.
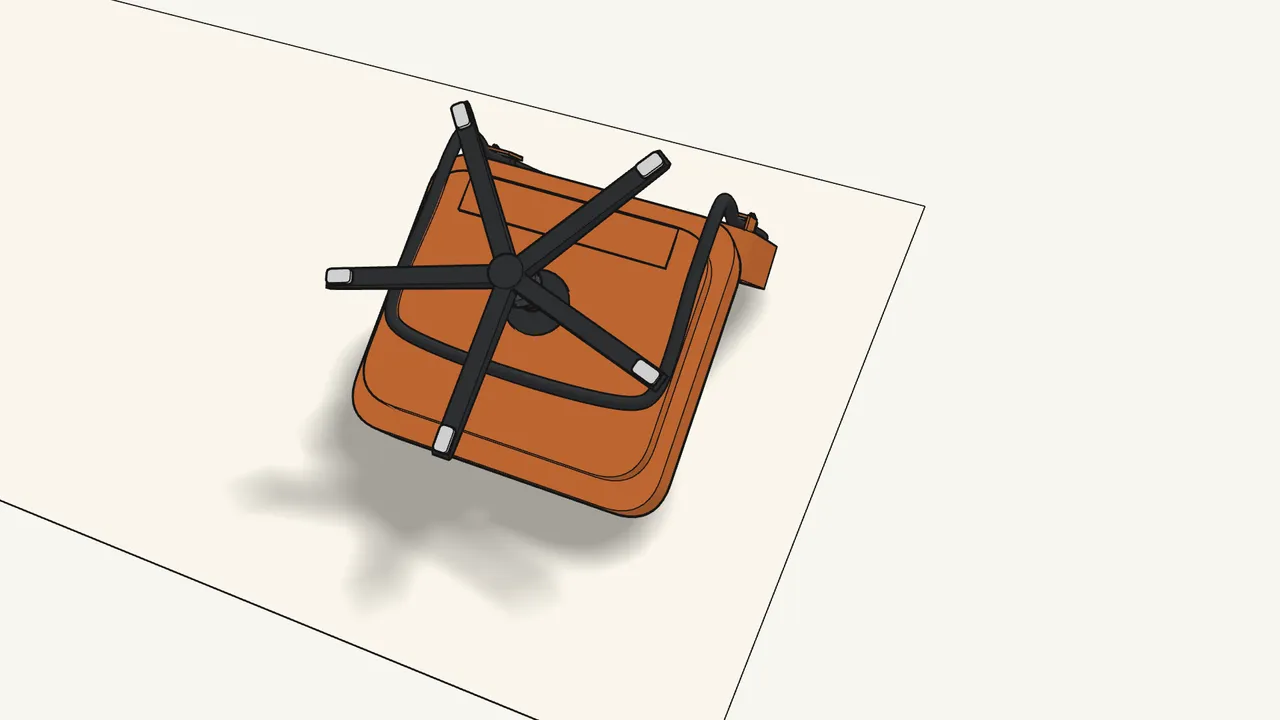
Step 11 · manual step 7
Press the fabric flap onto the strip under the seat.
Smooth it down along the whole hook-and-loop strip.
Step 12
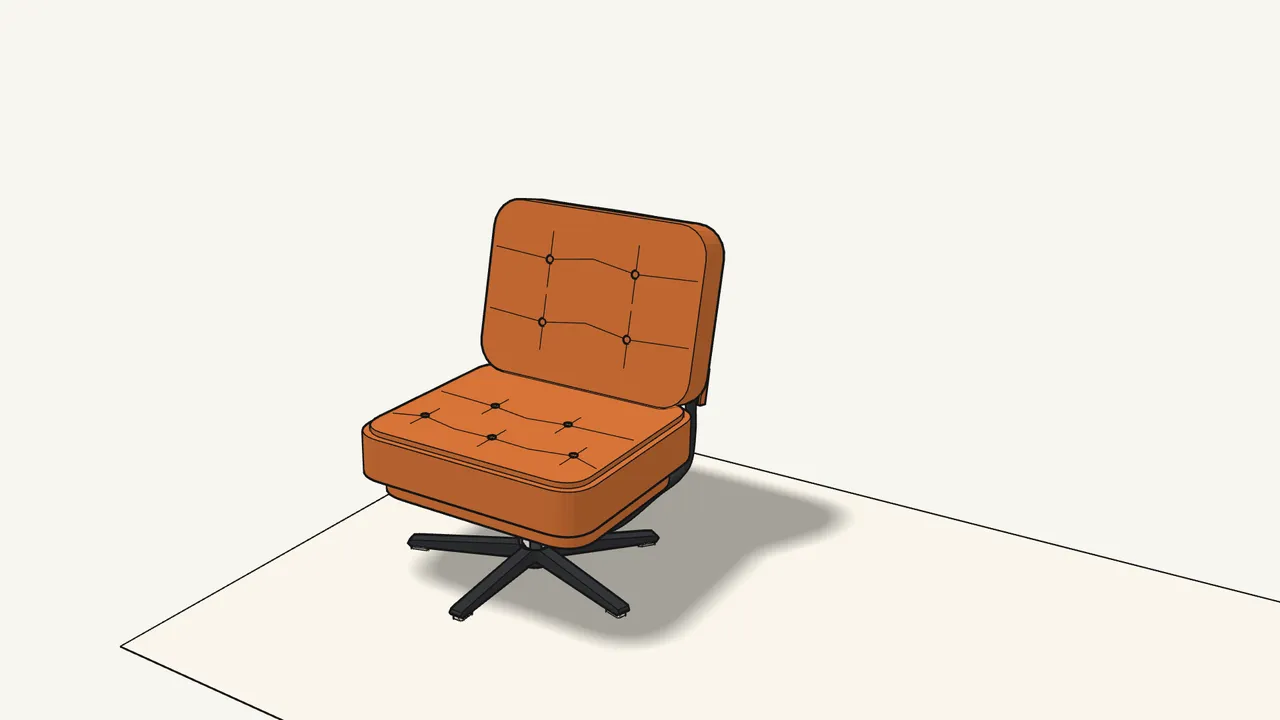
Turn the chair back onto its base.
Your DYVLINGE is ready to use.
Tips & safety
- Make sure the backrest has locked. Both hinges must click into place when you lift it (manual, step 4).
- Missing a part or not sure? The manual says: contact your IKEA store before you continue.
Official instructions
This guide follows IKEA’s official assembly instructions (AA-2396226-1). Keep the printed manual to hand — if anything differs, the manual is right.