IKEA · Chairs & Stools
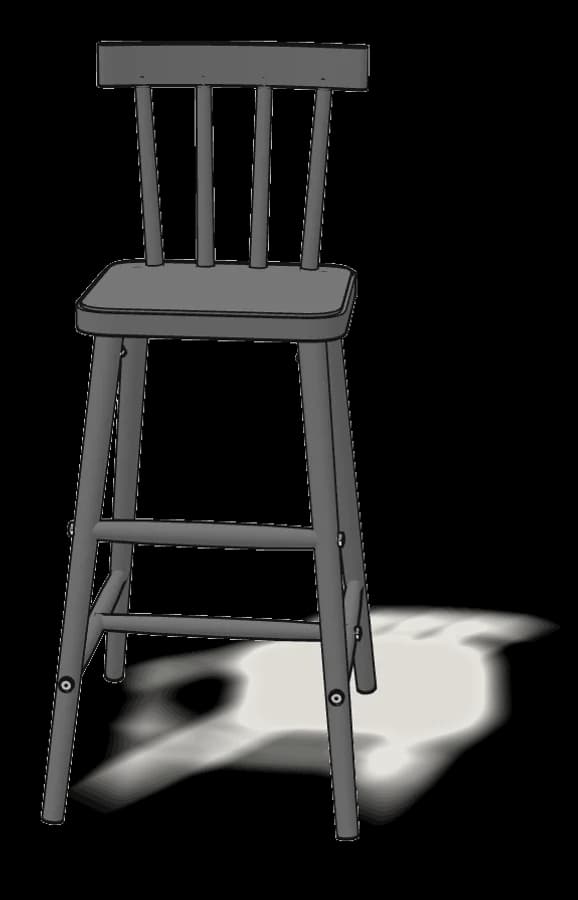
How to assemble IKEA AGAM Junior Chair
Step-by-step IKEA AGAM Junior Chair assembly: 16 illustrated steps, an animated video, the hardware list and the tools you need — following the official instructions (AA-183046-9).
- 16 illustrated steps
- 11 steps in the manual
- 2:28 video
- 39×47×90 cm
What you need
Tools
- Hammer
- Allen key (included)
You’ll need a hammer. The Allen key is included.
Hardware in the box
| Part no. (as printed in the manual) | Qty |
|---|---|
| 106553 | 16× |
Step-by-step assembly
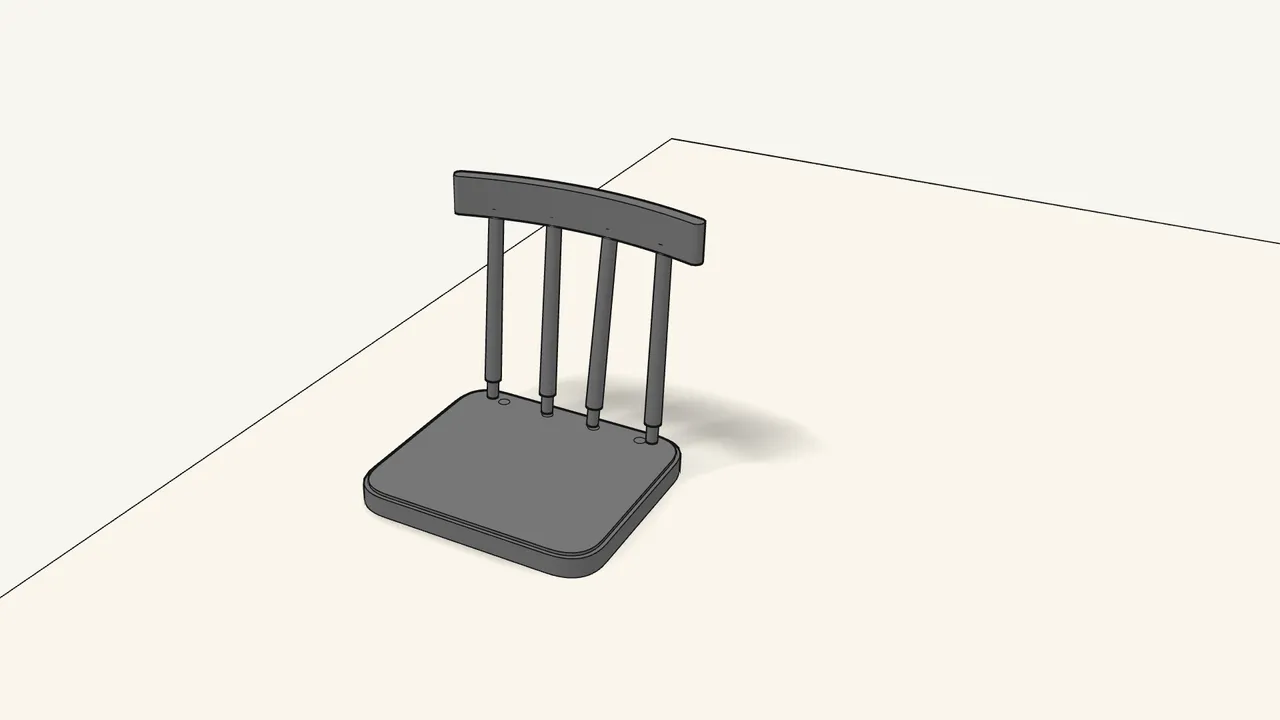
Step 1
Set the backrest on the seat: middle spindles into the middle holes.
Check which way the backrest faces — see the manual, step 1.
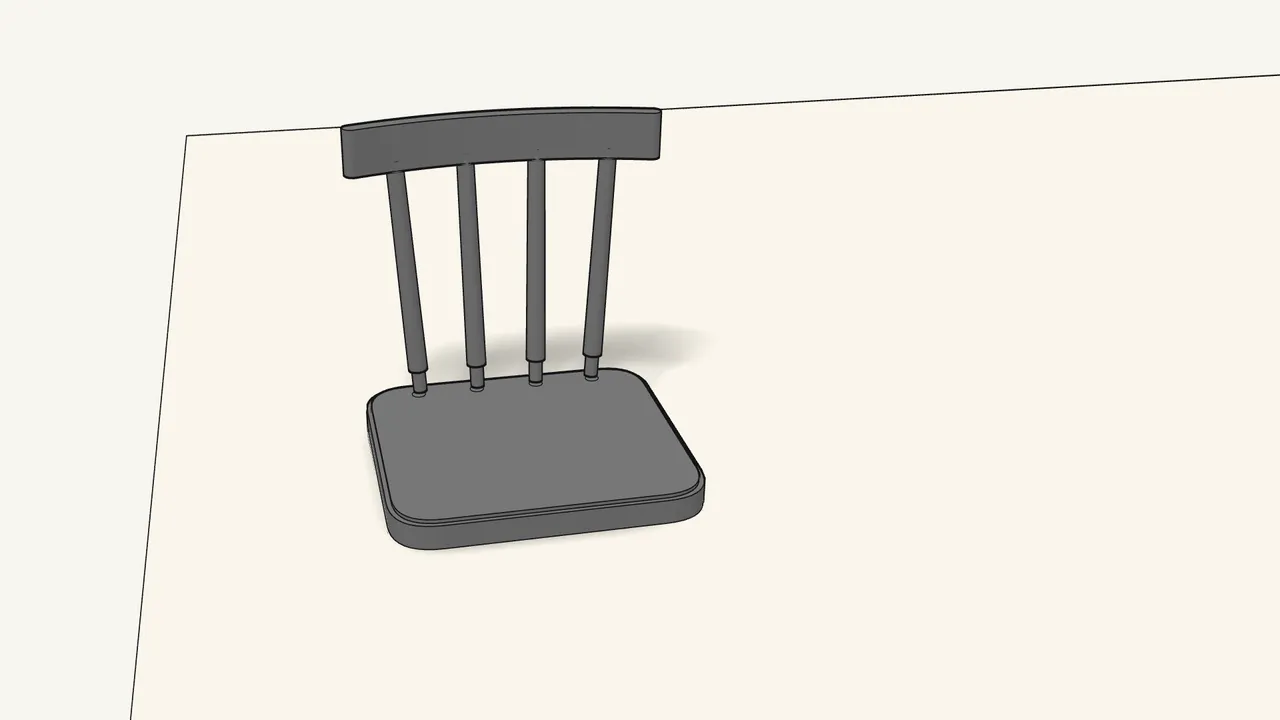
Step 2
Guide the 2 outer spindles into the outer holes.
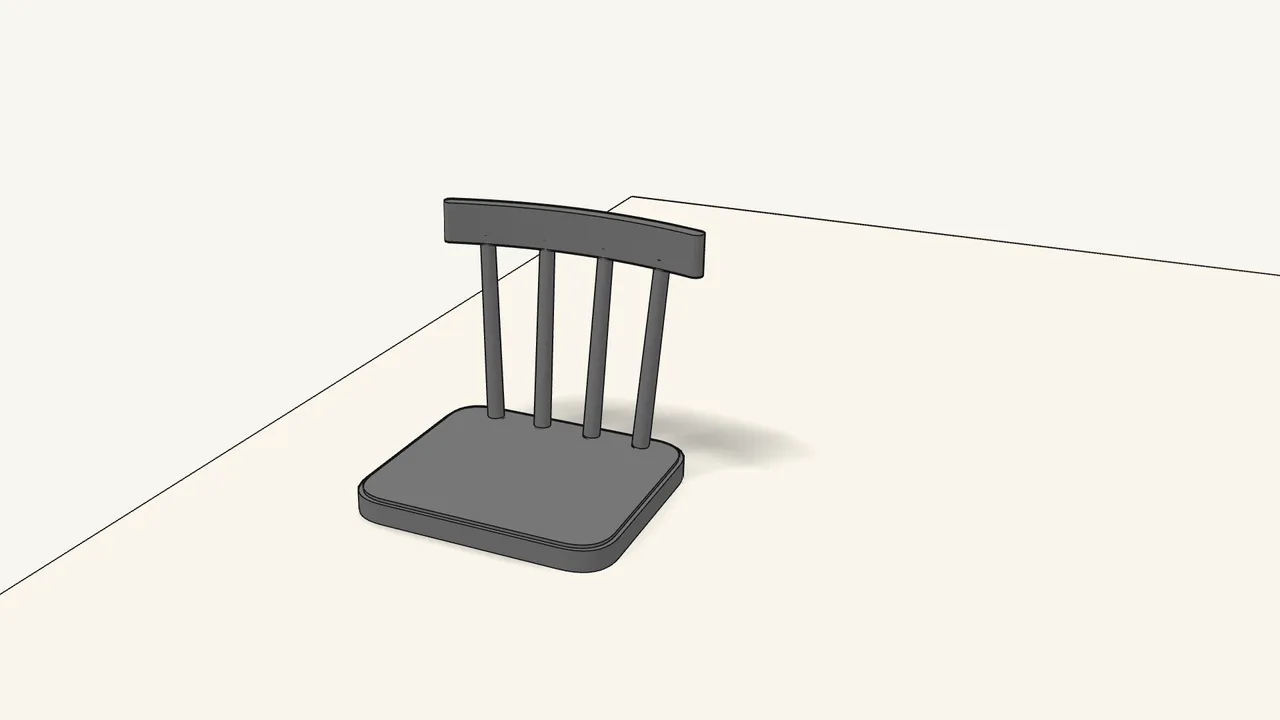
Step 3
Press the backrest down with both hands.
All 4 spindles go fully into the seat.
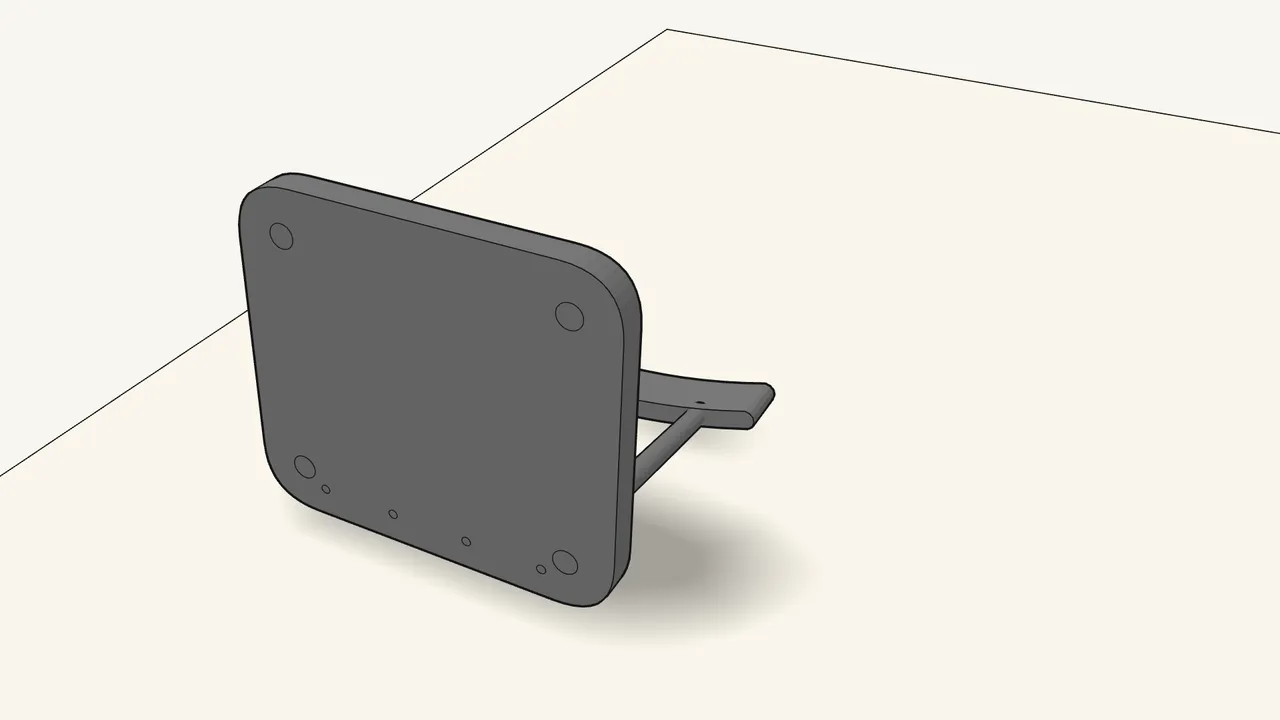
Step 4
Lay the seat on its back, underside up.
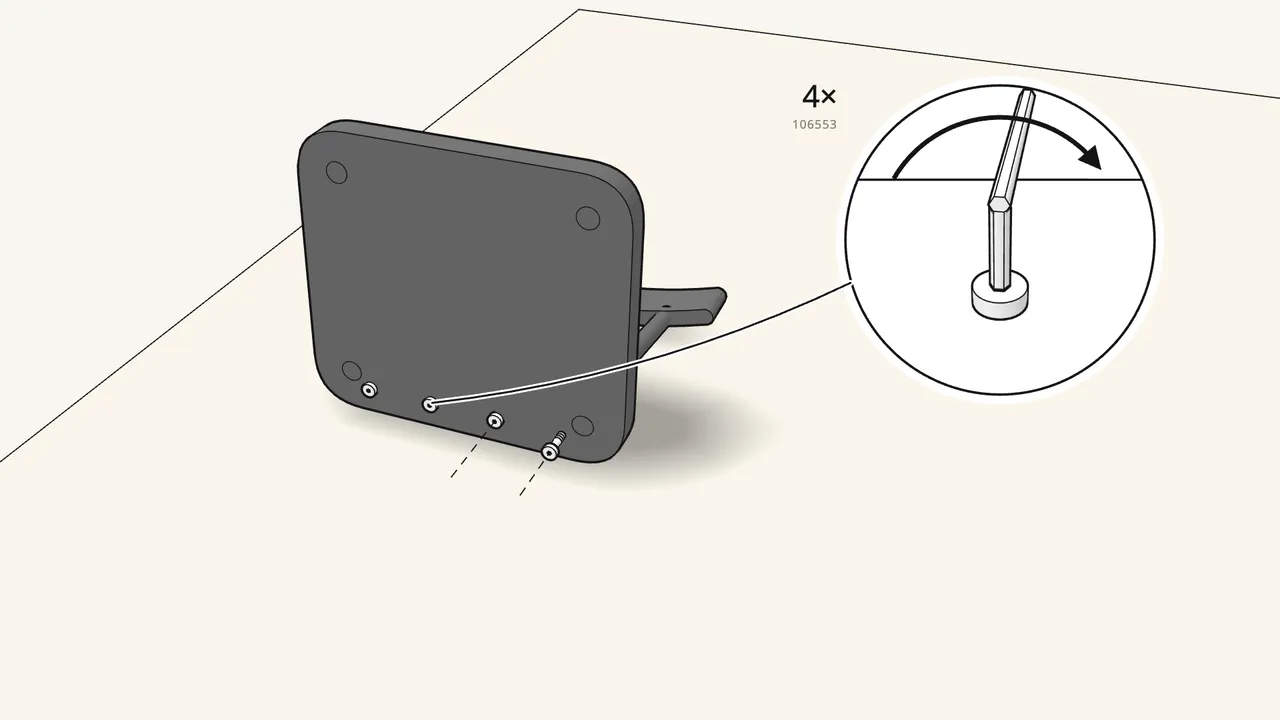
Step 5 · manual step 4
Screw the backrest to the seat with 4 screws (106553).
Use the Allen key in its handle.
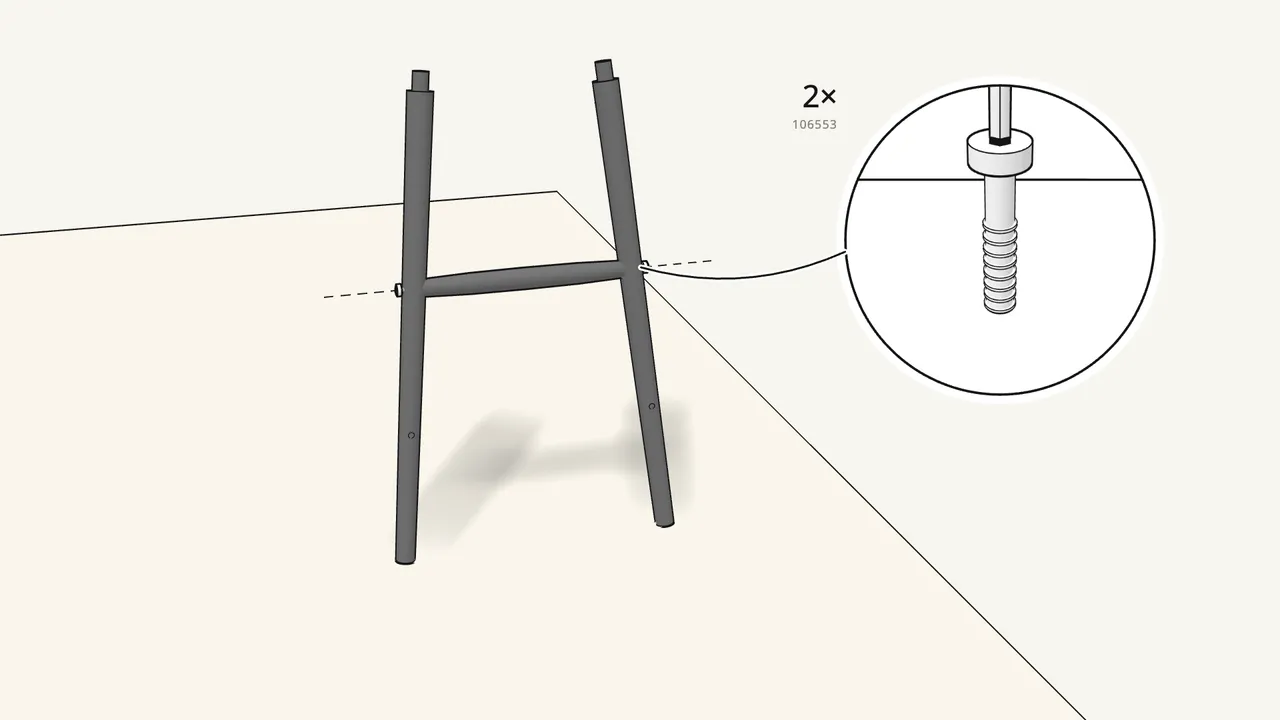
Step 6 · manual step 5
Join 2 legs with the footrest rail — 2 screws.
Pick the legs and rail shown in the manual, step 5.
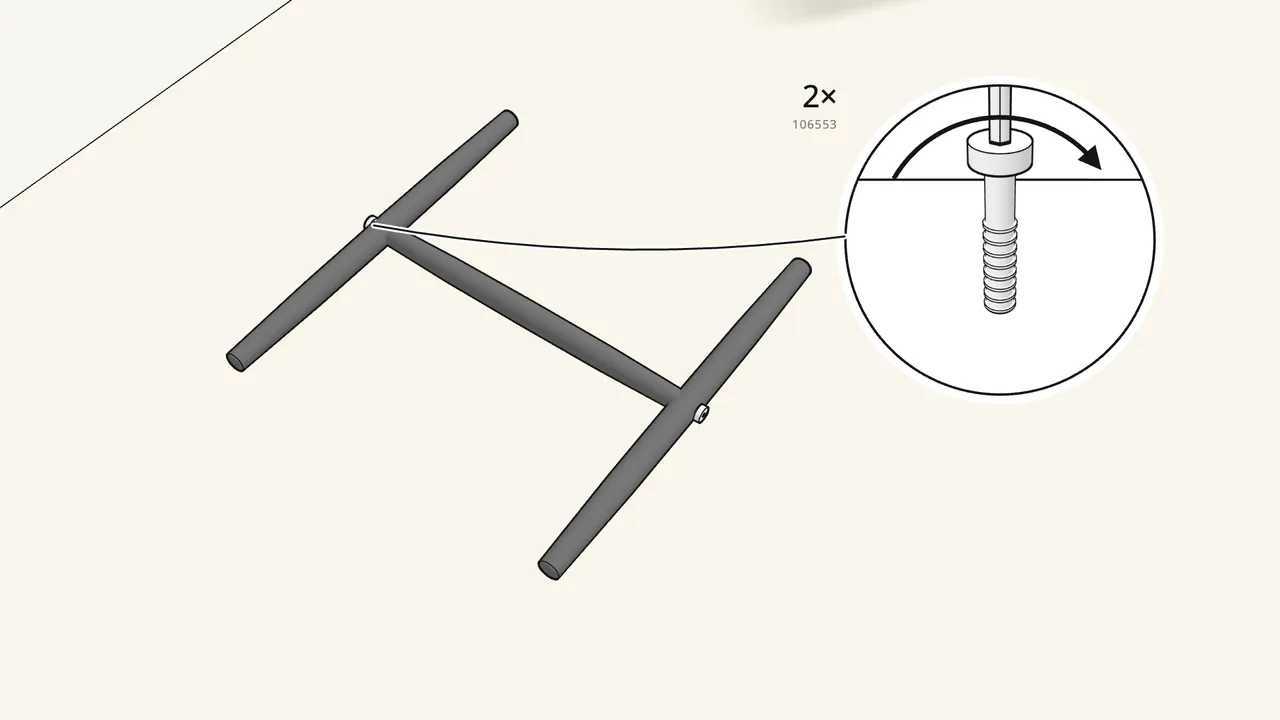
Step 7 · manual step 6
Build the H-frame: middle rail between the 2 side rails.
1 screw through the middle of each side rail.
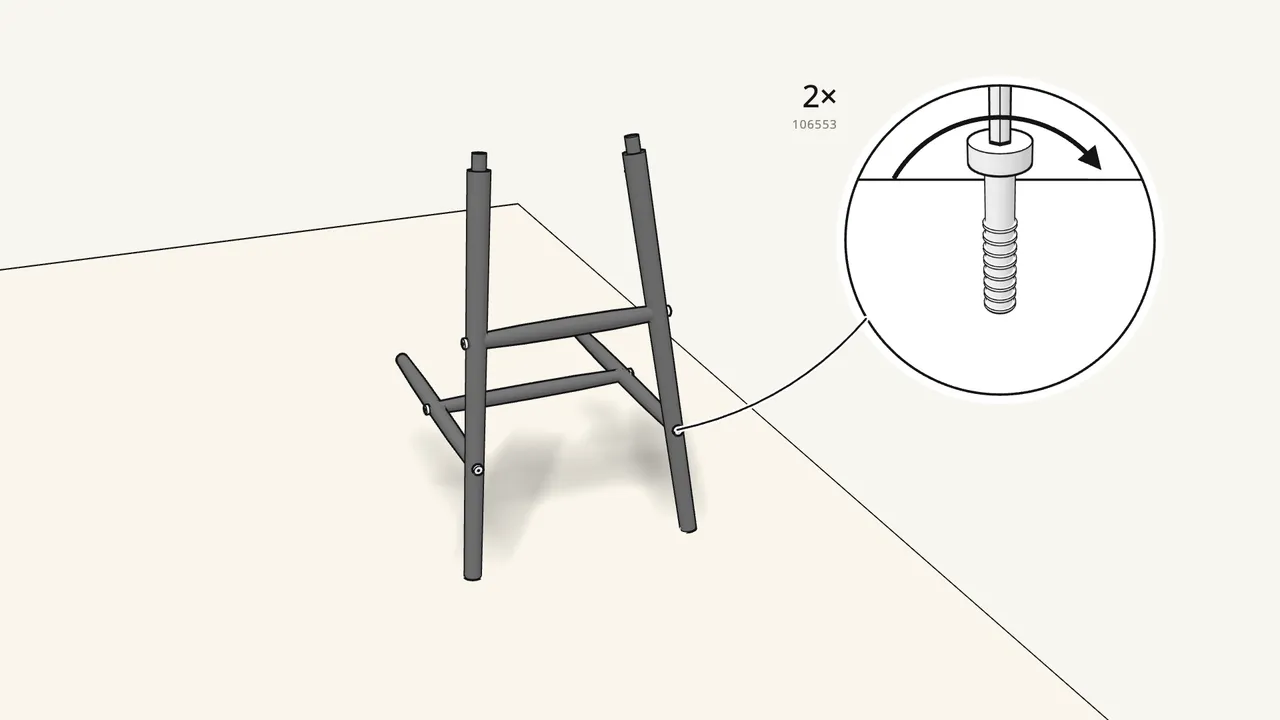
Step 8 · manual step 7
Fit the H-frame to the 2 legs — 2 screws.
The side rails go into the lower holes in the legs.
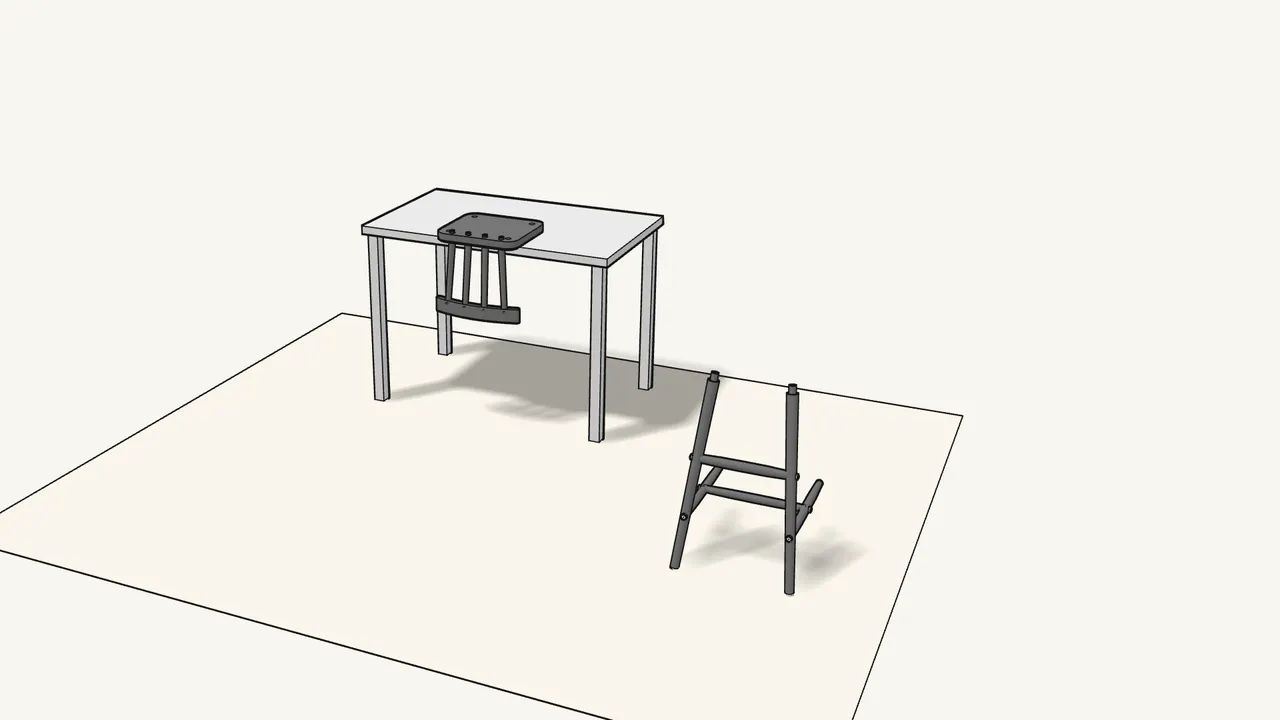
Step 9 · manual step 8
Lay the seat upside down on a table.
The backrest hangs down over the edge.
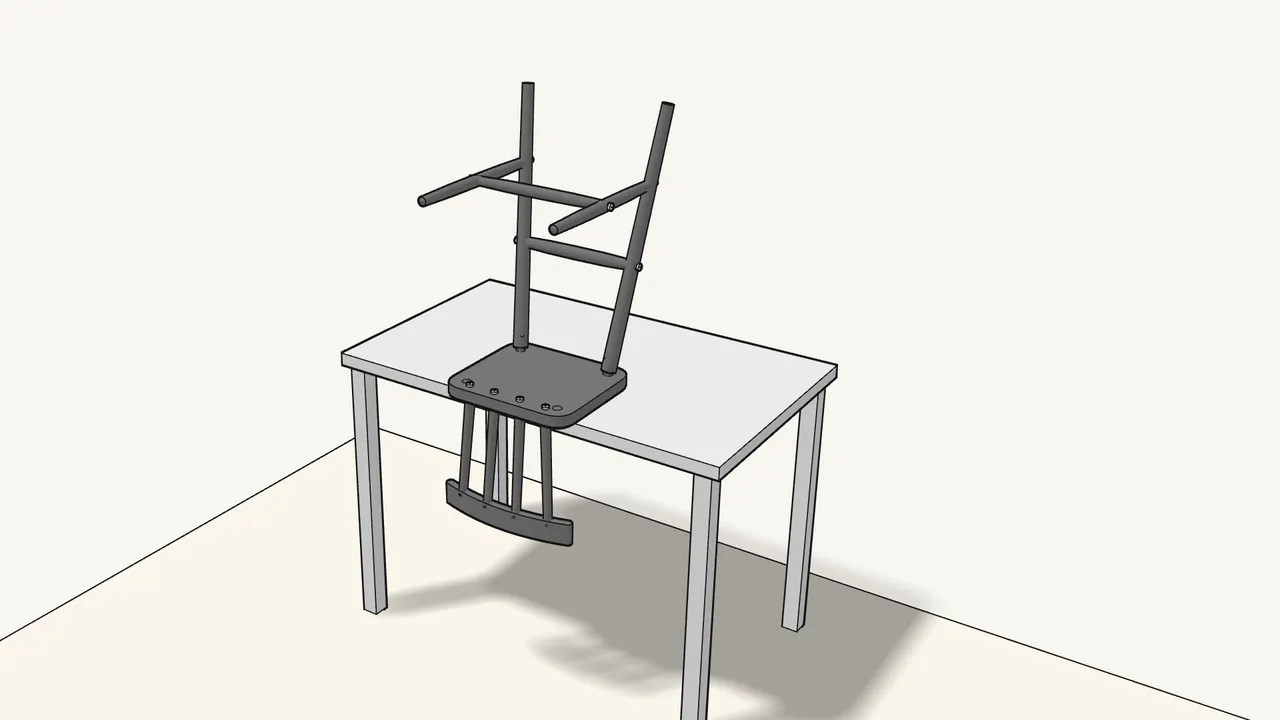
Step 10 · manual step 8
Turn the leg frame over and set it into the seat.
The 2 legs go into the 2 front holes.
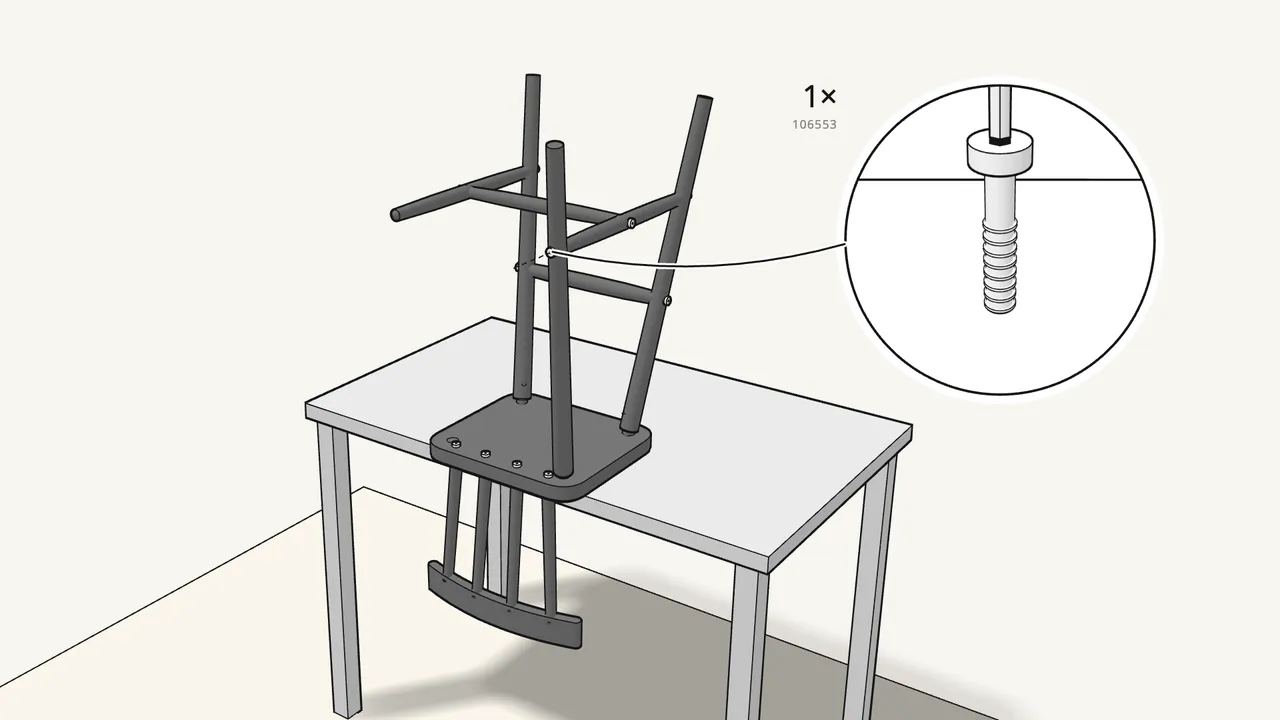
Step 11 · manual step 8
Add a back leg and fix it to the side rail with 1 screw.
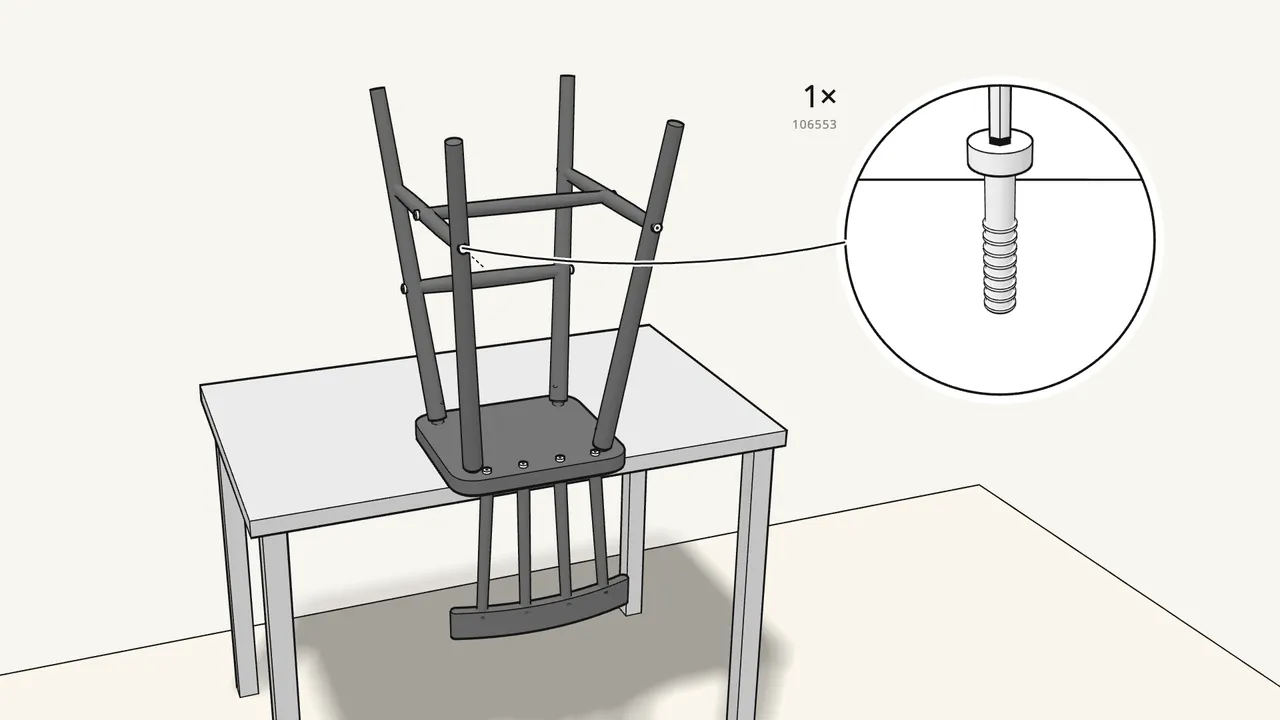
Step 12 · manual step 9
Add the last leg the same way — 1 screw.
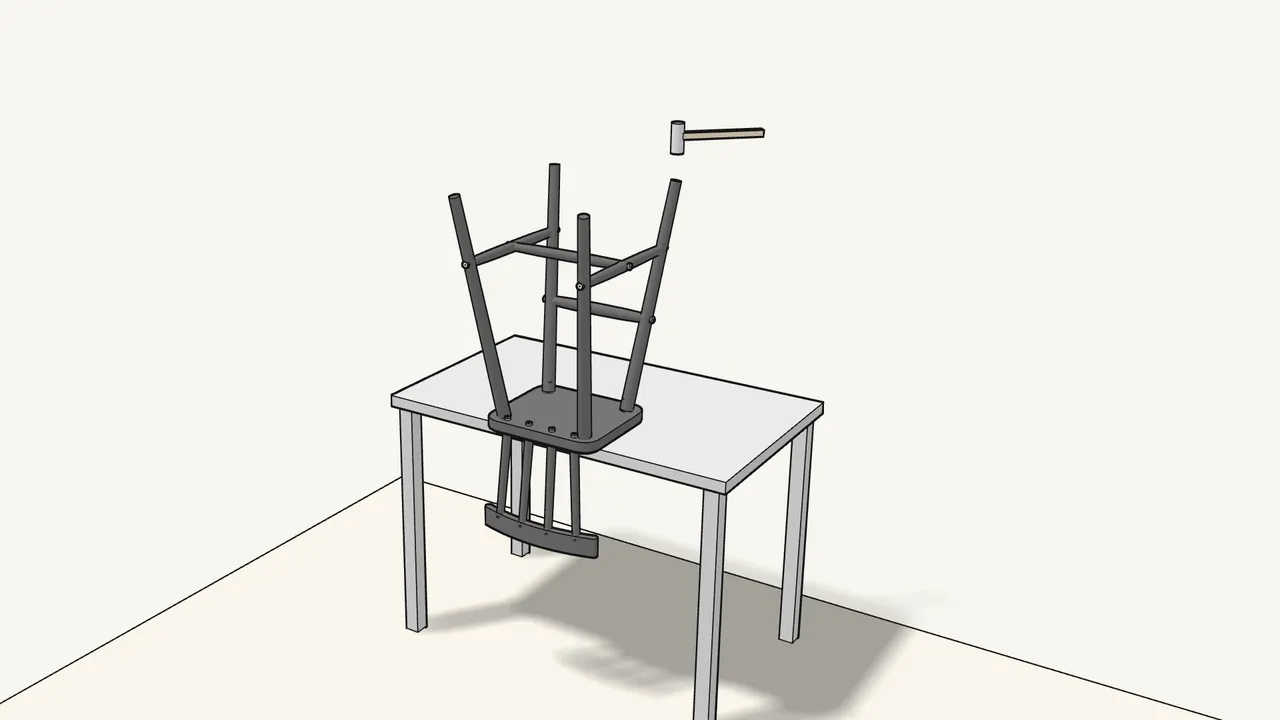
Step 13 · manual step 10
Tap the legs fully into the seat with a hammer.
No gap may be left between the legs and the seat.
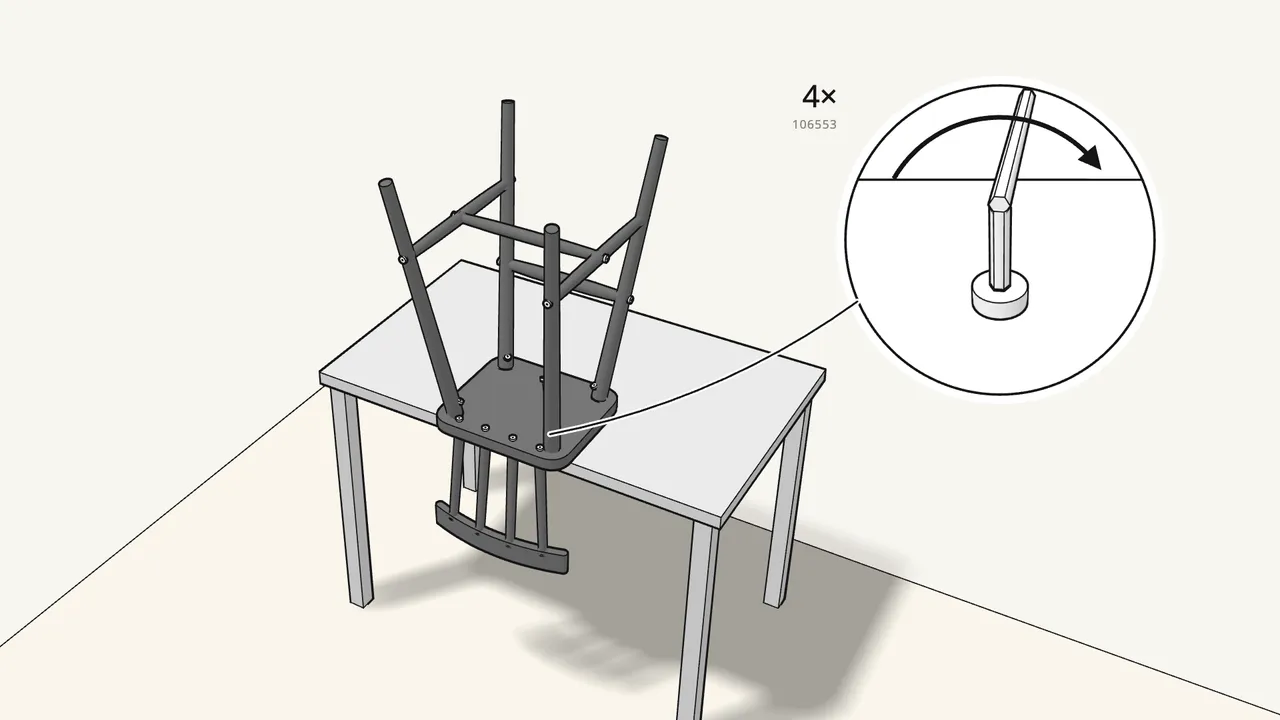
Step 14 · manual step 10
Fix each leg to the seat with 1 screw — 4 in all.
The screw goes in at the top of the leg, by the seat.
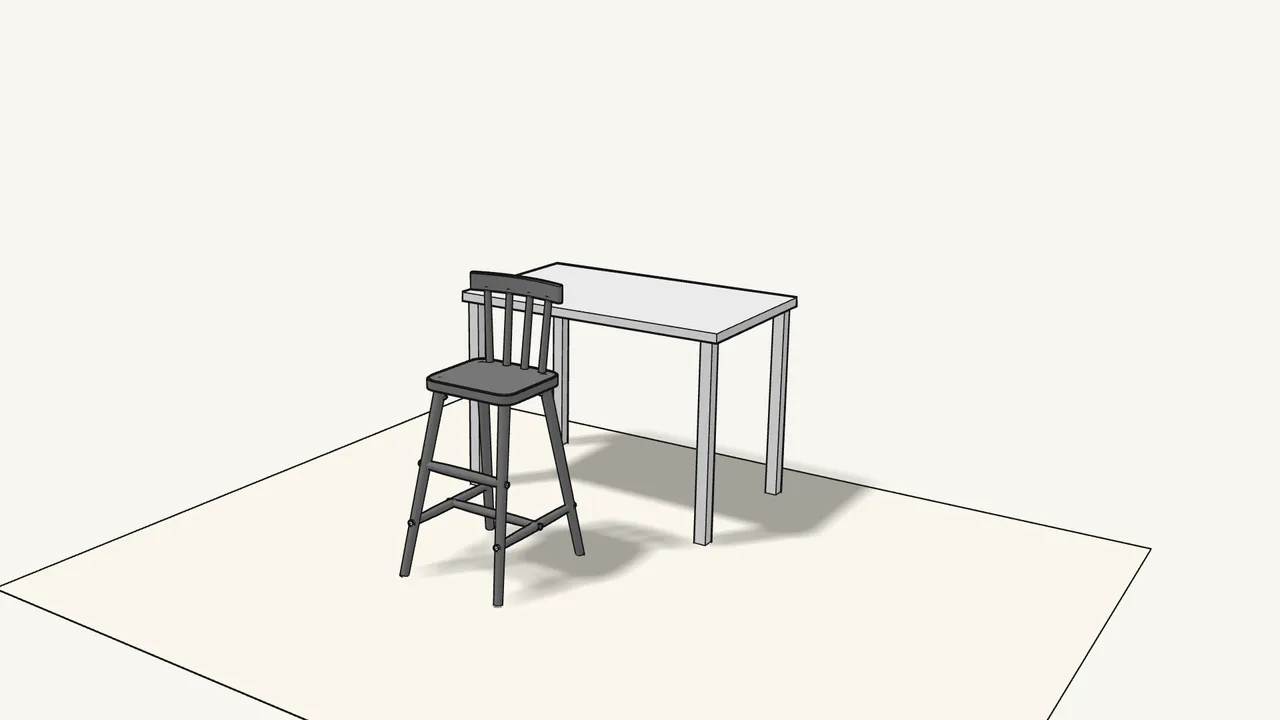
Step 15 · manual step 11
Turn the chair upright.
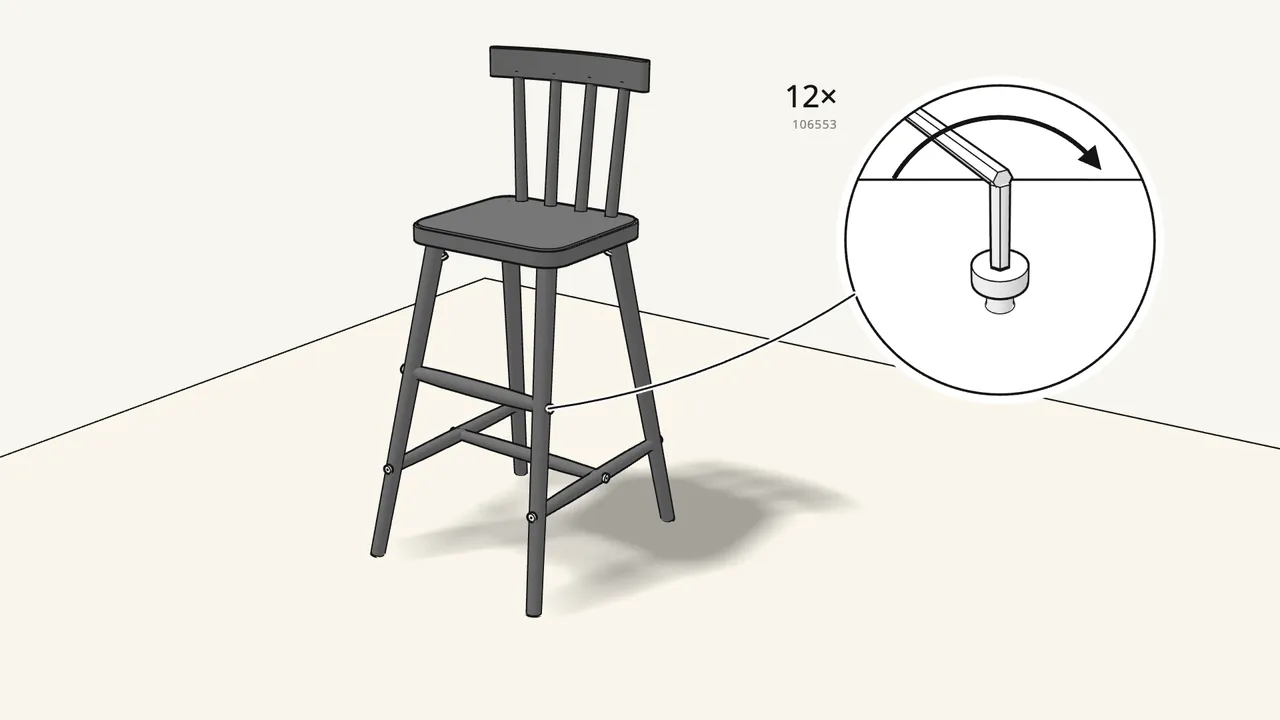
Step 16 · manual step 11
Press down on the seat and tighten all 12 screws again.
Use the Allen key in its handle.
Tips & safety
- Use the handle on the Allen key. Slide the Allen key (100092) into the handle (121030) for a better grip — manual, page 2.
- Work on a soft surface. The manual shows the seat on a rug, and on a table to fit the legs.
- Missing a part or unsure? The manual says: contact your IKEA store for help.
Official instructions
This guide follows IKEA’s official assembly instructions (AA-183046-9). Keep the printed manual to hand — if anything differs, the manual is right.