IKEA · Carts & Clothes Racks
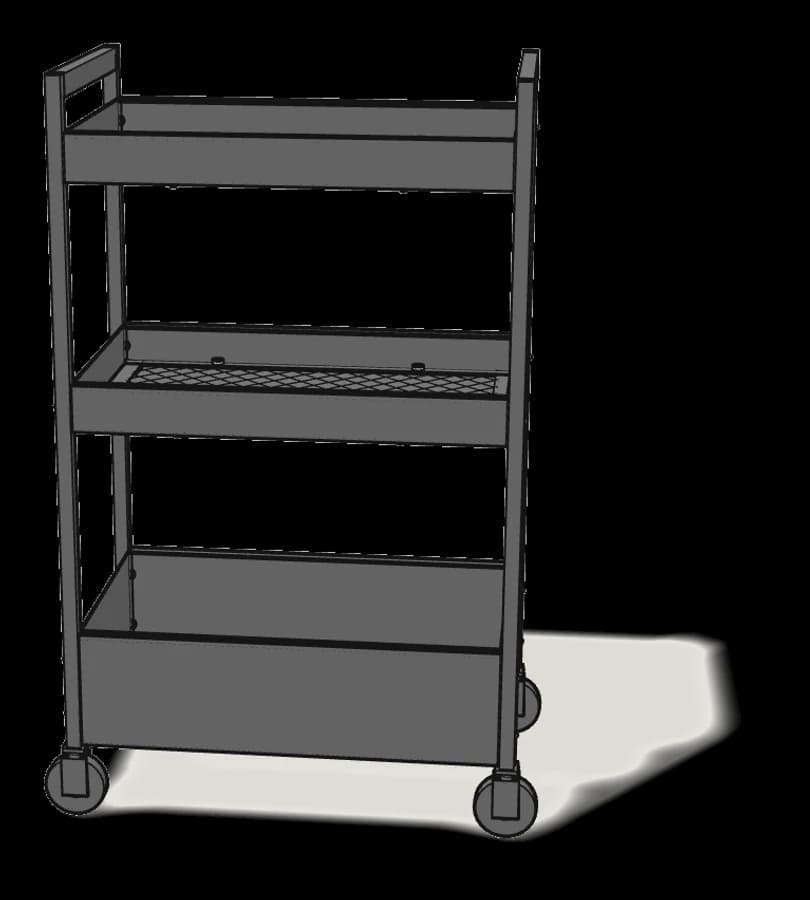
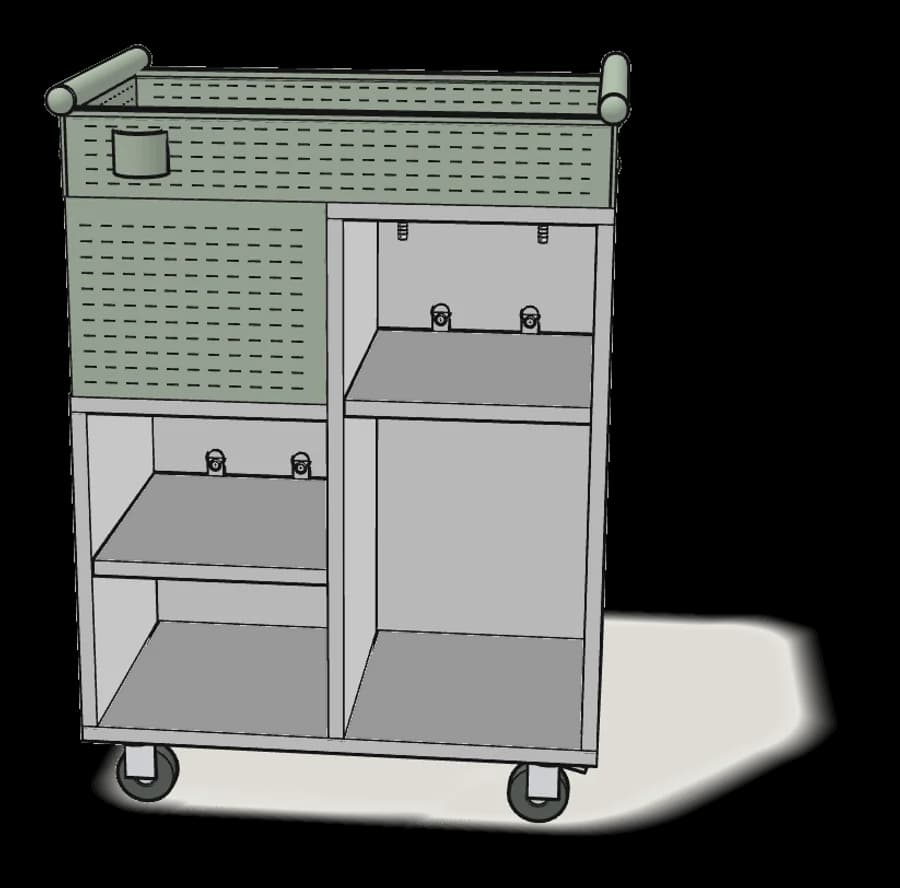
How to assemble IKEA ÖVNING Utility Cart
Step-by-step IKEA ÖVNING Utility Cart assembly: 24 illustrated steps, an animated video, the hardware list and the tools you need — following the official instructions (AA-2330633-2).
- 24 illustrated steps
- 26 steps in the manual
- 3:22 video
- 54×33×76 cm (height estimated from manual cover proportions) cm
What you need
Tools
- Phillips screwdriver
- Allen key (included)
Hardware in the box
| Part no. (as printed in the manual) | Qty |
|---|---|
| 100224 | 14× |
| 101345 | 22× |
| 119985 | 4× |
| 101558 | 8× |
| 101076 | 2× |
| 146113 | 16× |
| 155753 | 4× |
| 193680 | 4× |
Step-by-step assembly
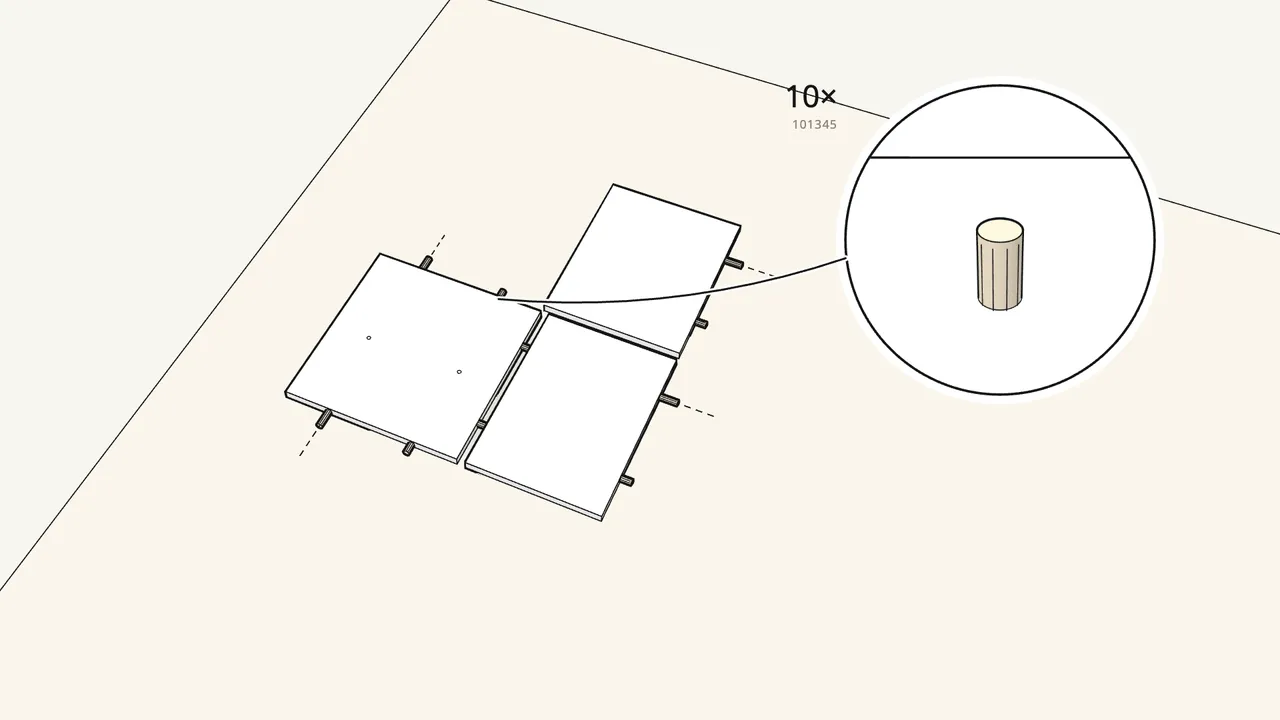
Step 1
Push 10 dowels (101345) into the 3 panels of the low section.
This video builds the mesh-left version. Mirrored build: manual pages 18–31.
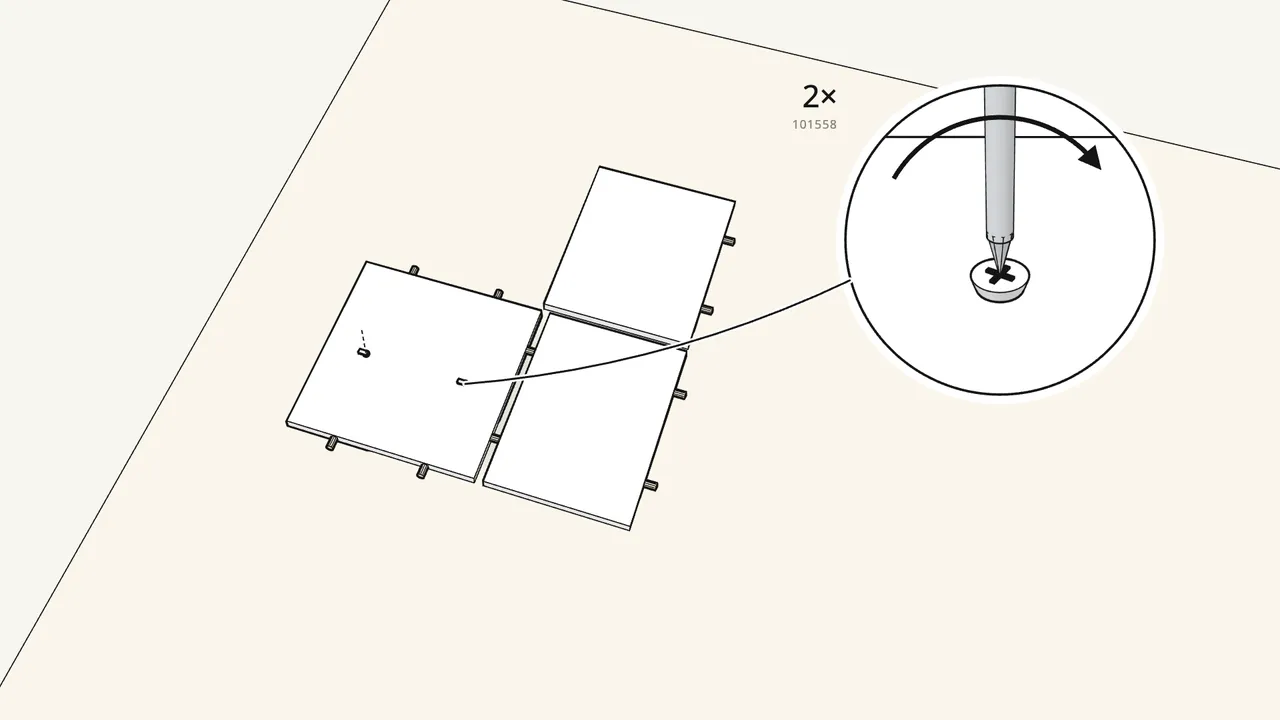
Step 2
Screw 2 shelf supports (101558) into the side panel.
Use the Phillips screwdriver.
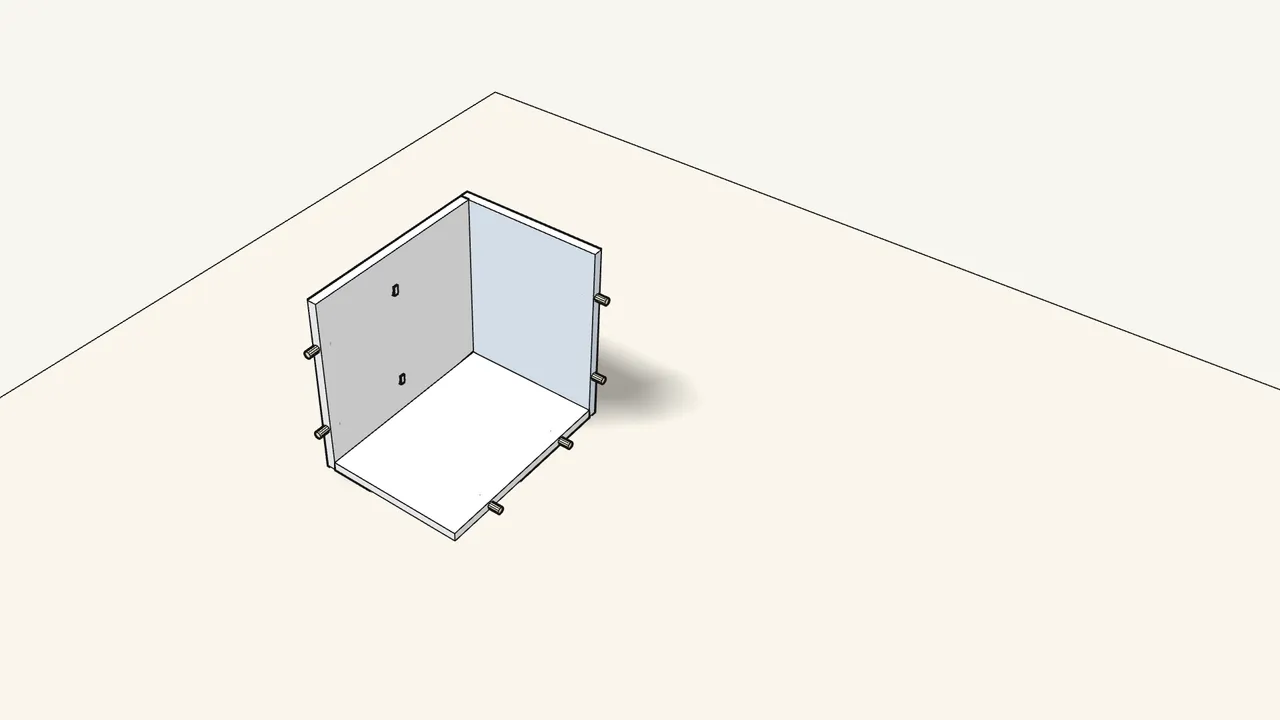
Step 3 · manual step 3–4
Stand the side and the mid panel up on the back panel.
Dowels into the holes. Check the hole pattern in the manual, step 3.
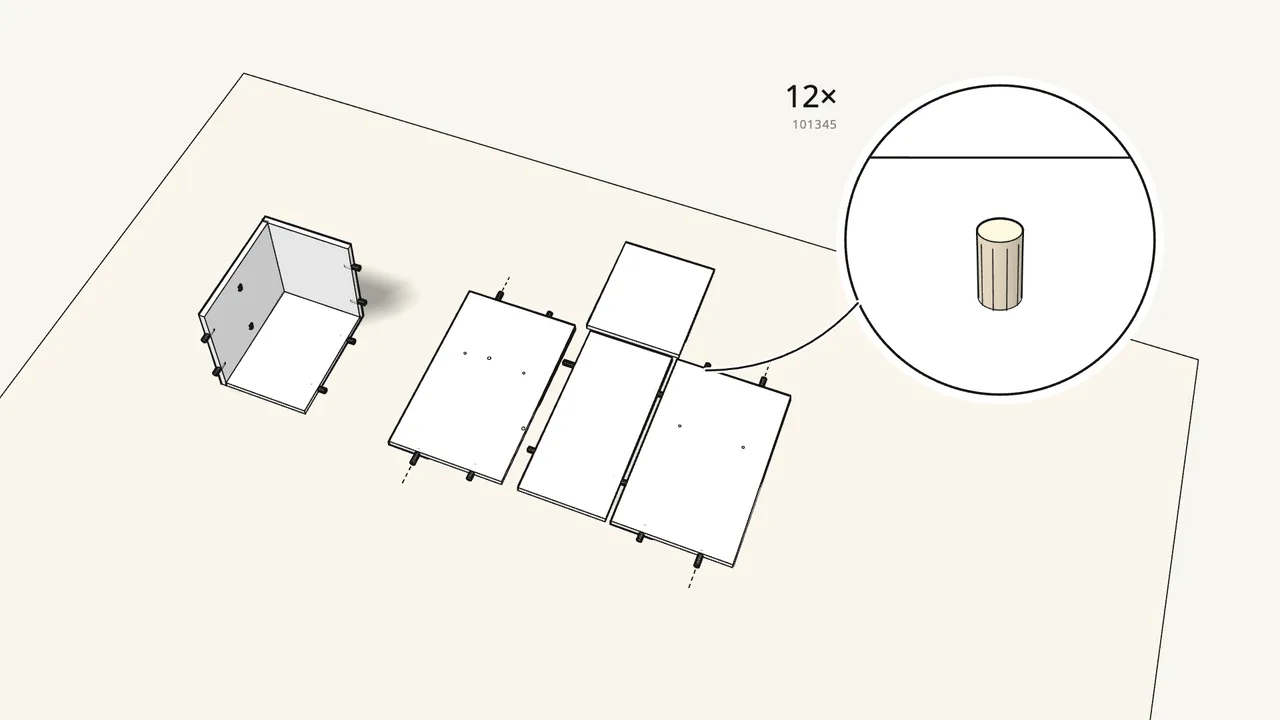
Step 4 · manual step 5
Push 12 dowels into the 4 panels of the tall section.
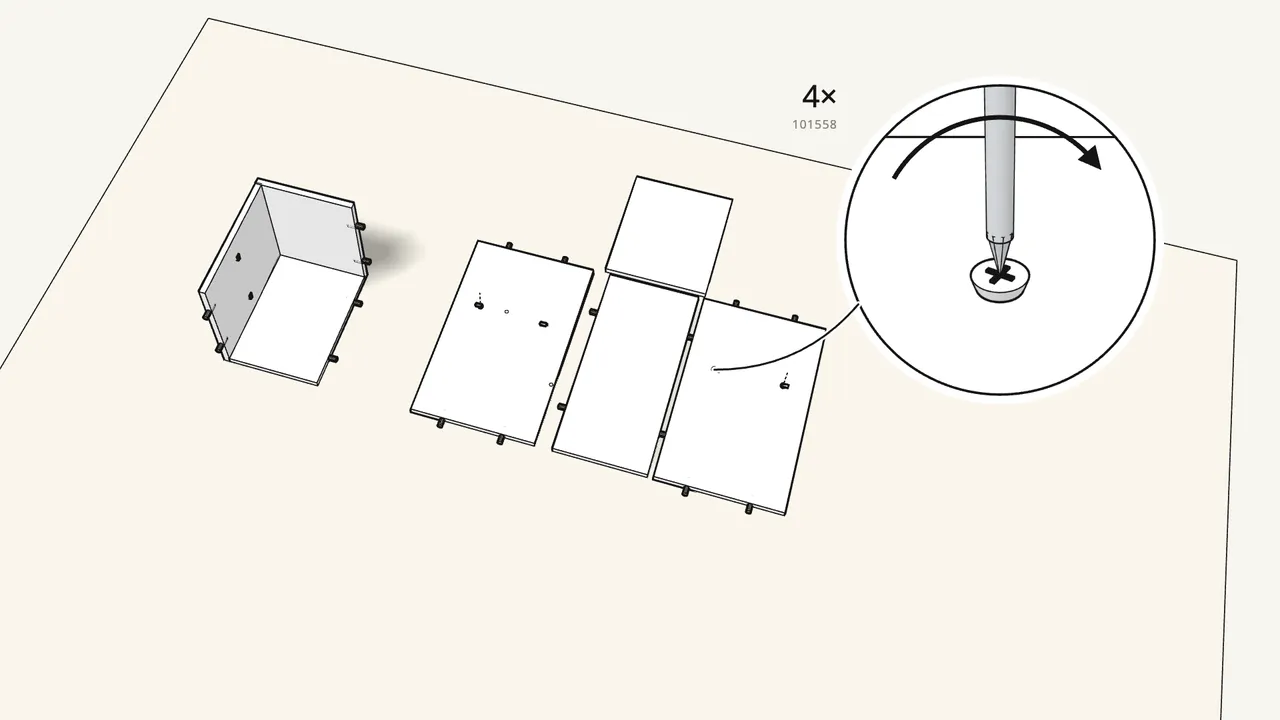
Step 5 · manual step 6
Screw 4 shelf supports (101558) into the divider and the side.
Two in each.
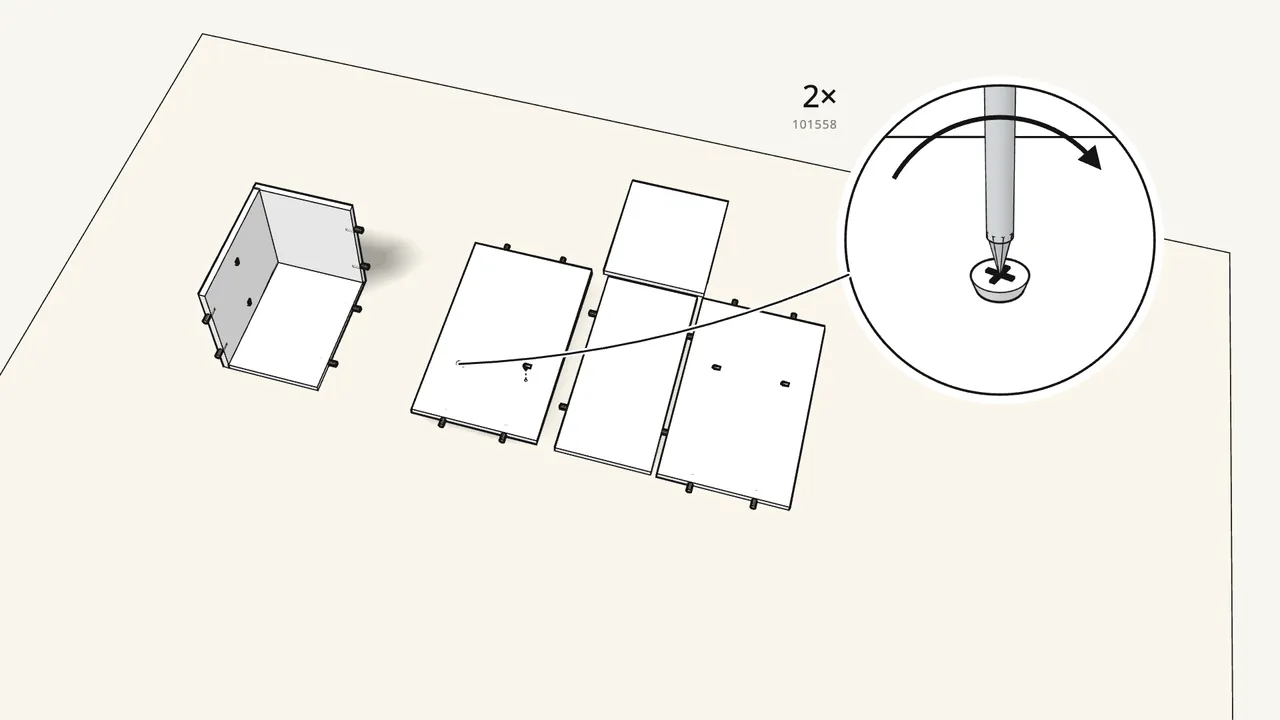
Step 6 · manual step 7
Turn the divider over and screw in 2 more supports.
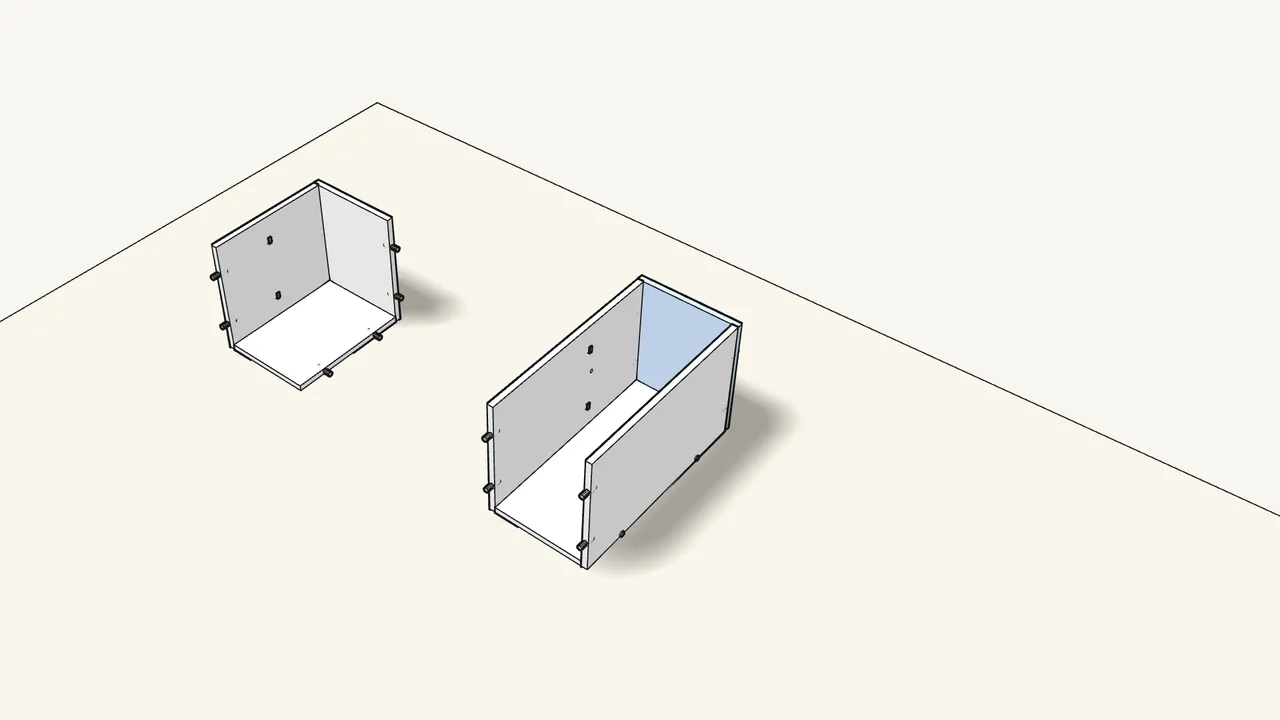
Step 7 · manual step 8–10
Stand the divider and the side up on the back, then fit the top.
All dowels into the holes along the edges.
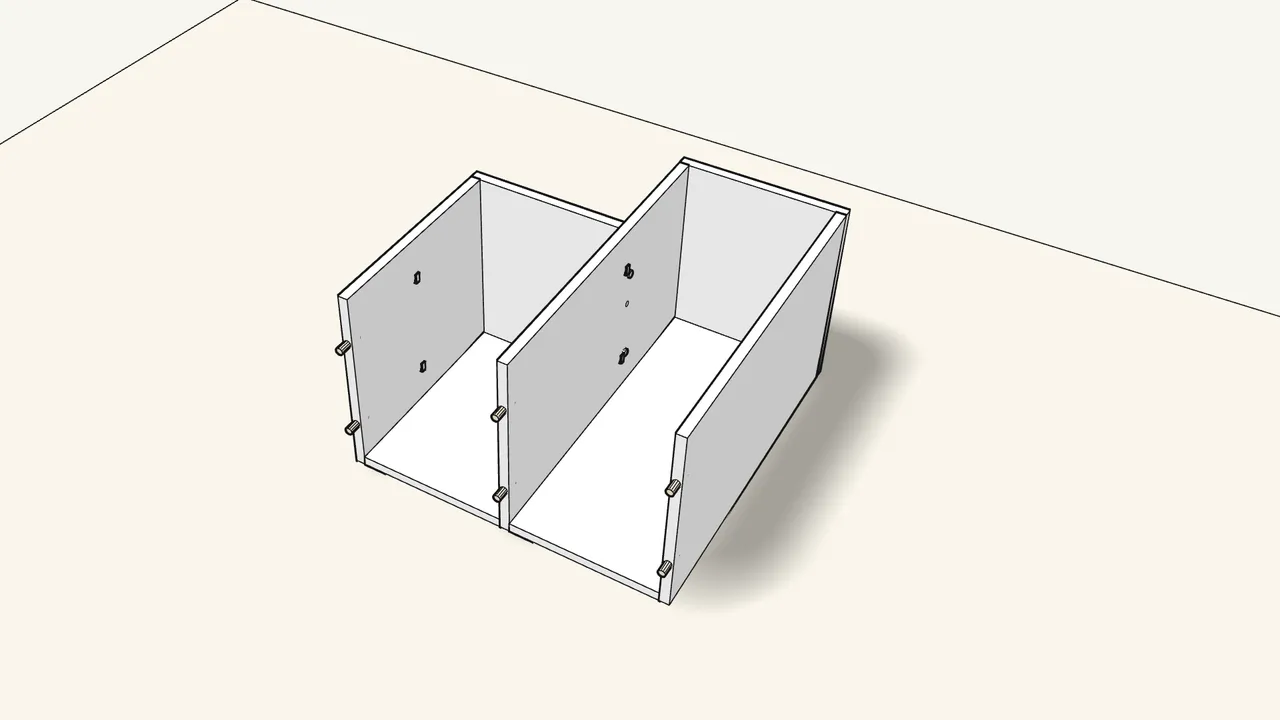
Step 8 · manual step 11
Push the low section against the divider.
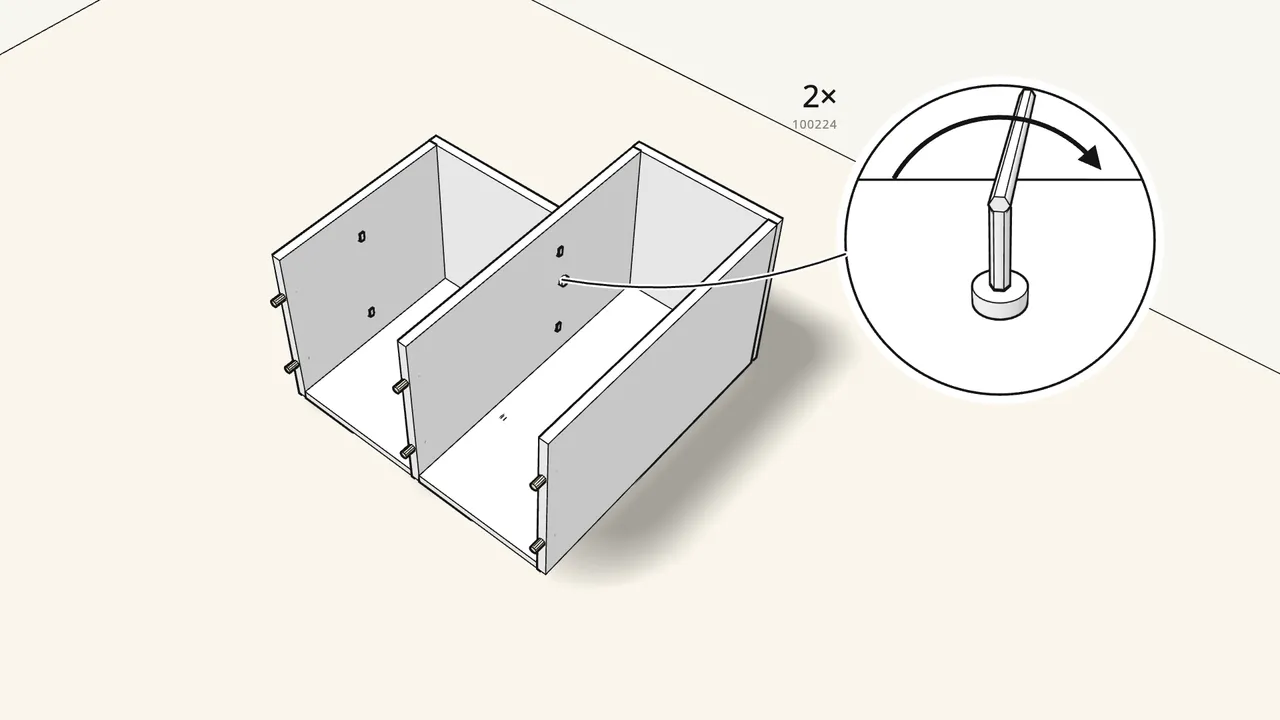
Step 9 · manual step 12
Join the two sections with 2 bolts (100224).
Through the divider, with the Allen key.
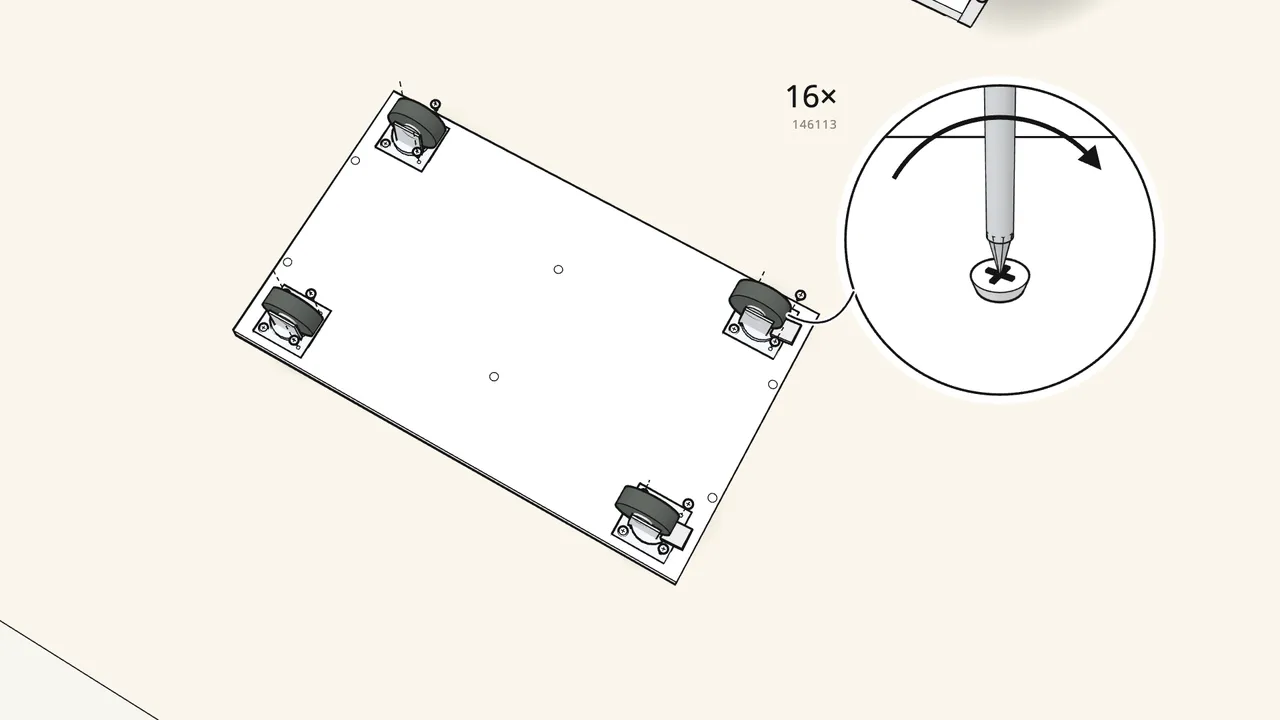
Step 10 · manual step 13
Screw the 4 castors onto the bottom panel — 4 screws (146113) each.
The 2 castors with a brake (10087847) go at one end, as in the manual.
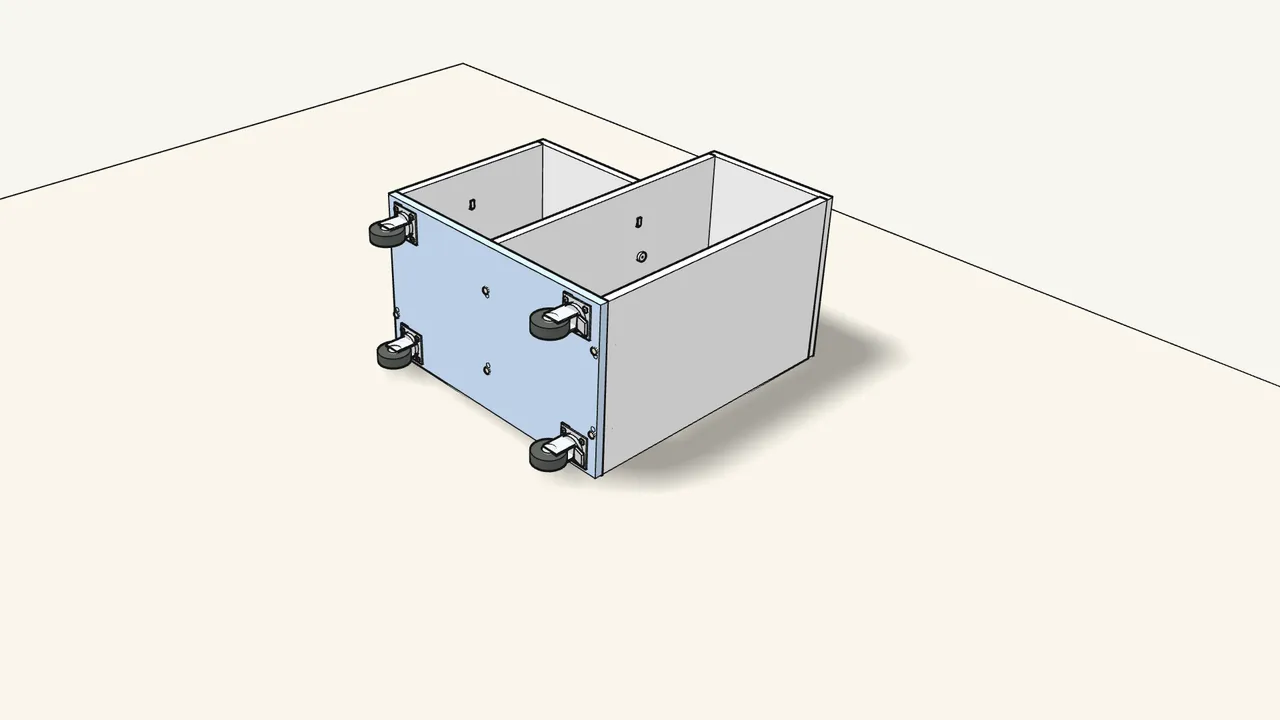
Step 11 · manual step 14
Fit the bottom panel onto the end of the cart.
Castors facing out, dowels into the holes.
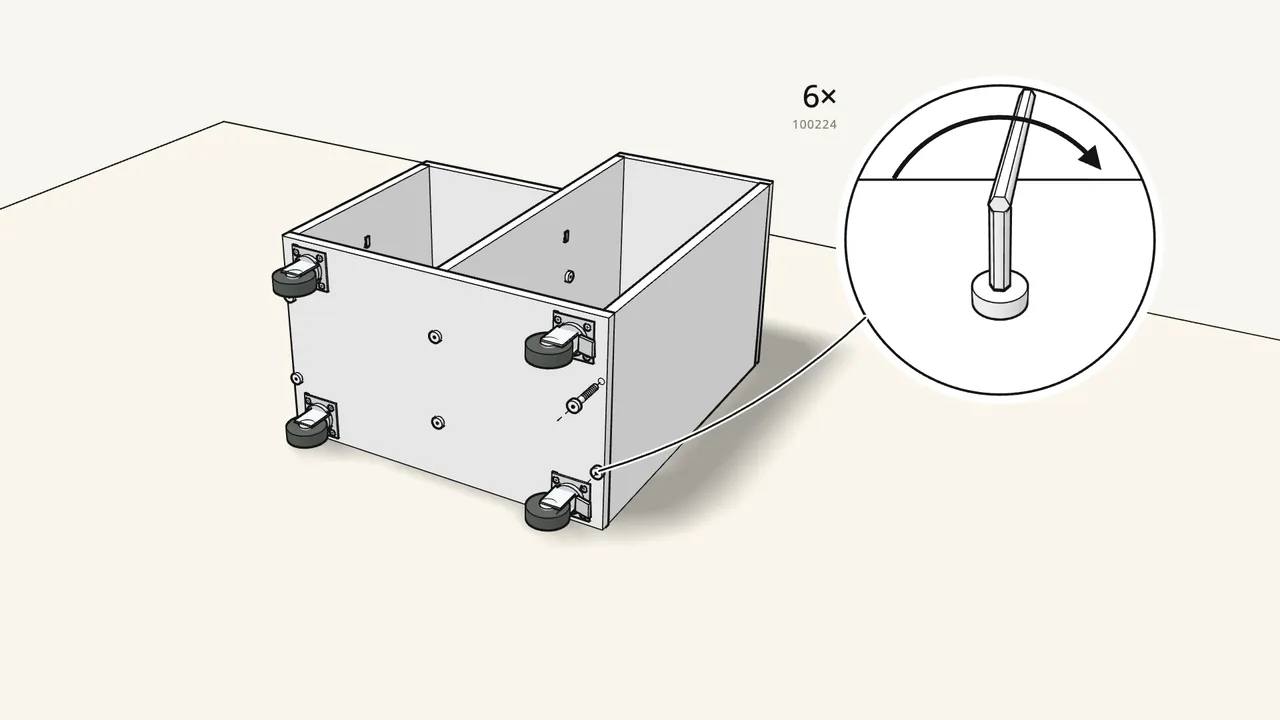
Step 12 · manual step 15
Fix the bottom panel with 6 bolts (100224).
Allen key.
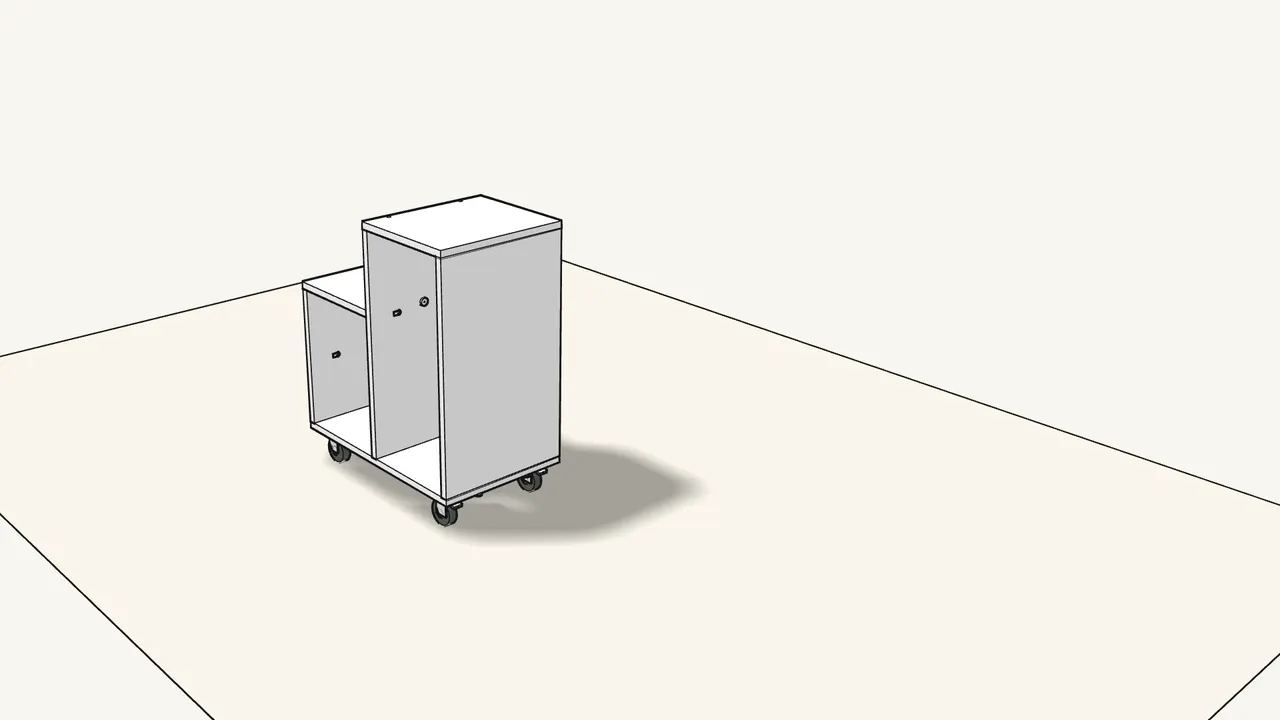
Step 13 · manual step 15
Stand the cart up on its castors.
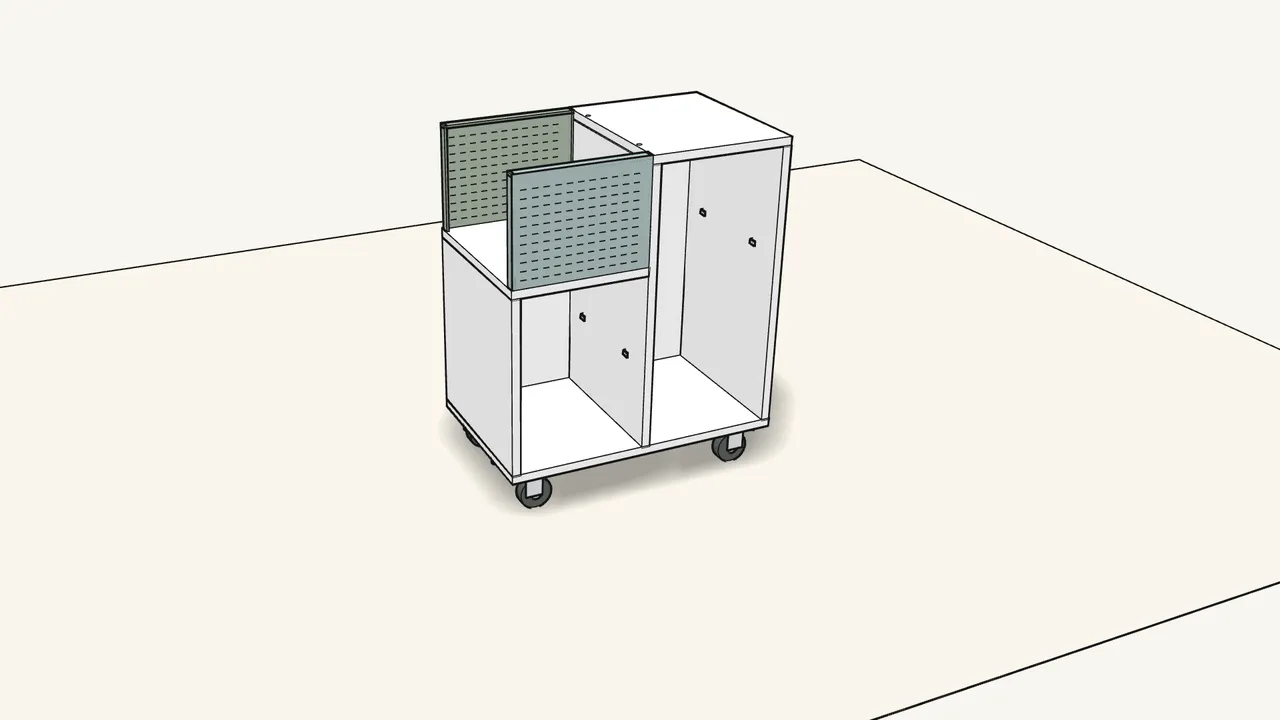
Step 14 · manual step 16
Hook the 2 mesh panels onto the divider.
Slide them in until the hooks catch.
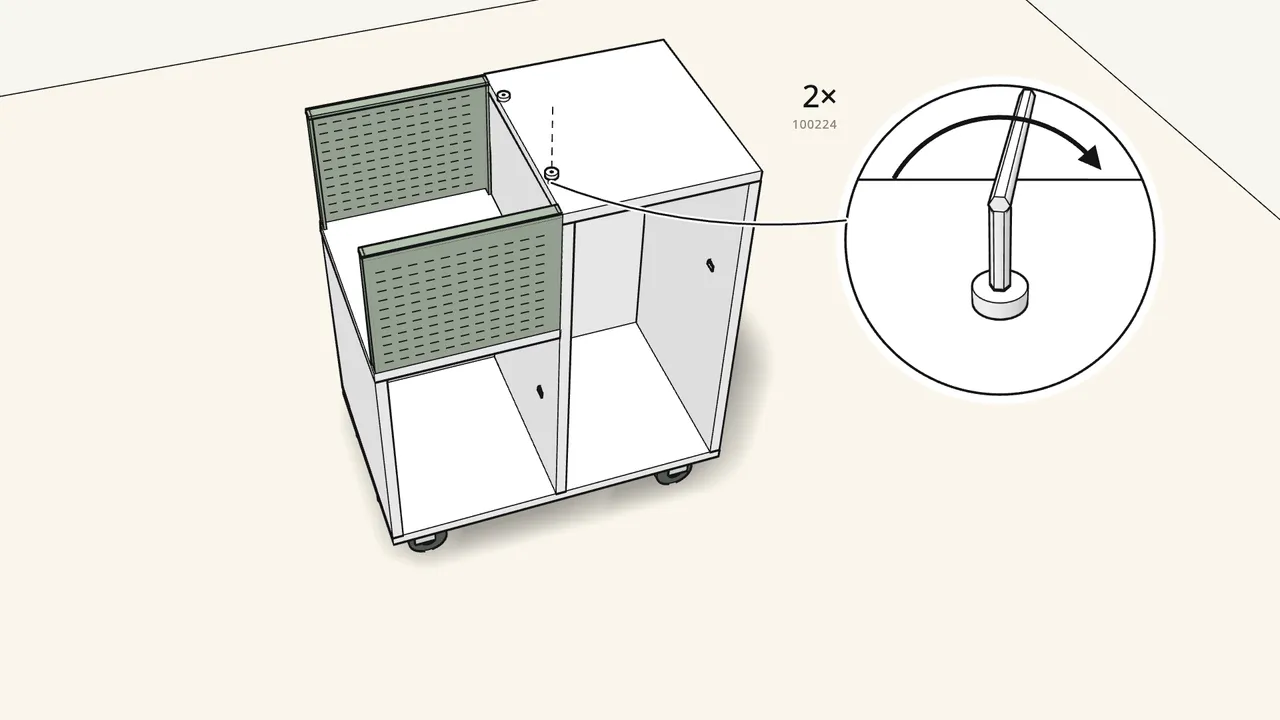
Step 15 · manual step 17
Screw 2 bolts (100224) down through the top panel.
Allen key.
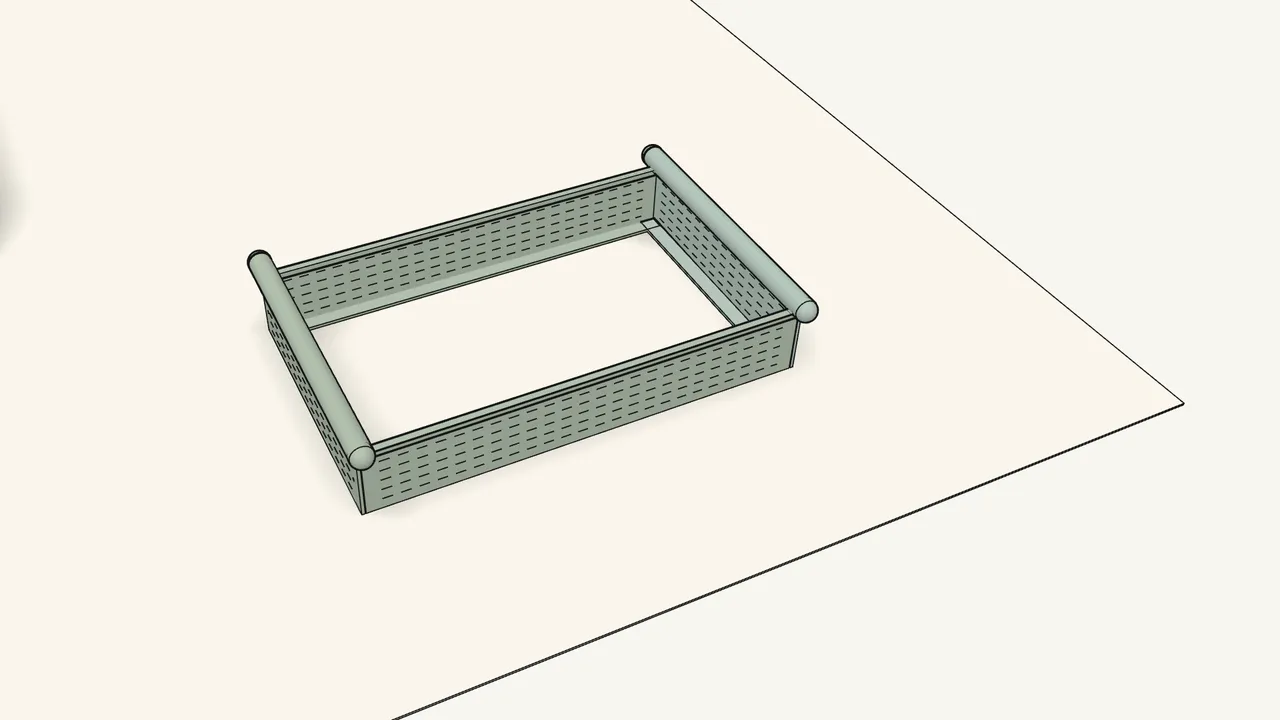
Step 16 · manual step 18
Hook the 4 sides of the tray together.
Slide the two ends onto the long sides — 4 hooks.
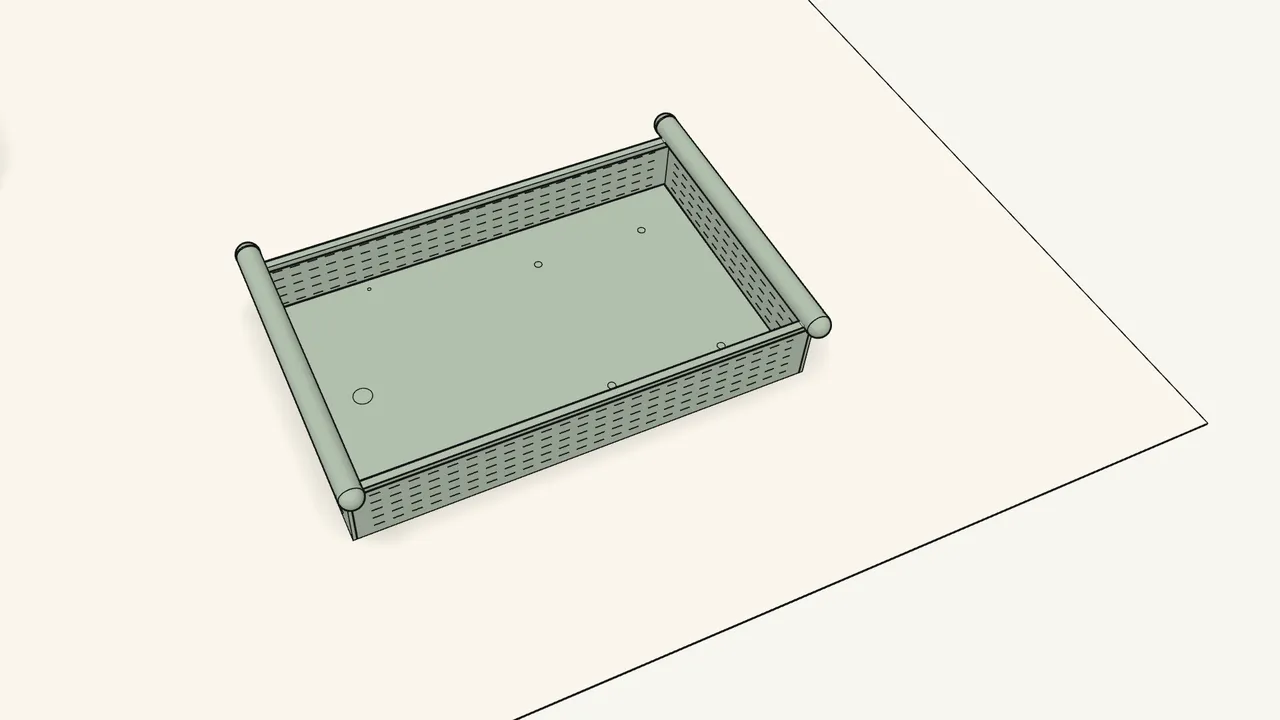
Step 17 · manual step 19
Lay the tray floor in.
Check which way round it goes — see the manual, step 19.
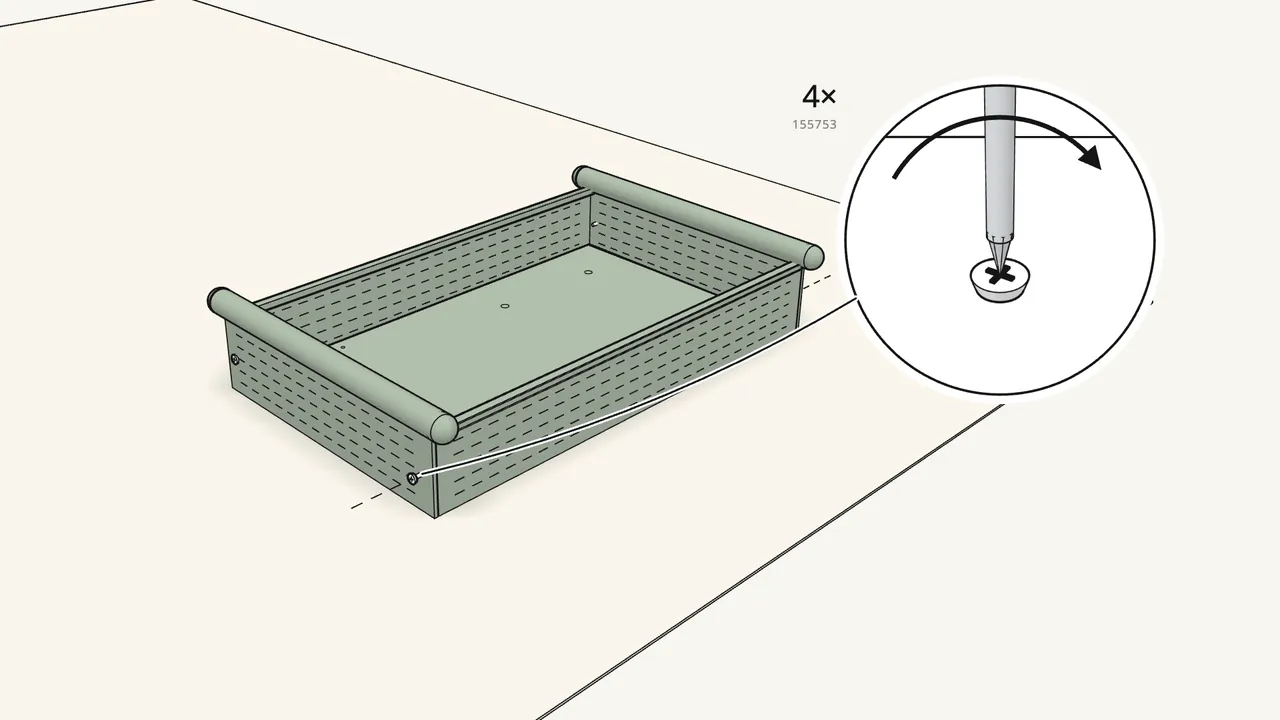
Step 18 · manual step 20
Screw 4 screws (155753) into the tray corners.
Use 155753 here — not 101076.
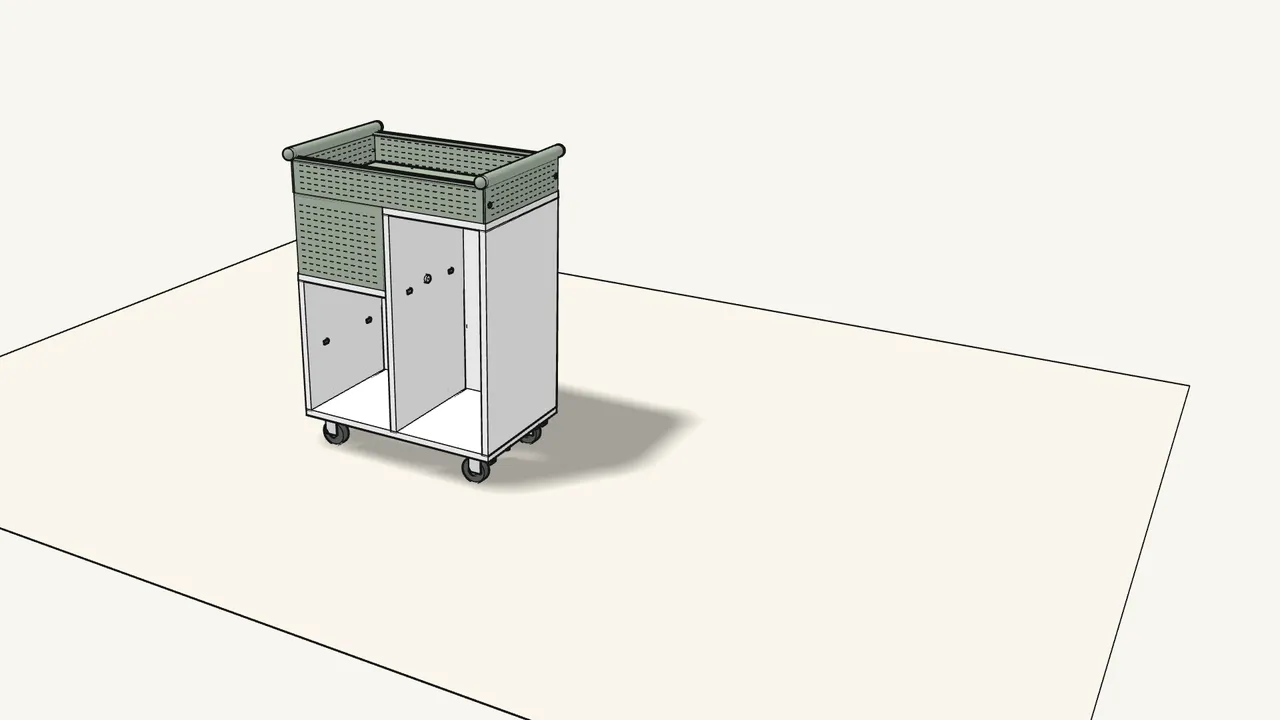
Step 19 · manual step 21
Lower the tray onto the cart and slide it into place.
4 tabs under the tray go into the slots in the top.
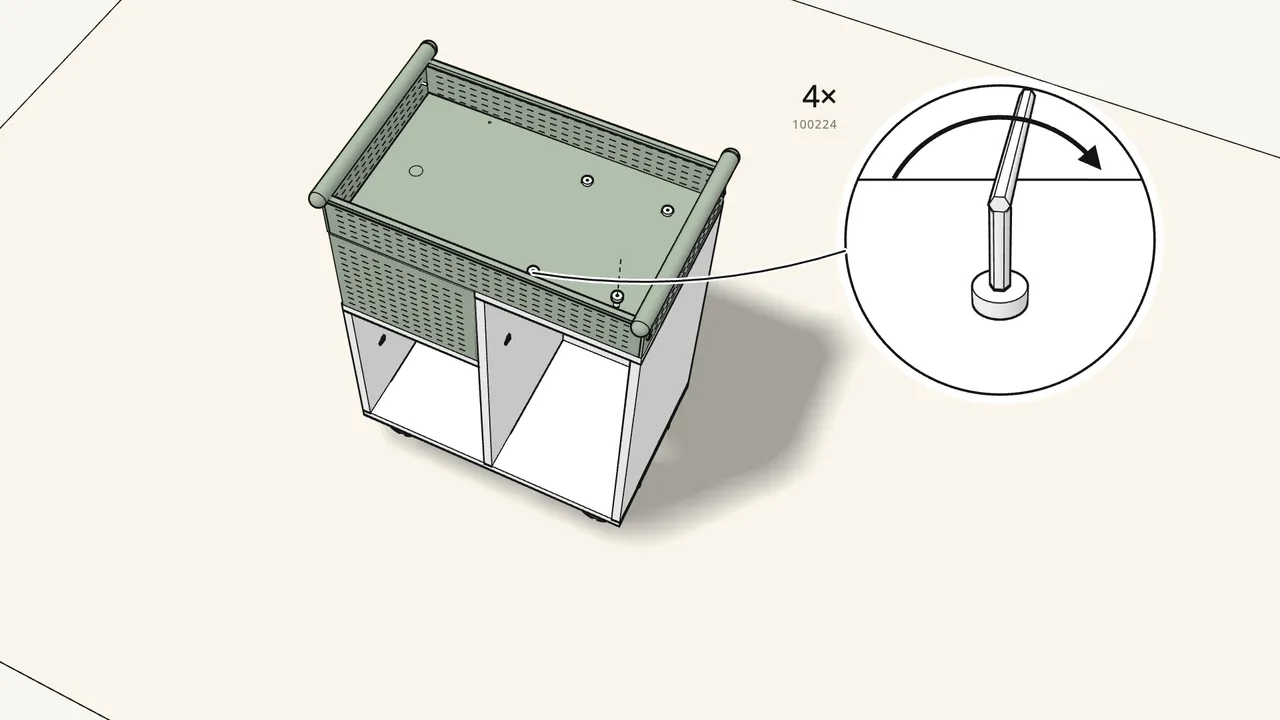
Step 20 · manual step 22
Fix the tray with 4 bolts (100224).
Down through the tray floor into the top panel.
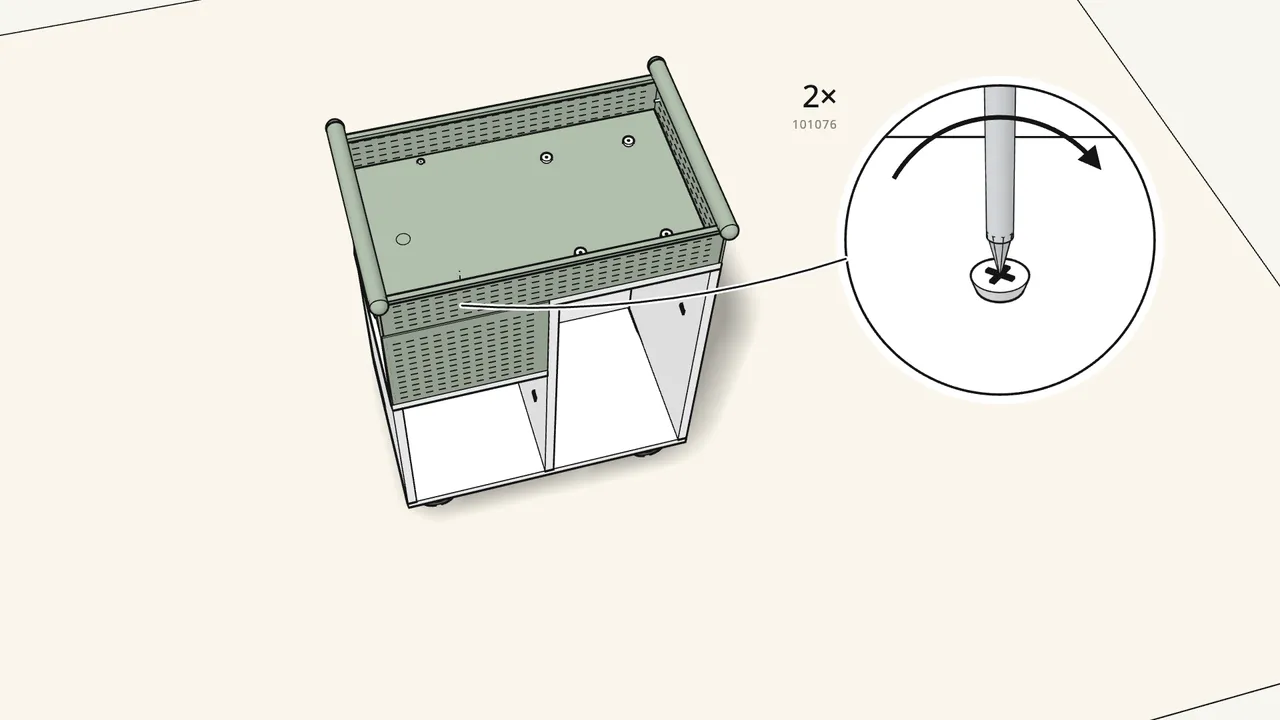
Step 21 · manual step 23
Screw 2 screws (101076) through the tray floor.
At the mesh-panel end of the tray.
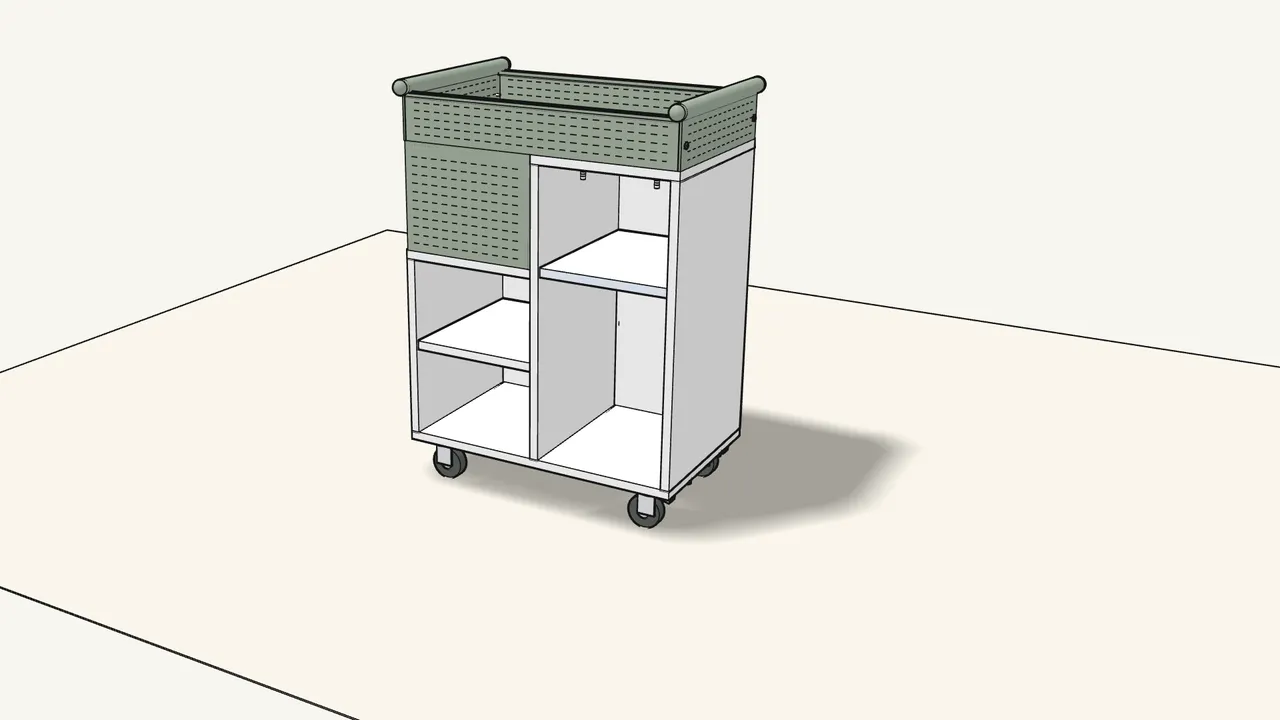
Step 22 · manual step 24
Lay the 2 shelves onto the shelf supports.
4 supports under each shelf.
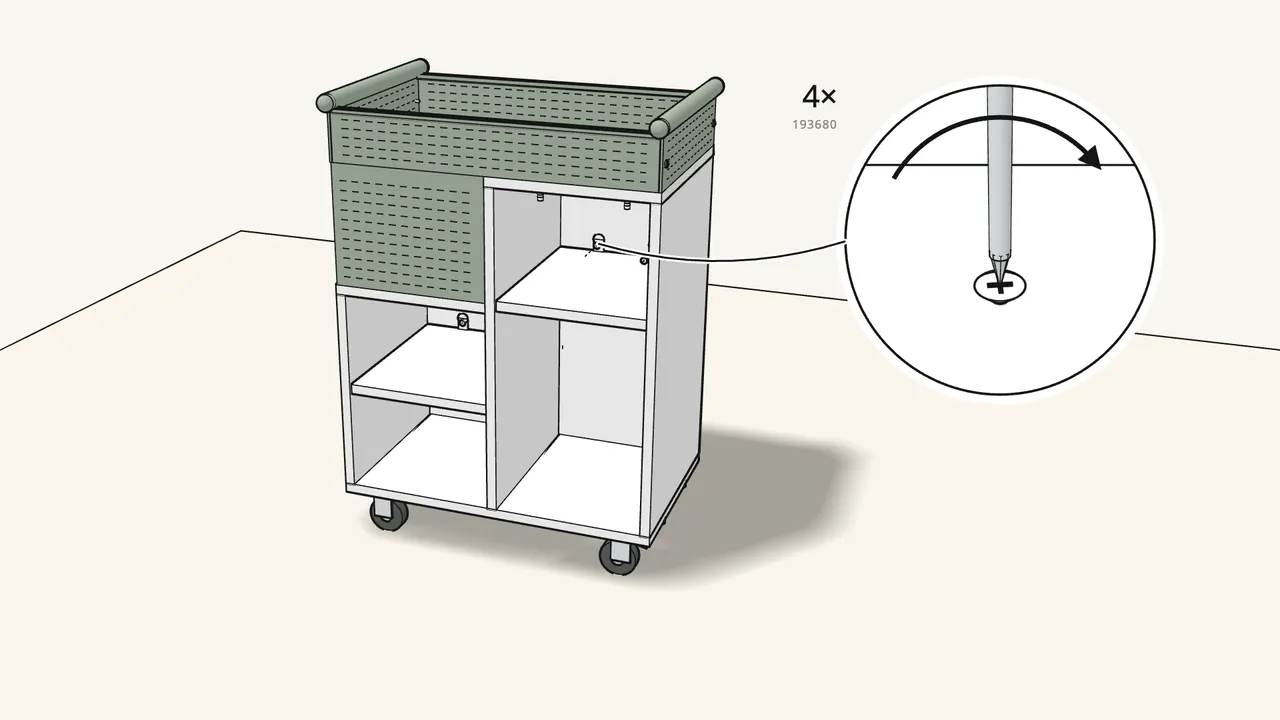
Step 23 · manual step 25
Screw on the 4 shelf stops (119985) with 4 screws (193680).
Above the shelves, on the back panels. Read the warning in the manual, step 25.
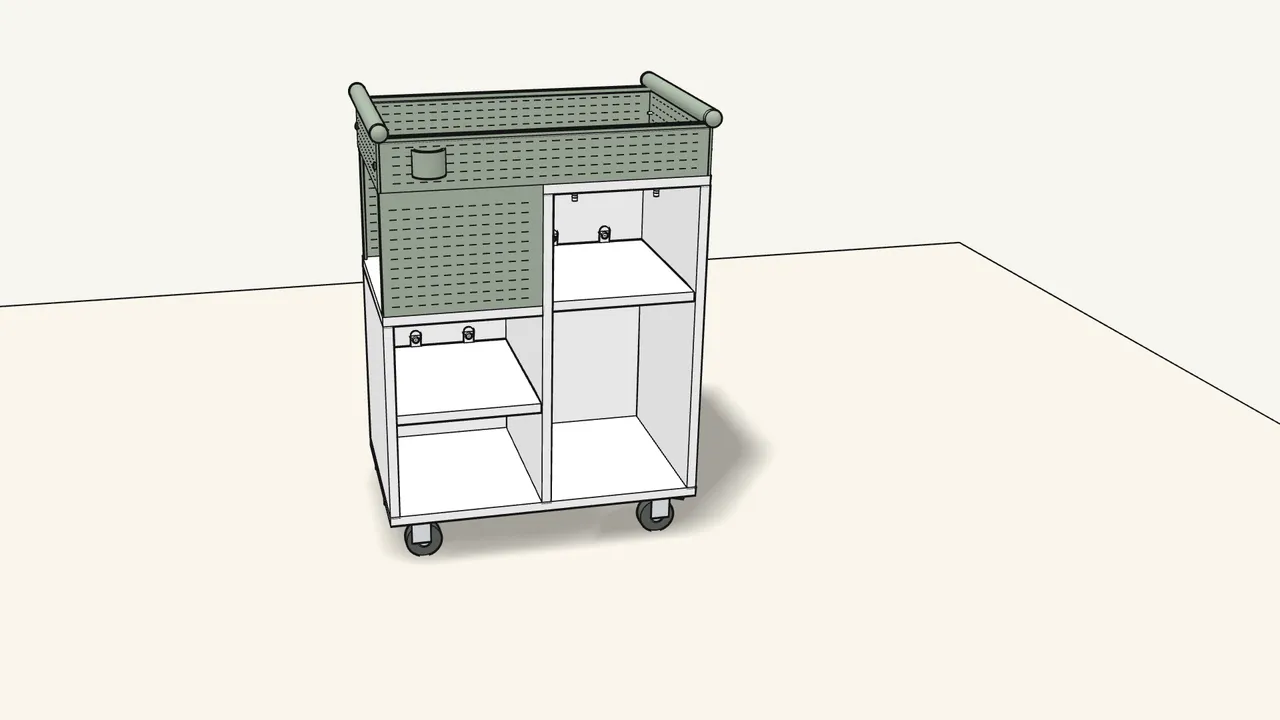
Step 24 · manual step 26
Clip the holder (10090800) onto the tray.
Tips & safety
- Two castors have a brake. Press the pedal down to lock the cart in place, lift it to release (manual p. 17).
- Want the mesh panels on the other side? The manual also shows a mirrored build — follow pages 18–31 instead.
Official instructions
This guide follows IKEA’s official assembly instructions (AA-2330633-2). Keep the printed manual to hand — if anything differs, the manual is right.