IKEA · Carts & Clothes Racks
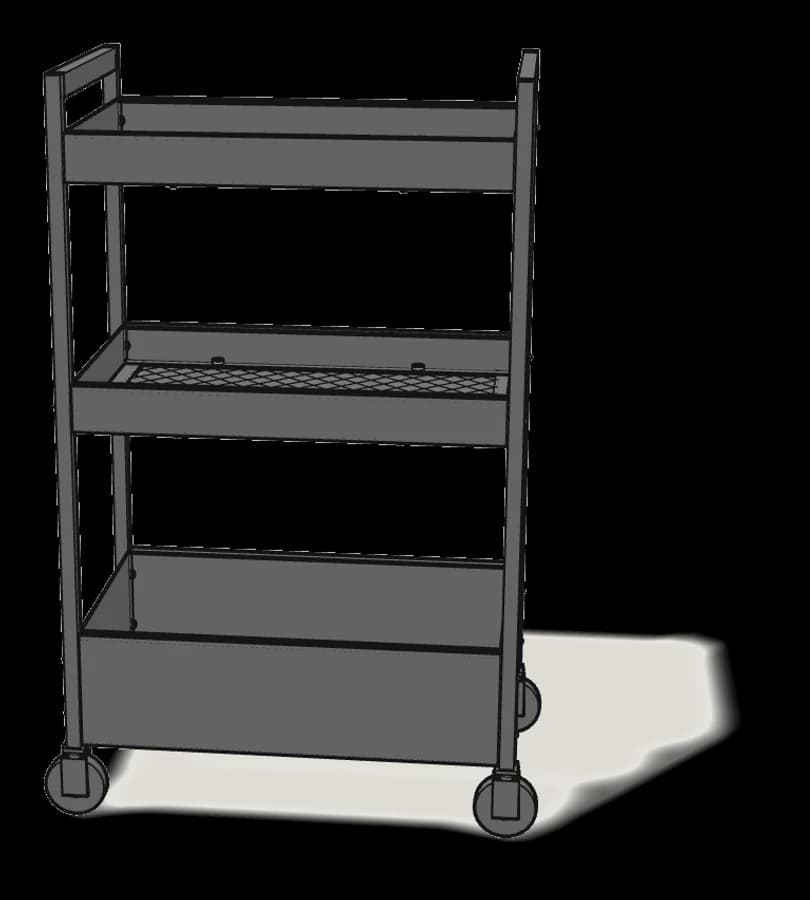
How to Assemble IKEA NISSAFORS Utility Cart
Step-by-step IKEA NISSAFORS utility cart assembly: 13 illustrated steps, an animated video, the hardware list and the tools you need — following the official instructions (AA-2119159-10).
- 13 illustrated steps
- 8 steps in the manual
- 1:54 video
- 50×30×83 cm
What you need
Tools
- Allen key (included)
You’ll need: the Allen key (190094, included).
Hardware in the box
| Part no. (as printed in the manual) | Qty |
|---|---|
| 190419 | 16× |
| 10005471 | 18× |
| 10005485 | 18× |
| 10054852 | 4× |
Step-by-step assembly
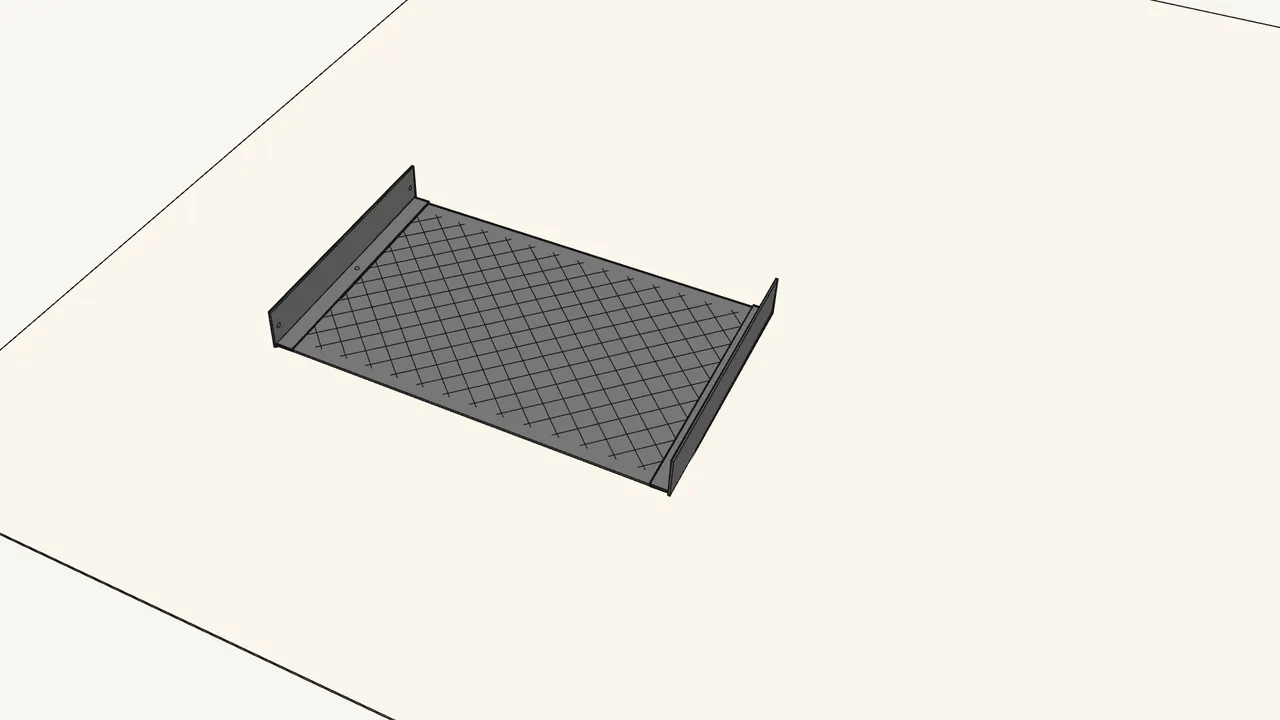
Step 1
Slide the two end rails onto the tray bottom.
Build all 3 trays the same way (steps 1–4).
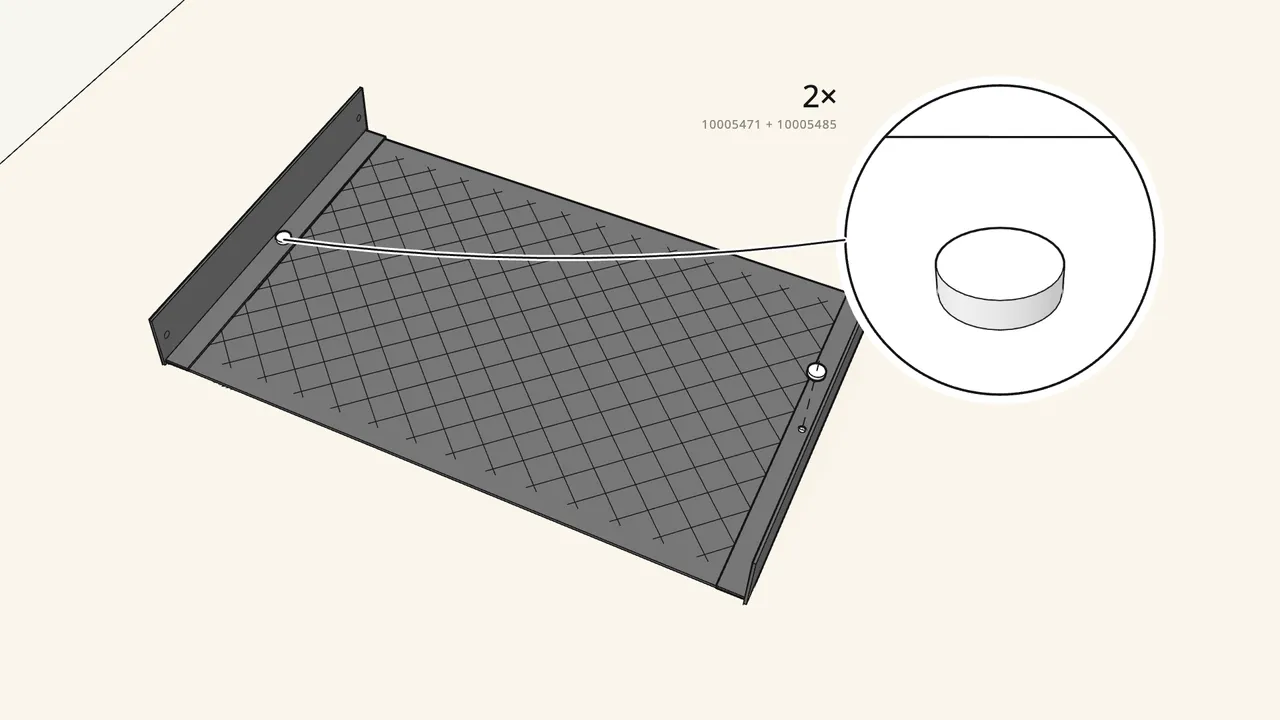
Step 2
Fix each end rail with a push rivet — click!
Sleeve 10005471 first, then pin 10005485. 2 per tray.
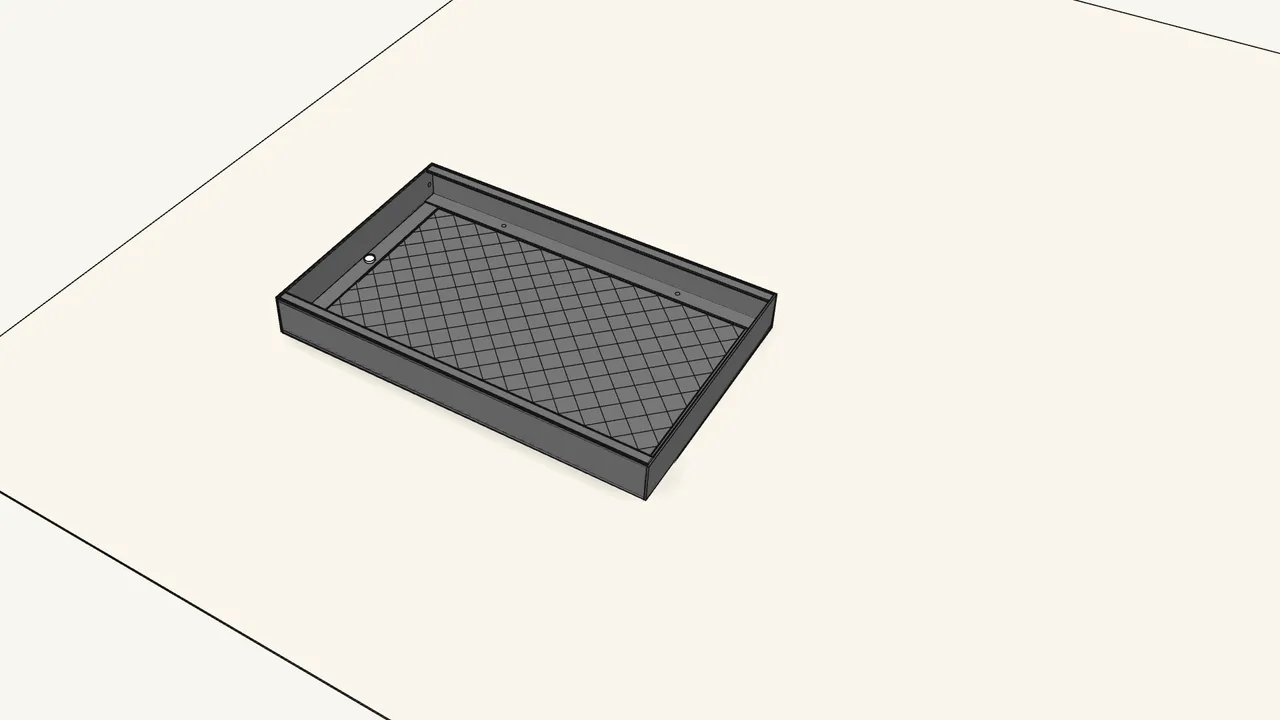
Step 3
Push the front and back rails onto the tray.
The rail ends slide over the end rails at all 4 corners.

Step 4
Fix the front and back rails with 4 push rivets — click!
Sleeve first, then pin.
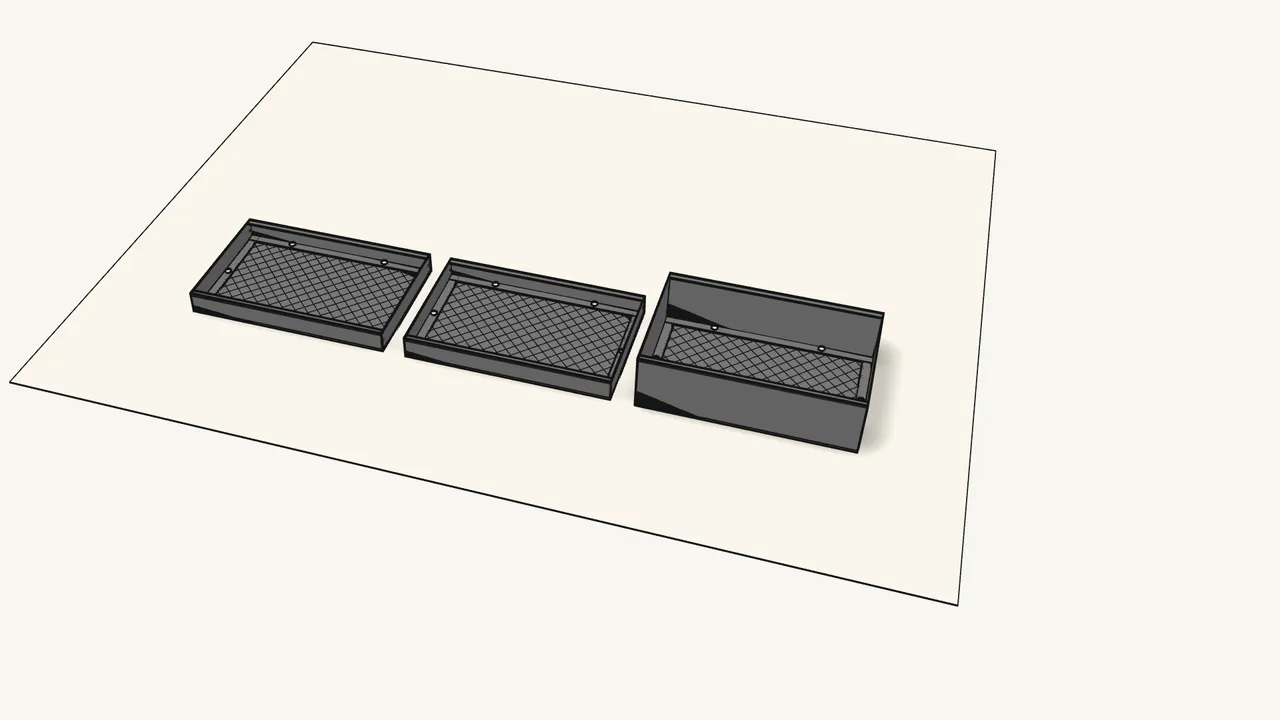
Step 5 · manual step 1–4
Build the other two trays the same way.
The deep tray goes at the bottom of the cart.
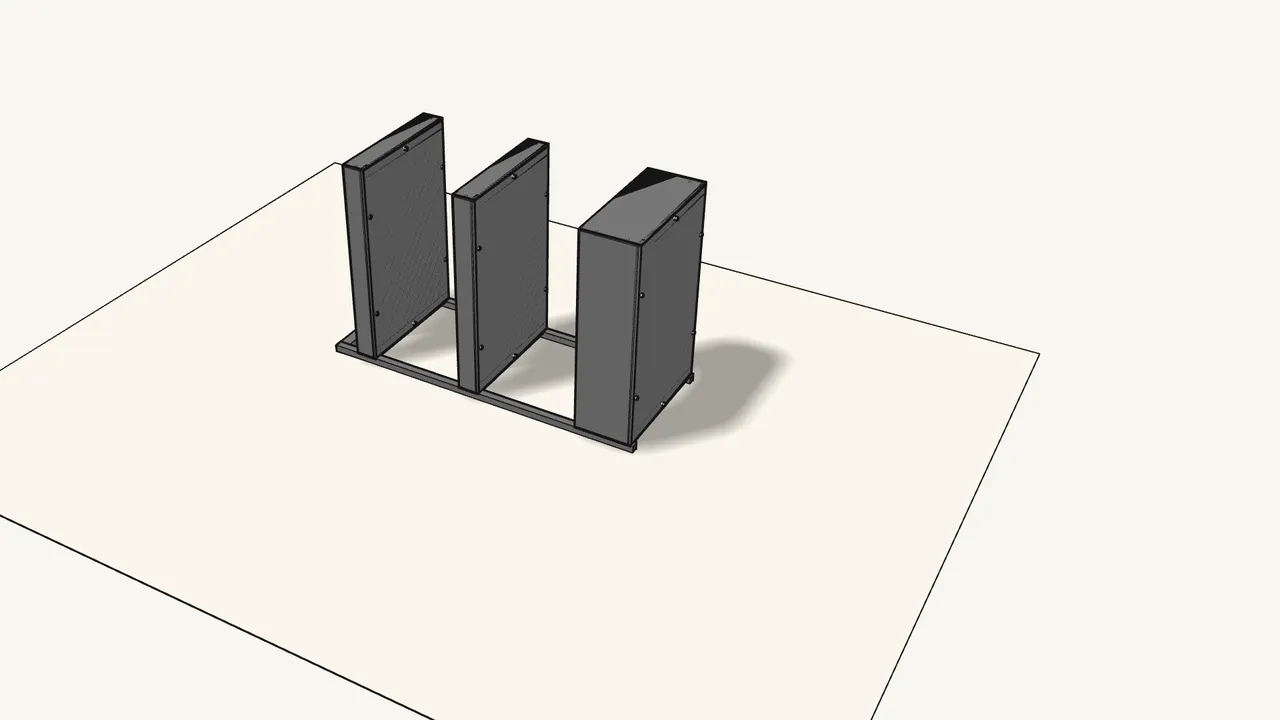
Step 6 · manual step 5
Stand the trays on one side frame.
Lay the frame on the floor; trays in the order shown.
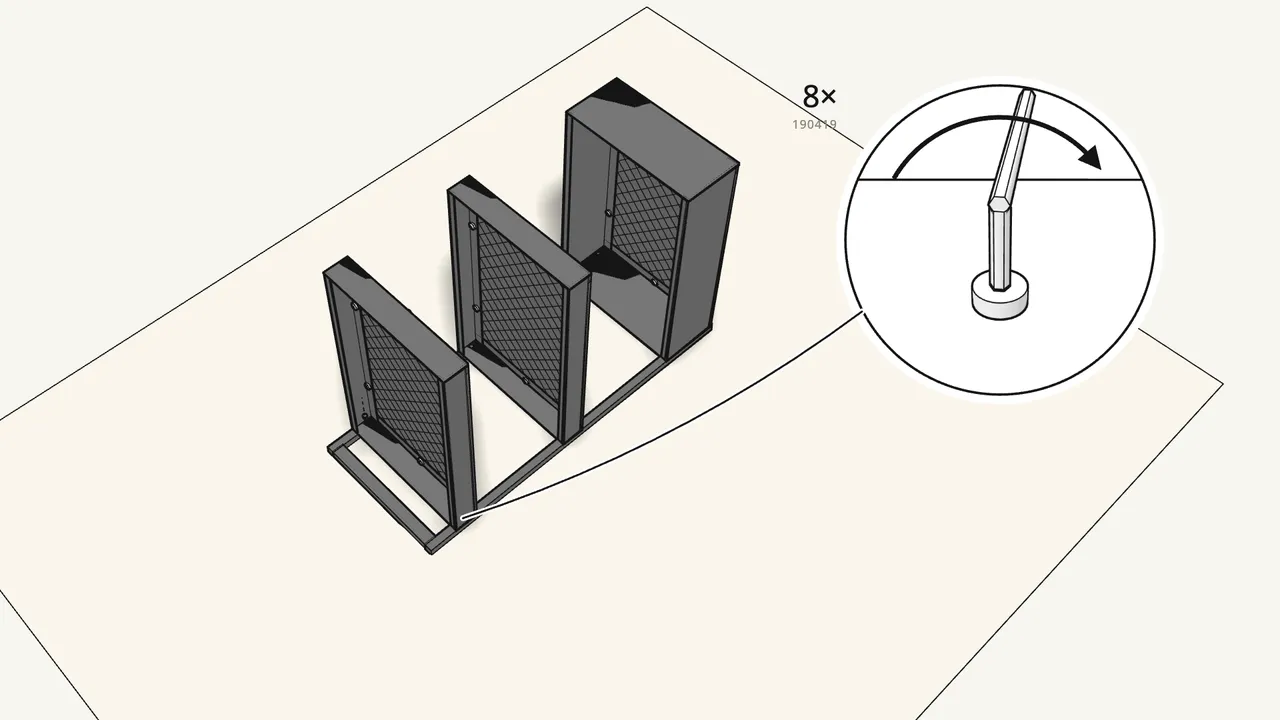
Step 7 · manual step 5
Screw in 8 bolts with the Allen key — not fully tight yet.
Leave the bolt heads slightly raised (manual step 5).
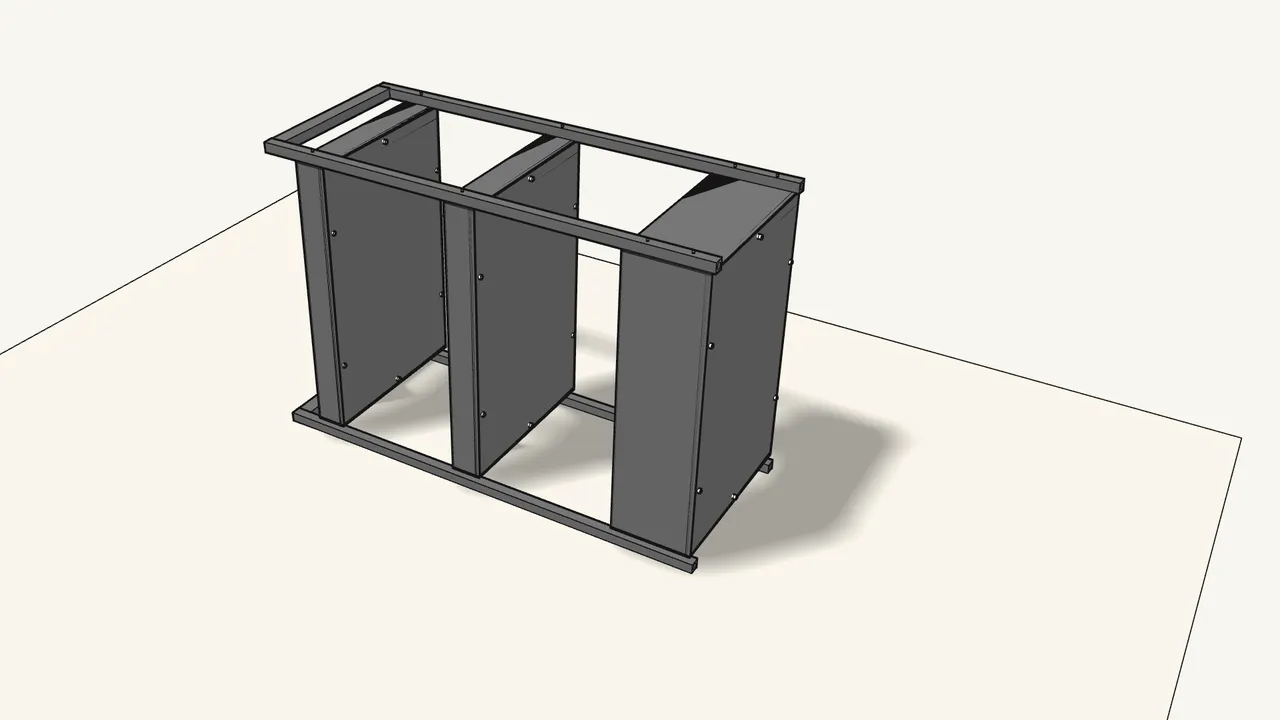
Step 8 · manual step 6
Turn the assembly over onto the second frame.

Step 9 · manual step 6
Screw in 8 more bolts — not fully tight yet.
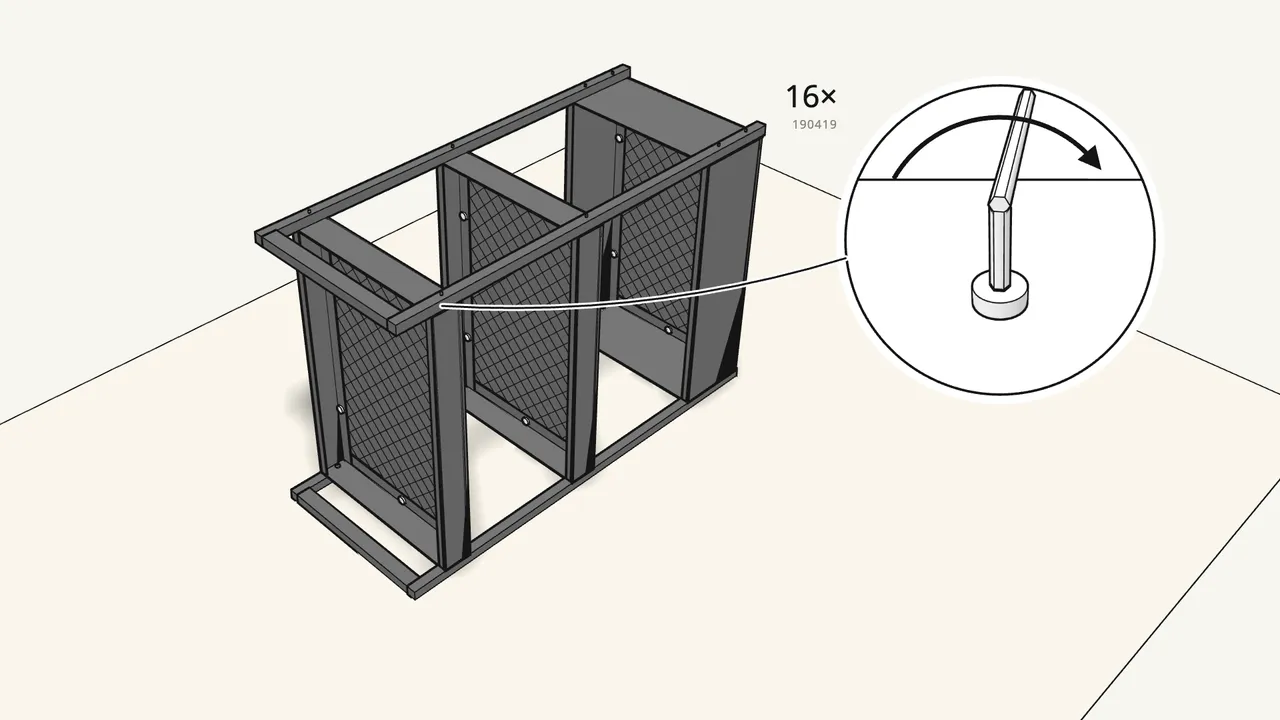
Step 10 · manual step 7
Now tighten all 16 bolts with the Allen key.
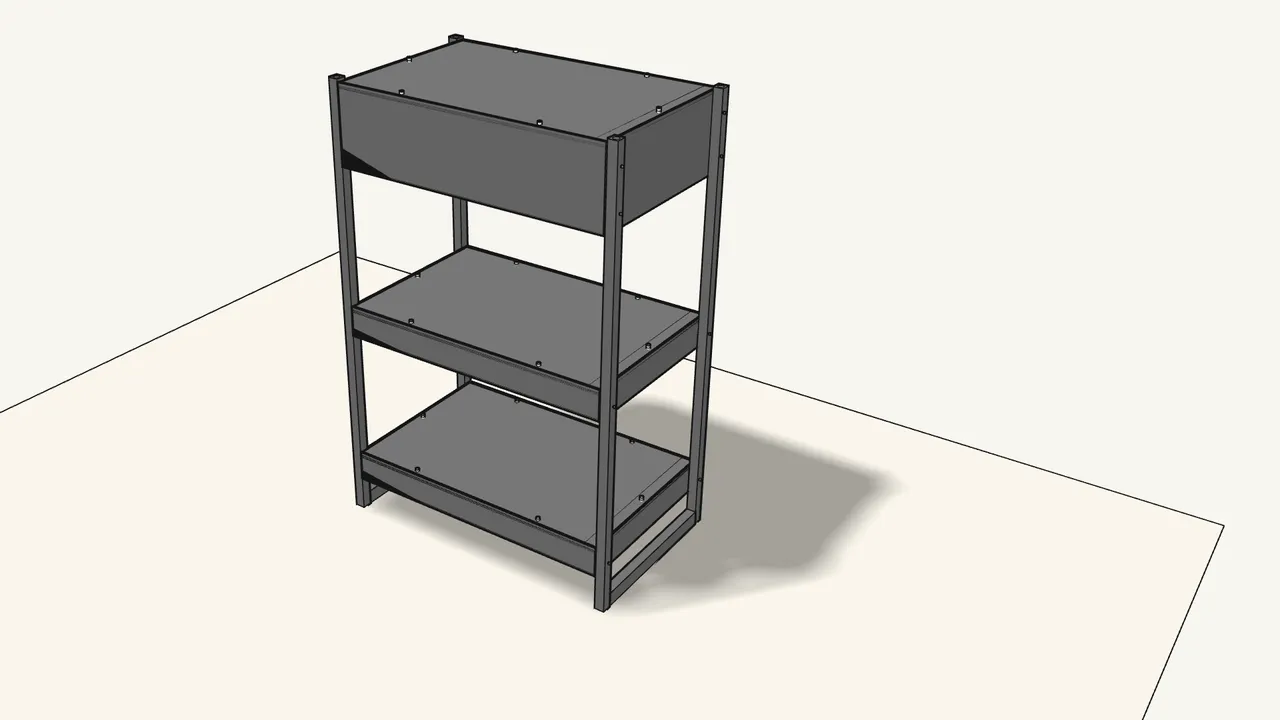
Step 11 · manual step 8
Turn the cart upside down.
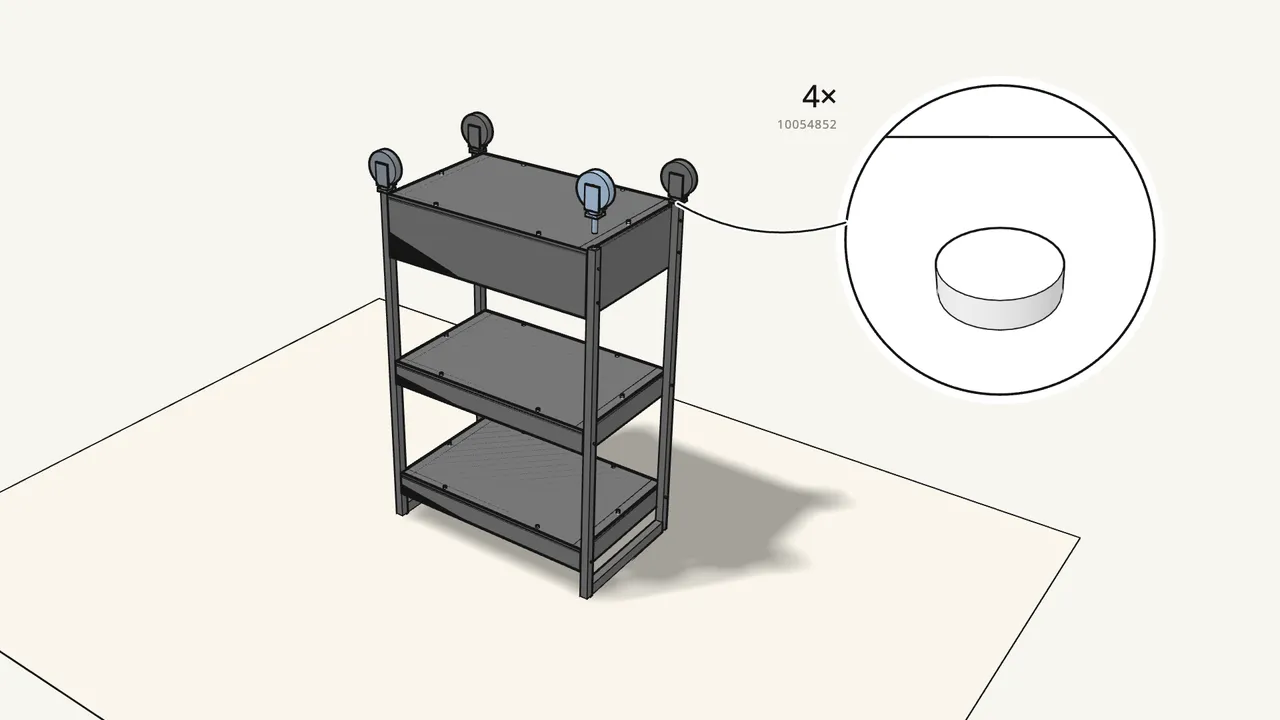
Step 12 · manual step 8
Push a castor into each tube end — click!
4 castors (10054852).
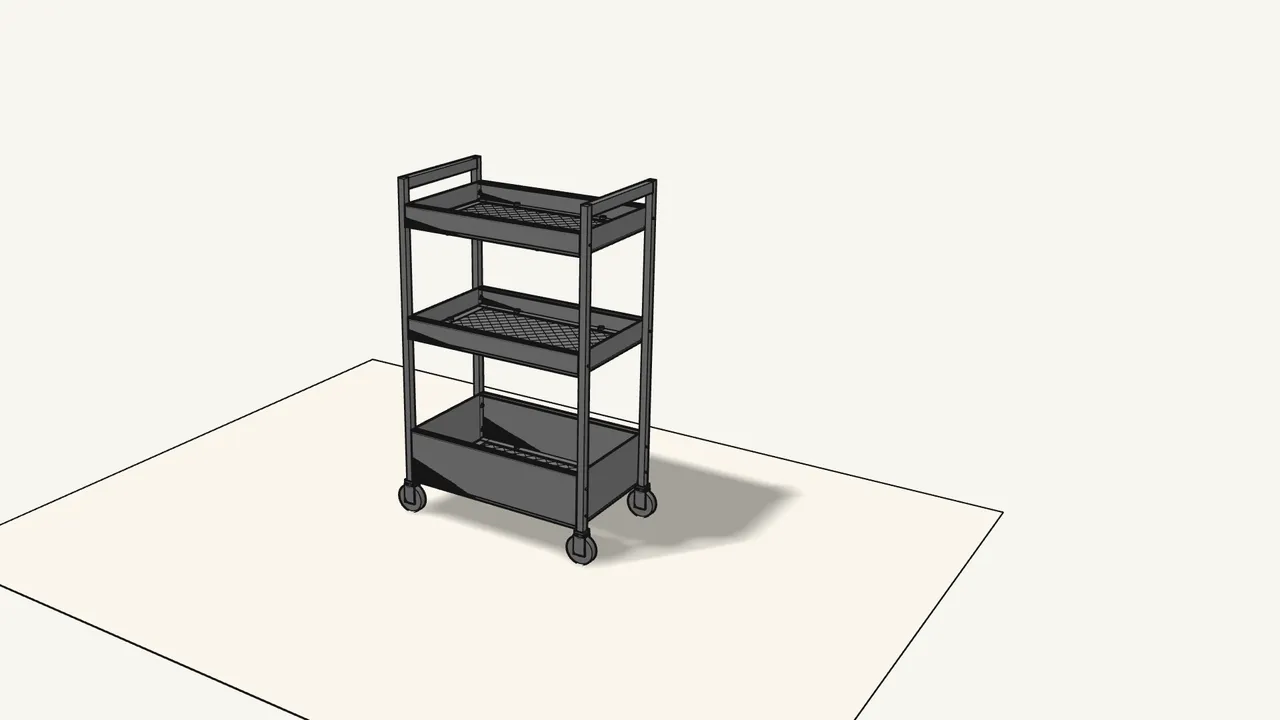
Step 13 · manual step 8
Turn the cart upright.
Tips & safety
- Tighten last Screw all 16 bolts in loosely first; tighten them only when both frames are on (manual steps 5–7).
Official instructions
This guide follows IKEA's official assembly instructions (AA-2119159-10). Keep the printed manual to hand — if anything differs, the manual is right.