IKEA · Carts & Clothes Racks
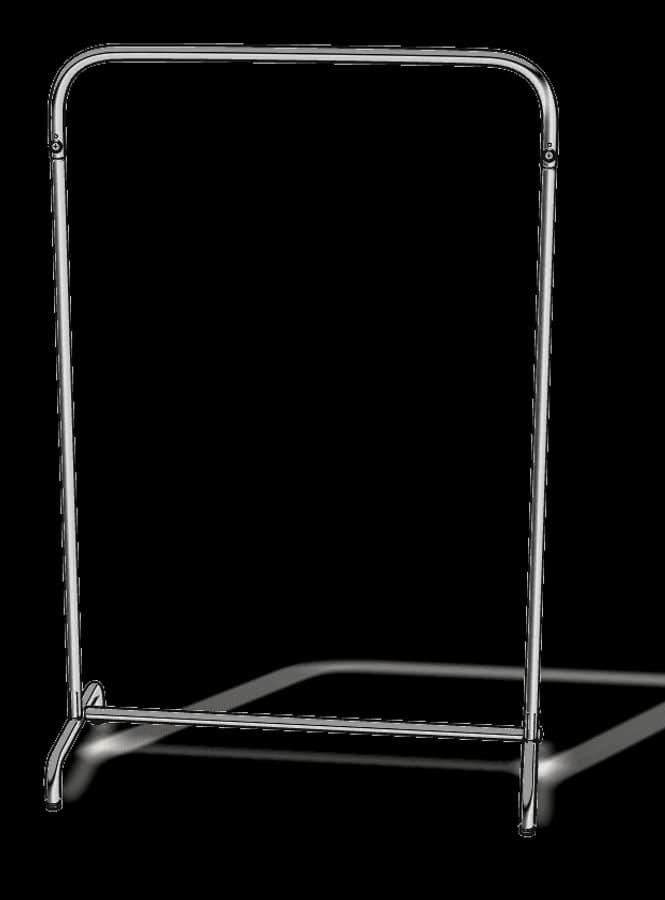
How to Assemble IKEA MULIG Clothes Rack
Step-by-step IKEA MULIG clothes rack assembly: 5 illustrated steps, an animated video, the hardware list and the tools you need — following the official instructions (AA-479081-4).
- 5 illustrated steps
- 4 steps in the manual
- 1:07 video
- 99×46×152 cm
What you need
Tools
- Phillips screwdriver
- Allen key (included)
You’ll need: a Phillips screwdriver. The Allen key (100002) is included.
Hardware in the box
| Part no. (as printed in the manual) | Qty |
|---|---|
| 122006 | 2× |
| 124682 | 2× |
Step-by-step assembly
Step 1
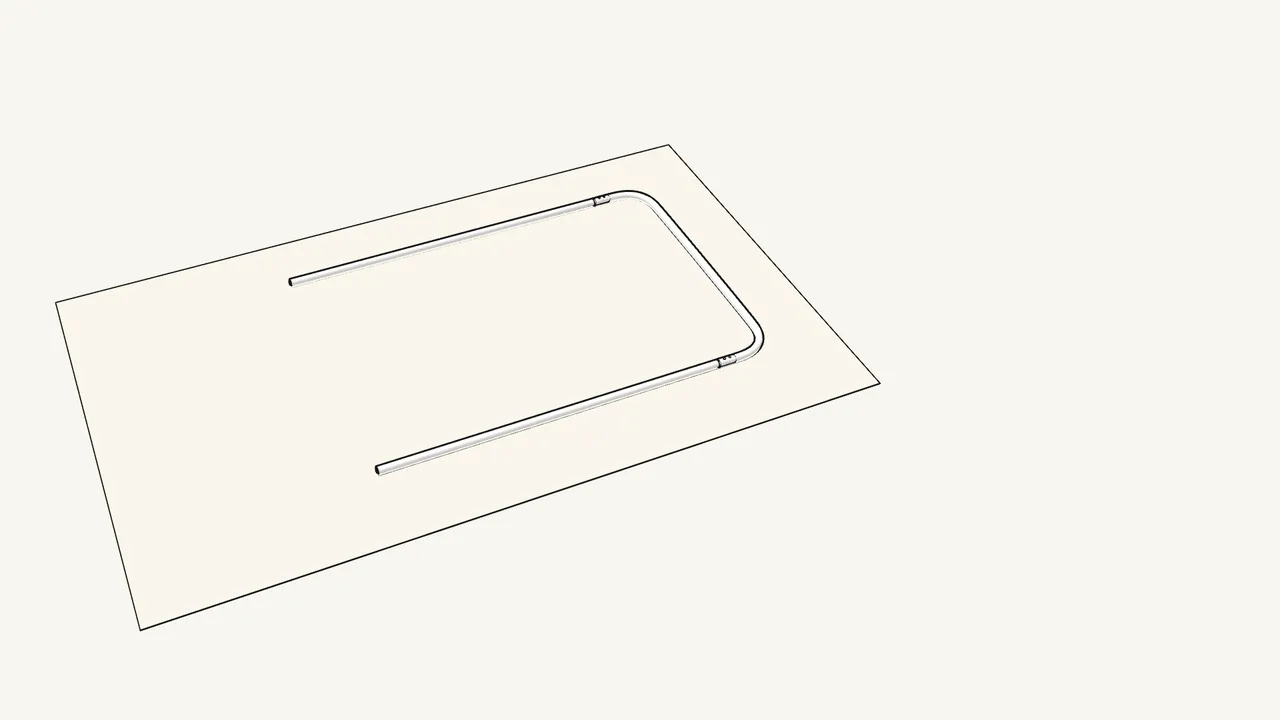
Push both tubes into the top frame until the buttons click.
Press the button and slide the tube in — it locks in the hole.
Step 2
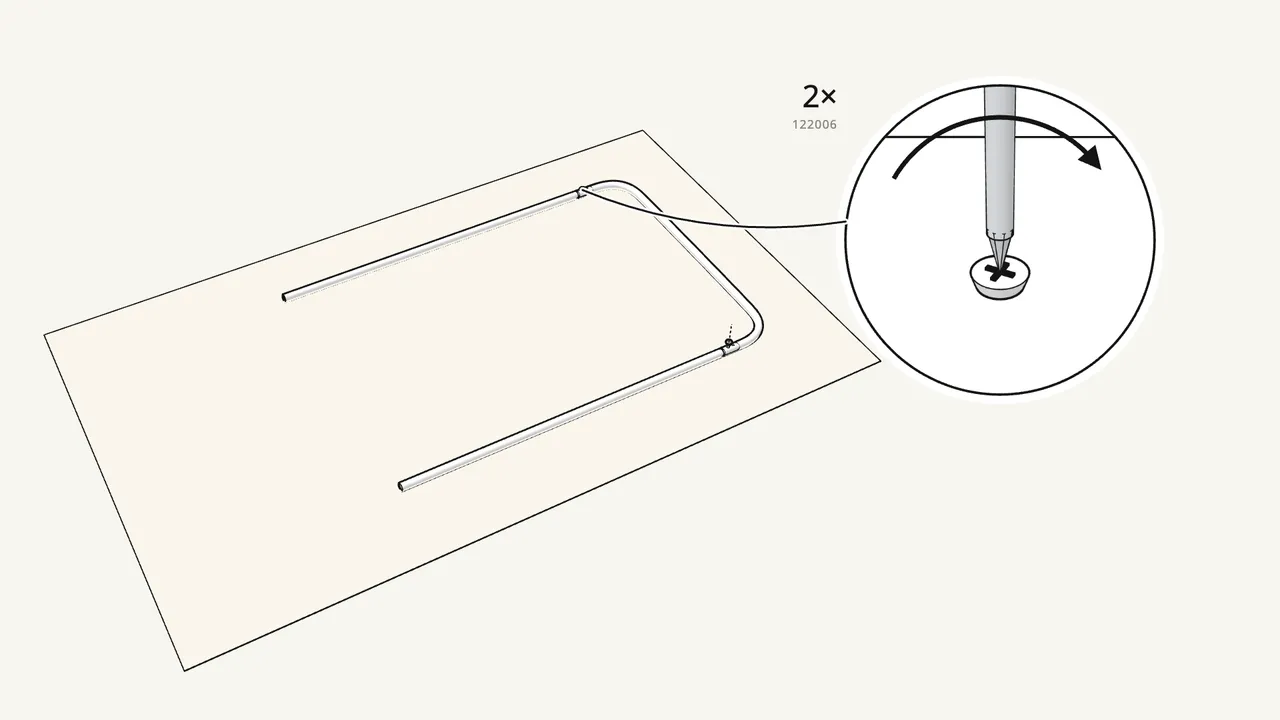
Fix each joint with a screw (122006).
2 screws — use the Phillips screwdriver.
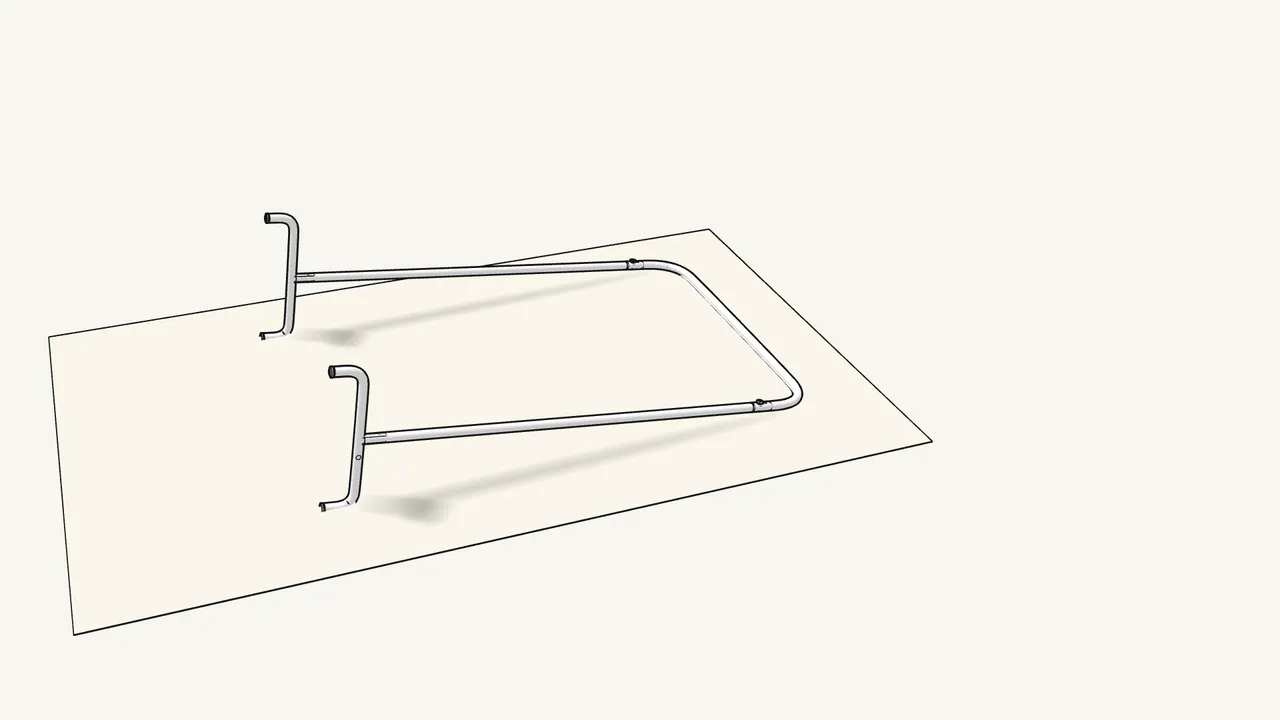
Step 3
Push a foot onto the end of each tube until it clicks.
The button on the foot locks into the hole in the tube.
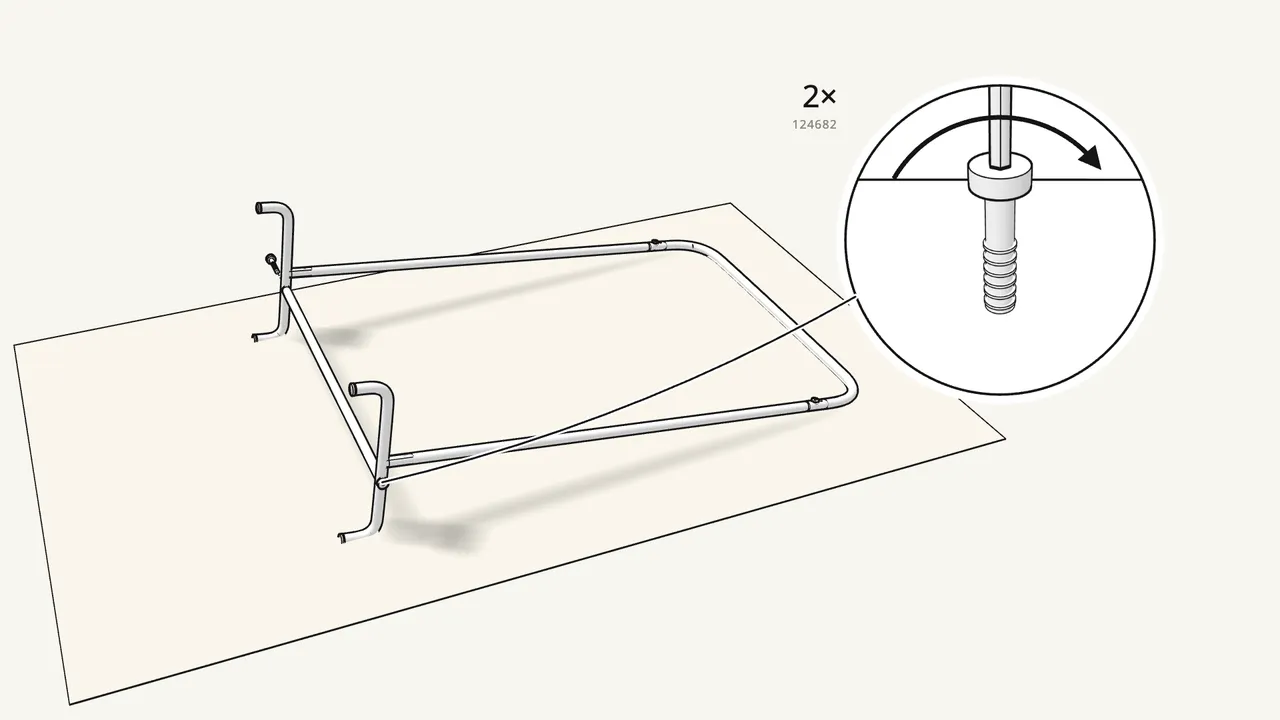
Step 4
Fit the bottom rail between the feet with 2 bolts (124682).
Tighten with the Allen key (100002).
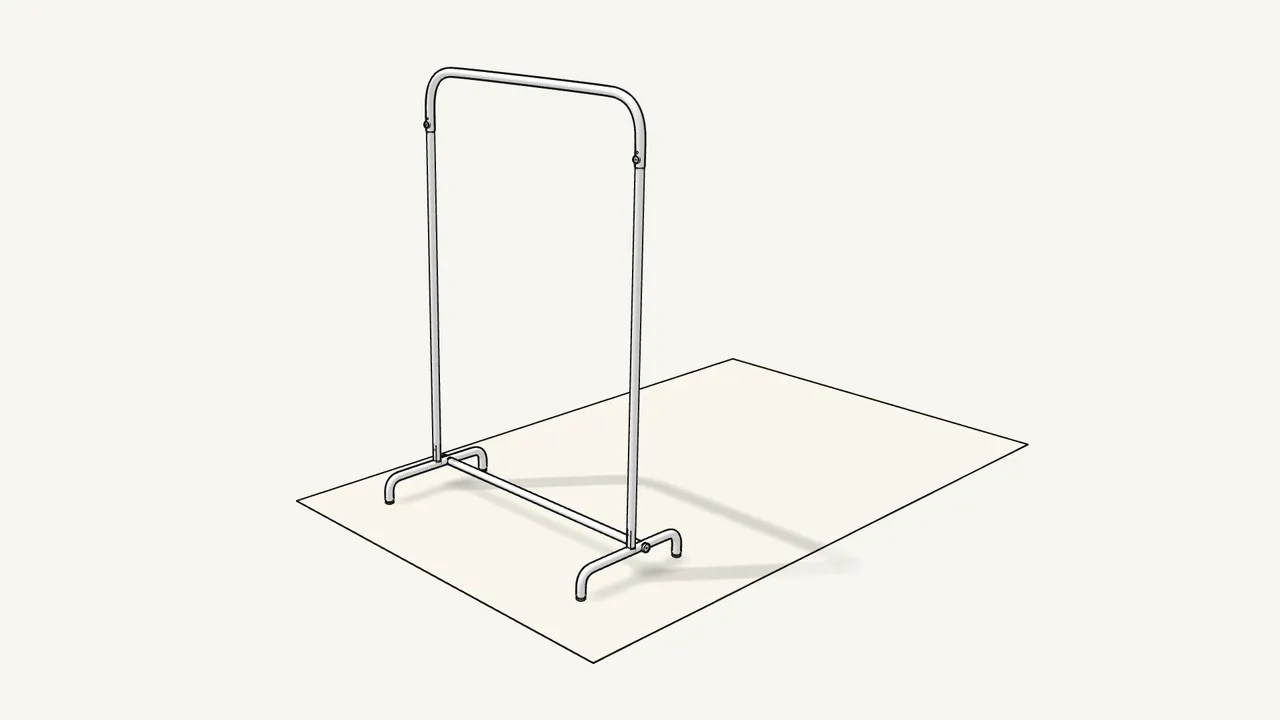
Step 5
Raise the rack carefully — it can tip over.
Tips & safety
- Take care when raising the rack. It can tip over — keep it steady until it stands on both feet.
Official instructions
This guide follows IKEA's official assembly instructions (AA-479081-4). Keep the printed manual to hand — if anything differs, the manual is right.