IKEA · Carts & Clothes Racks
How to assemble IKEA KUNGSFORS Kitchen Cart
Step-by-step IKEA KUNGSFORS Kitchen Cart assembly: 11 illustrated steps, an animated video, the hardware list and the tools you need — following the official instructions (AA-2048256-4).
- 11 illustrated steps
- 14 steps in the manual
- 1:59 video
- 60×40×91.5 cm cm
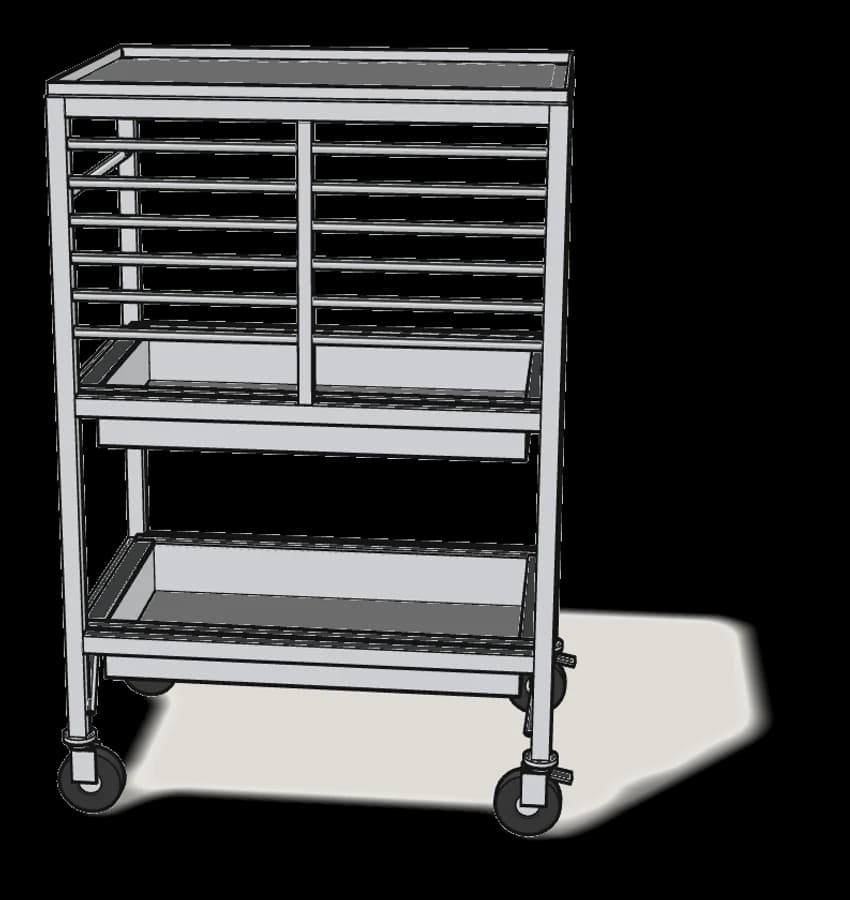
What you need
Tools
- Phillips screwdriver
- Allen key (included)
- Spanner (included)
Hardware in the box
| Part no. (as printed in the manual) | Qty |
|---|---|
| 157562 | 12× |
| 128540 | 8× |
Step-by-step assembly
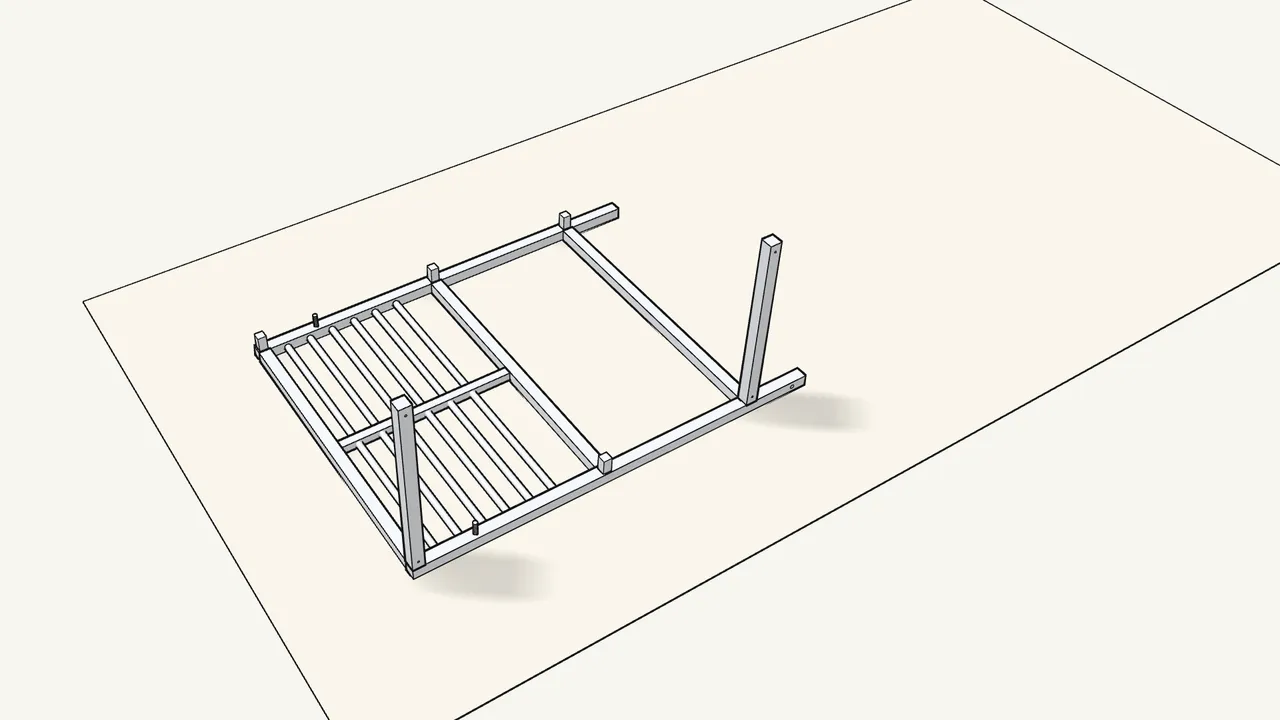
Step 1
Lay the frame with the rails flat, pins up. Fit 2 square tubes.
Check the inset in step 1 for which way round the tube goes.
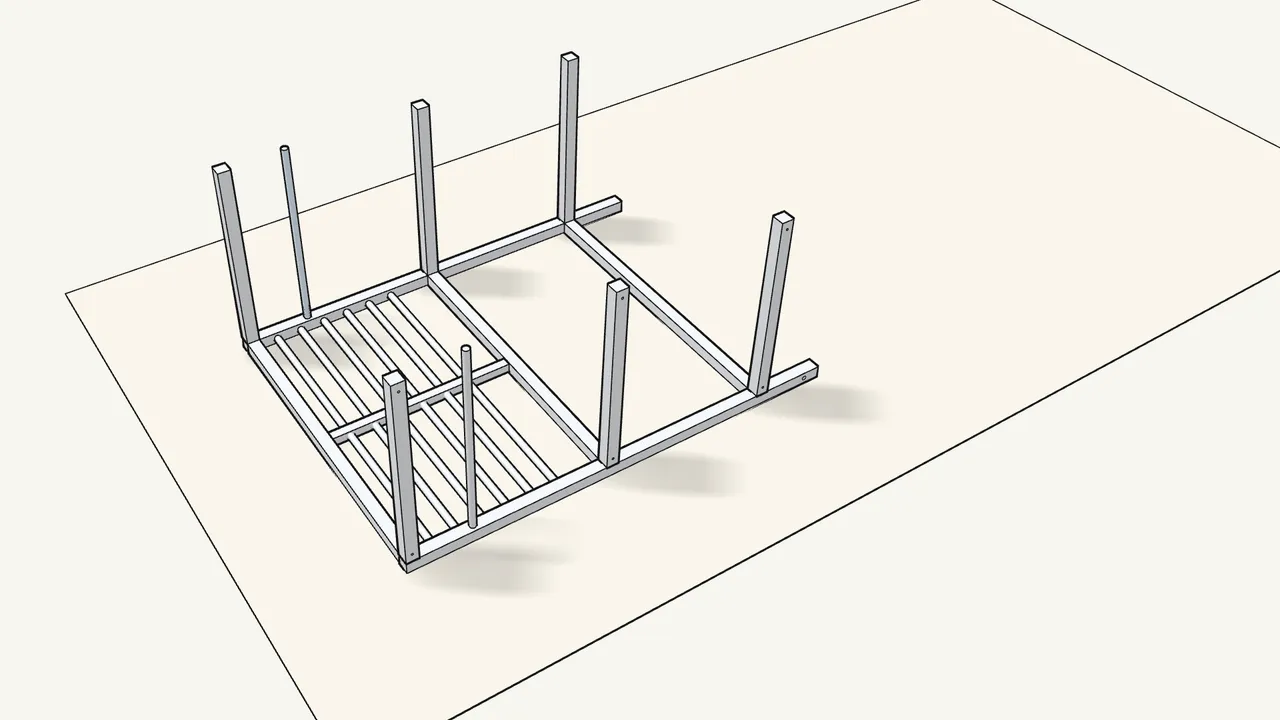
Step 2
Fit the other 4 square tubes and the 2 round rods onto the pins.
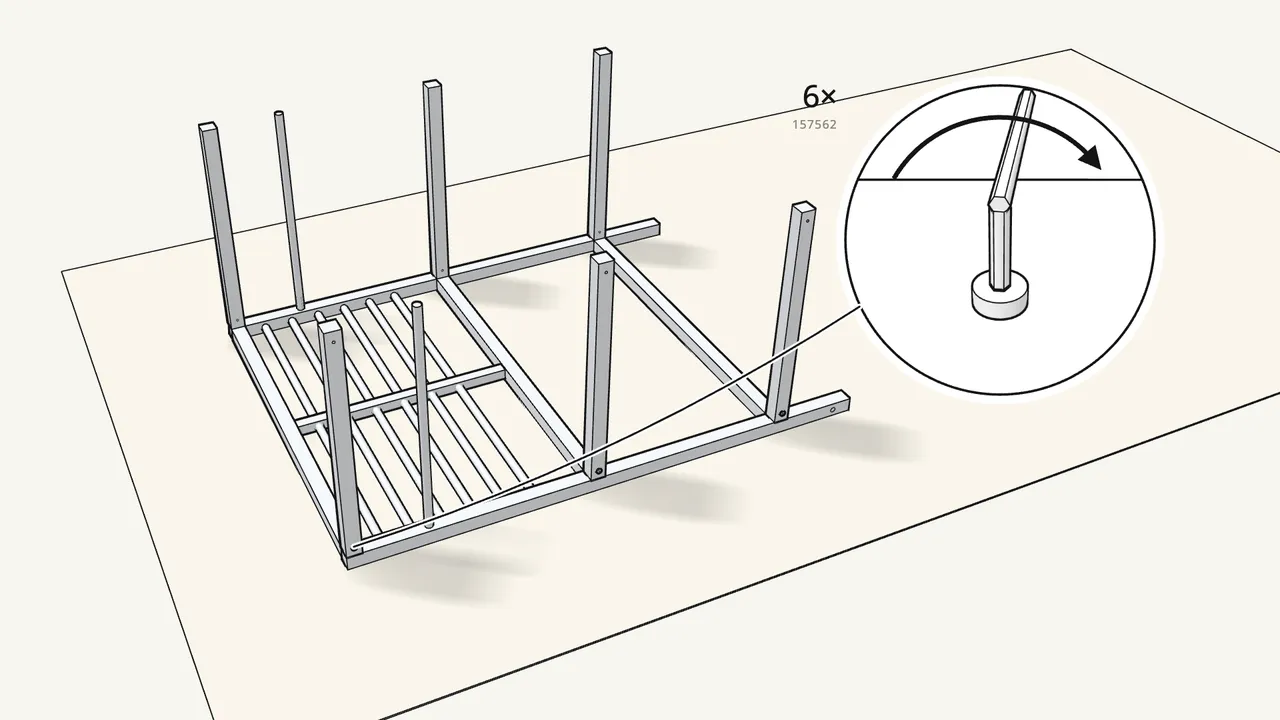
Step 3
Fix the 6 square tubes with 6 bolts (157562).
Use the Allen key (110084).
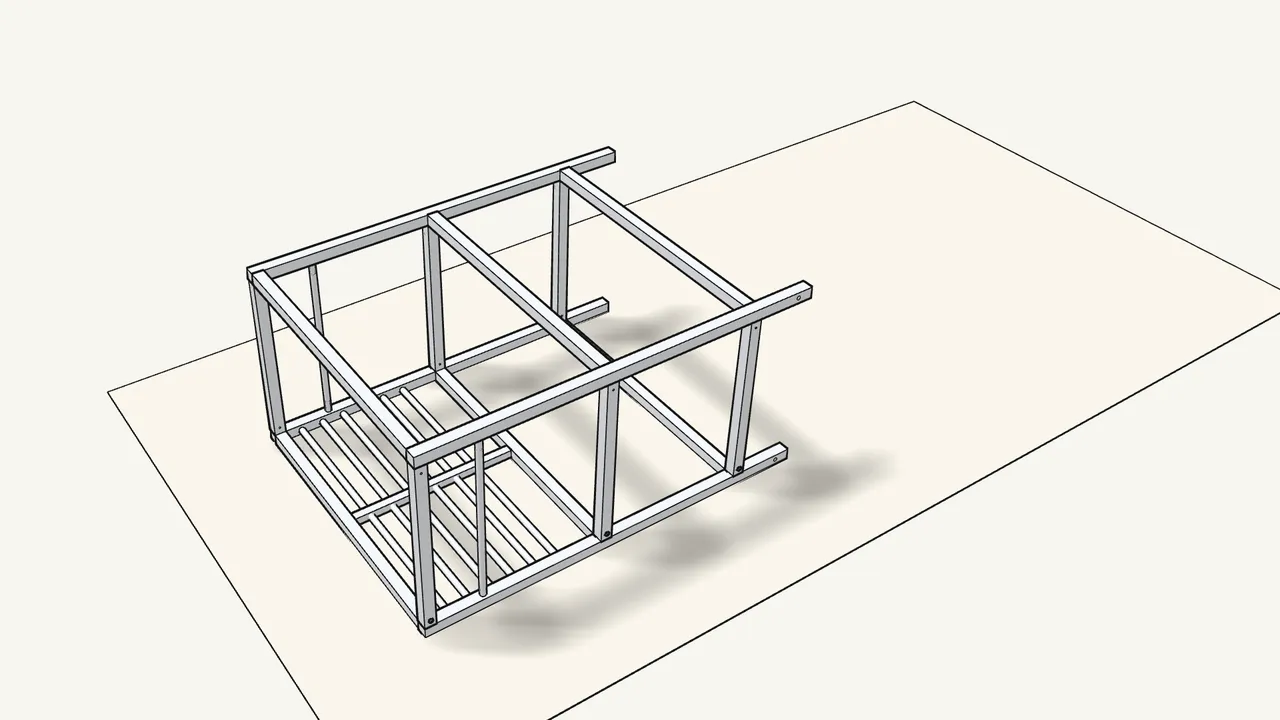
Step 4
Lower the second frame onto the tubes and rods.
Its pins slide into the free tube ends.
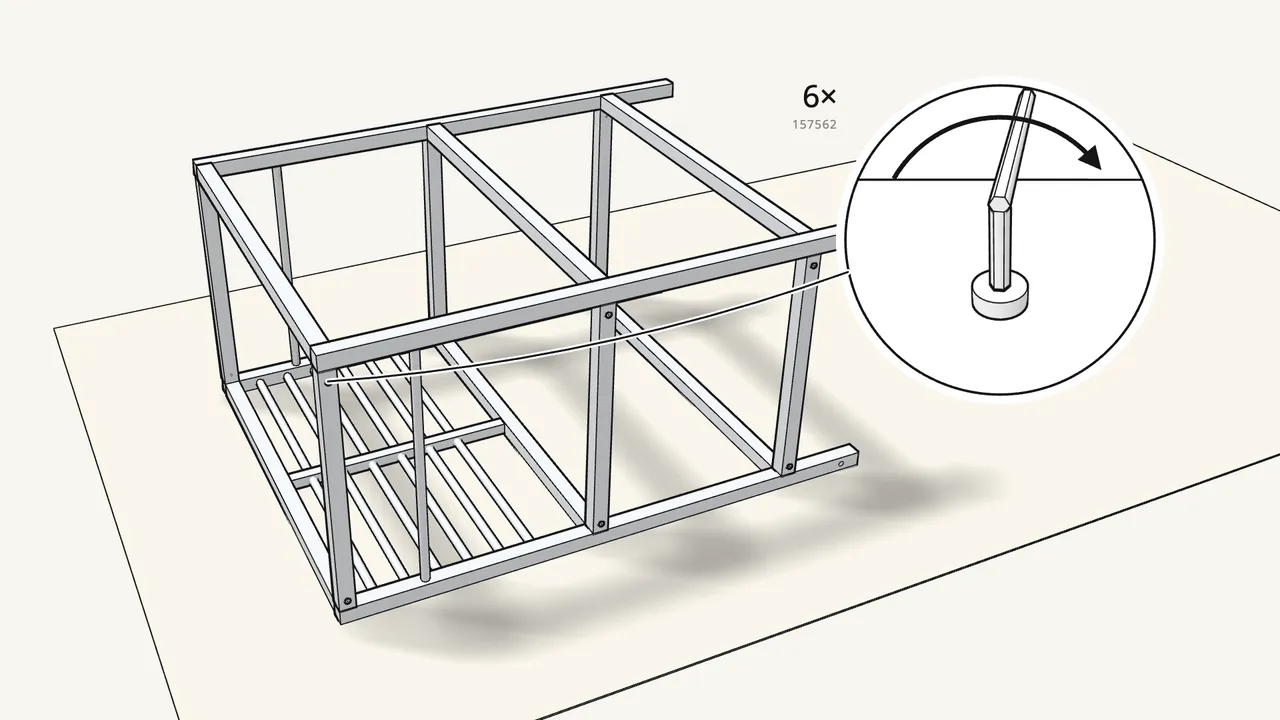
Step 5
Fix it with 6 more bolts (157562).
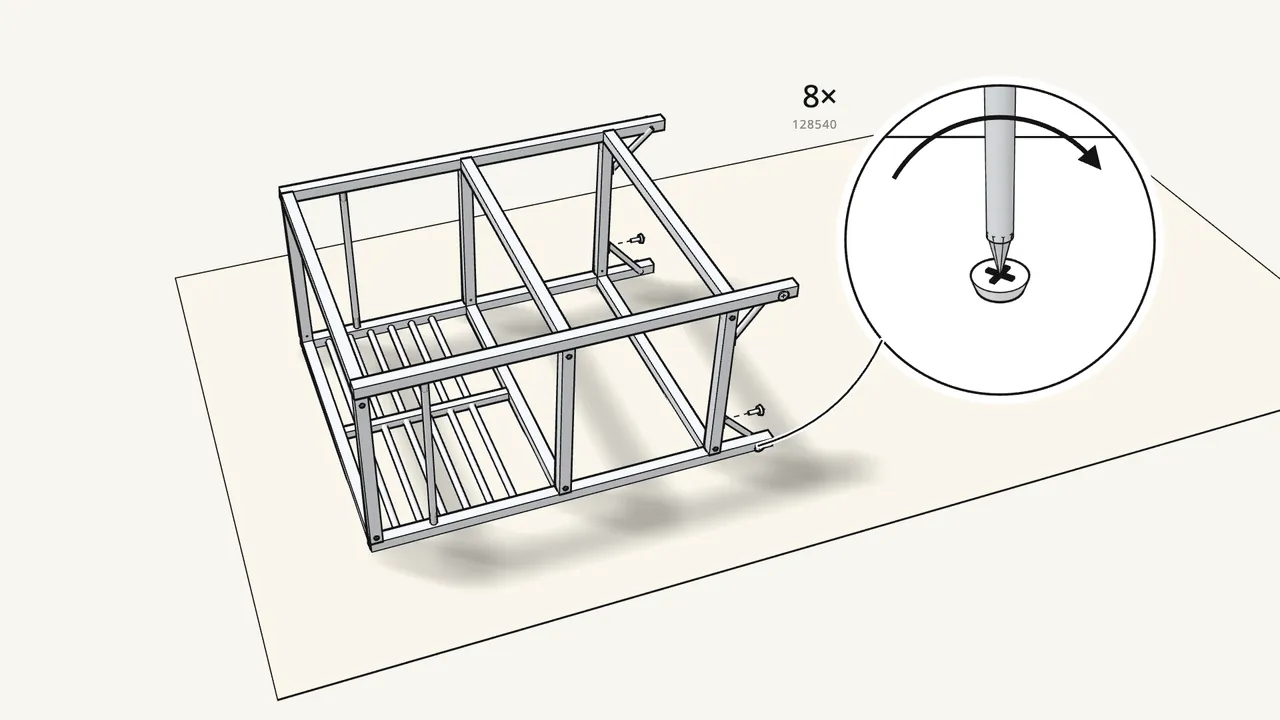
Step 6
Fit the 4 braces between the leg ends and the bottom tubes.
8 screws (128540): one through the leg, one into the tube — Phillips screwdriver.
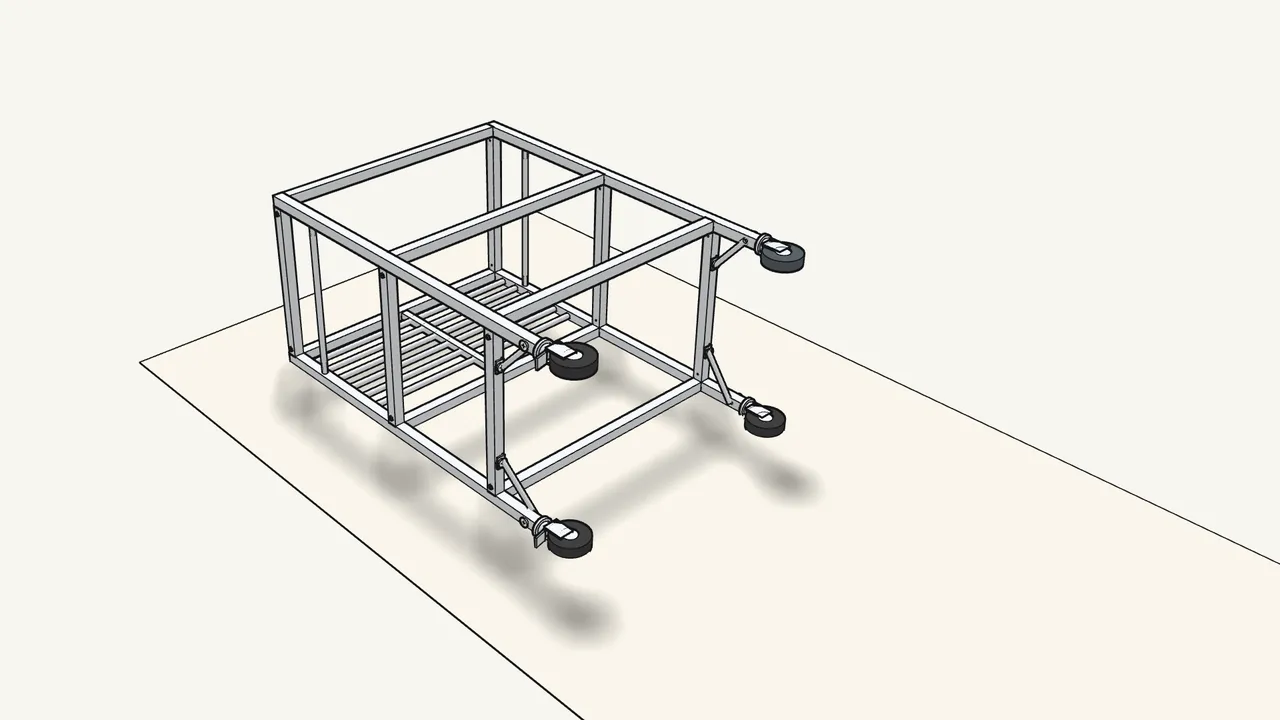
Step 7
Screw a castor into each leg end and tighten with the spanner.
The 2 castors with brakes (190098) go on the same side — see step 7.
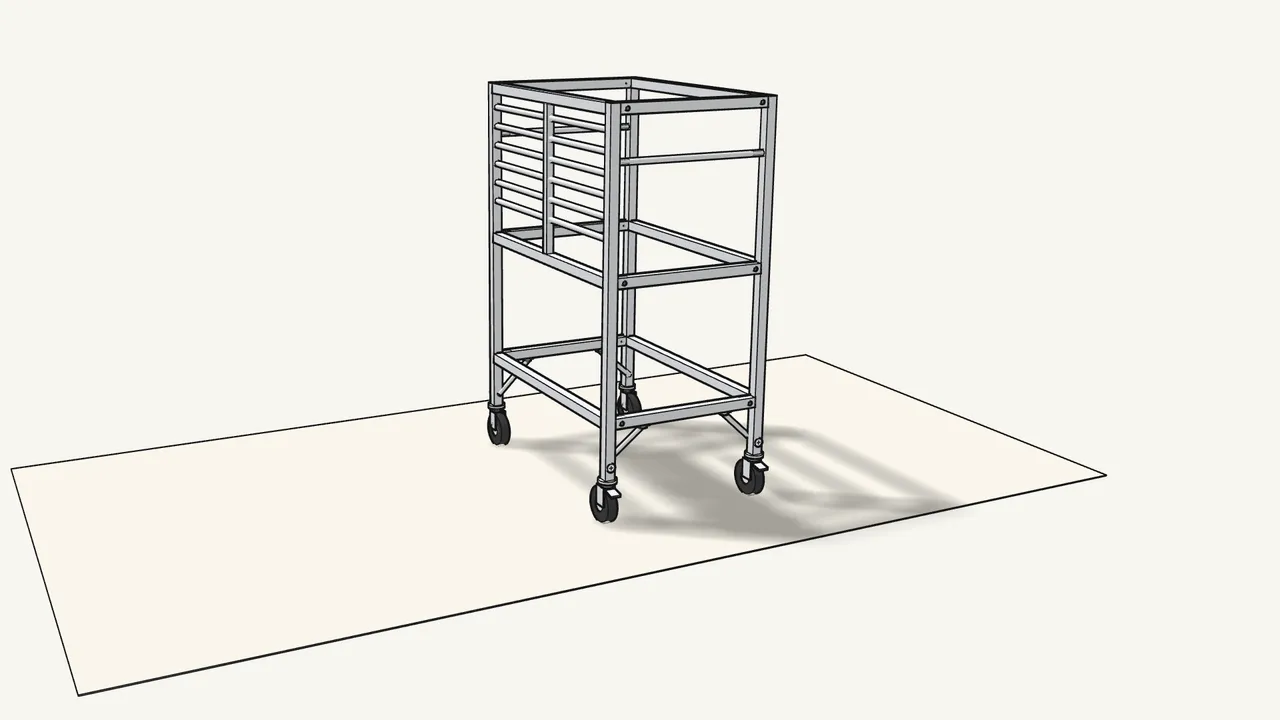
Step 8
Stand the cart up on its castors.
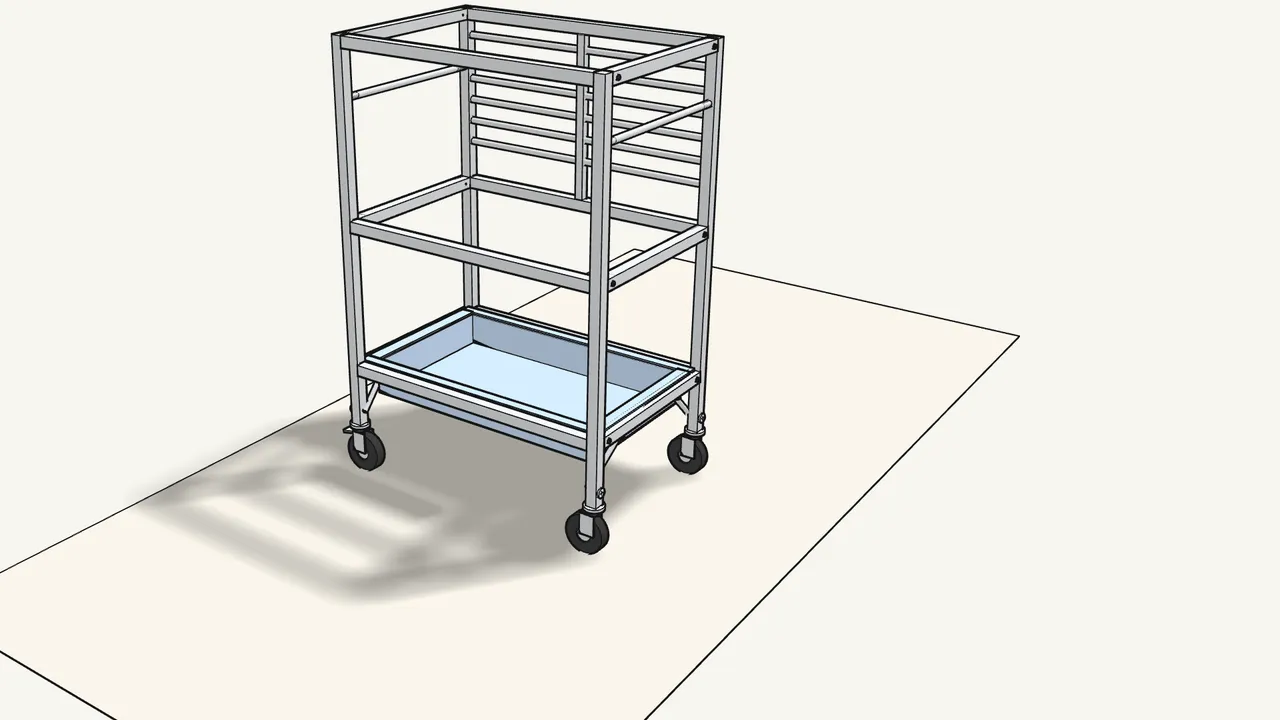
Step 9 · manual step 8–10
Tilt a deep tray, slide it in at the bottom, then level it and drop it in.
Slide it in from the open side; the rim rests on the bottom tubes.
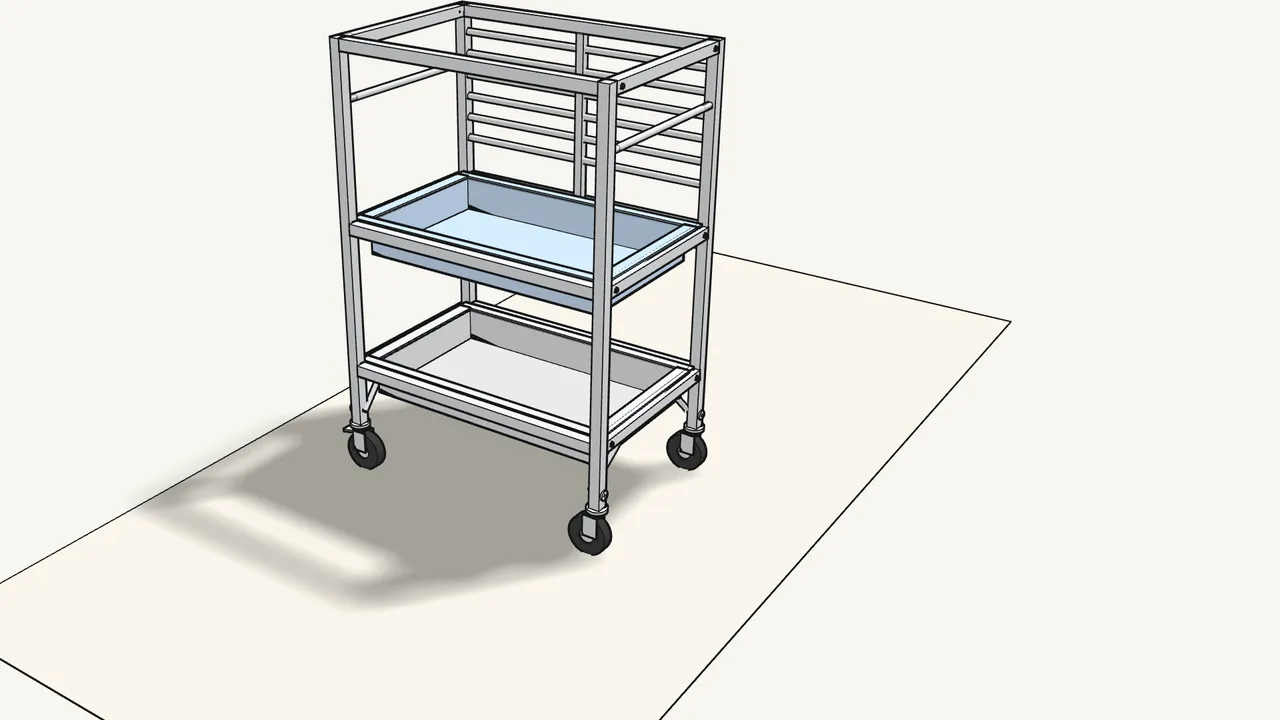
Step 10 · manual step 11–13
Fit the second deep tray on the middle level the same way.
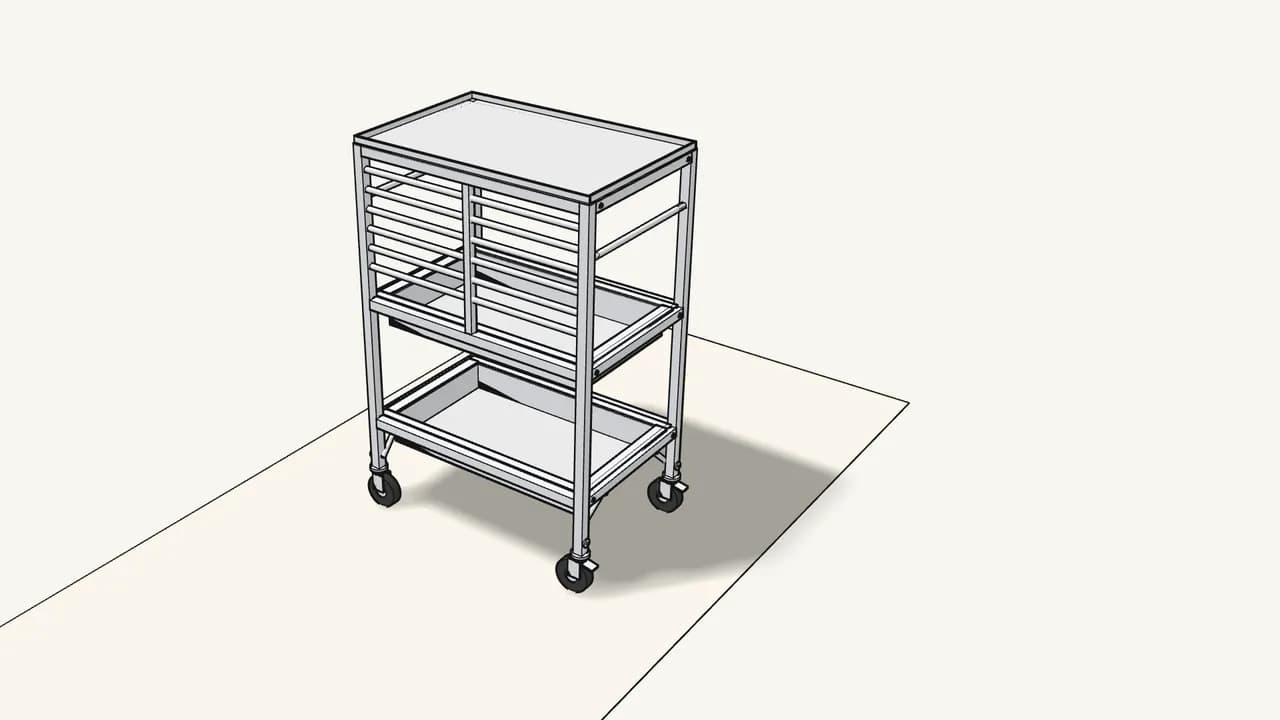
Step 11 · manual step 14
Place the flat tray on top.
Tips & safety
- The trays can swap levels. The manual (p. 8) shows the flat tray on the top, middle or bottom level.
- Unsure about a step or missing a part? The manual asks you to contact your IKEA store.
Official instructions
This guide follows IKEA’s official assembly instructions (AA-2048256-4). Keep the printed manual to hand — if anything differs, the manual is right.