IKEA · Carts & Clothes Racks
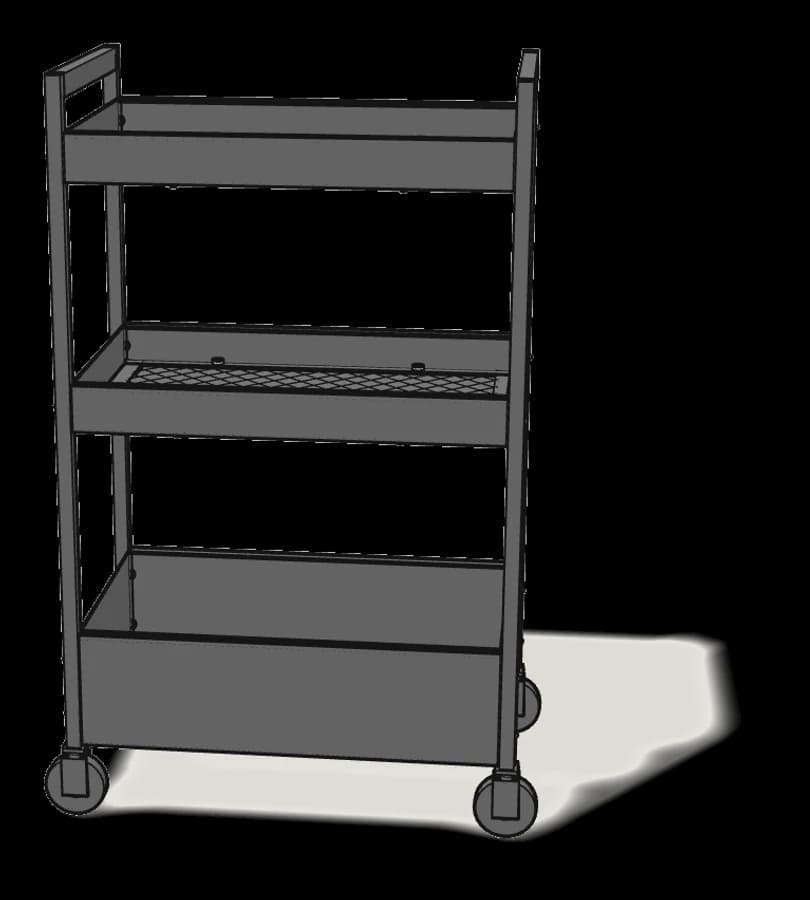
How to assemble IKEA JUTTERSBO Utility Cart
Step-by-step IKEA JUTTERSBO Utility Cart assembly: 10 illustrated steps, an animated video, the hardware list and the tools you need — following the official instructions (AA-2382157-2).
- 10 illustrated steps
- 9 steps in the manual
- 1:51 video
- 36×36×109 cm cm
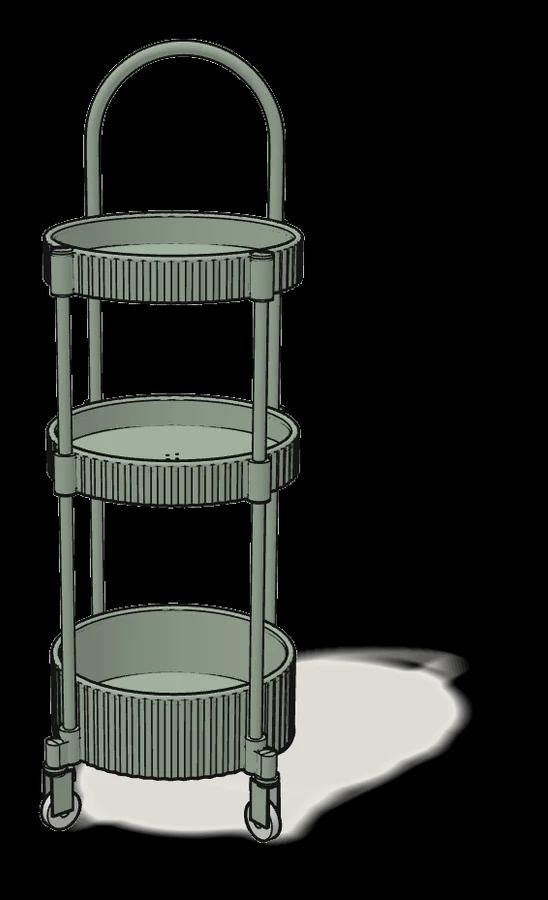
What you need
Tools
- Flat-head screwdriver
You’ll need: a flat-blade screwdriver.
Hardware in the box
| Part no. (as printed in the manual) | Qty |
|---|---|
| 10101721 | 4× |
| 10087780 | 4× |
Step-by-step assembly
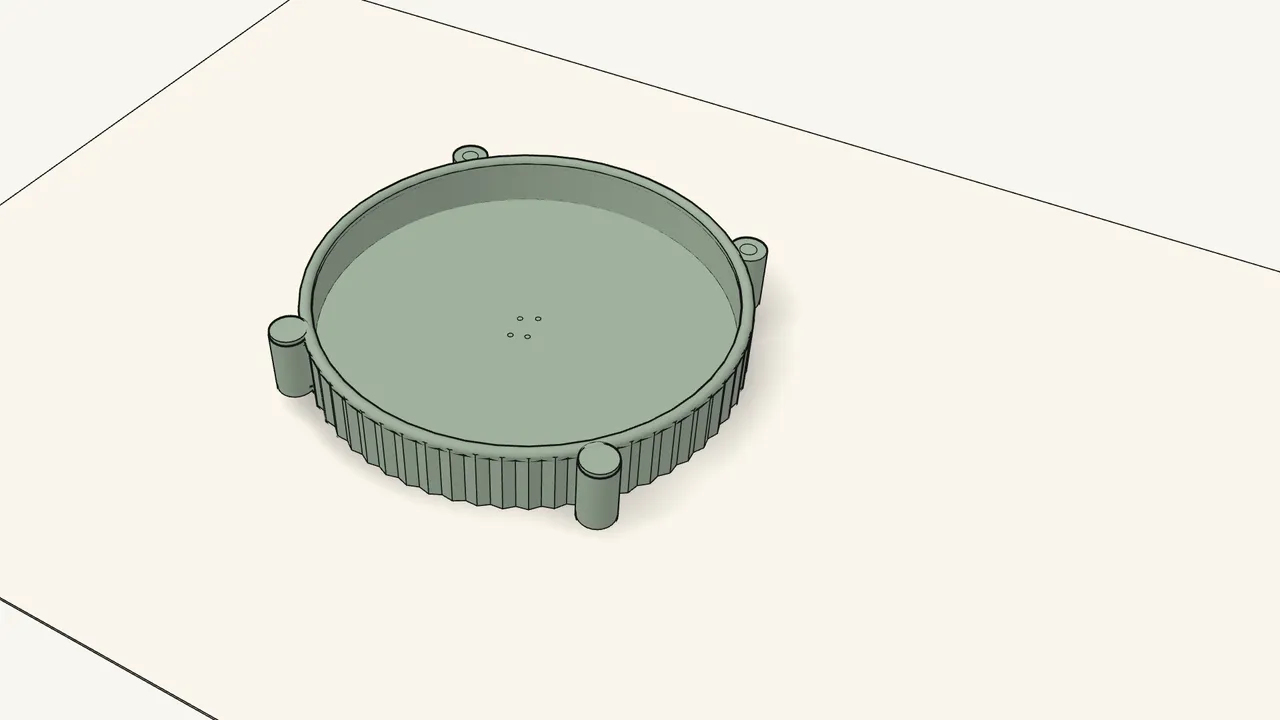
Step 1
Press 2 caps into two lugs of the top tray.
Use the shallow tray shown at the top of manual page 3.
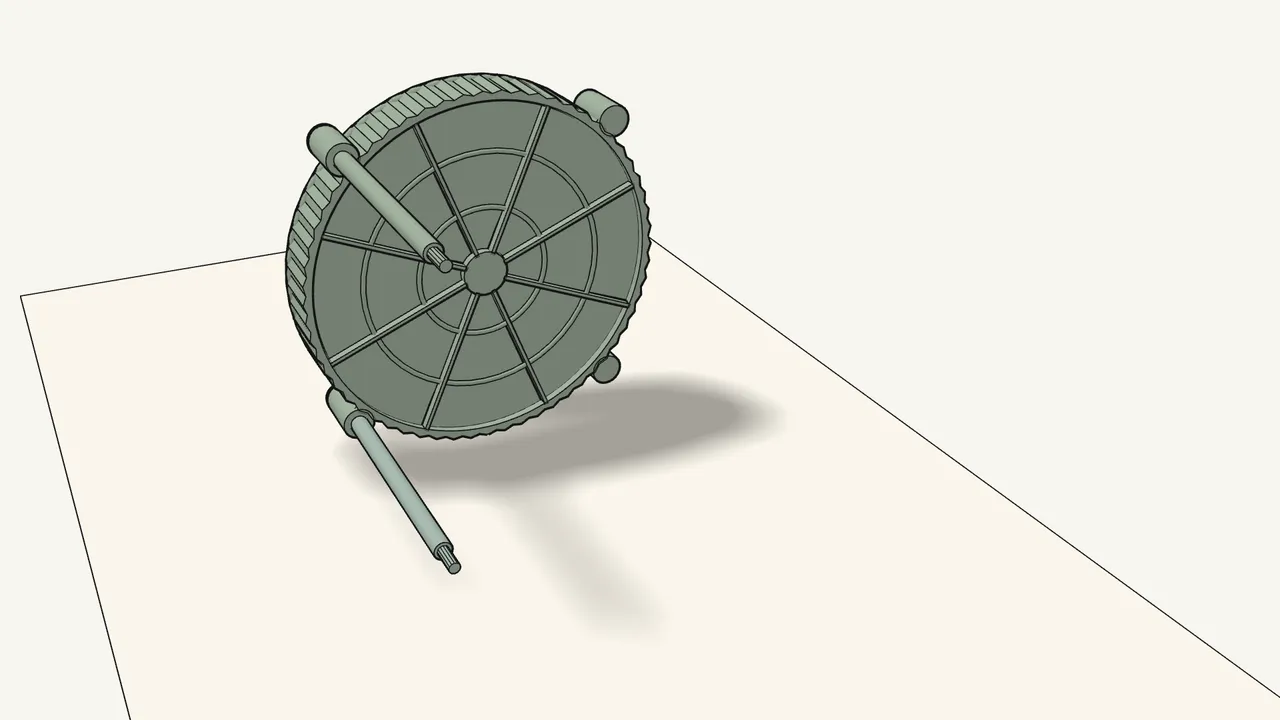
Step 2
Lay the tray on its side and screw in 2 rods.
Use the rod type the manual shows — not the crossed-out one. Turn them in by hand.
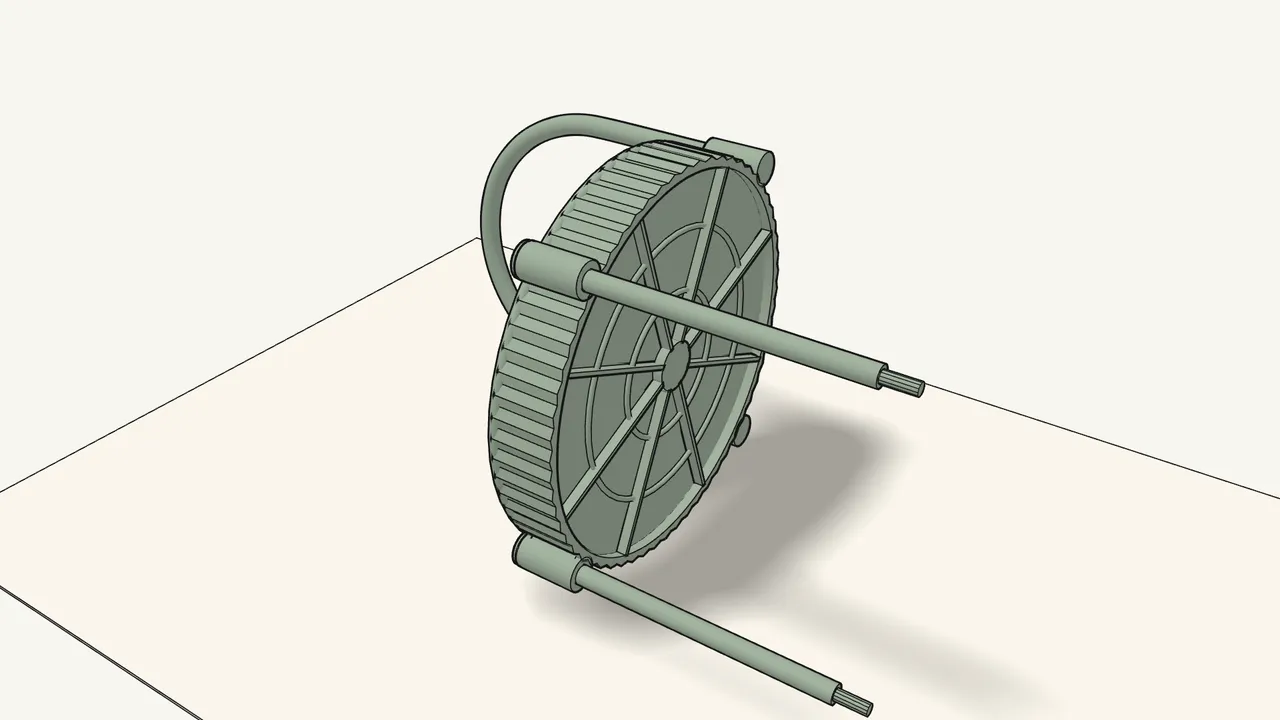
Step 3
Push the handle into the other two lugs.
Its ends go into the top side of the tray.
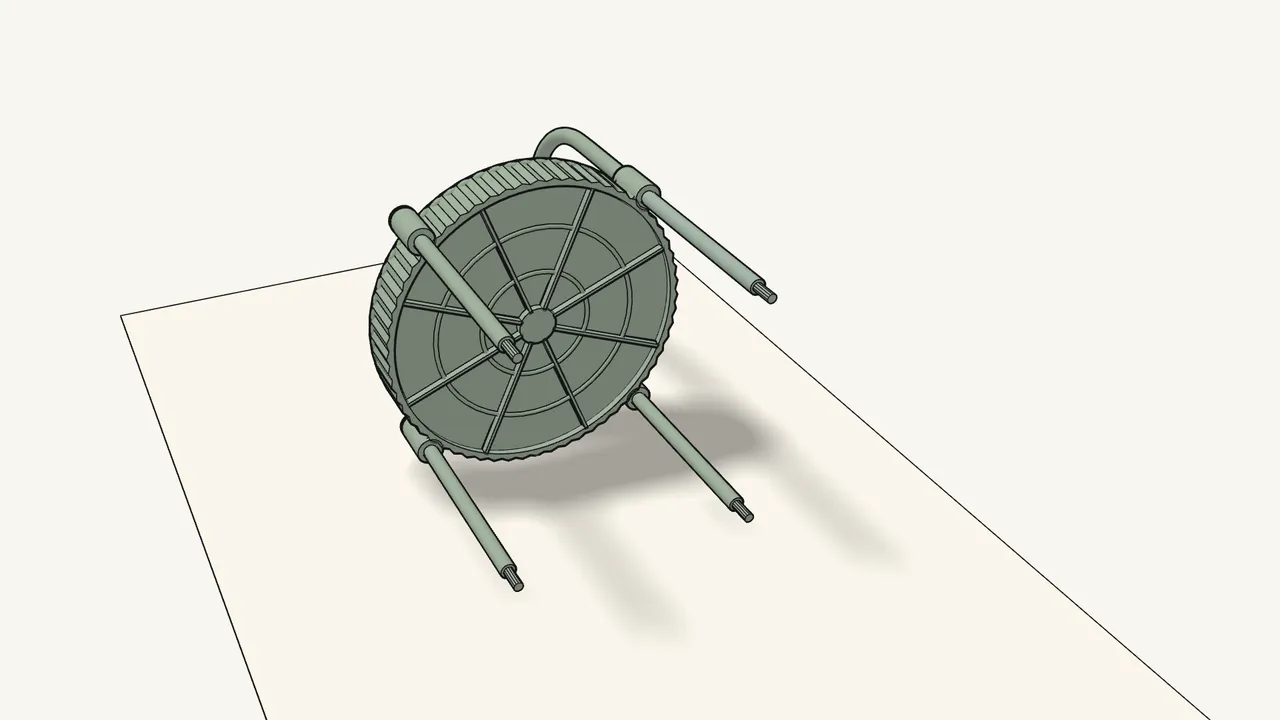
Step 4
Screw 2 more rods into the lugs under the handle.
Check the rod type against the manual again.
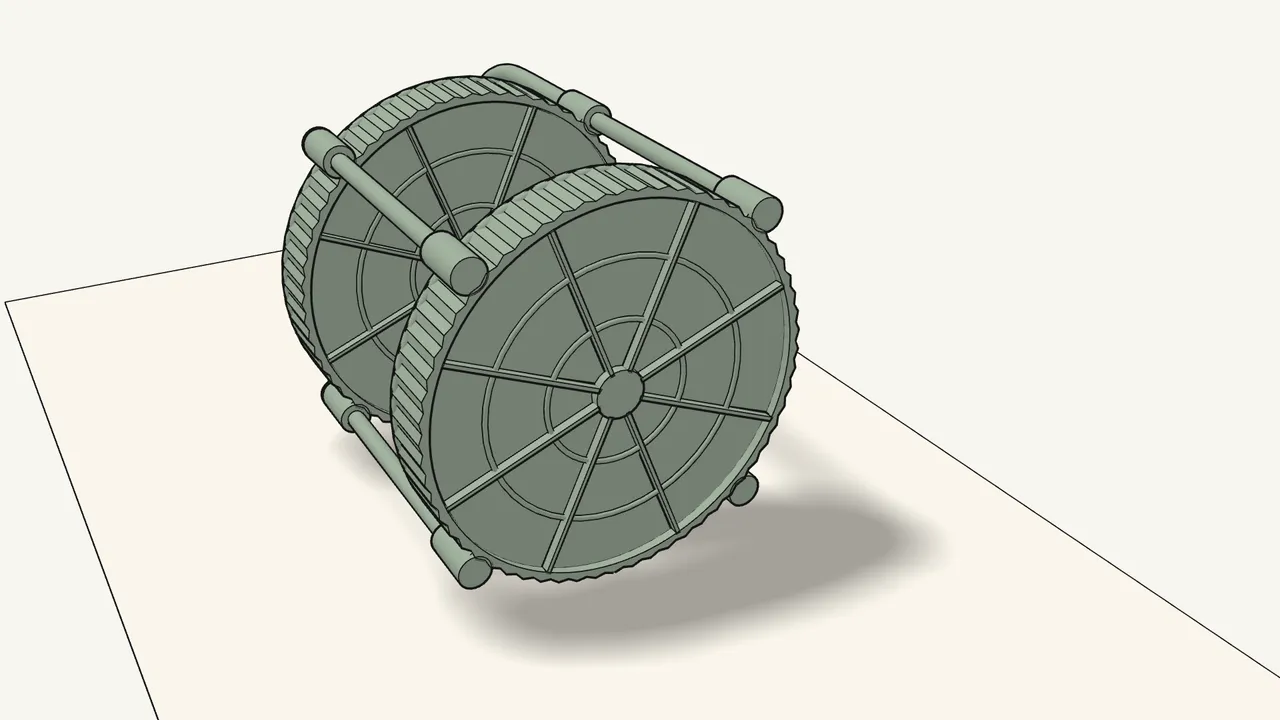
Step 5
Slide the middle tray onto the 4 rod ends.
Turn it as shown in the manual. All 4 rod ends go into its lugs.
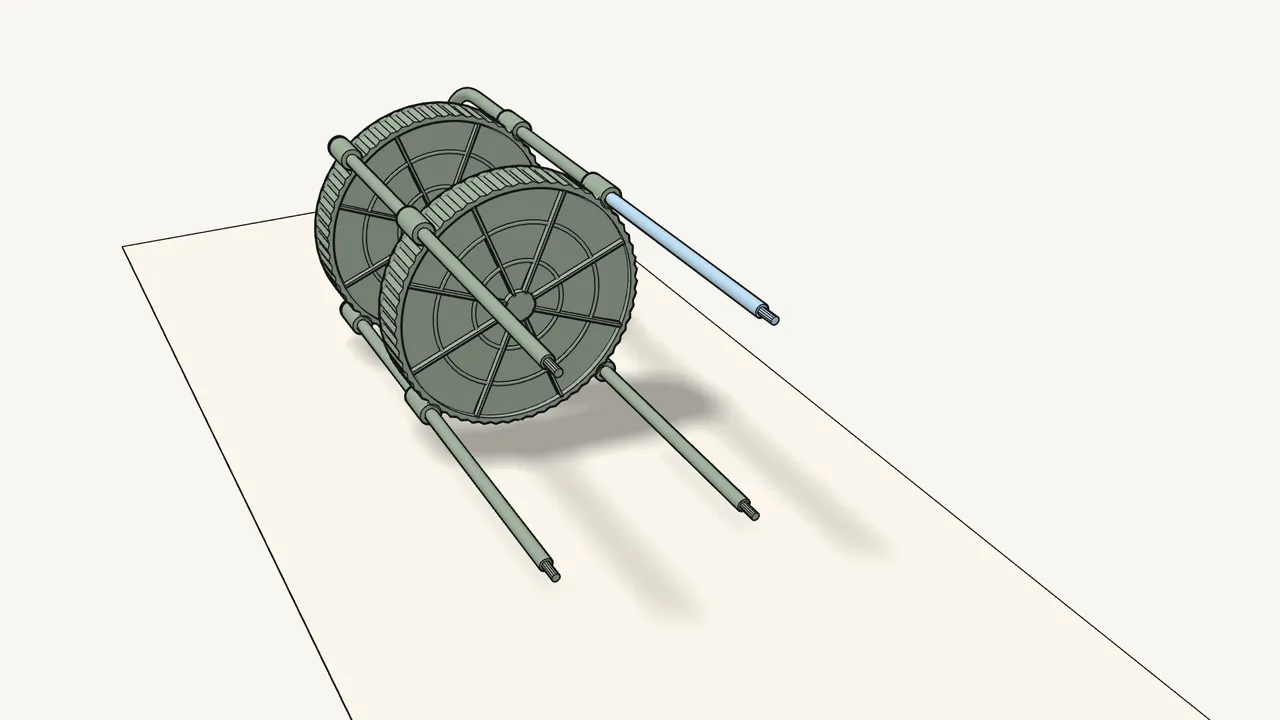
Step 6
Screw 4 rods into the lugs of the middle tray.
Turn them in by hand.
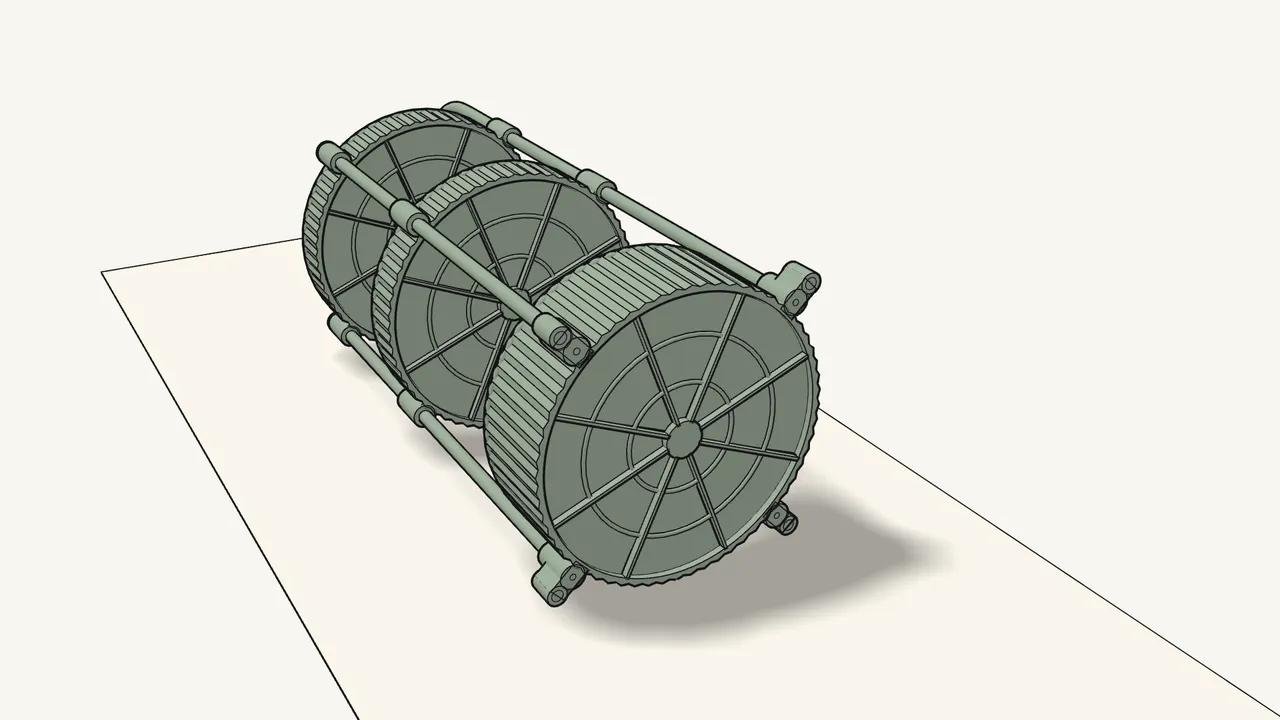
Step 7
Push the deep bottom tray onto the rod ends.
All 4 rod ends go into its lugs.
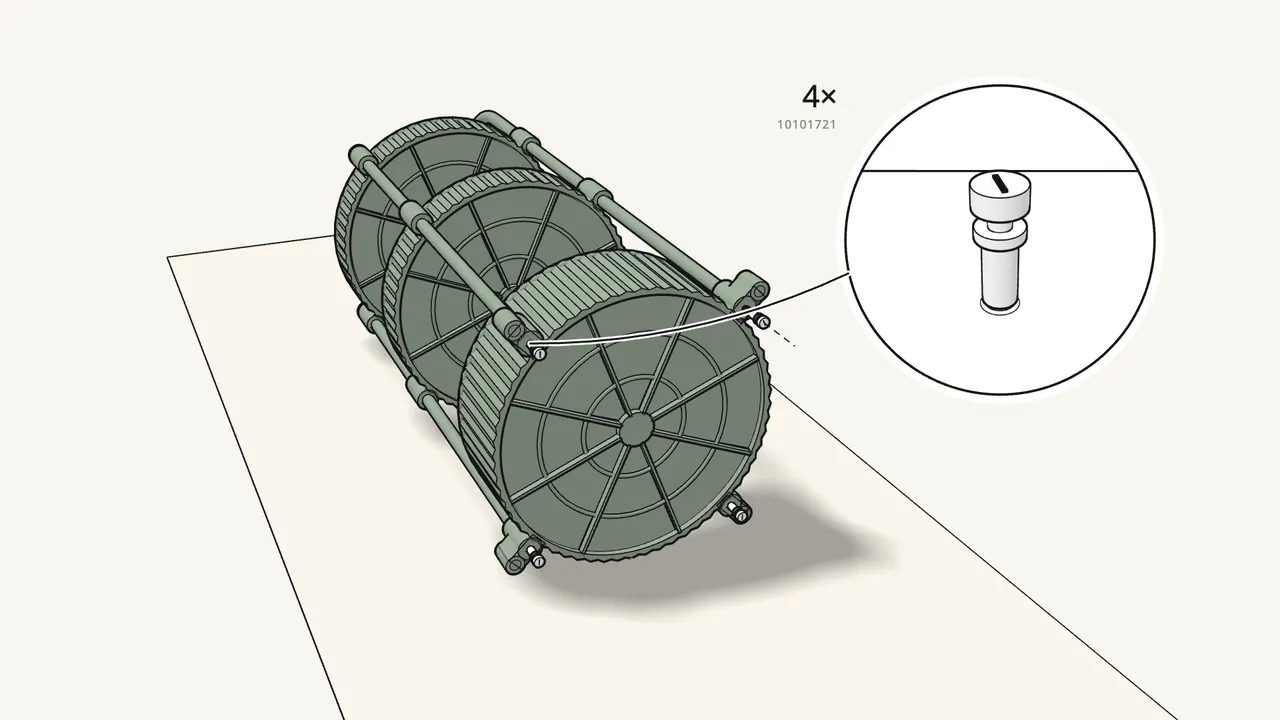
Step 8
Screw 4 bolts (10101721) into the bottom tray’s lugs.
Use the flat-blade screwdriver.
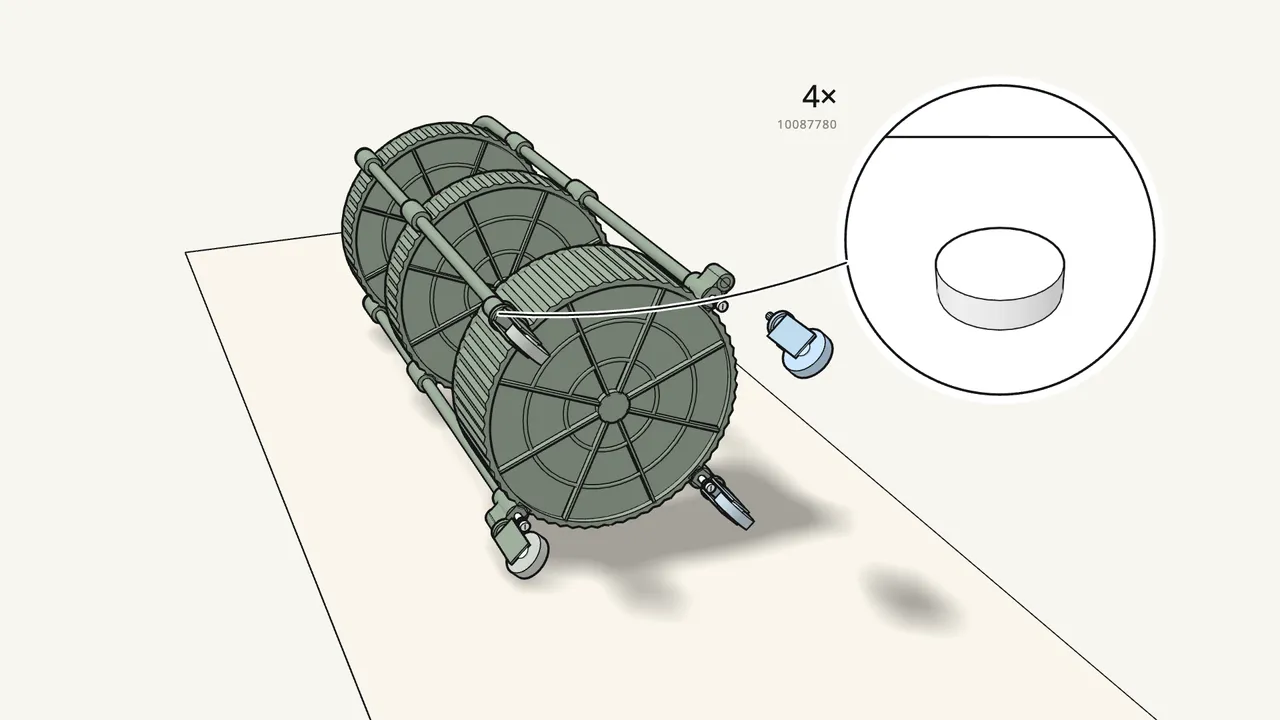
Step 9
Push the 4 casters (10087780) in until they click.
Each stem goes into the socket next to the bolt.
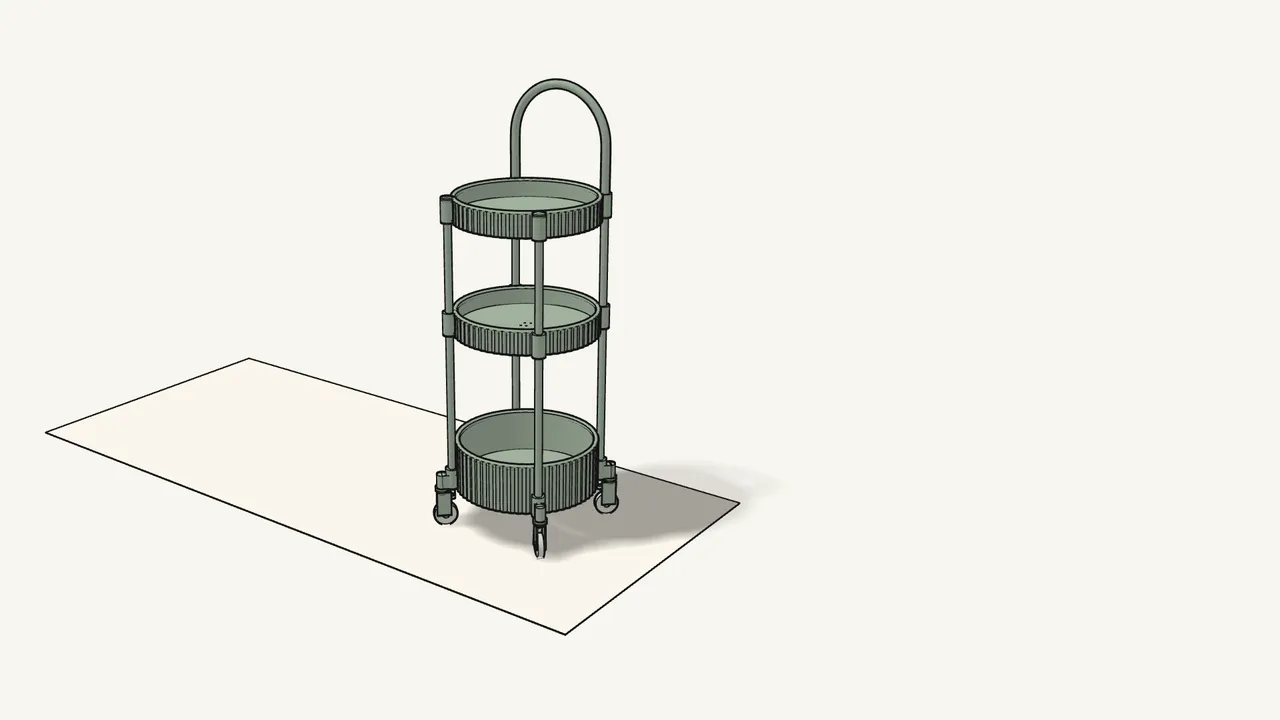
Step 10
Stand the cart upright on its casters.
Tips & safety
- Two kinds of rods. Steps 2 and 4 show which rods go into the top tray — the crossed-out type does not.
- Not sure about a step? Contact your IKEA store for help — see manual page 2.
Official instructions
This guide follows IKEA’s official assembly instructions (AA-2382157-2). Keep the printed manual to hand — if anything differs, the manual is right.