IKEA · Carts & Clothes Racks
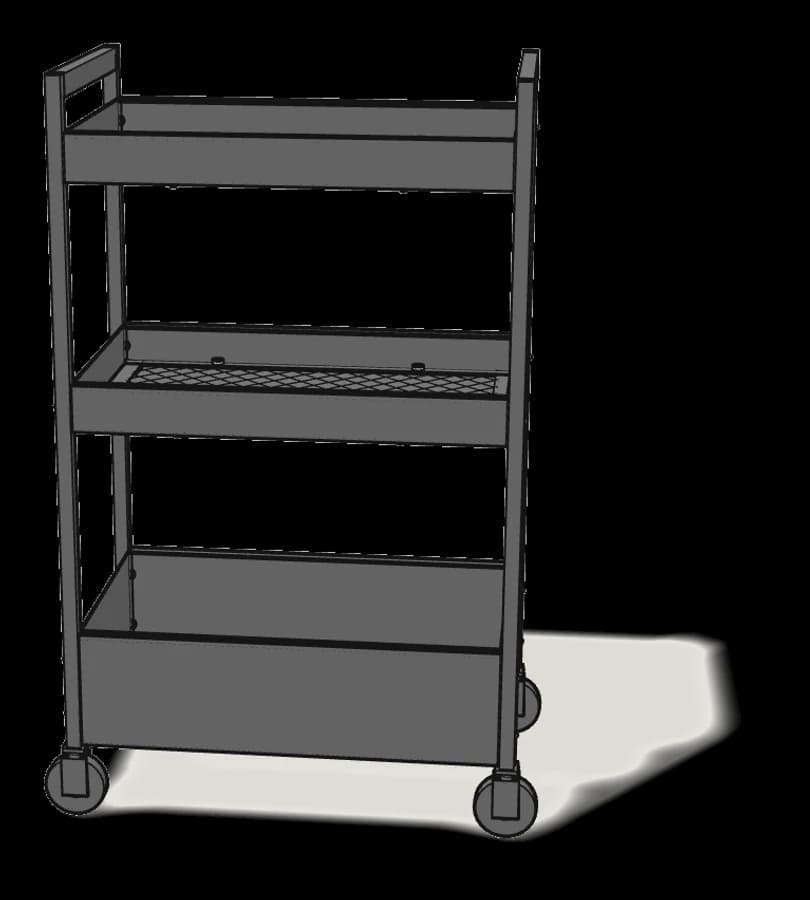
How to assemble IKEA BROR Utility Cart
Step-by-step IKEA BROR Utility Cart assembly: 10 illustrated steps, an animated video, the hardware list and the tools you need — following the official instructions (AA-2059059-8).
- 10 illustrated steps
- 6 steps in the manual
- 1:47 video
- 85×55×88 cm
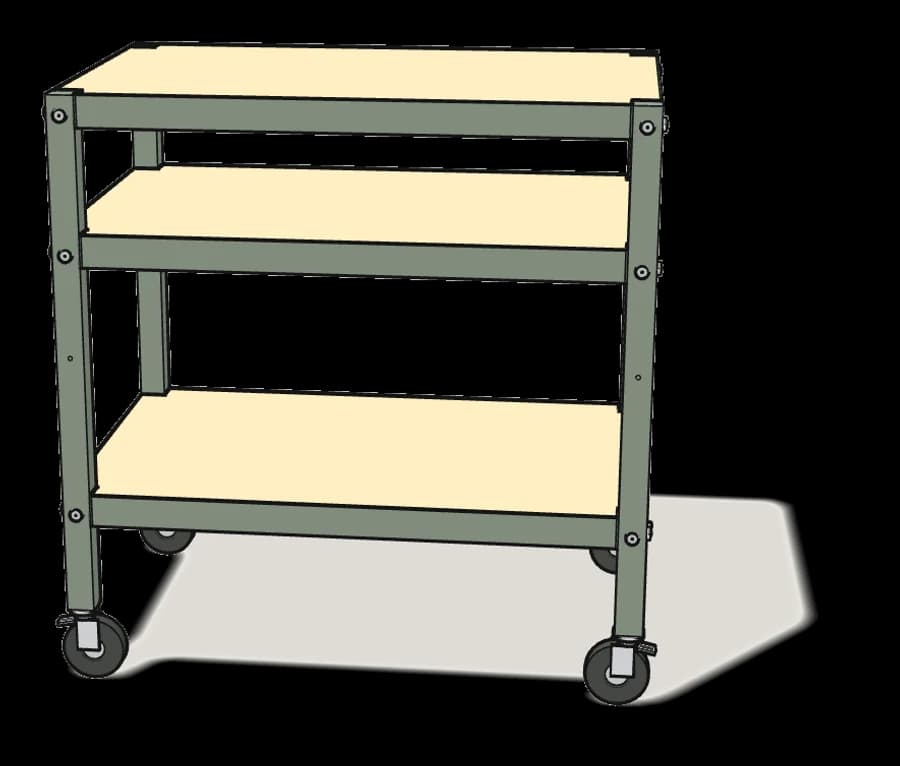
What you need
Tools
- Allen key (included)
- Spanner (included)
Hardware in the box
| Part no. (as printed in the manual) | Qty |
|---|---|
| 10042206 | 24× |
| 10050776 | 12× |
| 108383 | 4× |
Step-by-step assembly
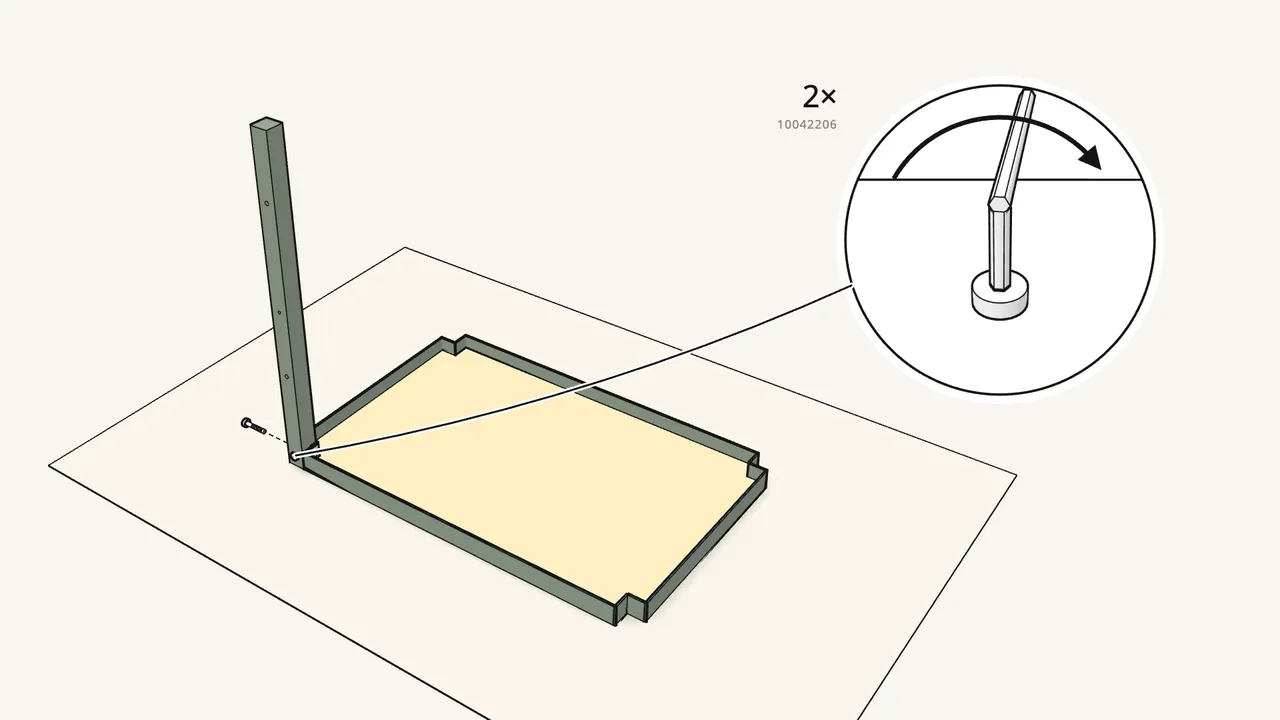
Step 1
Lay the top shelf upside down and fit the first leg into a corner.
Put a bracket (10050776) inside the corner, then turn in 2 bolts with the Allen key.
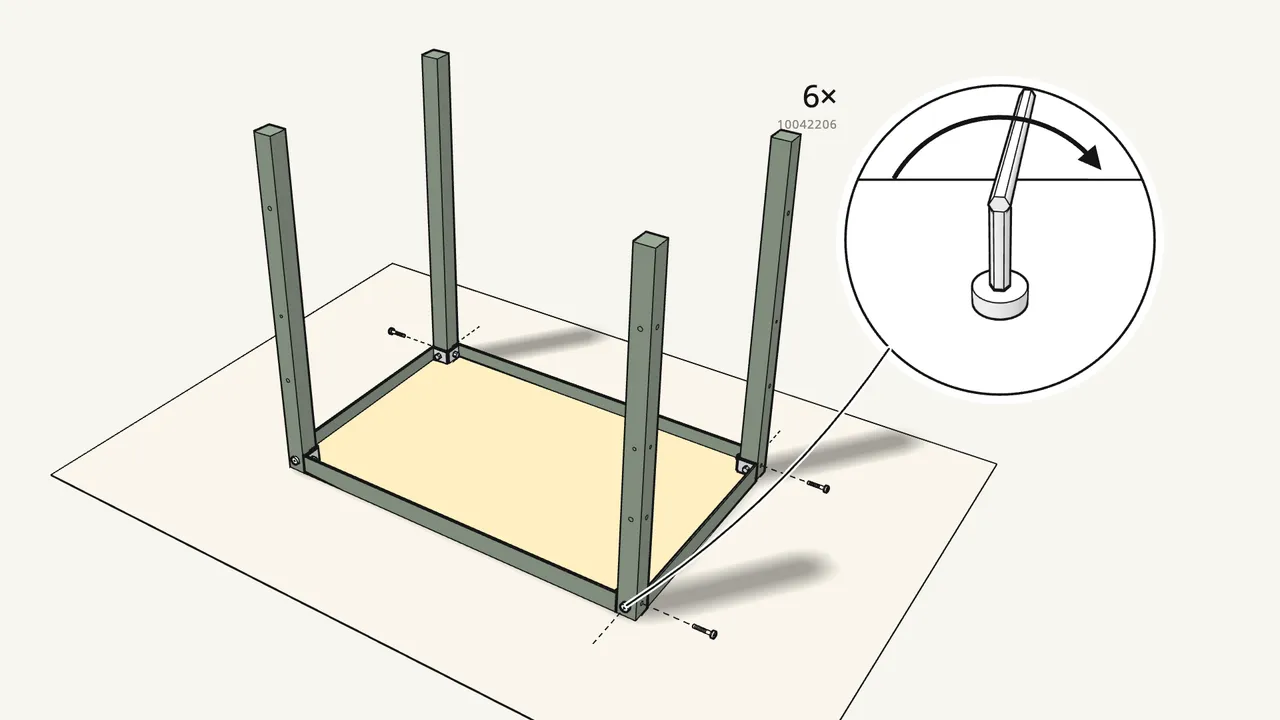
Step 2
Fit the other 3 legs the same way.
A bracket and 2 bolts at each corner.
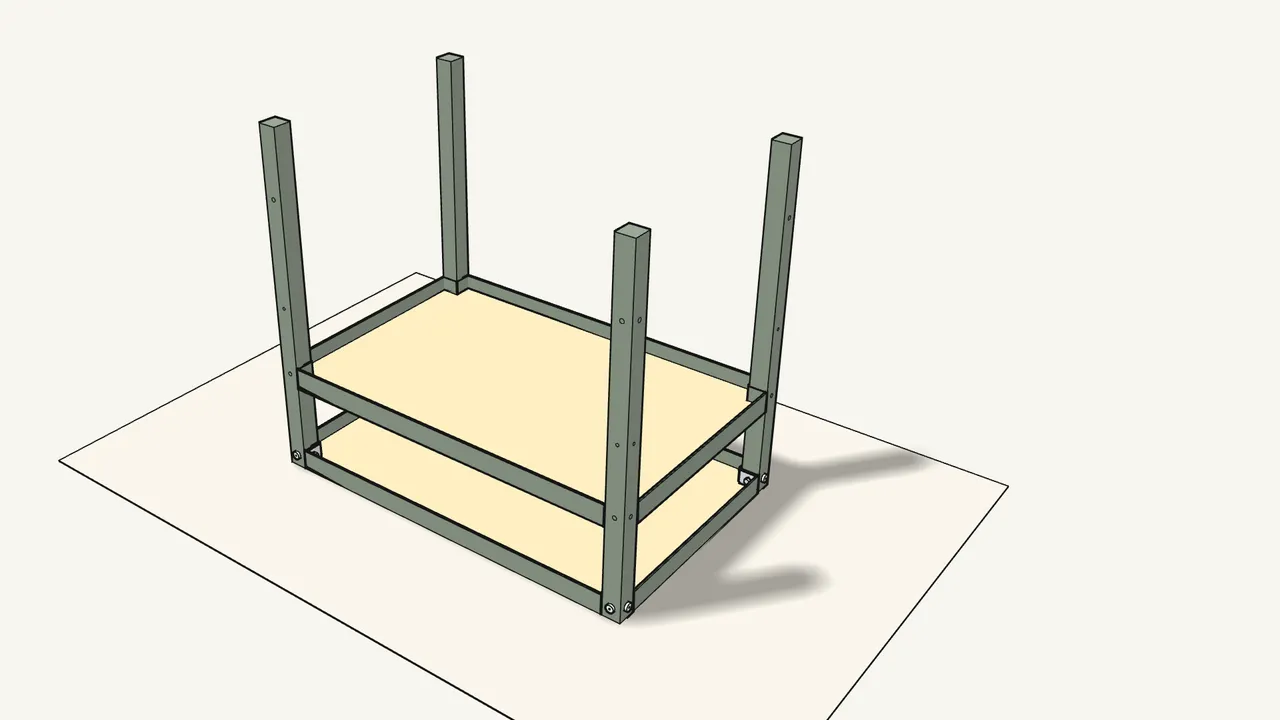
Step 3
Lower the next shelf between the legs, upside down.
Its notched corners fit around the legs.
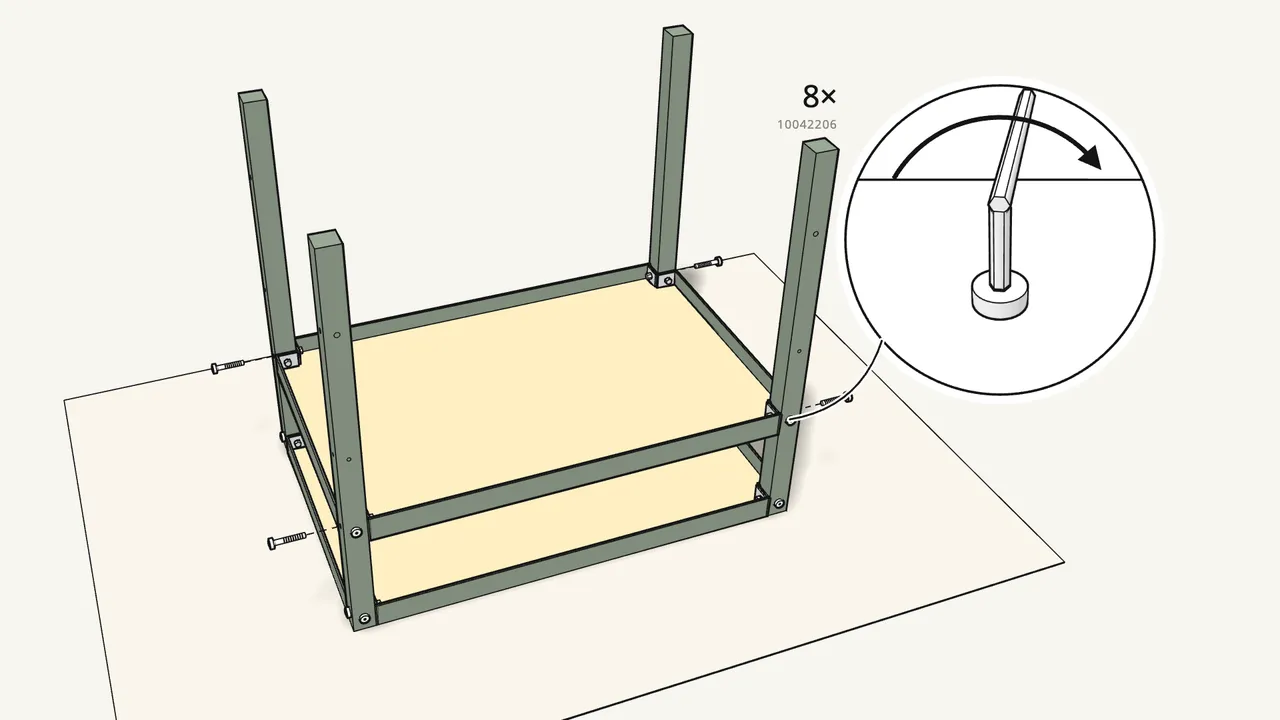
Step 4 · manual step 3
Fit 4 brackets and 8 bolts at its corners.
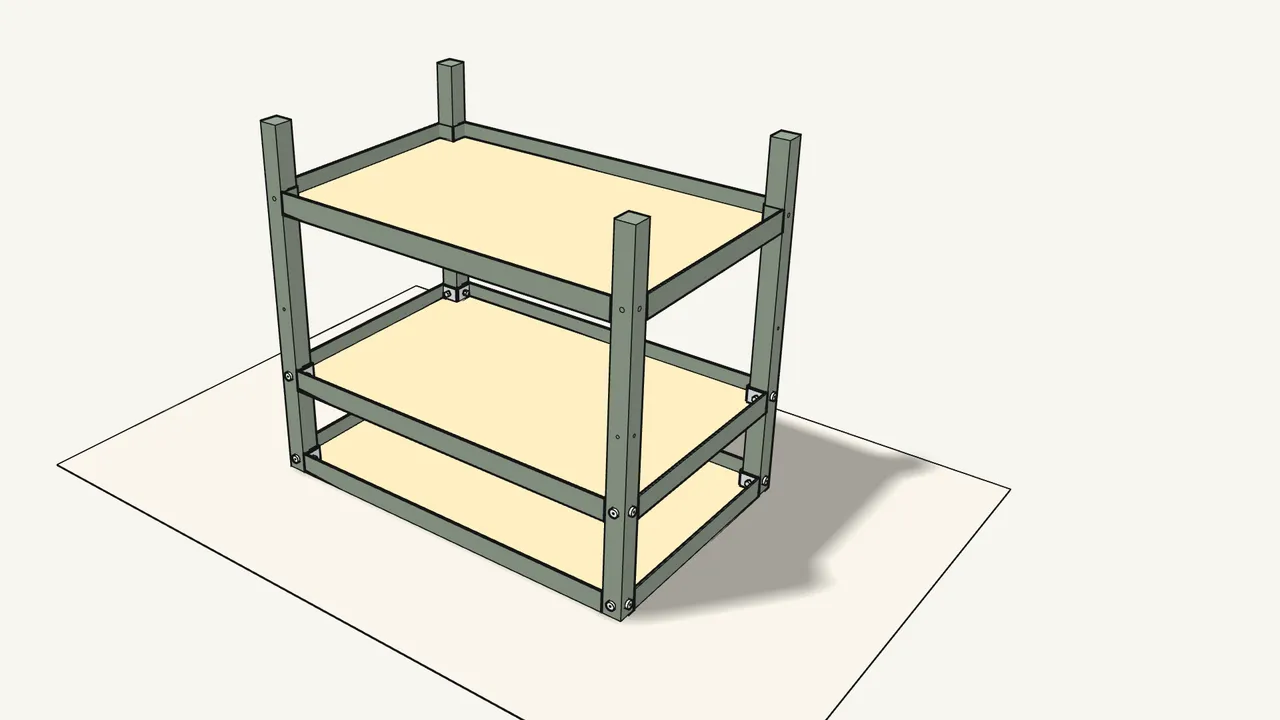
Step 5 · manual step 4
Lower the last shelf in near the leg ends.
Same way: upside down, corners around the legs.
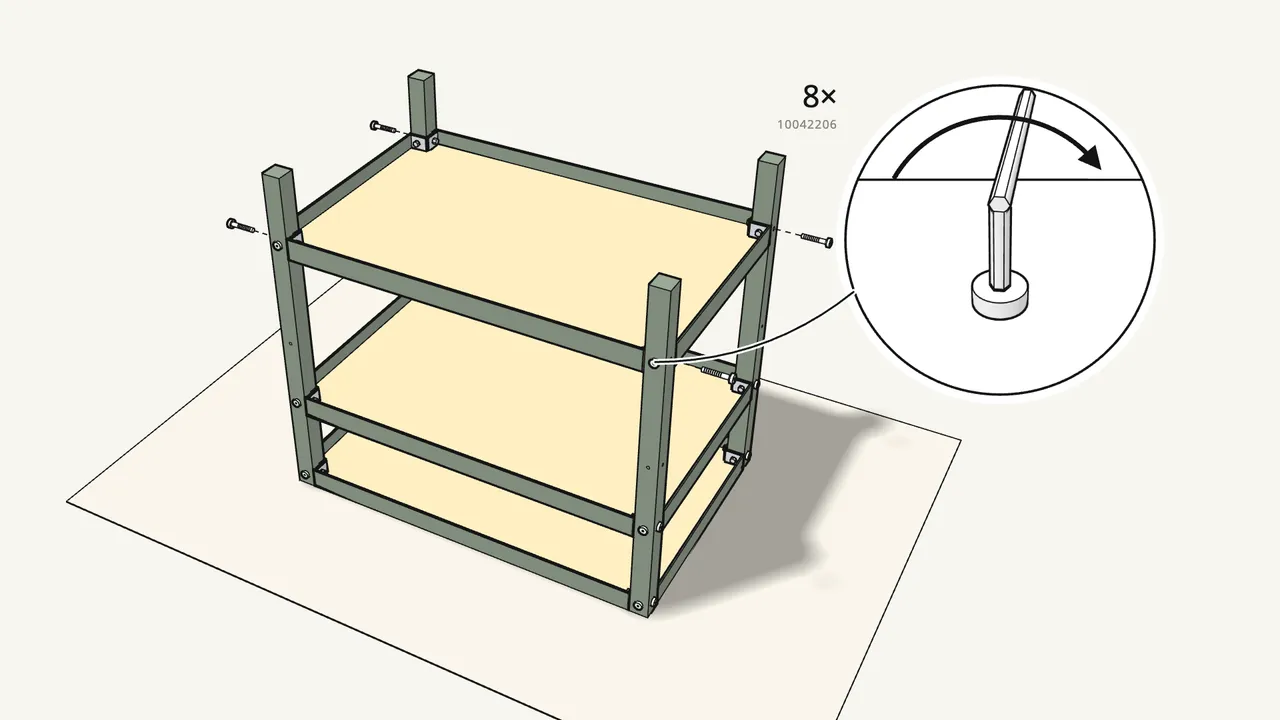
Step 6 · manual step 4
Fit 4 brackets and 8 bolts at its corners.
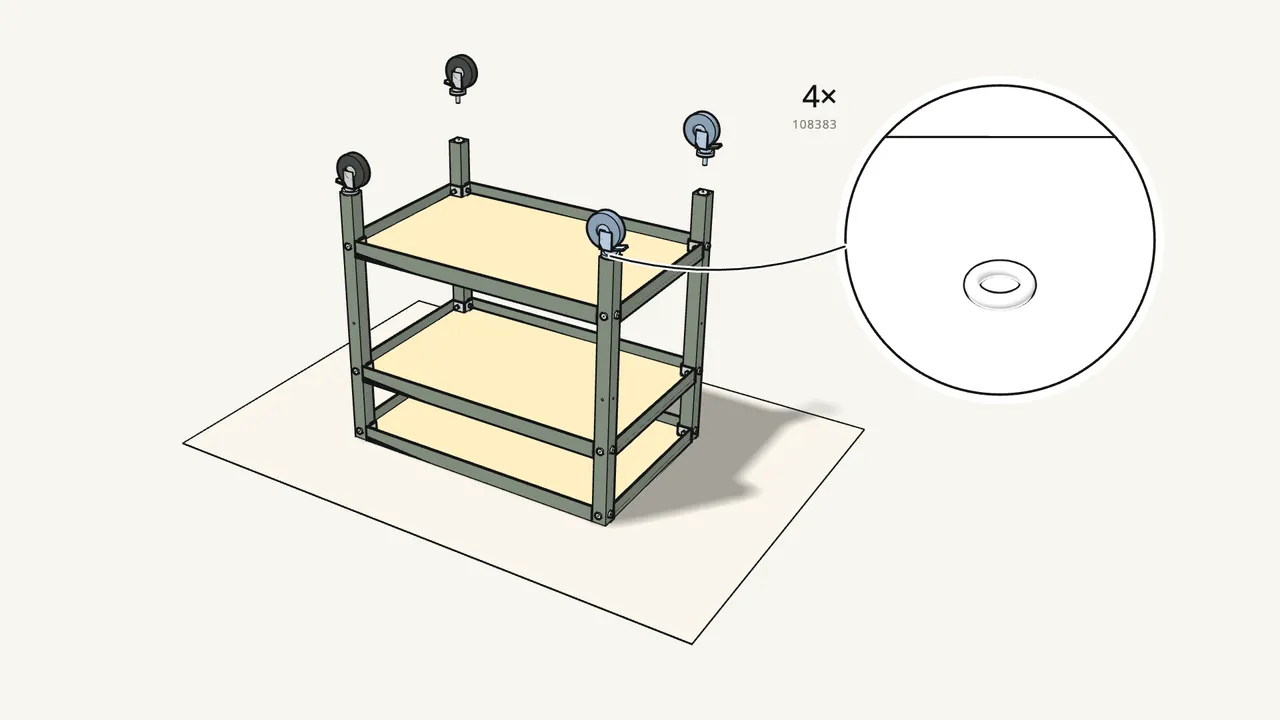
Step 7 · manual step 5
Fit a castor to each leg end.
Nut 145714 in the leg, washer 108383, then the castor — tighten with the spanner (110470).
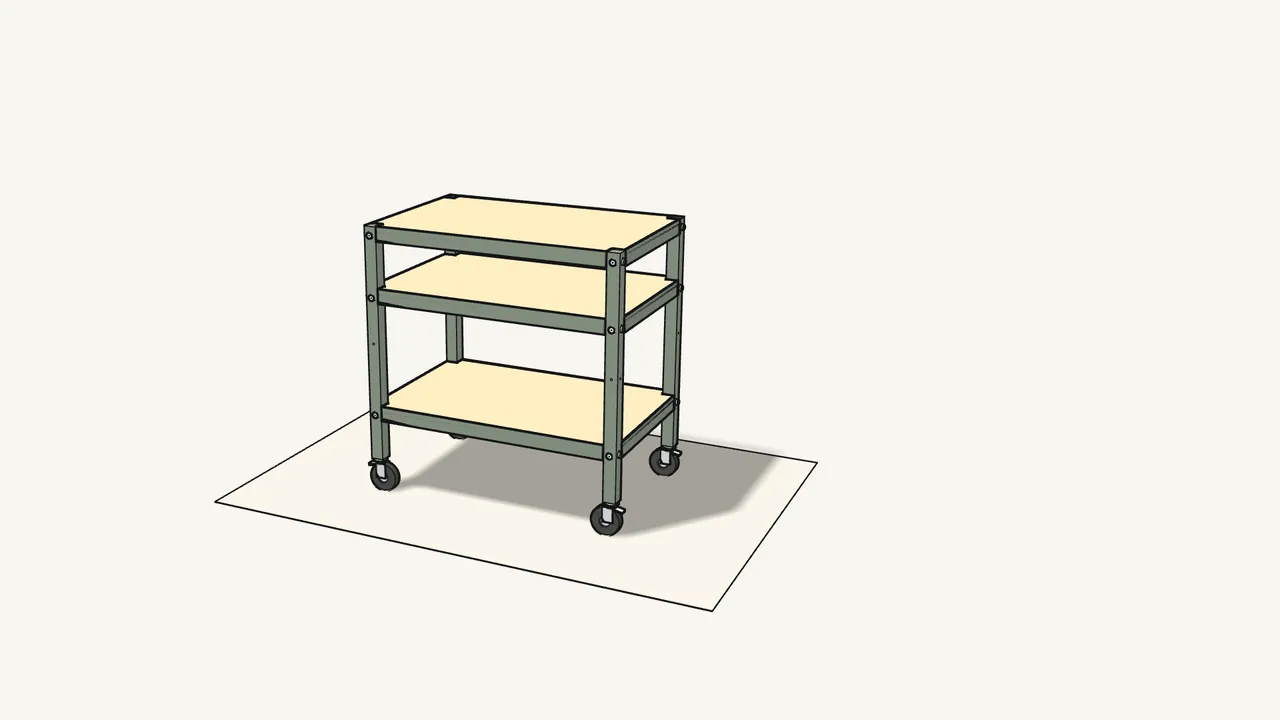
Step 8 · manual step 6
Turn the cart over onto its castors.
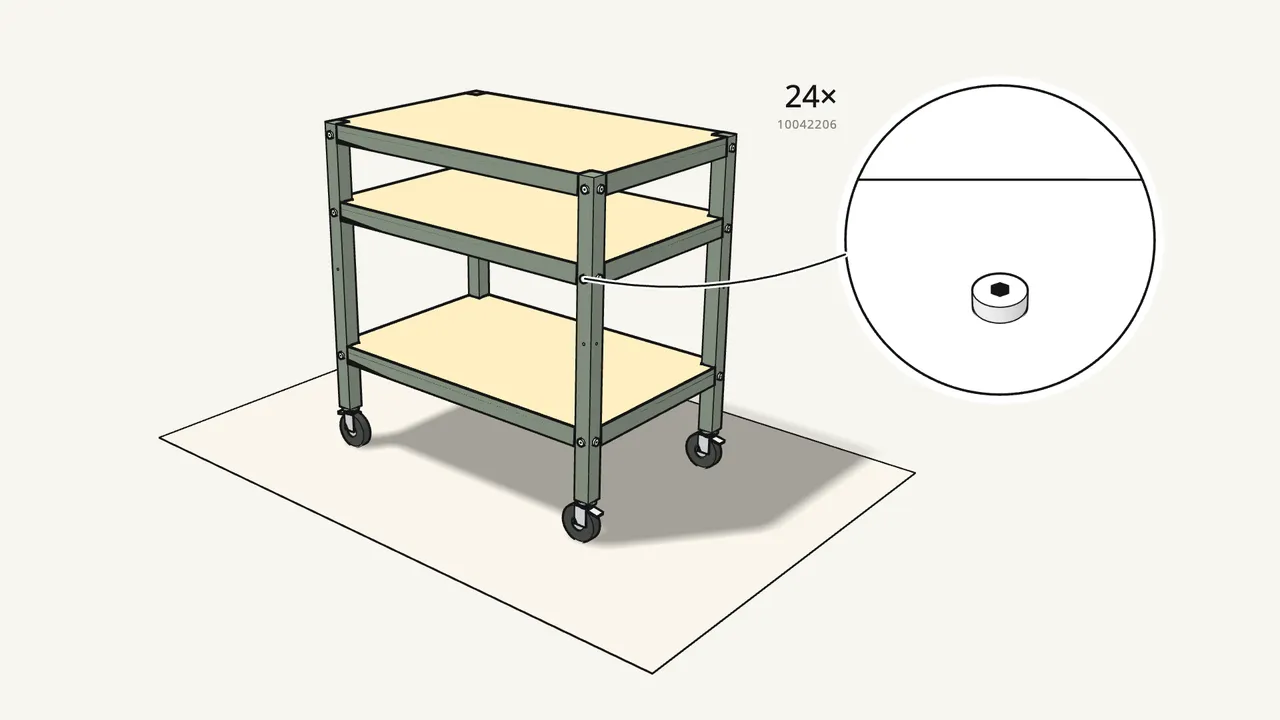
Step 9 · manual step 6
Tighten all 24 bolts firmly with the Allen key.
Two at each corner of every shelf.
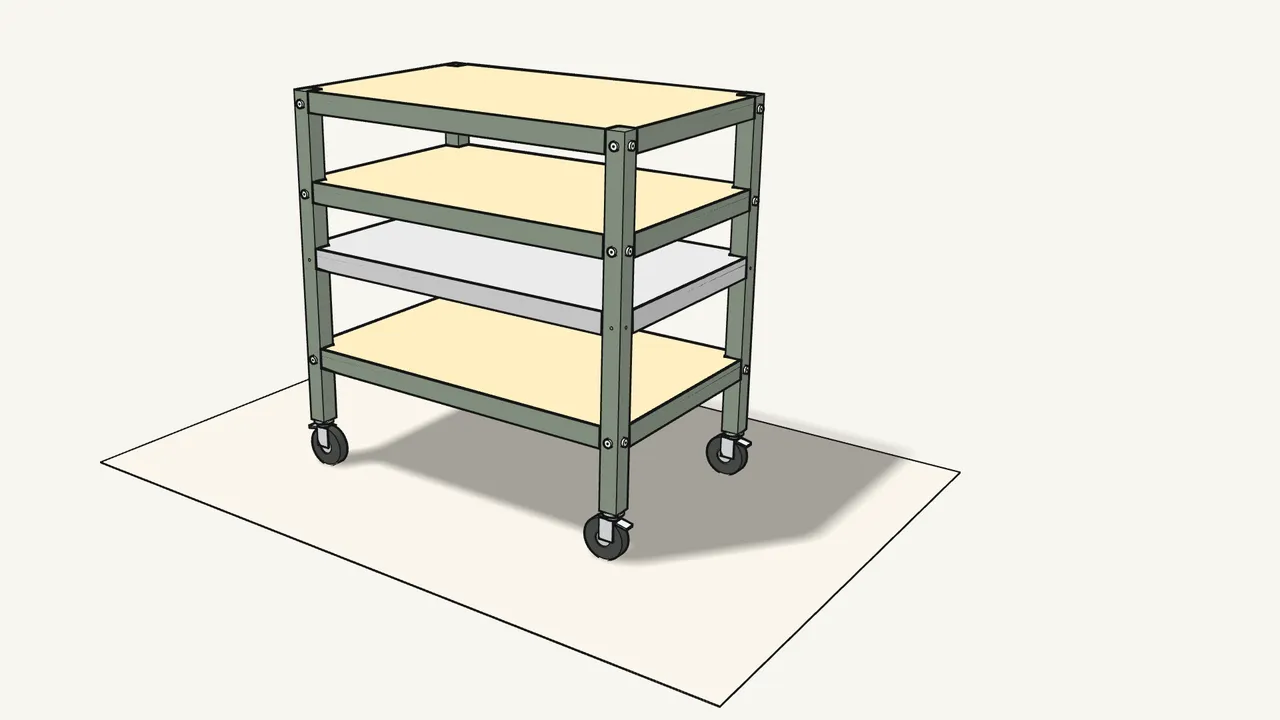
Step 10
The middle shelf can also sit lower.
The manual (p. 3) shows both heights — the legs have holes for each.
Tips & safety
- Unsure about a step or missing a part? The manual asks you to contact your IKEA store.
Official instructions
This guide follows IKEA’s official assembly instructions (AA-2059059-8). Keep the printed manual to hand — if anything differs, the manual is right.