IKEA · Cabinets & Wardrobes
How to assemble IKEA VUKU Wardrobe
Step-by-step IKEA VUKU Wardrobe assembly: 15 illustrated steps, an animated video, the hardware list and the tools you need — following the official instructions (AA-1917893-8).
- 15 illustrated steps
- 11 steps in the manual
- 2:10 video
- 74×51×149 cm
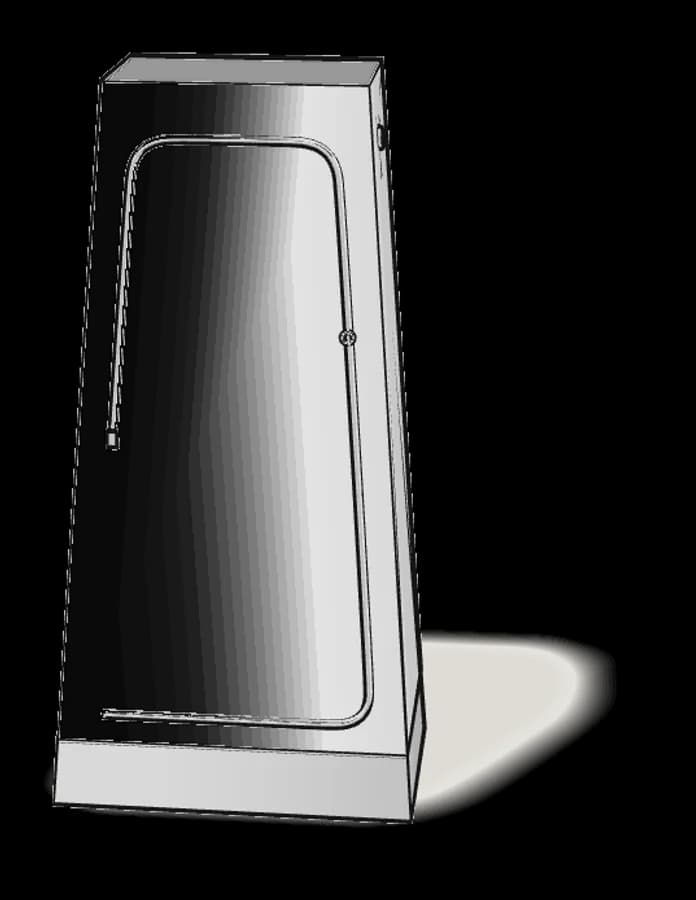
What you need
Tools
No tools needed.
Hardware in the box
| Part no. (as printed in the manual) | Qty |
|---|---|
| plug | 2× |
Step-by-step assembly
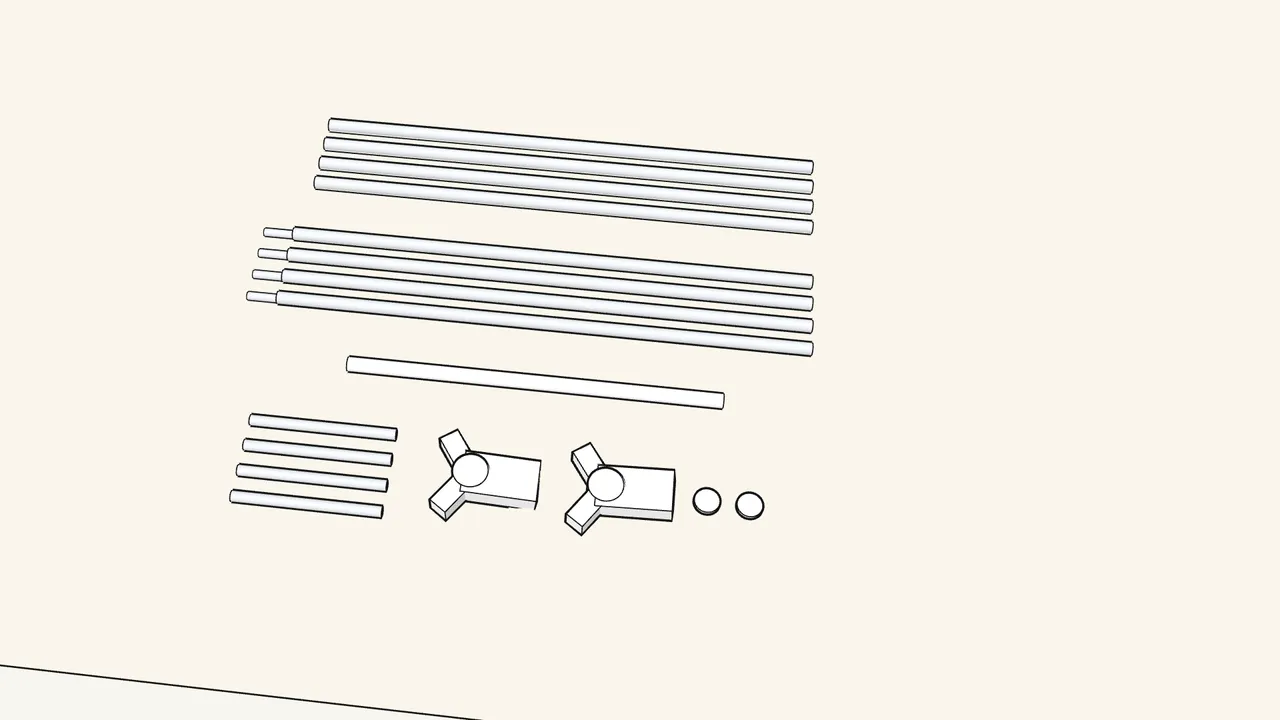
Step 1
Check the frame parts.
4 plain long rods, 4 long rods with a joint end, 1 white rod, 4 short rods, 2 connectors and 2 plugs (manual p. 6).
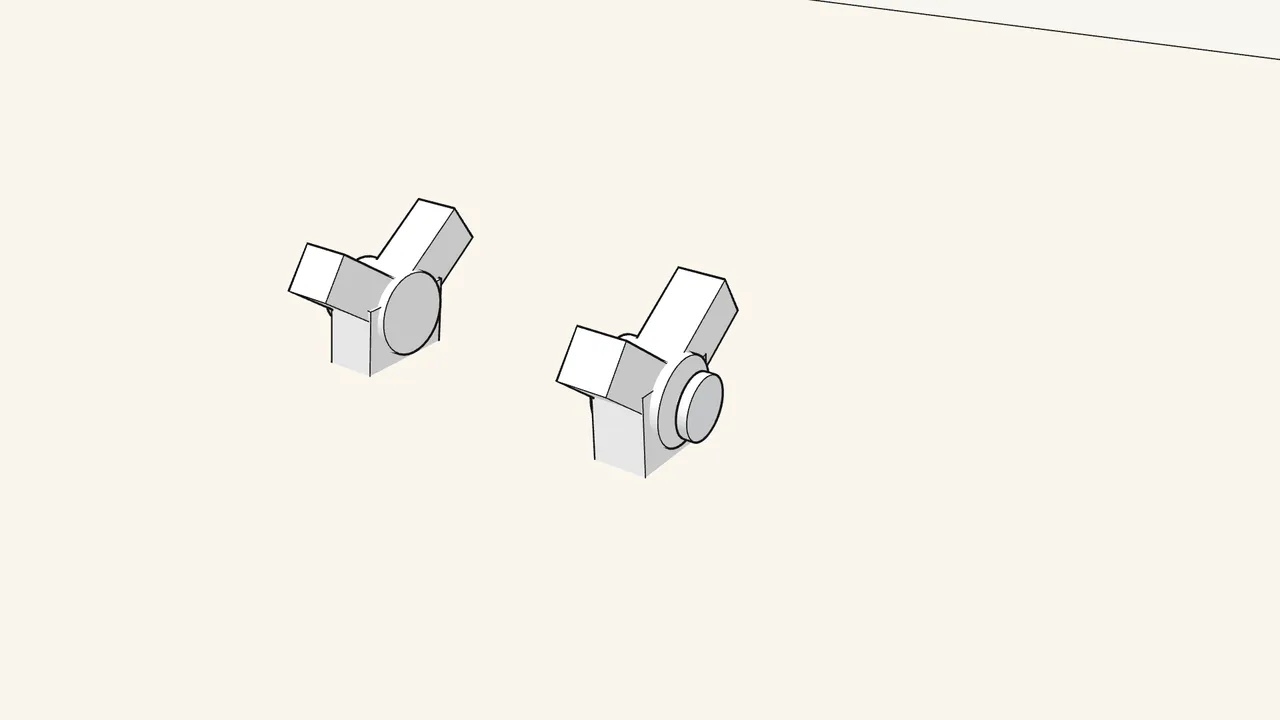
Step 2 · manual step 1
Push a plug into each of the 2 connectors.
The plug goes in from the outer side of the connector.
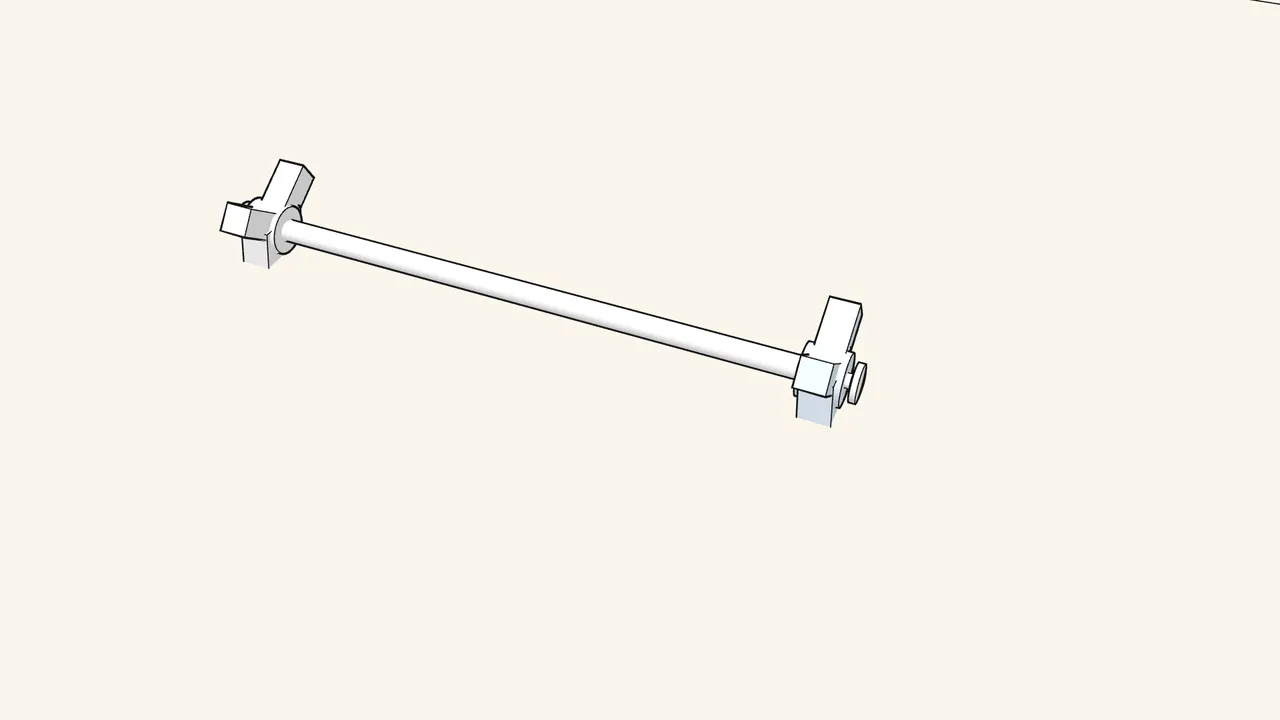
Step 3 · manual step 2
Push the white rod into both connectors.
Use the single white rod (see the manual, step 2).
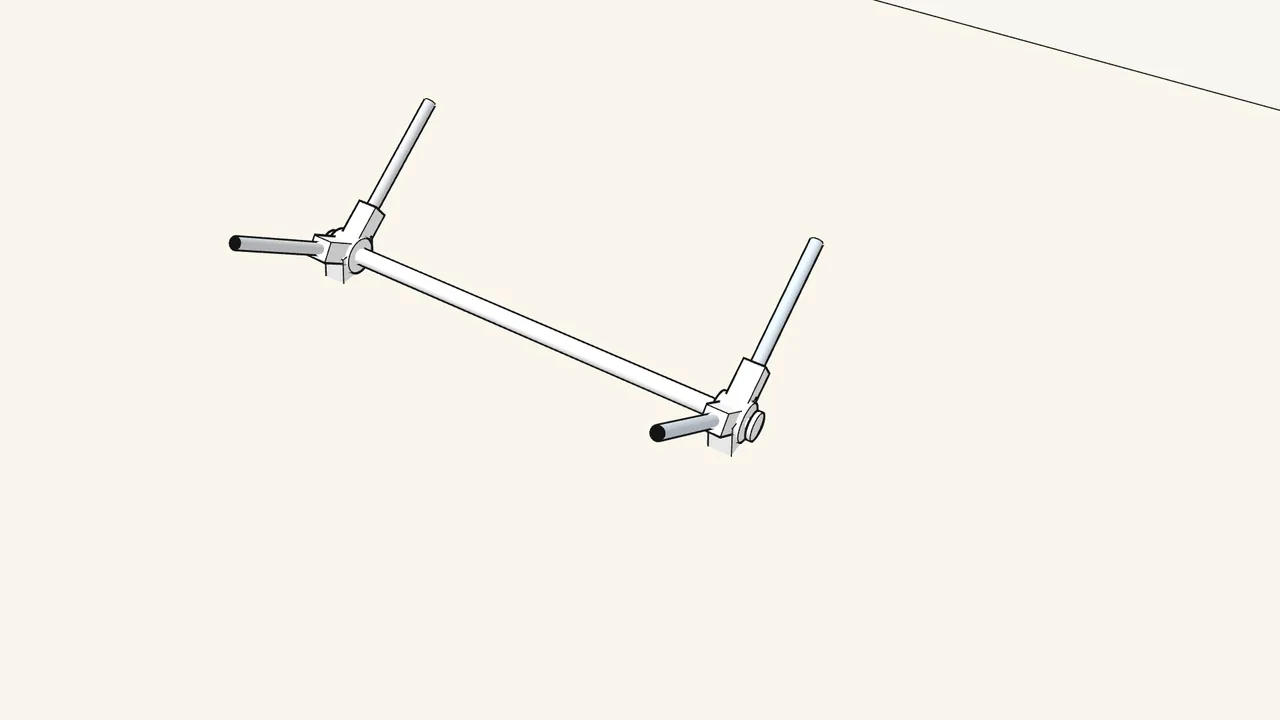
Step 4 · manual step 3
Push the 4 short rods into the connectors.
Two in each connector.
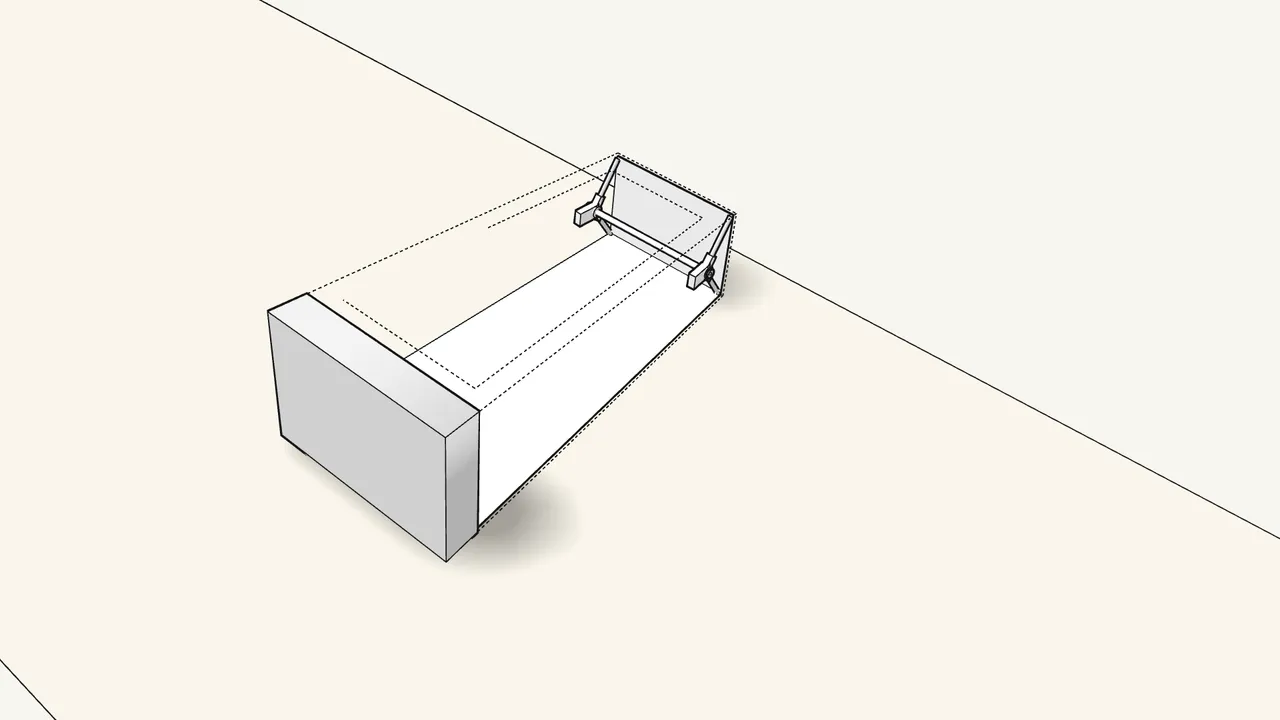
Step 5 · manual step 4
Place the frame inside the top of the cover.
Push the 4 rod ends into the corner pockets at the top.
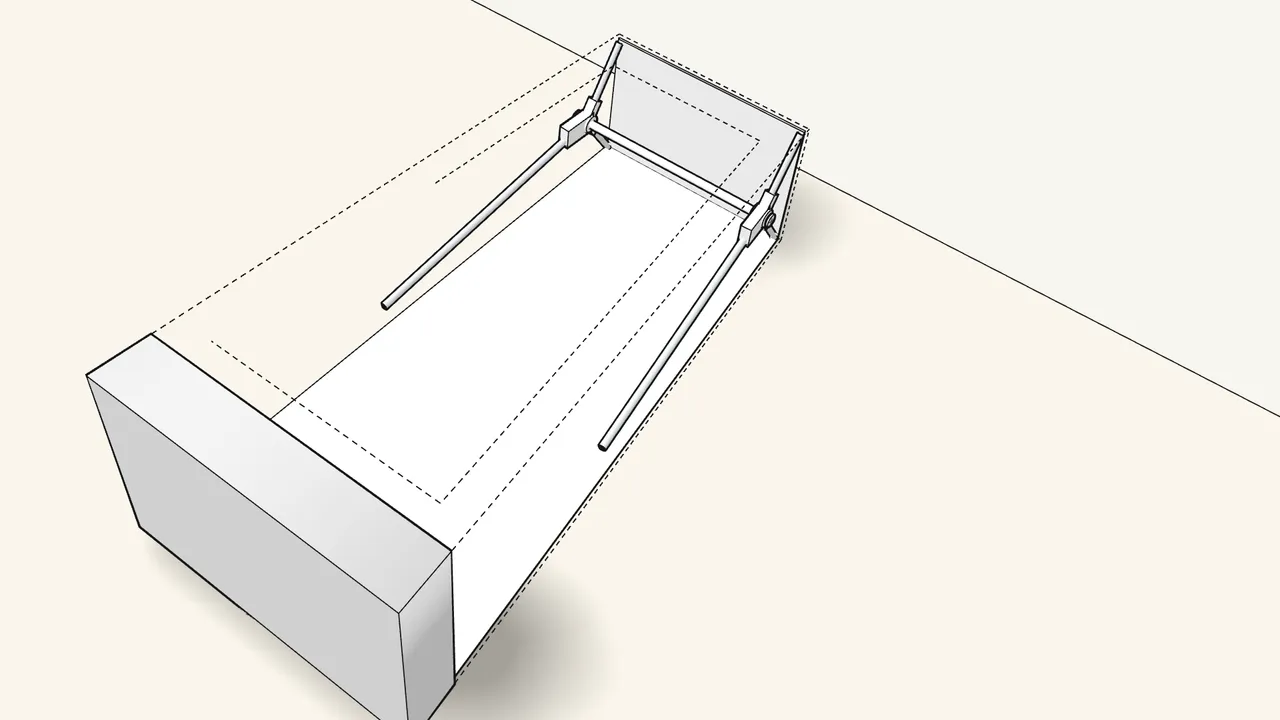
Step 6 · manual step 5
Push a plain long rod into each connector, low side.
Push until the spring button clicks through the hole in the rod.
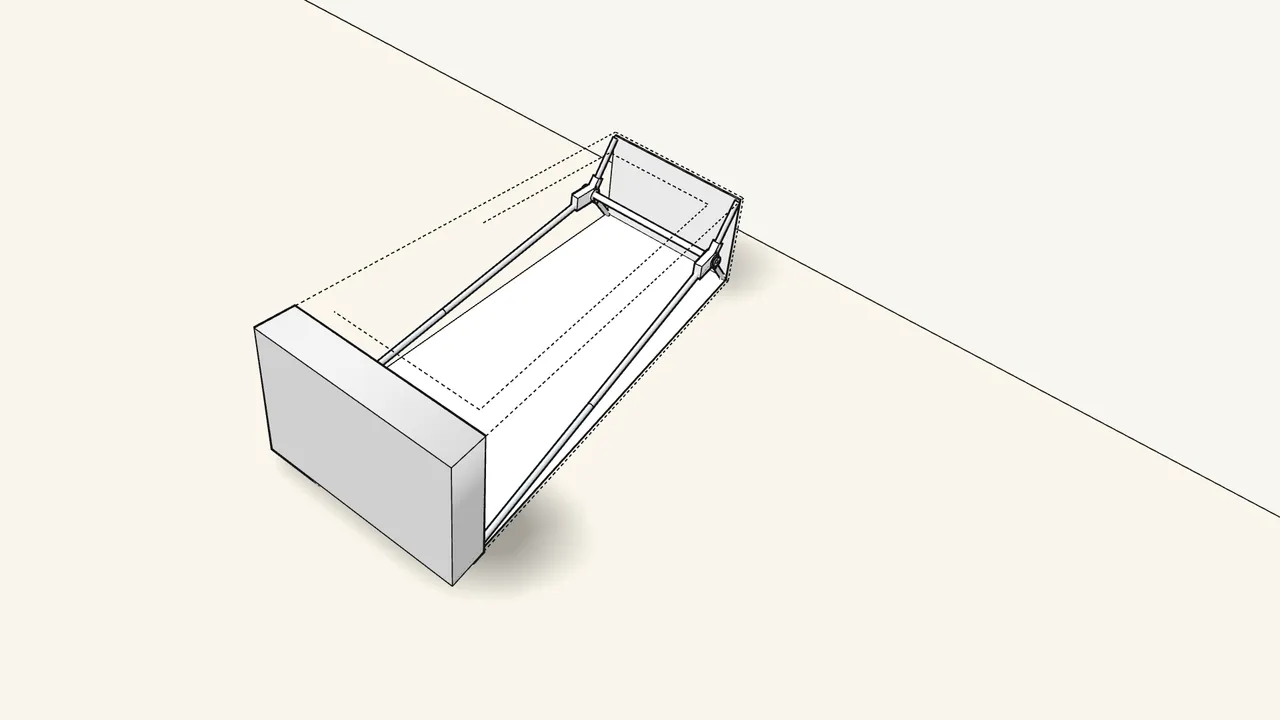
Step 7 · manual step 6
Fit the 2 rods with a joint end into the bottom corners.
Bend the rods slightly, join the ends, then press the joint straight.
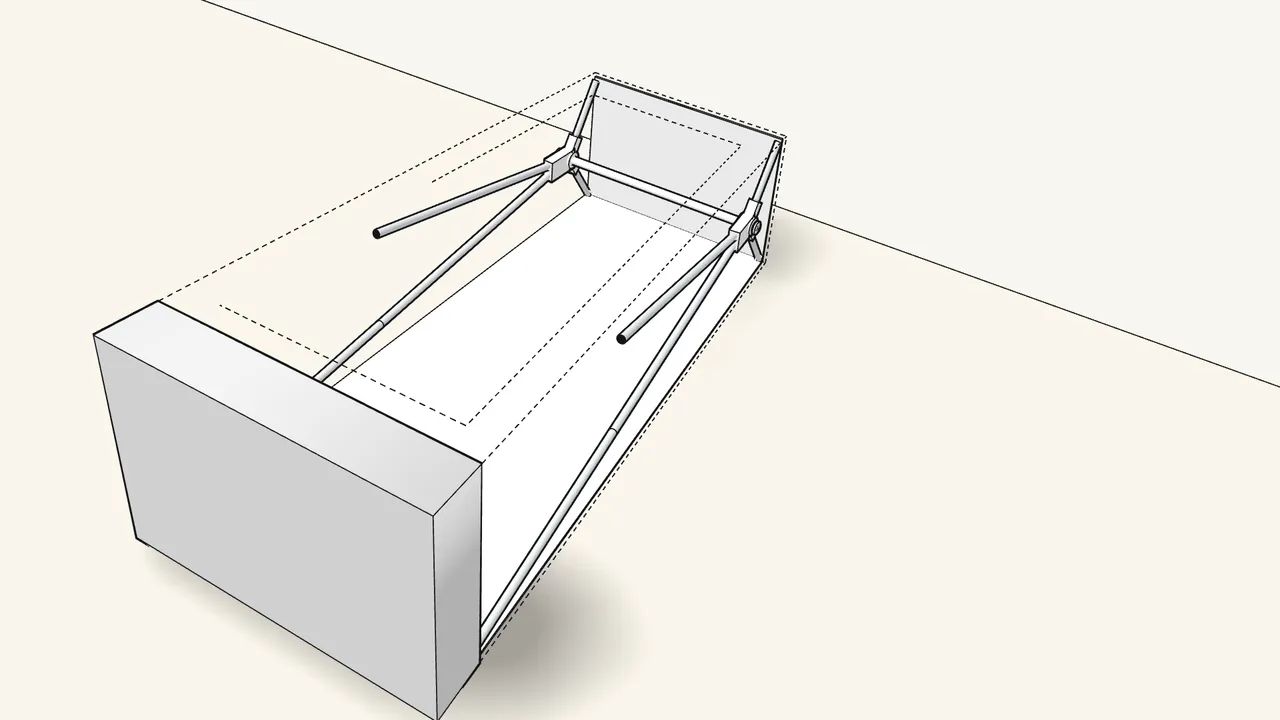
Step 8 · manual step 7
Push the other 2 plain rods into the connectors.
Again until the spring button clicks through the hole.
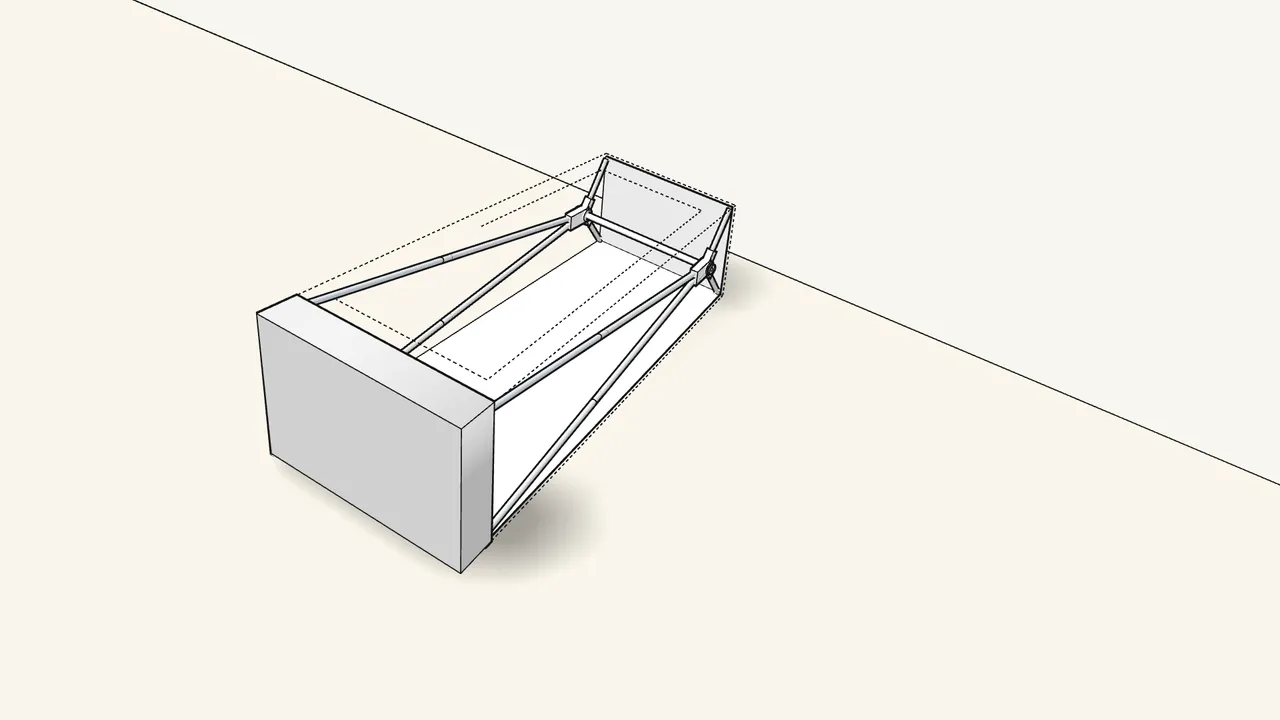
Step 9 · manual step 8
Fit the last 2 jointed rods into the bottom corners.
Bend, join the ends and press the joint straight.
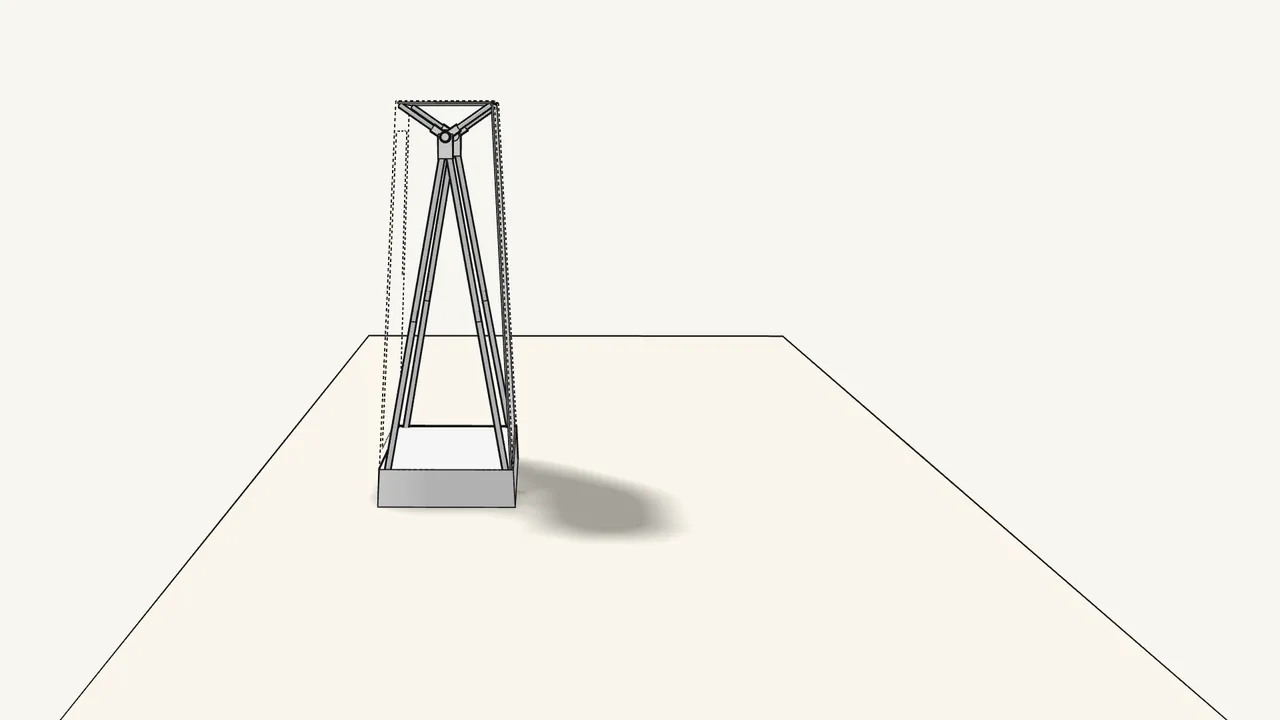
Step 10 · manual step 9
Stand the wardrobe up.
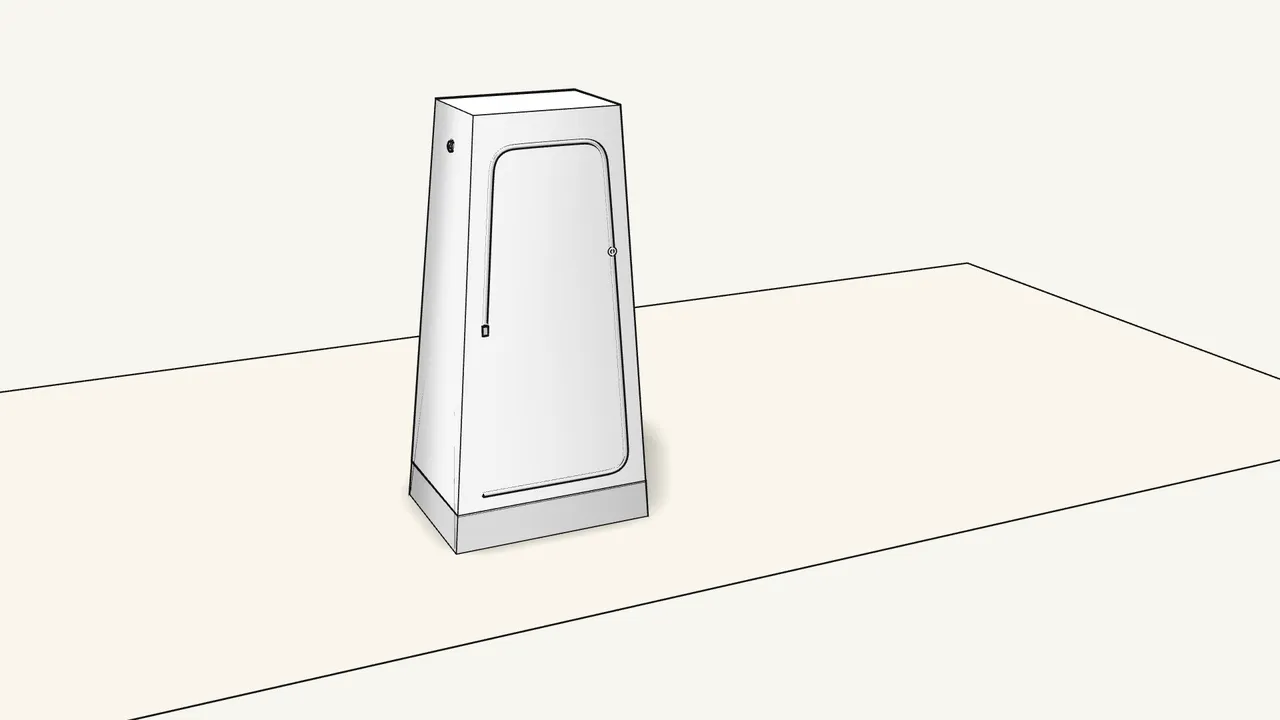
Step 11 · manual step 9
Pull the cover down and fit its bottom corners over the rod ends.
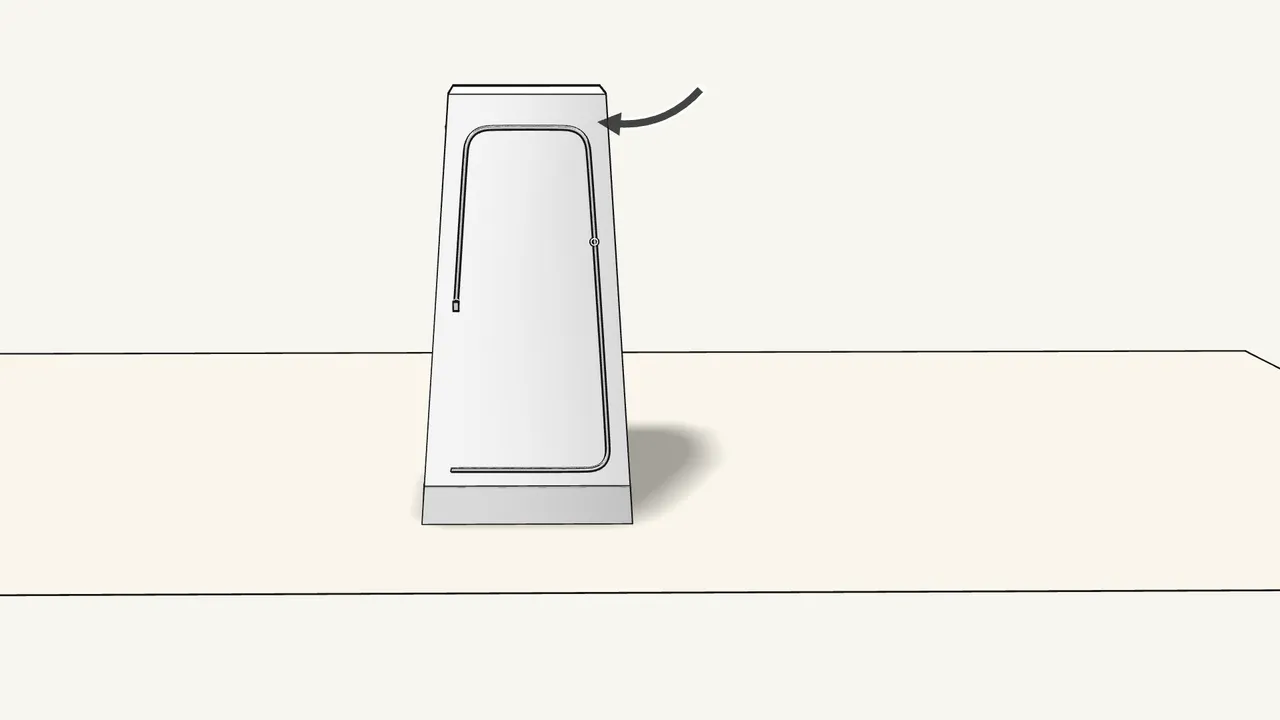
Step 12 · manual step 10
Pull the edge of each side hole over the button.
One on each side (2×).
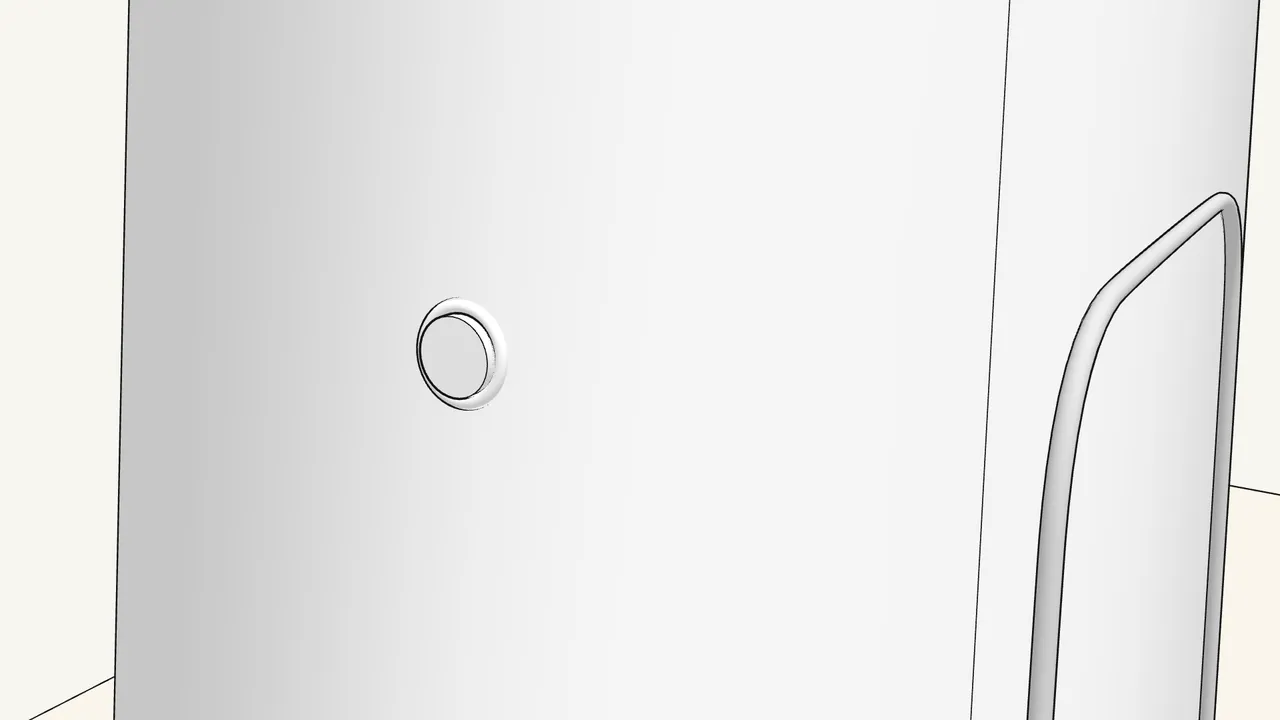
Step 13 · manual step 10
Pull the edge of each side hole over the button.
Stretch the edge over the rim until it sits all round the button.
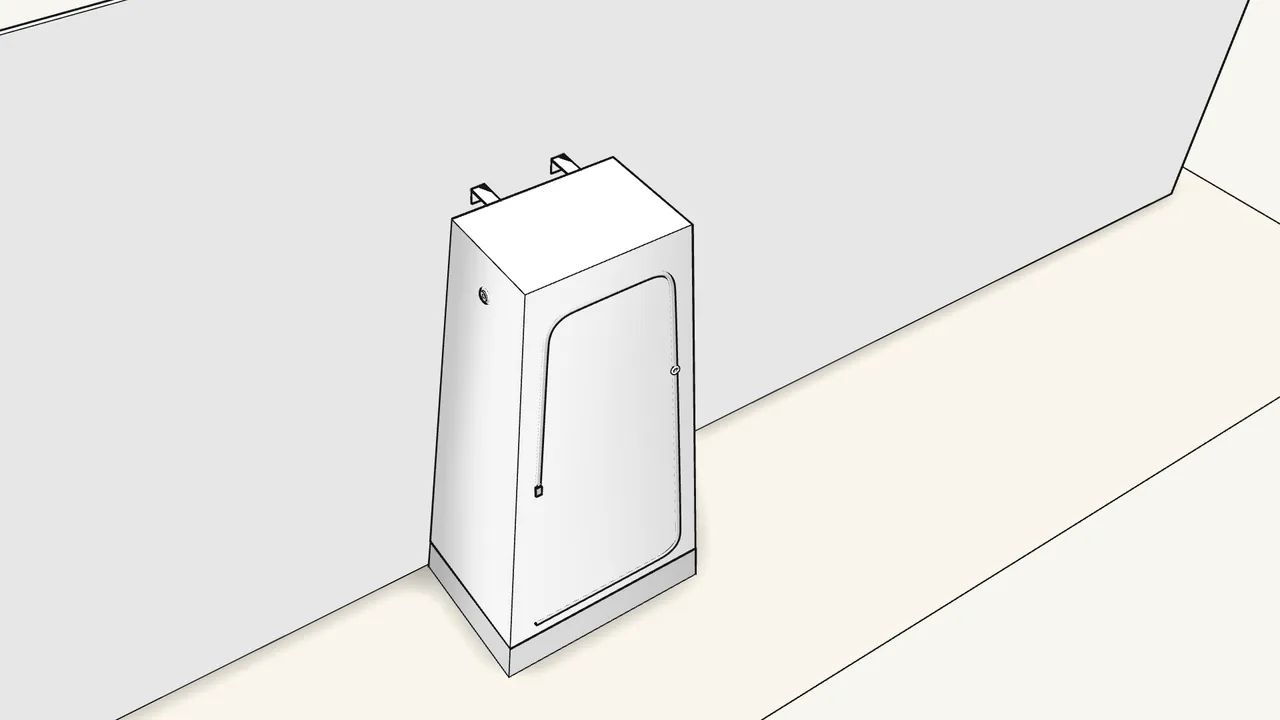
Step 14 · manual step 11
Fix the 2 straps at the top to the wall.
Use screws suited to your wall — they are not included.
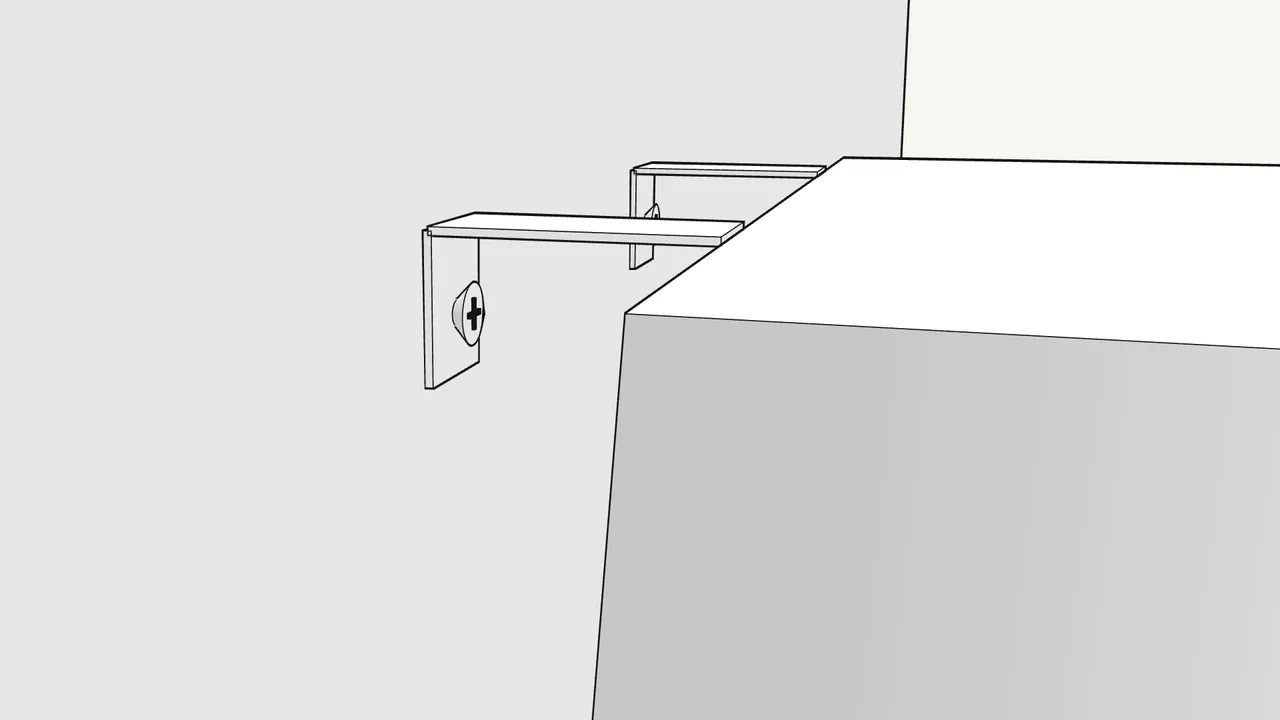
Step 15 · manual step 11
Screw each strap to the wall (2×).
Use screws suited to your wall — they are not included.
Tips & safety
- Always fix the wardrobe to the wall. Furniture tip-over can cause serious or fatal crushing injuries (manual p. 2).
- Never let children climb or hang on it. The manual’s warning on page 2.
Official instructions
This guide follows IKEA’s official assembly instructions (AA-1917893-8). Keep the printed manual to hand — if anything differs, the manual is right.



