IKEA · Cabinets & Wardrobes
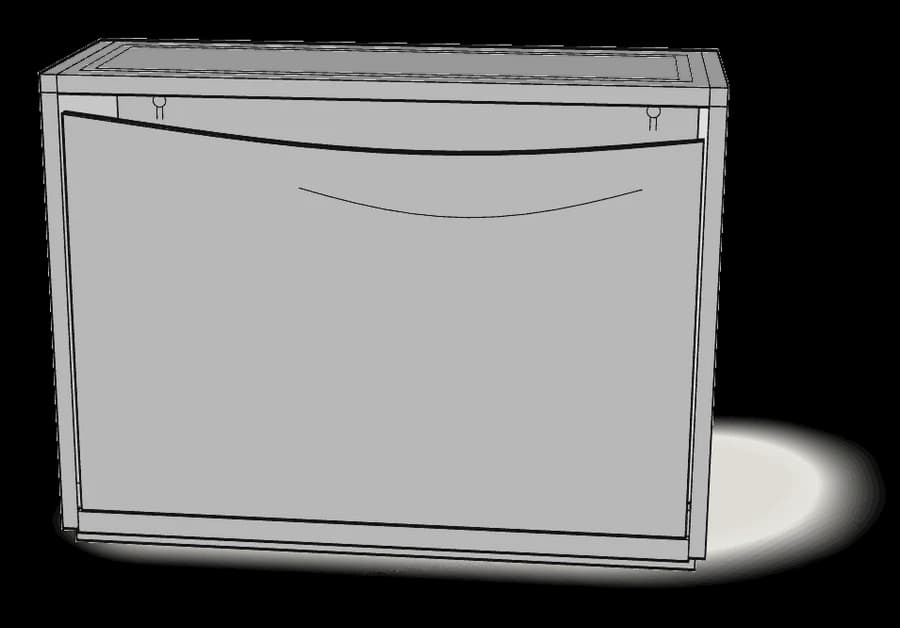
How to Assemble IKEA TRONES Shoe/Storage Cabinet
Step-by-step IKEA TRONES shoe/storage cabinet assembly: 7 illustrated steps, an animated video, the hardware list and the tools you need — following the official instructions (AA-53301-15).
- 7 illustrated steps
- 7 steps in the manual
- 1:36 video
- 52×18×39 cm
What you need
Tools
- Flat-head screwdriver
- Spirit level
You’ll need: a flat-head screwdriver and a pencil.
Hardware in the box
| Part no. (as printed in the manual) | Qty |
|---|---|
| — | 4× |
Step-by-step assembly
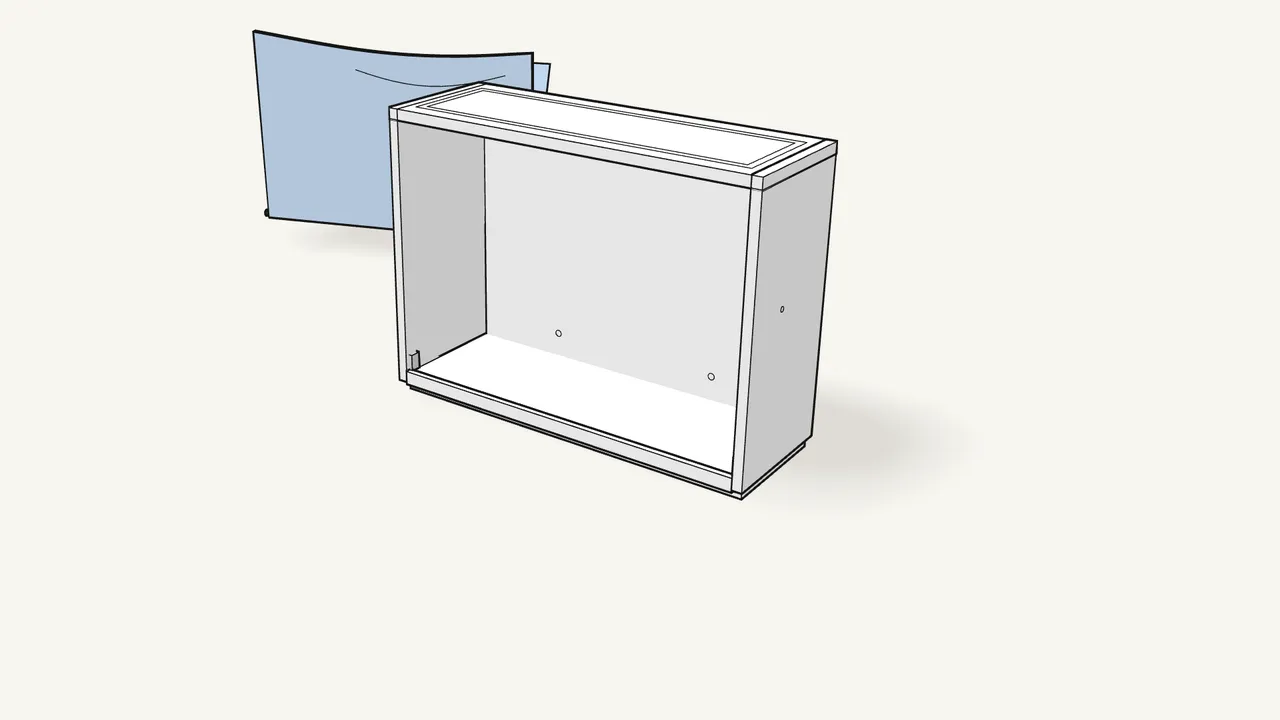
Step 1
Tilt the door open and lift it out of its hinges.
The hinge pins at the two bottom corners slide out of the clips.
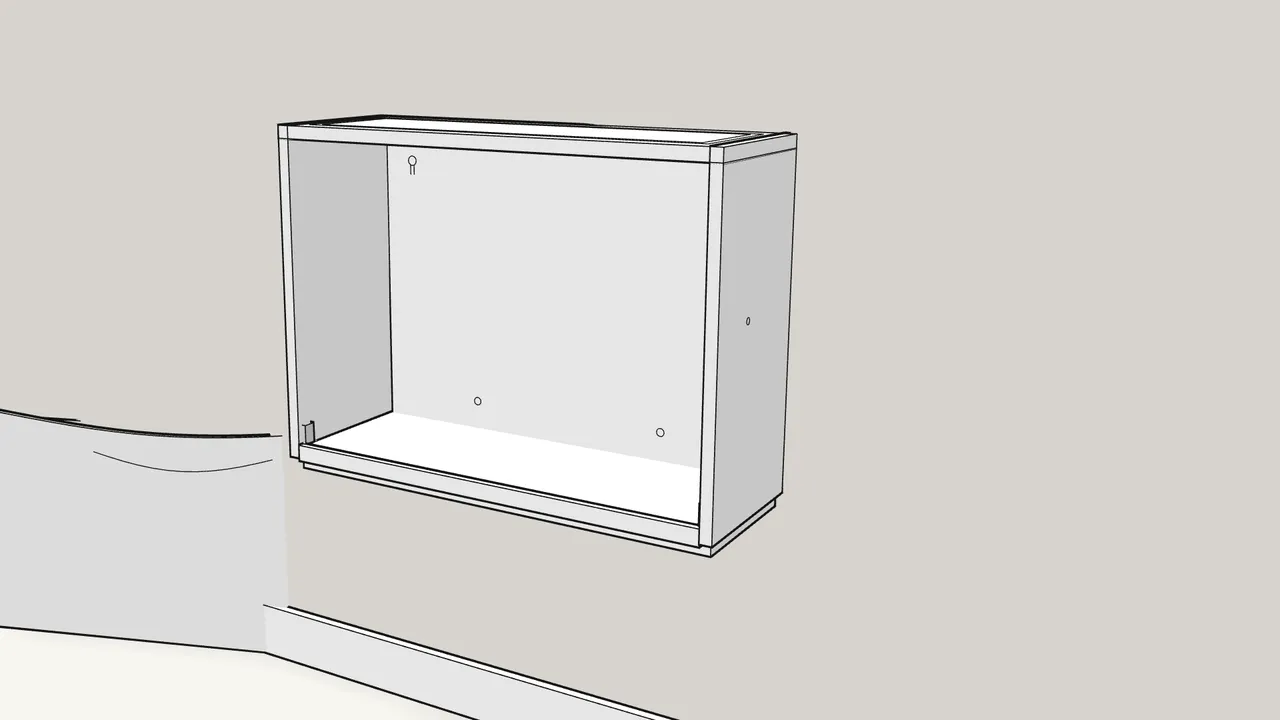
Step 2
Hold the cabinet against the wall and mark the 2 keyholes.
Mark through the keyholes at the top of the back with a pencil.

Step 3
Check the marks are level and screw in the 2 upper screws.
Leave the heads sticking out a little — don’t screw them all the way in.
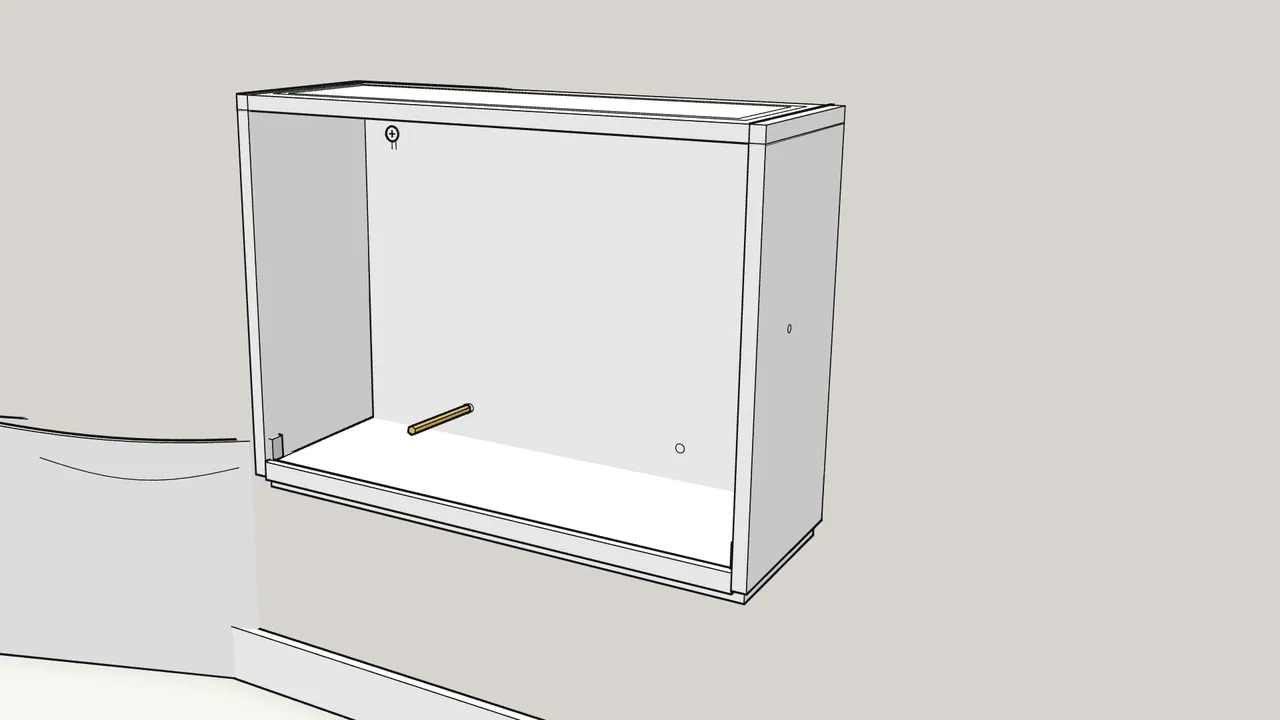
Step 4
Hang the cabinet on the screws and mark the 2 lower holes.

Step 5
Take the cabinet down and screw in the 2 lower screws.
Check they are level. Again, leave the heads out a little.
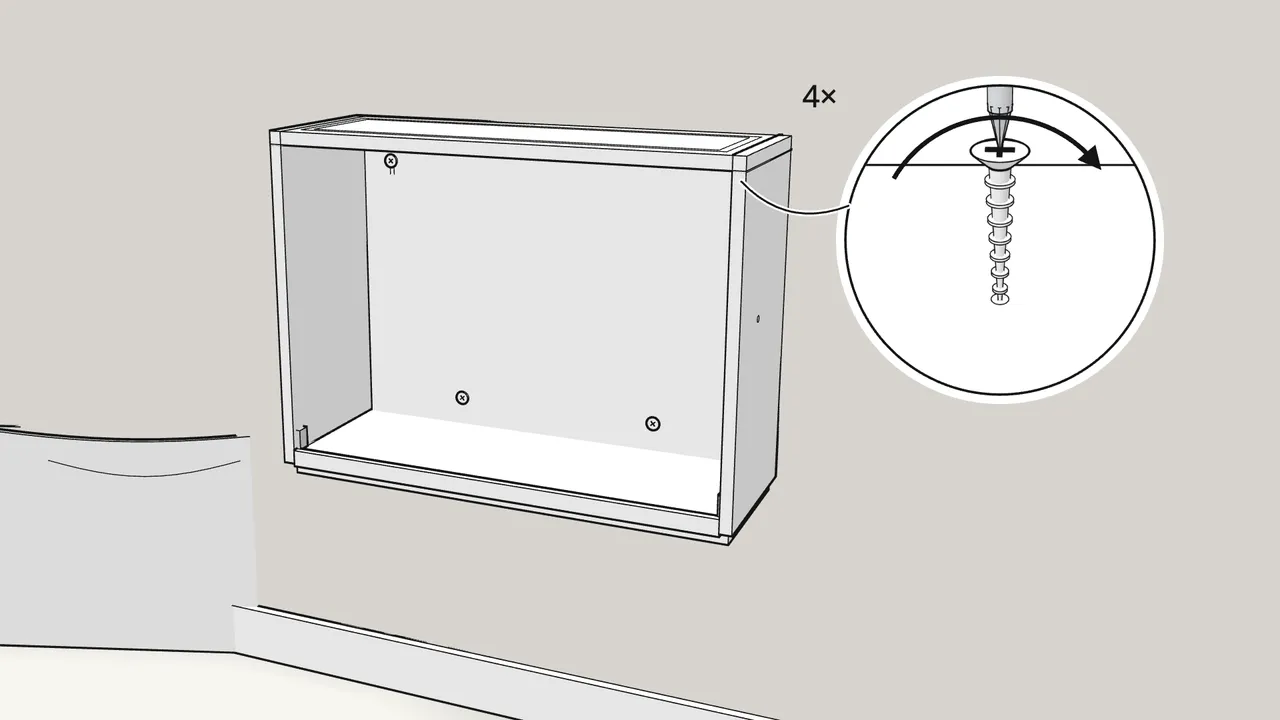
Step 6
Hang the cabinet again and tighten all 4 screws.
The heads should press the back firmly against the wall.
Step 7
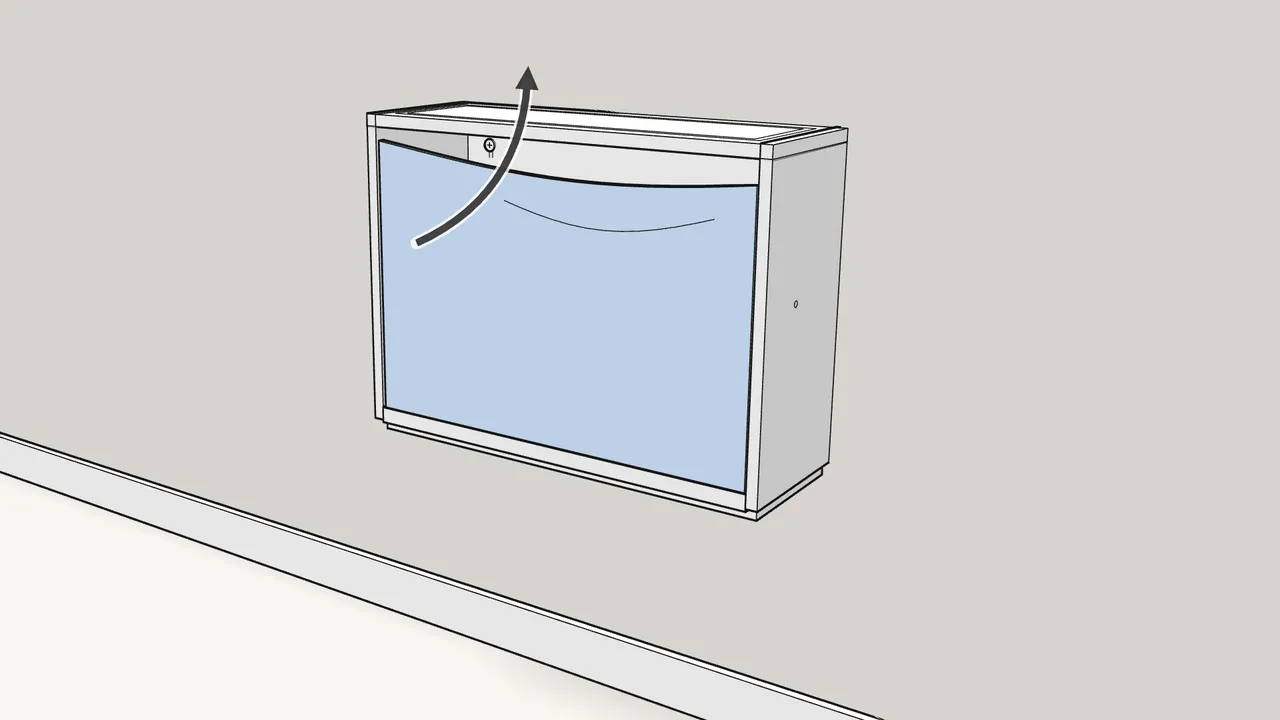
Hook the door back into its hinges and tilt it closed.
Push the hinge pins into the clips at both bottom corners.
Tips & safety
- Always fix TRONES to the wall. Furniture that tips over can cause serious injury. Wall screws and plugs are not included — use ones suited to your wall.
- Using both cabinets from the pack? Stack them or hang them side by side — fix each one to the wall. Side by side, join them through the side holes with a screw max 13 mm long (manual p. 13–14).
Official instructions
This guide follows IKEA's official assembly instructions (AA-53301-15). Keep the printed manual to hand — if anything differs, the manual is right.