IKEA · Cabinets & Wardrobes
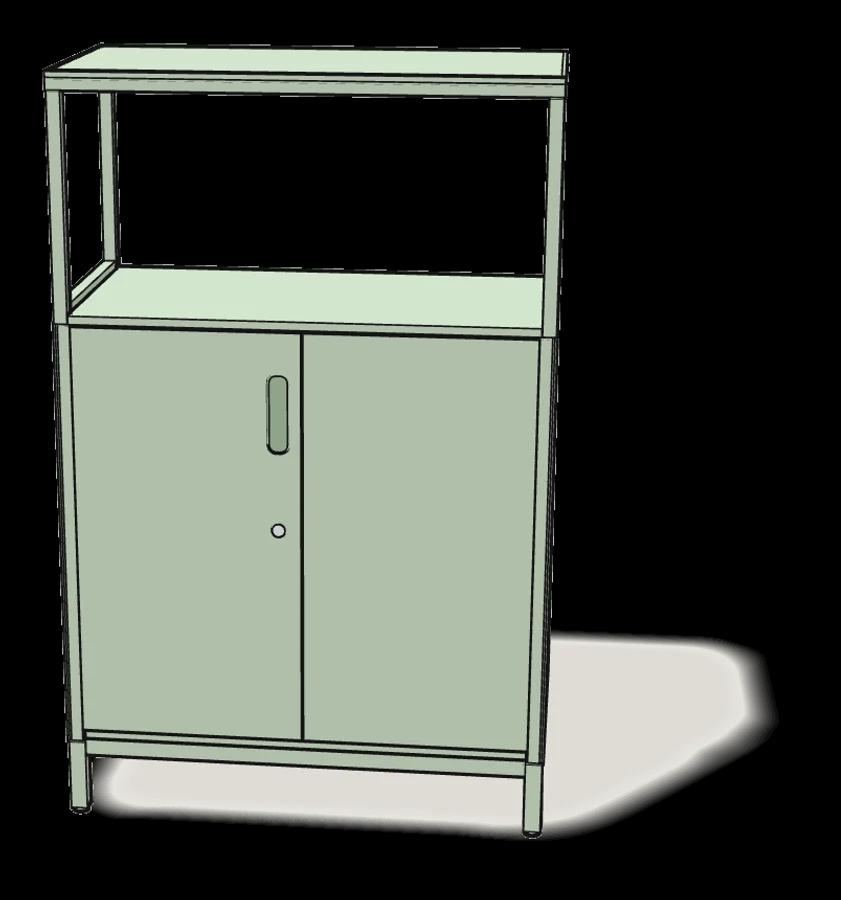
How to assemble IKEA TROTTEN Cabinet with Doors
Step-by-step IKEA TROTTEN Cabinet with Doors assembly: 21 illustrated steps, an animated video, the hardware list and the tools you need — following the official instructions (AA-2241595-6).
- 21 illustrated steps
- 20 steps in the manual
- 2:54 video
- 70×35×110 cm cm
What you need
Tools
- Flat-head screwdriver
- Phillips screwdriver
- Allen key (included)
- Spirit level
You’ll need a flat-blade screwdriver, a Phillips screwdriver and a spirit level. The Allen key (130445) is in the box.
Hardware in the box
| Part no. (as printed in the manual) | Qty |
|---|---|
| 100404 | 6× |
| 10074126 | 4× |
| 10036516 | 4× |
| 151059 | 2× |
| 10056123 | 2× |
| 114664 | 2× |
| 10072463 | 1× |
Step-by-step assembly
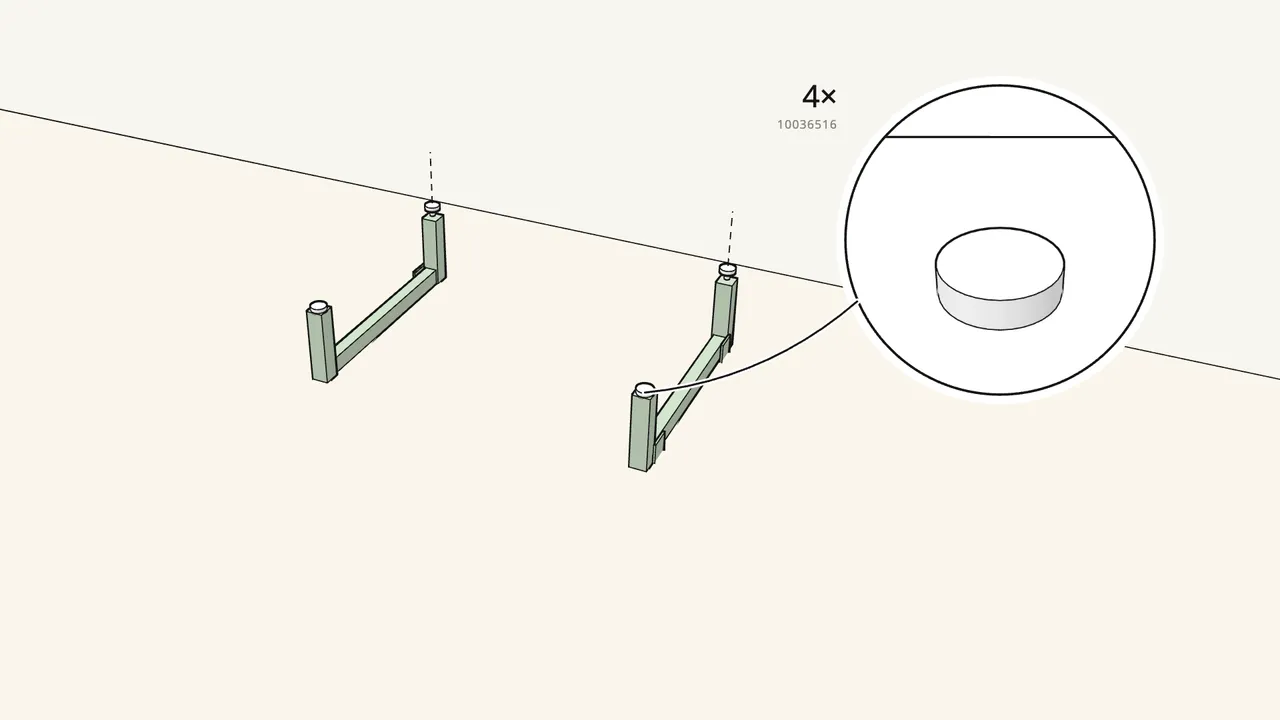
Step 1
Screw an adjustable foot (10036516) into each leg.
4 feet — 2 in each leg frame.
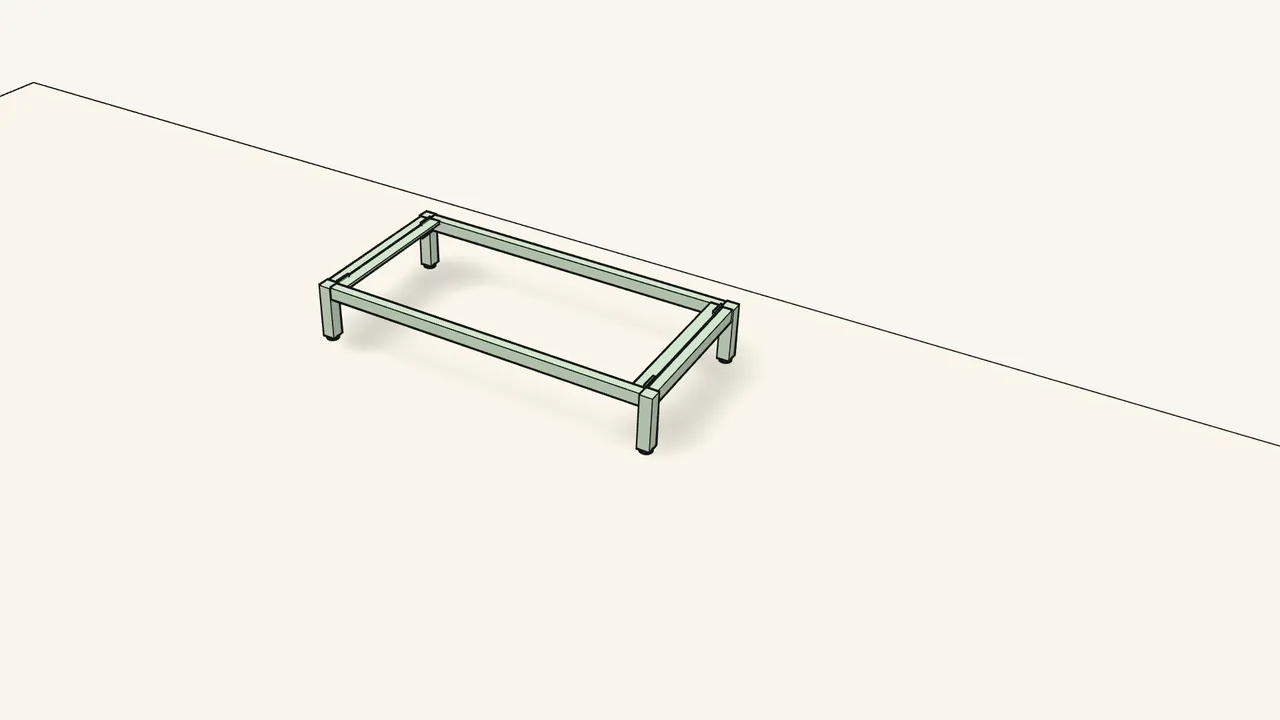
Step 2
Push the 2 leg frames onto the ends of the base frame.
The tabs go inside the rail ends — check the details in step 2.
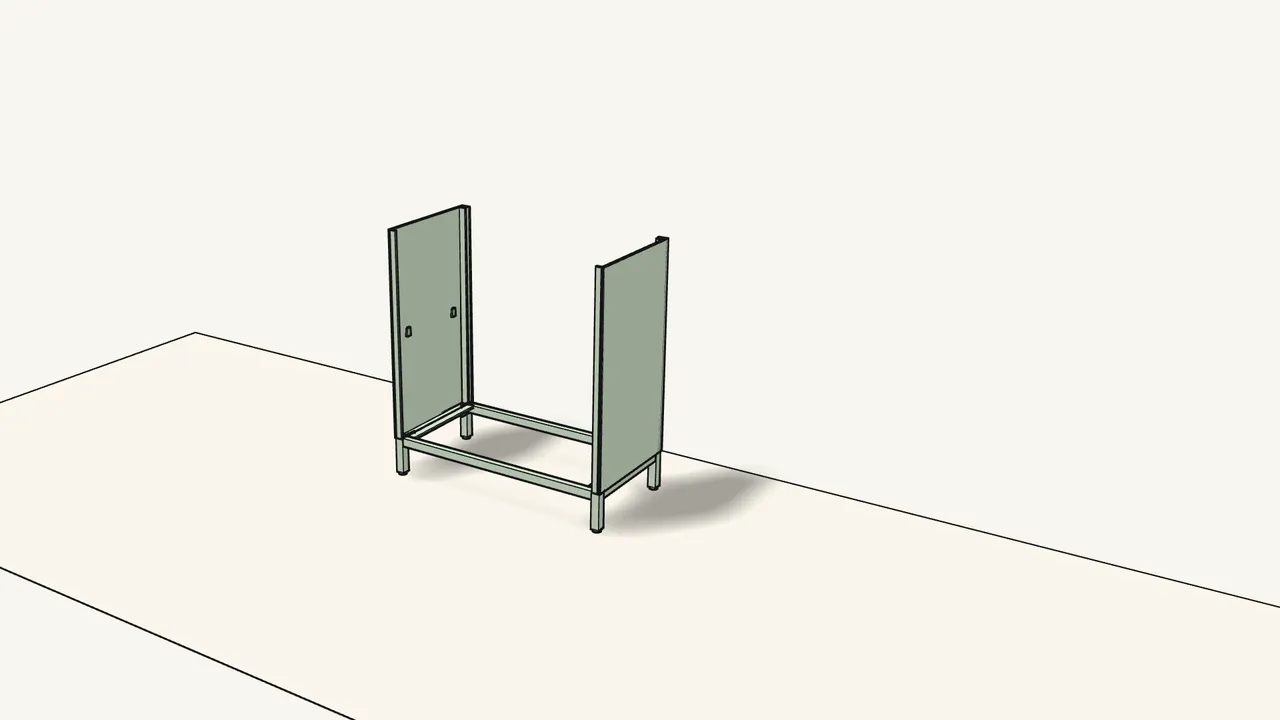
Step 3
Slide the 2 side panels down onto the legs.
Push them all the way down.
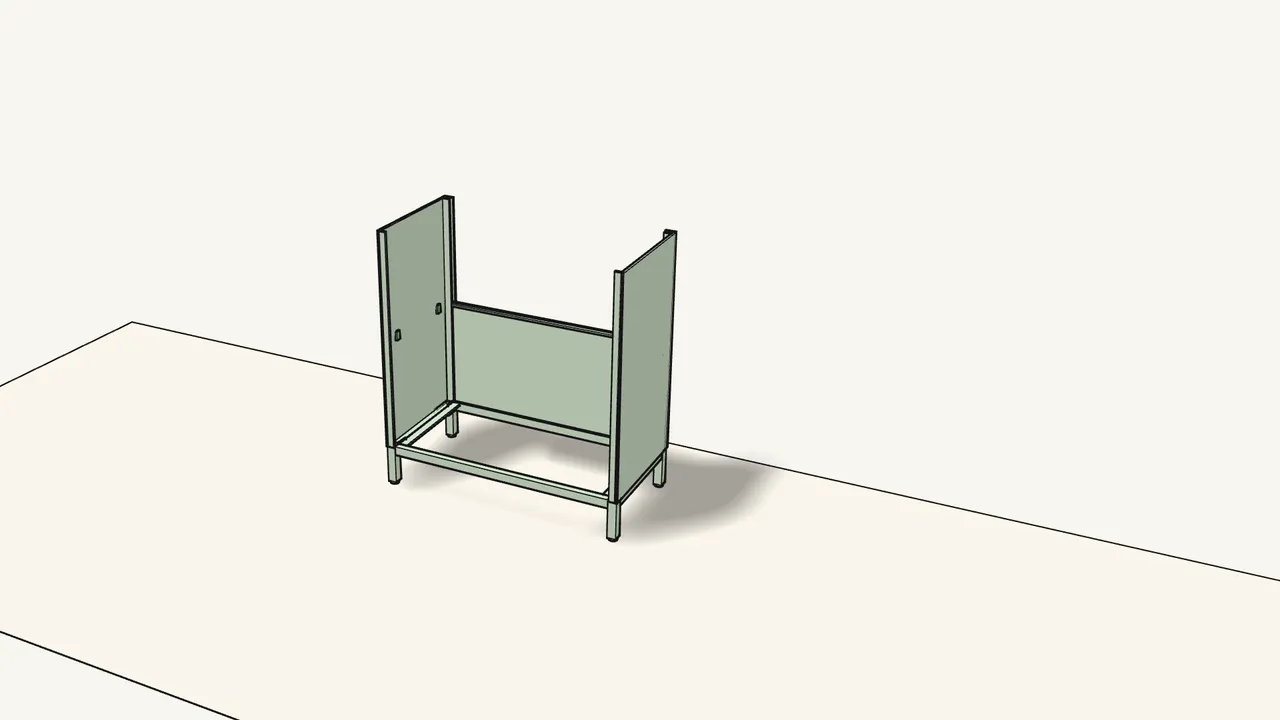
Step 4
Slide the lower back panel down into the back channels.
Check which way it goes — see the box in step 4.
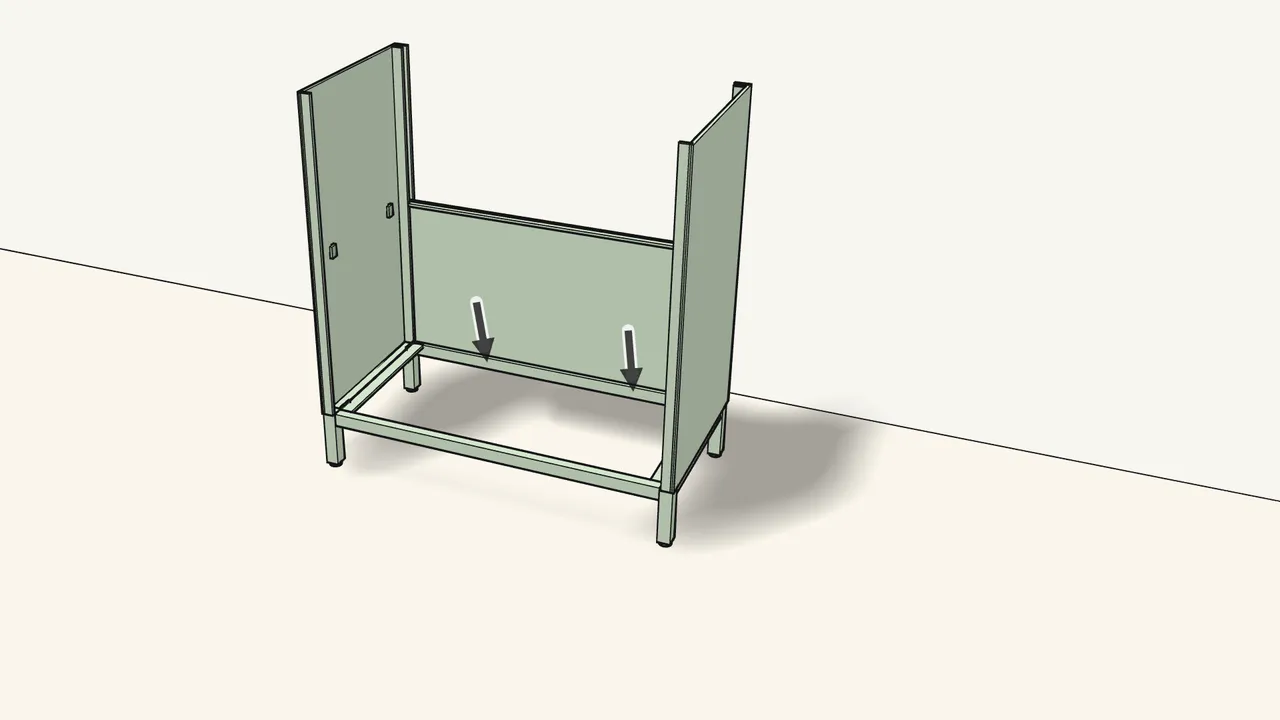
Step 5
Lock it with the flat screwdriver: twist 4 tabs, bend 2.
Twist the 4 tabs in the side channels, bend the 2 tabs at the bottom.
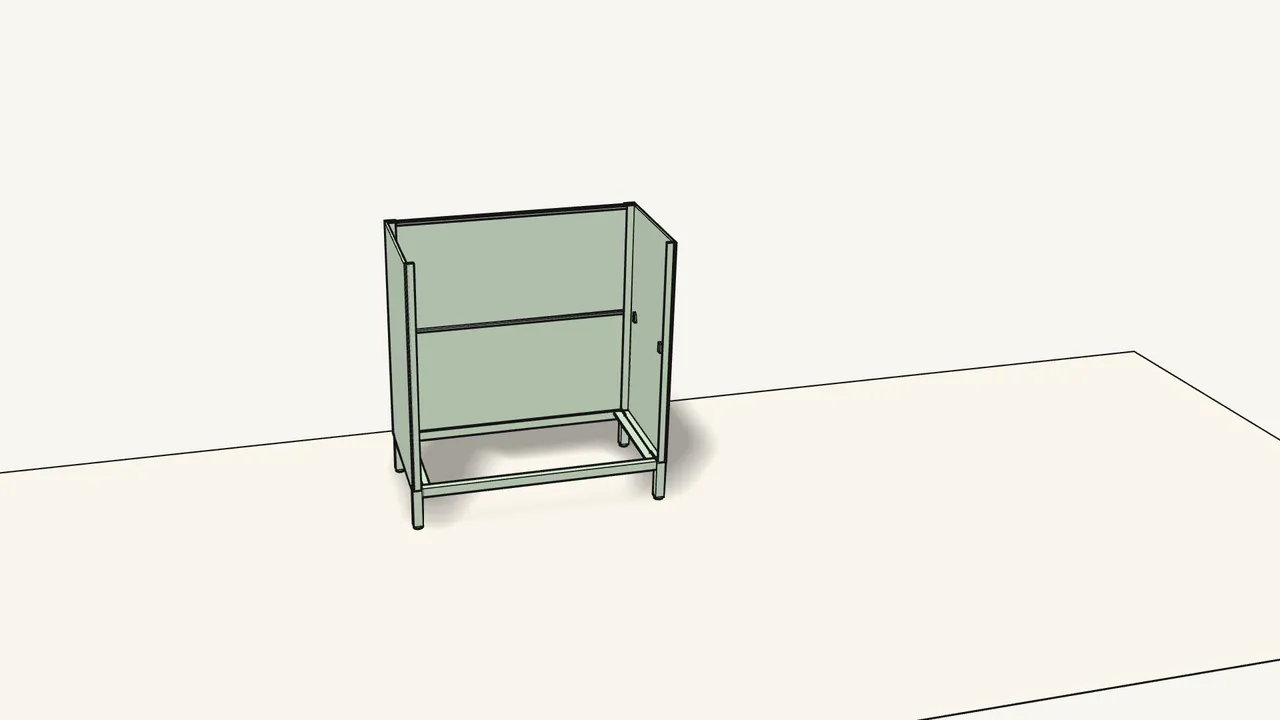
Step 6
Slide the upper back panel down on top of it.
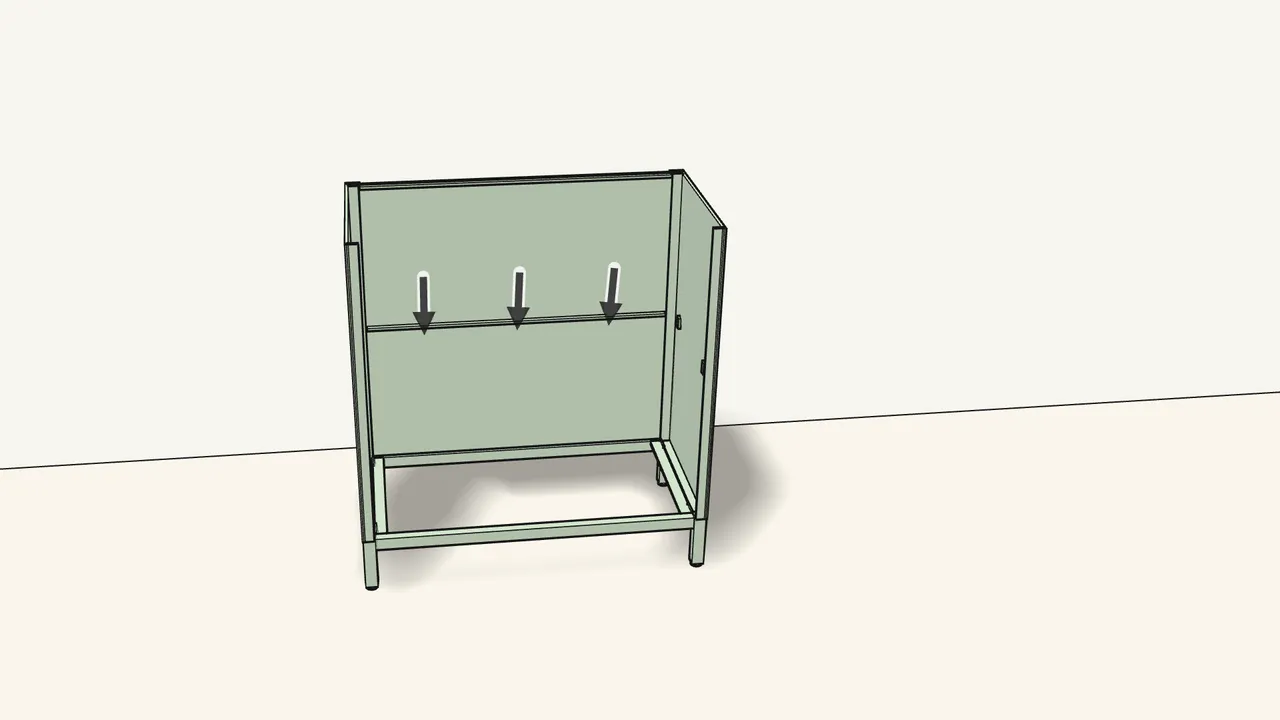
Step 7
Lock it: twist 2 tabs, then bend 3 tabs at the bottom.
Leave the 2 tabs at the very top alone — see step 7.
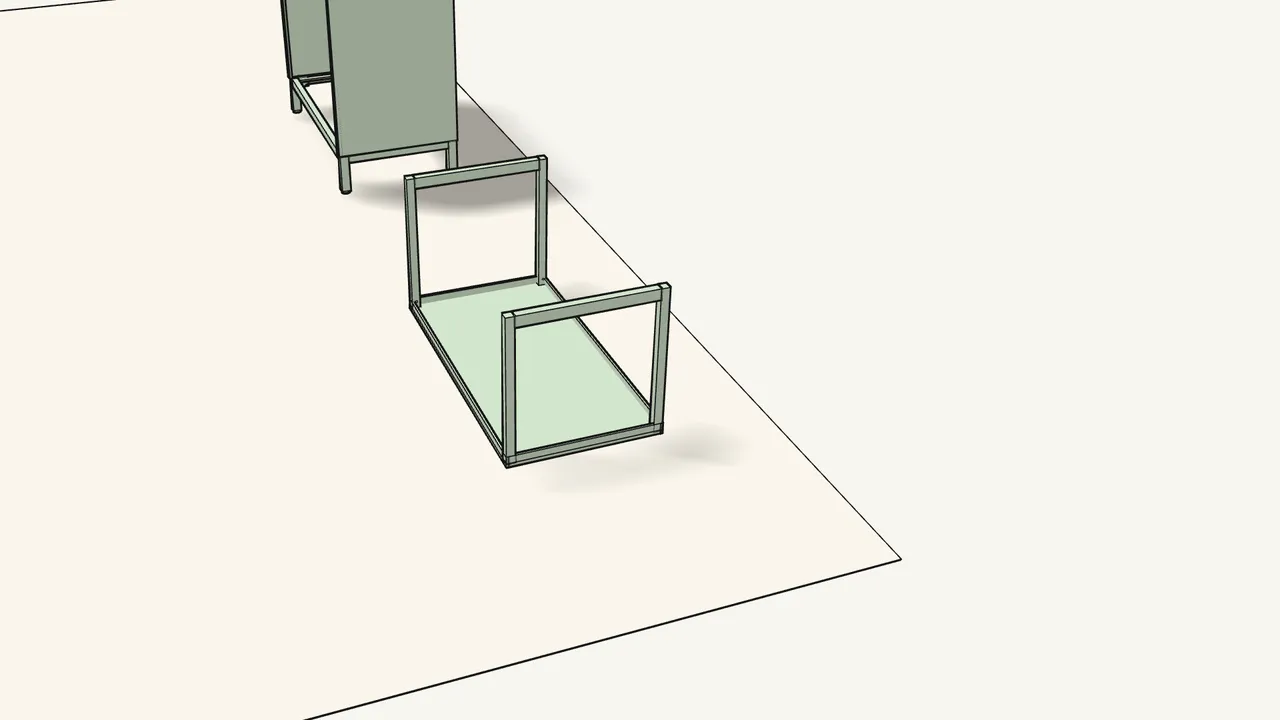
Step 8
Lay the top upside down and slide the 2 side frames on.
The brackets go inside the ends of the top — check the details in step 8.
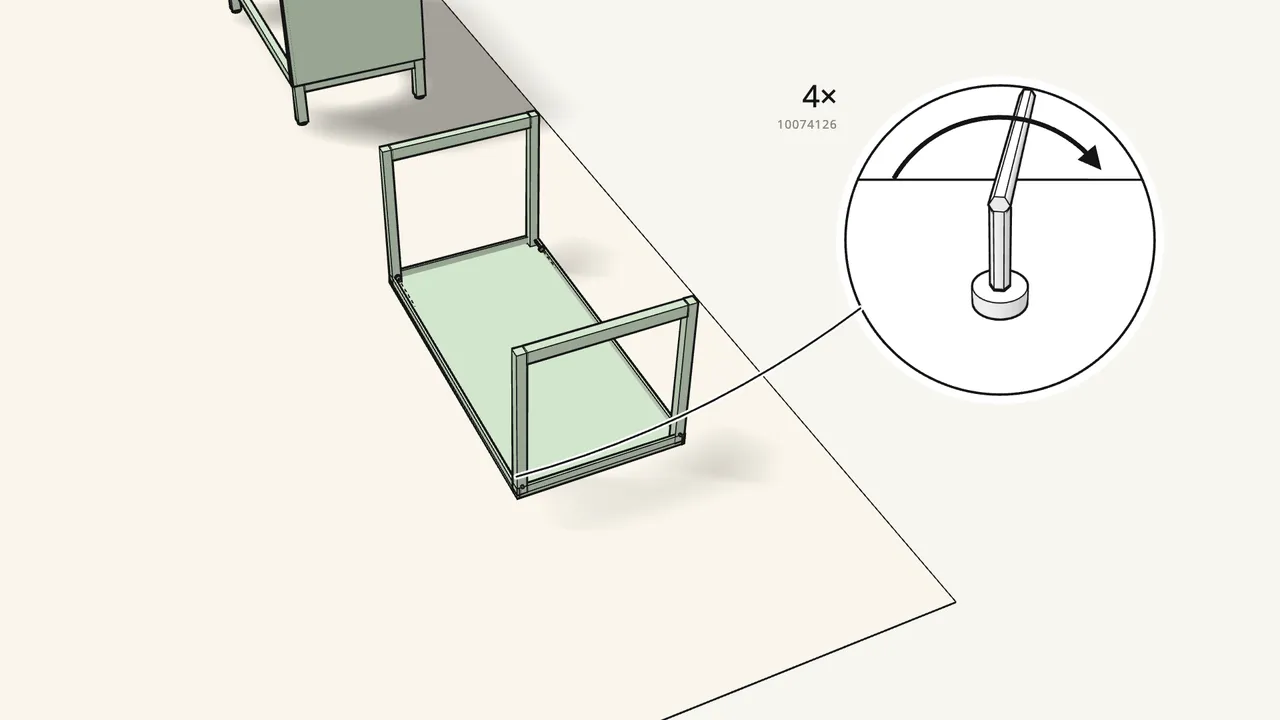
Step 9
Fix the side frames with 4 bolts (10074126).
One in each corner — tighten them with the Allen key.
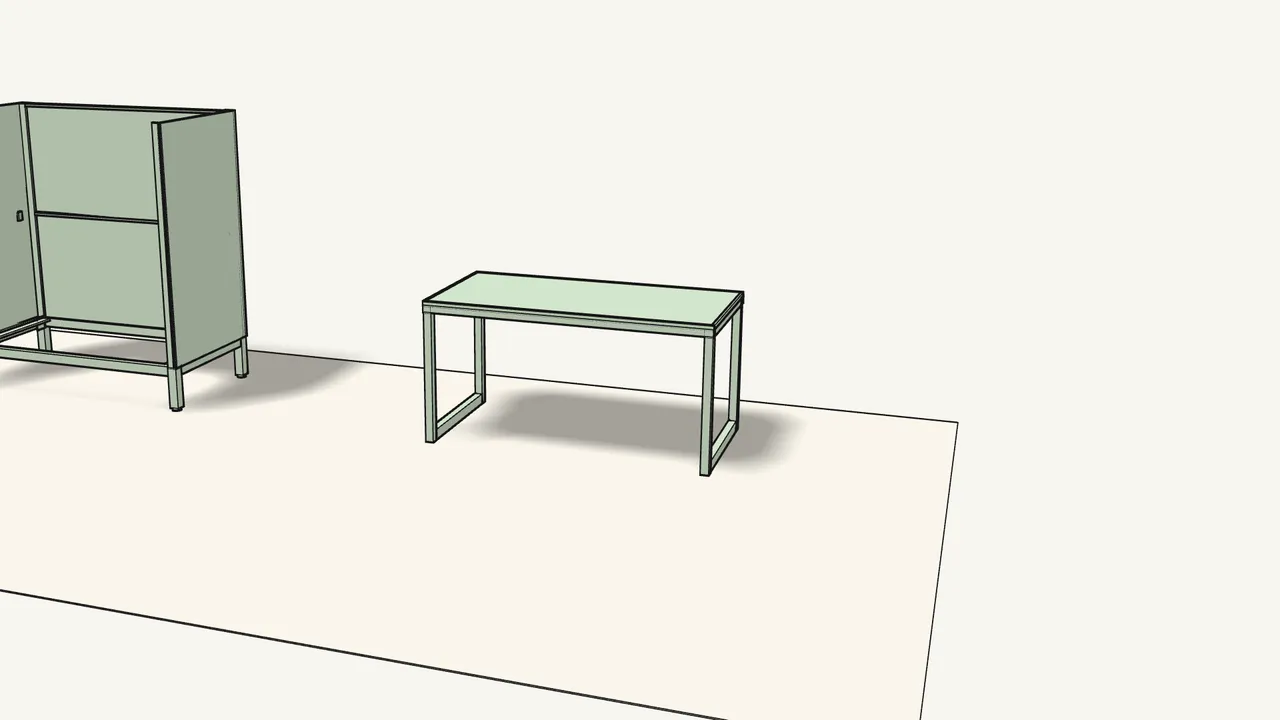
Step 10
Turn the upper frame the right way up.
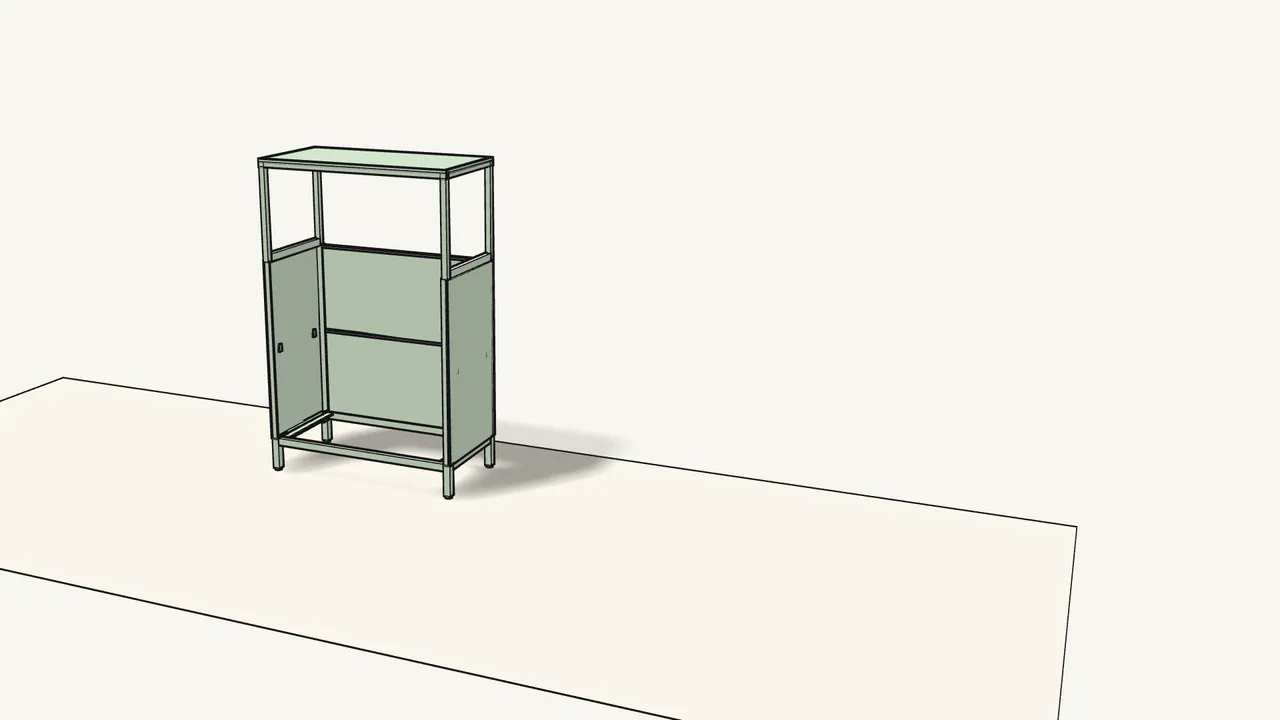
Step 11 · manual step 10
Lift the upper frame onto the cabinet.
The posts go down inside the corners of the side panels.
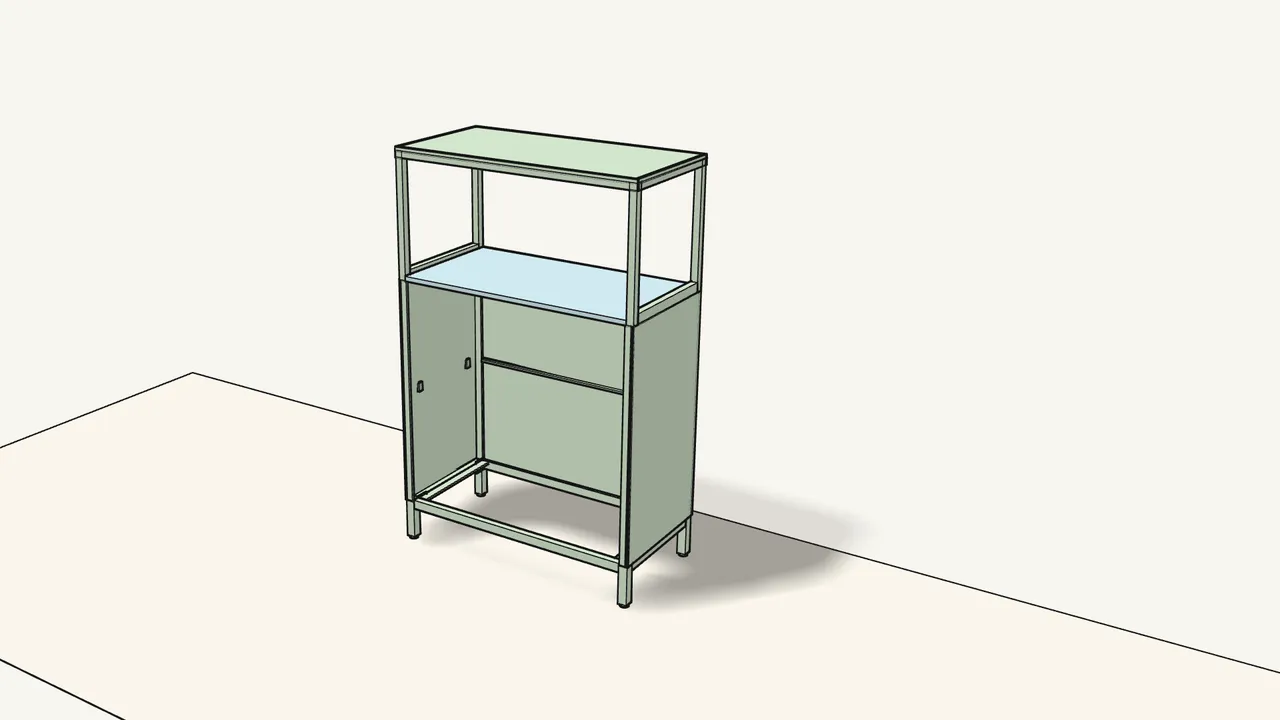
Step 12 · manual step 11
Put the shelf in on top of the lower part.
Back edge first, then lower the front.
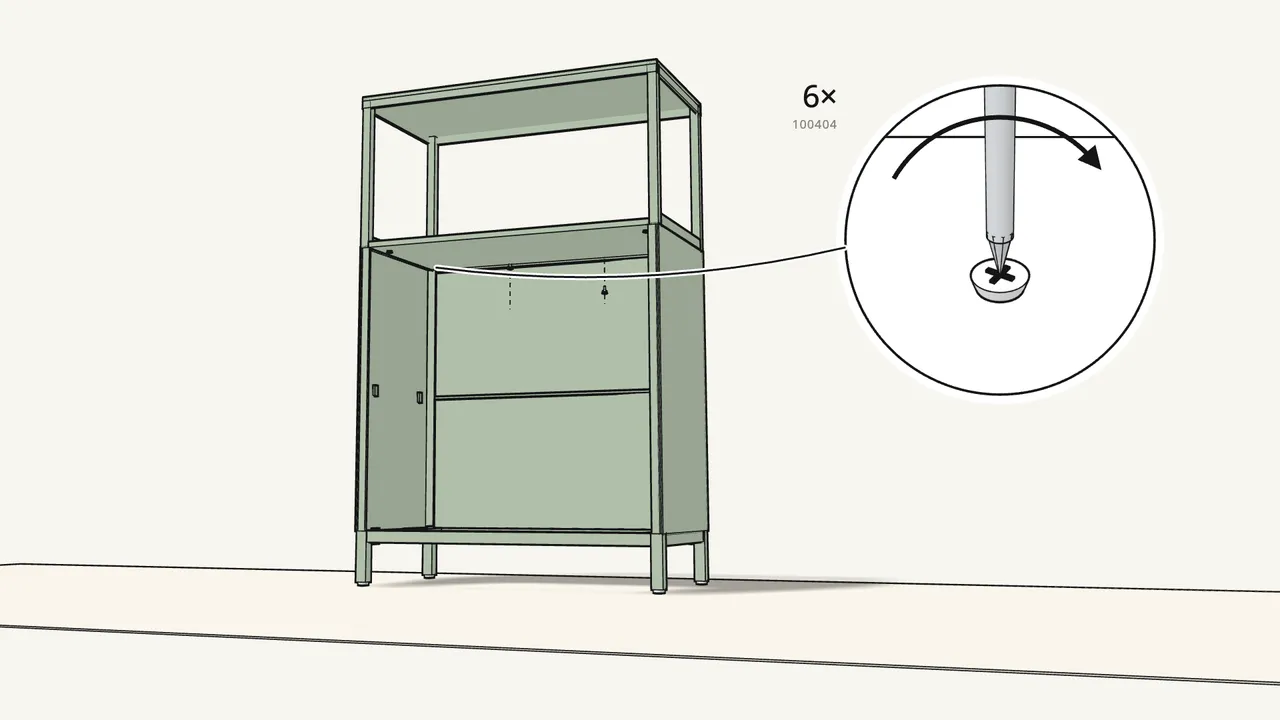
Step 13 · manual step 12
Screw the shelf on from below with 6 screws (100404).
Phillips screwdriver.
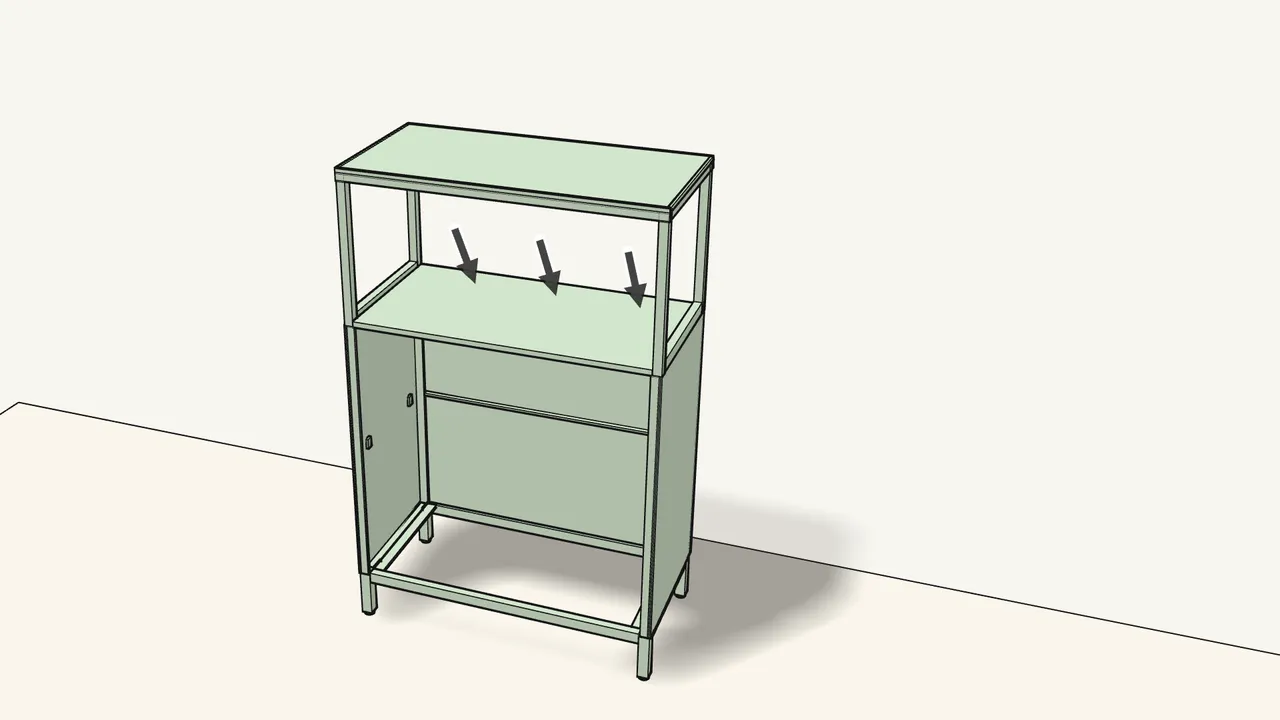
Step 14 · manual step 13
Lock the shelf with the flat screwdriver: twist 2 tabs, bend 3.
See the details in step 13 of the manual.
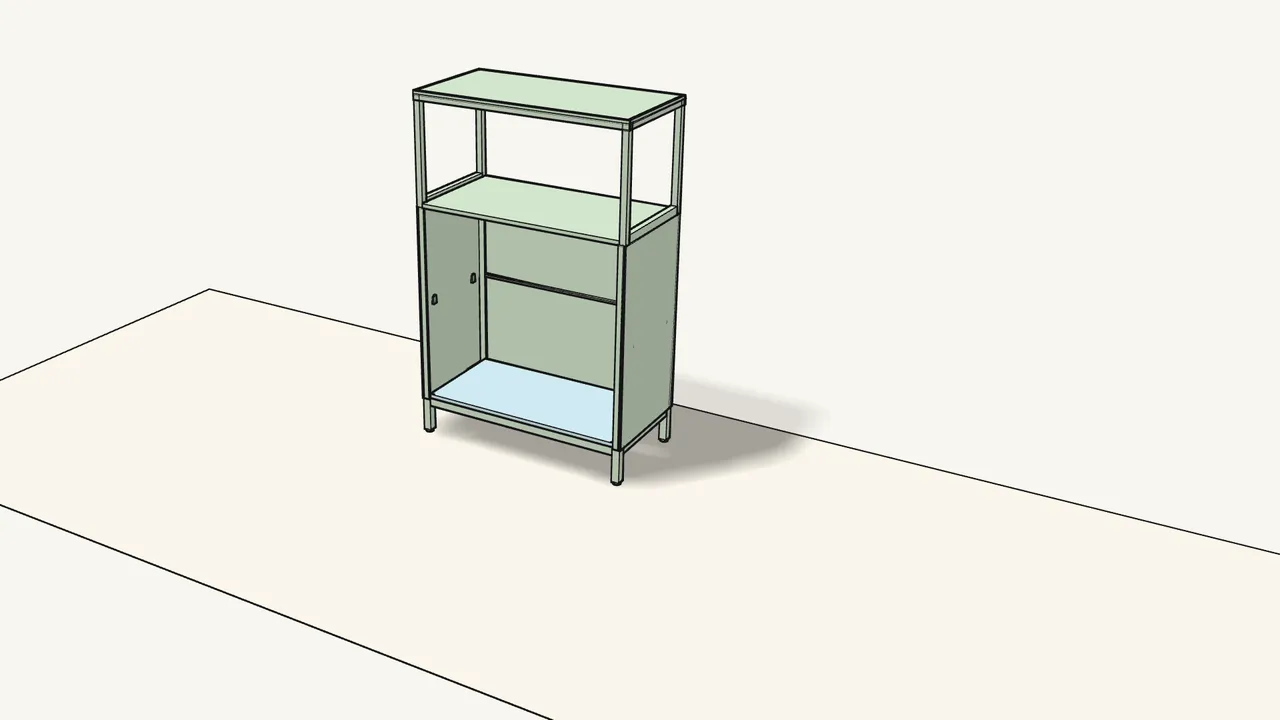
Step 15 · manual step 14
Lay the bottom shelf in: back edge first, then lower the front.
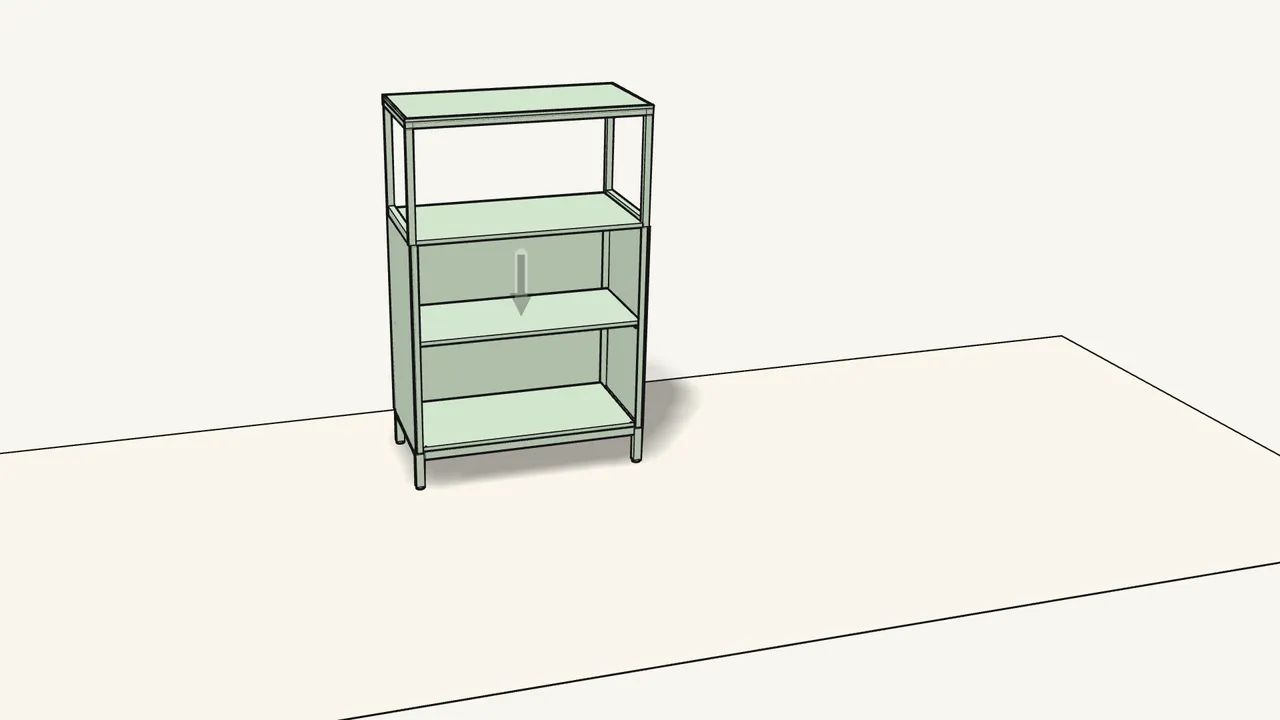
Step 16 · manual step 15
Press the middle shelf down onto the 4 hooks.
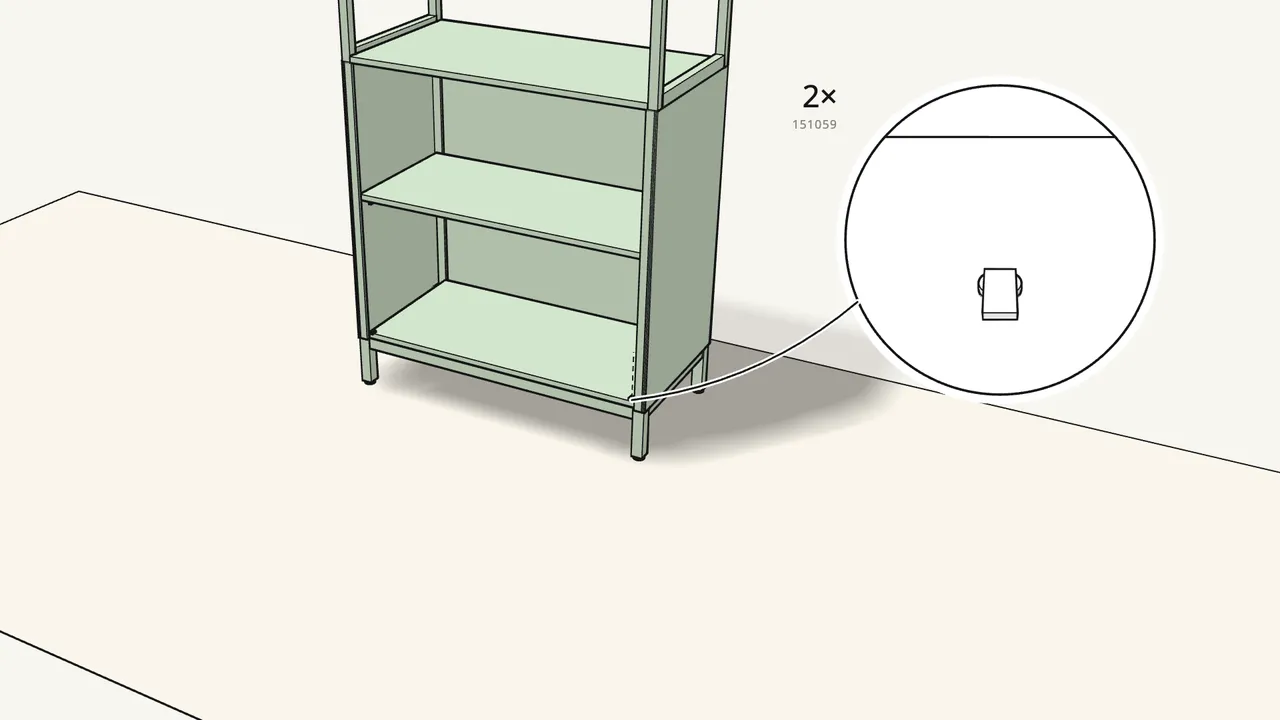
Step 17 · manual step 16
Push 2 door pins (151059) into the bottom shelf.
One at each front corner.
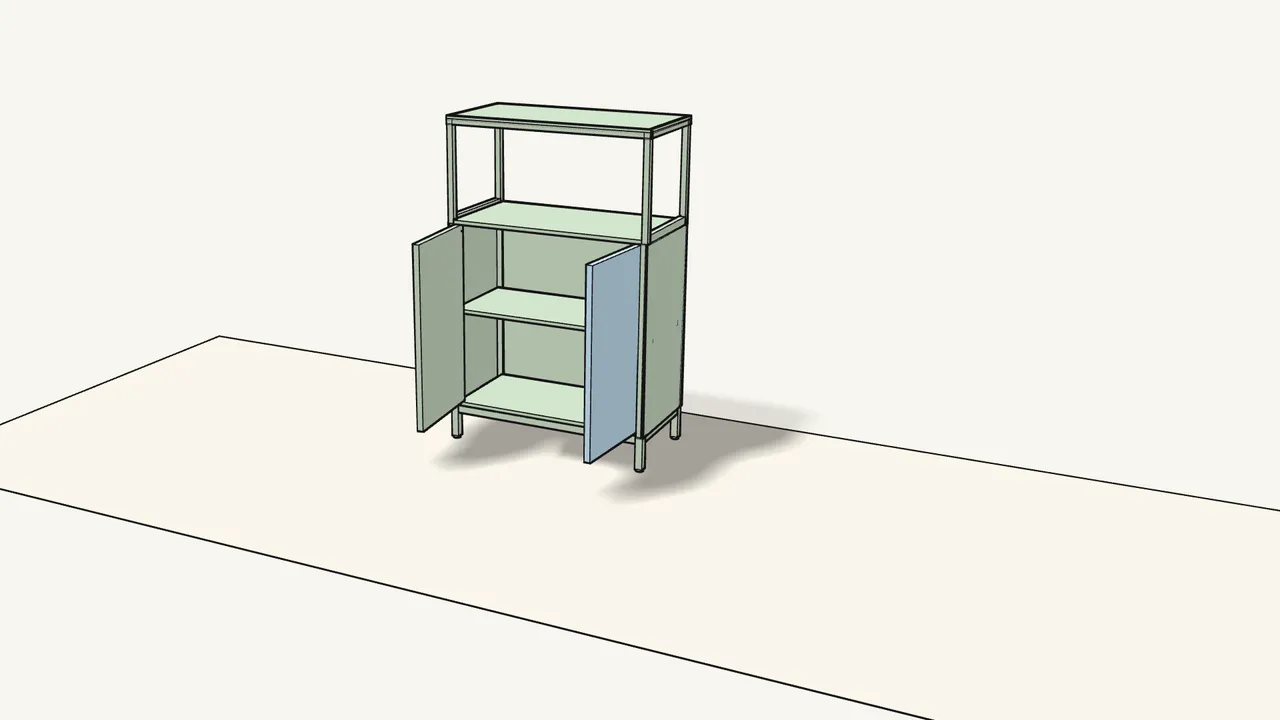
Step 18 · manual step 17
Set both doors onto the pins.
The door with the lock goes on the left.
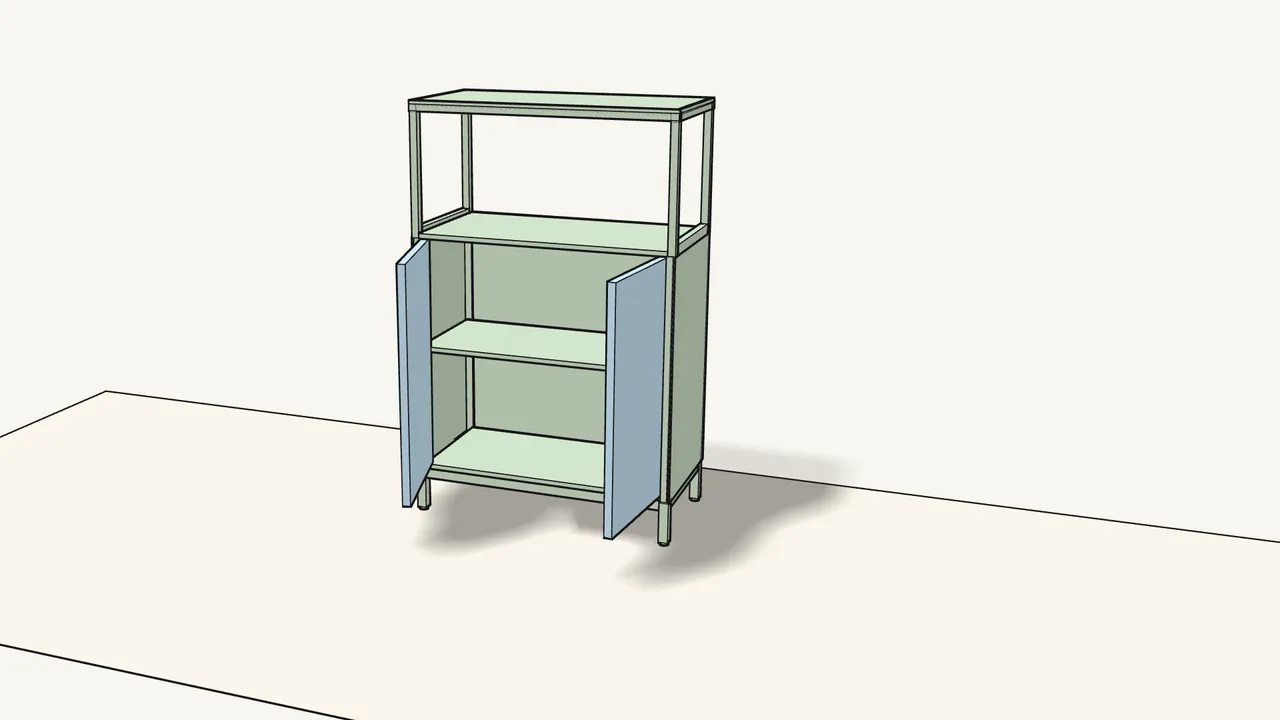
Step 19 · manual step 18
Push the hinge clips (10056123) up until they click.
One at the top of each door. Then close the doors.
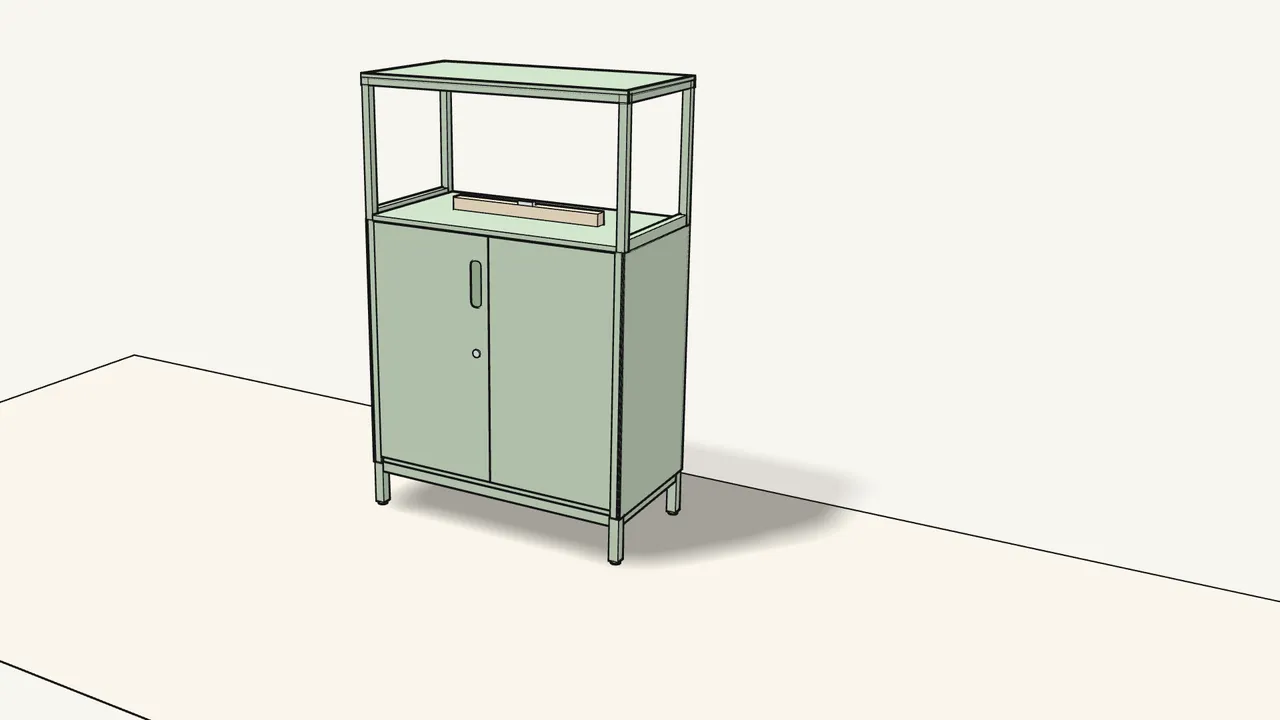
Step 20 · manual step 19
Level the cabinet: turn the feet up or down.
Check with a spirit level on the shelf.
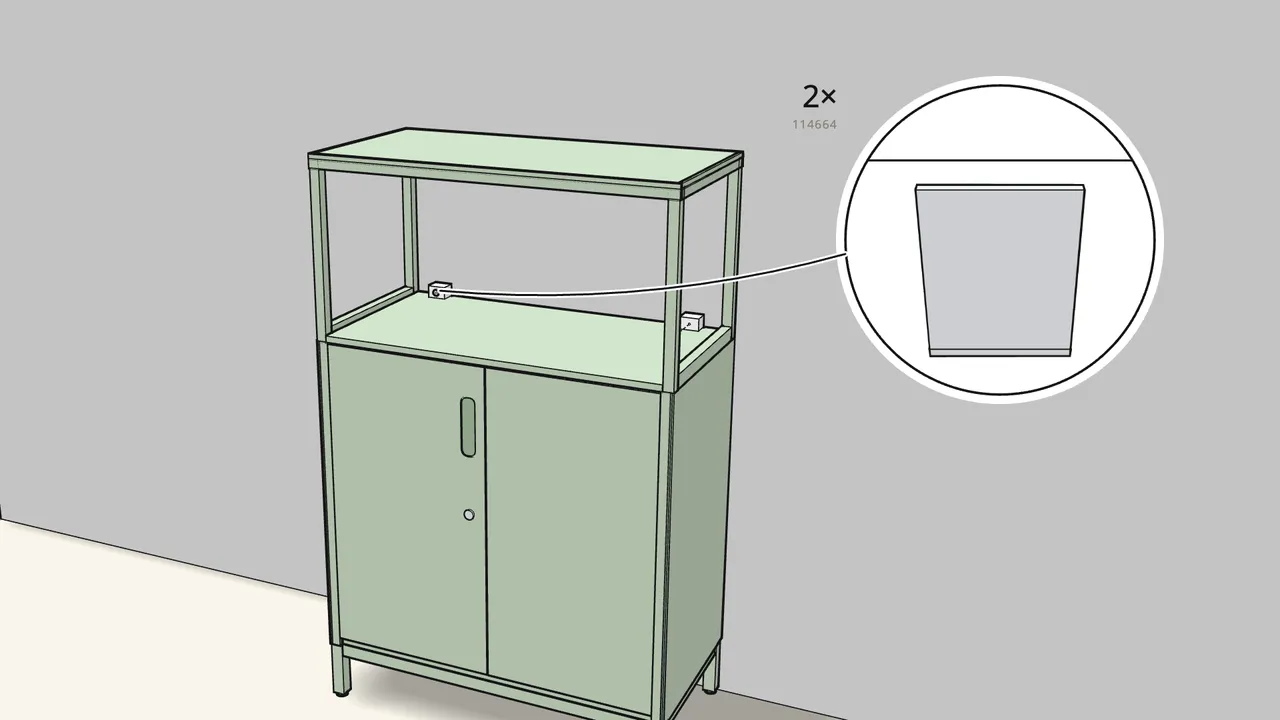
Step 21 · manual step 20
Fix the cabinet to the wall with the 2 wall fittings (114664).
Fold each fitting as on page 25 first. Wall screws and plugs are not included.
Tips & safety
- Always fix TROTTEN to the wall. Furniture tip-over can cause serious or fatal crushing injuries. Use screws and plugs that suit your wall.
- Unsure about your wall? Ask a professional which fixings to use — the manual shows the wall fittings in step 20.
Official instructions
This guide follows IKEA’s official assembly instructions (AA-2241595-6). Keep the printed manual to hand — if anything differs, the manual is right.



