IKEA · Cabinets & Wardrobes
How to assemble IKEA SUNDSÖ Cabinet
Step-by-step IKEA SUNDSÖ Cabinet assembly: 21 illustrated steps, an animated video, the hardware list and the tools you need — following the official instructions (AA-2371211-6).
- 21 illustrated steps
- 18 steps in the manual
- 2:52 video
- 60×35×86 cm
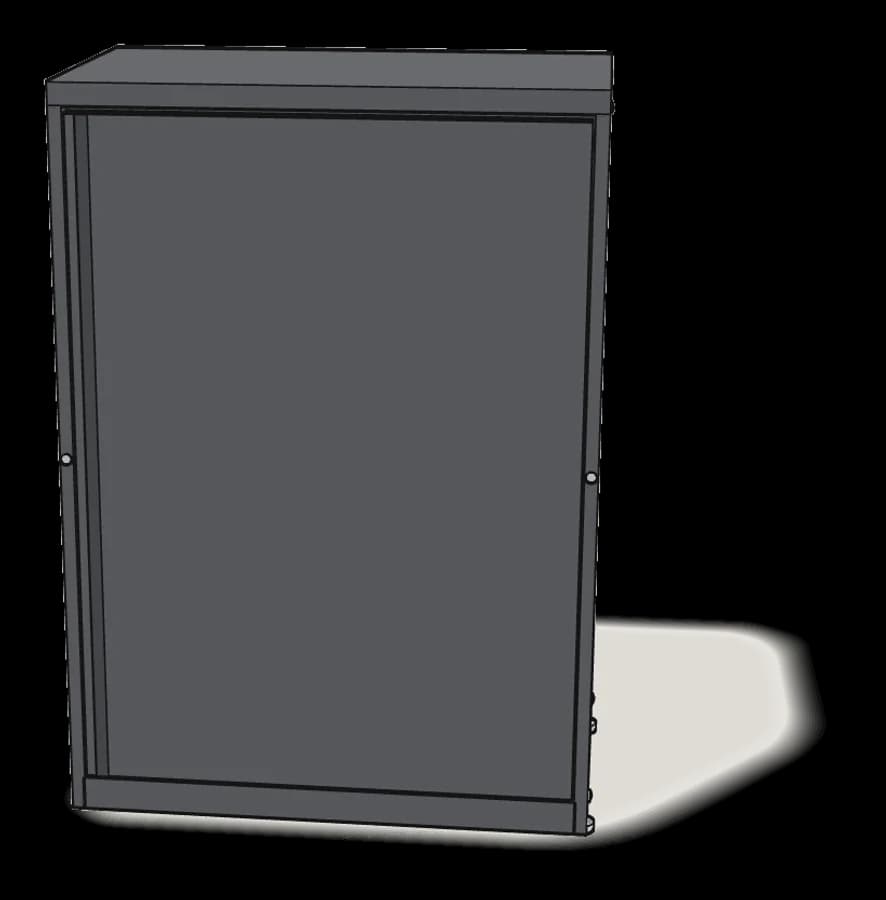
What you need
Tools
- Flat-head screwdriver
- Phillips screwdriver
- Hammer
Hardware in the box
| Part no. (as printed in the manual) | Qty |
|---|---|
| 139460 | 4× |
| 10077822 | 8× |
| 10109411 | 1× |
| 144201 | 6× |
| 122959 | 2× |
| 10004350 | 2× |
| 10090880 | 1× |
| 193598 | 2× |
| 10096885 | 1× |
Step-by-step assembly
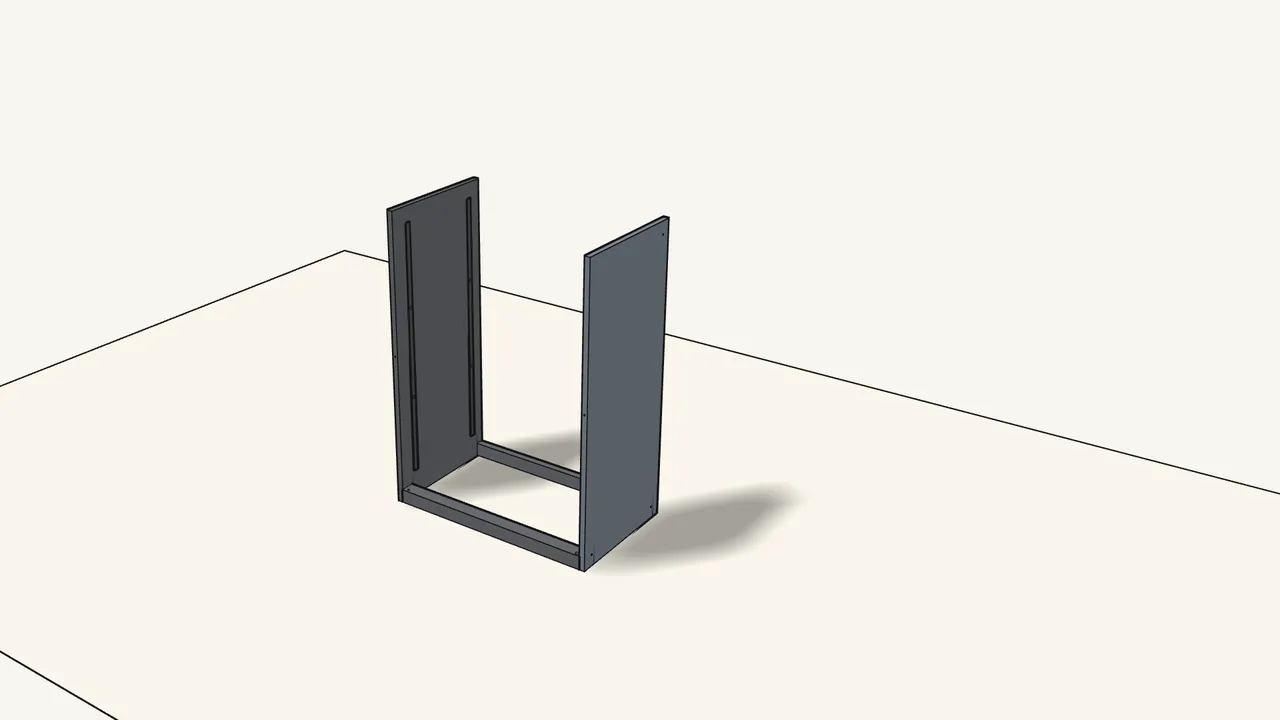
Step 1
Slide the 2 side panels down onto the base pieces.
The 4 corner posts go up into the bottom of the sides.
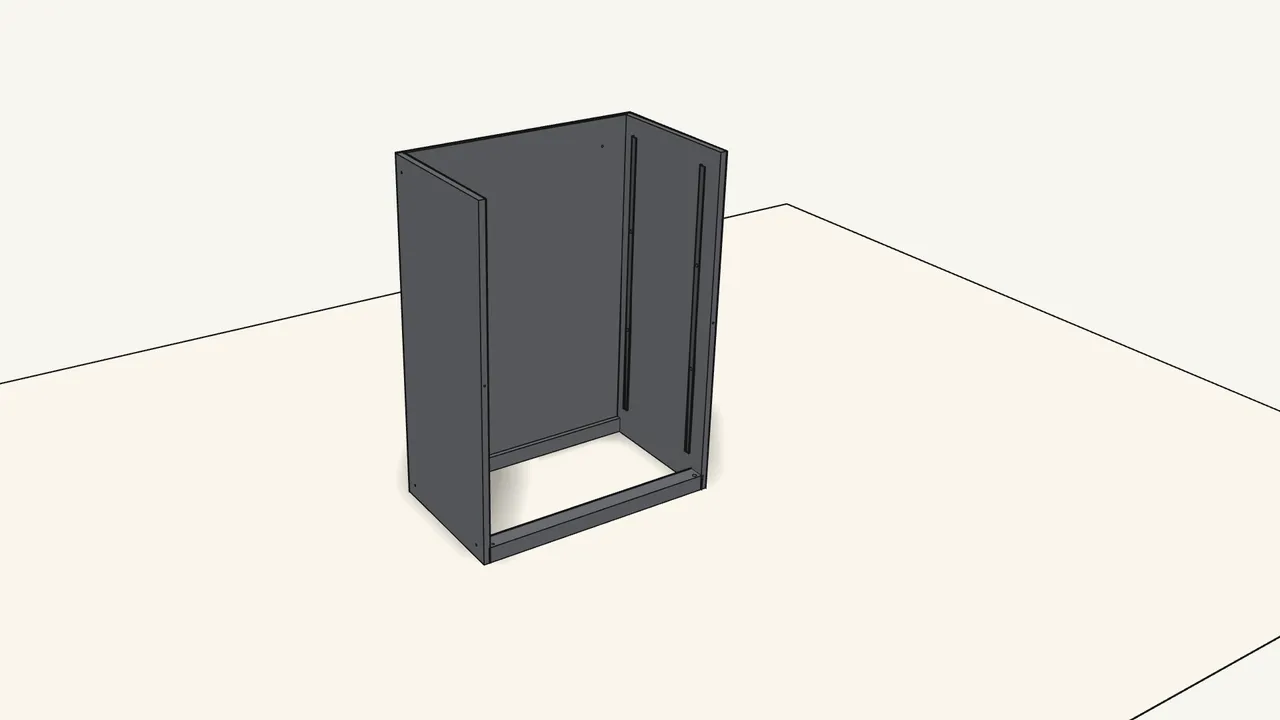
Step 2
Fit the back panel in between the two sides.
Slide it in as shown in manual step 2.
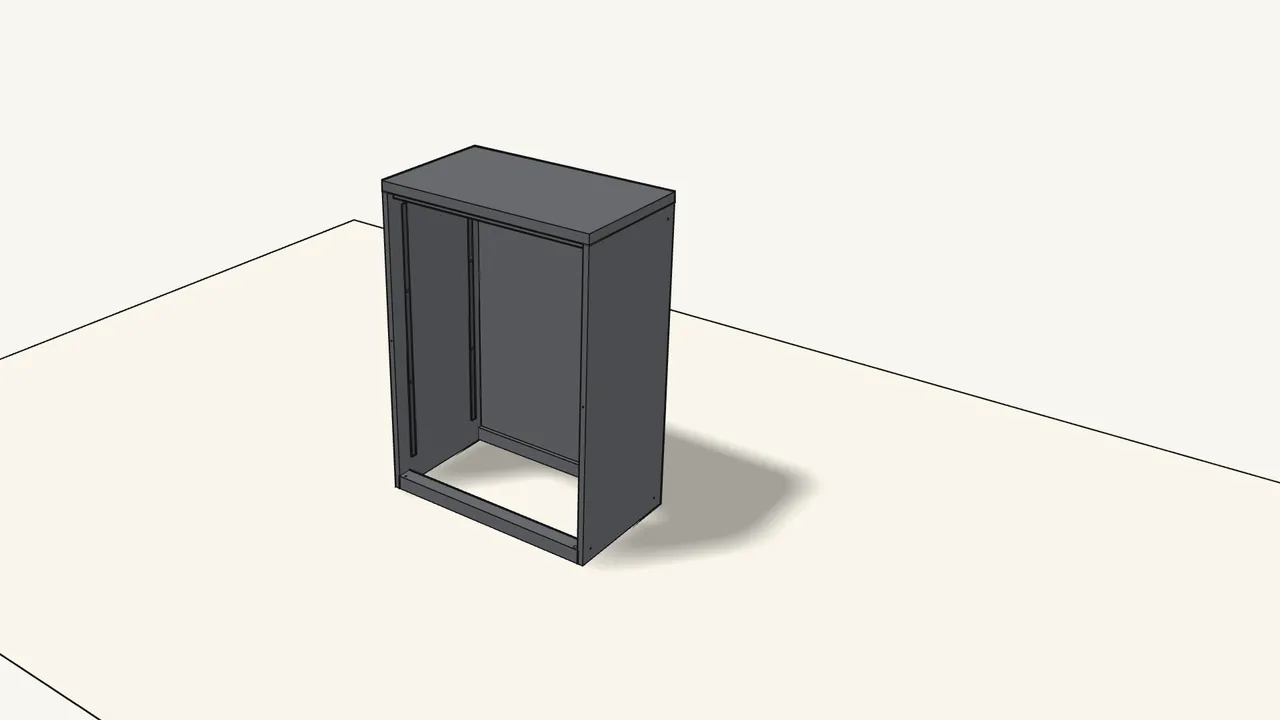
Step 3
Lower the top on and press it down until it clicks.
It snaps onto 4 tabs on the side panels.
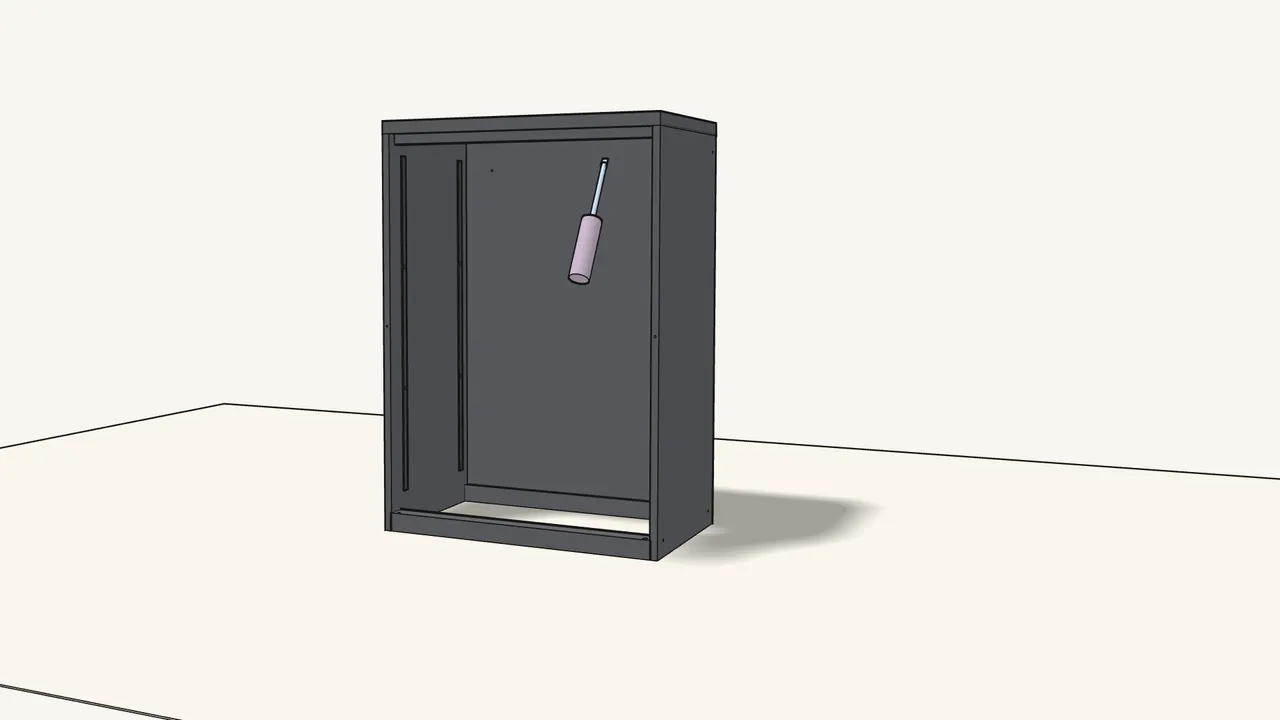
Step 4
Lock the top: push up the 2 tabs under its front edge.
Use a flat-blade screwdriver.
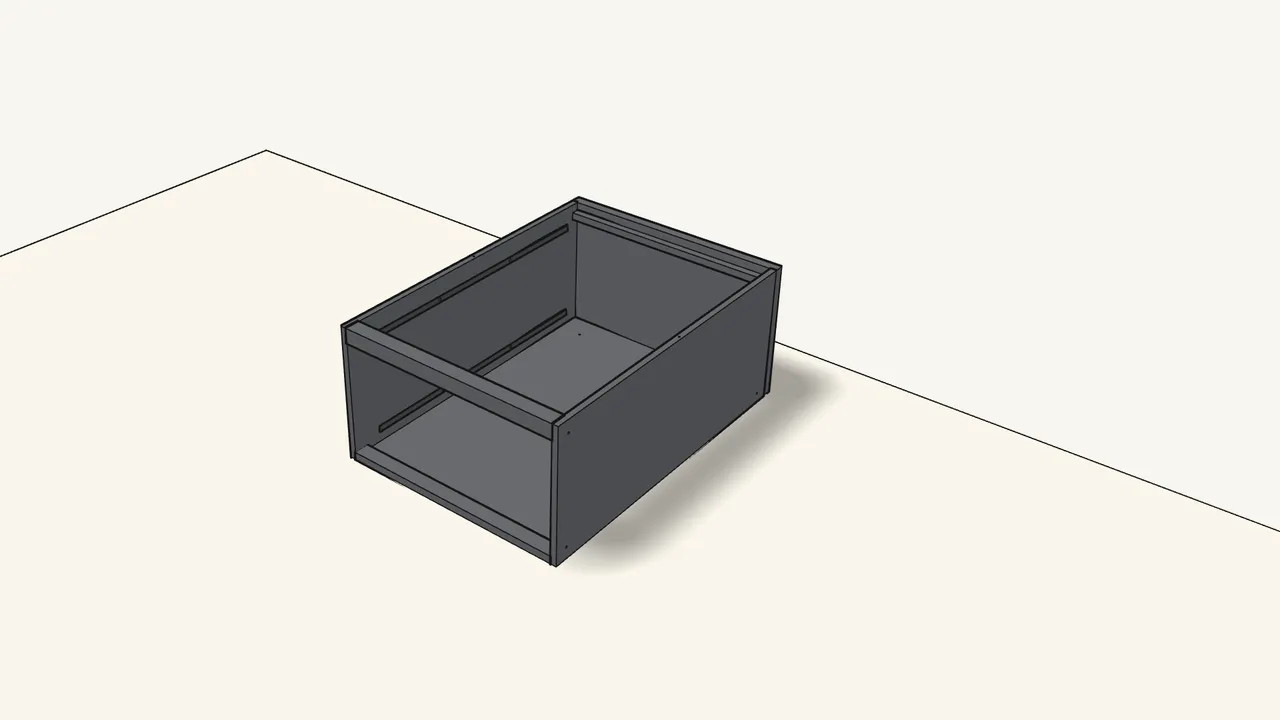
Step 5 · manual step 4
Carefully lay the cabinet on its back.
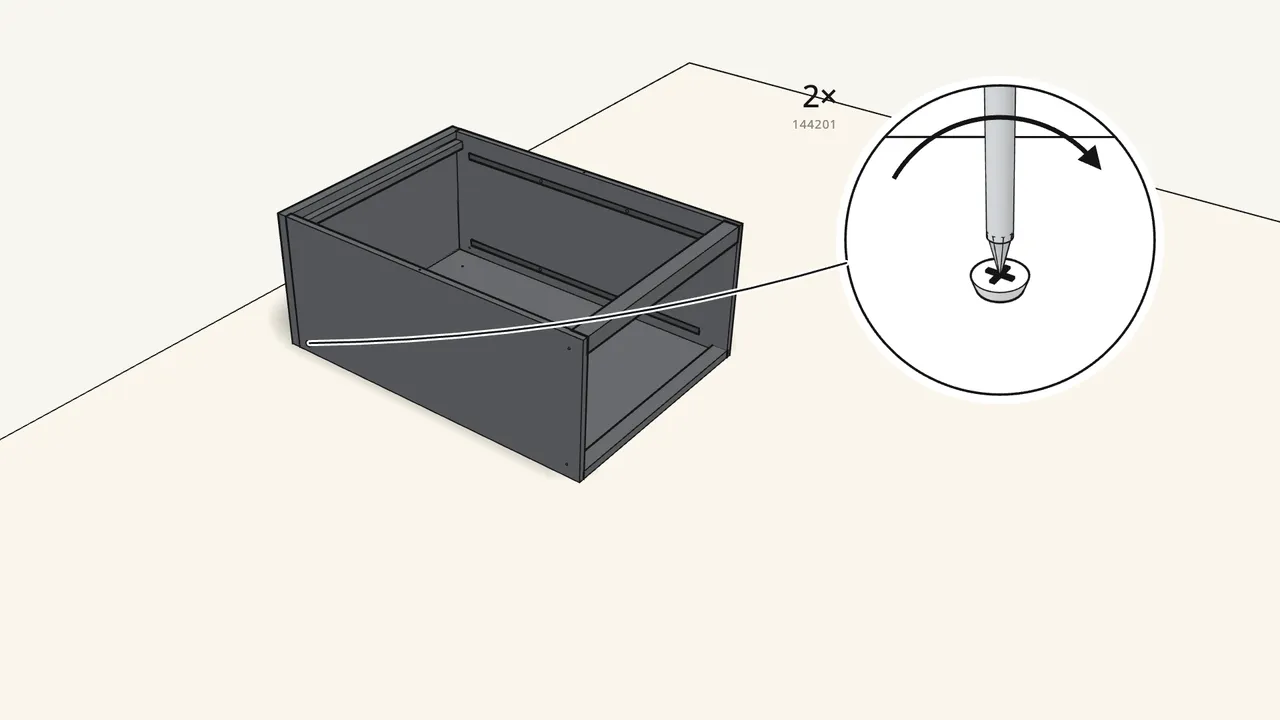
Step 6 · manual step 5
Drive 2 screws (144201) in near the top, one in each side.
Use the Phillips screwdriver — see manual step 5 for the holes.
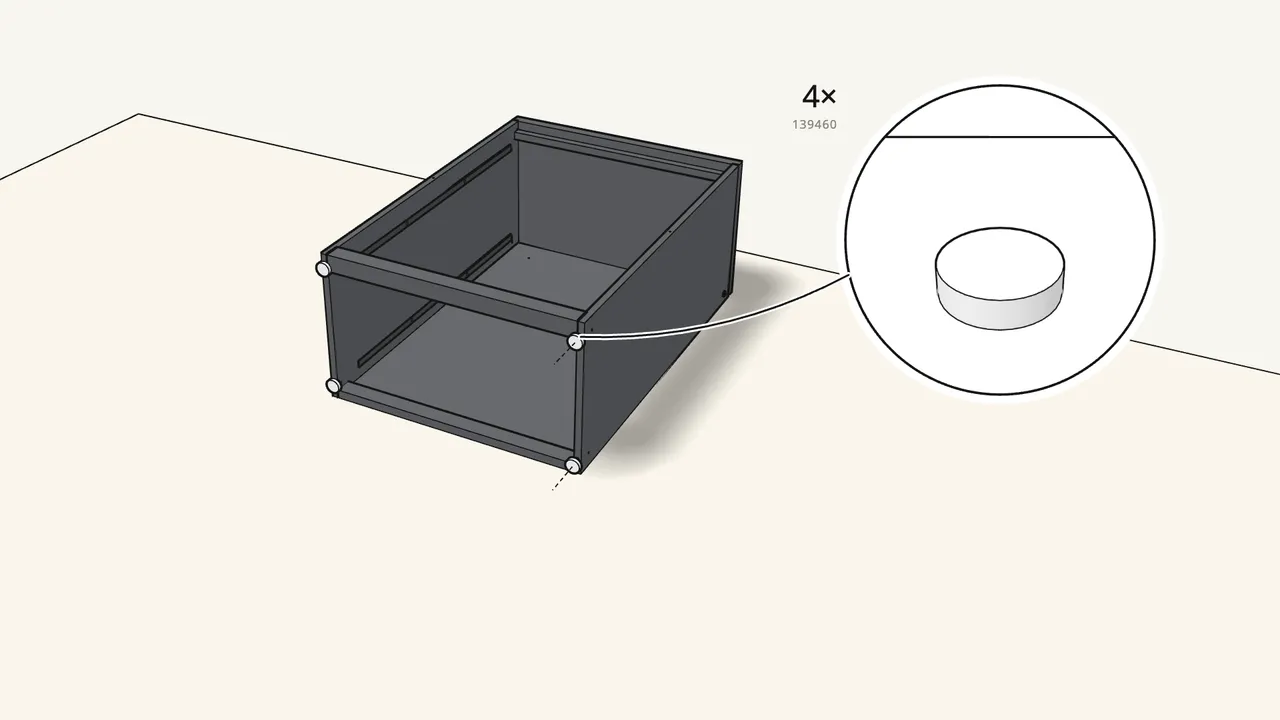
Step 7 · manual step 6
Tap the 4 feet (139460) into the corners of the base.
Use a hammer with a piece of wood in between.
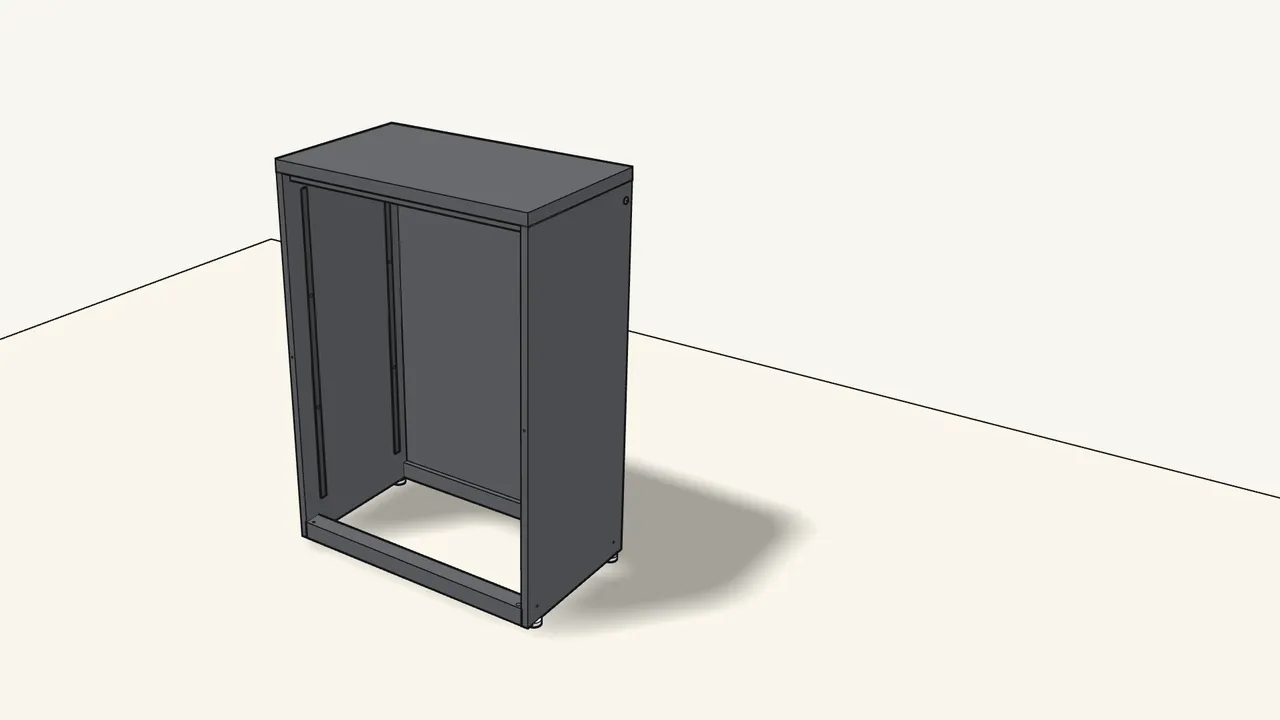
Step 8 · manual step 6
Stand the cabinet upright again.
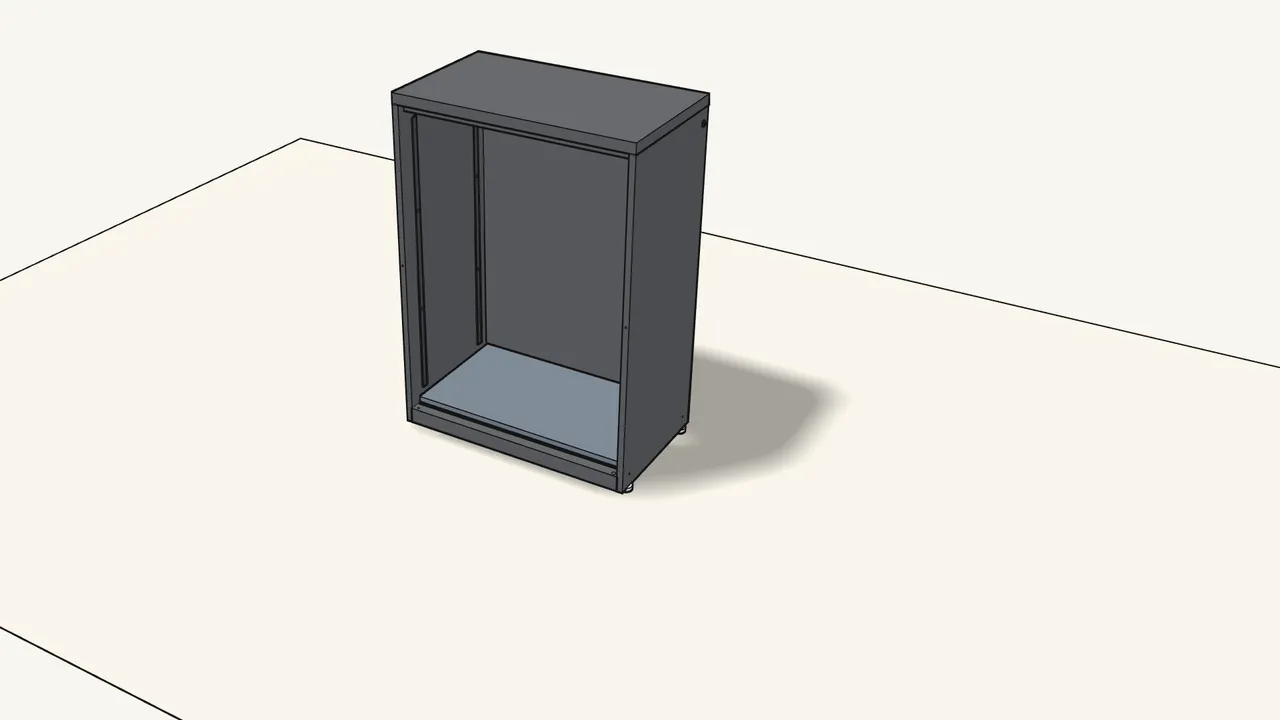
Step 9 · manual step 7
Lay the bottom shelf onto the base, folded edges down.
Push the front edge down so it sits in place.
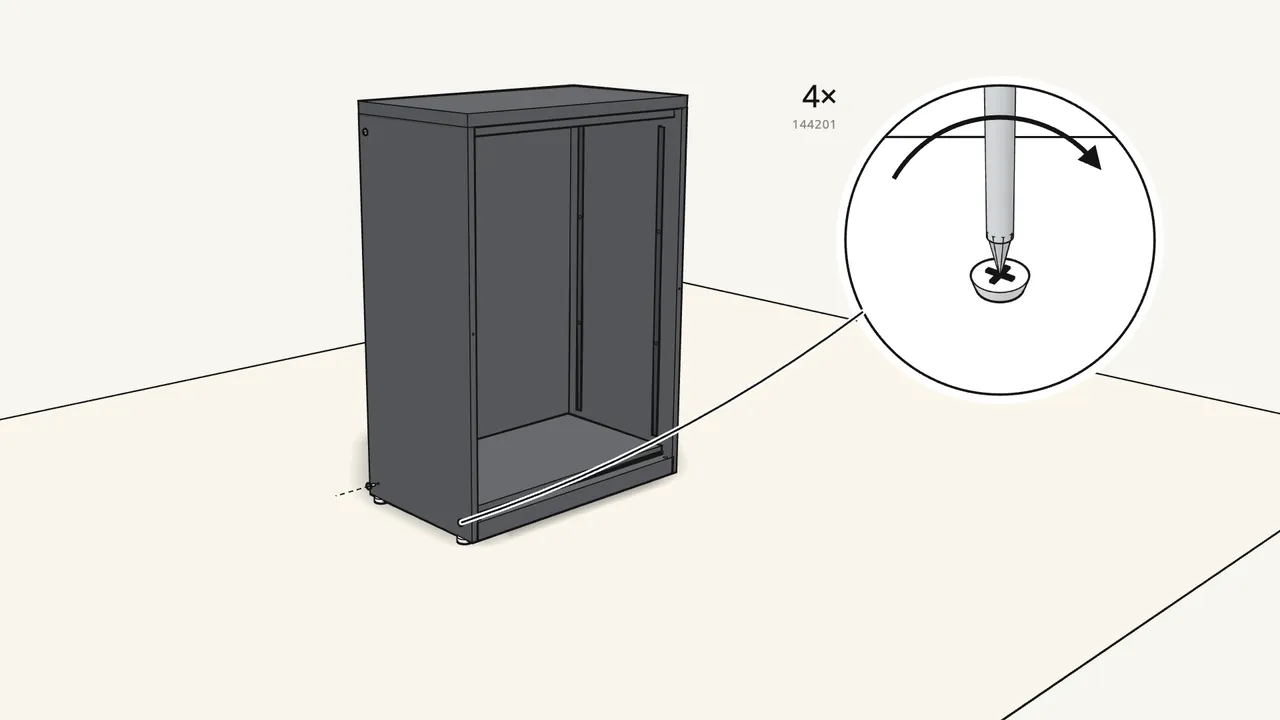
Step 10 · manual step 8
Fix the sides to the base with 4 screws (144201).
2 in each side, low down at the front and back.
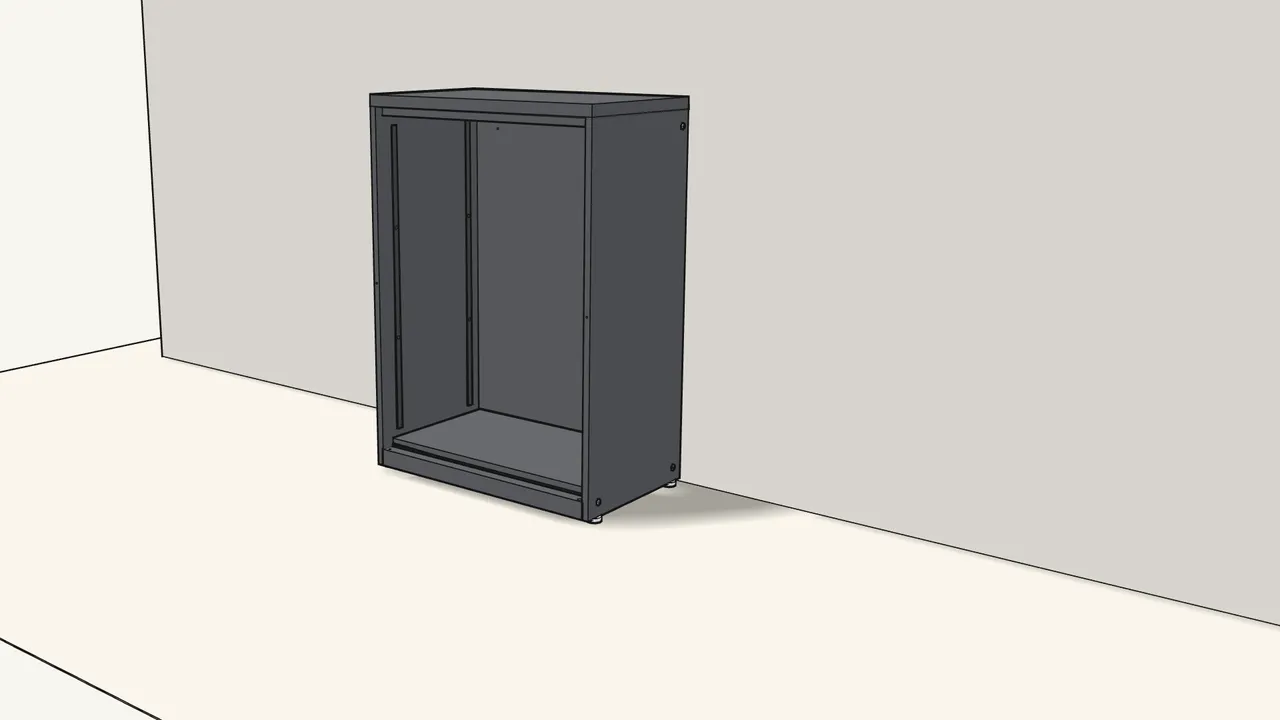
Step 11 · manual step 9
Place it by the wall and level it with the feet.
Turn the feet up or down until the cabinet stands steady.
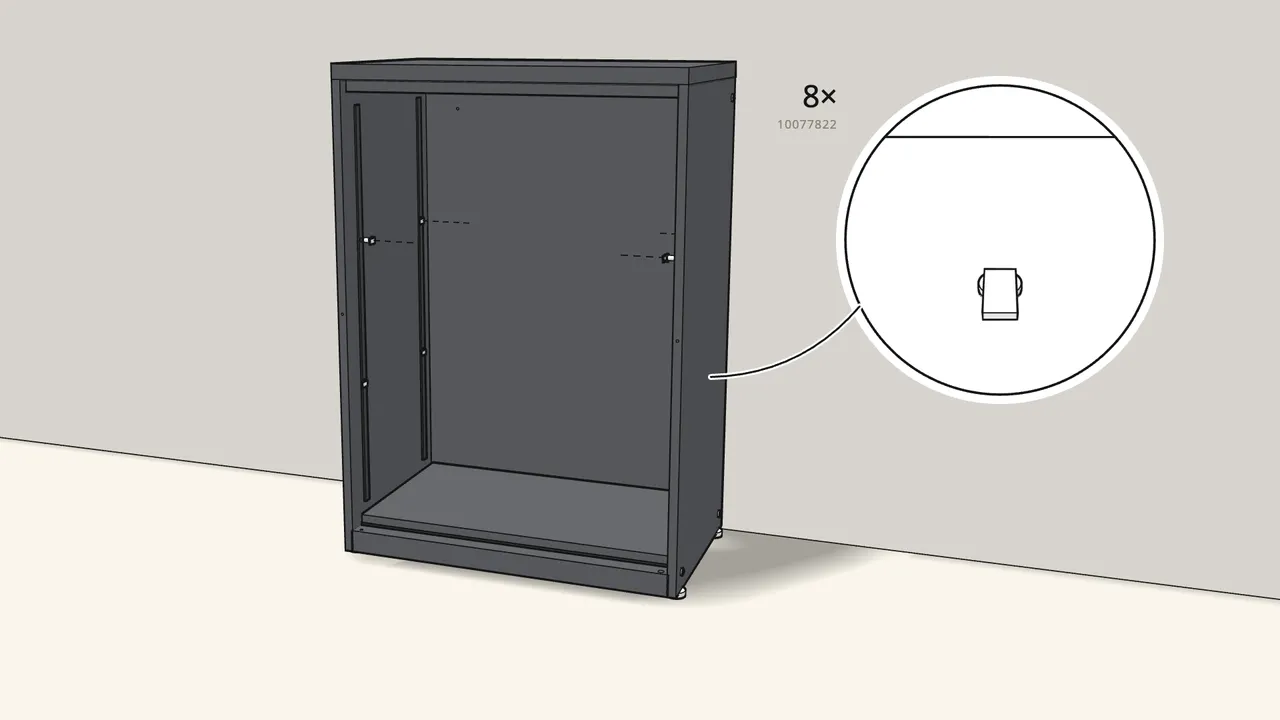
Step 12 · manual step 10
Hook the 8 shelf clips (10077822) into the slots.
4 in each side, at two heights.
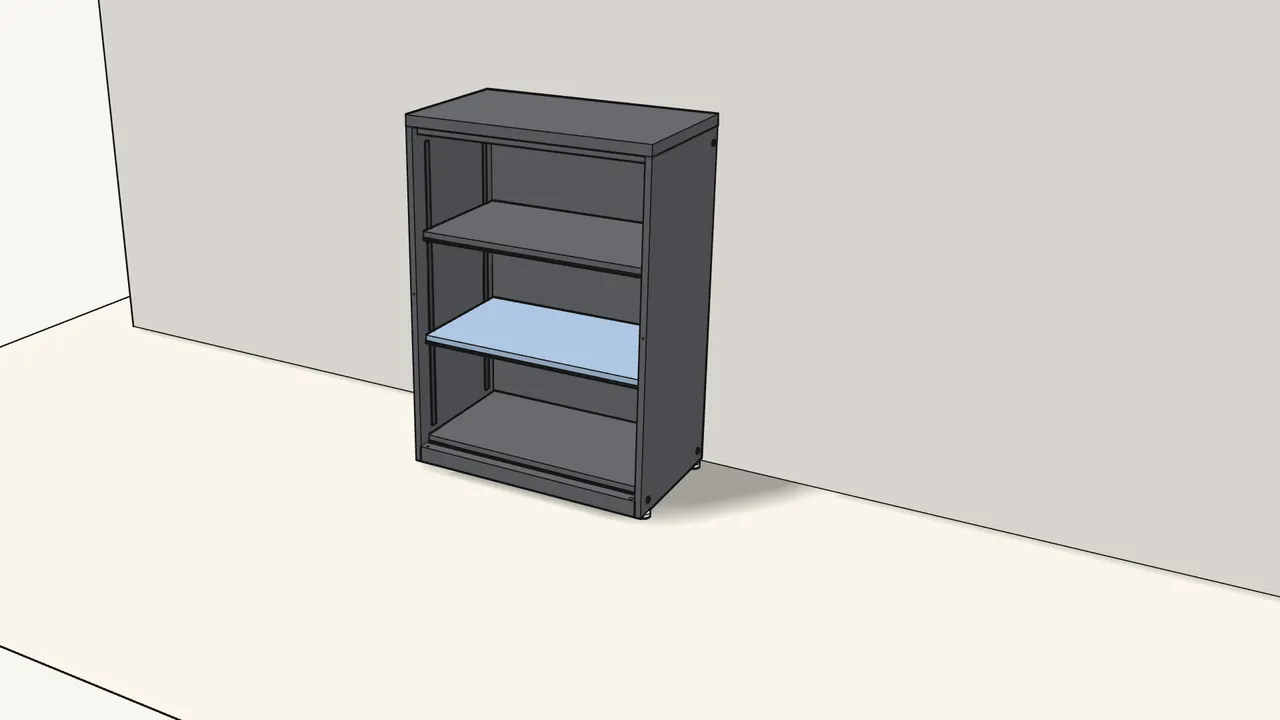
Step 13 · manual step 11
Lay the 2 shelves on the clips.
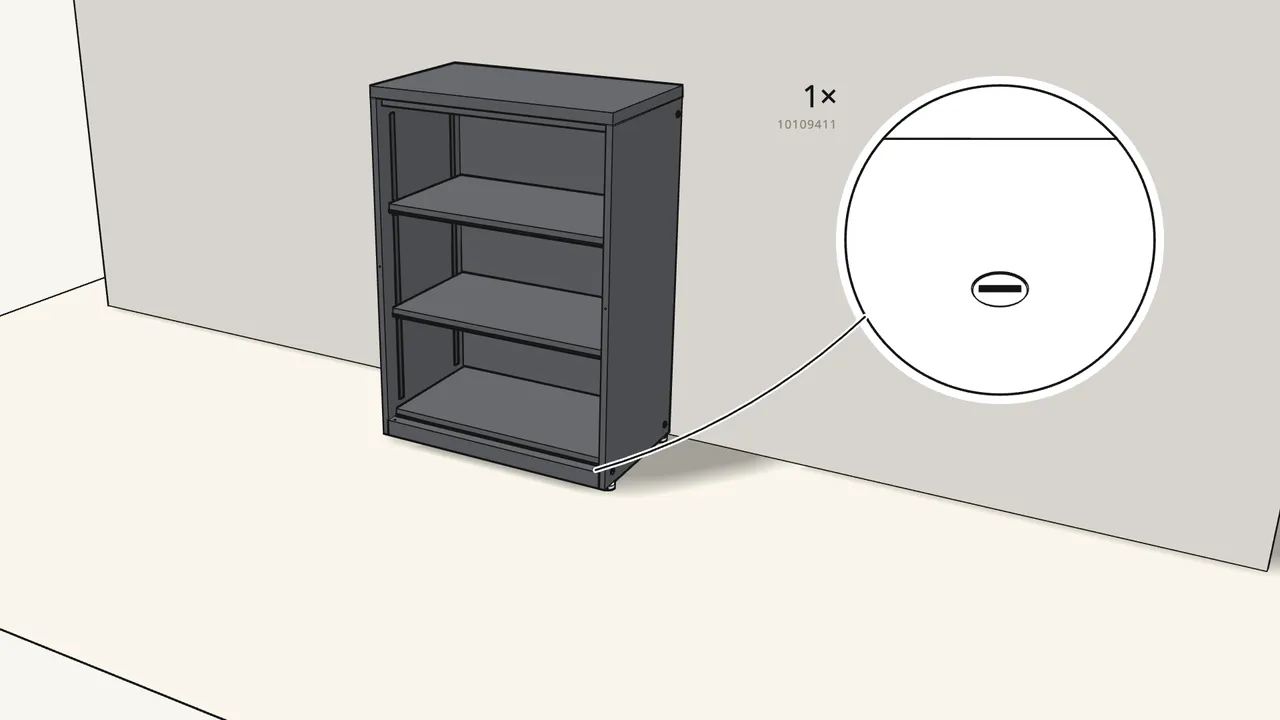
Step 14 · manual step 12
Press the hinge pin (10109411) into the square hole, bottom right.
The door can hang on either side — this guide follows the manual (right).
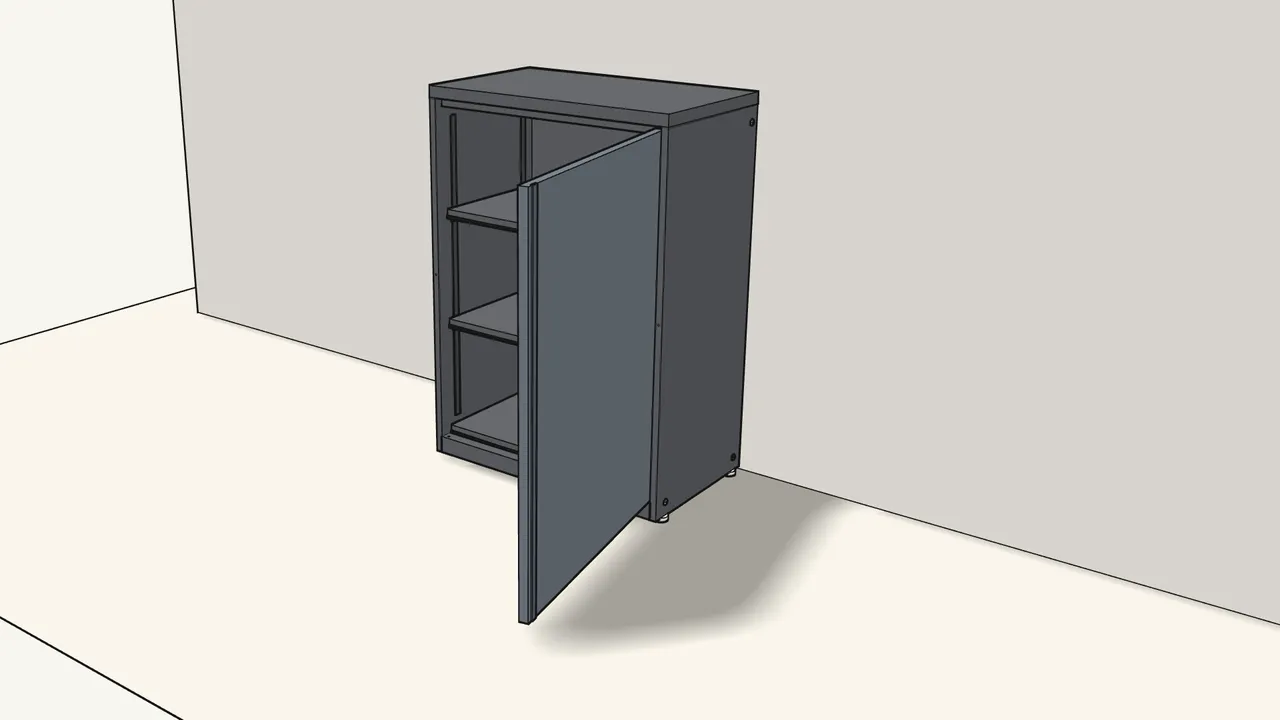
Step 15 · manual step 13
Fit the door onto the bottom hinge pin.
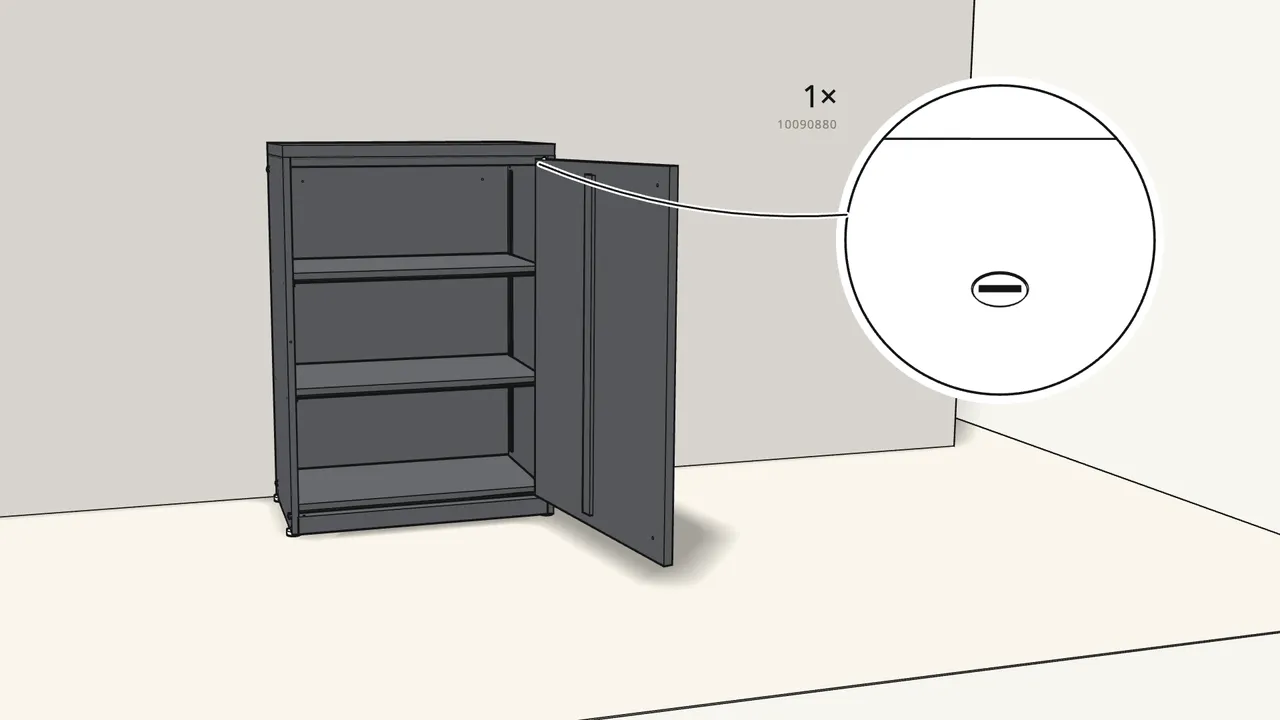
Step 16 · manual step 14
Push the top hinge (10090880) into the door — it clicks into the top.
See the close-ups in manual step 14.
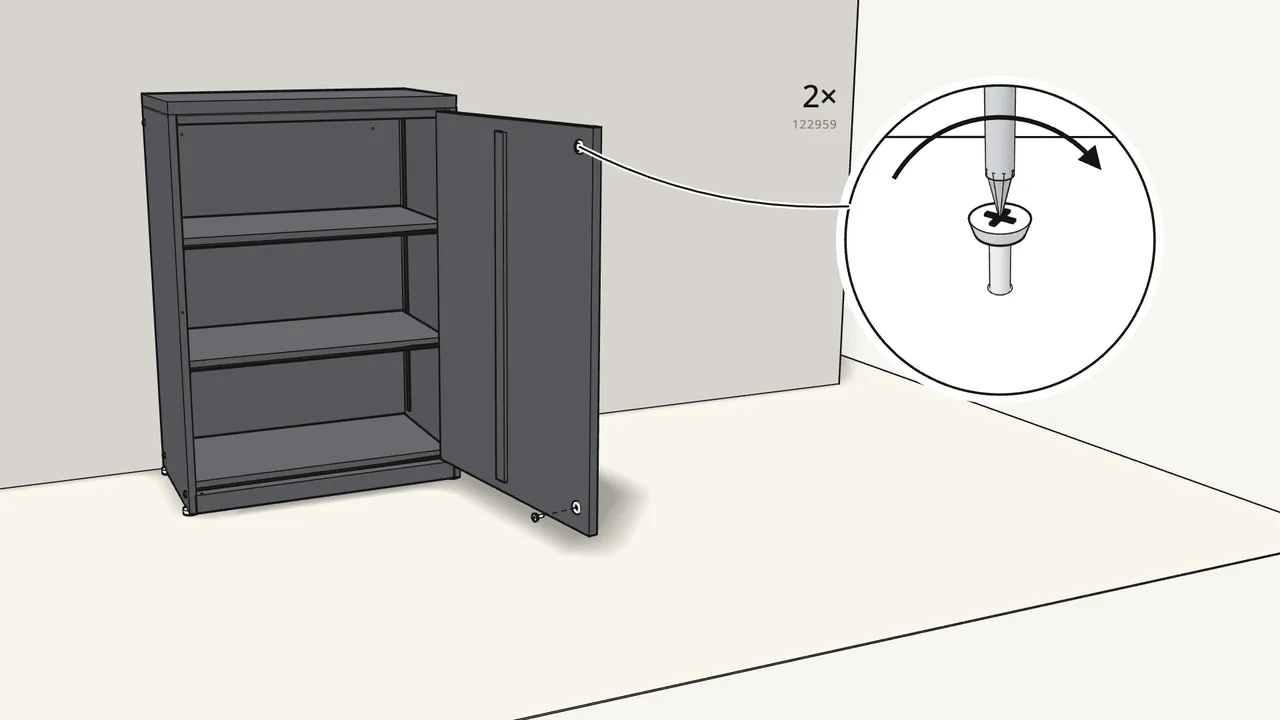
Step 17 · manual step 15
Screw 2 buffers (10004350) inside the door (122959).
Top and bottom, near the free edge.
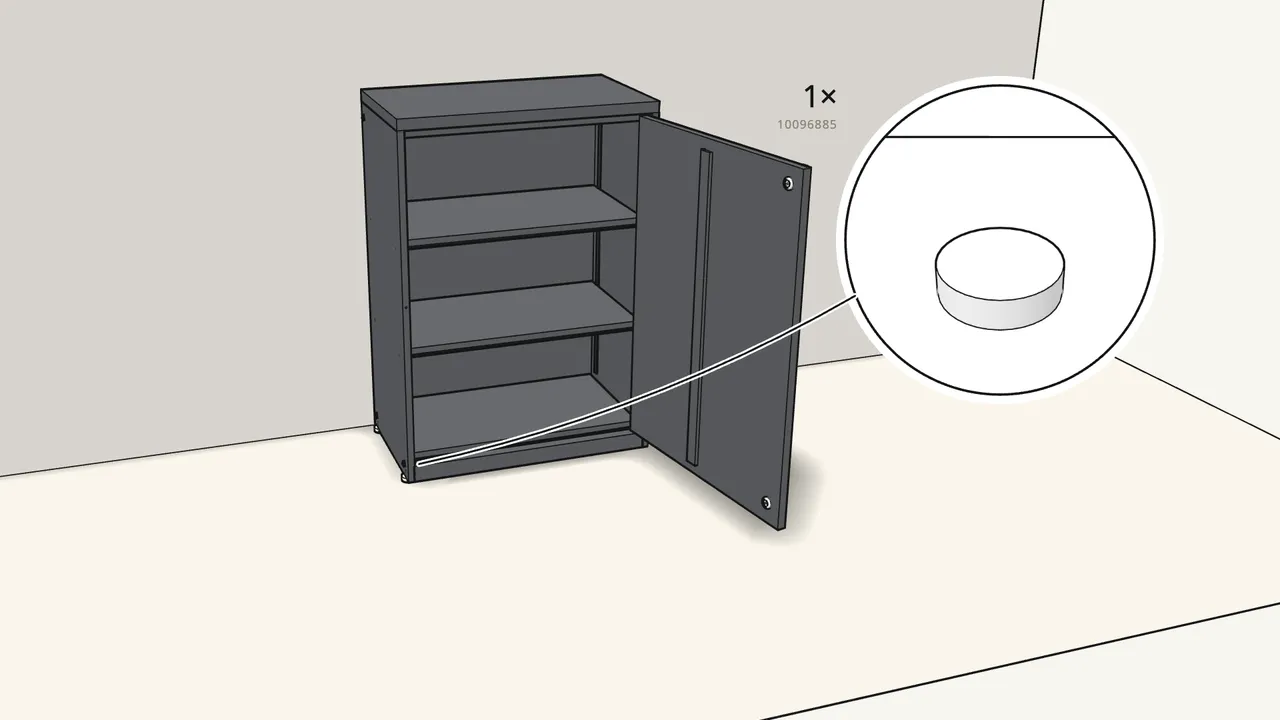
Step 18 · manual step 16
Press the cover (10096885) into the empty square hole.
Bottom left, on the side without the door hinge.
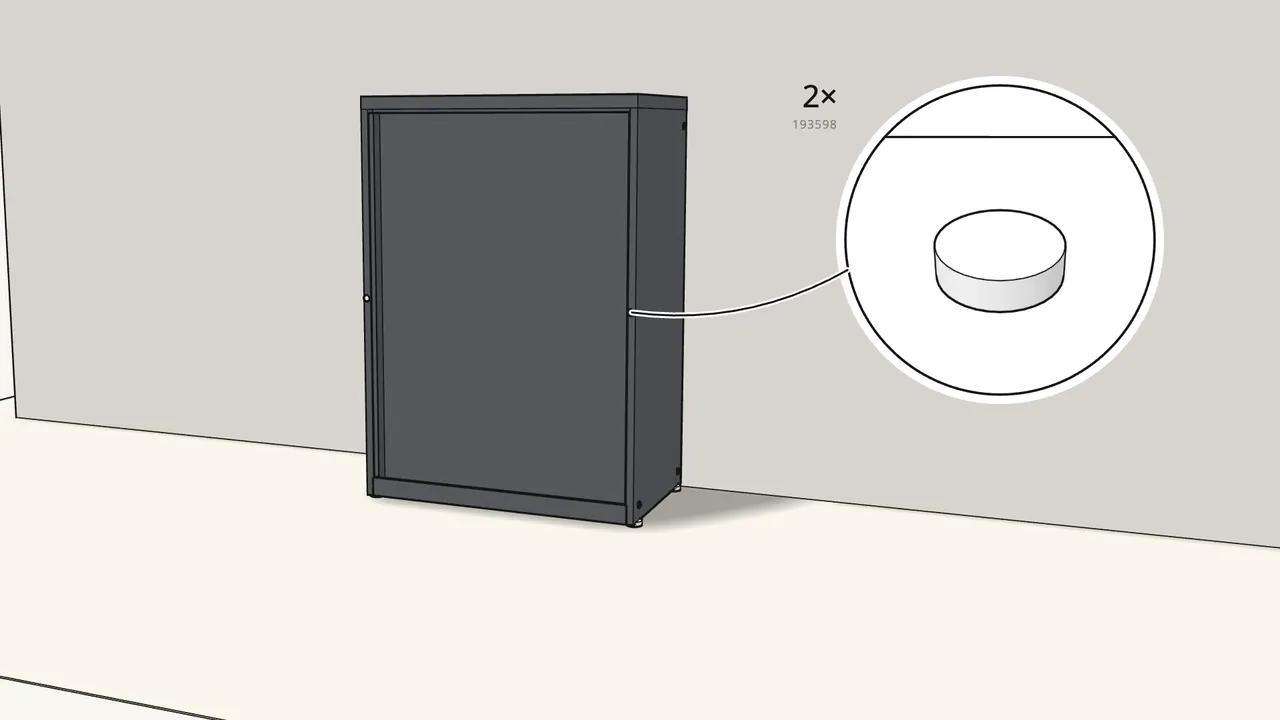
Step 19 · manual step 17
Close the door and press 2 caps (193598) into the front holes.
One in the front edge of each side panel.
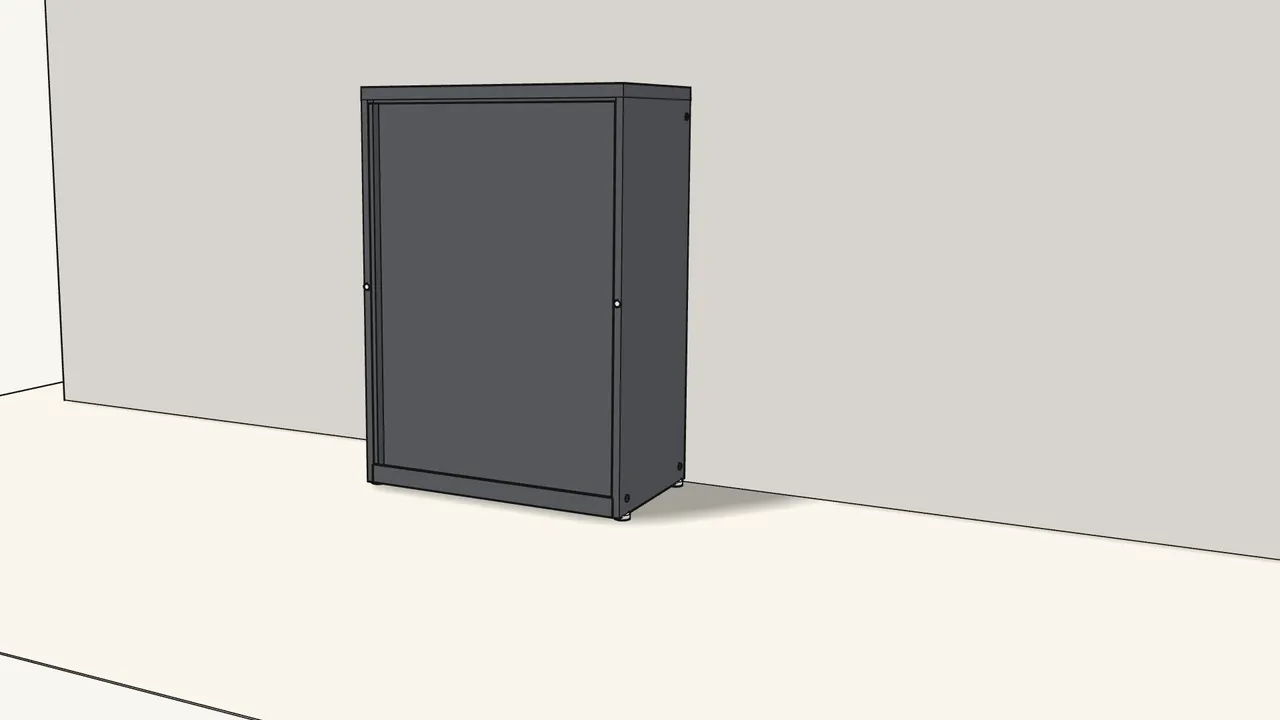
Step 20 · manual step 18
Door not straight? Adjust the feet to line it up.
Turn the foot on the low corner up or down.
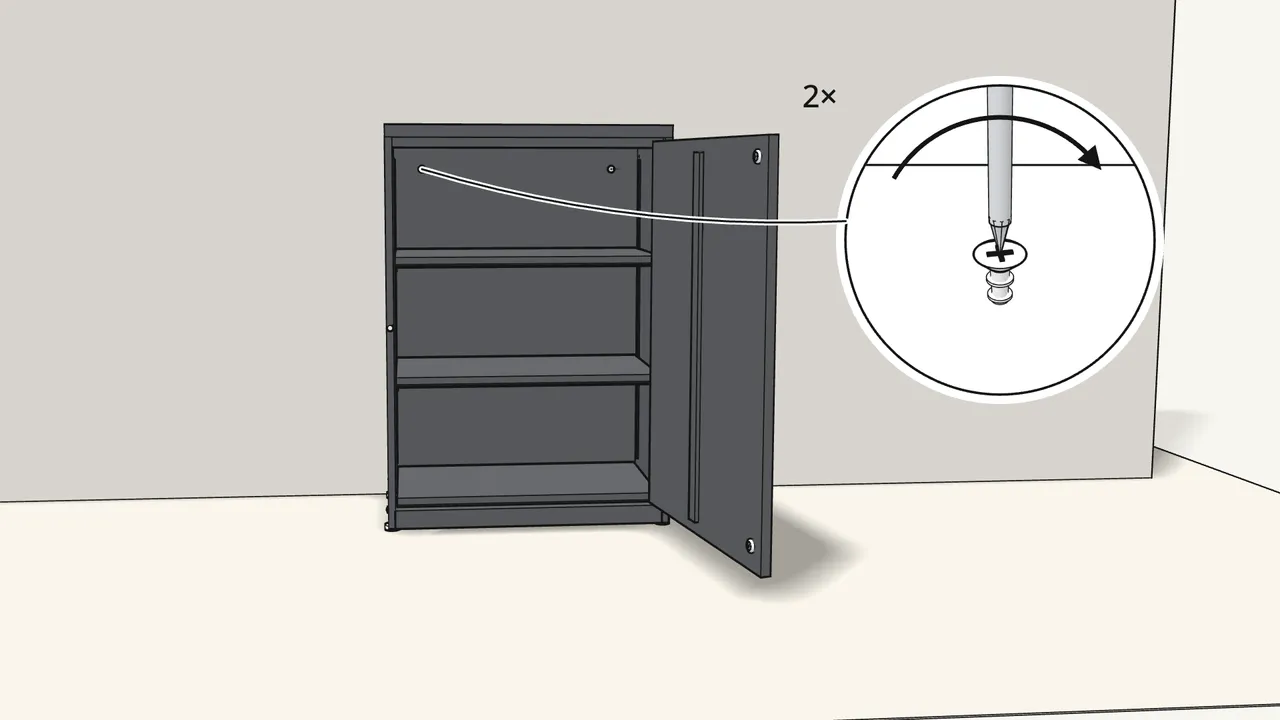
Step 21
Fix the cabinet to the wall: 2 screws through the back, at the top.
Use round-head screws, not countersunk. Screws and plugs for your wall are not included.
Tips & safety
- Always fix SUNDSÖ to the wall. Furniture tip-over can cause serious or fatal crushing injuries. Use screws and plugs suited to your wall.
- Want the door on the left? It can be hung on either side. This guide follows the manual’s right-hand door — for the left, see manual page 14.
Official instructions
This guide follows IKEA’s official assembly instructions (AA-2371211-6). Keep the printed manual to hand — if anything differs, the manual is right.



