IKEA · Cabinets & Wardrobes
How to assemble IKEA SMUSSLA Bedside Table/Shelf Unit
Step-by-step IKEA SMUSSLA Bedside Table/Shelf Unit assembly: 15 illustrated steps, an animated video, the hardware list and the tools you need — following the official instructions (AA-2230202-2).
- 15 illustrated steps
- 14 steps in the manual
- 2:16 video
- 46×37×42 cm
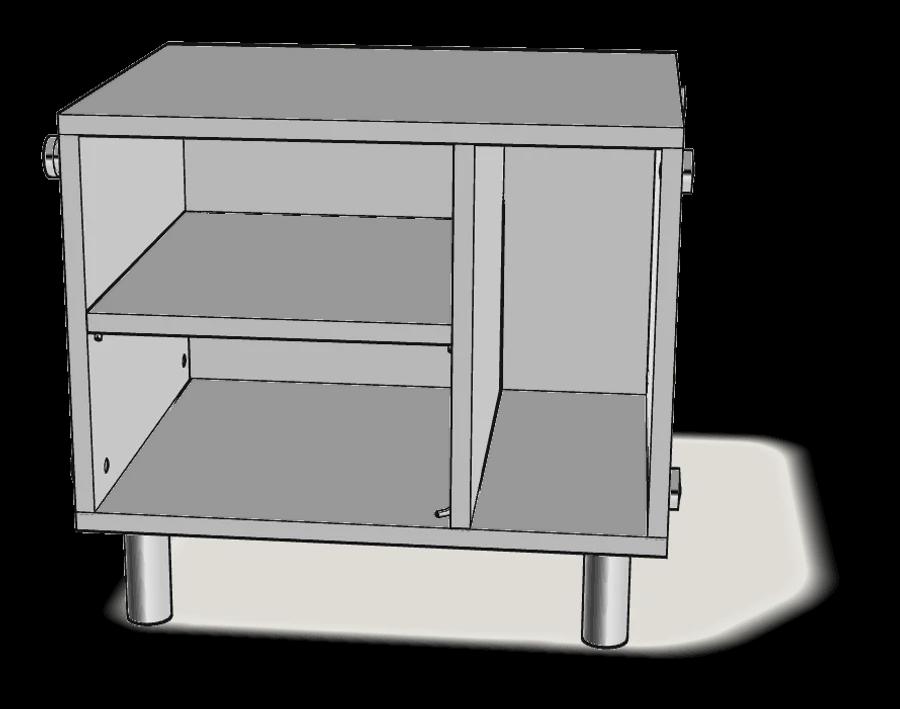
What you need
Tools
- Allen key (included)
Hardware in the box
| Part no. (as printed in the manual) | Qty |
|---|---|
| 101375 | 16× |
| 100224 | 8× |
| 100042 | 4× |
| 100600 | 4× |
| 10058747 | 8× |
| 10058759 | 1× |
| 10058746 | 8× |
Step-by-step assembly
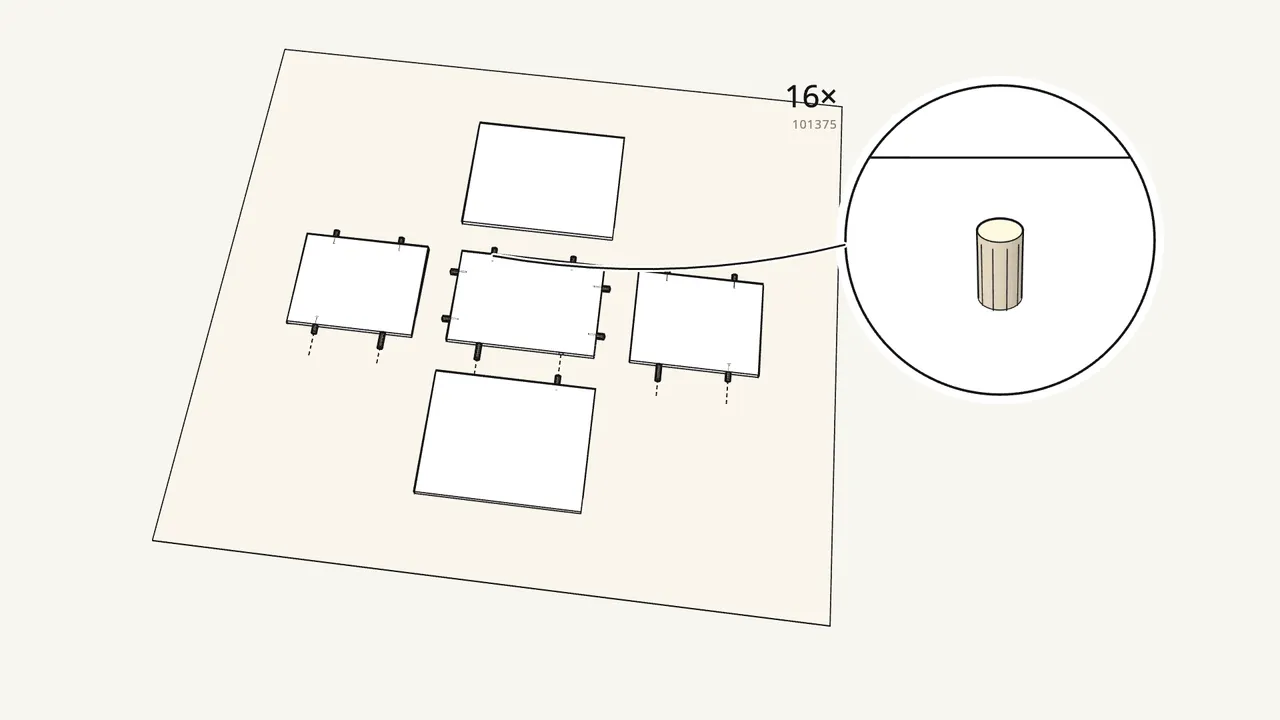
Step 1
Lay out the five panels and push in 16 dowels (101375).
Work on a rug. Dowels go into the edges of the two end panels and the middle panel.
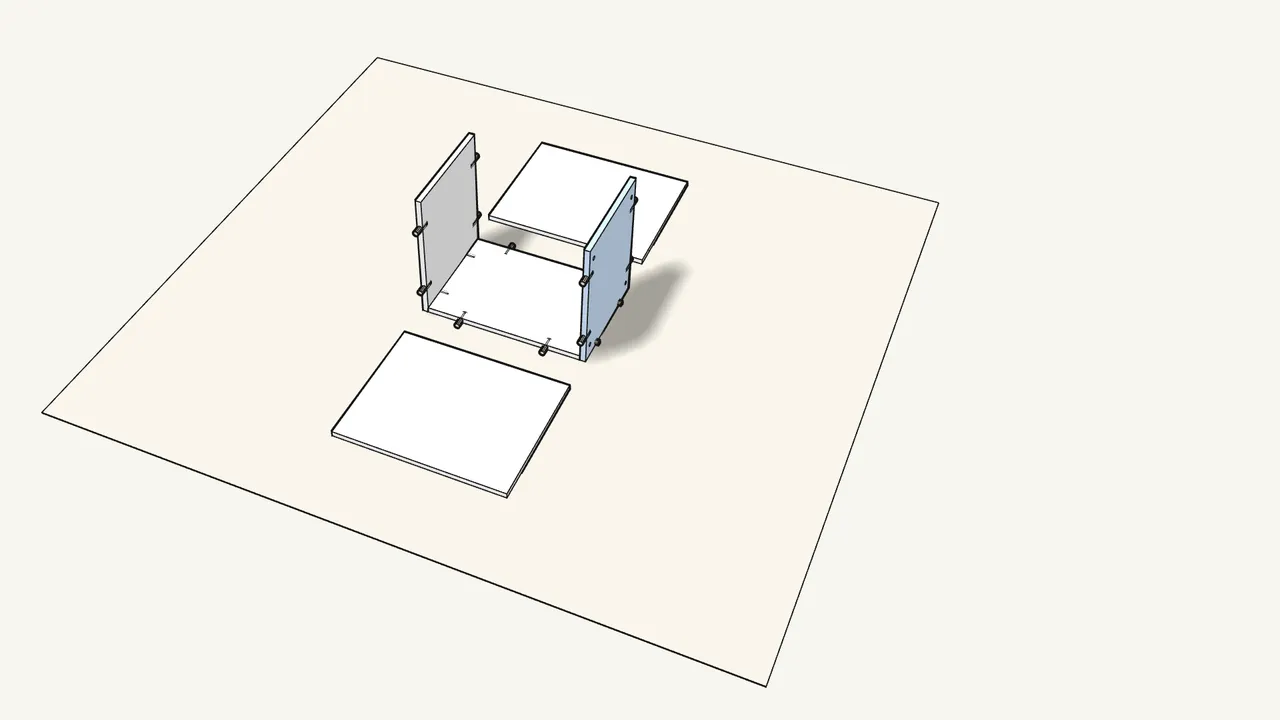
Step 2 · manual step 2–3
Fold both end panels up onto the middle panel.
The dowels go into the holes. The middle panel becomes the back.
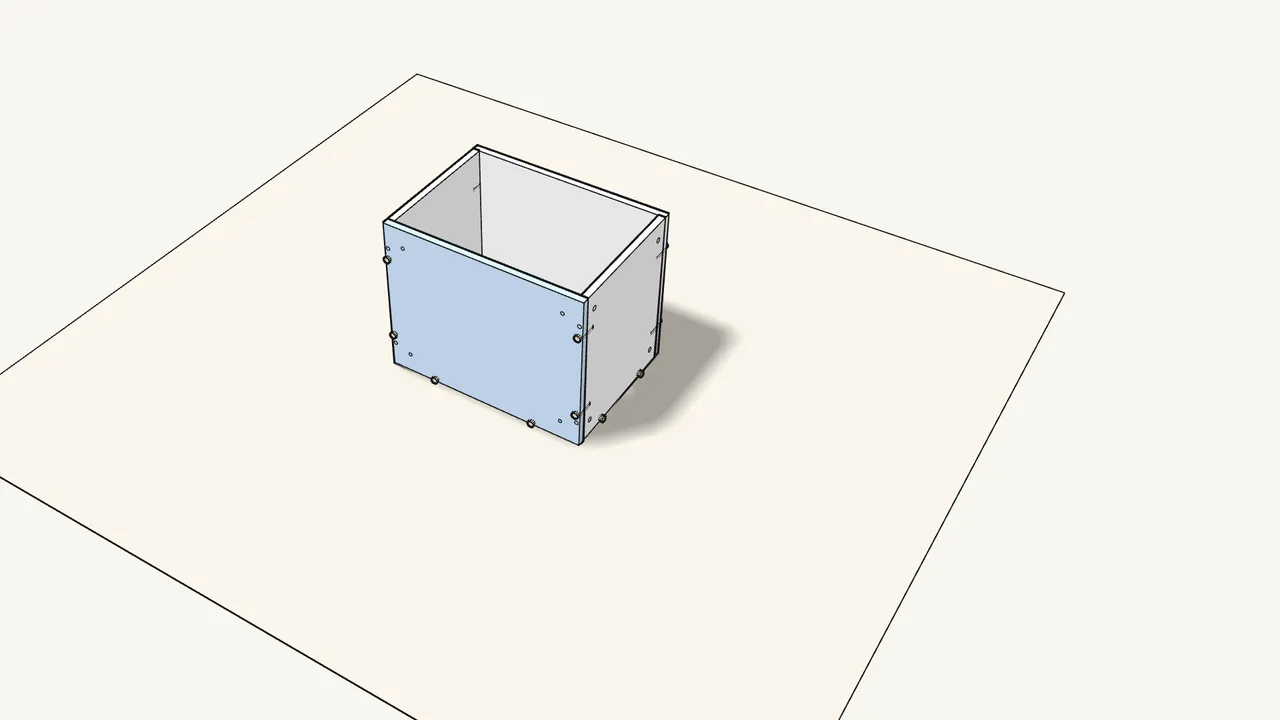
Step 3 · manual step 4–5
Fold up the far long panel, then the near one.
Both fit onto the dowels in the end panels and the back.
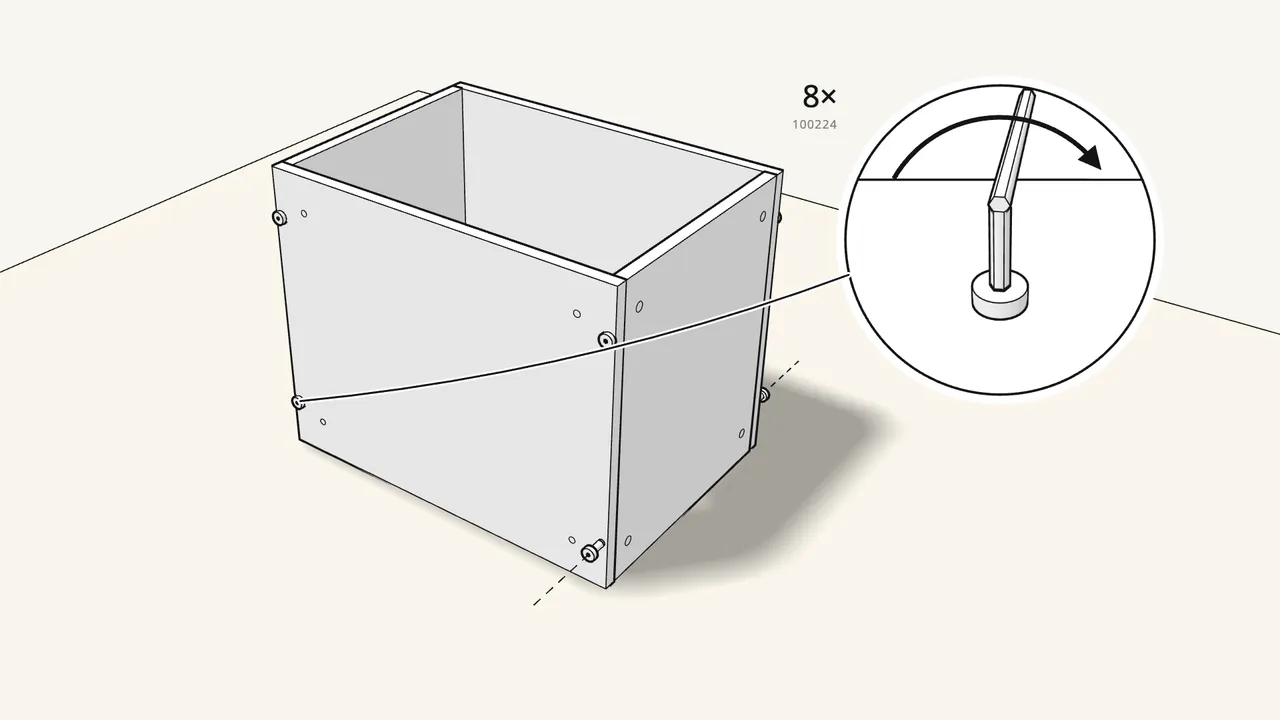
Step 4 · manual step 6
Fix the long panels with 8 screws (100224).
4 in each long panel, into the end panels. Use Allen key 100006.
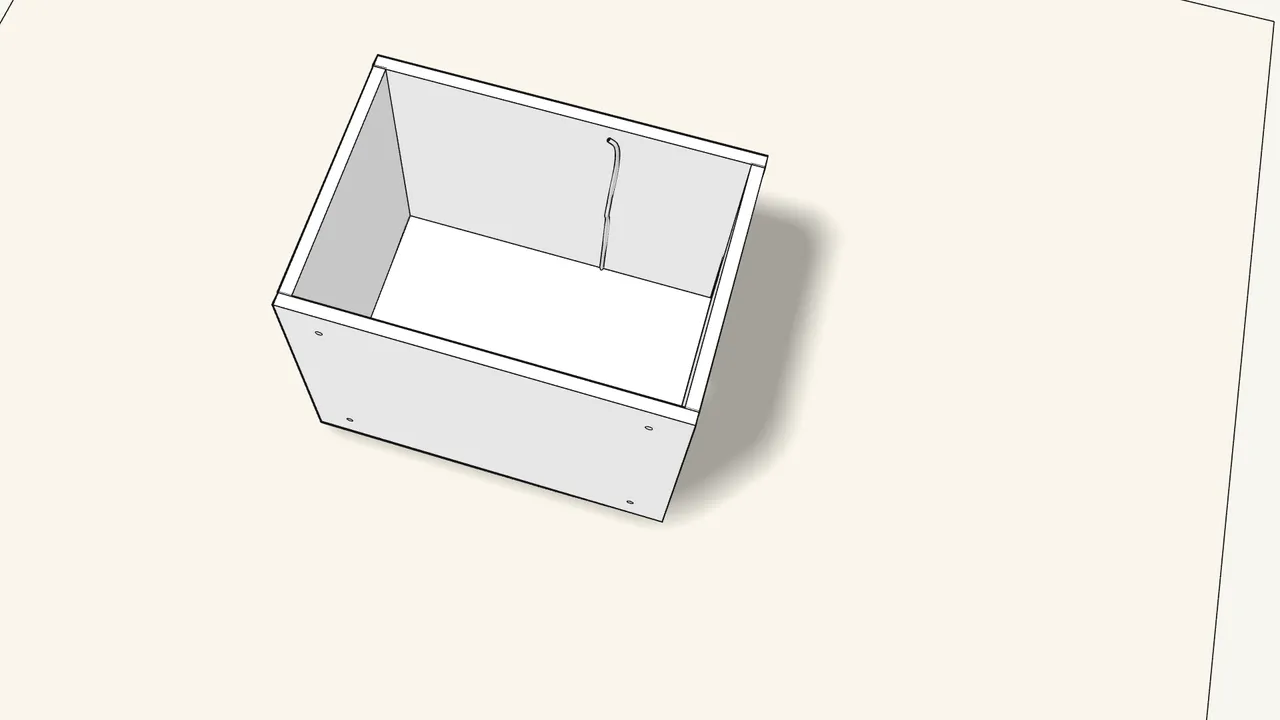
Step 5 · manual step 7
Hook 2 metal wires (190090) into the holes inside the box.
One along each long panel — they hold the divider. See the manual, step 7.
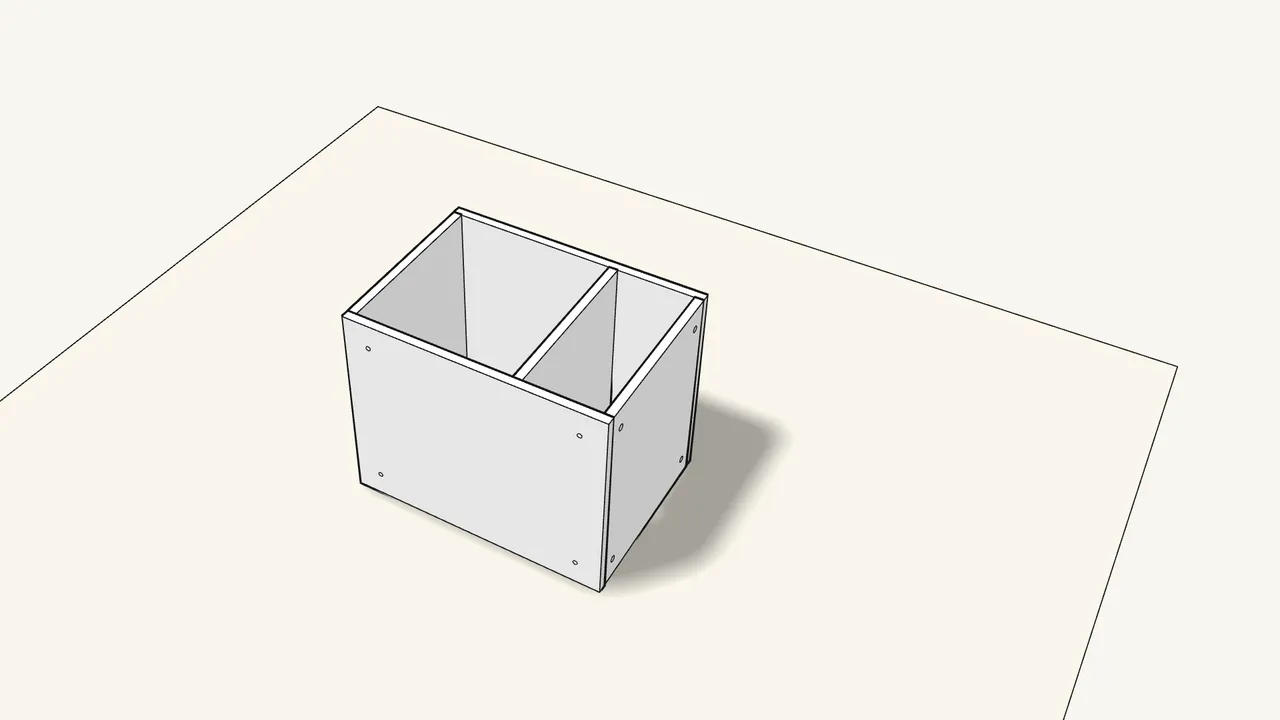
Step 6 · manual step 8
Slide the divider down into the box.
It goes in nearer the right-hand end panel.
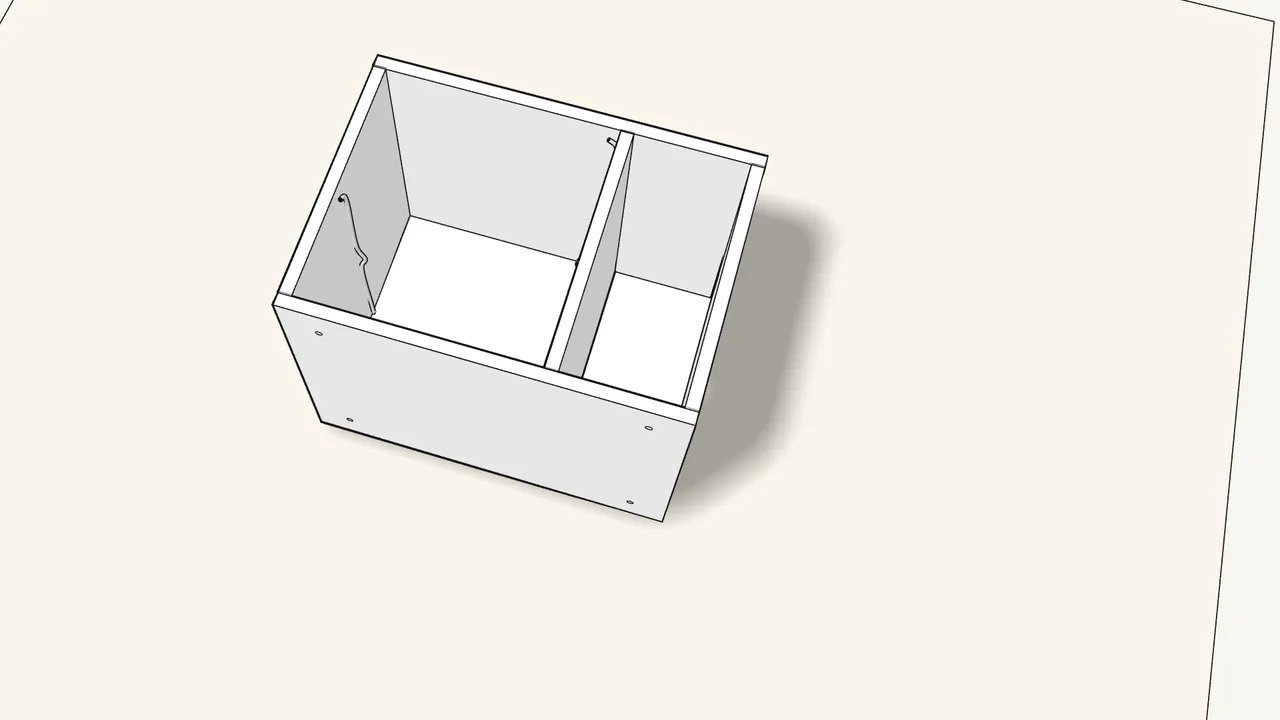
Step 7 · manual step 9
Hook 2 more wires (190090) in for the shelf.
One on the end panel, one on the divider — see the manual, step 9.
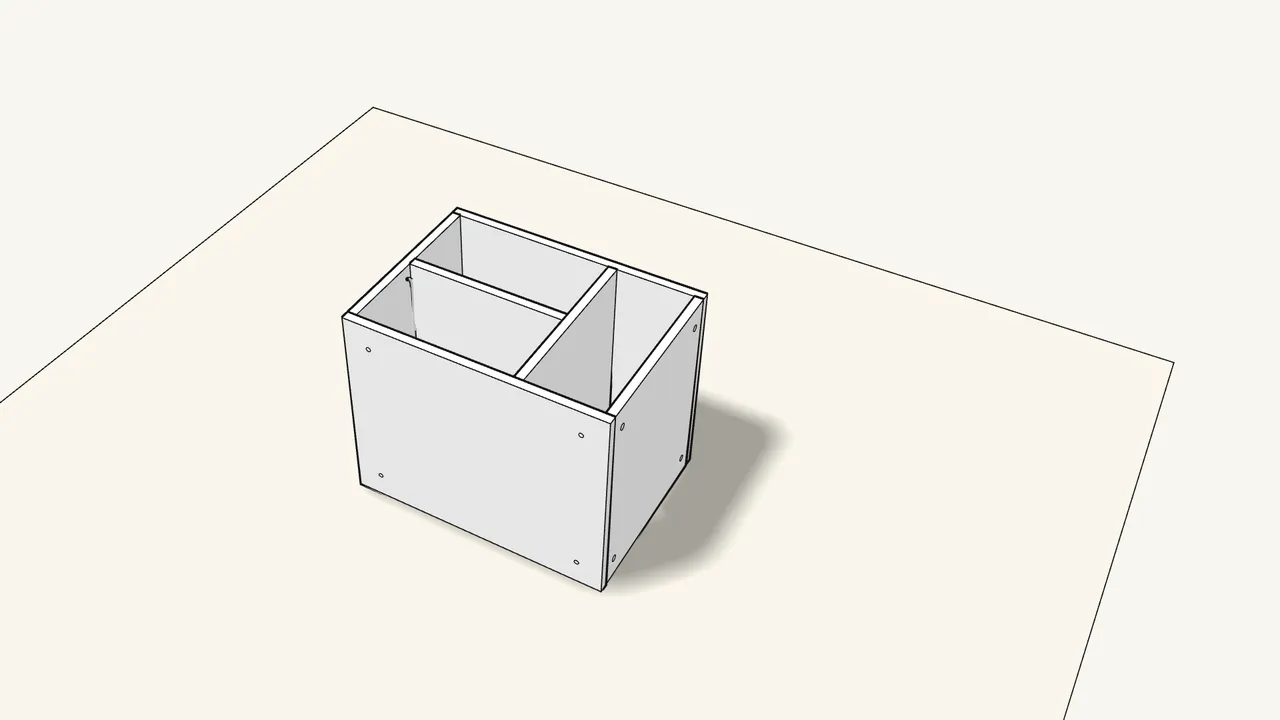
Step 8 · manual step 10
Slide the shelf down into the larger compartment.
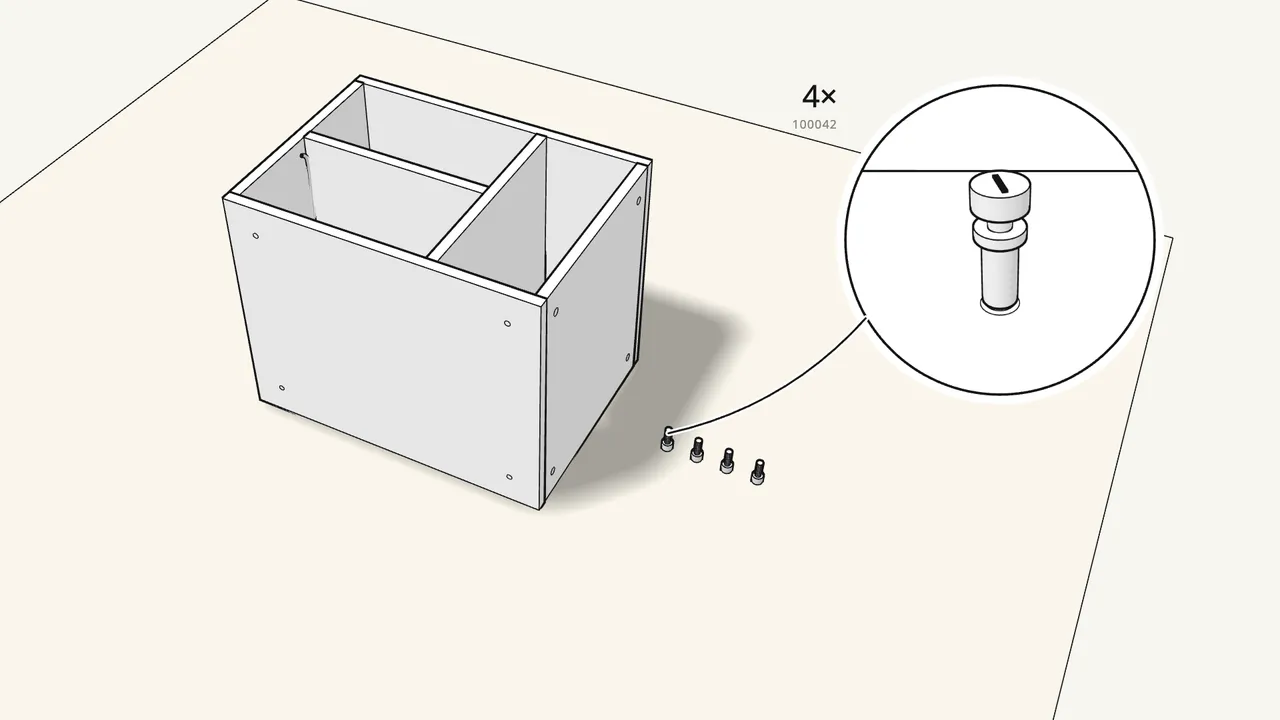
Step 9 · manual step 11
Screw a threaded pin (100042) into each of the 4 fittings (100600).
By hand.
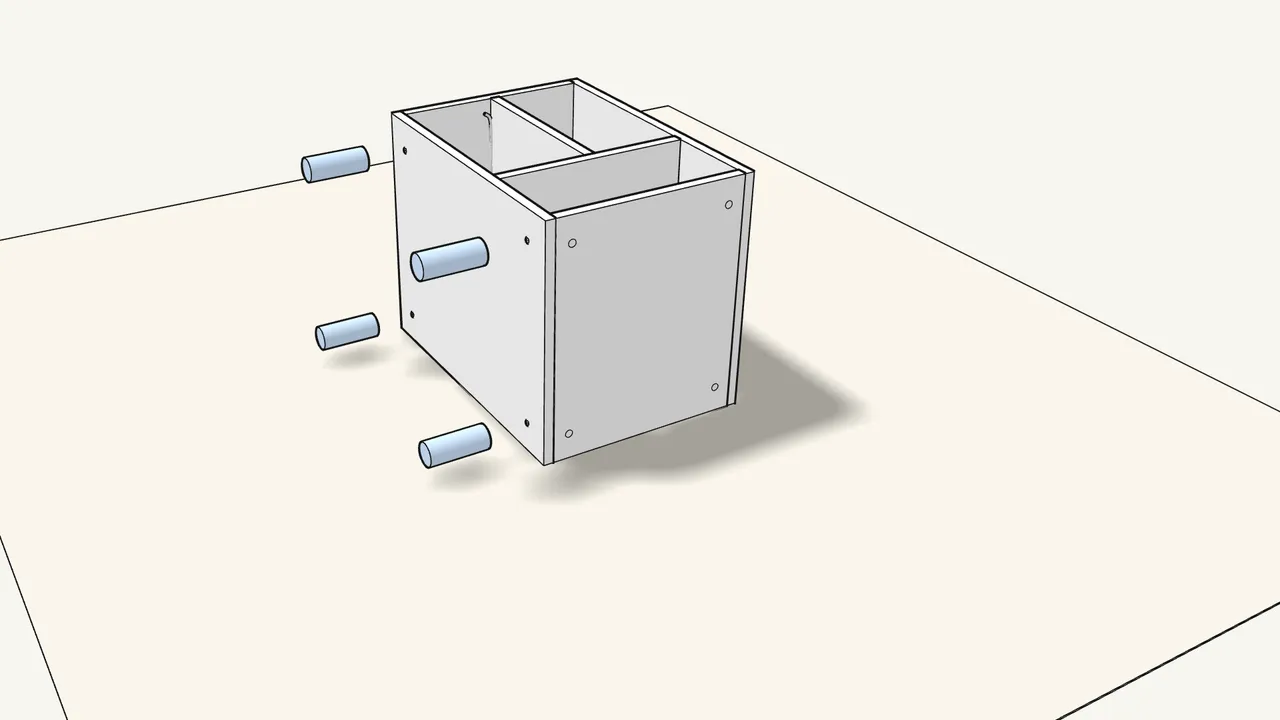
Step 10 · manual step 12
Screw the 4 fittings into the bottom panel, then turn on the legs.
Tighten the fittings with Allen key 100002. Screw the legs (10059435) on by hand.
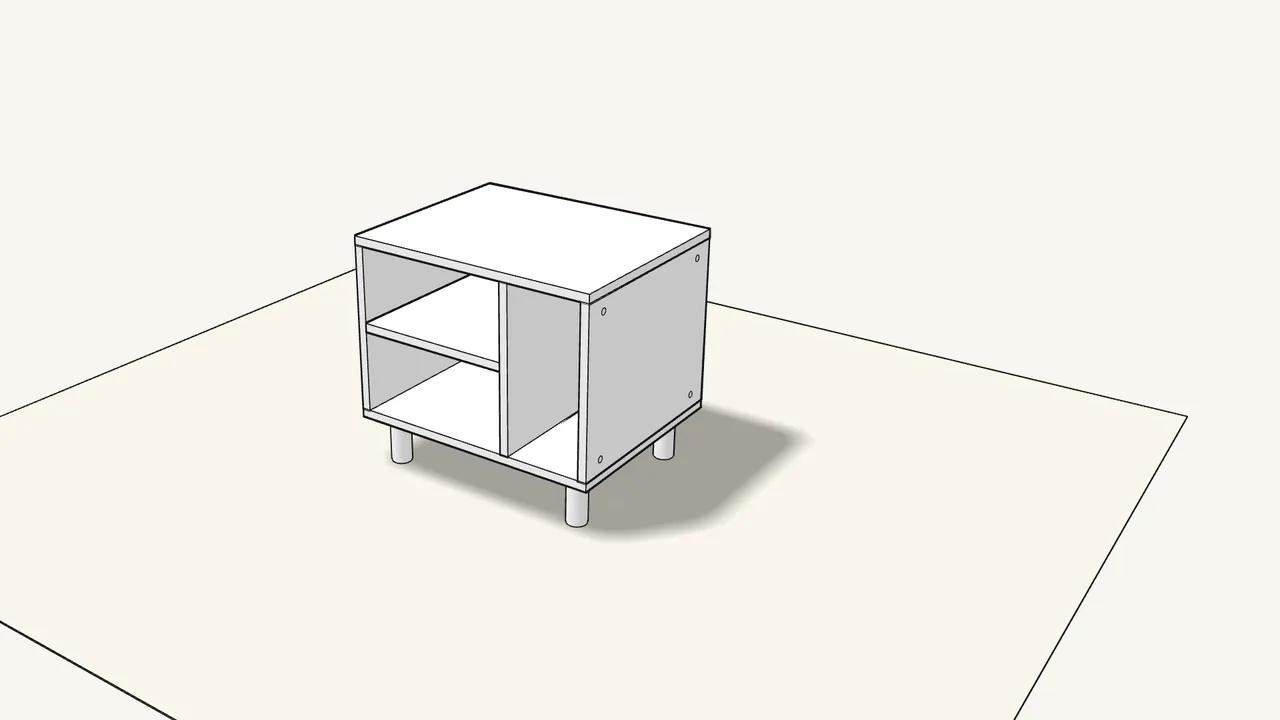
Step 11 · manual step 12
Stand the unit up on its legs.
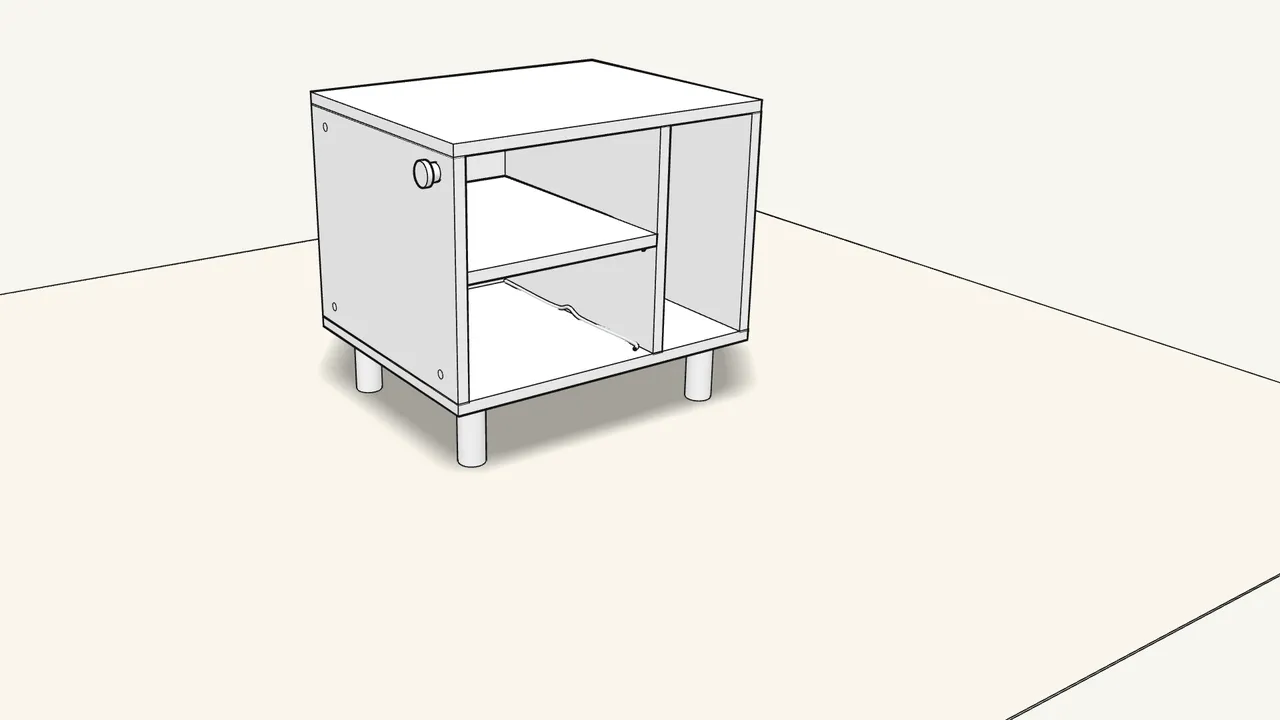
Step 12 · manual step 13
Fit the knob (10058759) at the top front corner of the left end.
Screw (10058747) in from the inside with Allen key 100002.
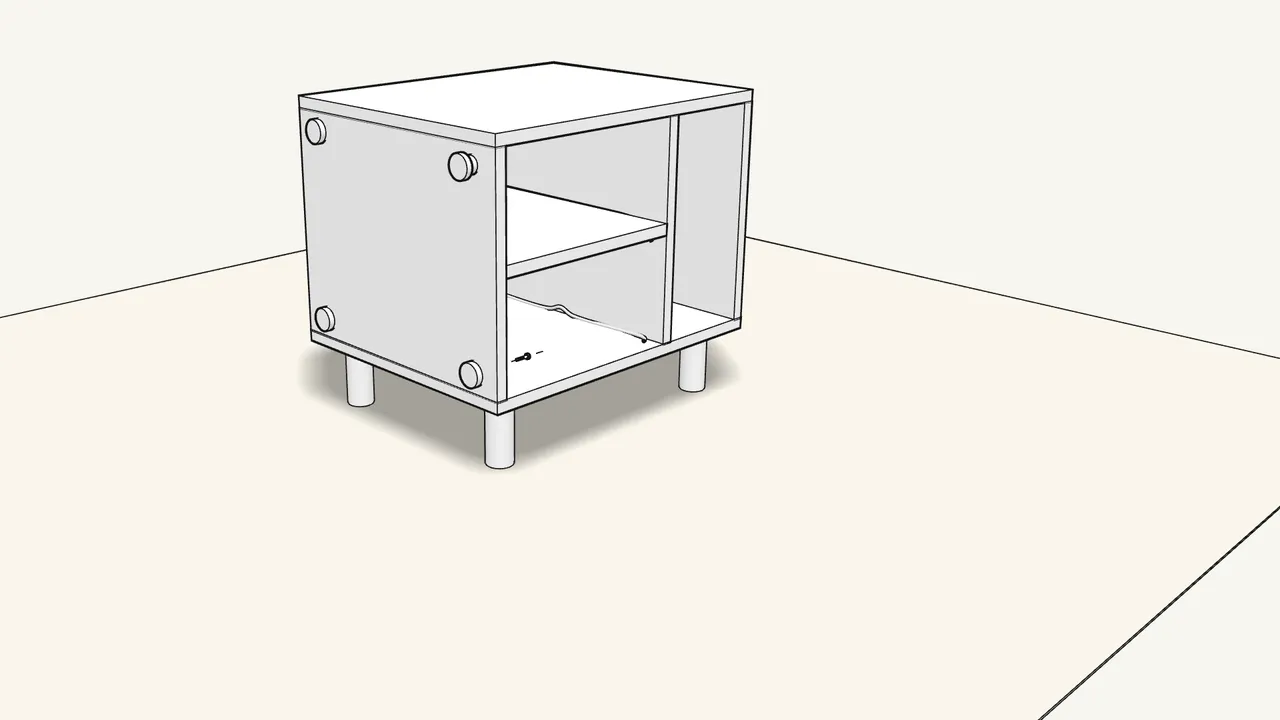
Step 13 · manual step 14
Fit 3 caps (10058746) on the left end panel.
A screw (10058747) goes in from the inside for each — Allen key 100002.
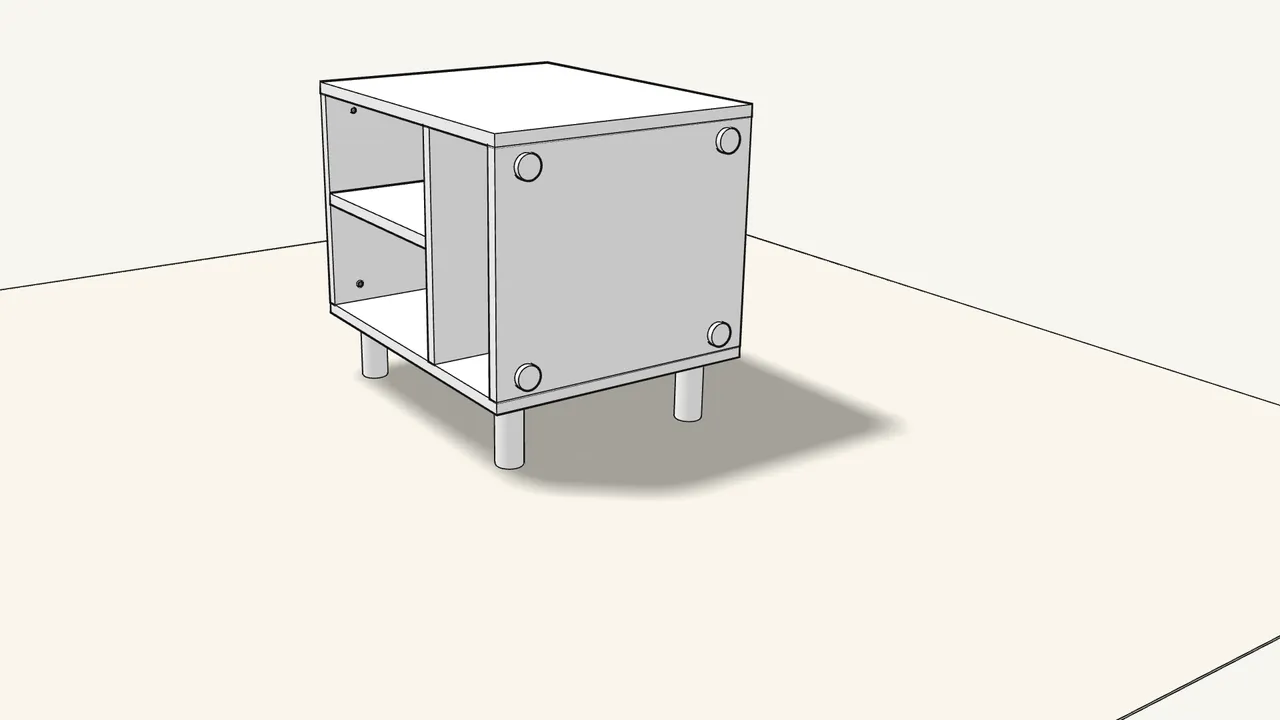
Step 14
Fit the other 4 caps on the right end panel the same way.
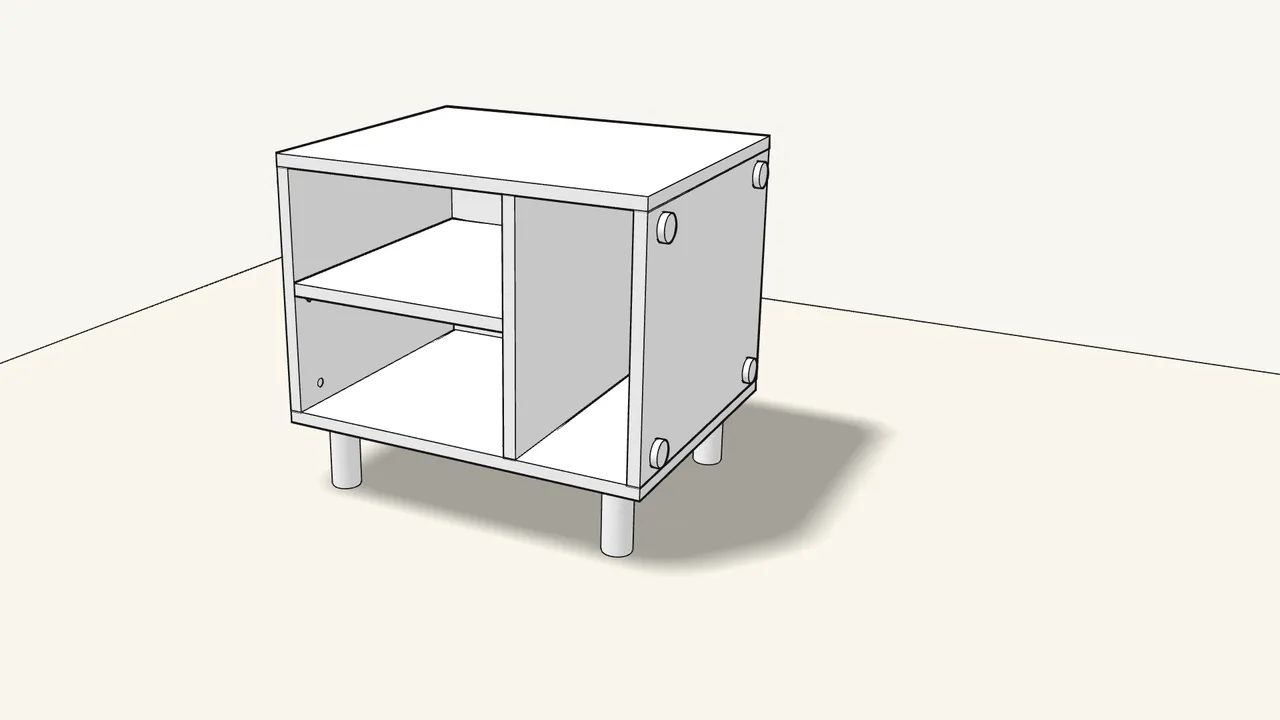
Step 15 · manual step 14
Done — SMUSSLA is ready.
Tips & safety
- It can also stand upright or be used as an open box. The manual (steps 12–14) shows three set-ups — legs, knob and caps go in different holes for each.
- Assemble on a rug or soft surface. It protects the panels and the floor, as the manual shows on page 2.
Official instructions
This guide follows IKEA’s official assembly instructions (AA-2230202-2). Keep the printed manual to hand — if anything differs, the manual is right.



