IKEA · Cabinets & Wardrobes
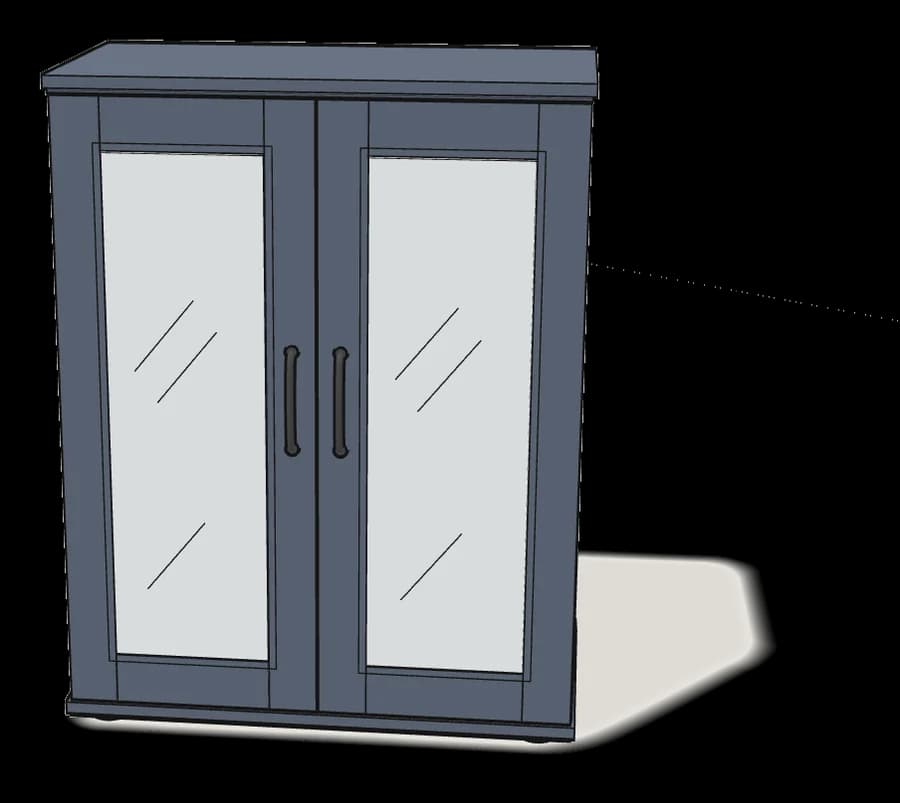
How to assemble IKEA SKRUVBY Cabinet with Glass Doors
Step-by-step IKEA SKRUVBY Cabinet with Glass Doors assembly: 23 illustrated steps, an animated video, the hardware list and the tools you need — following the official instructions (AA-2313555-6).
- 23 illustrated steps
- 25 steps in the manual
- 3:26 video
- 70×38×90 cm
What you need
Tools
- Flat-head screwdriver
- Phillips screwdriver
- Hammer
- Drill (for wall fixing)
- Spirit level
You’ll need: flat-head and Phillips screwdrivers, a pencil, a hammer and a drill (for the wall fixing).
Hardware in the box
| Part no. (as printed in the manual) | Qty |
|---|---|
| 10047135 | 8× |
| 100400 | 4× |
| 101345 | 8× |
| 10078589 | 8× |
| 10093082 | 10× |
| 10093081 | 10× |
| 152676 | 4× |
| 10075382 | 8× |
| 133304 | 2× |
| 104663 | 2× |
| 10071303 | 4× |
| 150688 | 2× |
| 150689 | 2× |
| 126916 | 2× |
| 147968 | 2× |
| 158469 | 2× |
| 121714 | 2× |
Step-by-step assembly
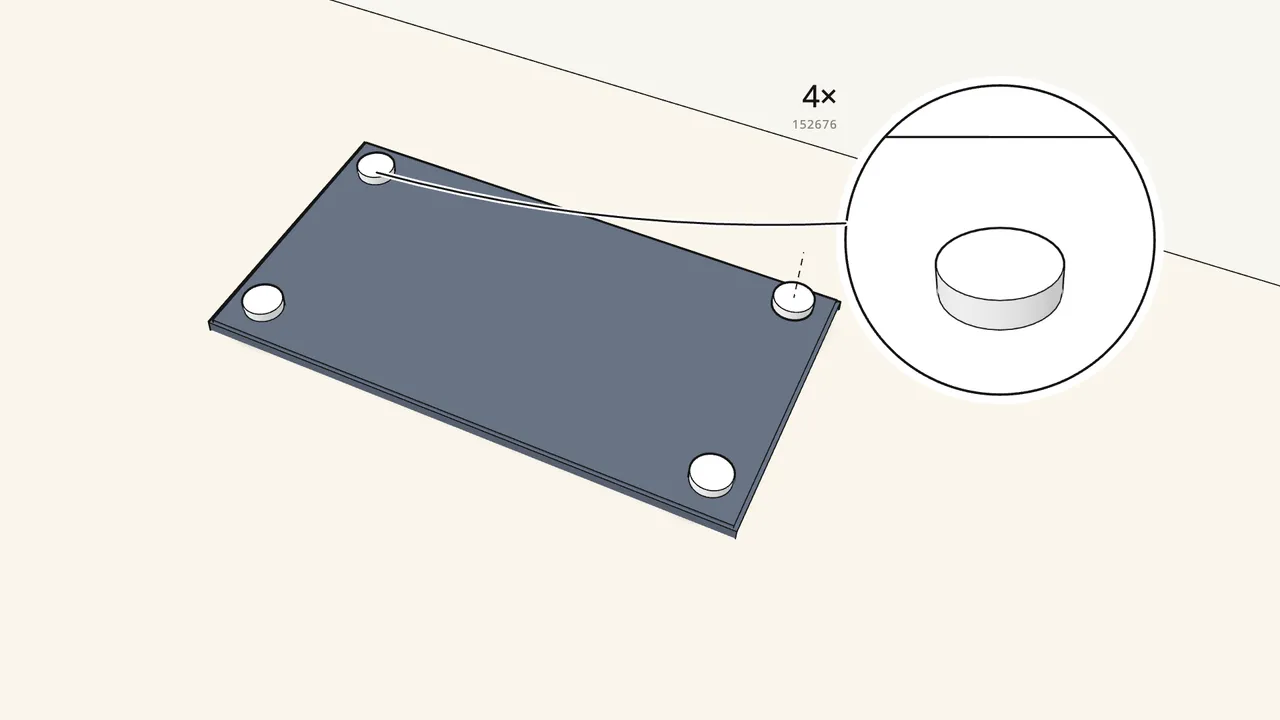
Step 1
Screw the 4 feet (152676) into the bottom panel.
Lay the bottom panel upside-down on the rug.
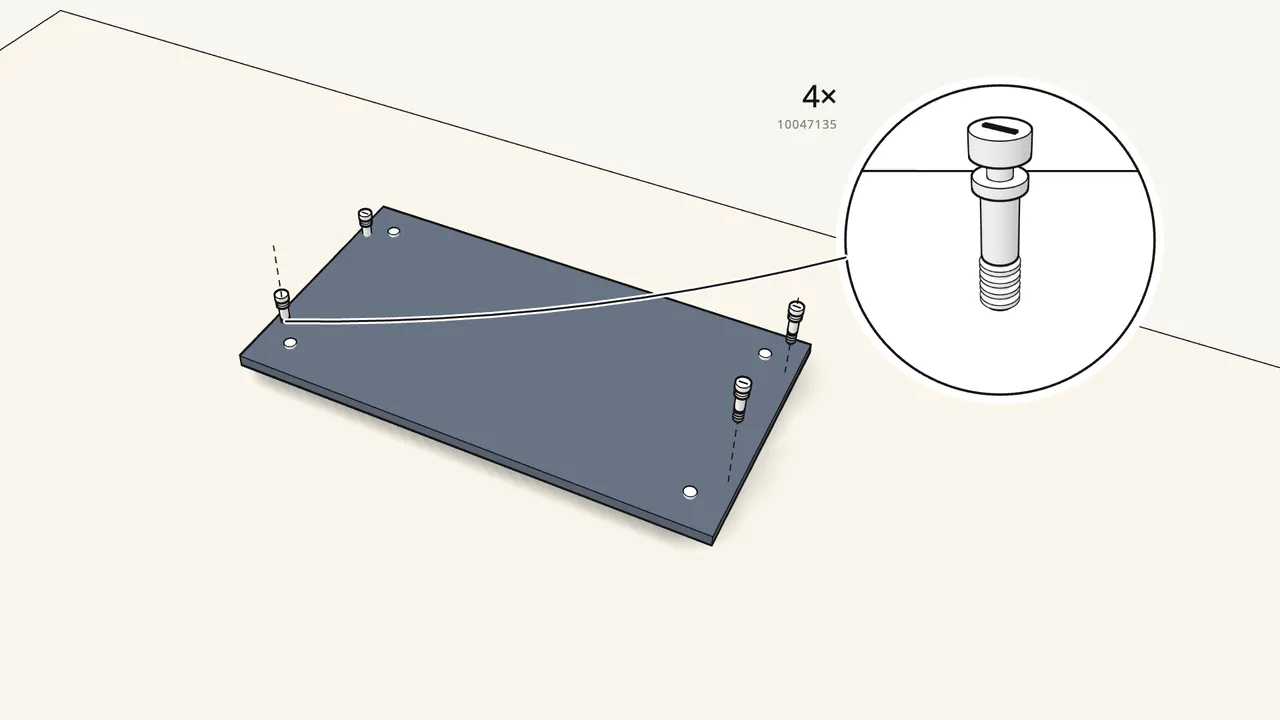
Step 2
Turn it over and screw in 4 connectors (10047135).
Screw them all the way in by hand — no thread may show.
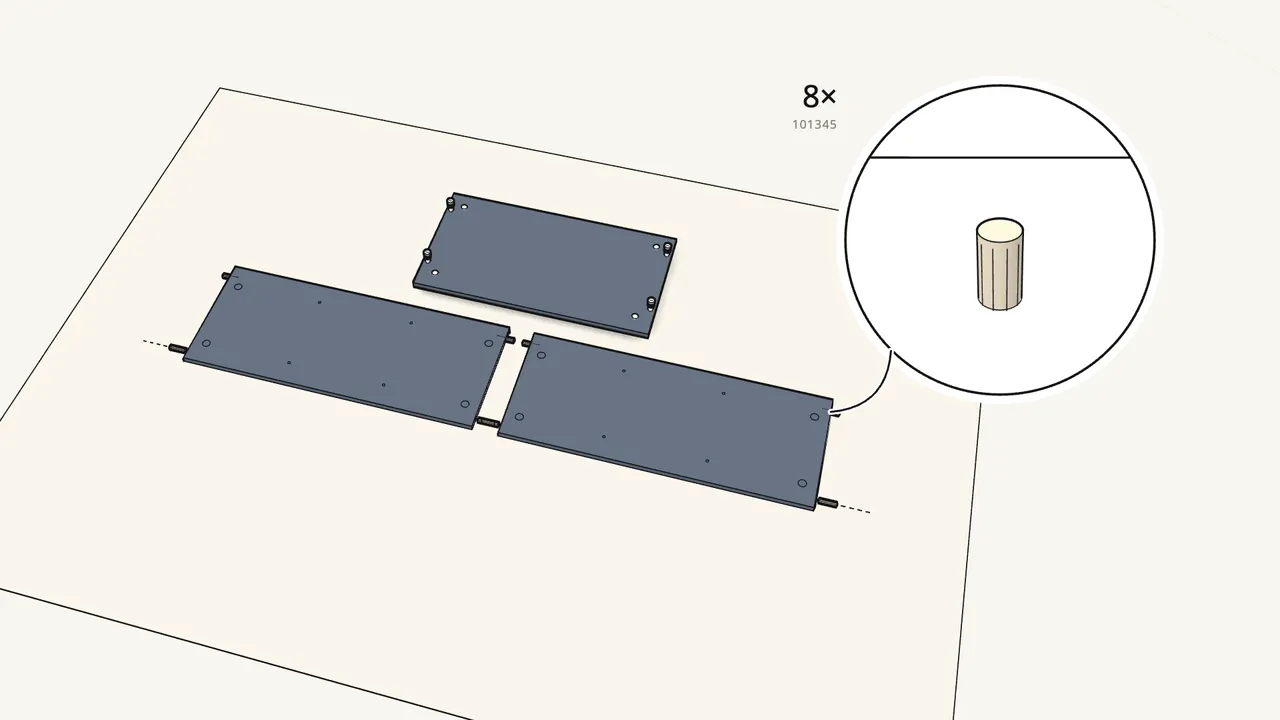
Step 3
Push 8 dowels (101345) into the ends of the side panels.
2 in each end.
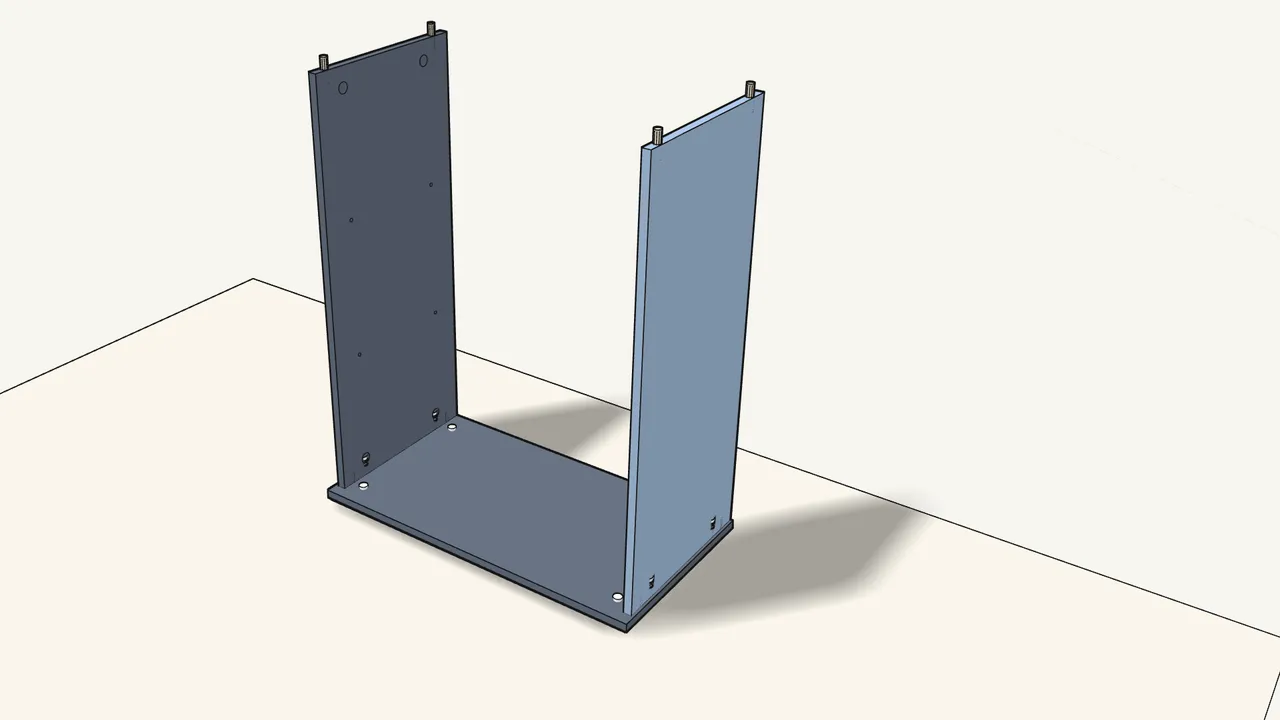
Step 4
Stand both side panels onto the bottom panel.
The connectors and dowels go into the holes in their lower ends.
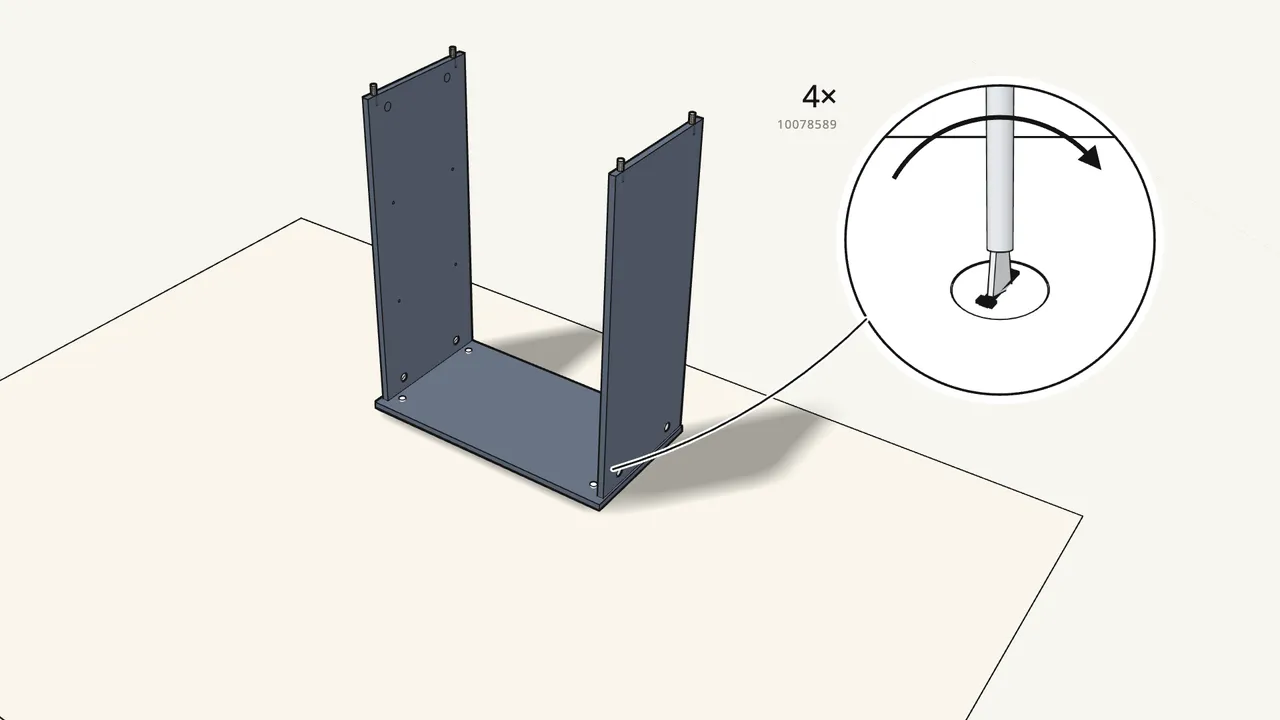
Step 5
Insert 4 cam locks and turn them clockwise.
Use a flat-head screwdriver — the lock grips the connector.
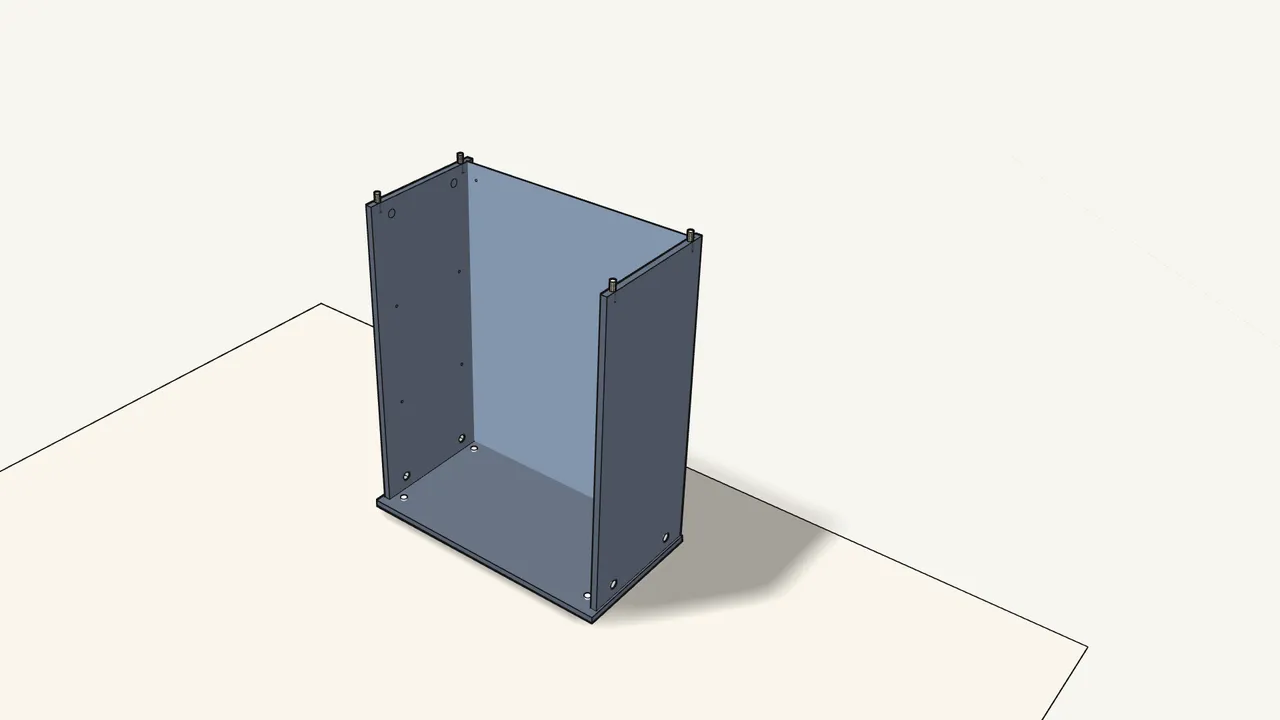
Step 6
Slide the back panel down into the grooves.
Push it all the way down into the groove in the bottom panel.
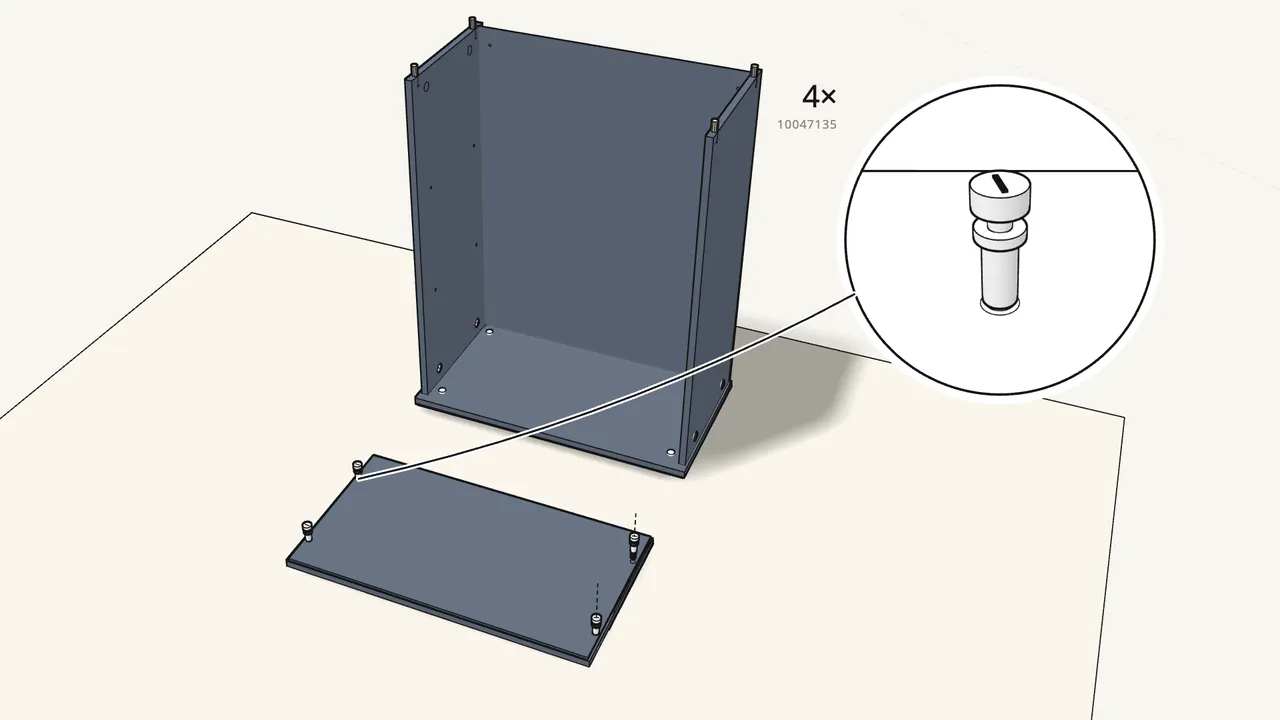
Step 7
Screw 4 connectors (10047135) into the top panel.
Underside up, all the way in by hand.
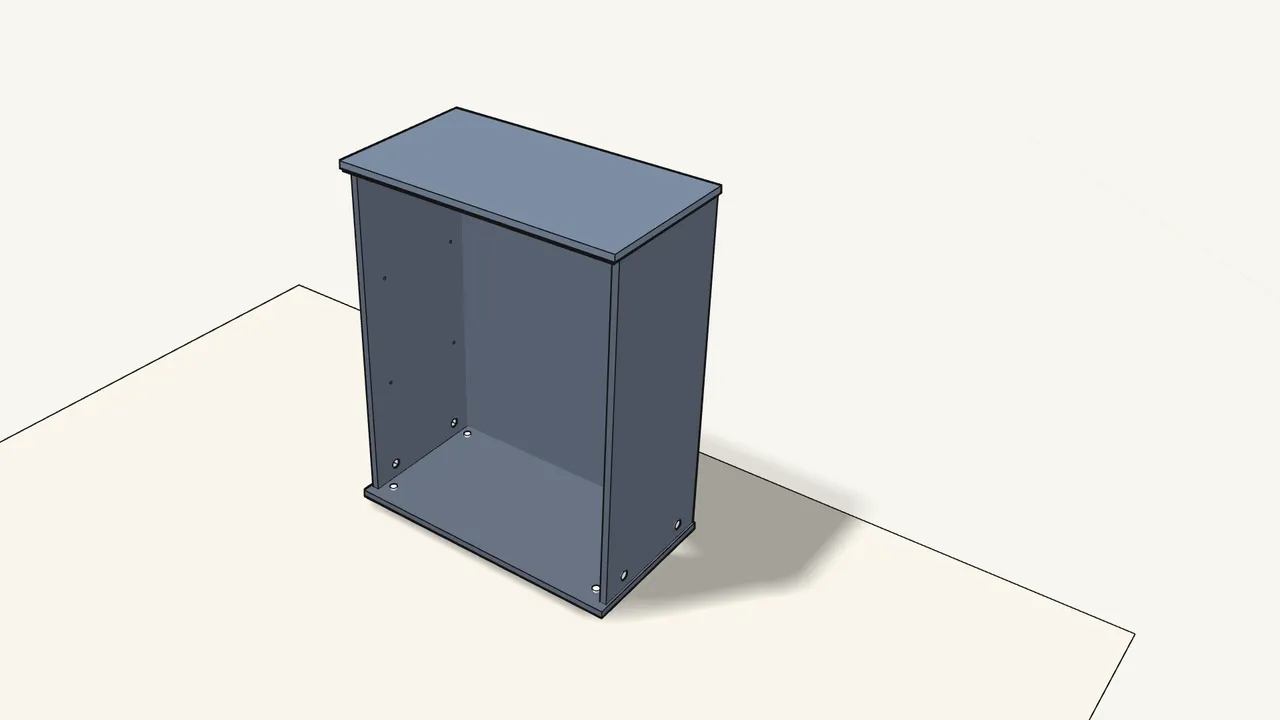
Step 8
Turn the top over and press it onto the side panels.
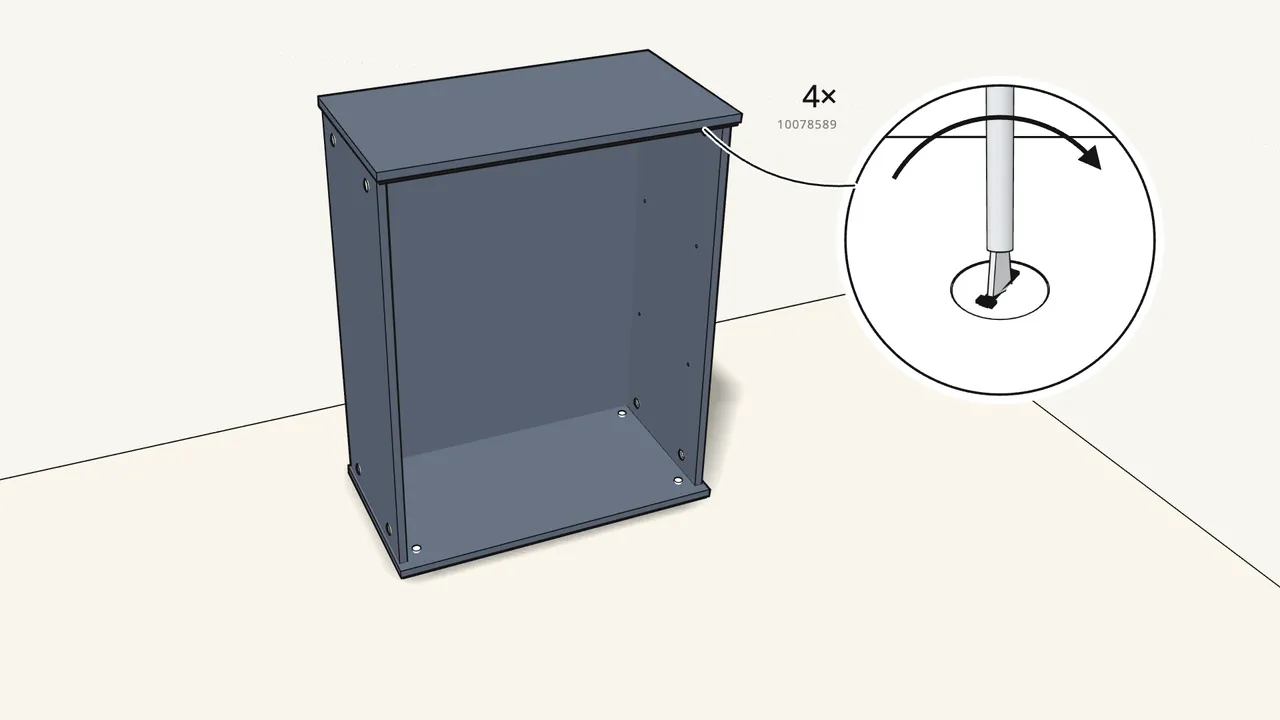
Step 9
Insert 4 cam locks at the top and turn them clockwise.
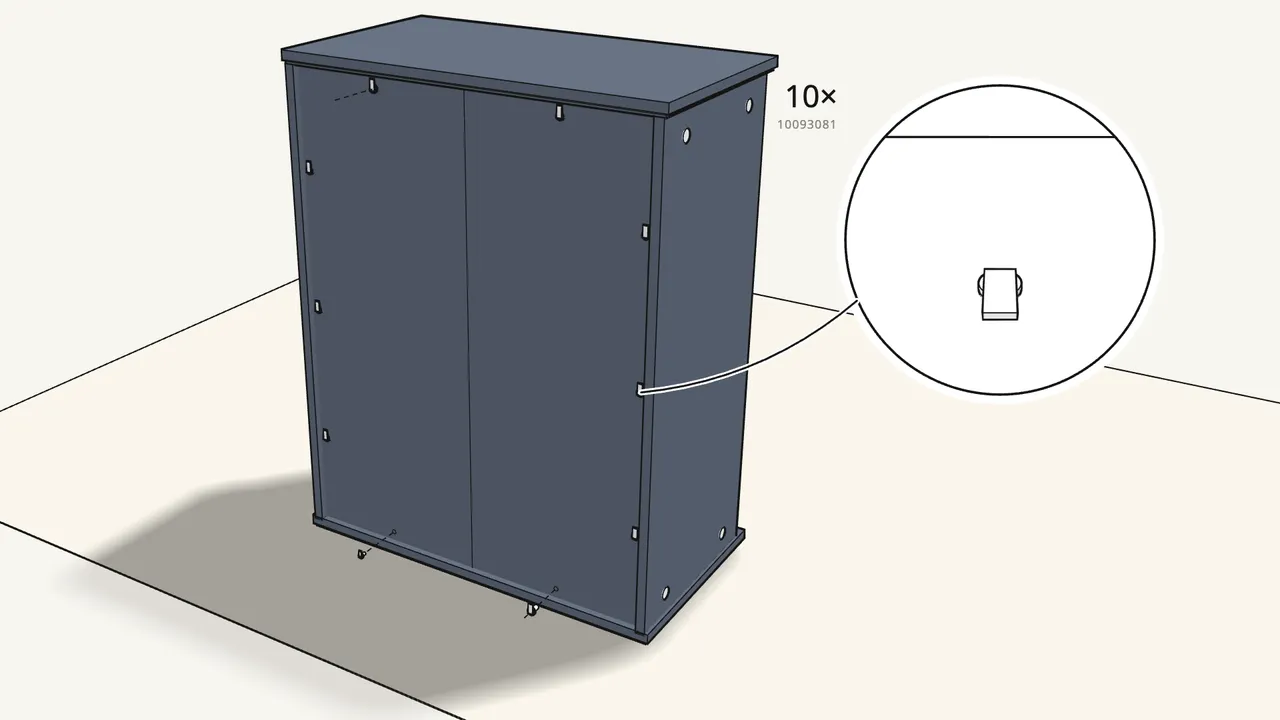
Step 10
Turn the cabinet round and fit the 10 back clips.
Push in the clips (10093081), then lock each one with a 10093082.
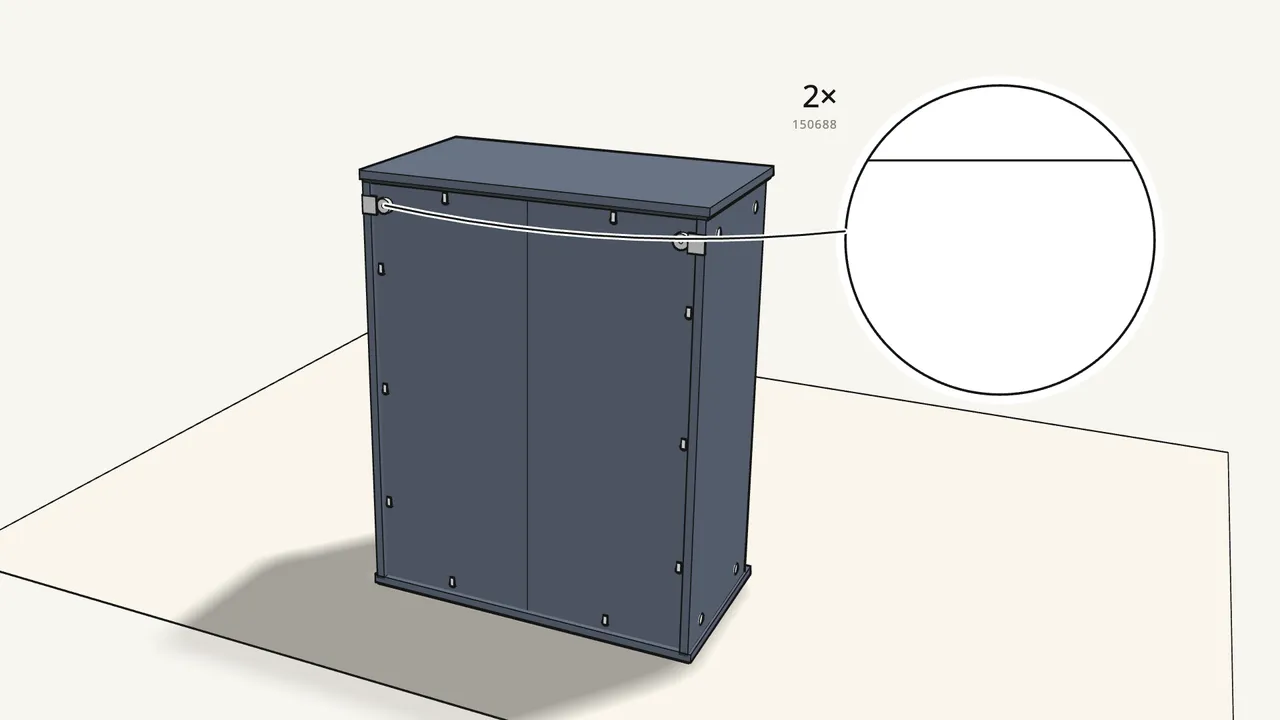
Step 11
Fit the 2 wall fittings (150688) at the top of the back.
Push their 2 pins into the holes in each side panel.
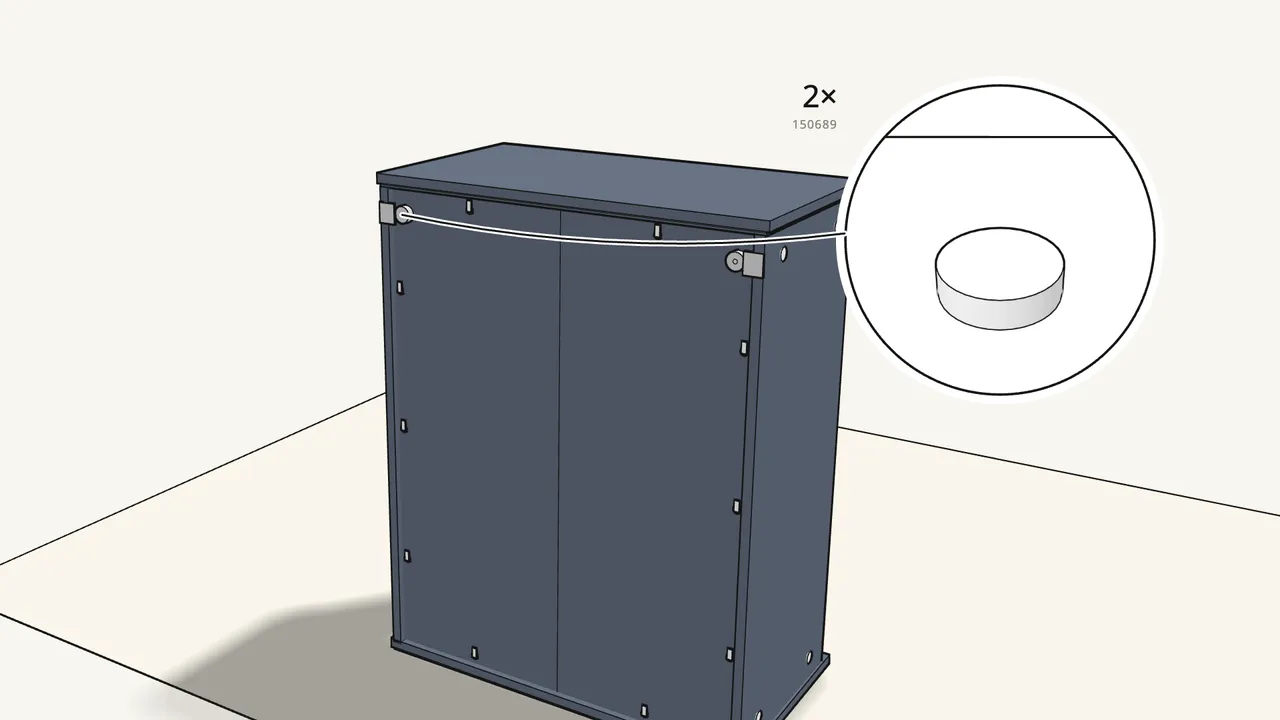
Step 12 · manual step 12–13
Skirting board on your wall? Fit the knobs (150689).
Screw one onto each fitting and turn it to fit the gap — see the manual, steps 12–13.
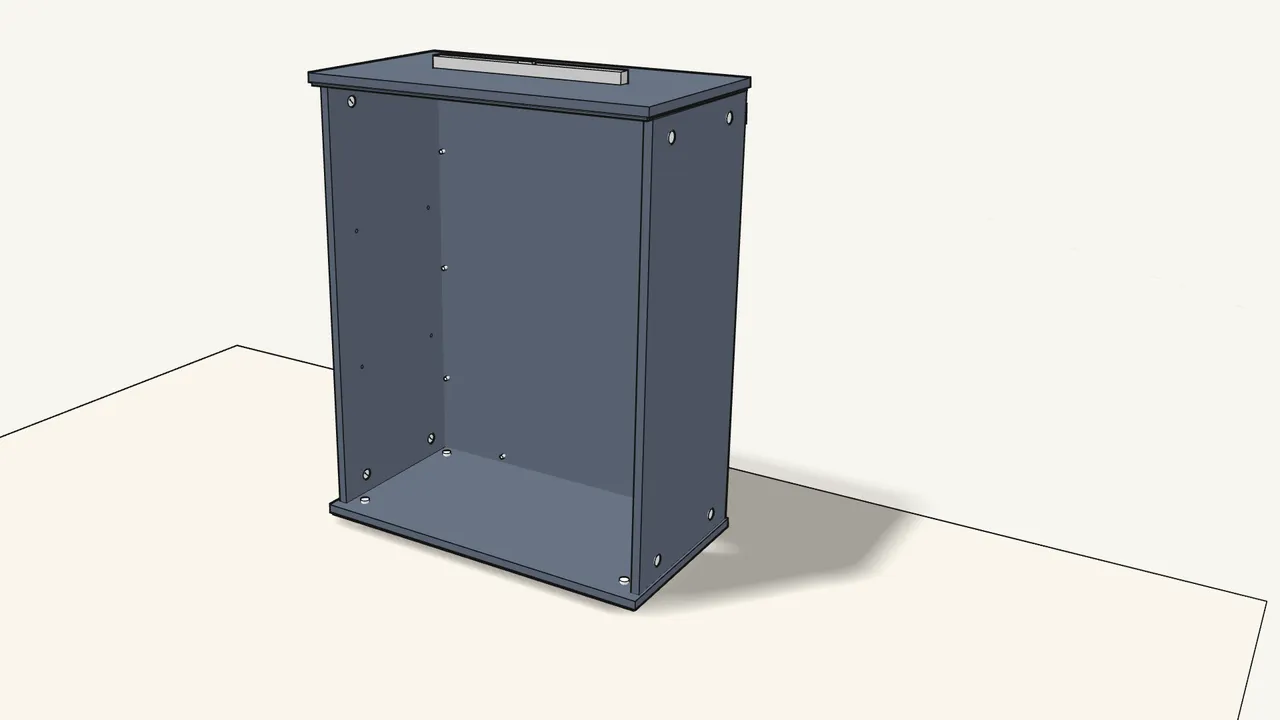
Step 13 · manual step 14
Turn the 4 feet to level the cabinet.
Check with a spirit level on the top.
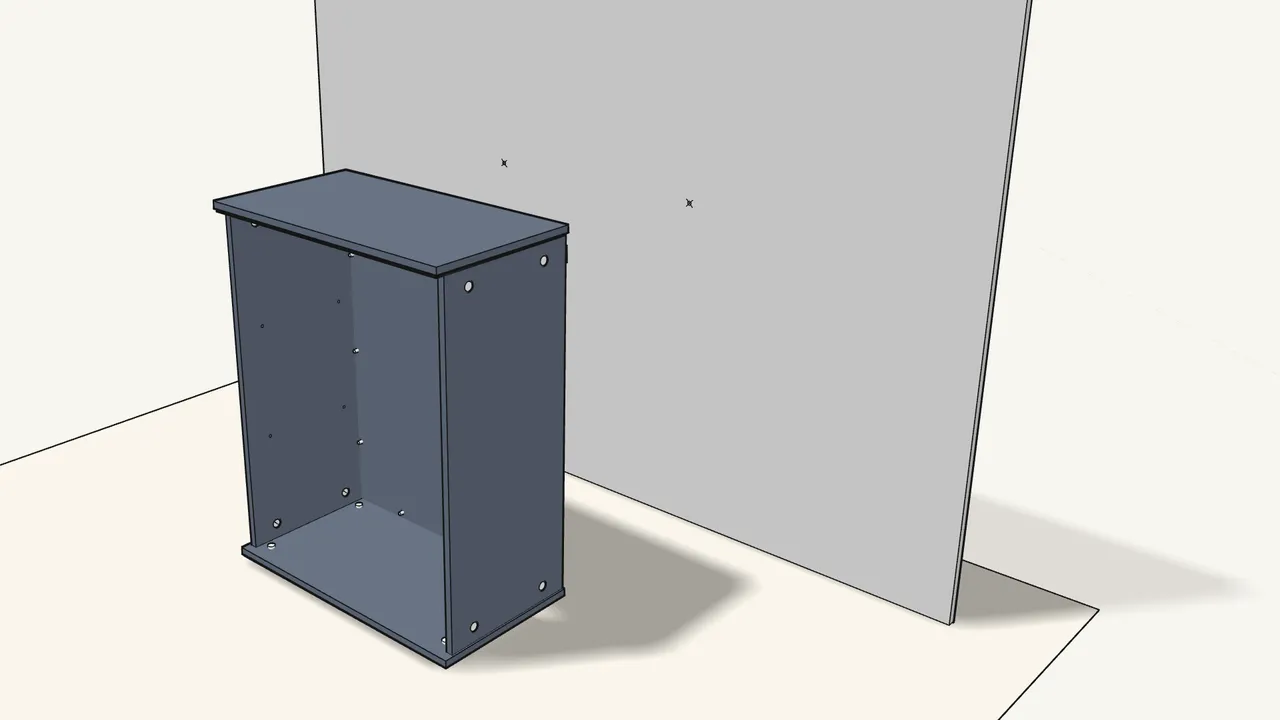
Step 14 · manual step 15–16
Stand it against the wall and mark the 2 holes.
Mark through the wall fittings, then move the cabinet away.
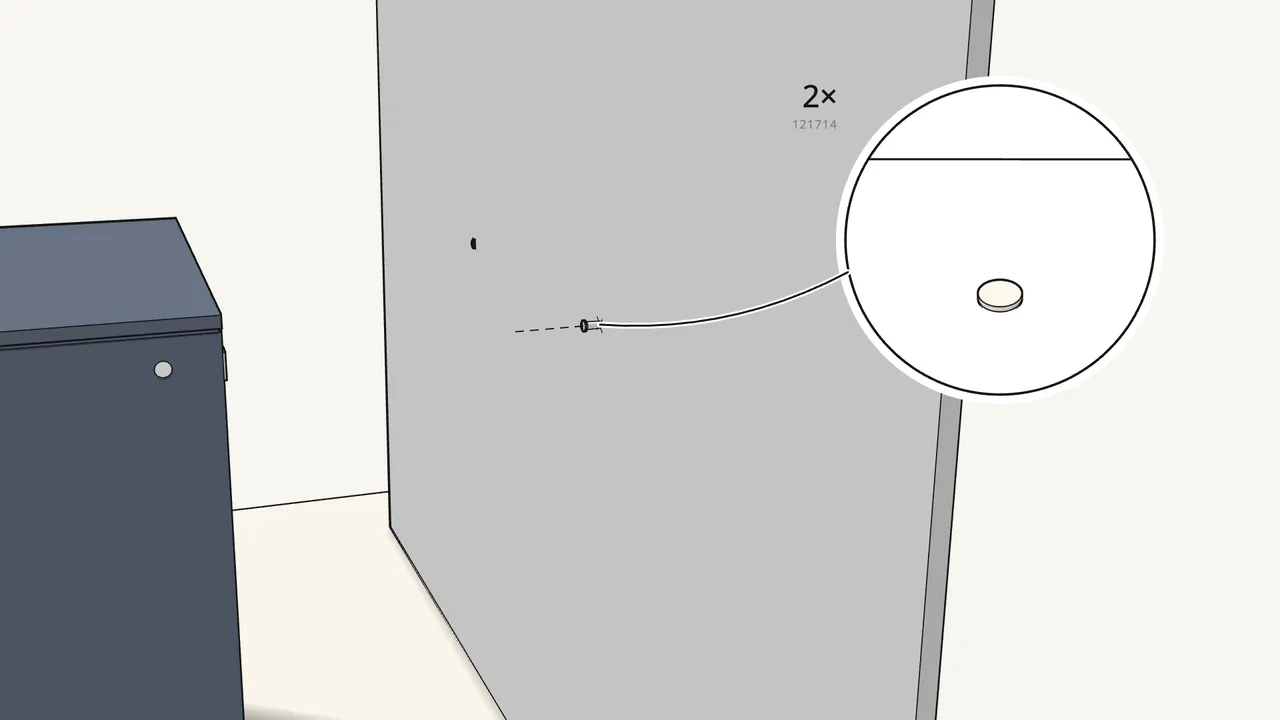
Step 15 · manual step 17
Drill the holes and fit plugs to suit your wall.
Plugs (121714) for solid and hollow walls; none for solid wood — see manual p. 21–22.
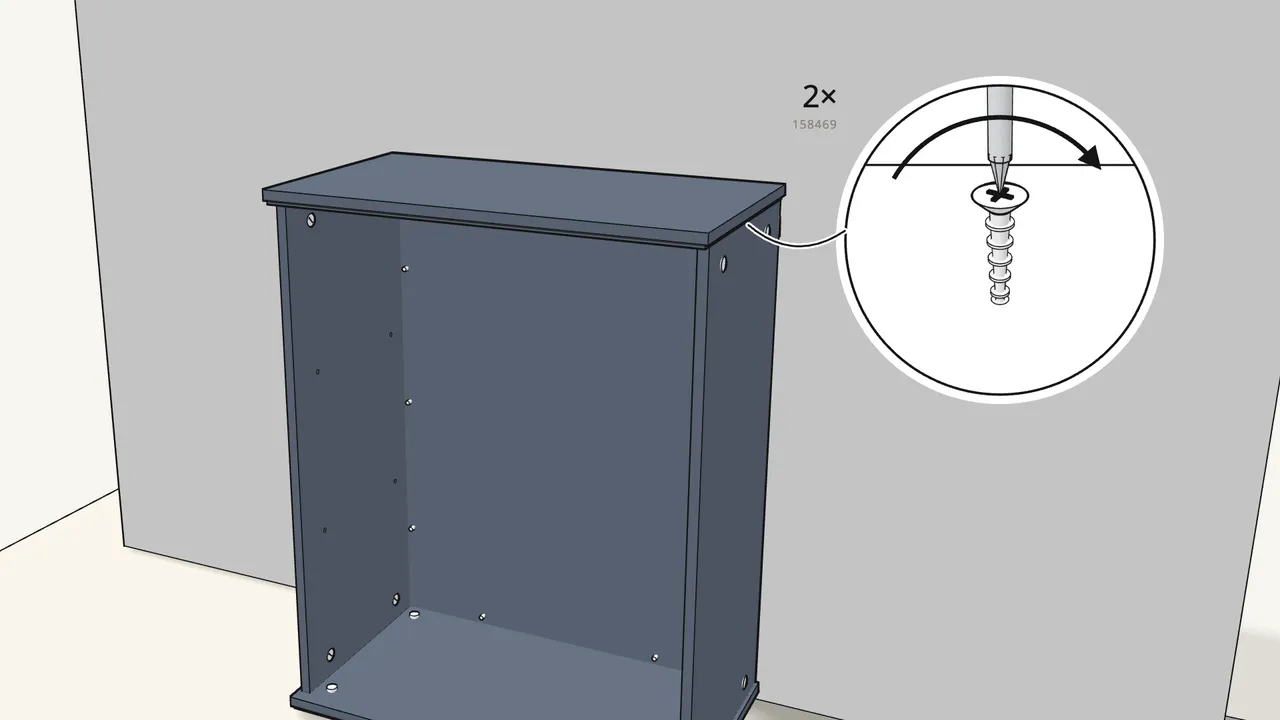
Step 16 · manual step 18
Push it back and screw it to the wall through the fittings.
Washer (126916) + screw 158469 — use the long 147968 if you fitted the knobs.
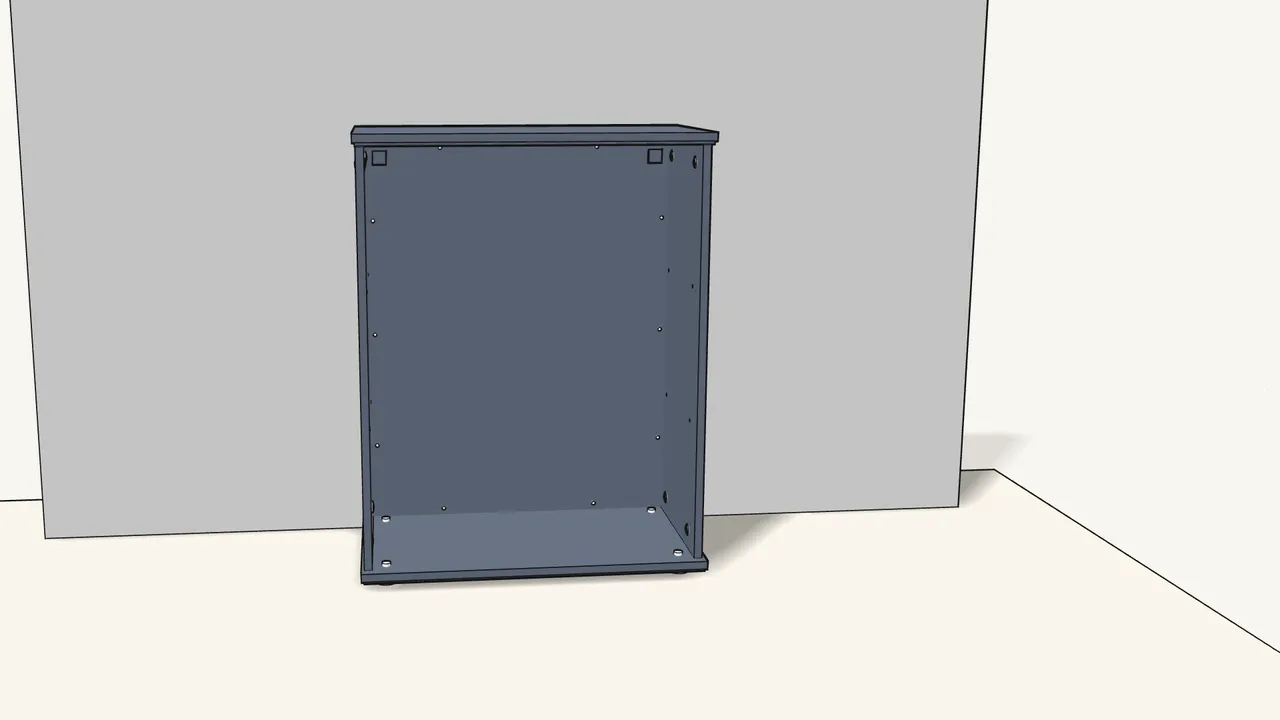
Step 17 · manual step 19
Snap the 2 covers (133303/133304) over the screw heads.
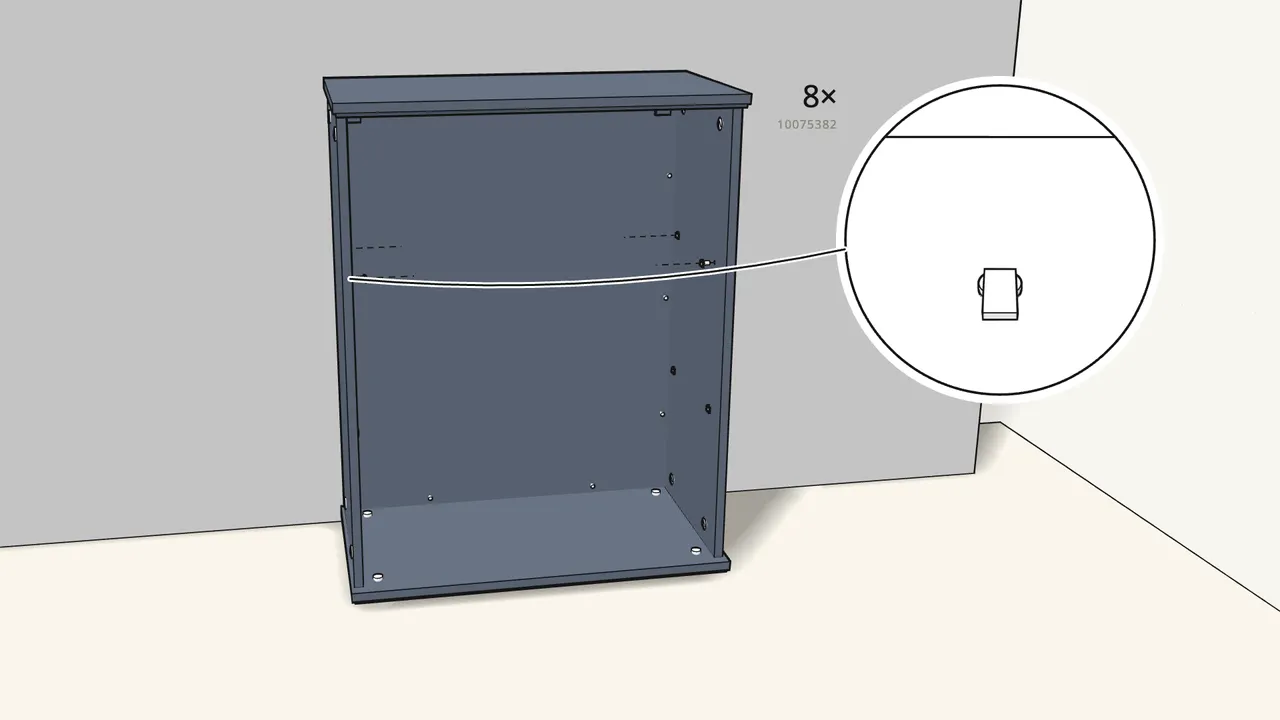
Step 18 · manual step 20
Push the 8 shelf supports (10075382) into the sides.
4 per shelf, at the height you want.
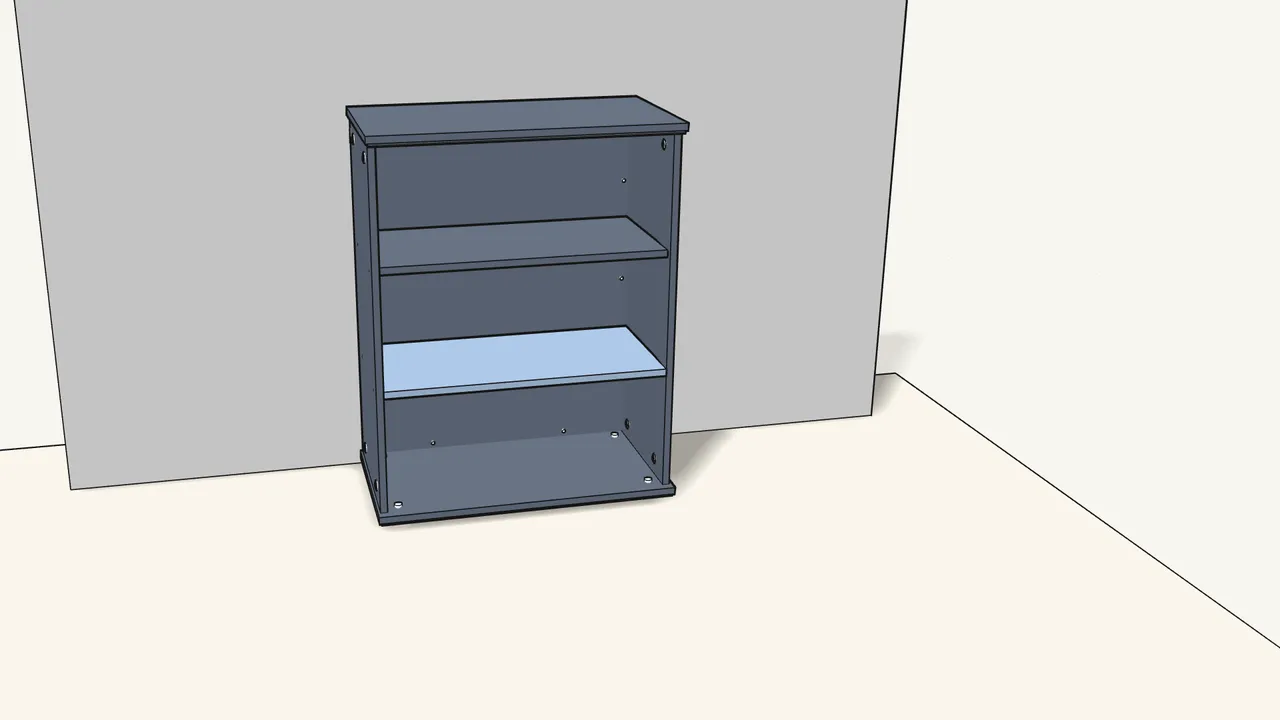
Step 19 · manual step 21
Lay the 2 shelves on the supports.
Check the edge detail in the manual, step 21, for the right way round.
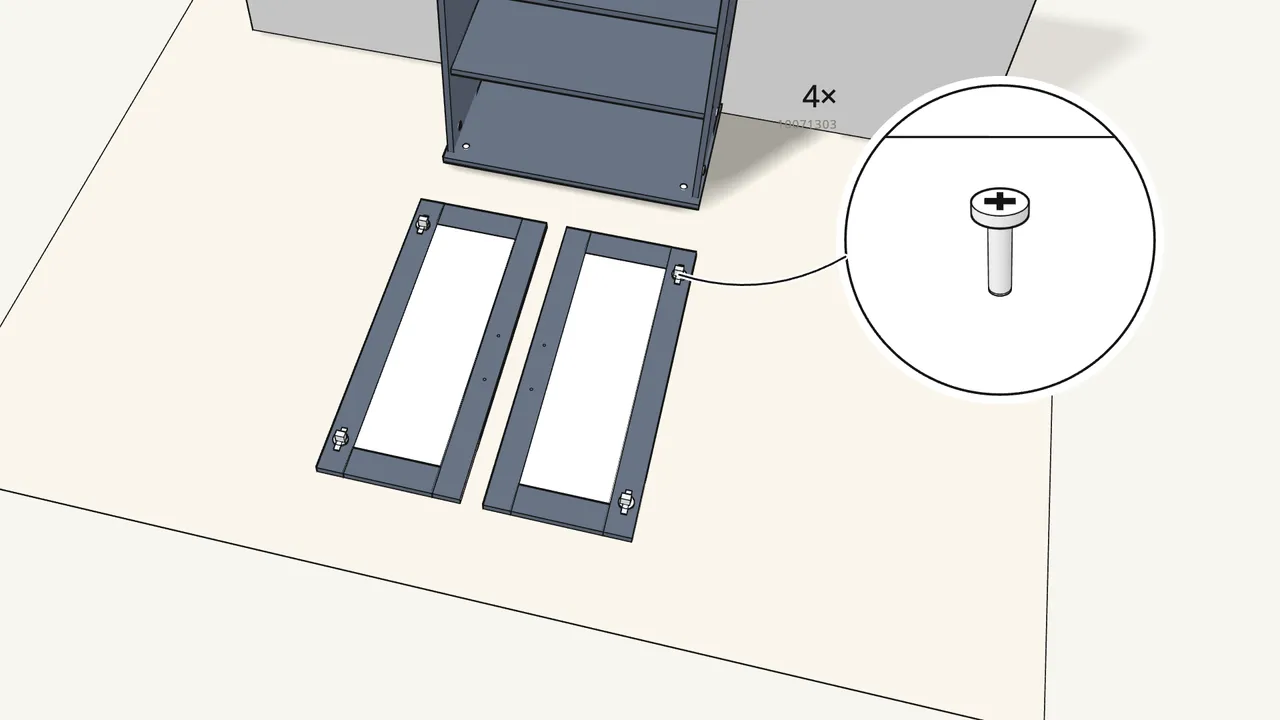
Step 20 · manual step 22
Screw a hinge (10071303) onto each glass door.
Doors face-down on the rug; the hinge cups go in the round holes.
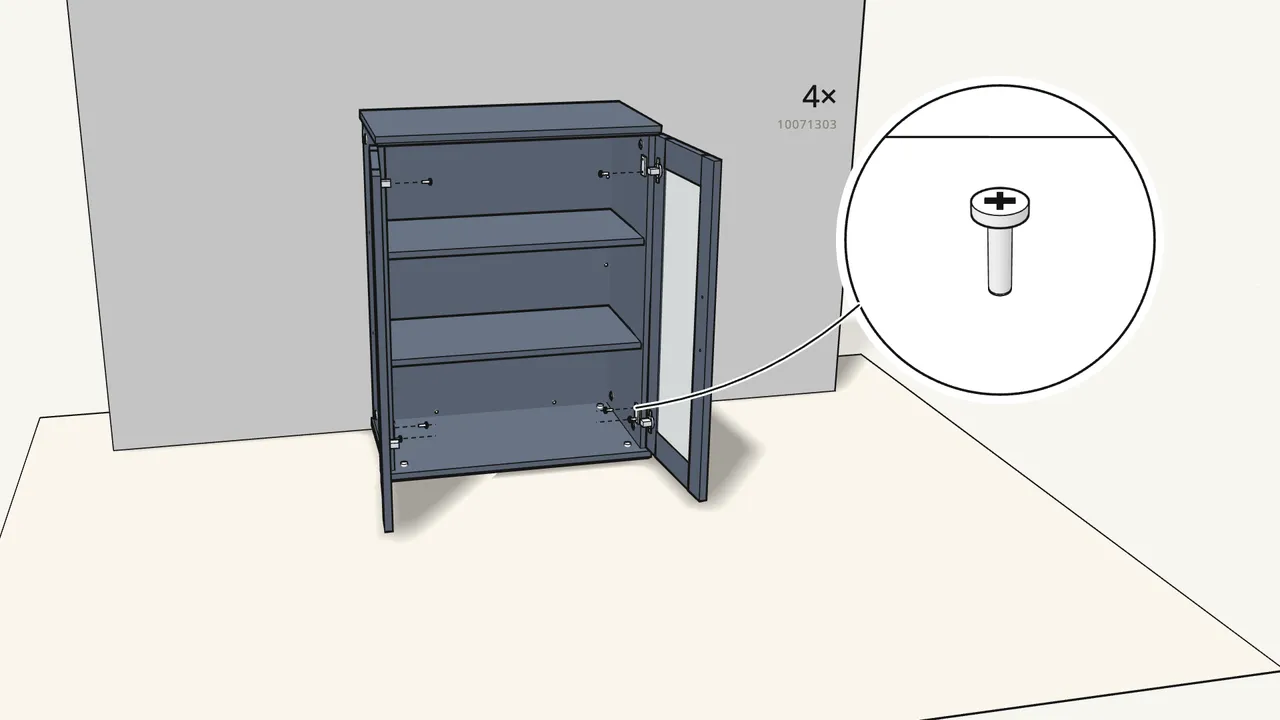
Step 21 · manual step 23
Hang the doors and screw the hinges to the side panels.
2 screws per hinge. Easier with two people.
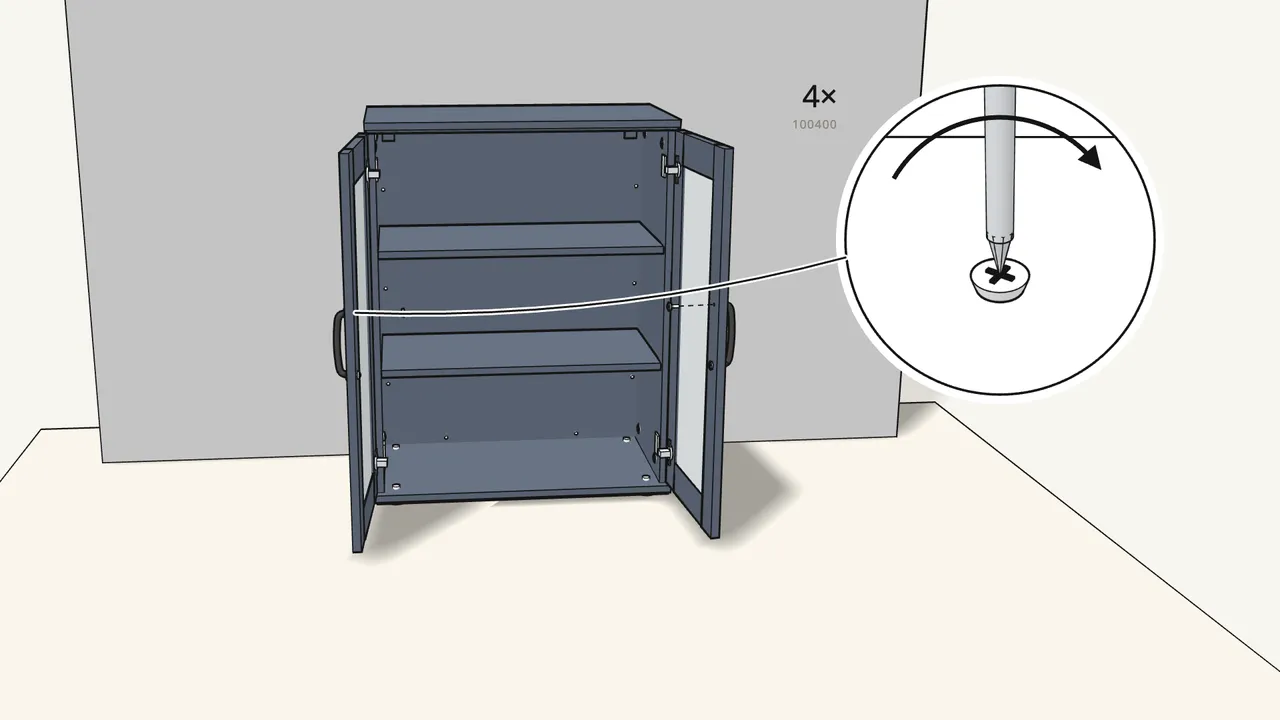
Step 22 · manual step 24
Fit a handle (130417) on each door.
2 screws (100400) per handle, from the inside of the door.
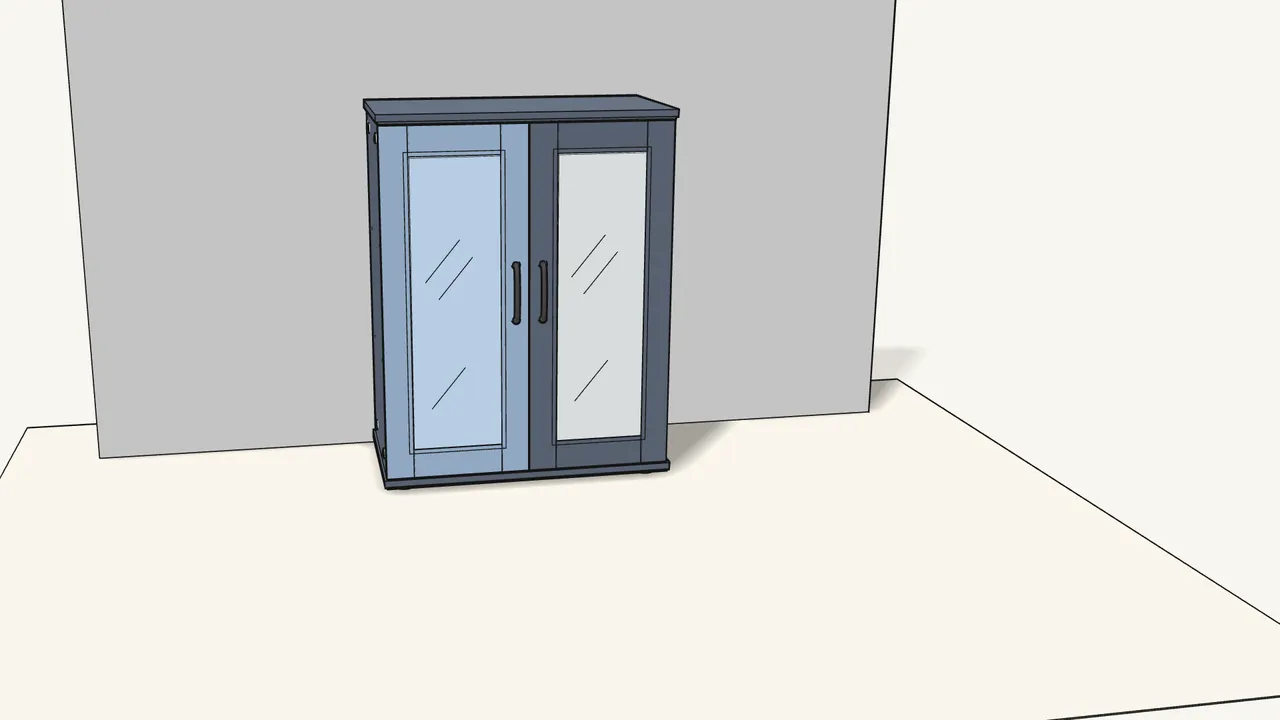
Step 23 · manual step 25
Stick on the 2 bumpers (104663), then close the doors.
Check where they go in the manual, step 25.
Tips & safety
- Always fix SKRUVBY to the wall. Furniture tip-over can cause serious or fatal crushing injuries. Use the included fittings with plugs and screws that suit your wall.
- Doors not lined up? Turn the hinge screws to move each door sideways, in/out or up/down — see the manual, p. 30.
- Keep heavy things low. Never put a TV or other heavy objects on top, and don’t let children climb or hang on the doors or shelves.
Official instructions
This guide follows IKEA’s official assembly instructions (AA-2313555-6). Keep the printed manual to hand — if anything differs, the manual is right.



