IKEA · Cabinets & Wardrobes
How to Assemble IKEA PAX Wardrobe Frames (2)
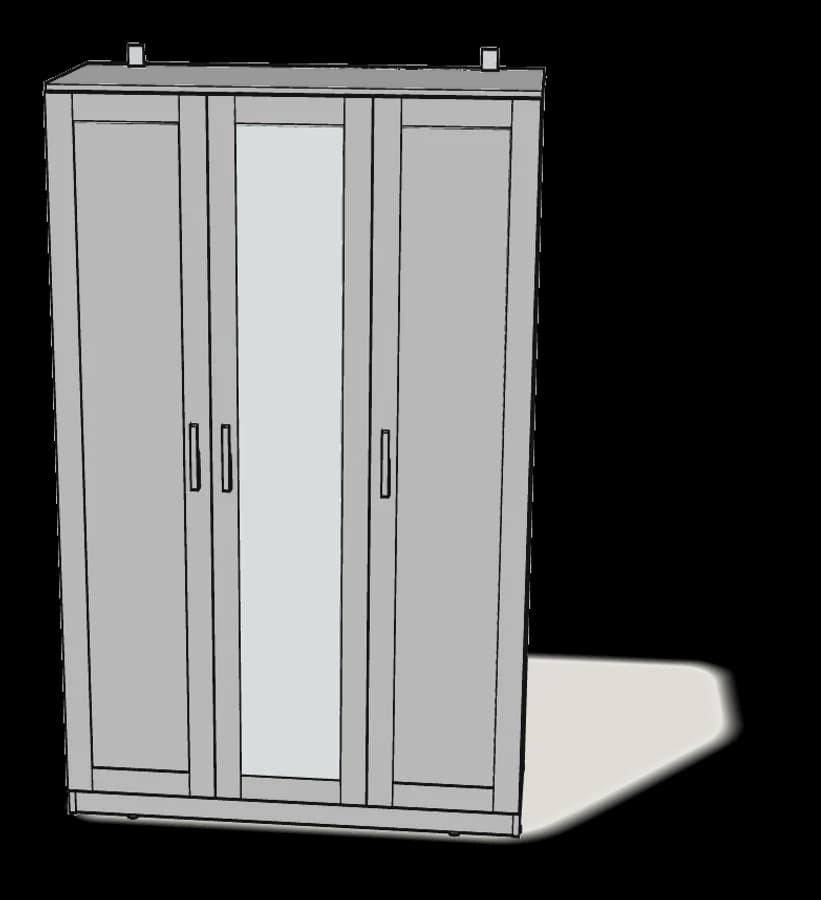
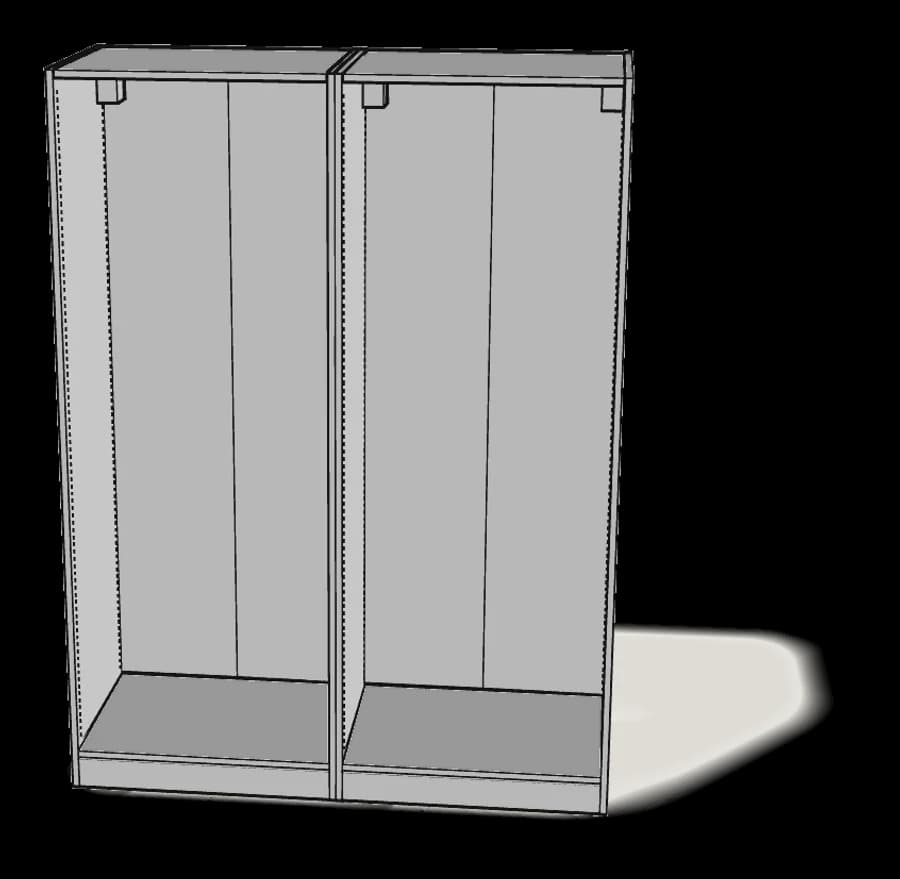
Step-by-step IKEA PAX wardrobe frames (2) assembly: 27 illustrated steps, an animated video, the hardware list and the tools you need — following the official instructions (AA-2462037-5).
- 27 illustrated steps
- 29 steps in the manual
- 3:30 video
- 150×58×201 cm cm
What you need
Tools
- Flat-head screwdriver
- Phillips screwdriver
- Allen key (included)
- Spirit level
- Drill (for wall fixing)
You’ll need: flat-head and Phillips screwdrivers, a pencil, a tape measure, a spirit level, a step ladder and a drill.
Hardware in the box
| Part no. (as printed in the manual) | Qty |
|---|---|
| 10108698 | 8× |
| 10042526 | 4× |
| 10120505 | 4× |
| 10046278 | 4× |
| 101349 | 4× |
| 10087223 | 4× |
| 109571 | 4× |
| 108817 | 4× |
| 10042543 | 4× |
| 10116990 | 4× |
| 10115991 | 4× |
| 10050446 | 4× |
| 110438 | 6× |
| 100644 | 4× |
| 100402 | 4× |
Step-by-step assembly
Step 1
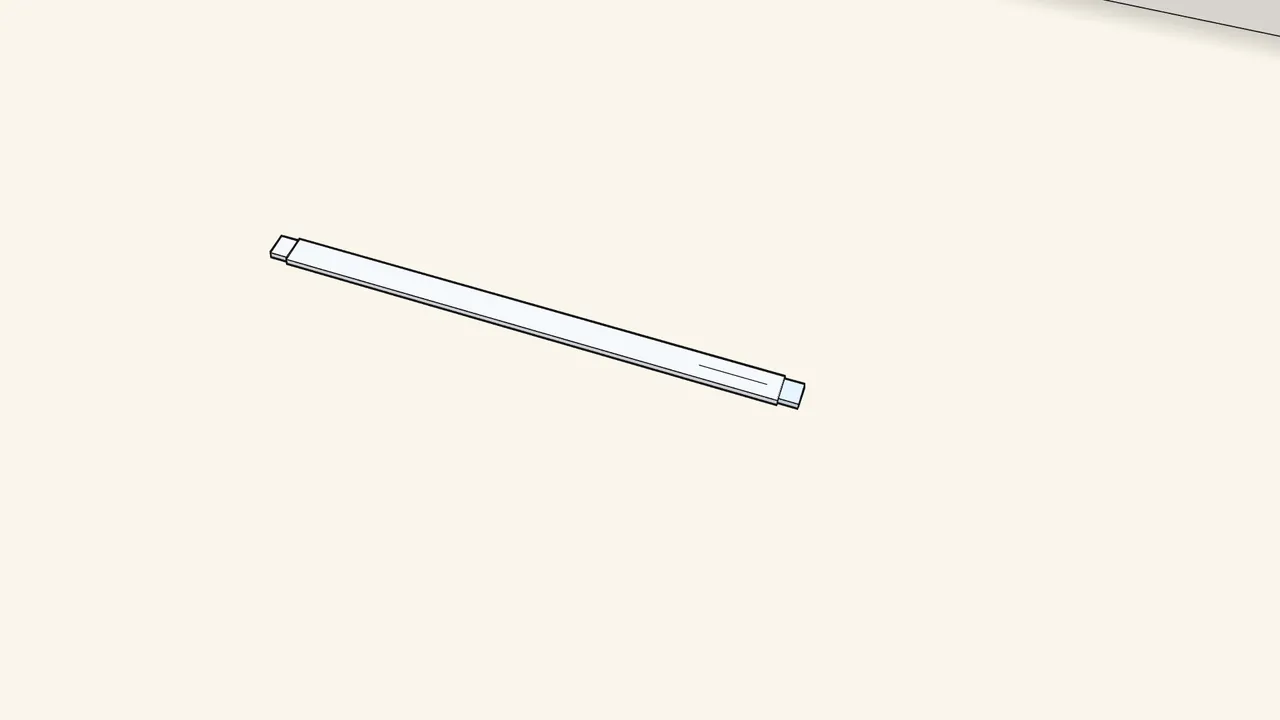
Turn the end piece at each end of the wall rail (2x).
Step 1 in the manual shows how.
Step 2
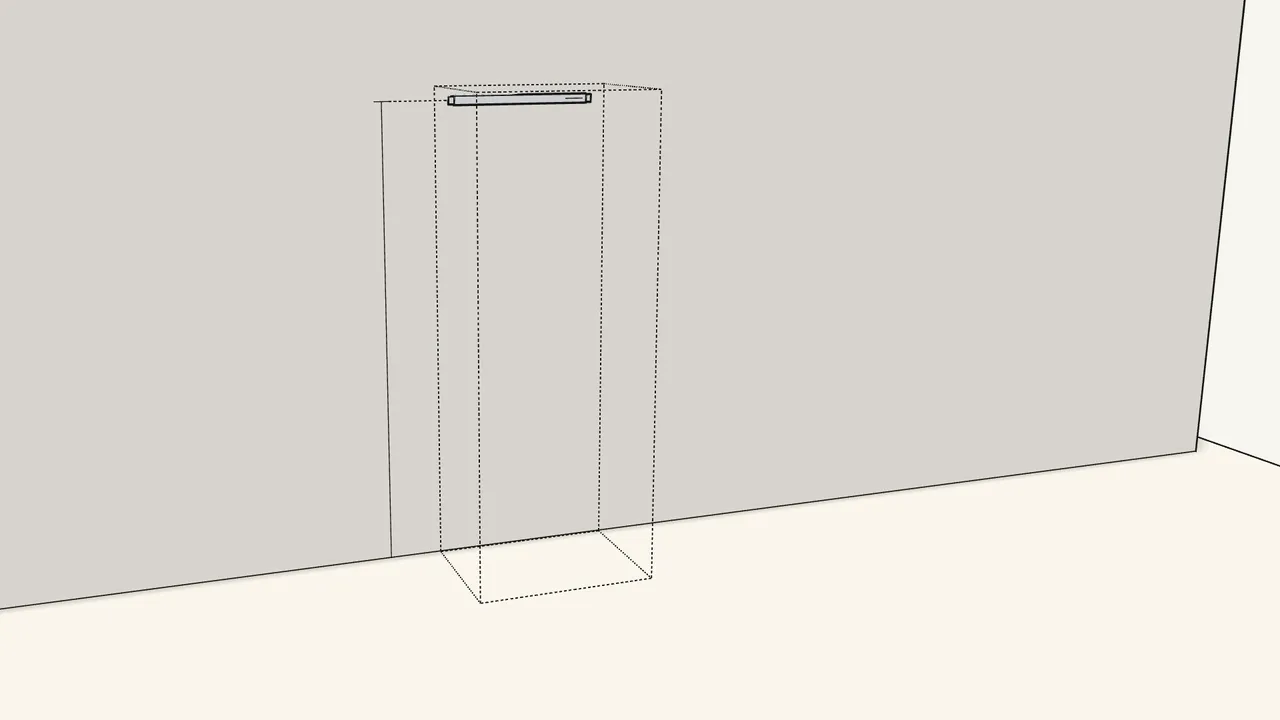
Hold the rail on the wall where the frame will stand.
For a 201 cm frame the top of the rail is 197 cm (77 9/16") above the floor — manual p. 7.
Step 3 · manual step 2
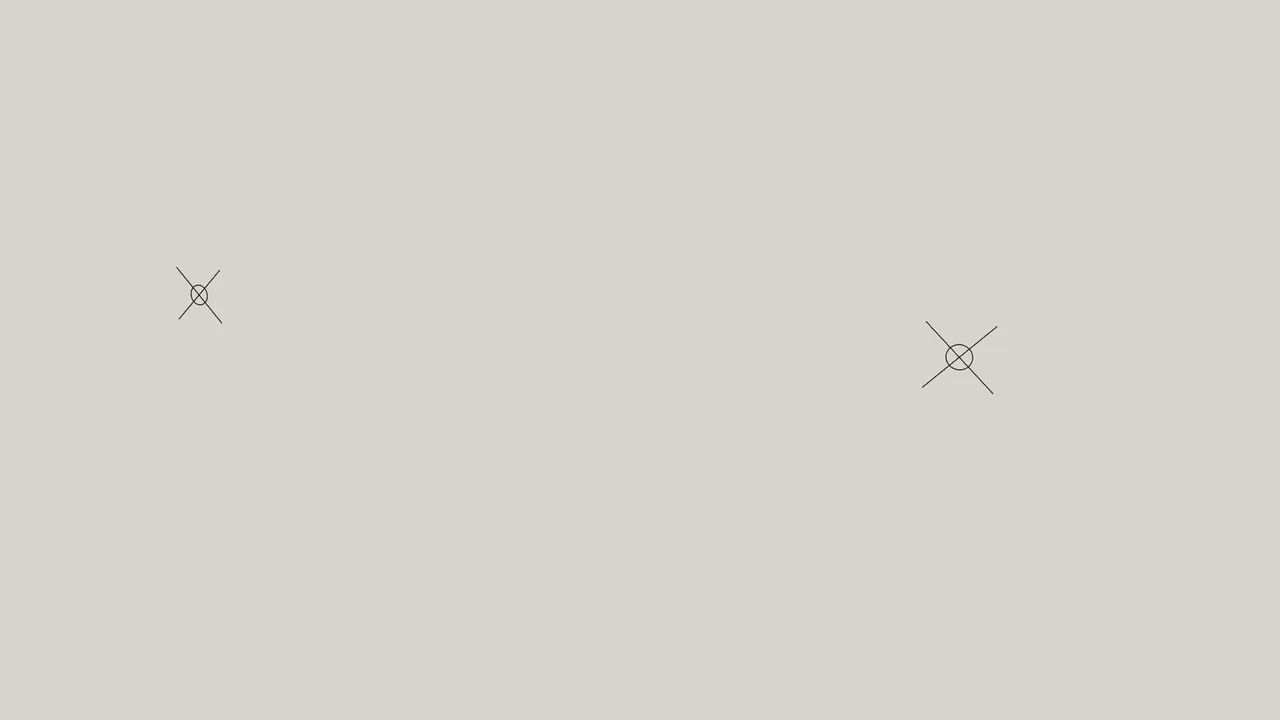
Level the rail and mark the 2 holes with a pencil.
One mark through the end piece, one in the slot.
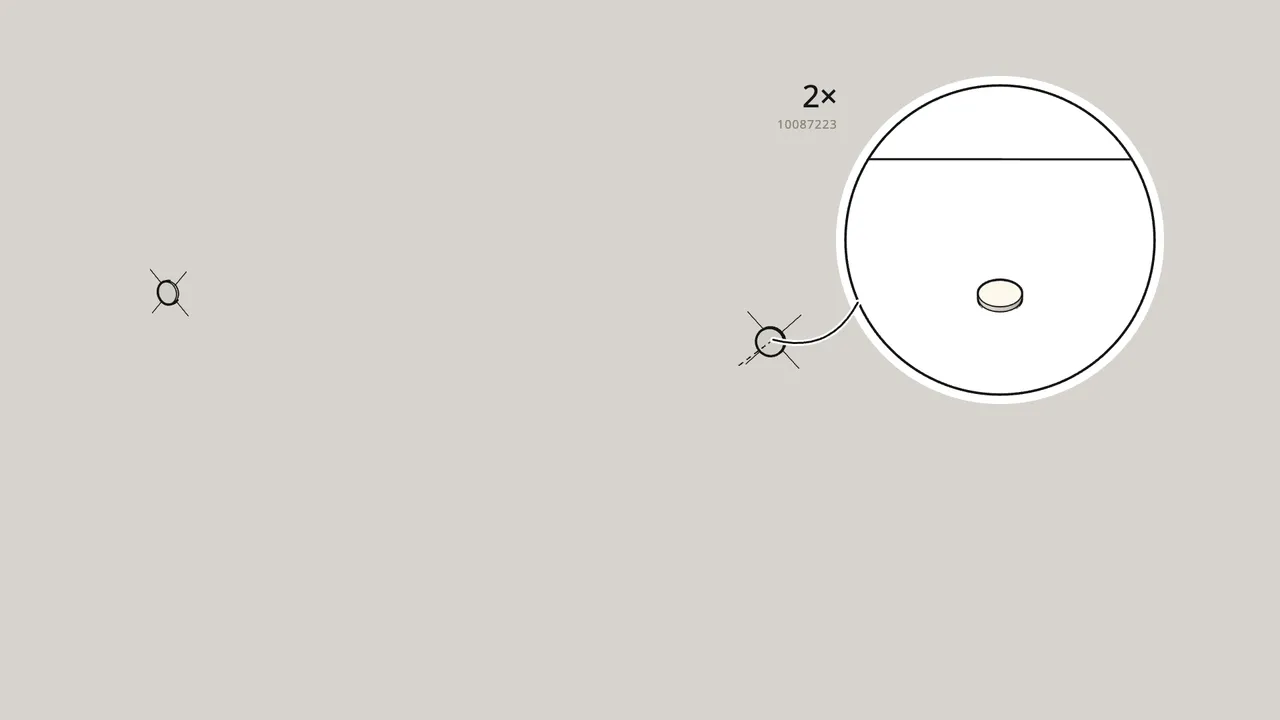
Step 4 · manual step 3
Drill 2 holes and fit plugs to suit your wall.
Concrete or hollow wall: Ø 8 mm bit + plugs (10087223). Solid wood: Ø 3 mm bit, no plugs.
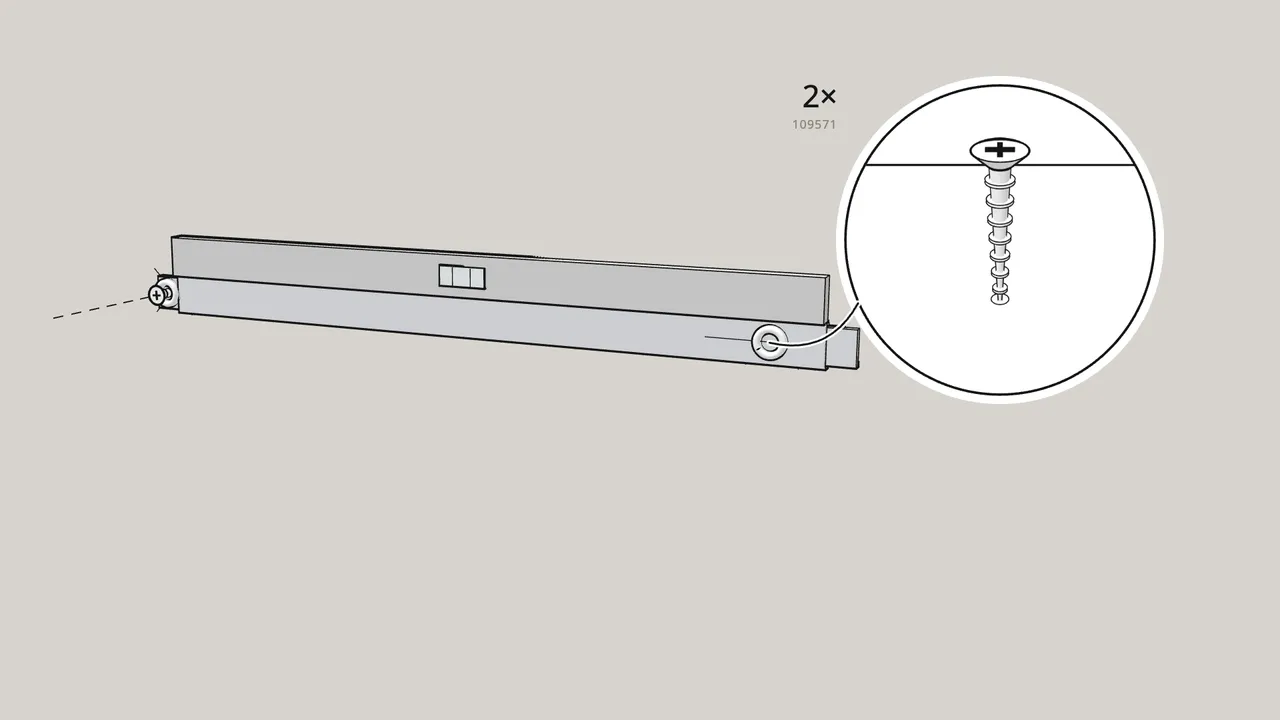
Step 5 · manual step 4
Screw the rail to the wall: 2 screws (109571) with washers (108817).
First through the end piece, then level the rail and screw through the slot.
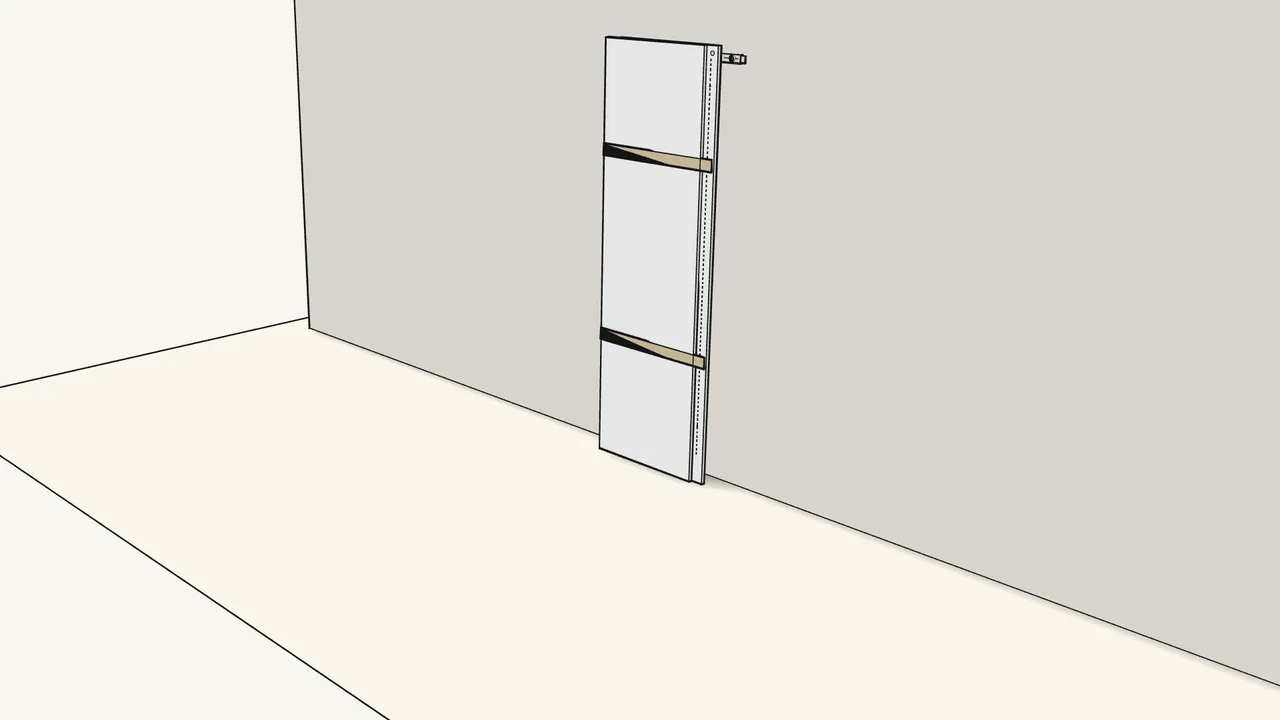
Step 6 · manual step 5
Two people: raise the folded frame up in front of the wall.
Stand it just in front of the rail.
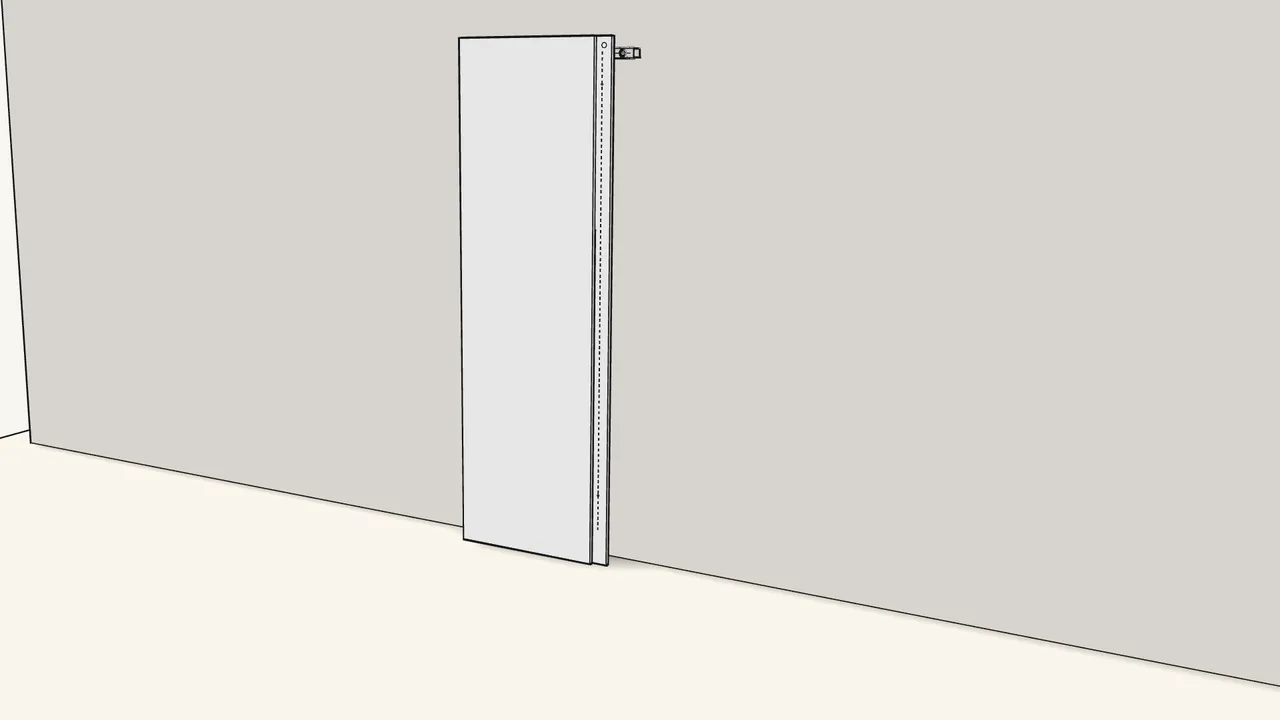
Step 7 · manual step 6
Pull off the 2 tape strips.
Don’t cut them with scissors — you could damage the panels.
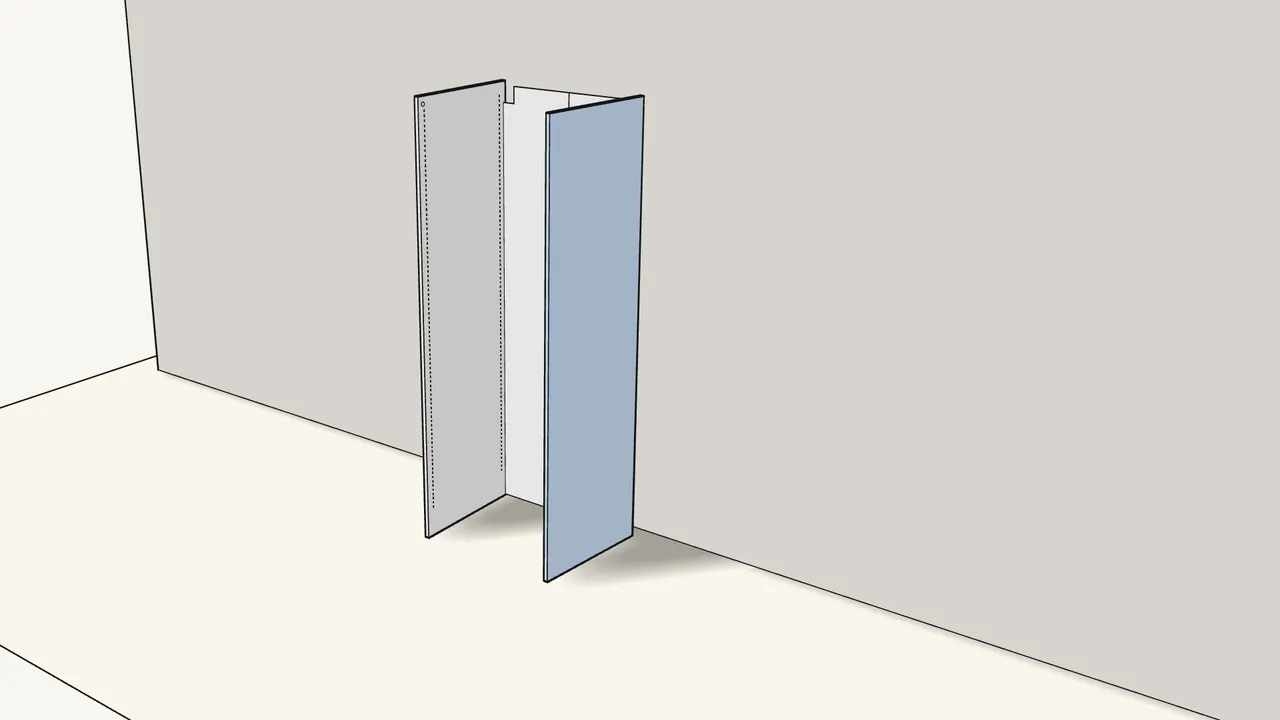
Step 8 · manual step 7–8
Unfold the frame and swing both sides out.
The sides end up square to the back — two people.
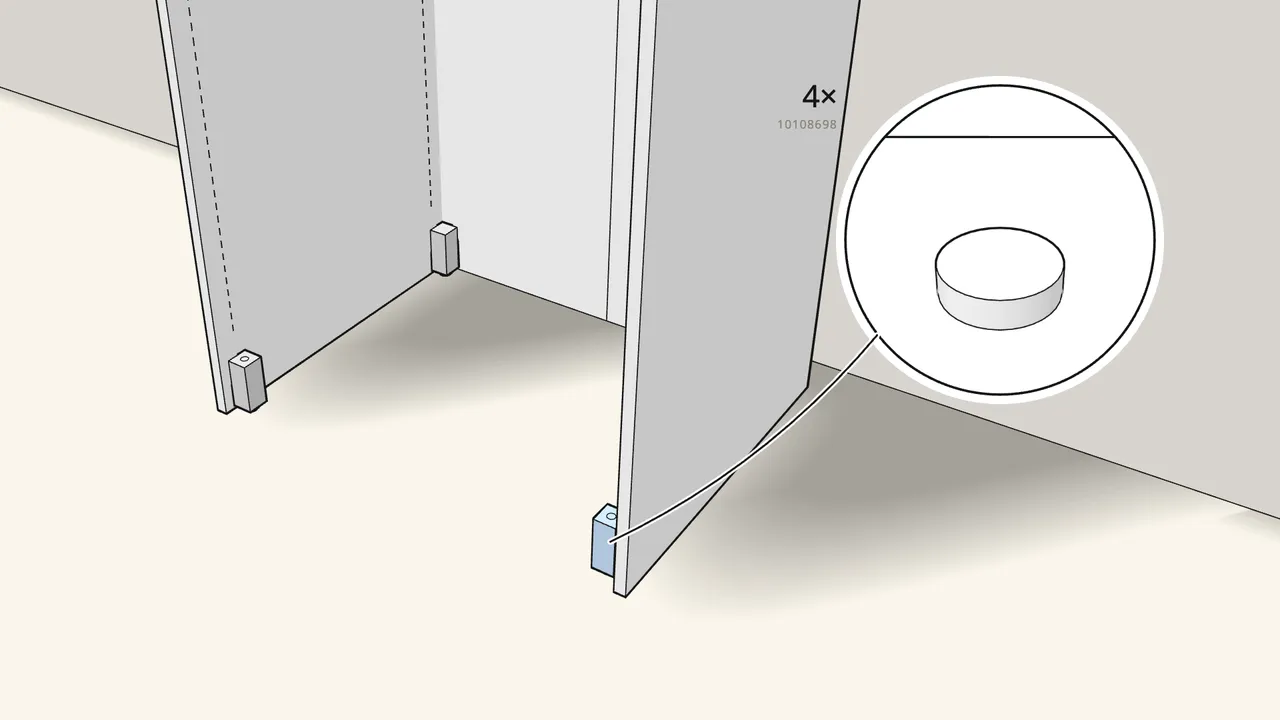
Step 9
Clip the 4 adjustable feet (10108698) onto the sides.
First turn each foot to its lowest setting (manual p. 13).
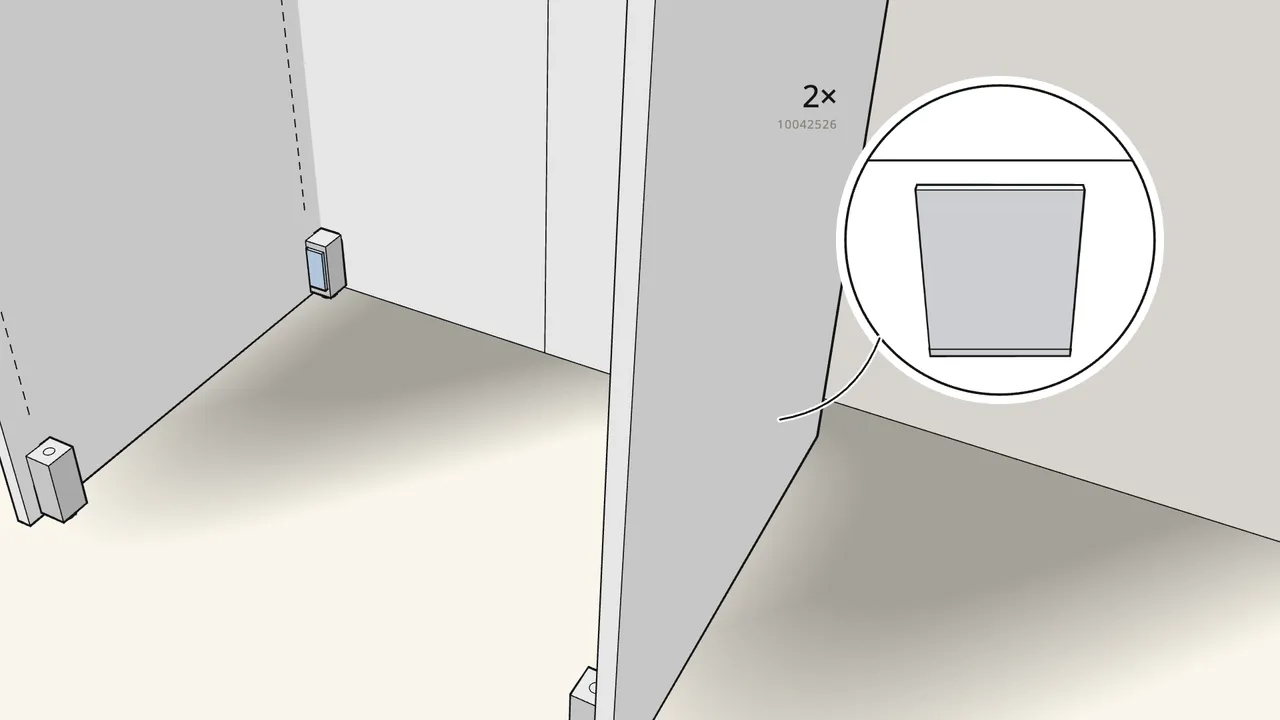
Step 10
Press 2 clips (10042526) onto the rear feet.
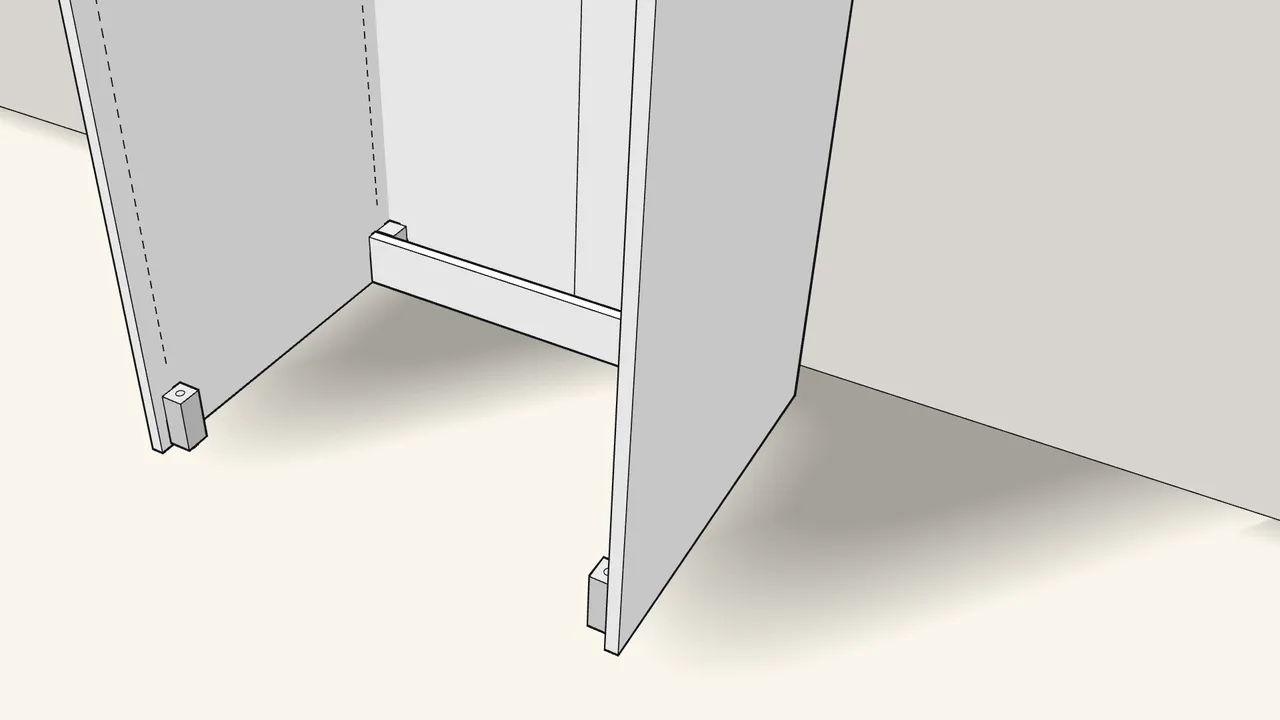
Step 11
Drop the rear plinth into the clips.
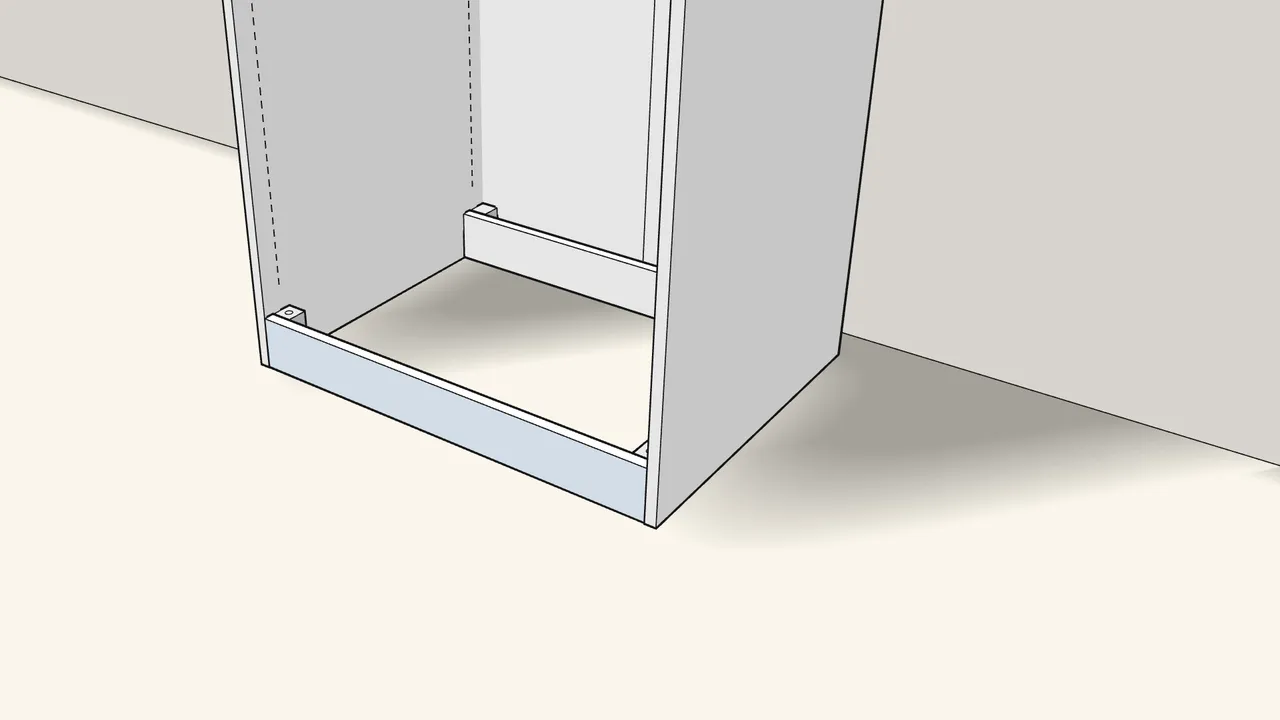
Step 12
Push the front plinth onto the front feet, then press it down.
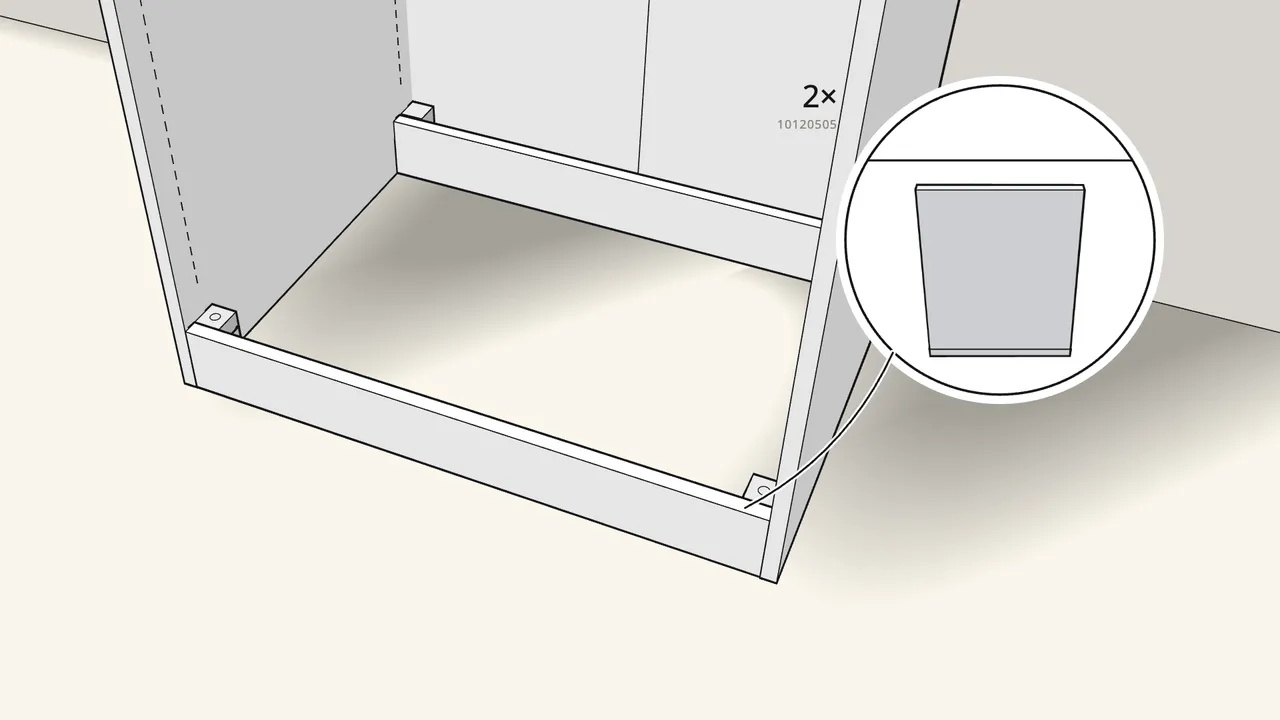
Step 13
Push 2 fittings (10120505) onto the front feet.
See the manual, step 13, for their position.
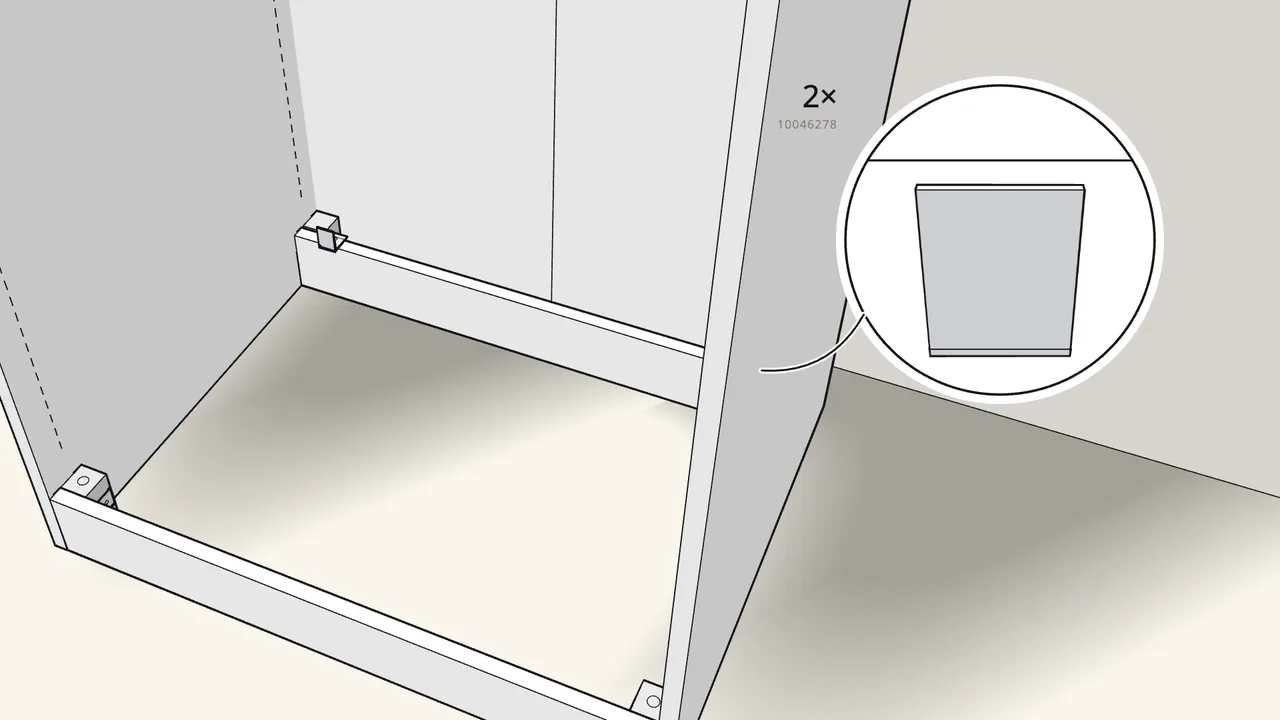
Step 14
Snap 2 clips (10046278) onto the rear plinth.
See the manual, step 14, for their position.
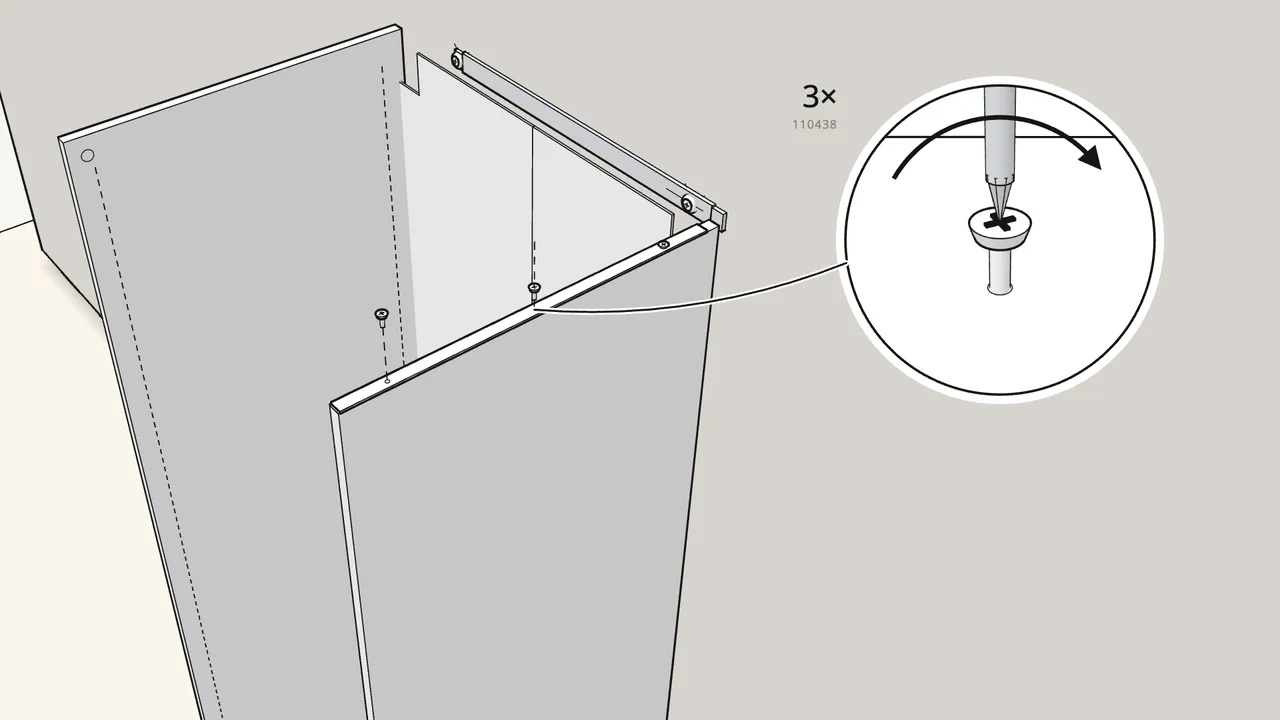
Step 15 · manual step 15–16
Frames side by side: screw the strip (156586) onto the joining side.
3 screws (110438), at least 2 mm from the front edge. The shorter strip is for 35 cm deep frames.
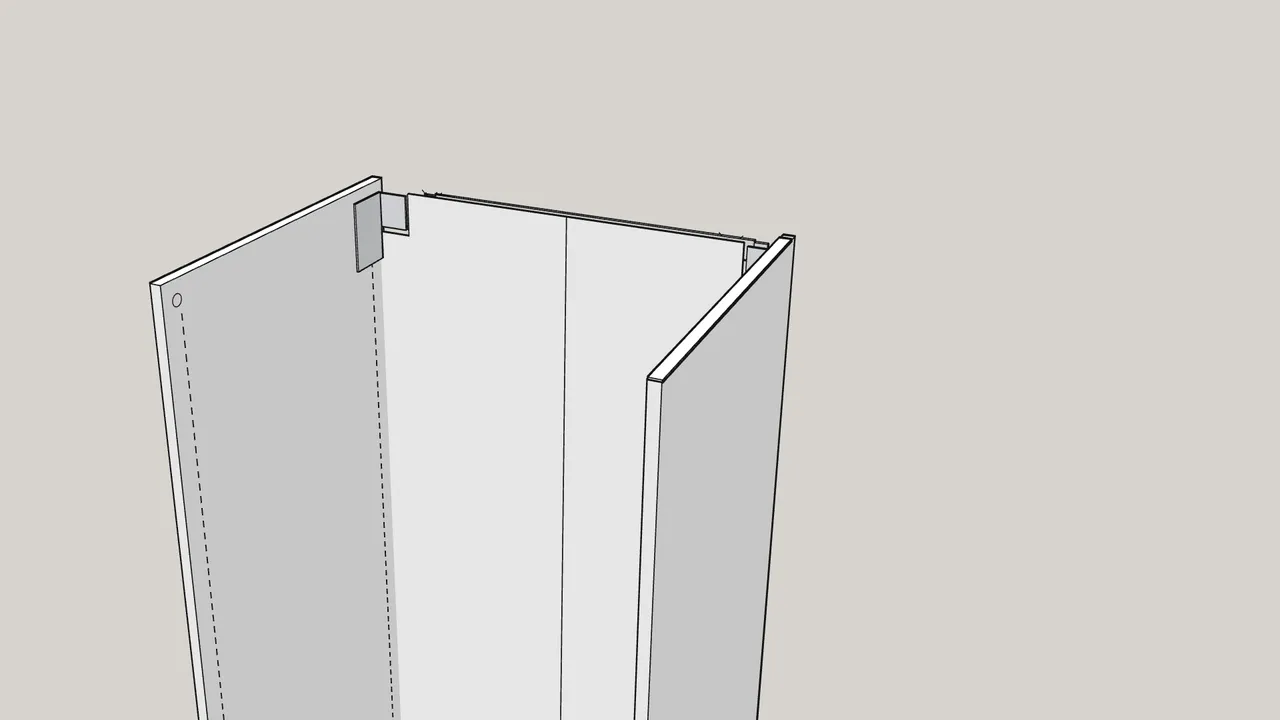
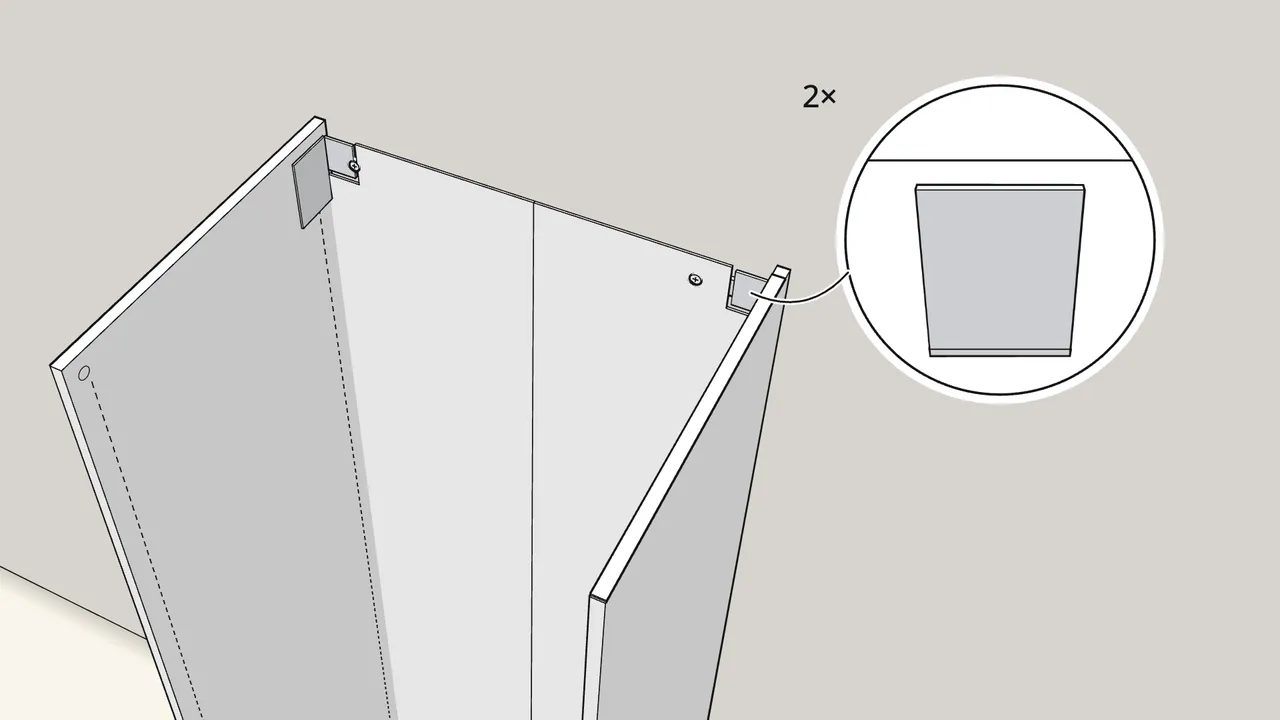
Step 16 · manual step 17
Click the L and R wall fittings onto the top of the sides.
Press in the pin on each (2x). Use a step ladder.
Step 17 · manual step 18
Push the frame back so both fittings hook onto the wall rail.
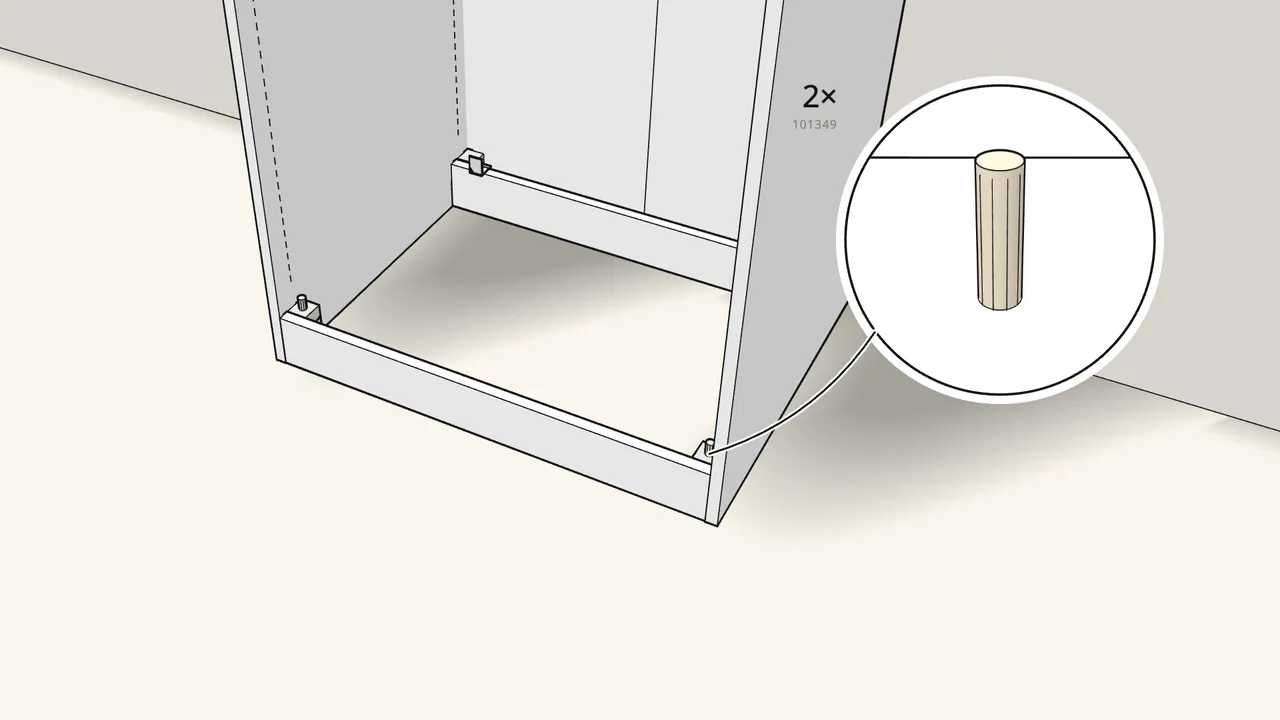
Step 18 · manual step 19–20
Level the frame with the Allen key, then push 2 dowels (101349) into the front feet.
Turn the key in the top of each foot to raise or lower it.
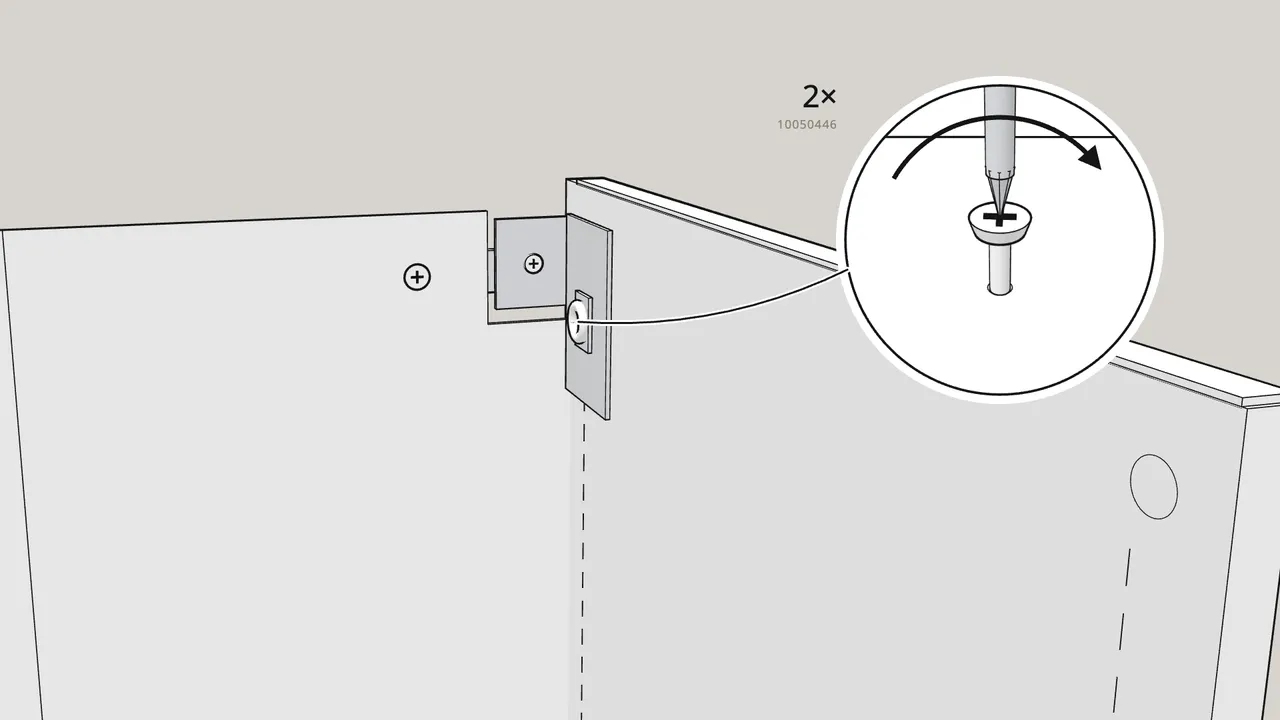
Step 19 · manual step 21–22
Tighten the screw in each fitting, then add the plate, star wheel and screw.
Plate 10116990, star wheel 10115991, screw 10050446 — 2 of each. Hand screwdriver only, no power drill.
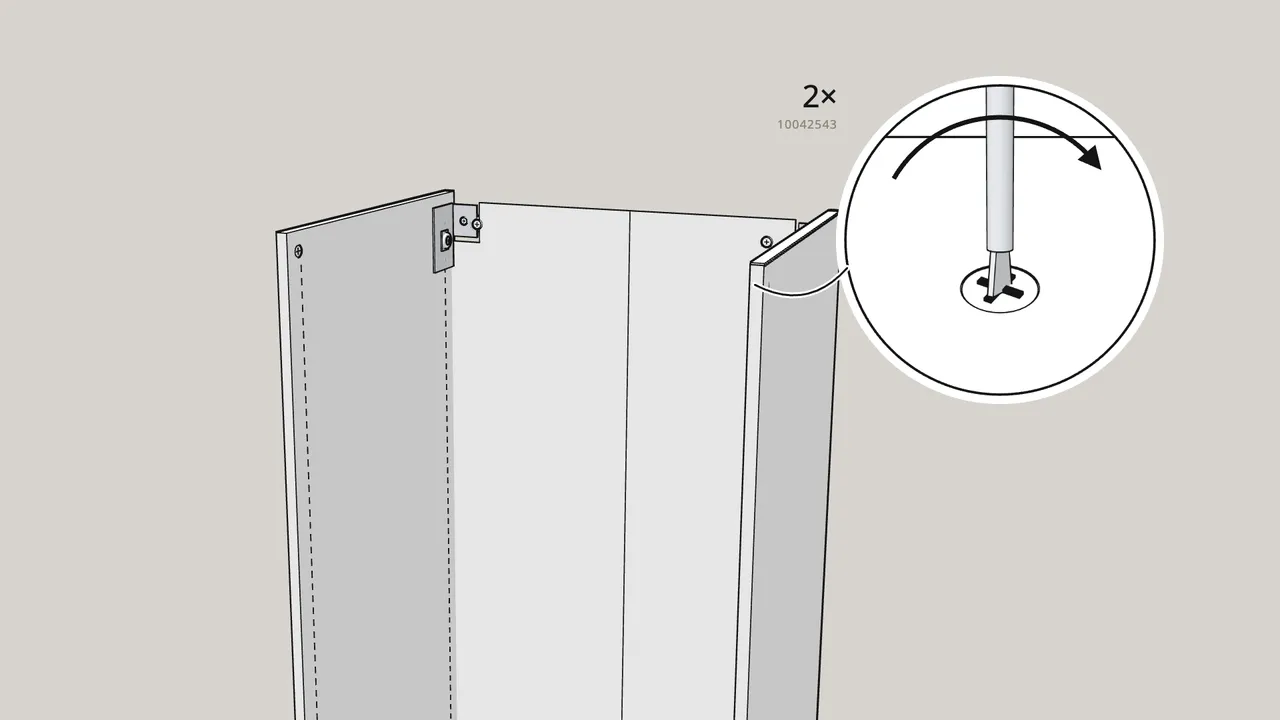
Step 20 · manual step 23
Push 2 clips (10042543) into the front holes at the top of the sides.
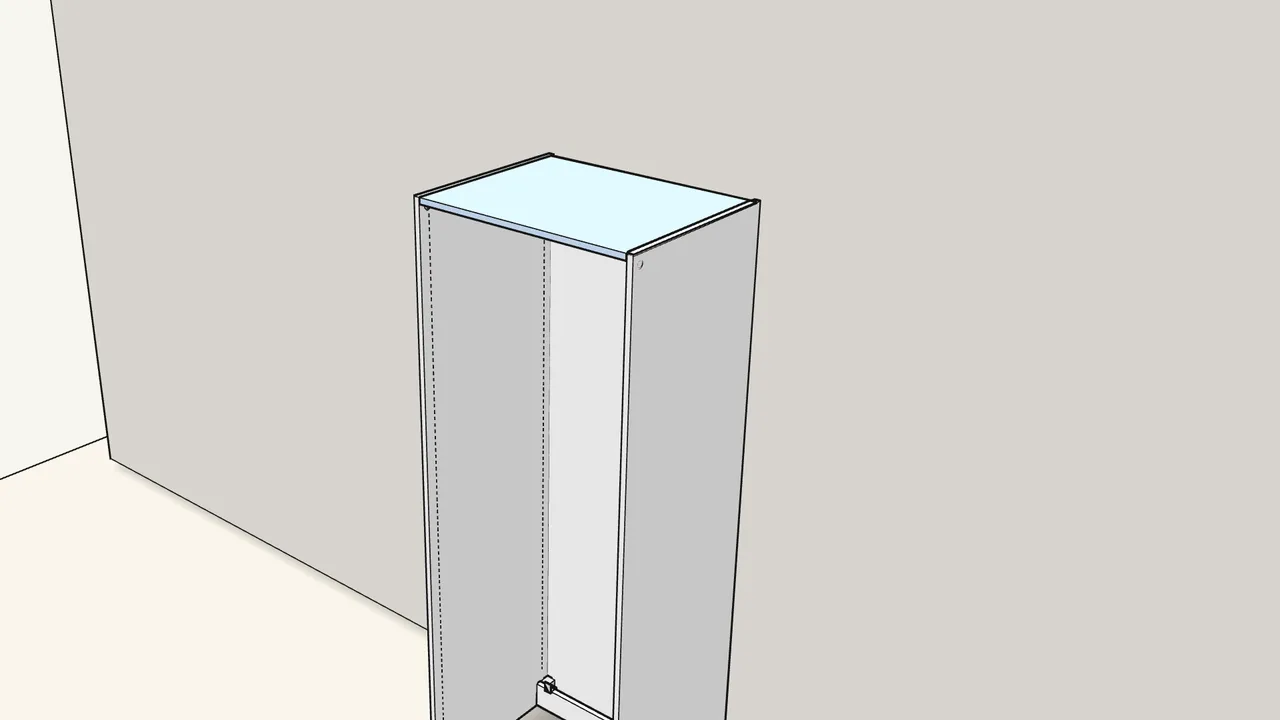
Step 21 · manual step 24
Two people: slide the top panel in at an angle until it stops, then swing it level.
Its 4 pins go into the holes in the sides.
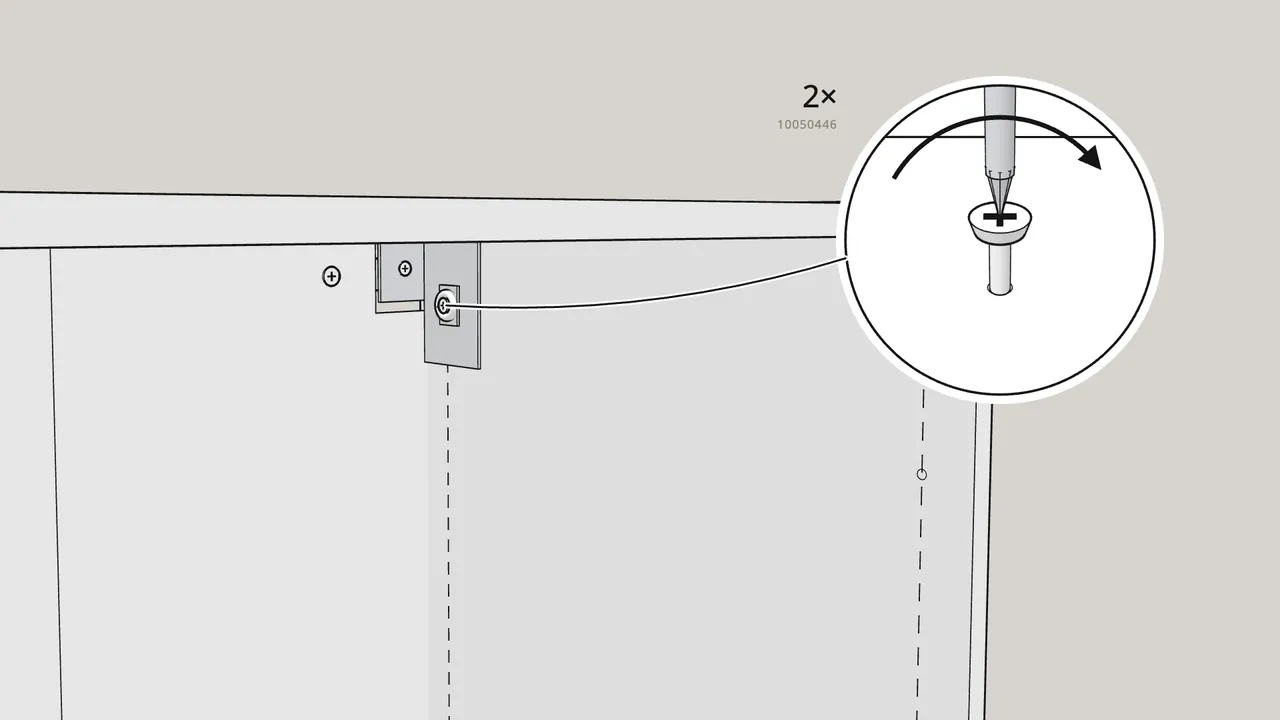
Step 22 · manual step 25–27
Turn the 2 star wheels, flip up the 2 front clips and tighten the 2 screws again.
The top must sit flush with the sides. No power drill.
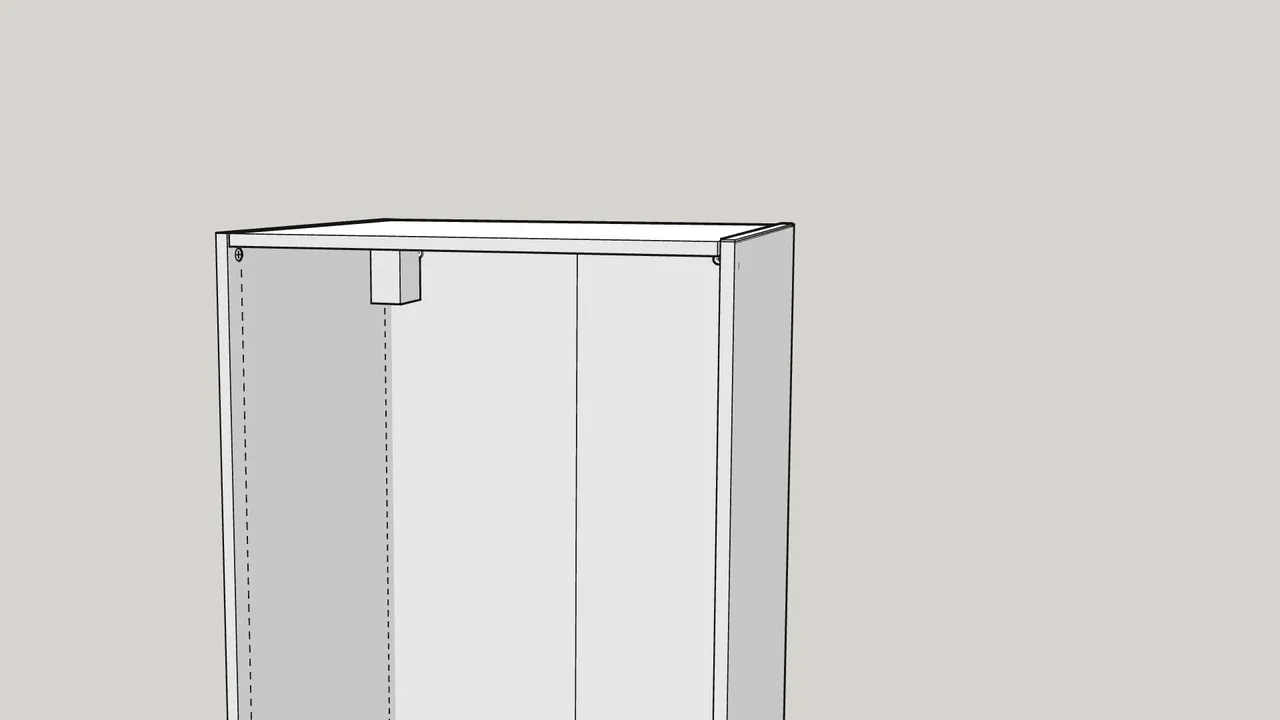
Step 23 · manual step 28
Click the L and R covers over the wall fittings.
Covers 10115941 (L) and 10116003 (R).
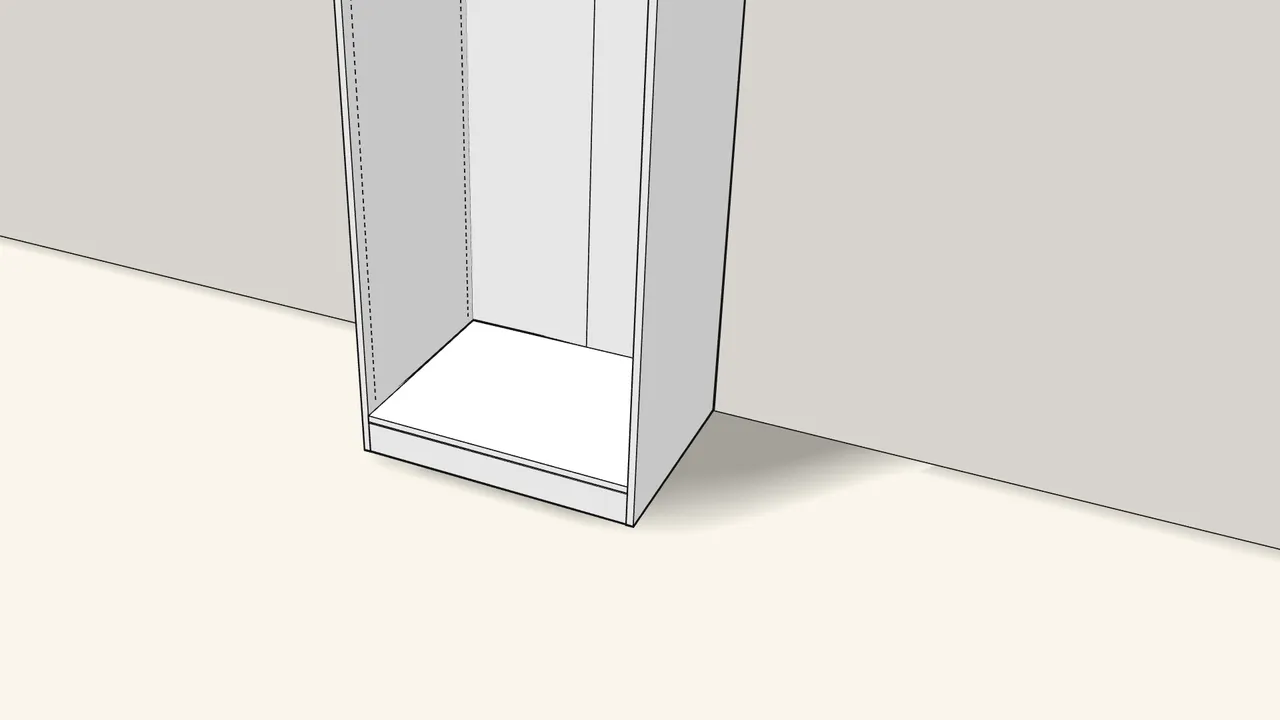
Step 24 · manual step 29
Lay the bottom panel onto the plinth.
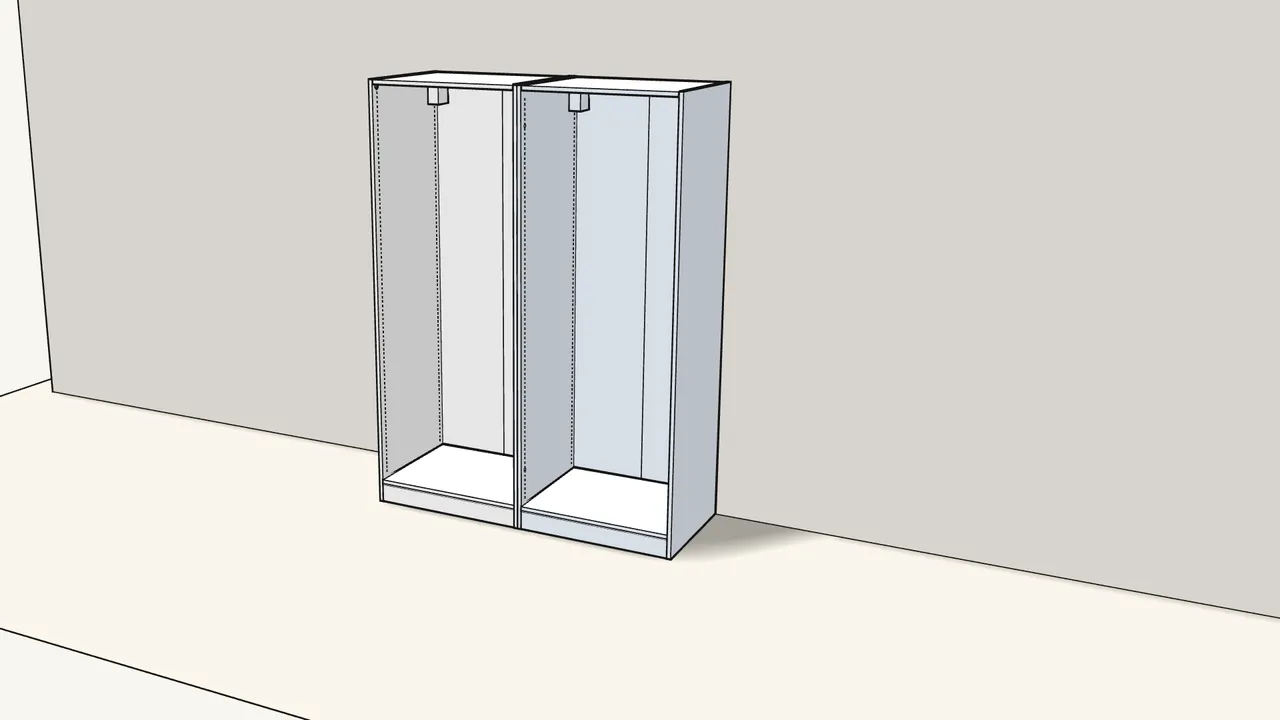
Step 25 · manual step 1–29
Build the second frame the same way, right next to the first.
Its own rail on the wall at the same height; its strip goes on its left side.
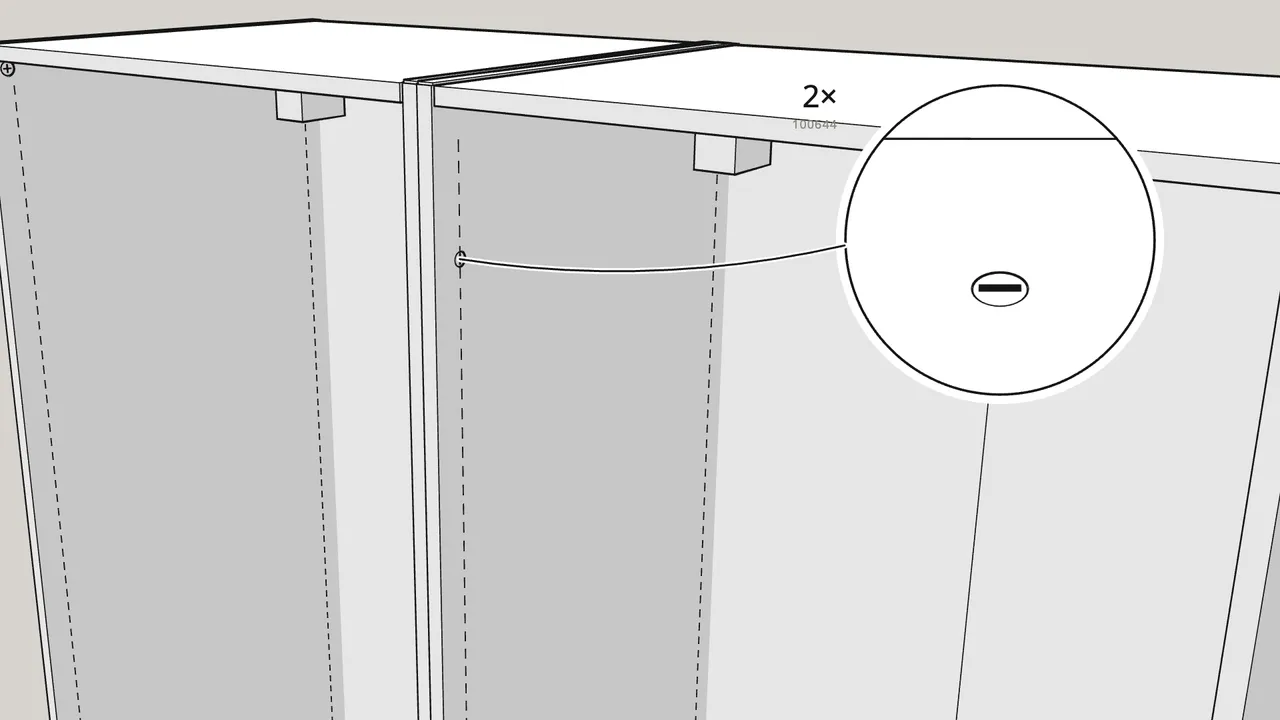
Step 26
Join the frames: clamp them, drill 2 holes (Ø 5 mm) and push in 2 sleeves (100644).
Drill through the hole marked 5, near the top and near the bottom (manual p. 34).
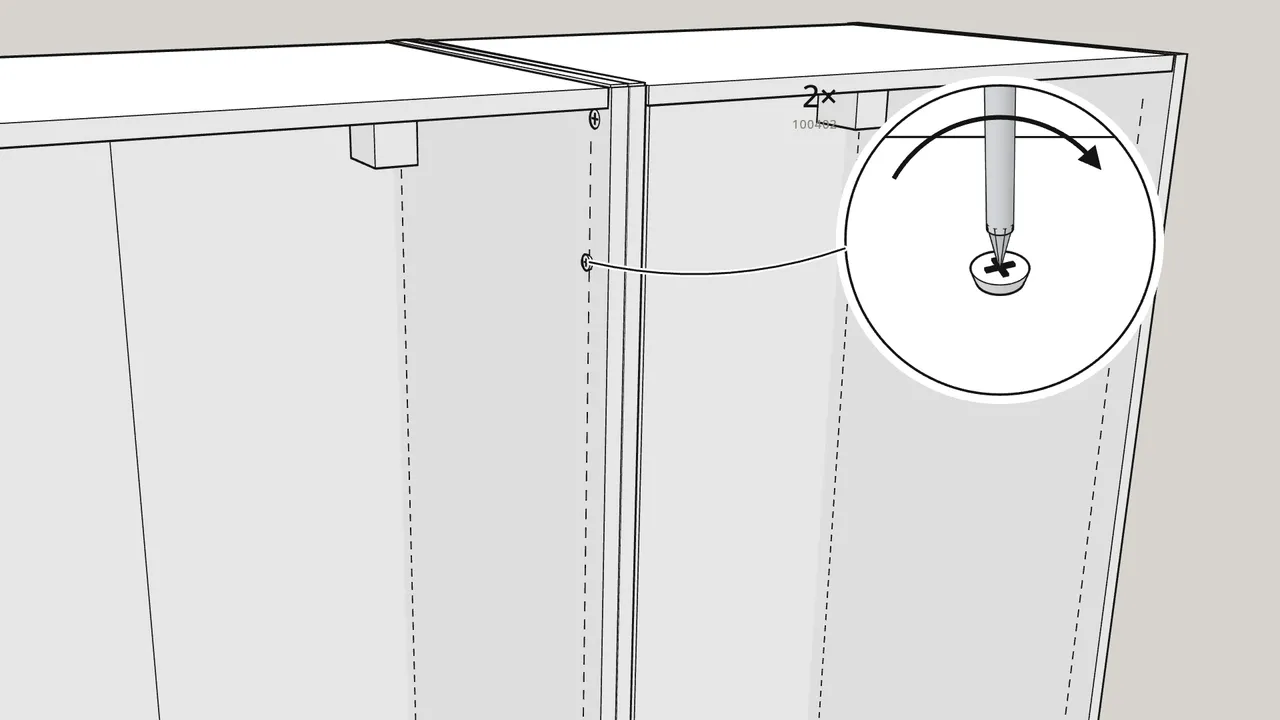
Step 27
From the other frame, screw 2 screws (100402) into the sleeves.
Top and bottom connector.
Tips & safety
- PAX must be fixed to the wall. Serious or fatal crushing injuries can occur if it is not. Choose screws and plugs that suit your wall (step 3); if unsure, seek professional advice.
- Work with two people and a step ladder. Never lean the ladder against a frame that isn’t fixed to the wall (manual p. 21).
Official instructions
This guide follows IKEA's official assembly instructions (AA-2462037-5). Keep the printed manual to hand — if anything differs, the manual is right.