IKEA · Cabinets & Wardrobes
How to assemble IKEA NYSJÖN Mirror Cabinet
Step-by-step IKEA NYSJÖN Mirror Cabinet assembly: 19 illustrated steps, an animated video, the hardware list and the tools you need — following the official instructions (AA-2350913-4).
- 19 illustrated steps
- 18 steps in the manual
- 2:55 video
- 50×15×60 cm
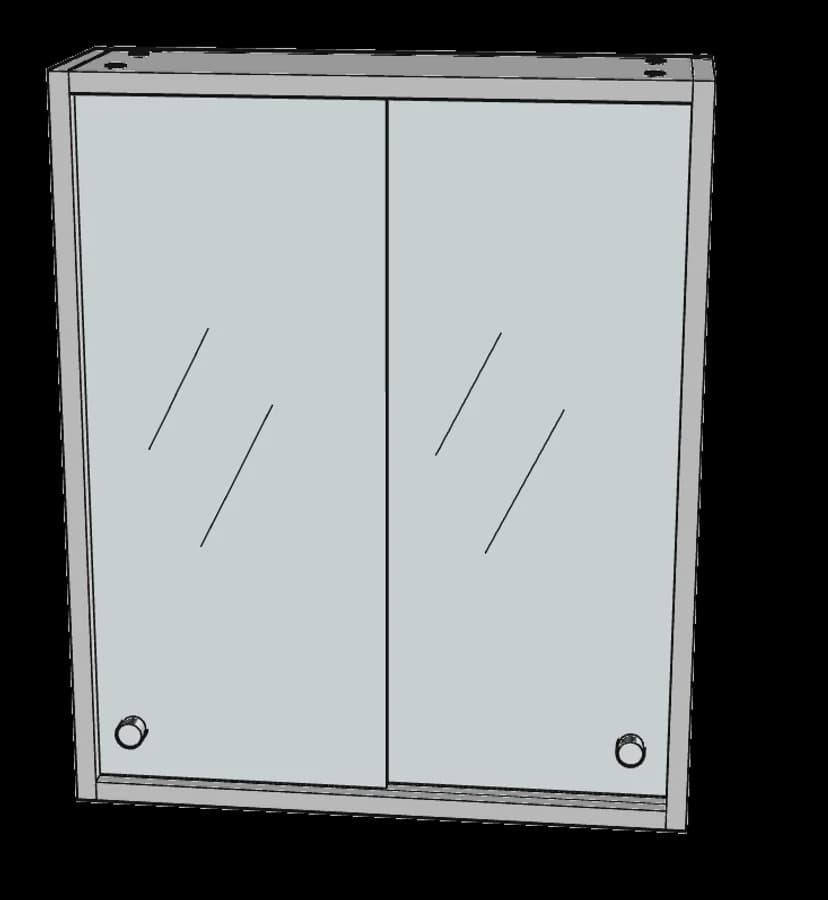
What you need
Tools
- Phillips screwdriver
- Hammer
- Spirit level
You’ll need: a Phillips screwdriver (one is included, 110018), a hammer, a spirit level and a pencil.
Hardware in the box
| Part no. (as printed in the manual) | Qty |
|---|---|
| 123492 | 8× |
| 102509 | 8× |
| 10048881 | 4× |
| 114755 | 2× |
| 104704 | 2× |
| 158461 | 4× |
| 101375 | 4× |
| 103693 | 2× |
| 10032274 | 2× |
| 319503 | 15× |
Step-by-step assembly
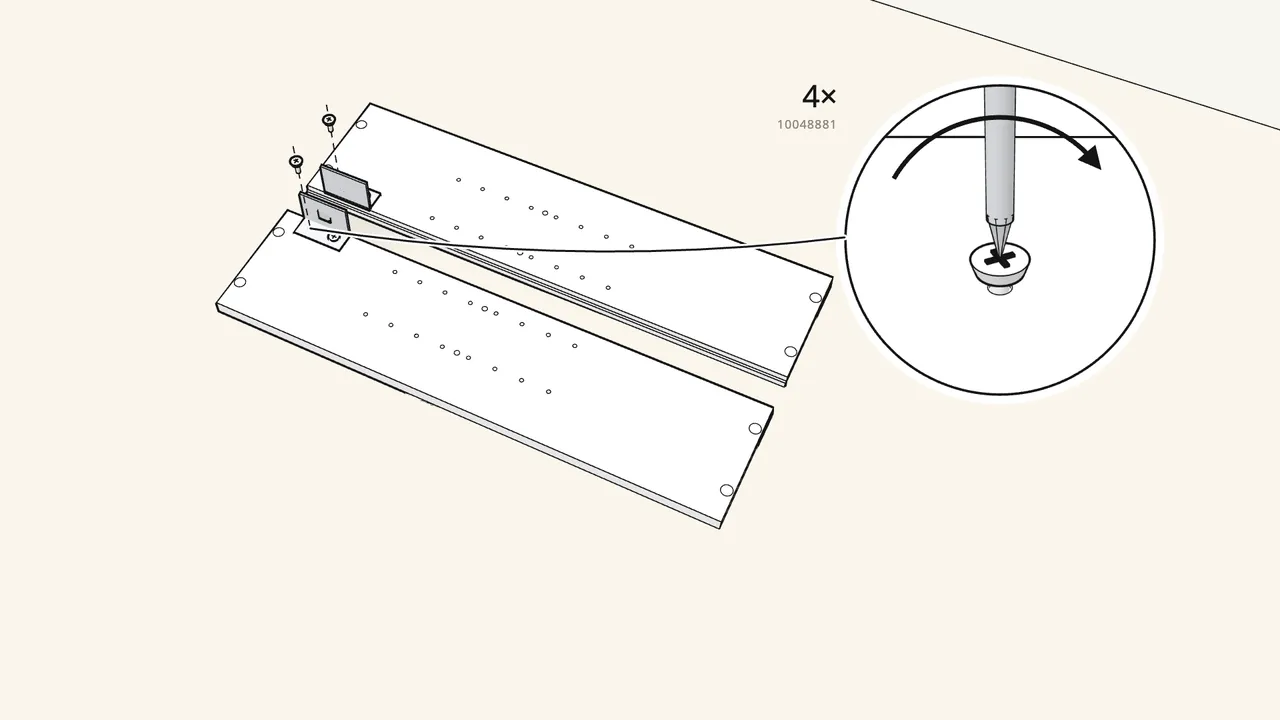
Step 1
Screw a wall bracket (10032274) onto each side panel.
2 screws (10048881) per bracket, at the top end of the panel.
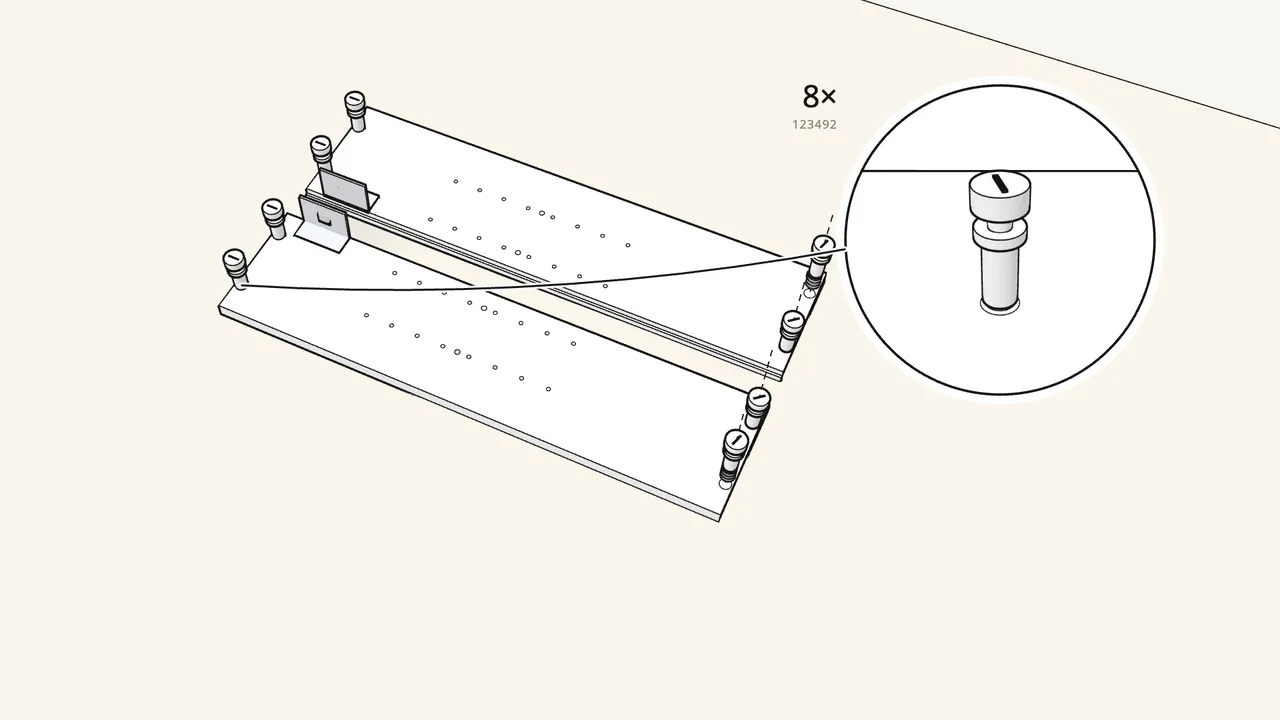
Step 2
Screw 8 cam bolts (123492) into the side panels.
2 at each end of each panel.
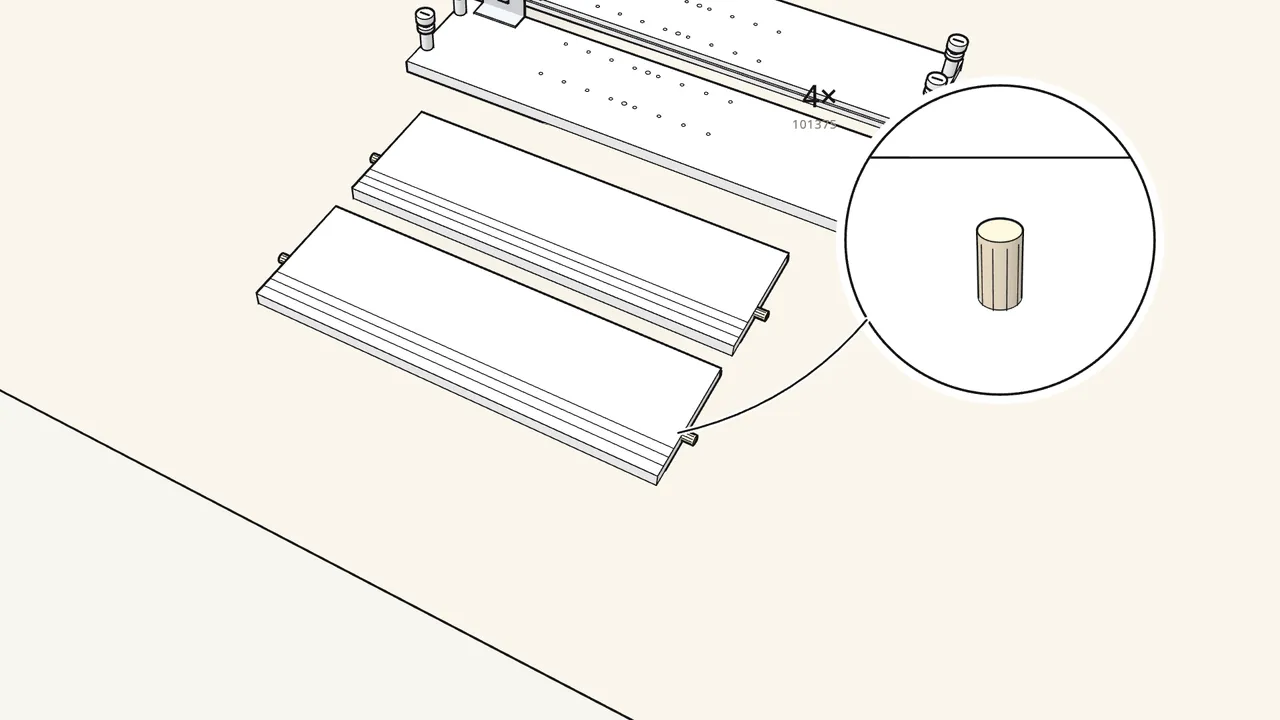
Step 3
Push 4 dowels (101375) into the ends of the top and bottom.
One in each end.
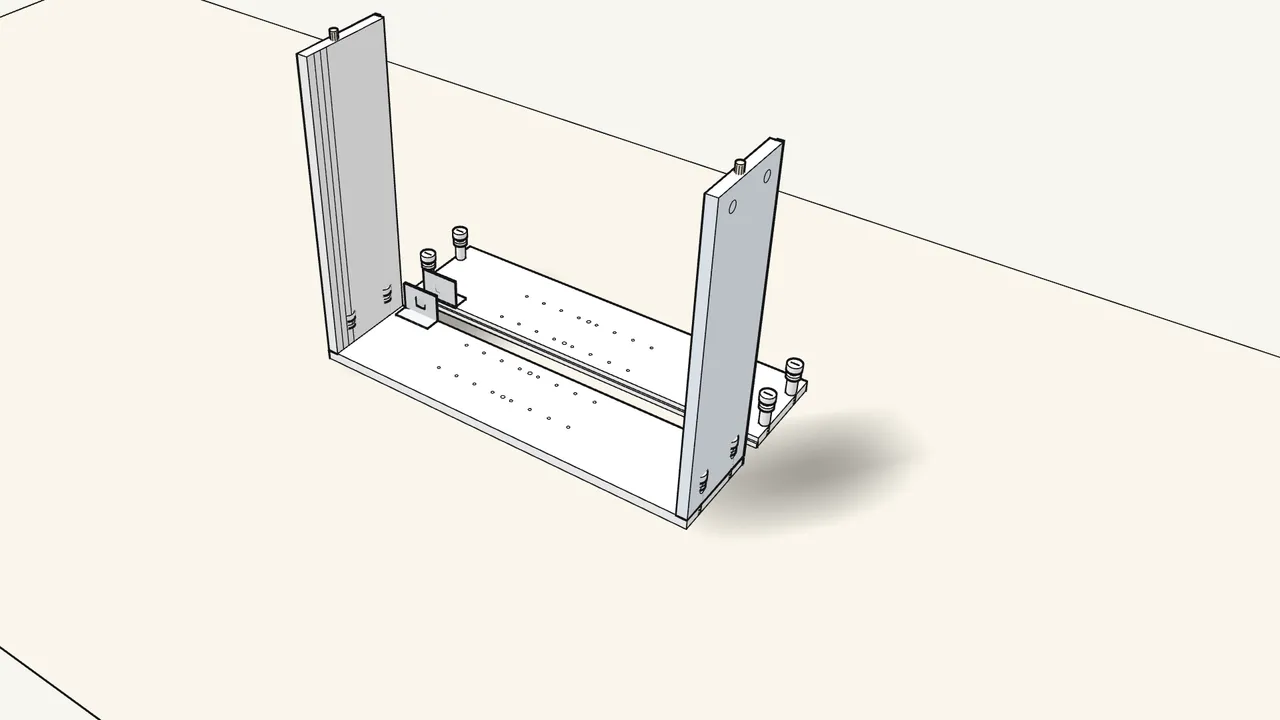
Step 4
Stand the top and bottom on the left side panel.
Grooves facing inwards — check the profile in the manual, step 4.
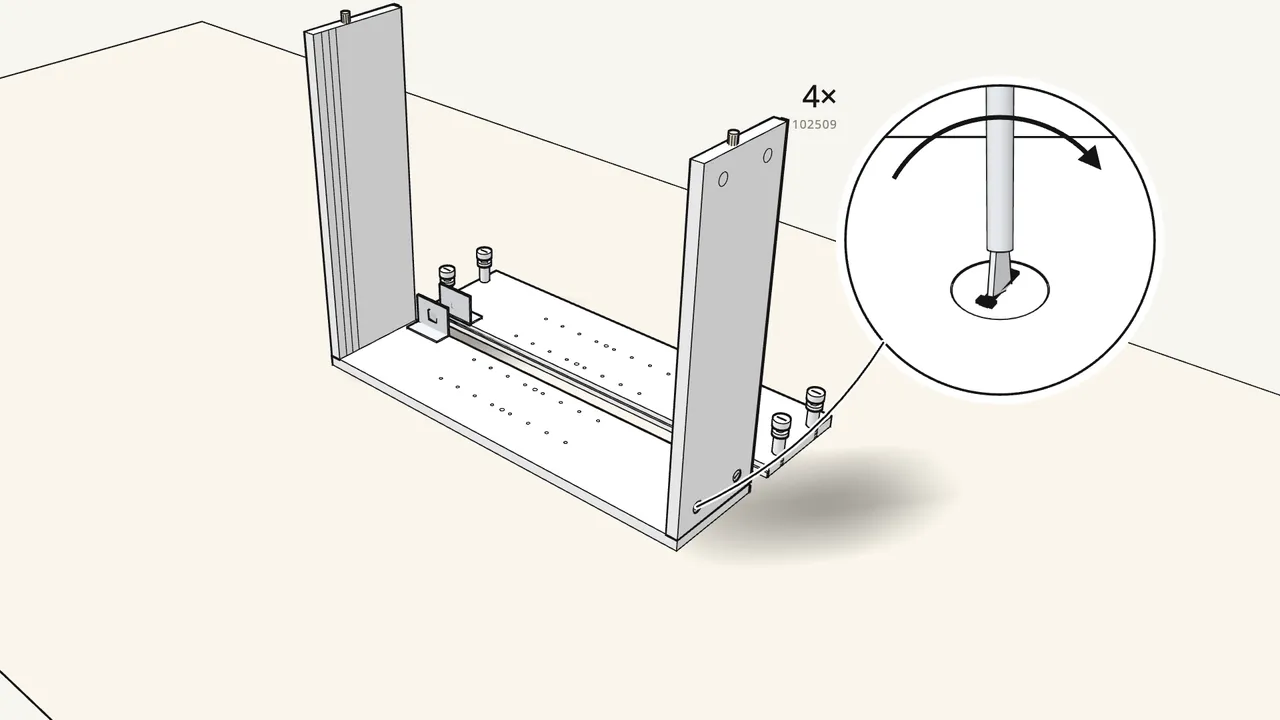
Step 5
Insert 4 cam locks (102509) and turn them clockwise.
Near the left side panel — 2 in the top, 2 in the bottom.
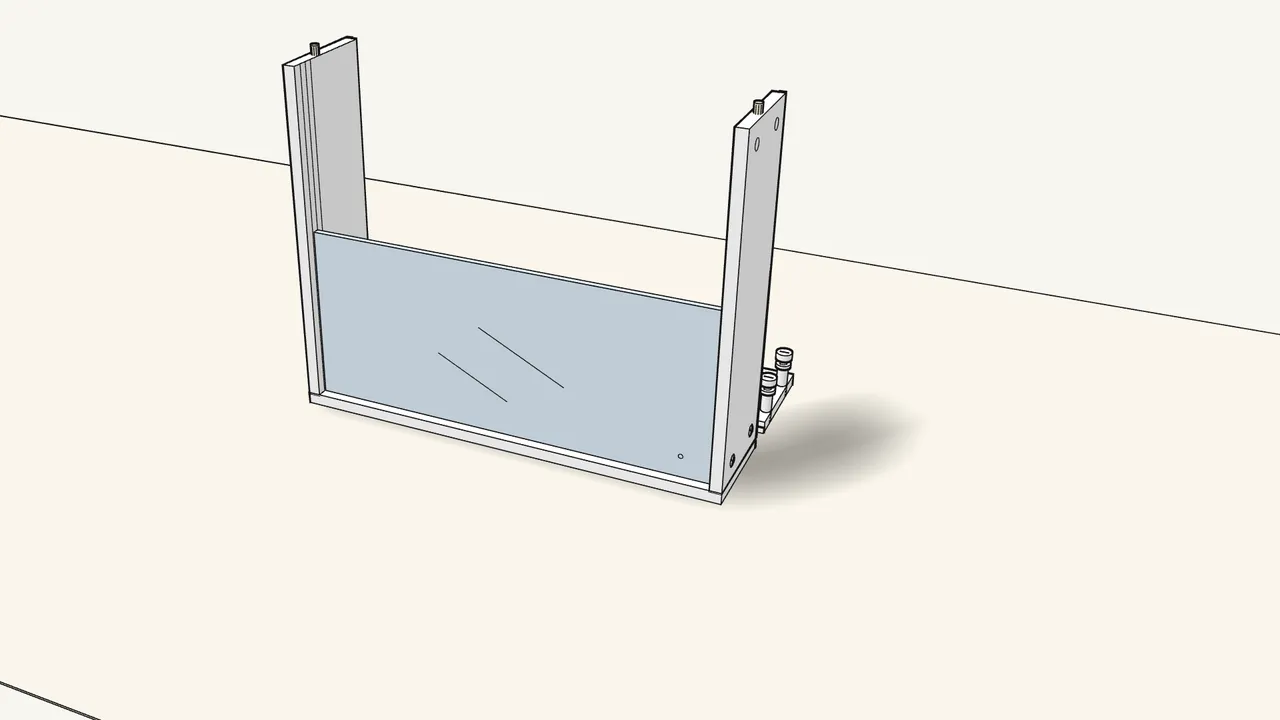
Step 6
Slide the first mirror door down the front grooves.
Knob hole near the bottom panel — see the manual, step 6.
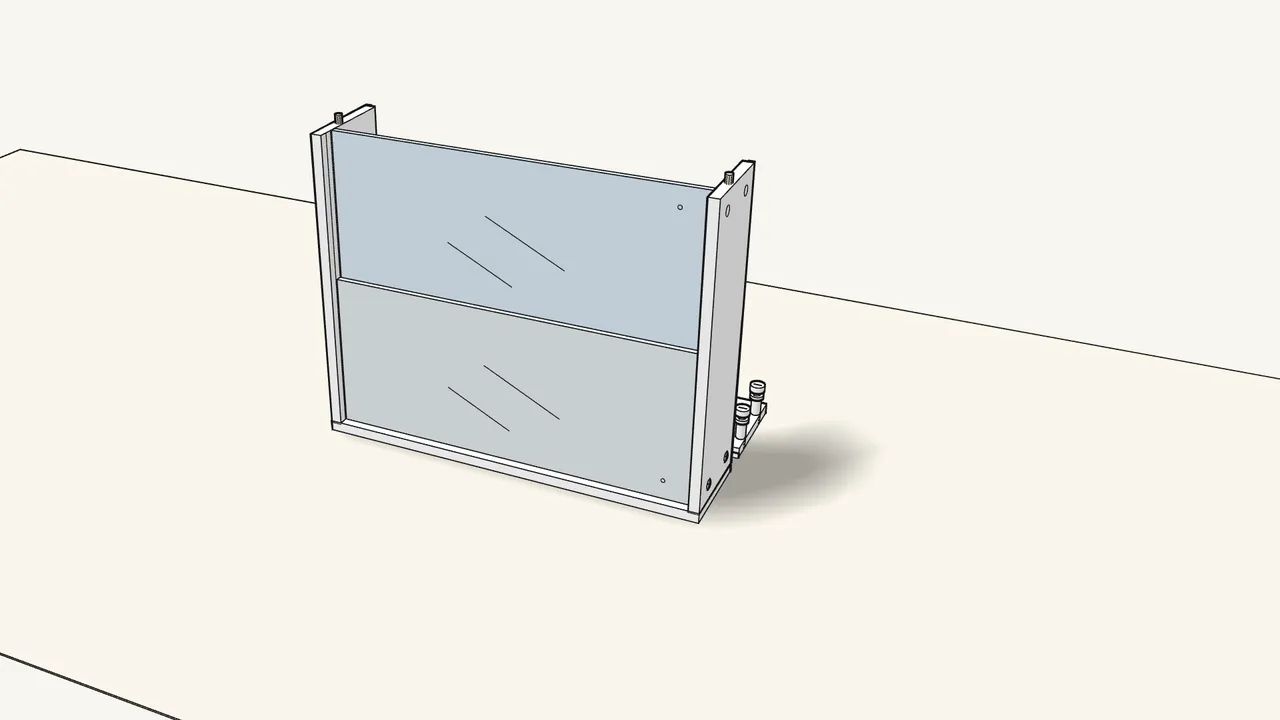
Step 7
Slide the second mirror door down the back grooves.
Knob hole near the bottom panel, at the open end.
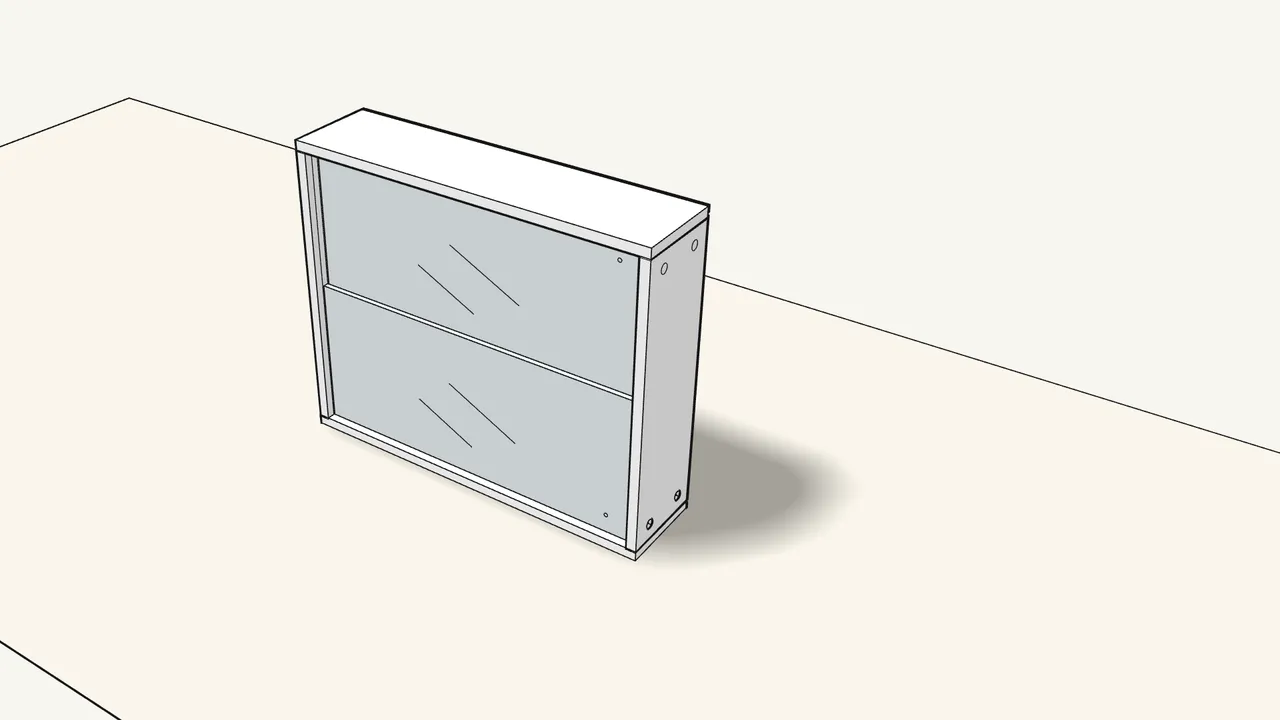
Step 8
Turn the right side panel over and fit it on top.
The cam bolts and dowels go into the holes in the top and bottom.
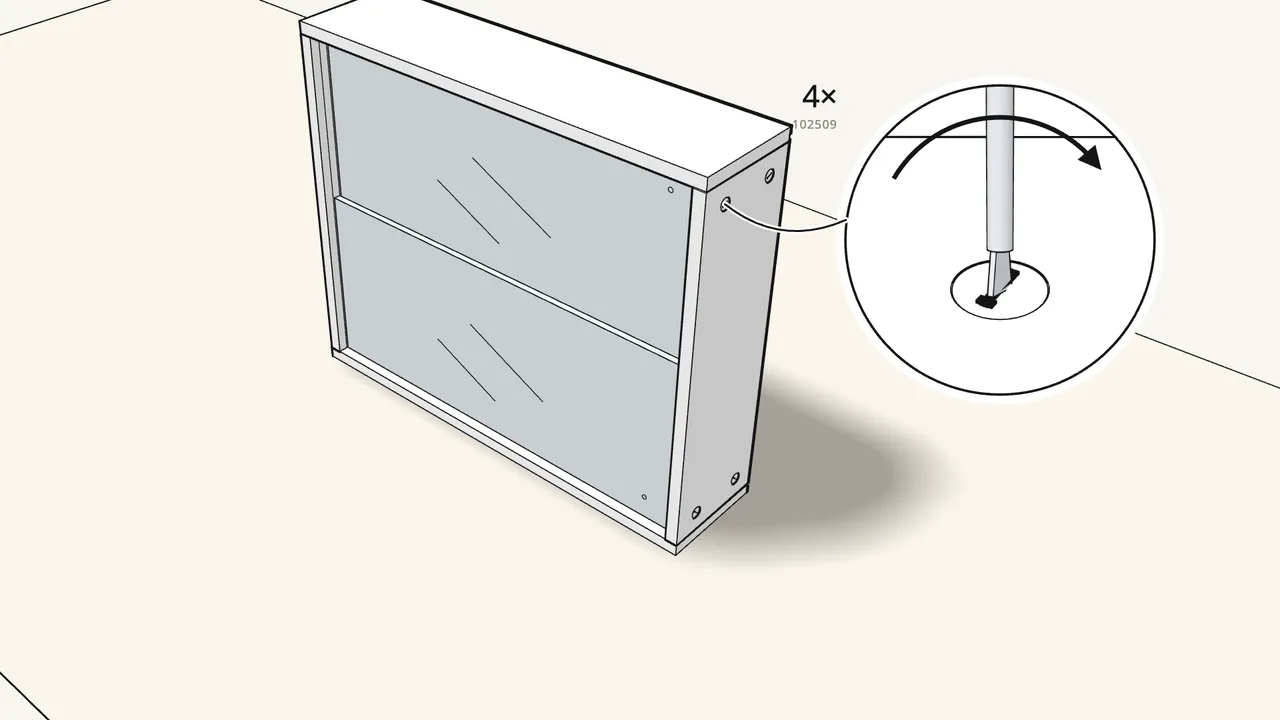
Step 9
Insert 4 more cam locks (102509) and turn them clockwise.
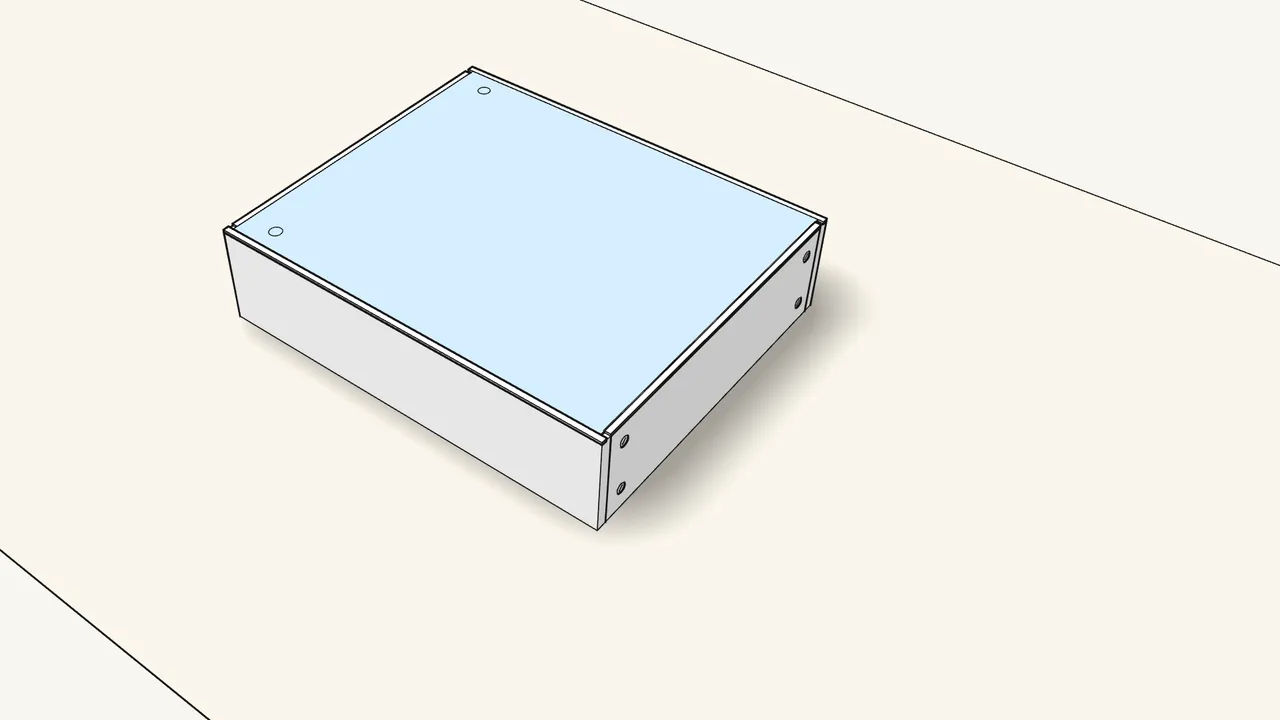
Step 10
Lay the cabinet on its front. Put the back panel in the rabbet.
The 2 holes go over the wall brackets.
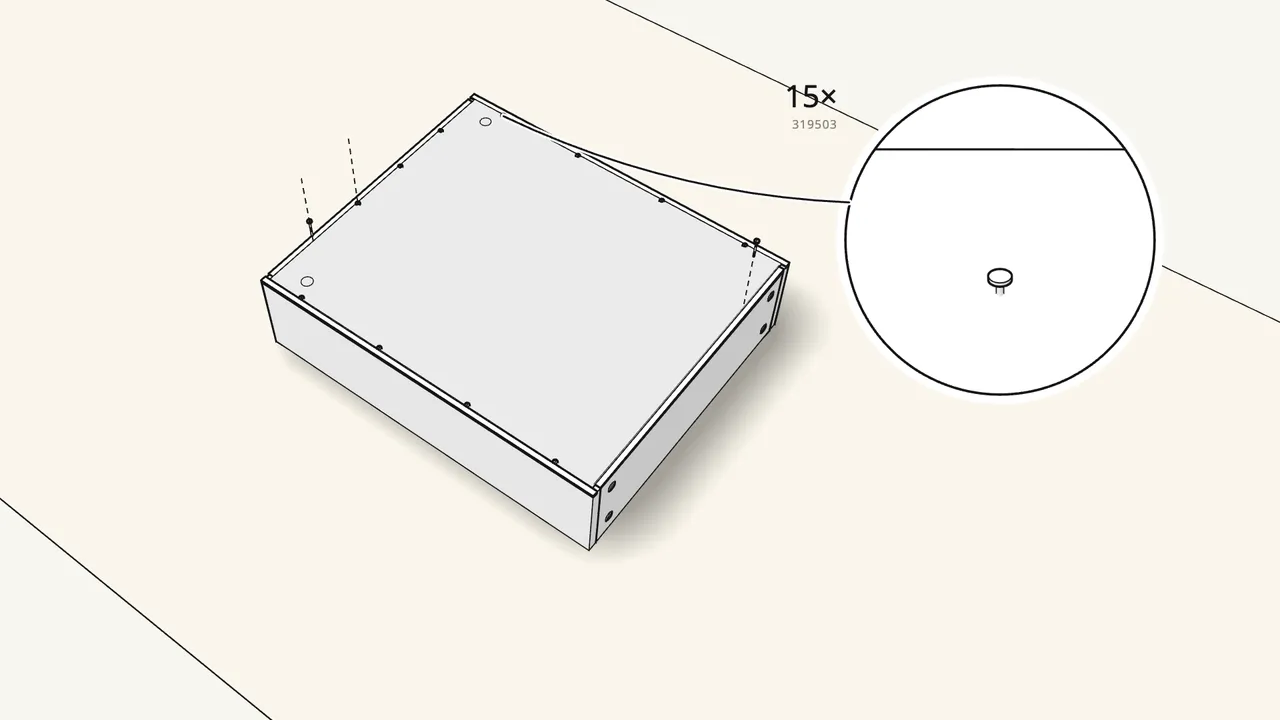
Step 11
Check it is square, then nail on the back panel with 15 nails.
Use the nail holder (105494) to start each nail (319503).
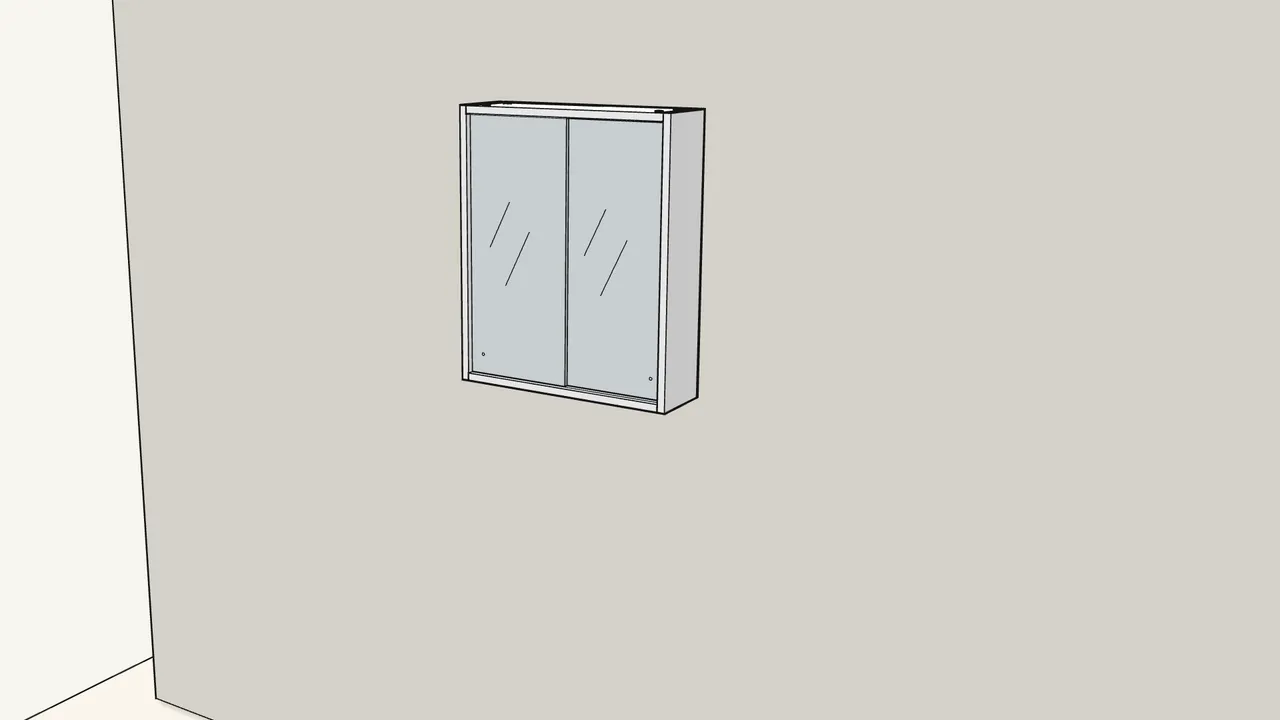
Step 12
Stand the cabinet up and hold it against the wall.
Brackets at the top.
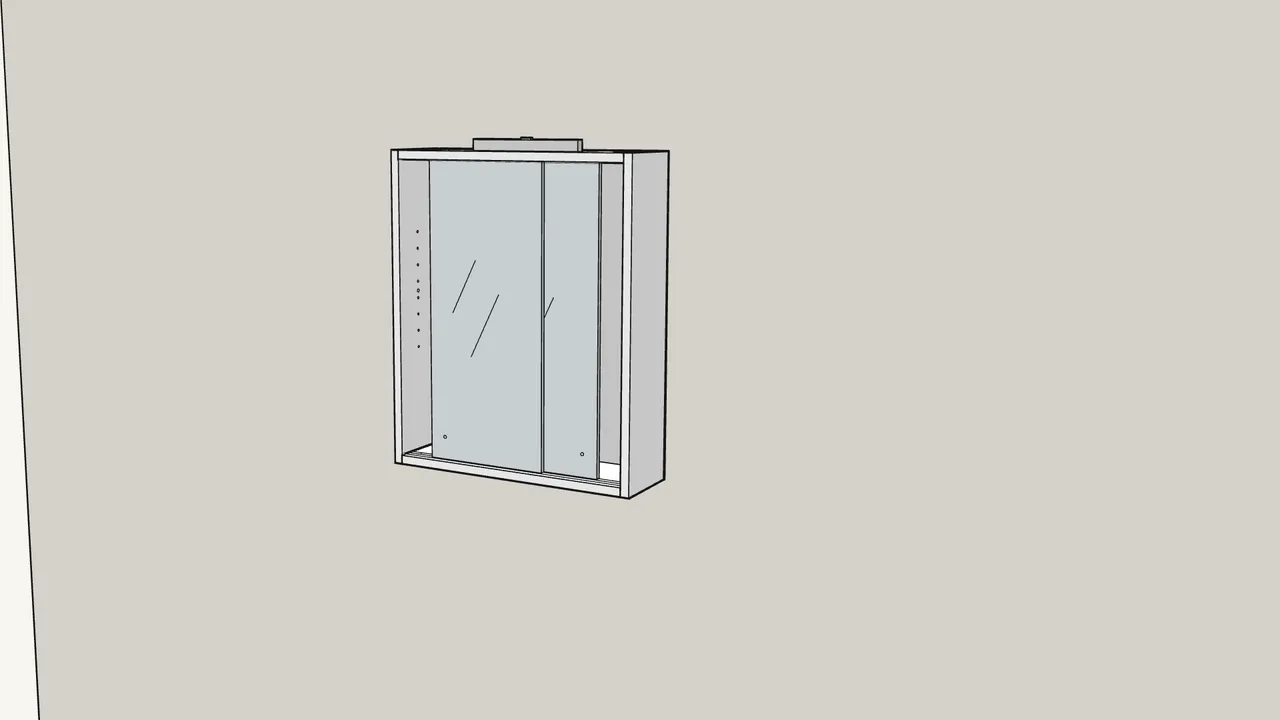
Step 13 · manual step 12
Level it and mark the 2 bracket holes on the wall.
Mark with a pencil through the opening in each bracket.
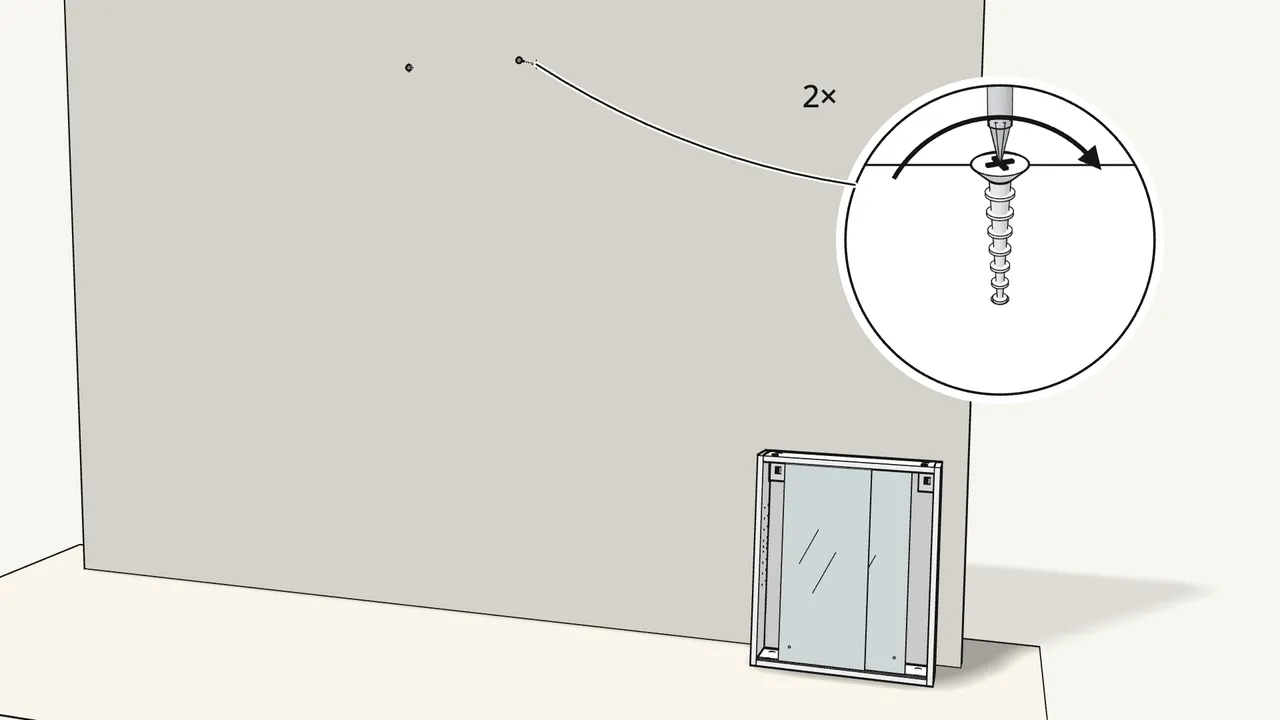
Step 14 · manual step 13
Move it away. Drive 2 screws into the wall at the marks.
Not included — use screws suited to your wall, with a domed head, not countersunk.
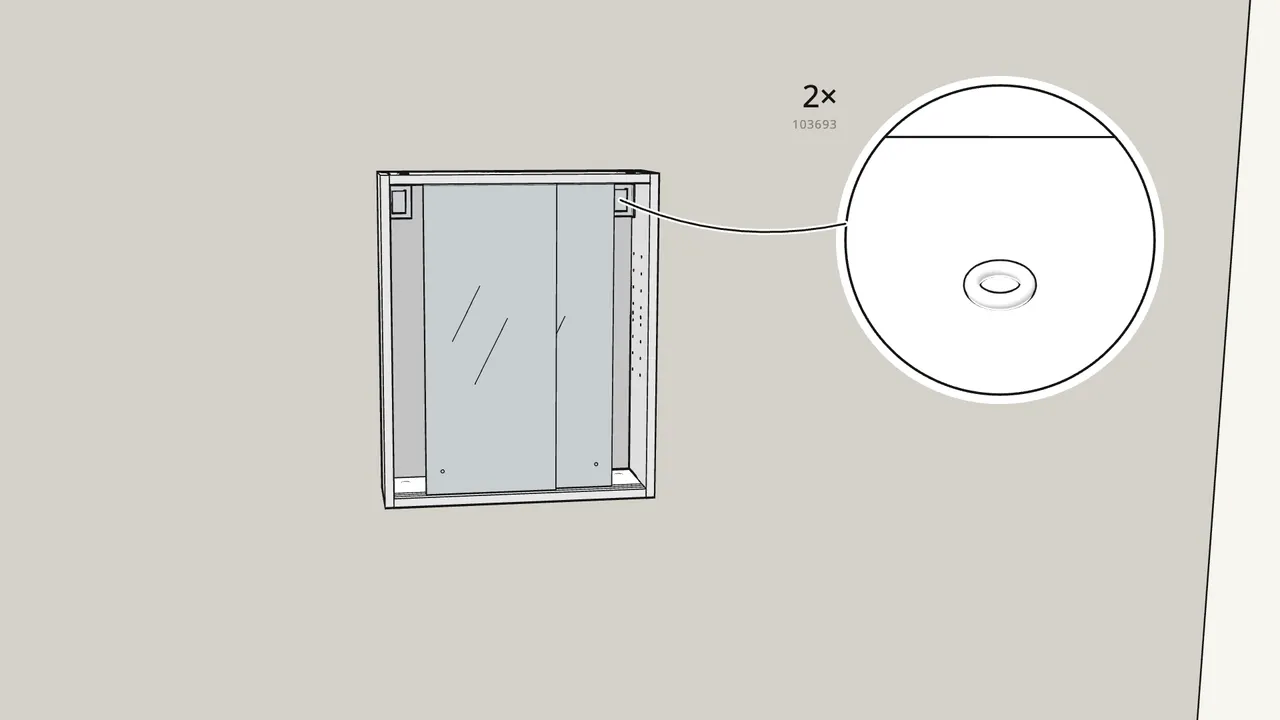
Step 15 · manual step 14
Hang the cabinet and fit the 2 keyhole plates (103693) in the brackets.
The keyholes go over the screw heads. Turn the bracket screws to adjust height and sideways.
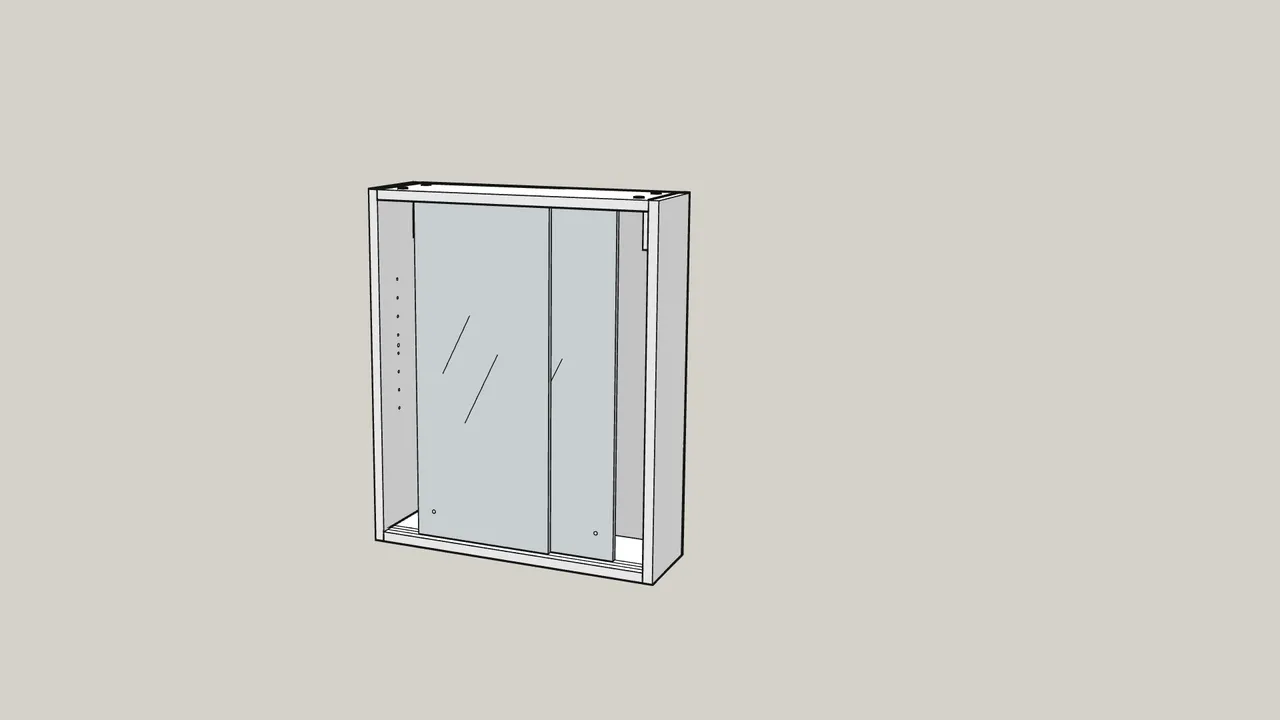
Step 16 · manual step 15
Snap the 2 covers (10043569) over the brackets.
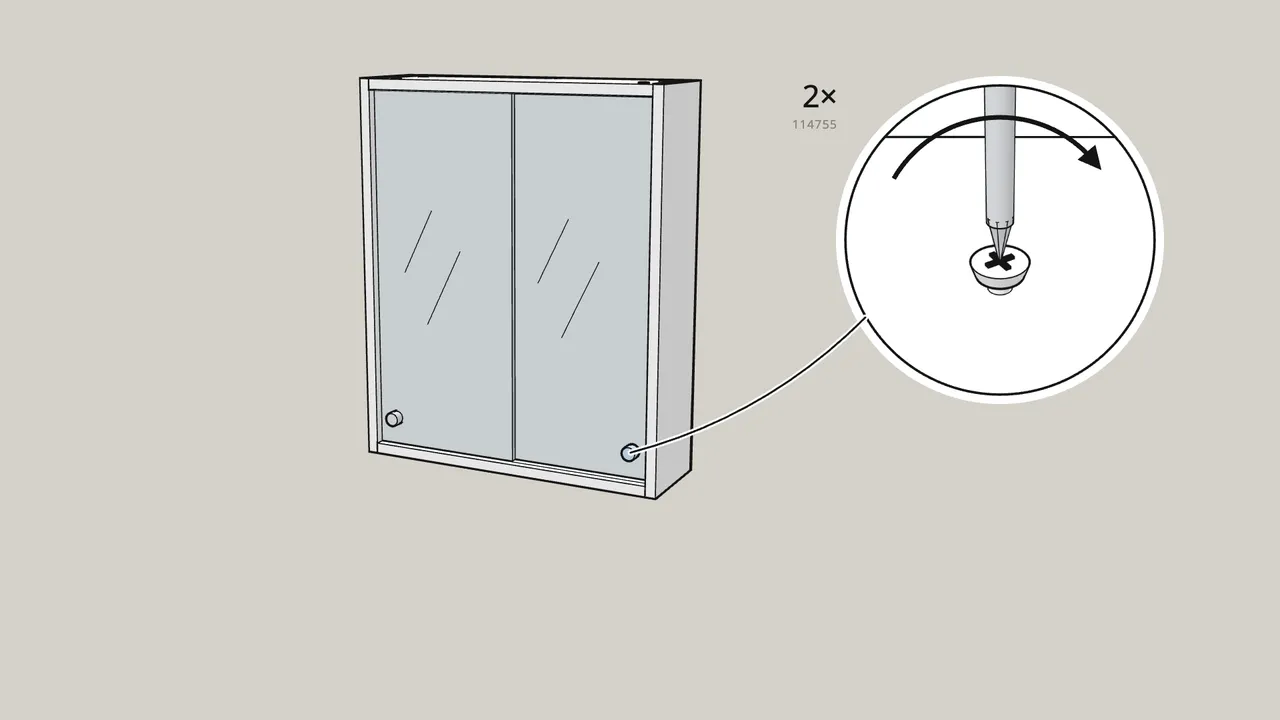
Step 17 · manual step 16
Fit the 2 knobs (106266) with screws (114755) and washers (104704).
With the discs (10082467) as shown — see the manual, step 16.
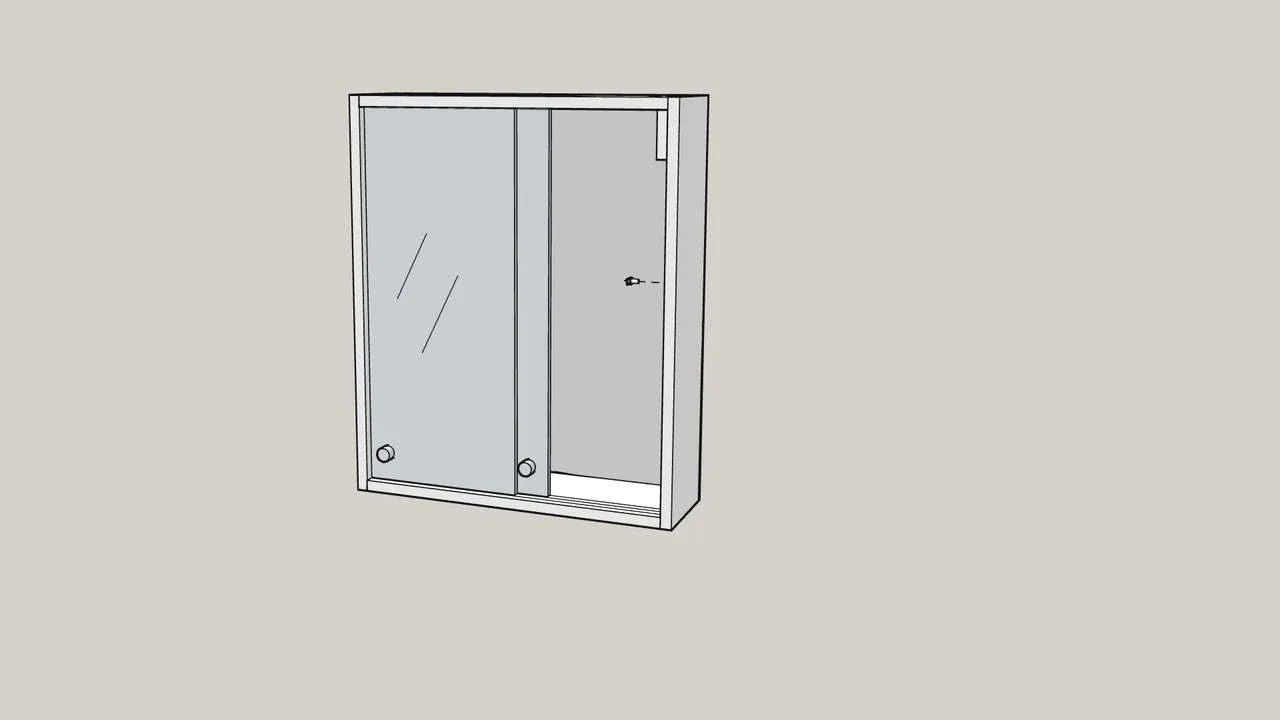
Step 18 · manual step 17
Press the 4 shelf supports (158461) into the side panels.
Slide each door aside to reach the side panel.
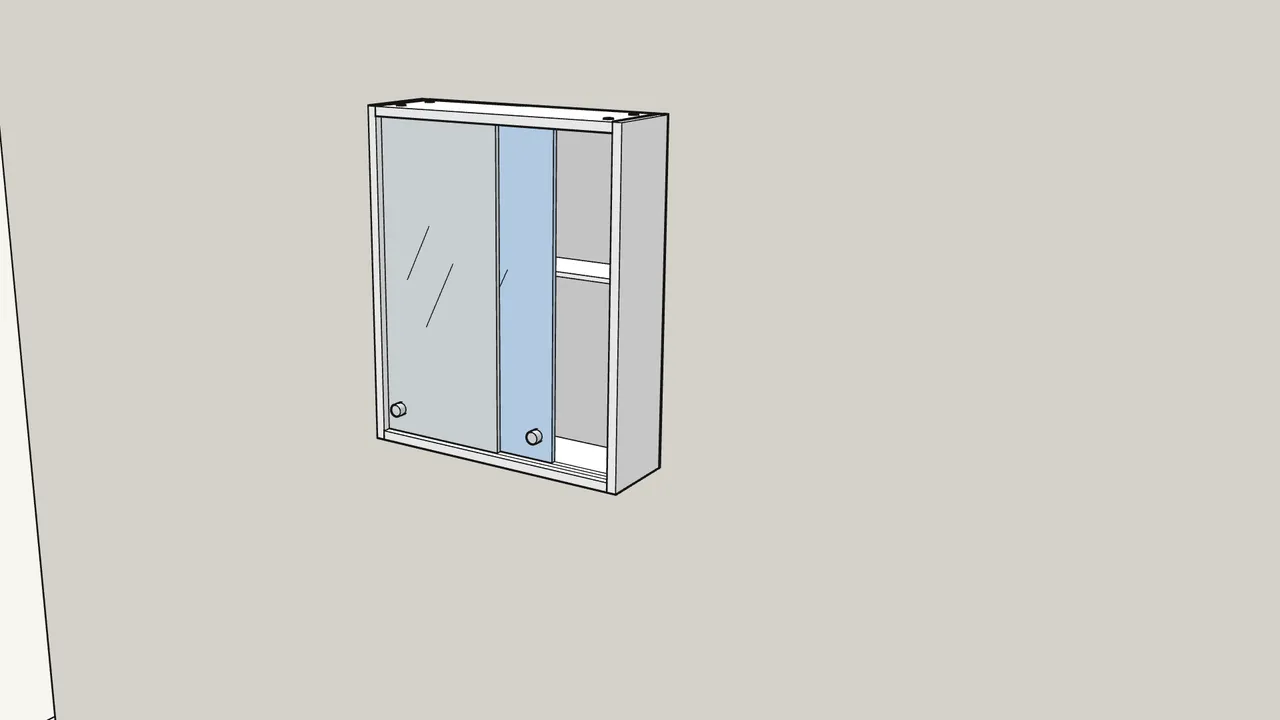
Step 19 · manual step 18
Put in the shelf and lay it on the 4 supports.
Angle it in through the opening, then turn it flat.
Tips & safety
- Always fix the cabinet to the wall. Wall screws and plugs are not included — use ones suited to your wall. If unsure, ask a professional.
- Cabinet not level? Turn the screws in the brackets to move it up/down or sideways — see the manual, step 14.
Official instructions
This guide follows IKEA’s official assembly instructions (AA-2350913-4). Keep the printed manual to hand — if anything differs, the manual is right.



