IKEA · Cabinets & Wardrobes
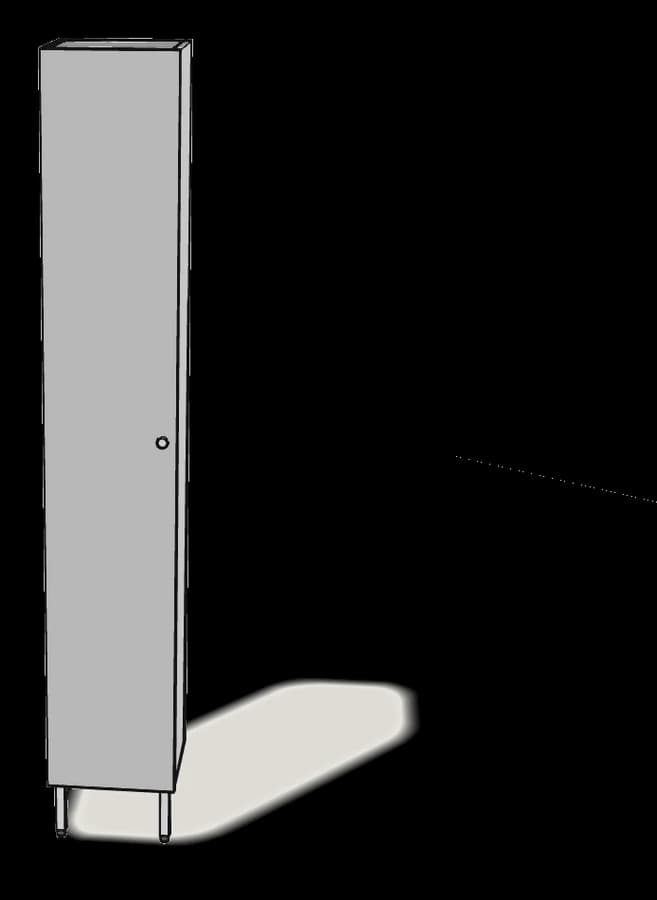
How to assemble IKEA NYSJÖN High Cabinet
Step-by-step IKEA NYSJÖN High Cabinet assembly: 24 illustrated steps, an animated video, the hardware list and the tools you need — following the official instructions (AA-2246305-7).
- 24 illustrated steps
- 26 steps in the manual
- 3:29 video
- 30×30×187 cm
What you need
Tools
- Phillips screwdriver
- Flat-head screwdriver
- Spirit level
- Hammer
- Drill (for wall fixing)
You’ll need: Phillips and flat-head screwdrivers, an awl, a spirit level, a pencil, a hammer, a clamp, a tape measure and a drill with a 5 mm bit.
Hardware in the box
| Part no. (as printed in the manual) | Qty |
|---|---|
| 123492 | 8× |
| 101375 | 8× |
| 119976 | 1× |
| 124431 | 4× |
| 10048881 | 8× |
| 102509 | 8× |
| 10056734 | 2× |
| 10032274 | 4× |
| 153647 | 4× |
| 10043826 | 16× |
| 107091 | 1× |
| 101221 | 30× |
Step-by-step assembly
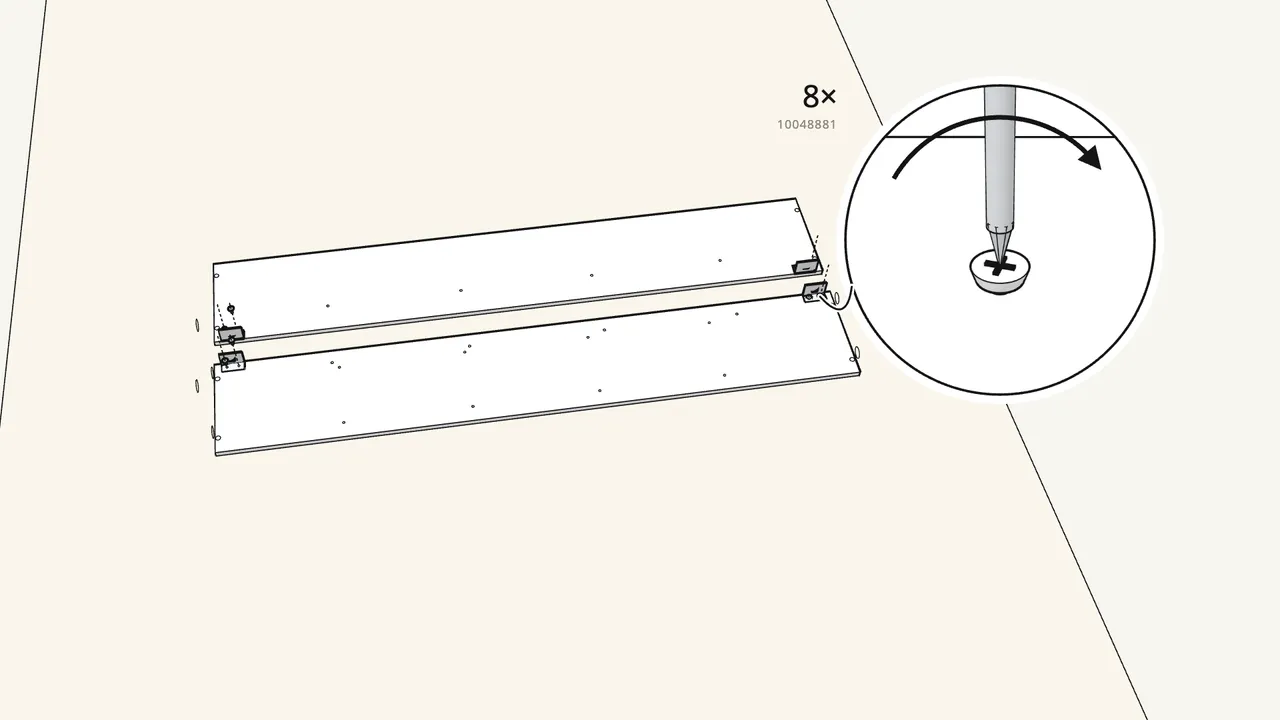
Step 1
Screw the 4 wall brackets (10032274) onto the side panels.
2 screws (10048881) per bracket — one bracket at each end of each panel.
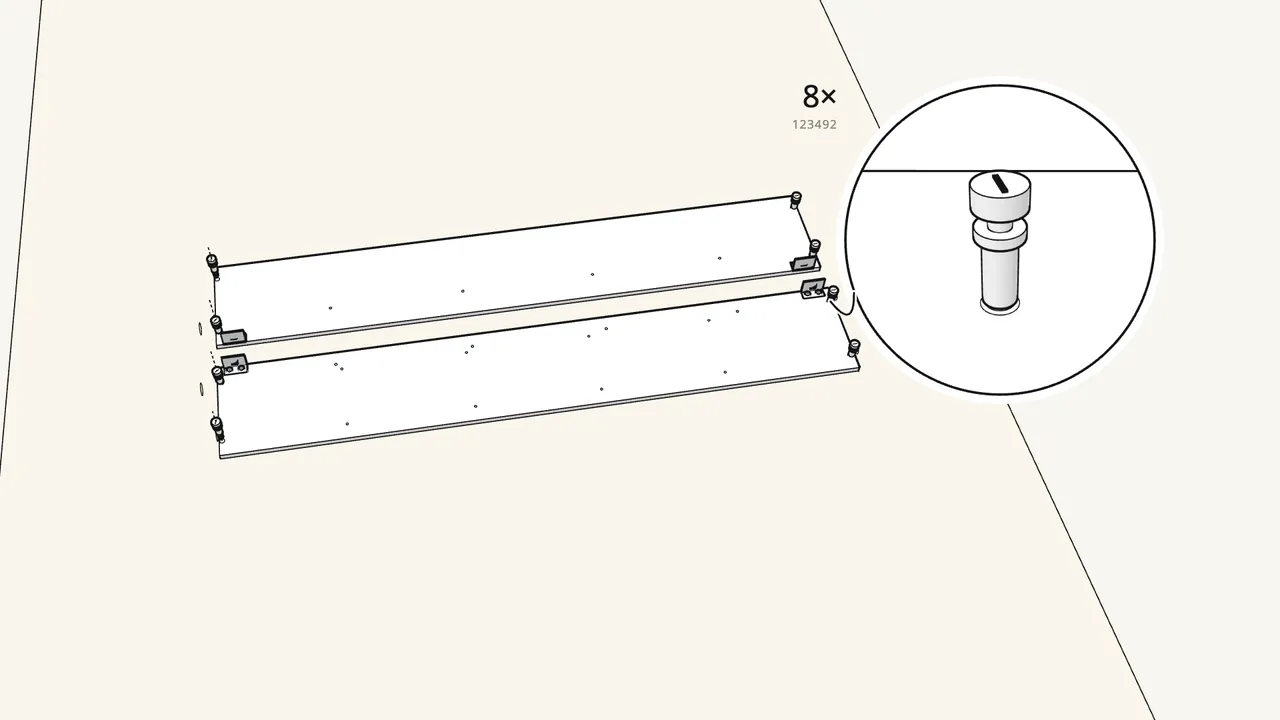
Step 2
Screw 8 cam bolts (123492) into the side panels.
2 at each end of each panel.
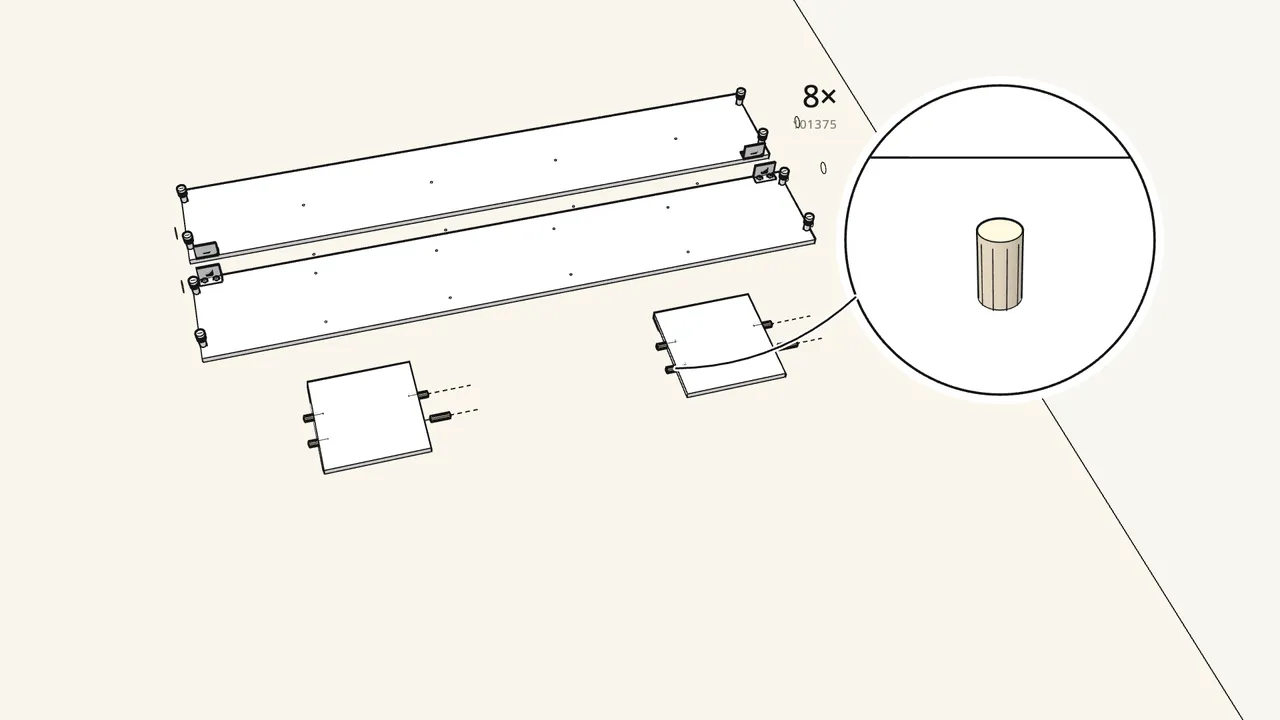
Step 3
Push 8 dowels (101375) into the edges of the 2 short panels.
2 in each long edge.
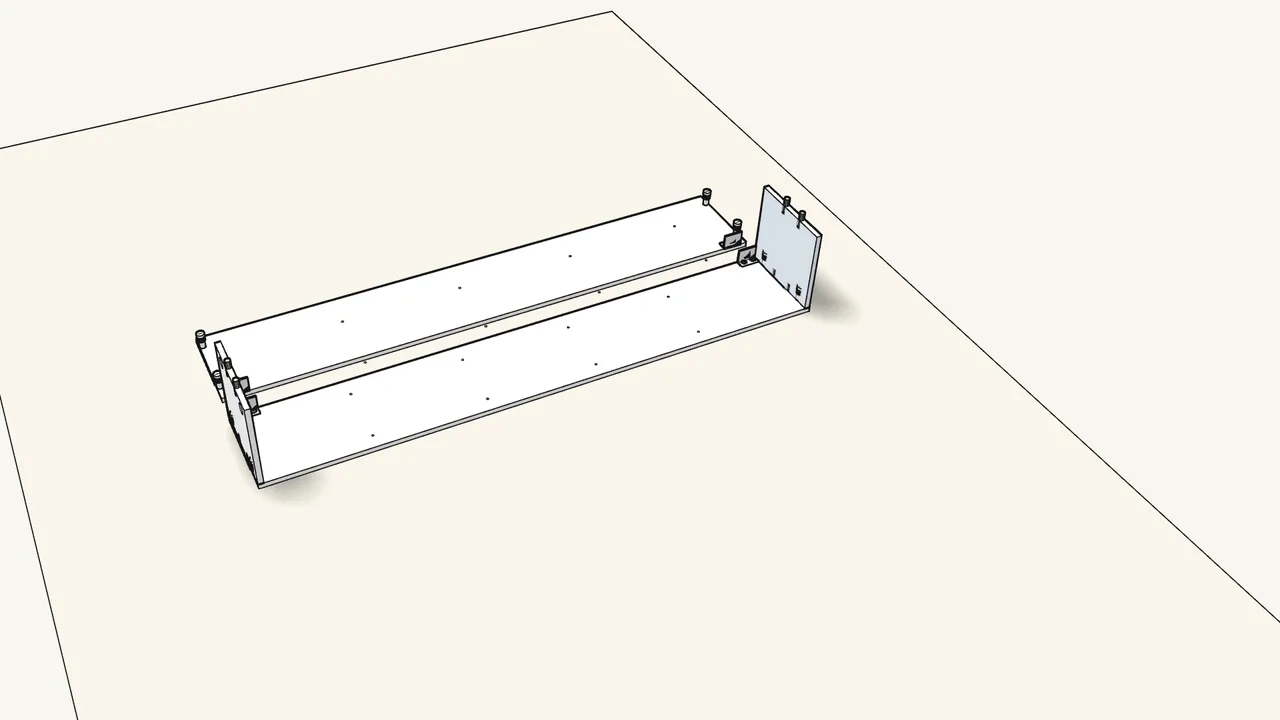
Step 4
Stand the 2 short panels on the ends of the side panel.
The cam bolts and dowels go into the holes.
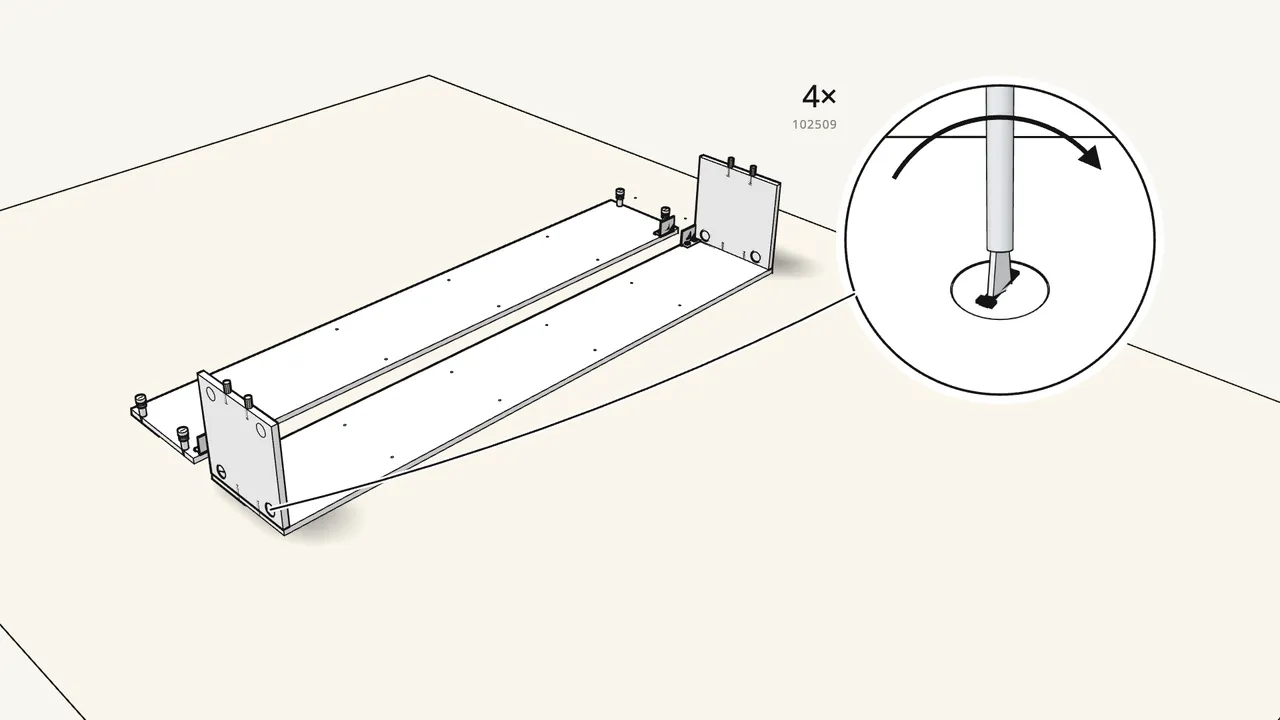
Step 5
Insert 4 cam locks (102509) and turn them clockwise.
Use the flat-head screwdriver.
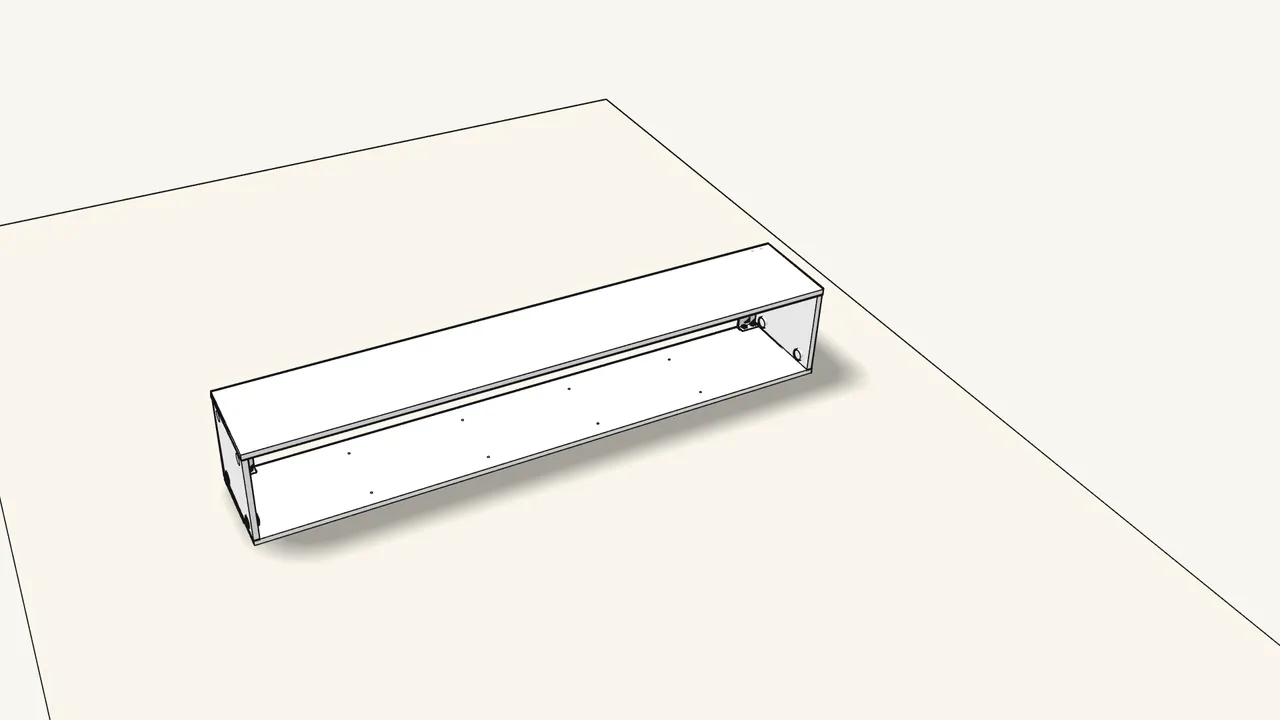
Step 6
Lay the other side panel on top.
Its cam bolts go into the holes in the short panels.
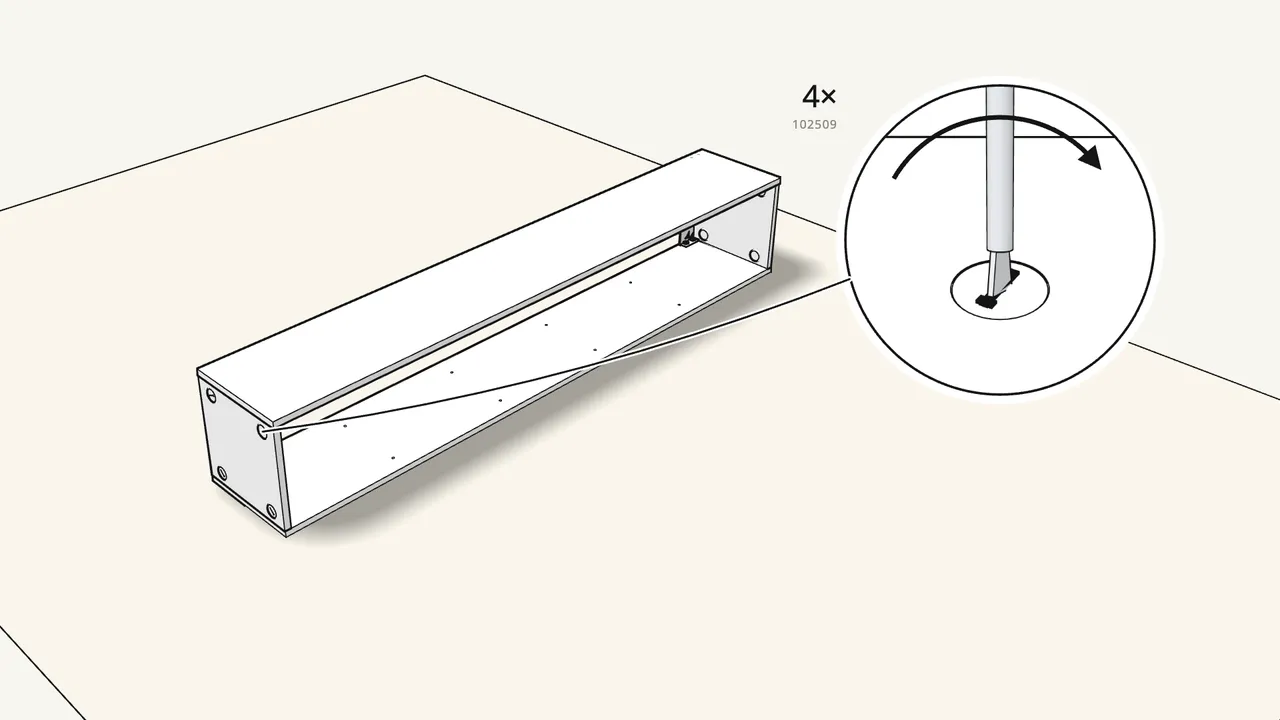
Step 7
Insert 4 more cam locks (102509) and turn them clockwise.
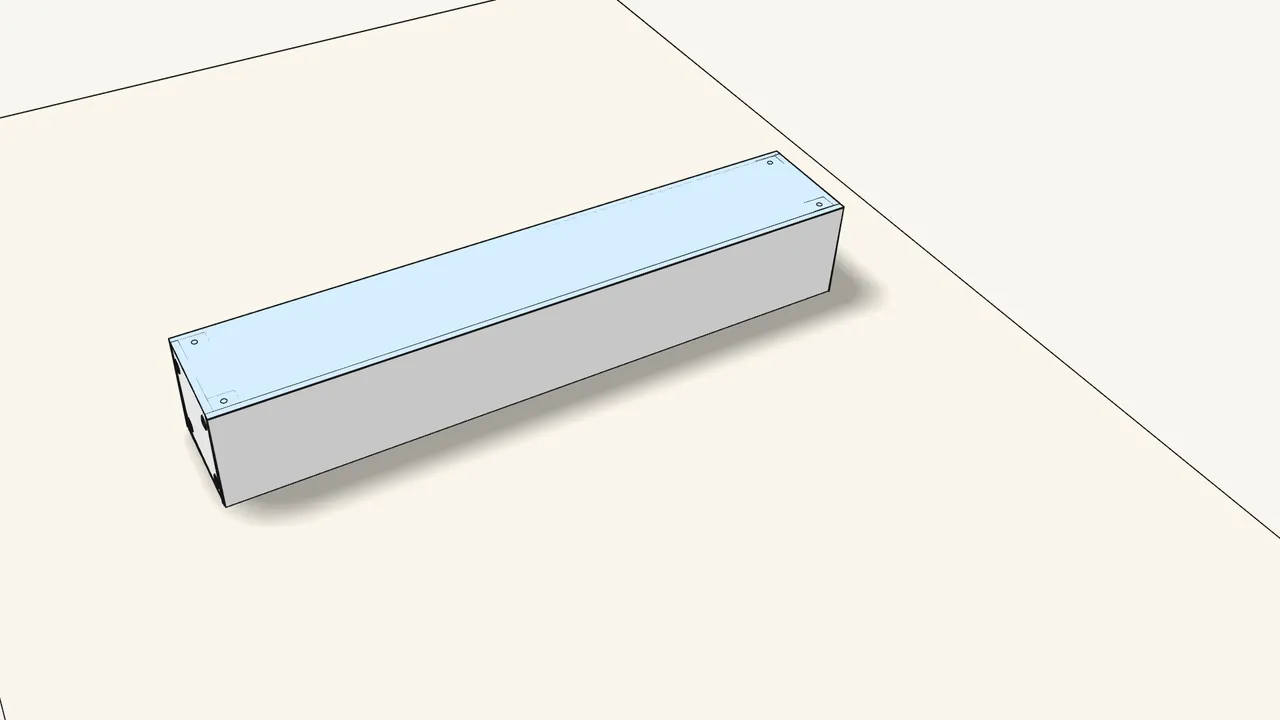
Step 8
Turn the carcass onto its front and lay the back panel on.
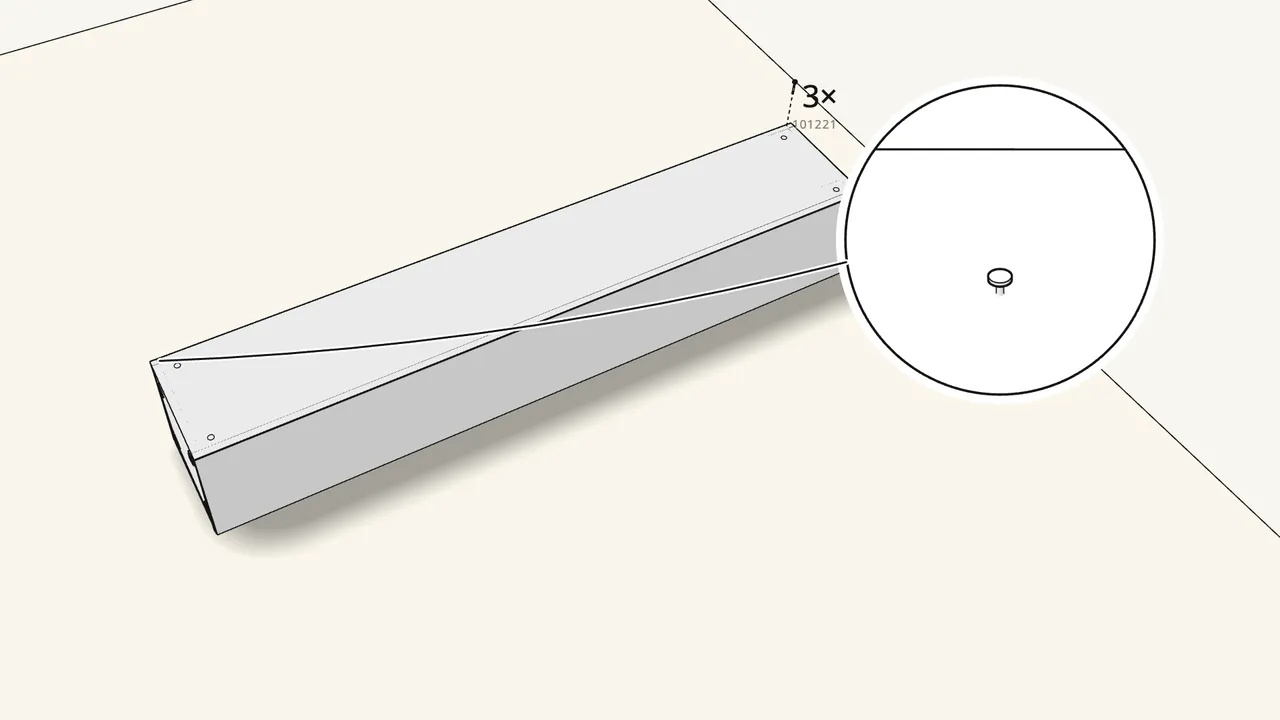
Step 9 · manual step 9–11
Nail 3 corners first, using the nail holder (105494).
Line up each corner of the back panel with the carcass before you nail it.
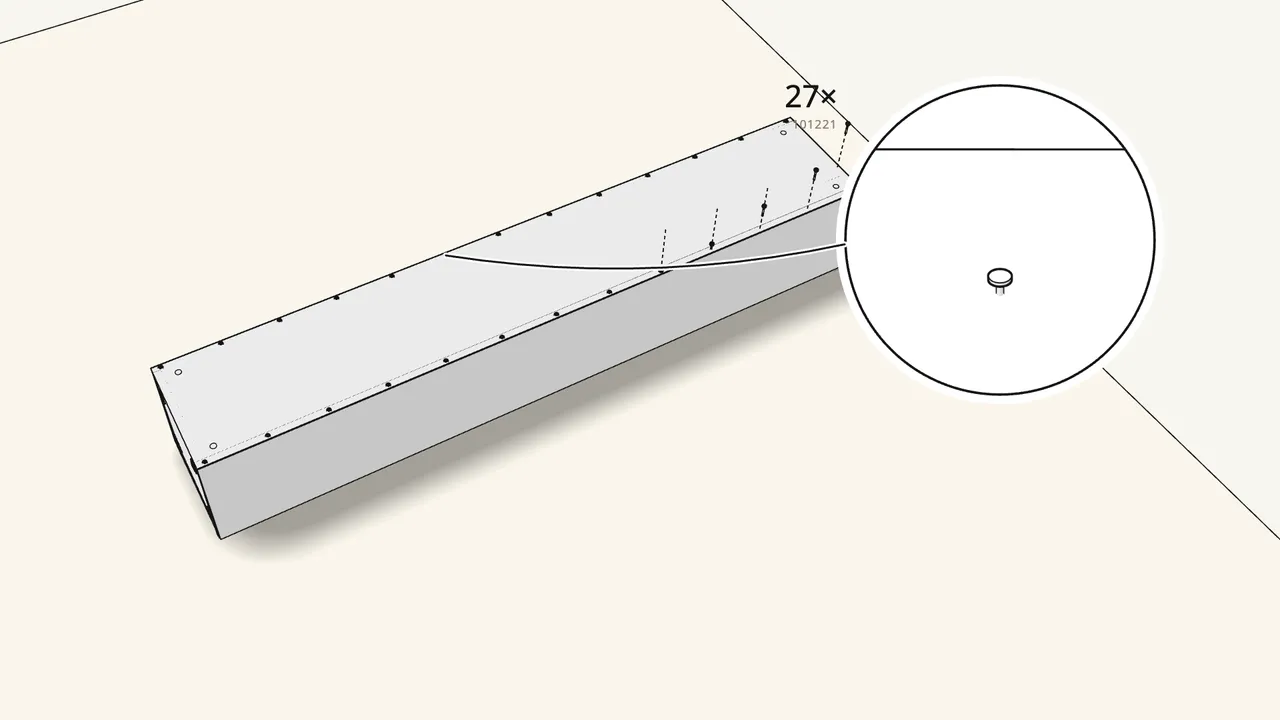
Step 10 · manual step 12
Hammer in the other 27 nails all around the edge.
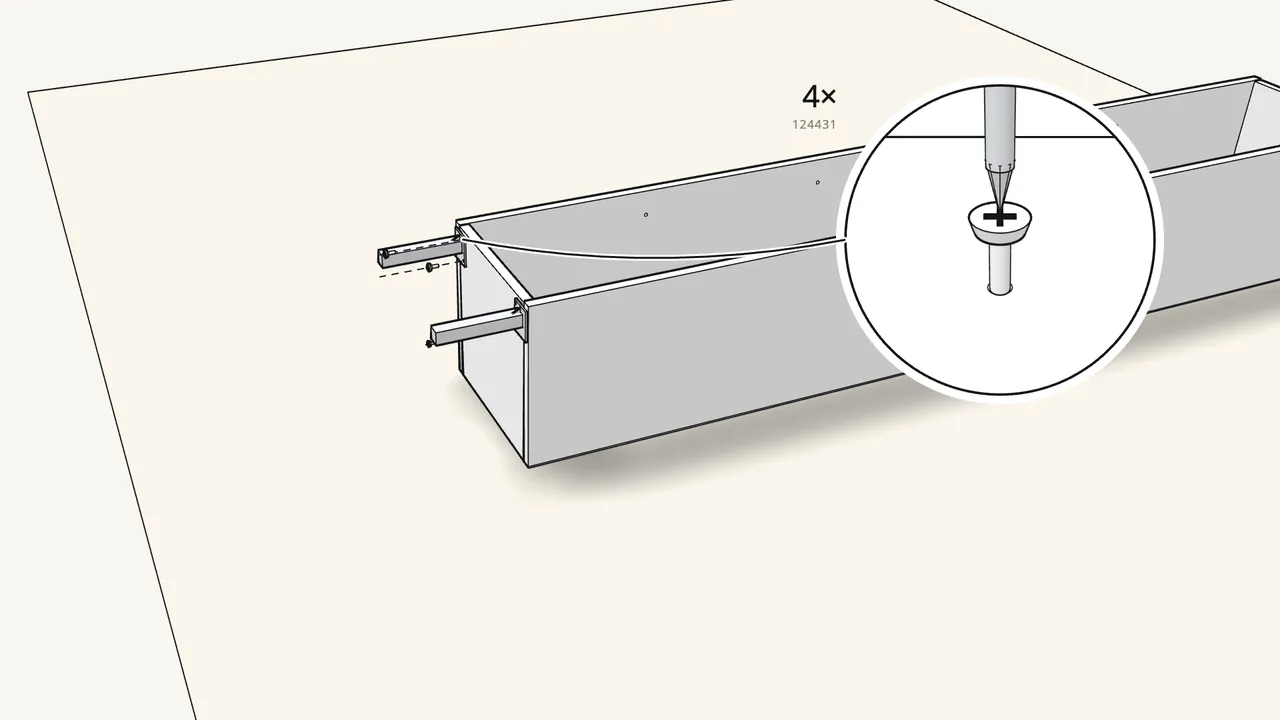
Step 11 · manual step 13
Turn it onto its back. Screw on the 2 legs (10059781).
2 screws (124431) per leg, at the front corners of the bottom.
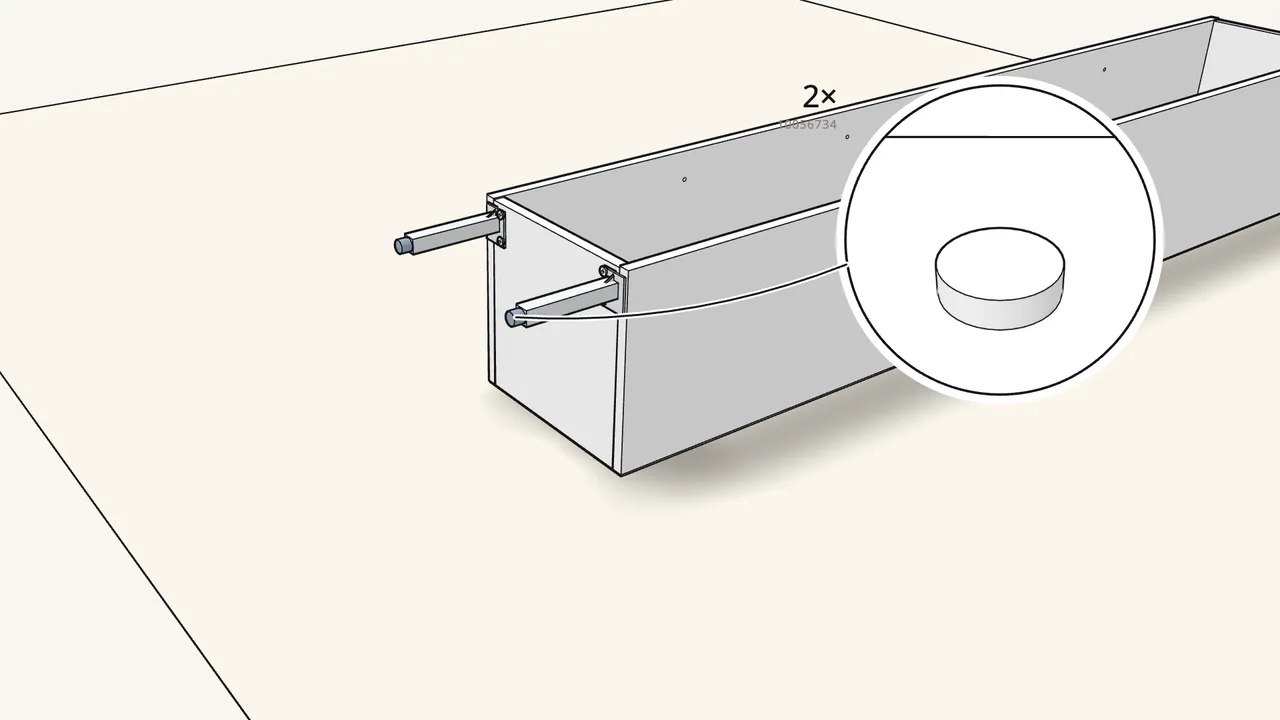
Step 12 · manual step 14
Screw the 2 adjustable feet (10056734) into the legs.
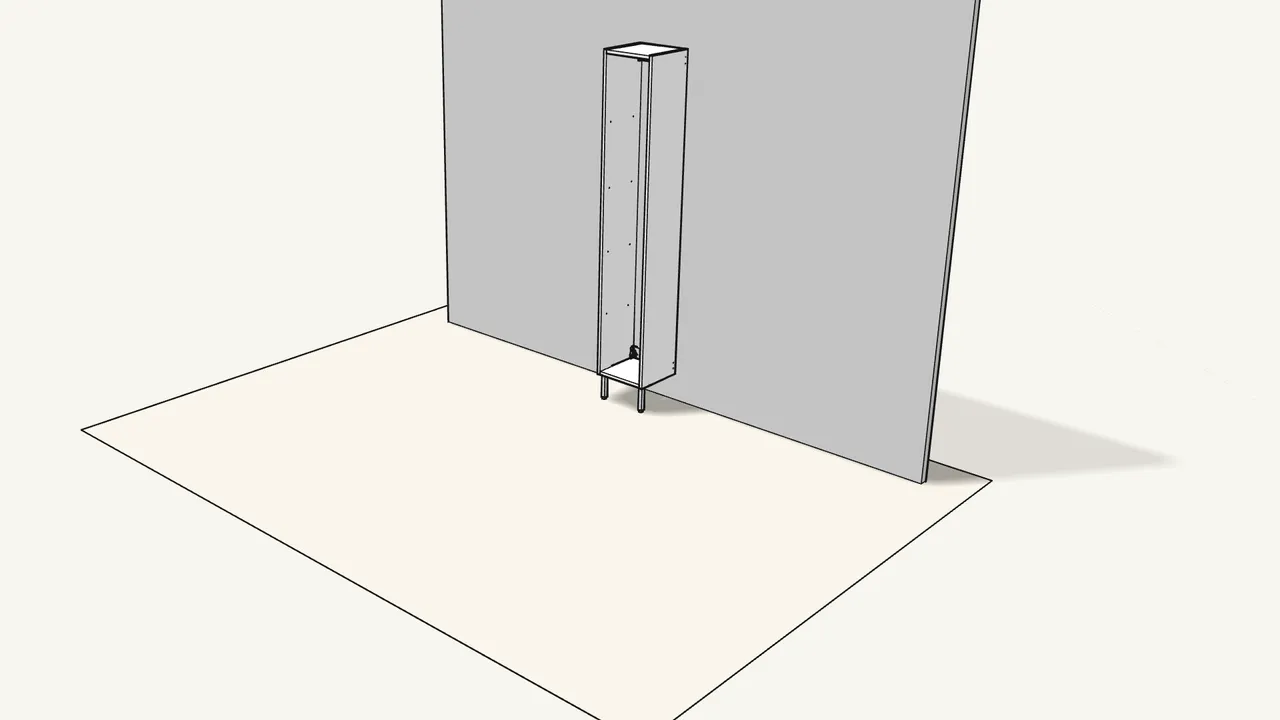
Step 13 · manual step 15
Stand the cabinet up against the wall. Level it with the feet.
Turn the feet to adjust the height until the cabinet is level.
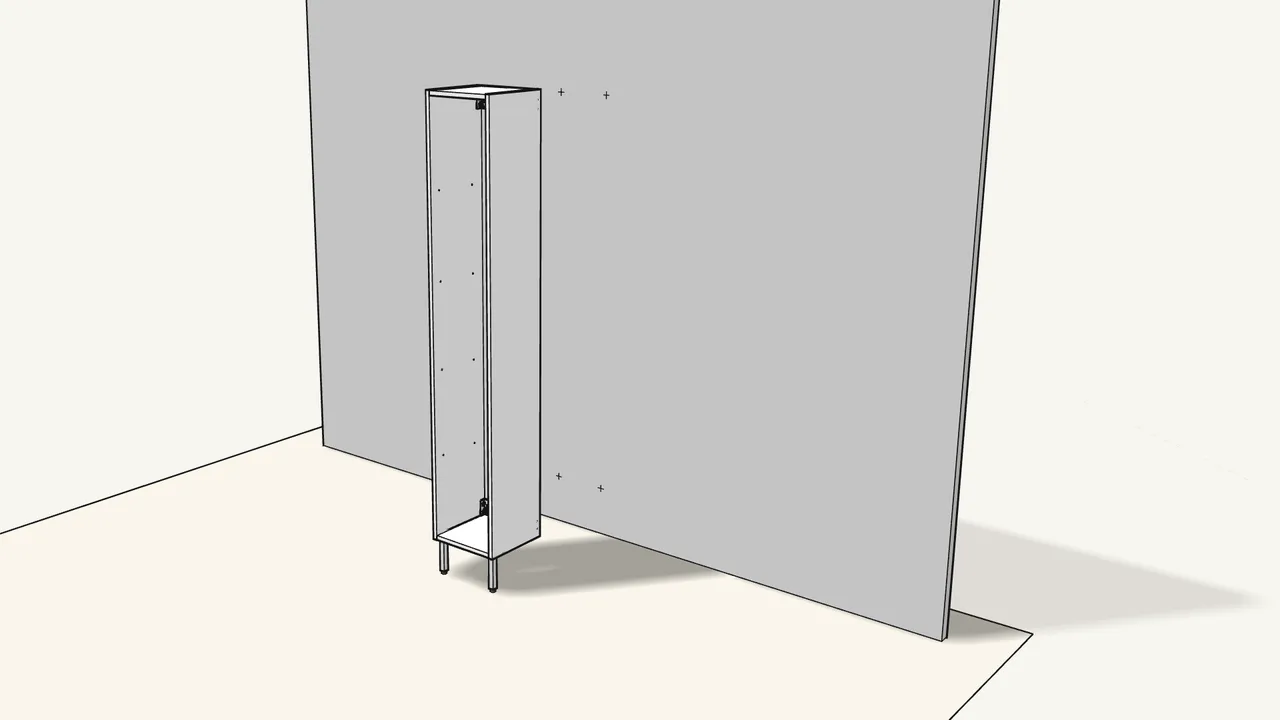
Step 14 · manual step 16
Mark the 4 bracket holes on the wall, then move the cabinet away.
Mark with a pencil through the square opening in each bracket.
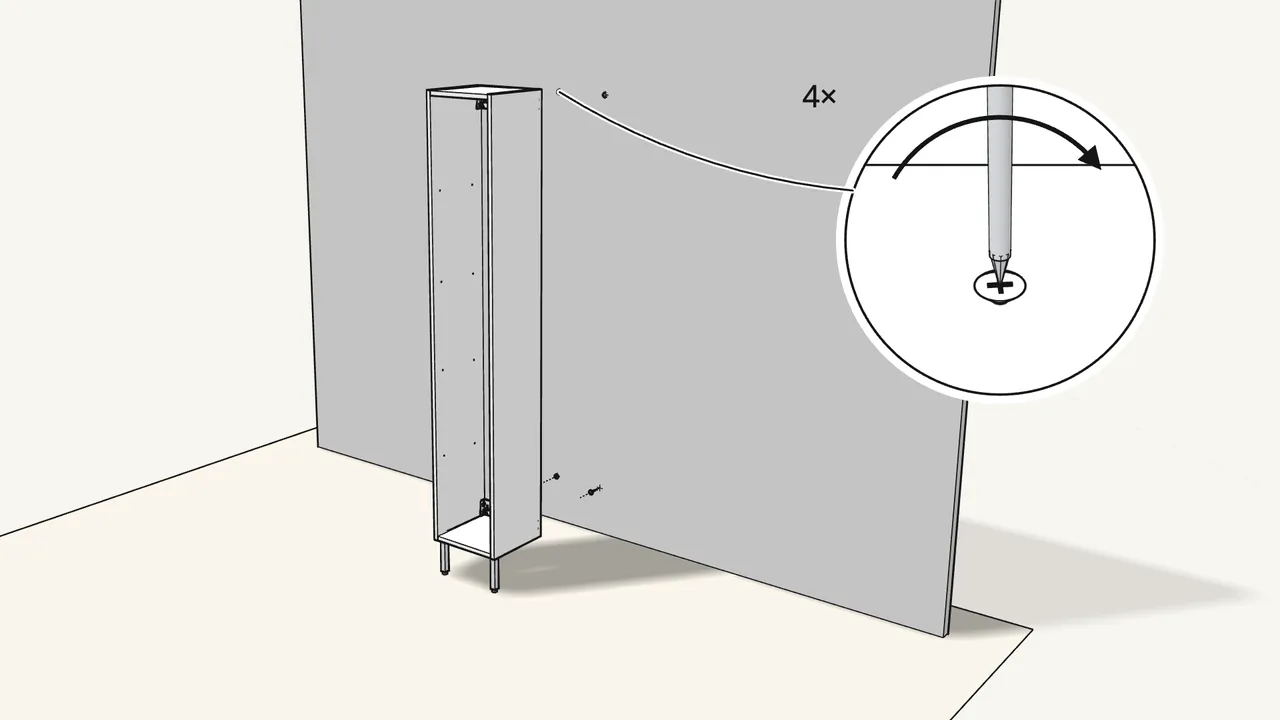
Step 15 · manual step 17
Drive 4 screws into the wall at the marks.
Not included — use pan-head screws suited to your wall; leave the heads sticking out.
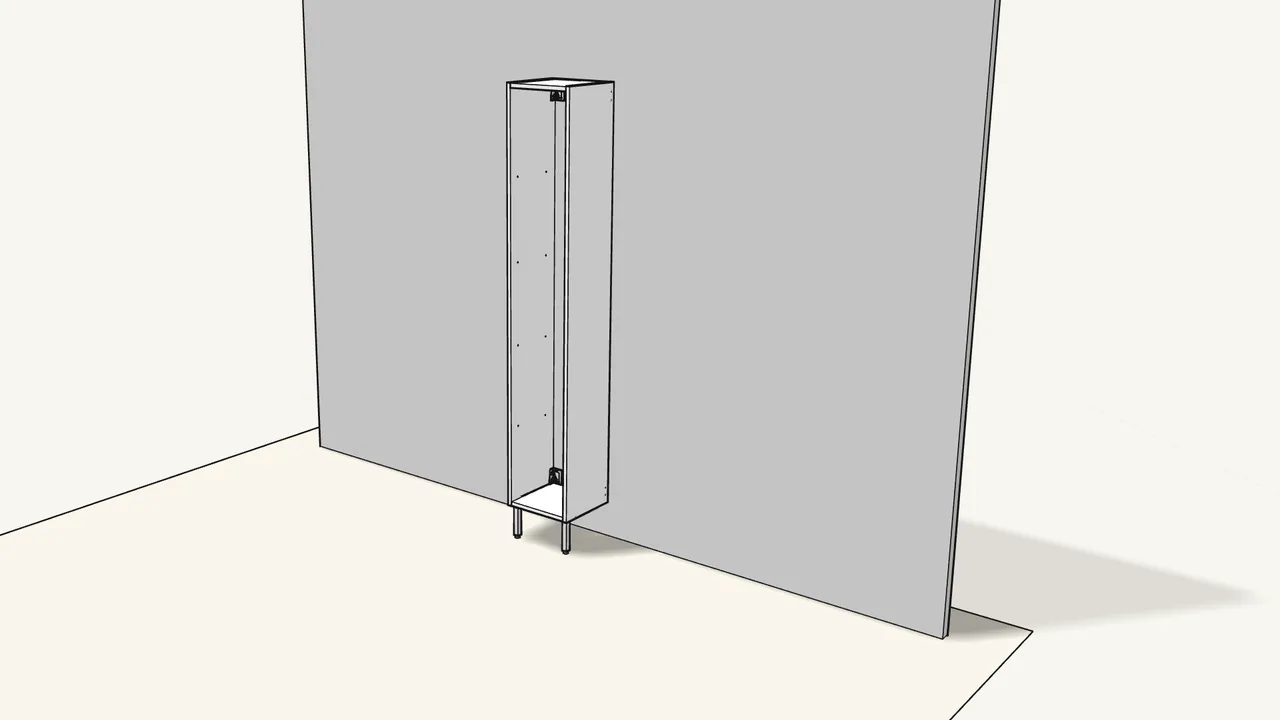
Step 16 · manual step 18
Clip the 4 plates (153647) onto the brackets and hang the cabinet.
The screw heads go through the keyholes. Adjust the brackets, then tighten.
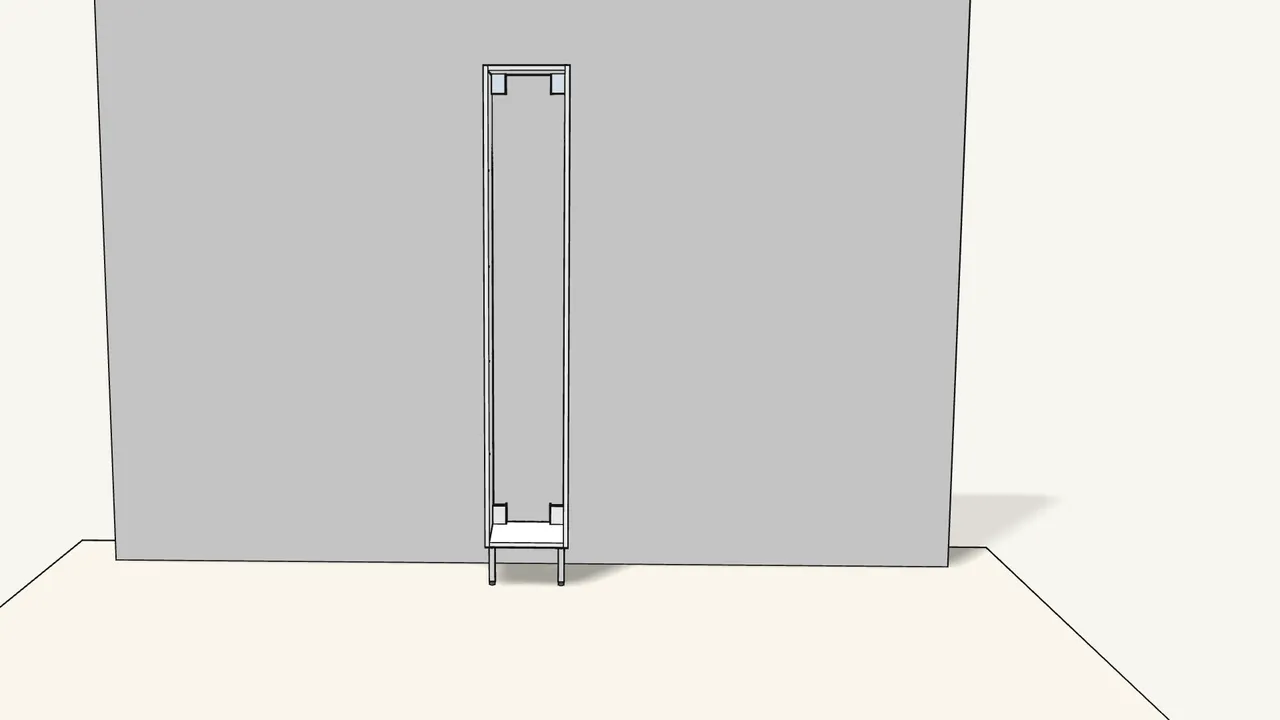
Step 17 · manual step 19
Snap the 4 covers (10043569) over the brackets.
2 at the bottom and 2 at the top.
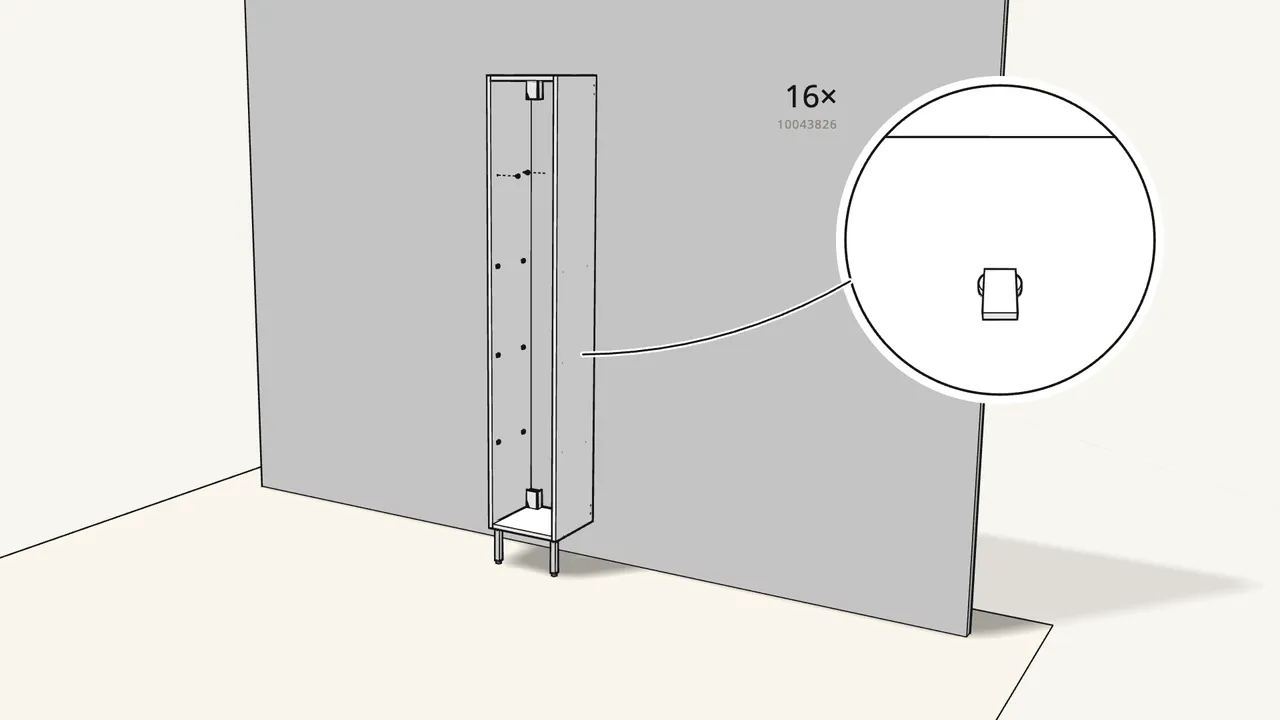
Step 18 · manual step 20
Press 16 shelf supports (10043826) into the side panels.
4 for each shelf — height: see the manual, step 21.
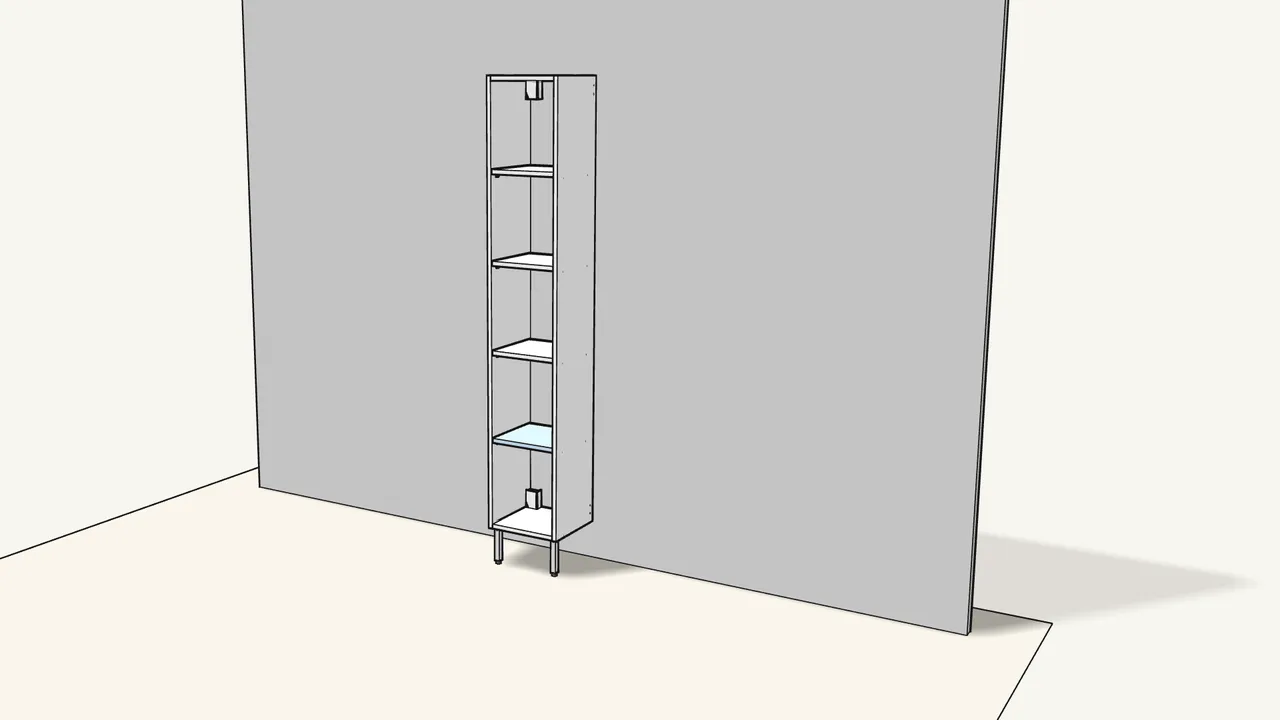
Step 19 · manual step 21
Lay the 4 shelves onto the supports.
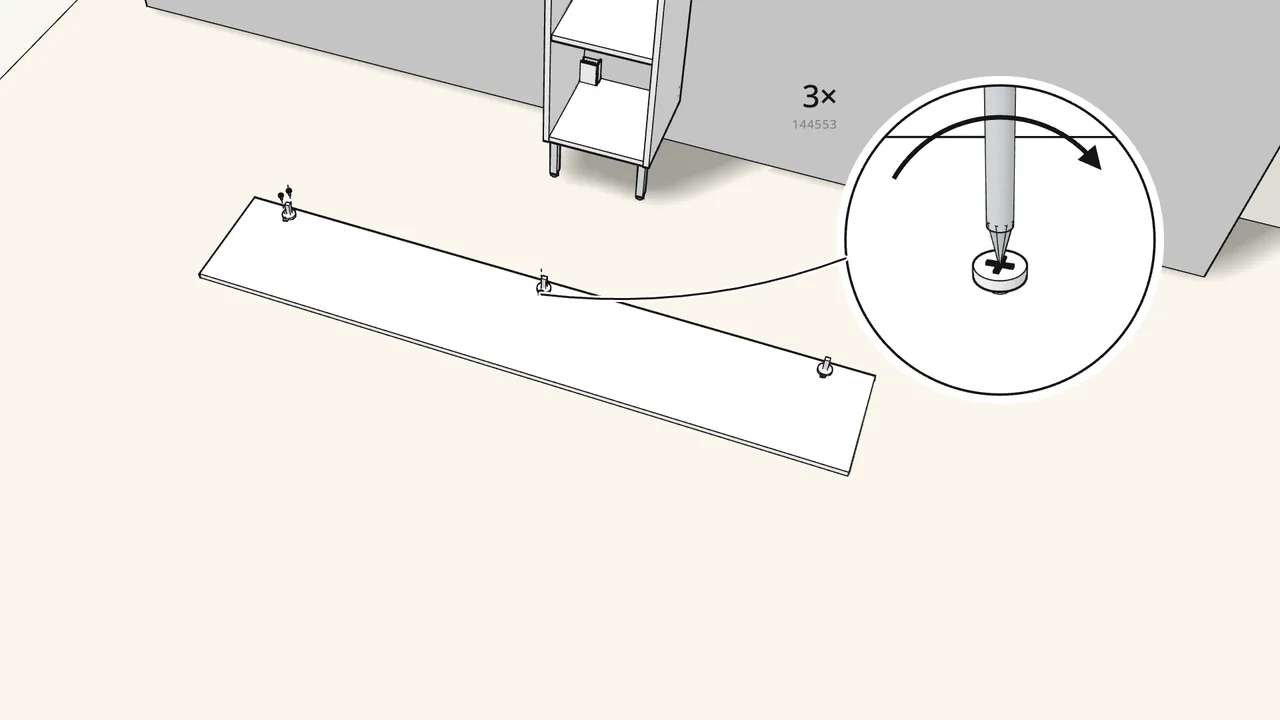
Step 20 · manual step 22
Screw the 3 hinges (144553) onto the back of the door.
Lay the door face-down on the rug.
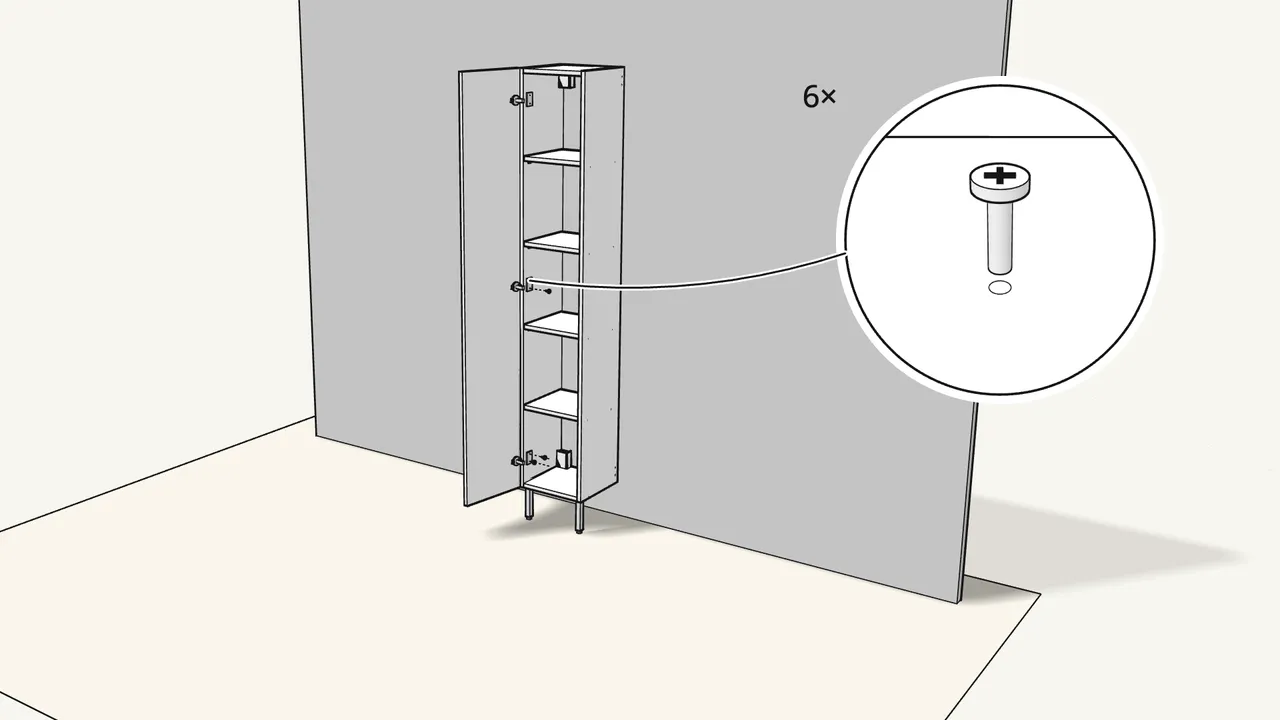
Step 21 · manual step 23
Hang the door on the left side panel and tighten the hinge screws.
The door can also hang on the right — see the manual before step 23.
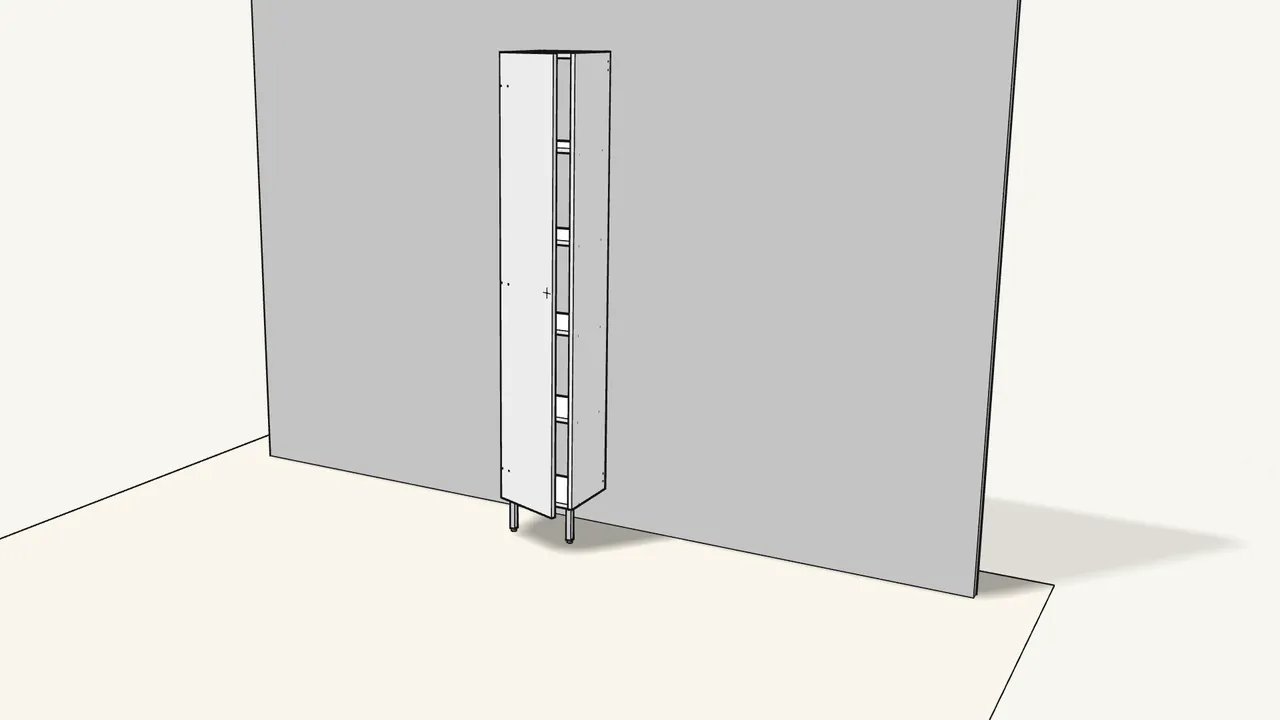
Step 22 · manual step 24
Mark the knob hole 30 mm from the edge and drill it (ø 5 mm).
At the height of the middle hinge. Hold a piece of wood behind the door so it doesn’t splinter.
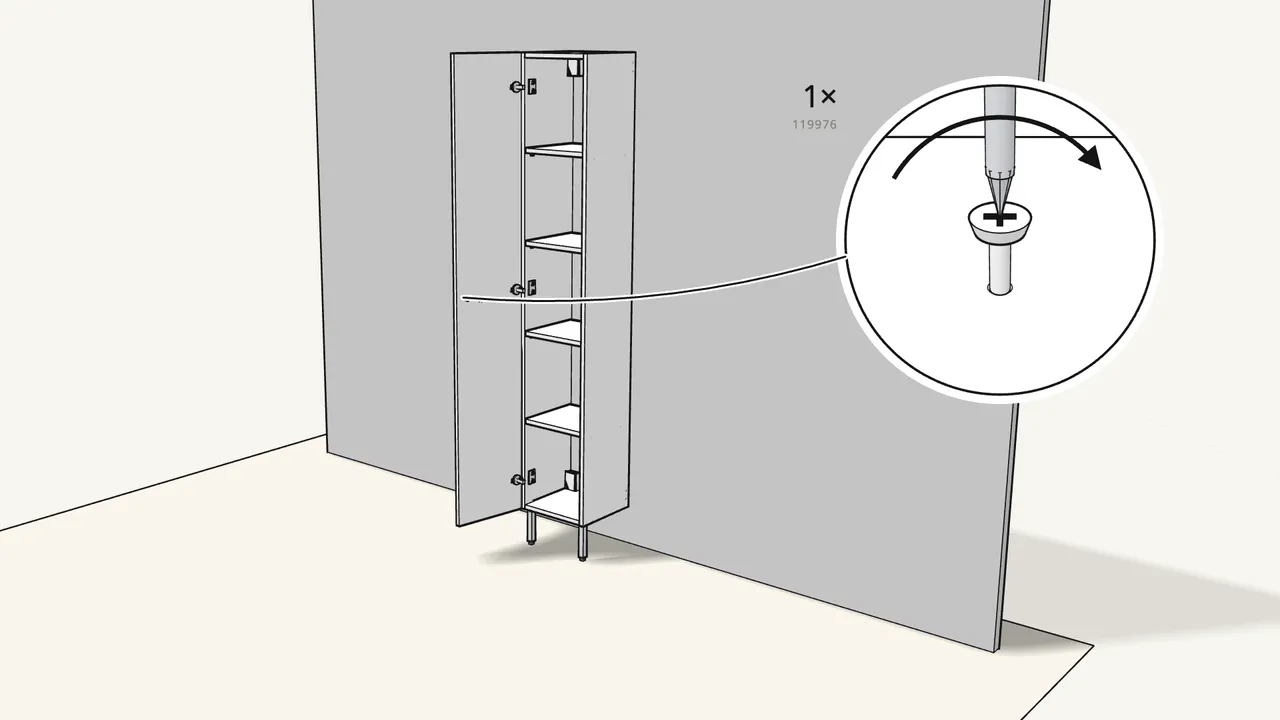
Step 23 · manual step 25
Fit the knob (106266) with the screw (119976).
The screw goes through the door from the back.
Step 24 · manual step 26
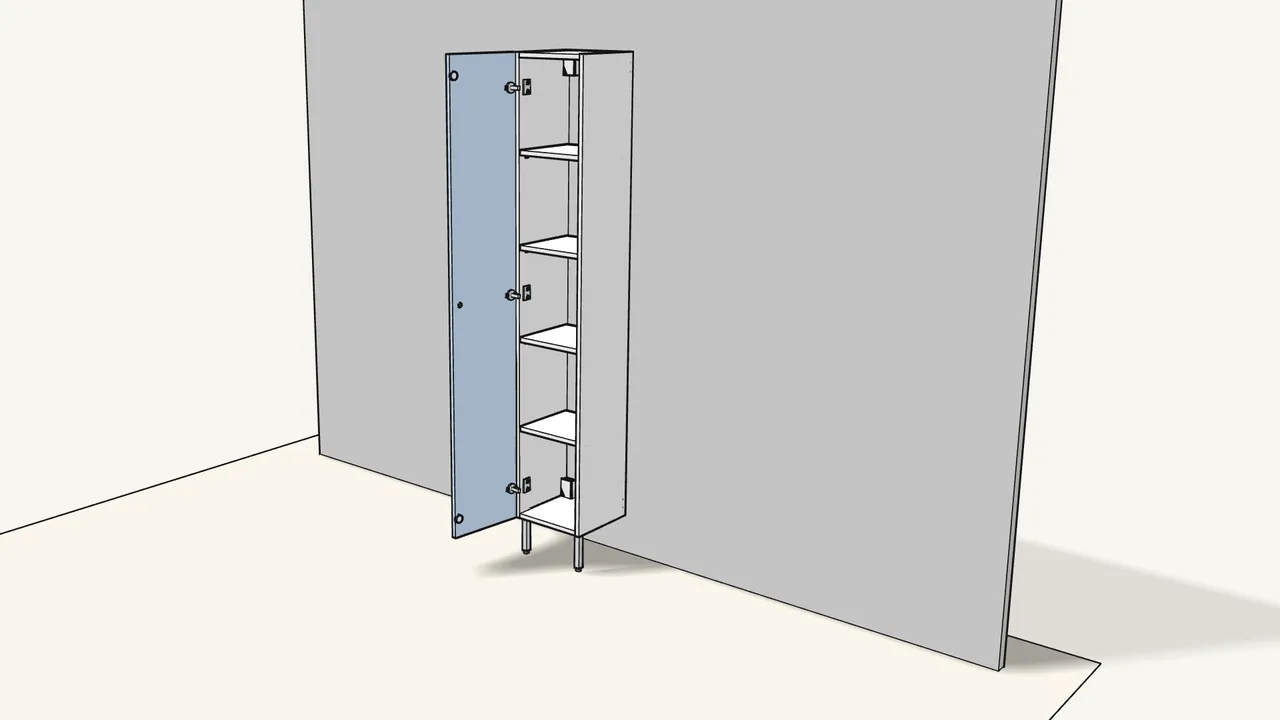
Stick the 2 bumpers (107091) on and close the door.
On the back of the door, near the top and bottom corners.
Tips & safety
- Always fix the cabinet to the wall. Tip-over can cause serious or fatal crushing injuries. Wall screws and plugs are not included — use ones suited to your wall; if unsure, ask a professional.
- Door not lined up? Turn the hinge screws to move it sideways, in/out or up/down — see the last page of the manual.
Official instructions
This guide follows IKEA’s official assembly instructions (AA-2246305-7). Keep the printed manual to hand — if anything differs, the manual is right.



