IKEA · Cabinets & Wardrobes
How to assemble IKEA KOMPLEMENT Soft Closing Hinge F/Corner Section
Step-by-step IKEA KOMPLEMENT Soft Closing Hinge F/Corner Section assembly: 15 illustrated steps, an animated video, the hardware list and the tools you need — following the official instructions (AA-1986062-3).
- 15 illustrated steps
- 10 steps in the manual
- 2:11 video
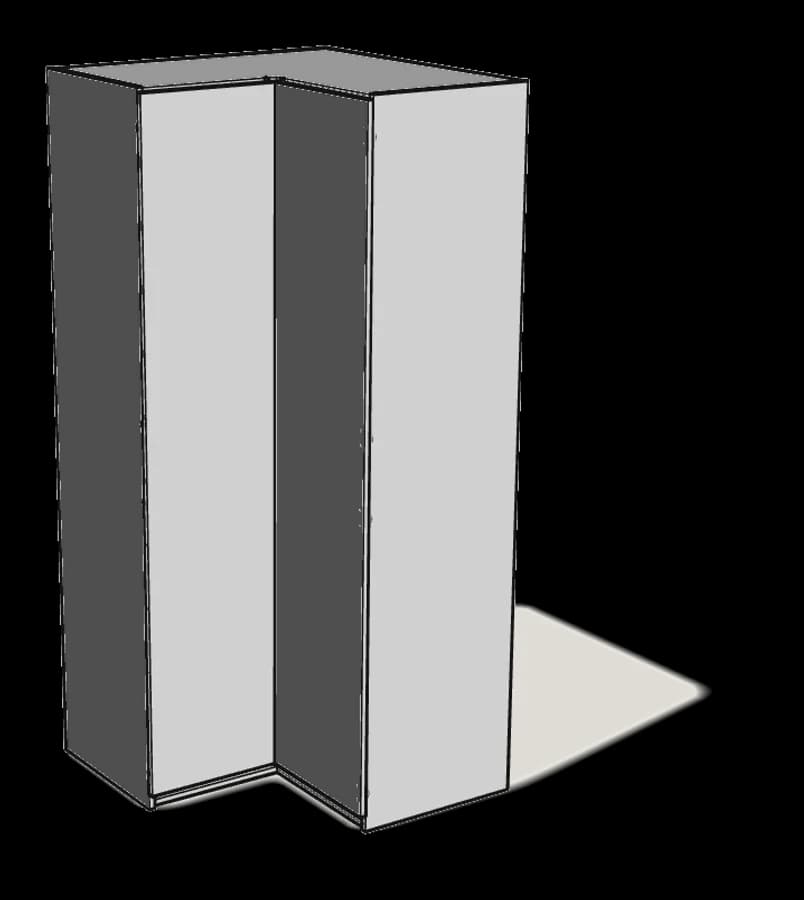
- Hinge pack, no size of its own. Shown on a PAX corner frame of about 110×110×236 cm with 2 doors of 50×229 cm. cm
What you need
Tools
- Phillips screwdriver
Hardware in the box
| Part no. (as printed in the manual) | Qty |
|---|---|
| hinge | 8× |
| soft-close damper | 4× |
| clip | 4× |
| mounting plate | 8× |
| 104663 | 2× |
Step-by-step assembly
Step 1
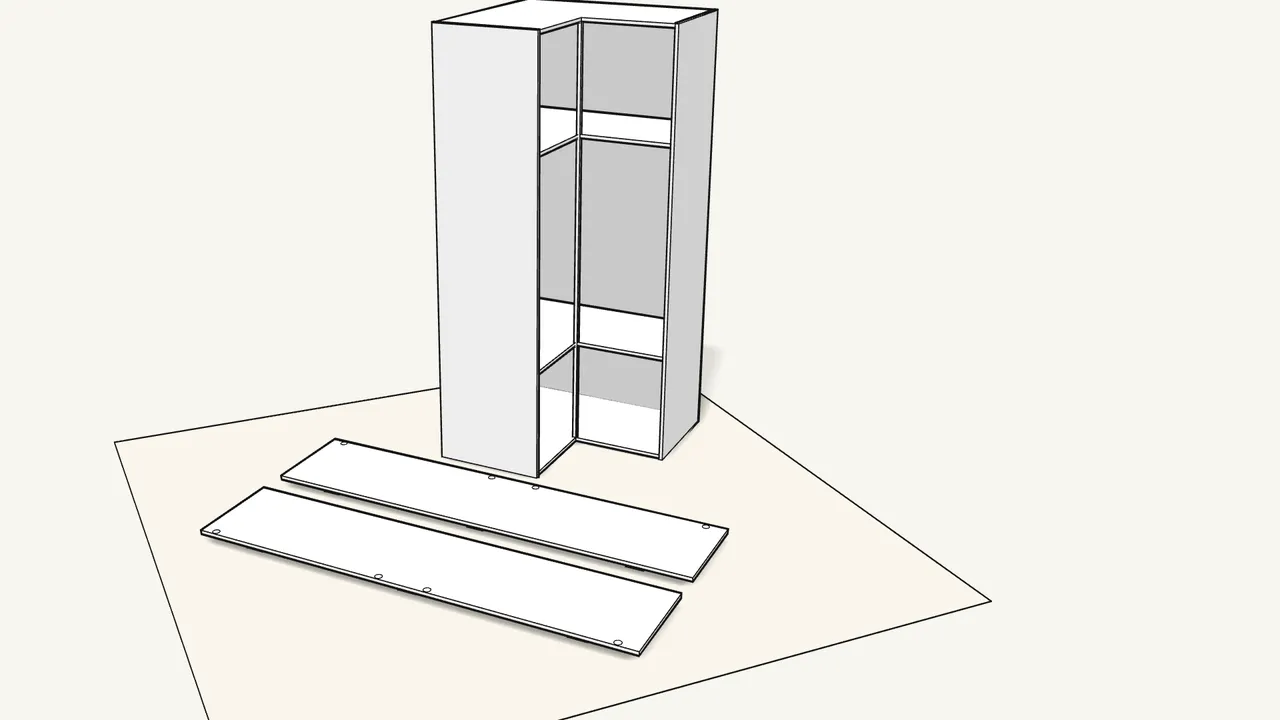
Start with the PAX corner frame assembled.
Frame and doors are sold separately. Lay both doors face-down on cardboard.
Step 2 · manual step 1
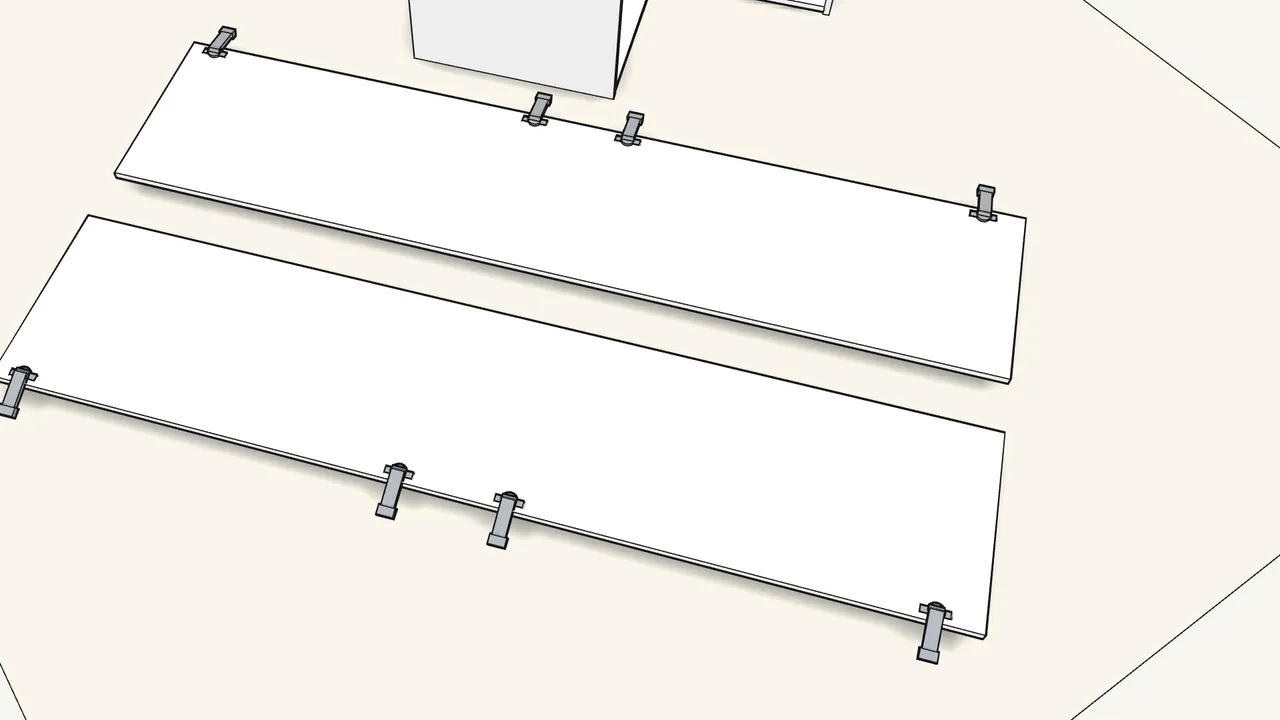
Press 4 hinges into the holes in each door.
The round cup goes into the big hole — 8 hinges for the 2 doors.
Step 3 · manual step 2
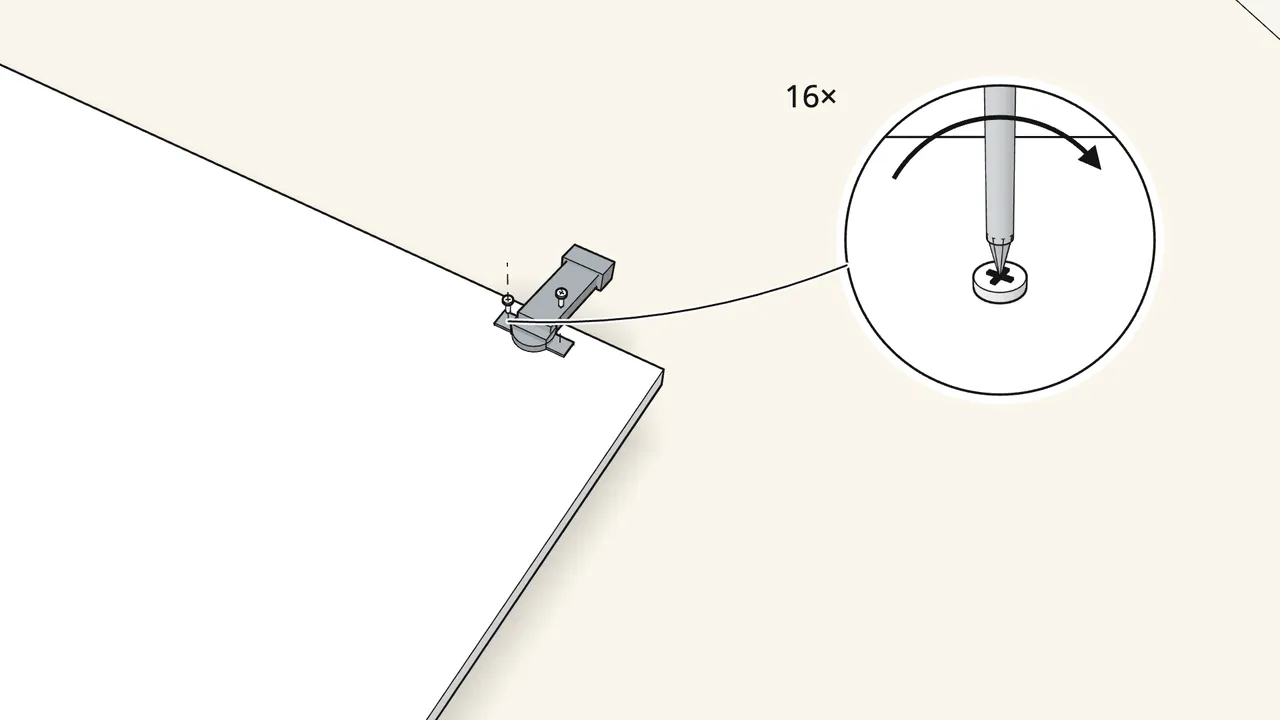
Tighten the 2 screws on each hinge.
Phillips screwdriver.
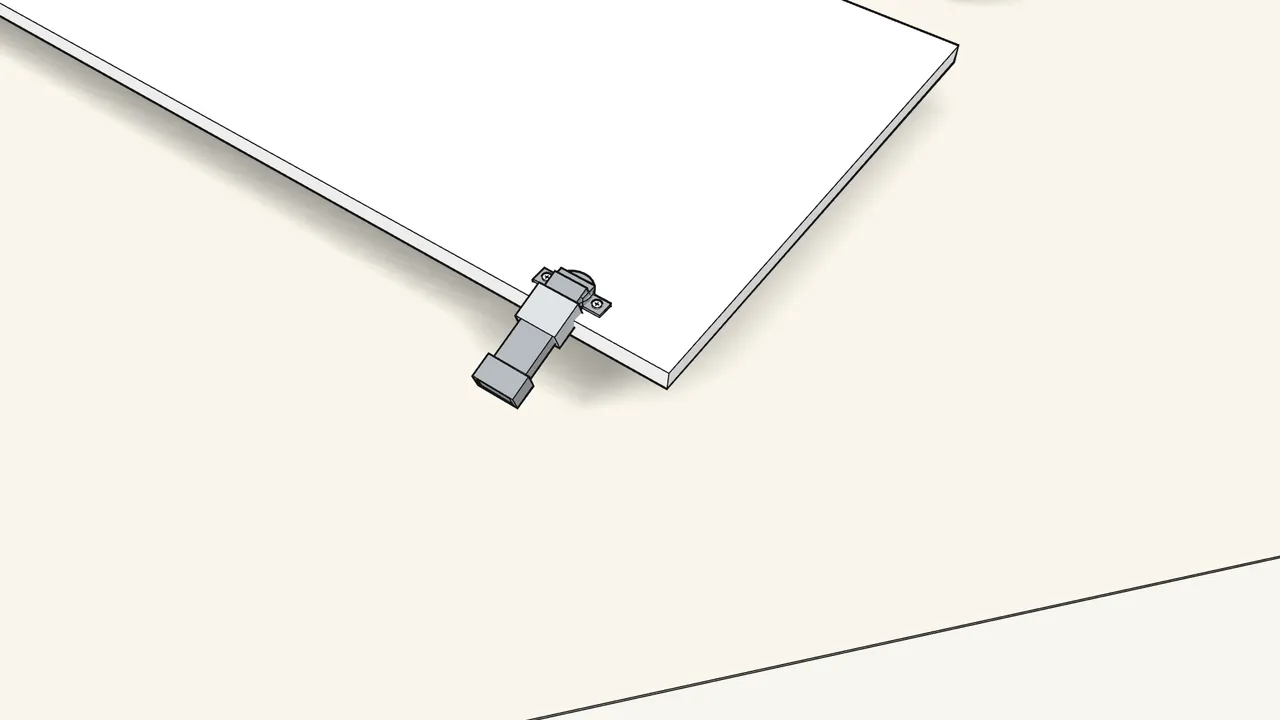
Step 4 · manual step 3
Click the larger soft-close part onto the top and bottom hinges.
2 per door. How it hooks on: see the manual, step 3.
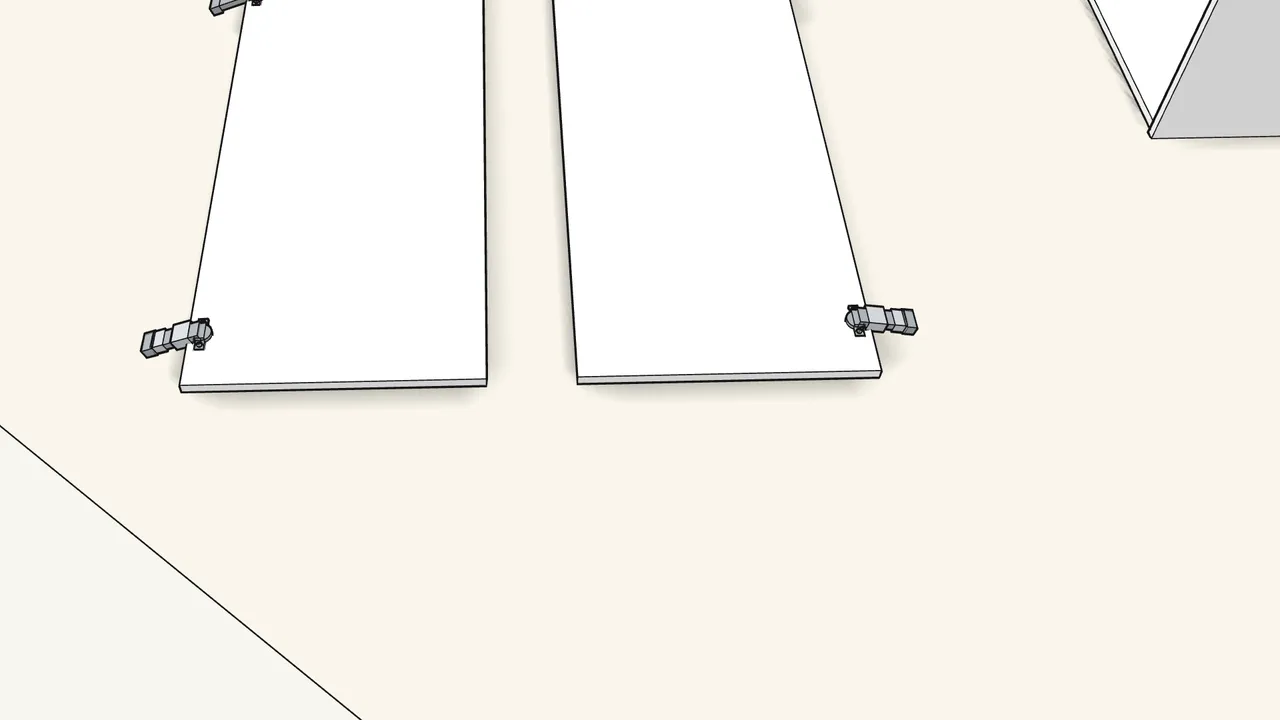
Step 5 · manual step 4
Press the smaller part onto the same hinges until it clicks.
2 per door — 4 in total.
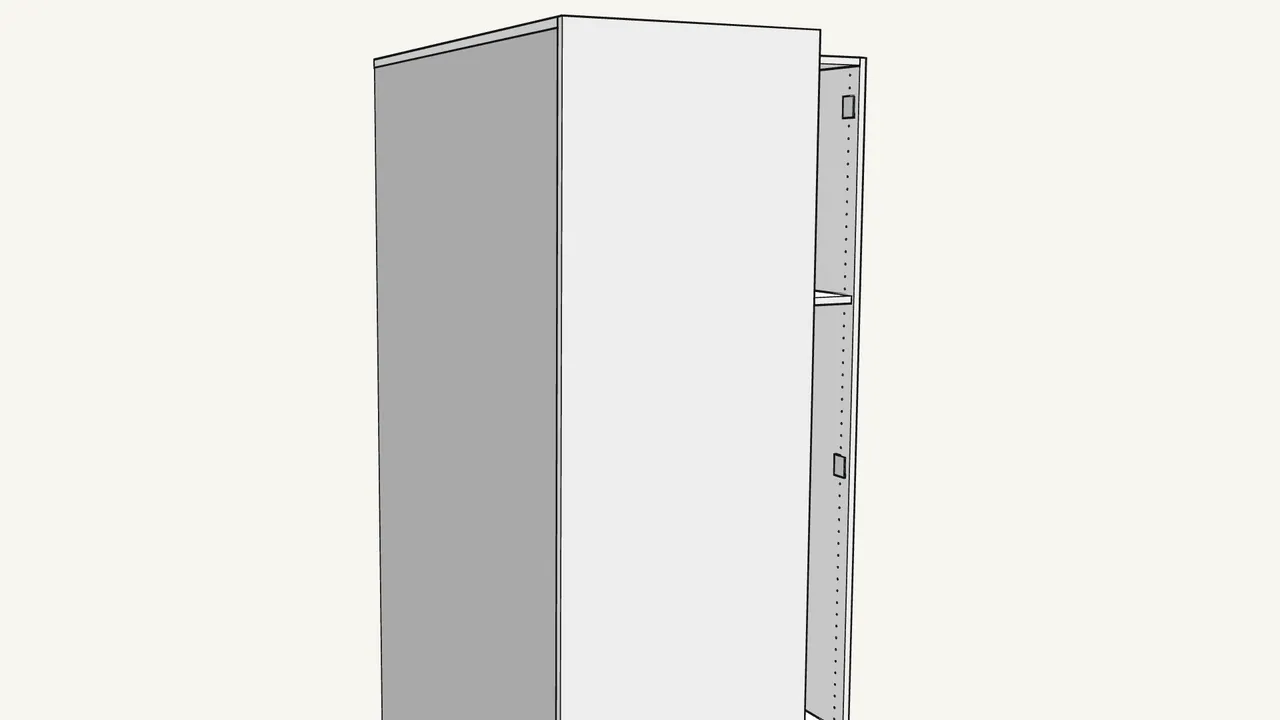
Step 6 · manual step 5
Push 2 mounting plates into the right side panel.
Holes 3–4 and 32–33, counted from the top.
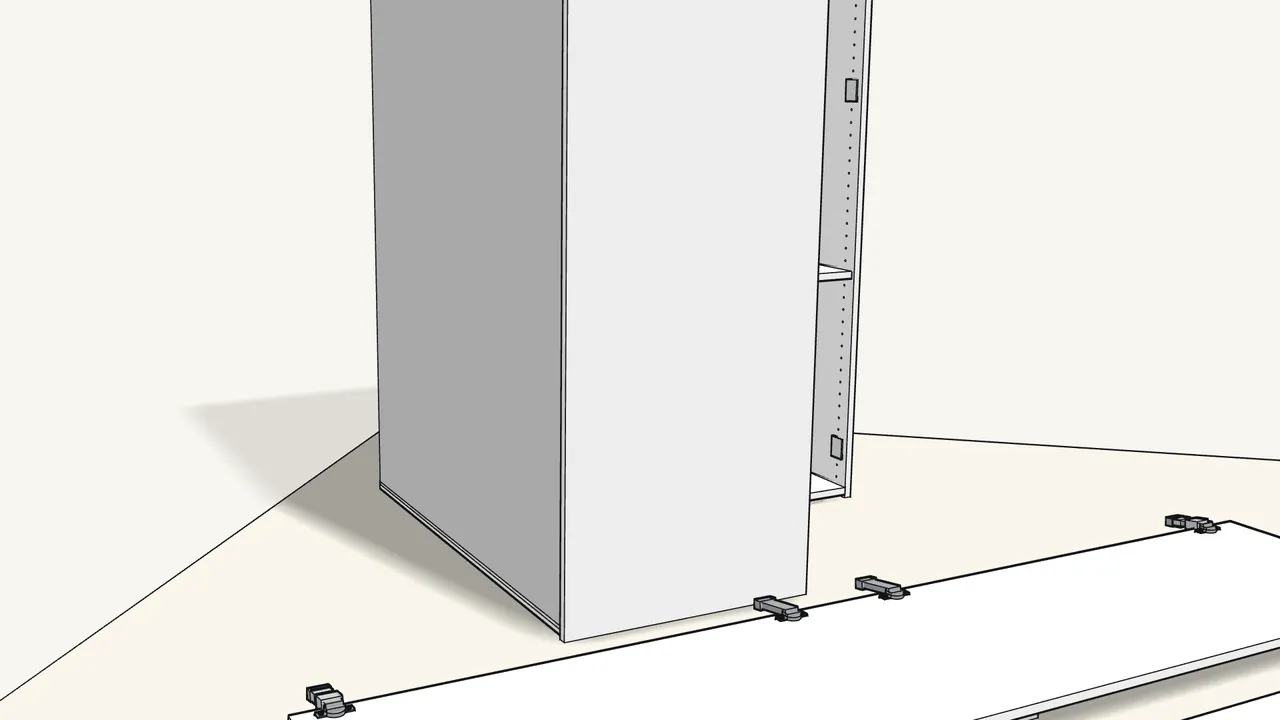
Step 7 · manual step 6
Push 2 more plates in lower down.
Holes 32–33 and 3–4, counted from the bottom.
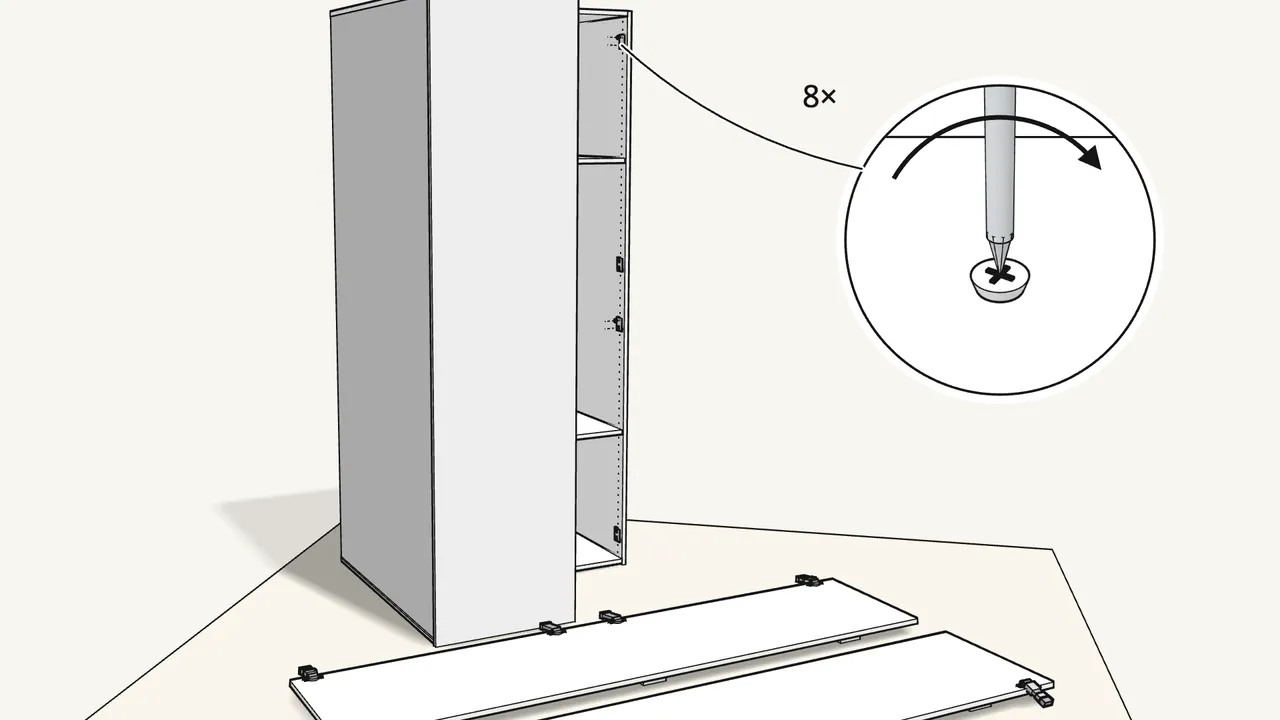
Step 8 · manual step 7
Tighten the 2 screws in each mounting plate.
Phillips screwdriver.
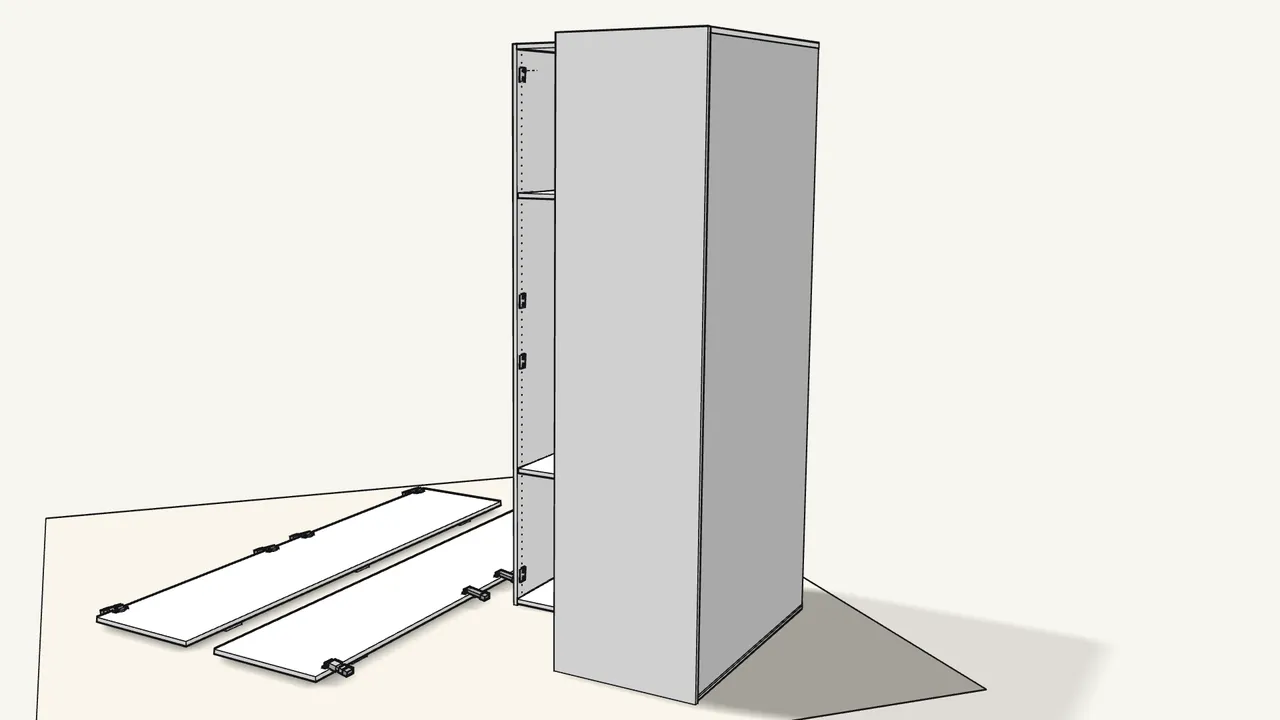
Step 9 · manual step 5–7
Fit 4 plates in the left side panel the same way.
Same holes, then tighten their screws.
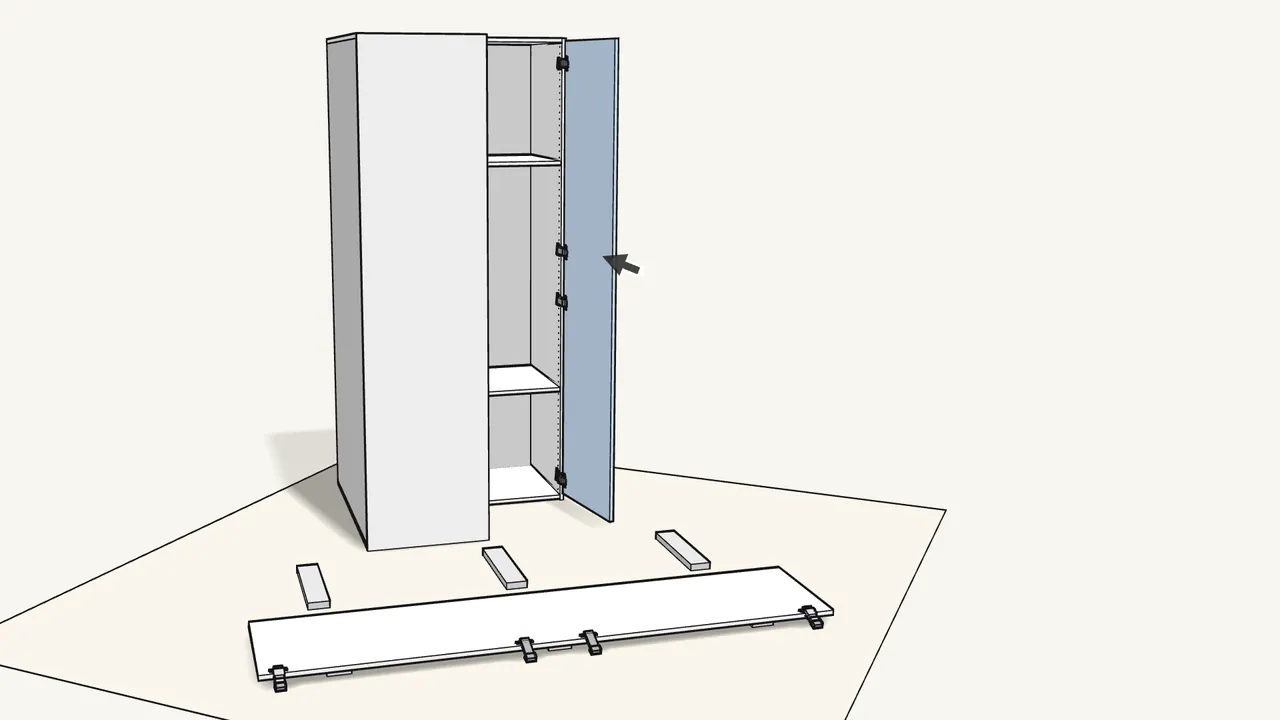
Step 10 · manual step 8
With two people, hook the hinges of the right door onto the plates.
One person holds the door, the other guides the hinges.
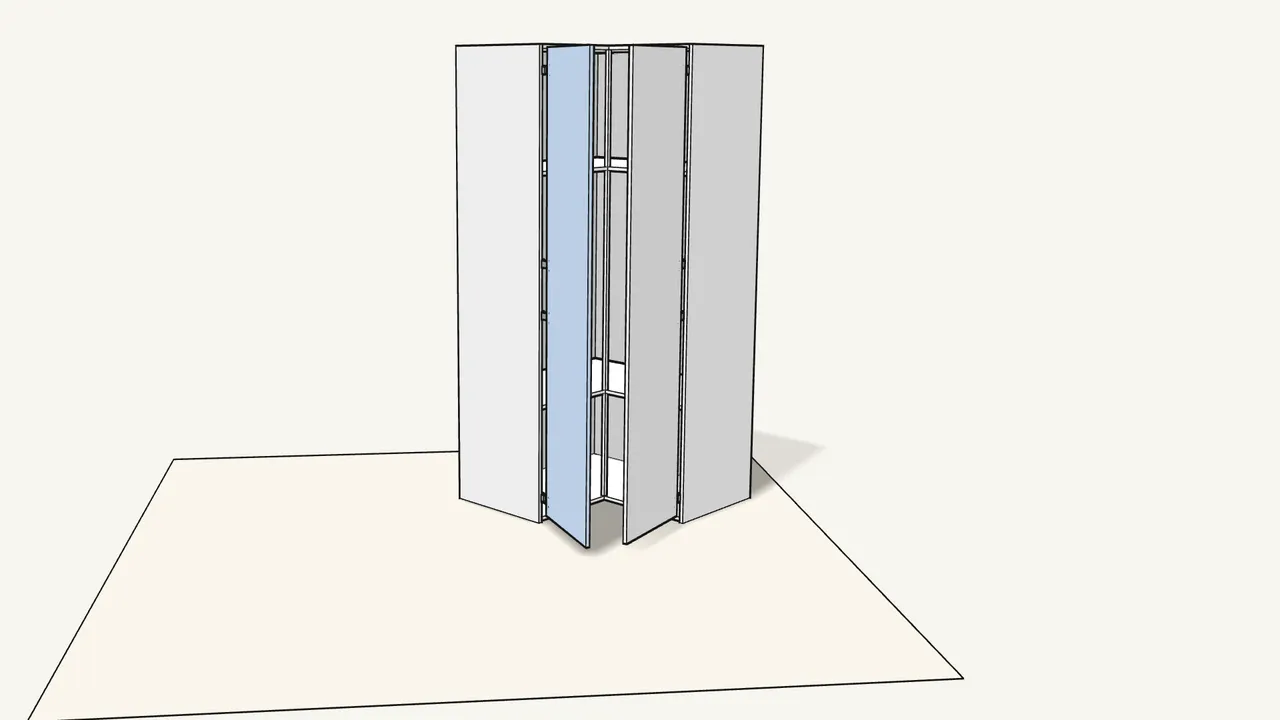
Step 11 · manual step 8
Hook the left door onto its 4 plates the same way.
Two people again.
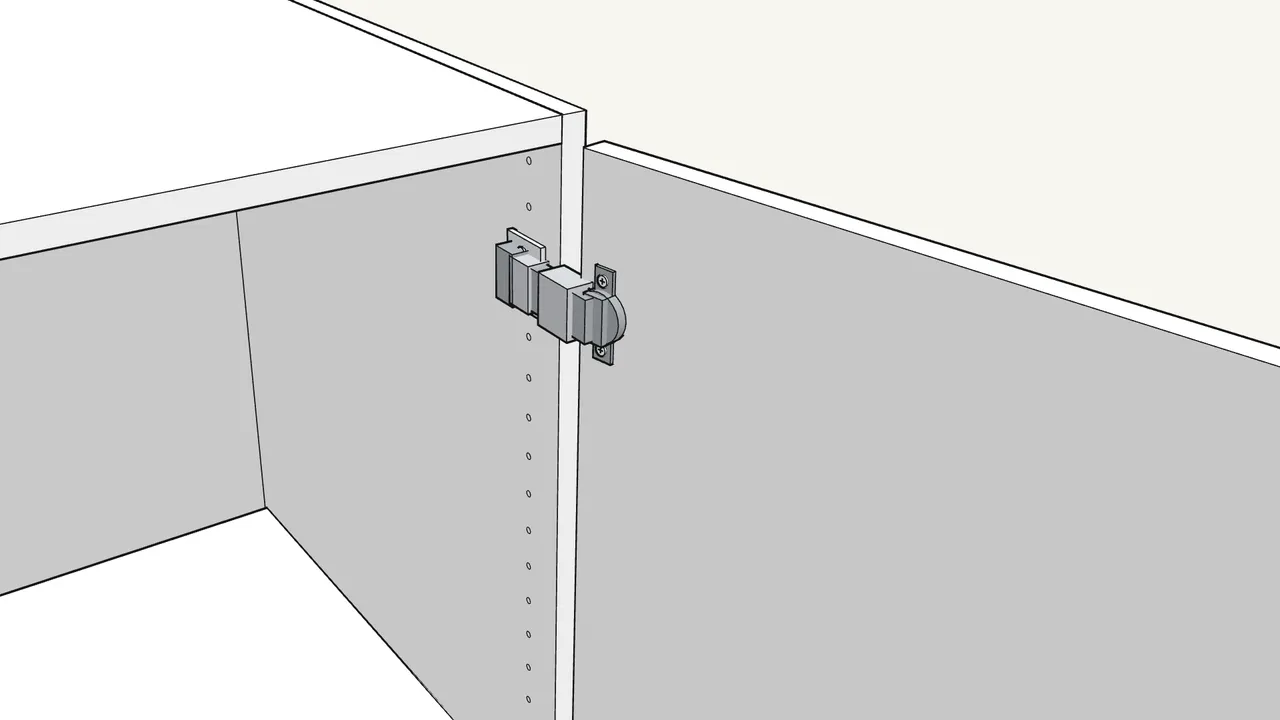
Step 12 · manual step 9
Press each hinge onto its plate until it clicks.
8 hinges — 4 on each door.
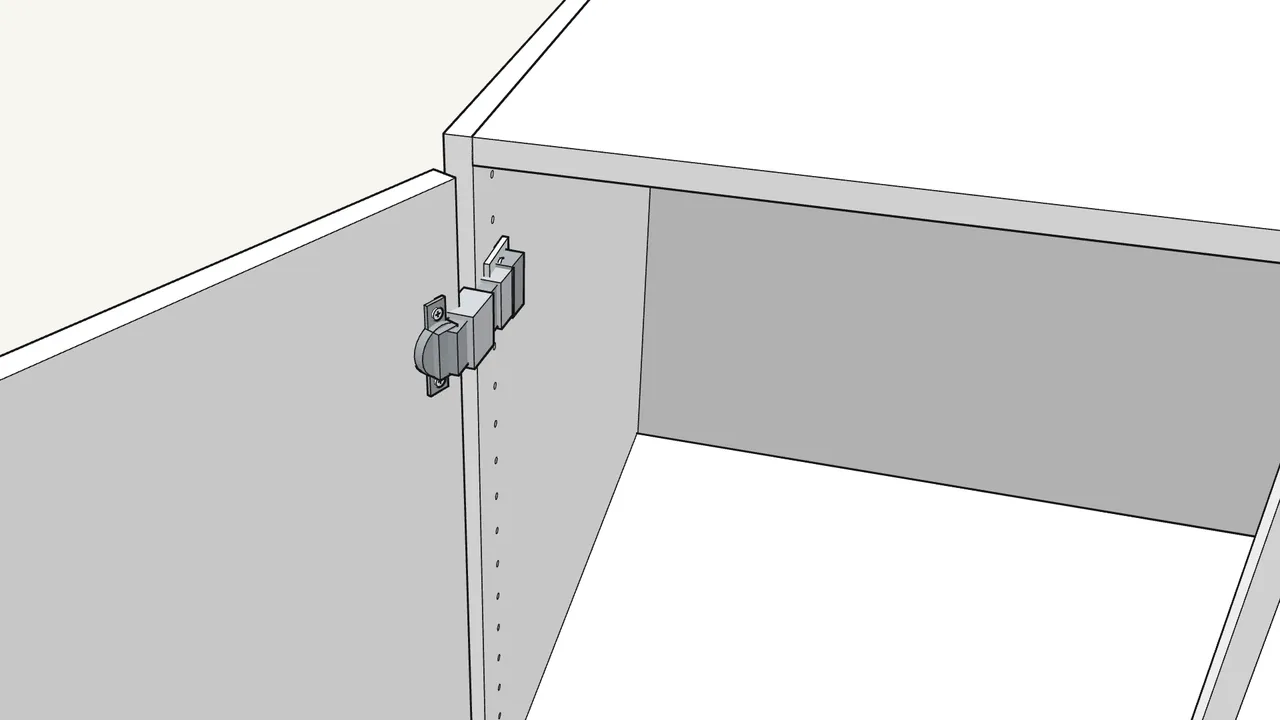
Step 13 · manual step 9
Click the 4 hinges of the left door on the same way.
Check that all 8 hinges have clicked.
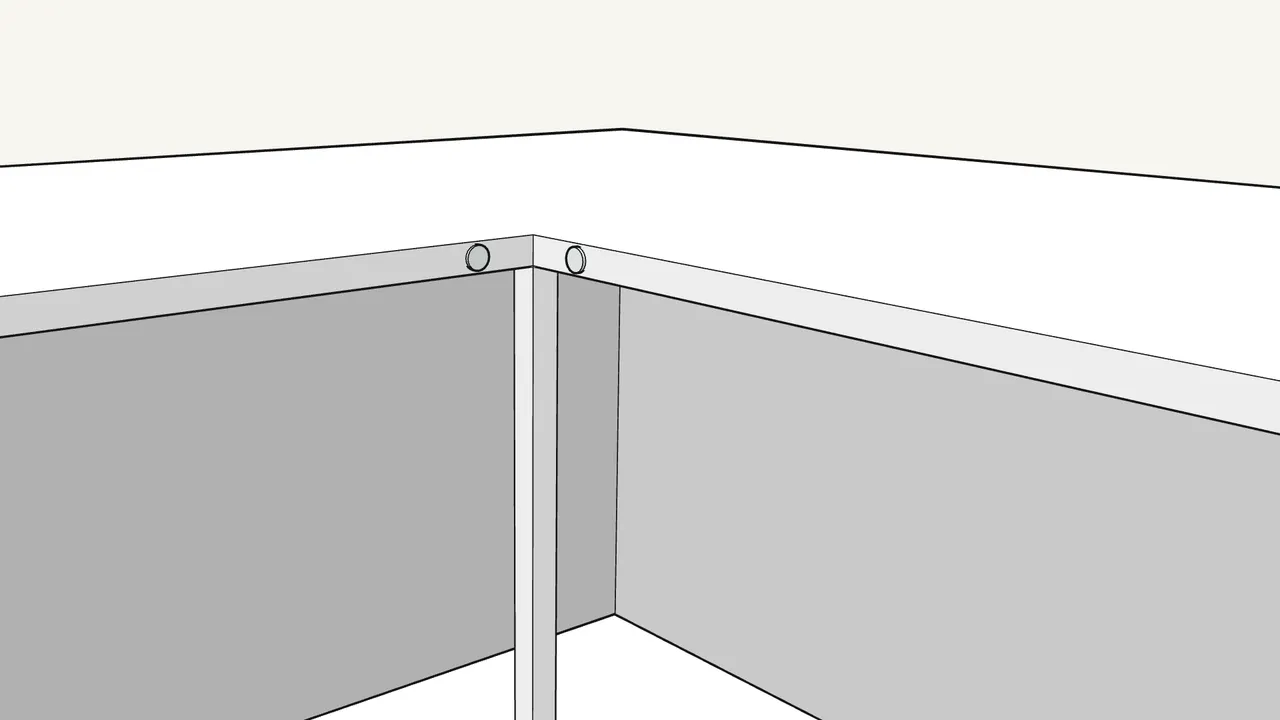
Step 14 · manual step 10
Stick the 2 bumpers (104663) on, 4 cm (1 5/8") from the corner.
One on each side of the corner, on the front edge of the top.
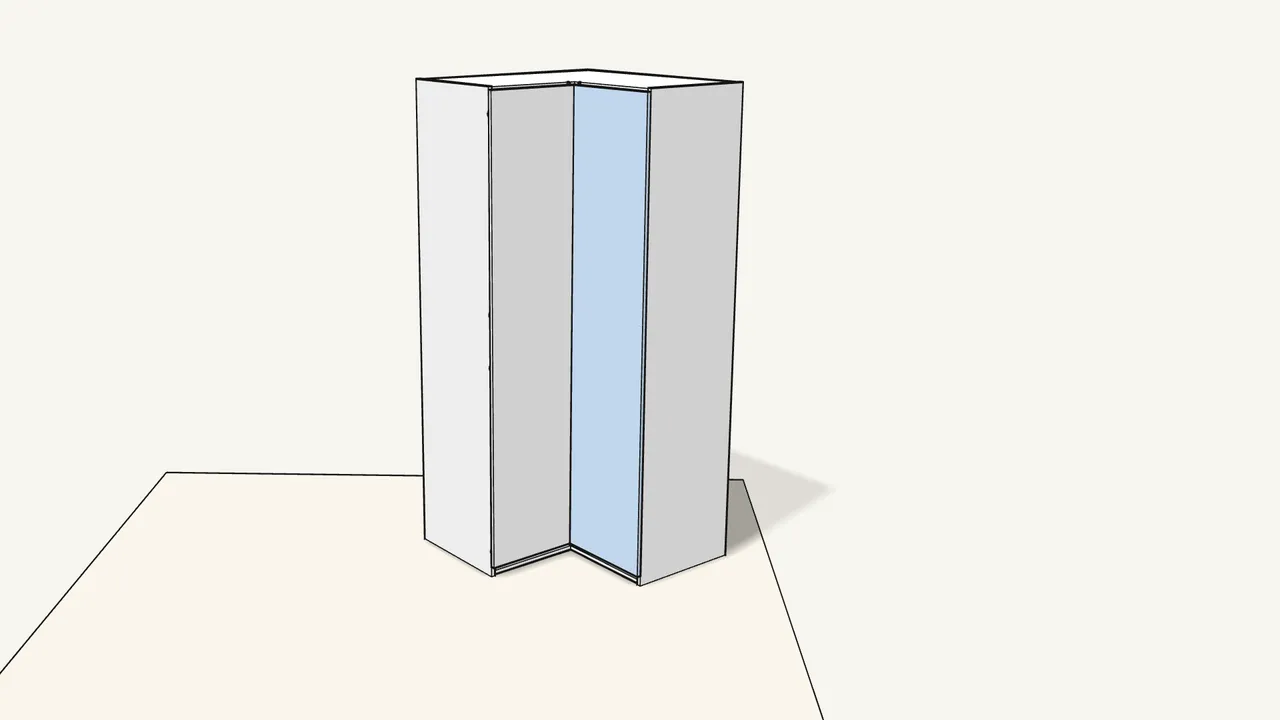
Step 15
Close both doors.
The doors close onto the bumpers.
Tips & safety
- Doors not lined up? Turn the screws on the hinges with a Phillips screwdriver to move a door sideways, in/out or up/down — see the last page of the manual.
Official instructions
This guide follows IKEA’s official assembly instructions (AA-1986062-3). Keep the printed manual to hand — if anything differs, the manual is right.



