IKEA · Cabinets & Wardrobes
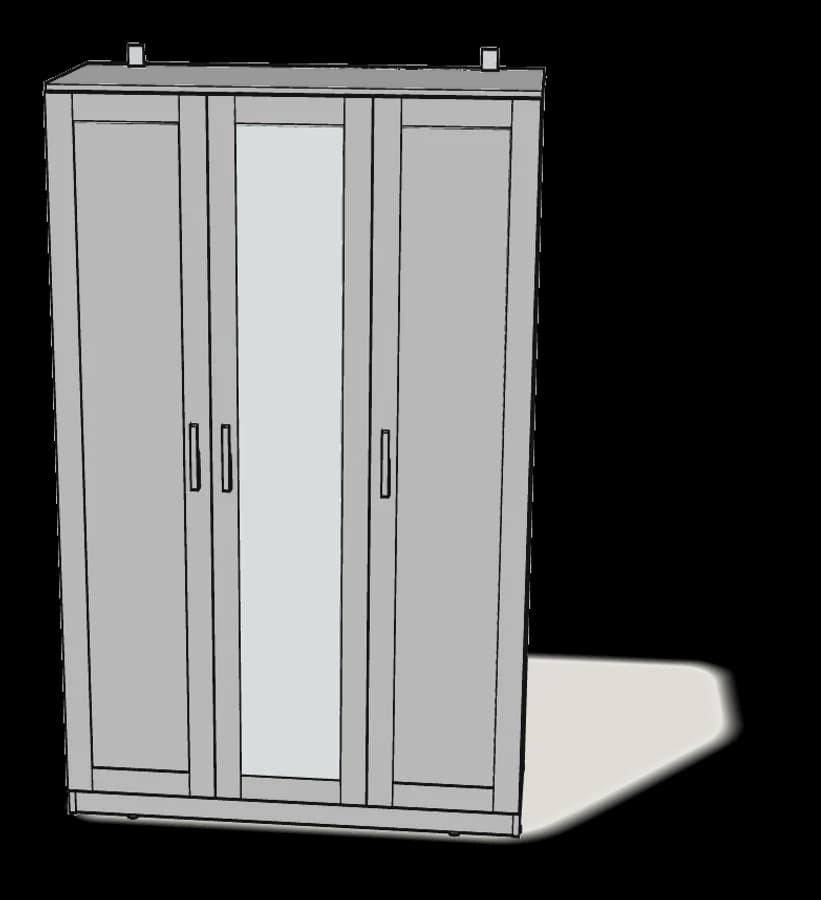
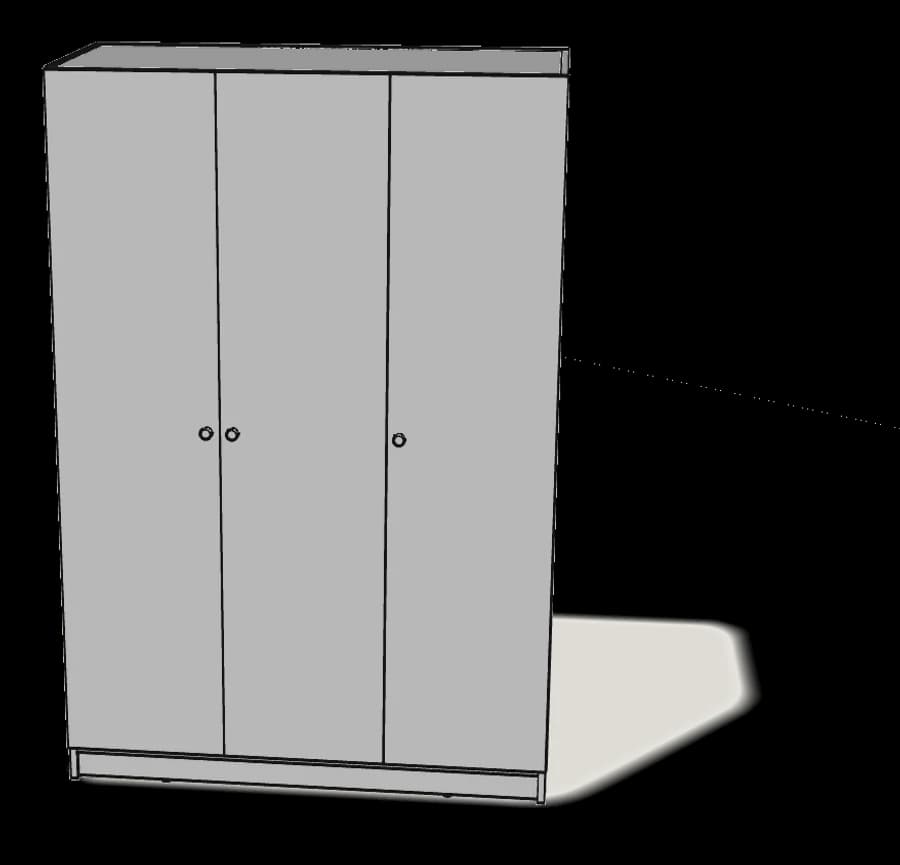
How to Assemble IKEA KLEPPSTAD Wardrobe with 3 Doors
Step-by-step IKEA KLEPPSTAD wardrobe with 3 doors assembly: 23 illustrated steps, an animated video, the hardware list and the tools you need — following the official instructions (AA-2165990-3).
- 23 illustrated steps
- 37 steps in the manual
- 3:20 video
- 117×55×176 cm cm
What you need
Tools
- Flat-head screwdriver
- Phillips screwdriver
- Hammer
- Allen key (included)
- Drill (for wall fixing)
You’ll need: flat-head and Phillips screwdrivers, a pencil, a hammer, a step ladder and a drill for the wall fixing.
Hardware in the box
| Part no. (as printed in the manual) | Qty |
|---|---|
| 100214 | 16× |
| 101345 | 38× |
| 109564 | 3× |
| 105248 | 38× |
| 109041 | 2× |
| 123840 | 4× |
| 103717 | 1× |
| 107091 | 1× |
| 153548 | 8× |
| 106989 | 2× |
| 109049 | 2× |
| 100823 | 4× |
| 109048 | 2× |
| 121714 | 2× |
Step-by-step assembly
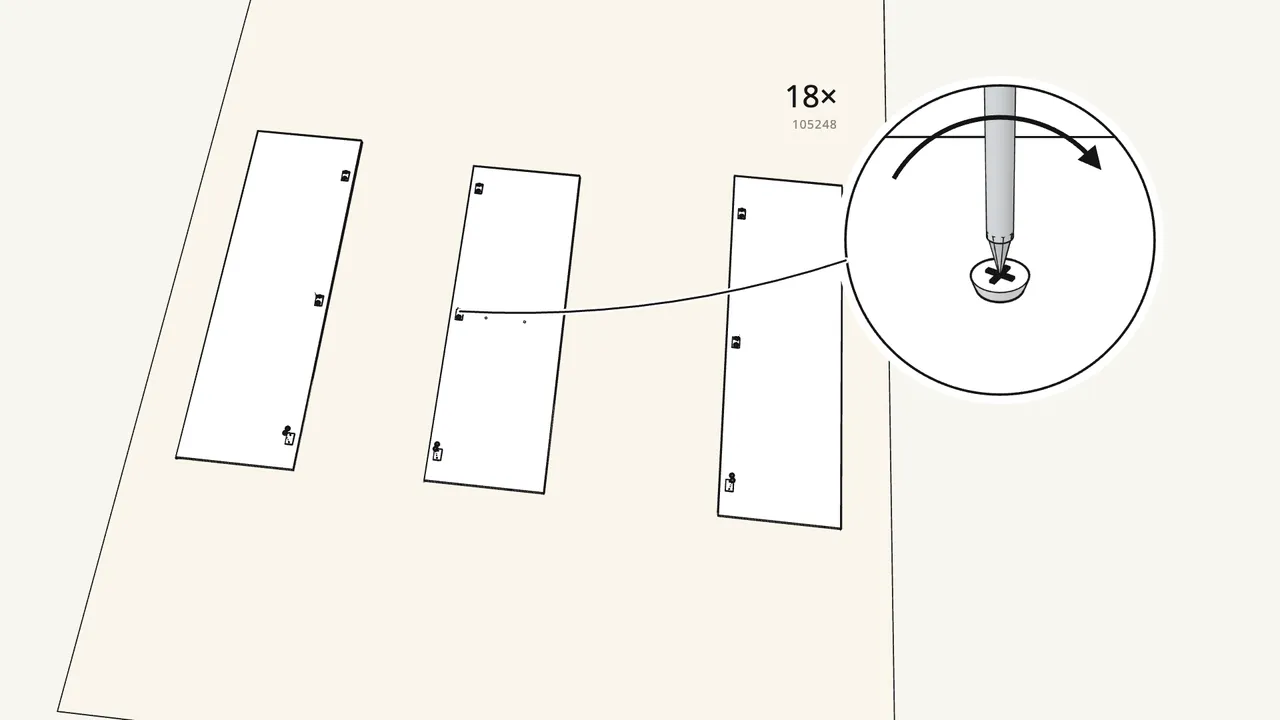
Step 1
Screw 9 hinge plates (109221) onto the two sides and the divider.
3 plates per panel, 2 screws (105248) each.
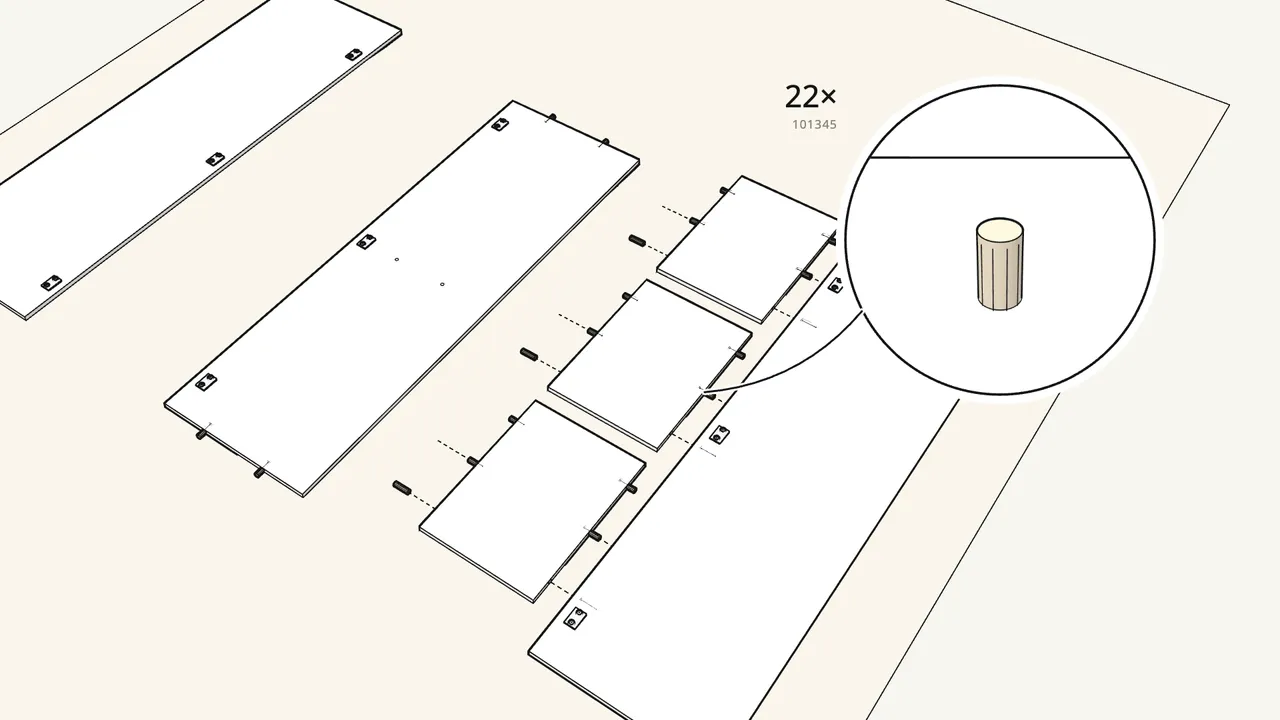
Step 2 · manual step 2–3
Push 4 dowels into the divider and 18 into the 3 shelves.
Dowels (101345) go into both ends of each panel.
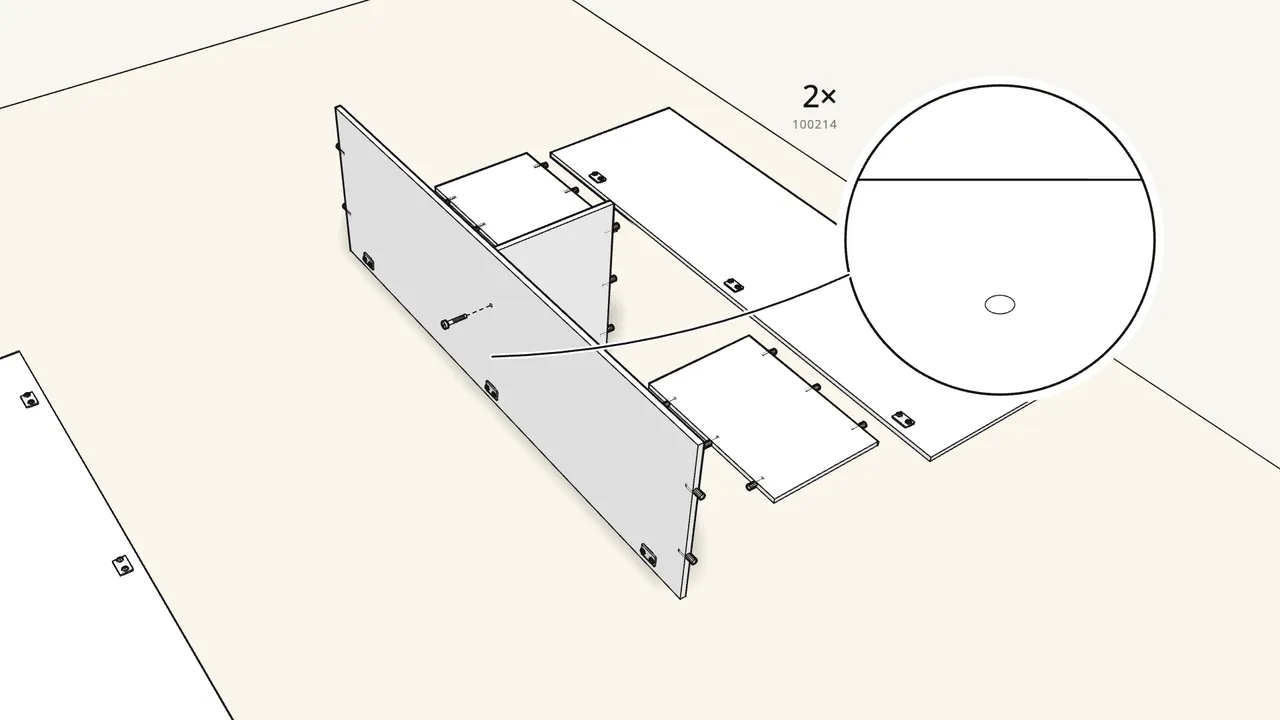
Step 3 · manual step 4
Stand the divider on its edge and fix one shelf with 2 screws.
Screws 100214, tightened with the Allen key (100001).
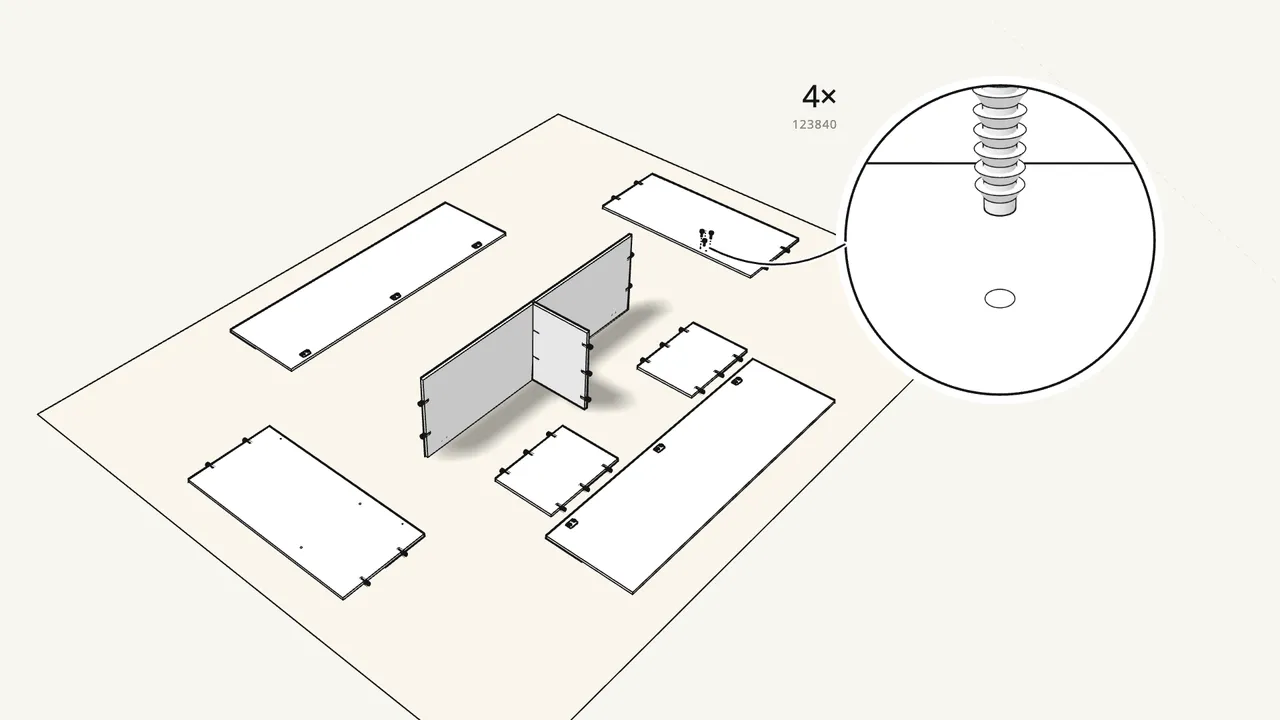
Step 4 · manual step 5–6
Push 8 dowels into the top and bottom panels. Tap in 4 fittings.
Fittings 123840, with a hammer — step 6 shows which holes.
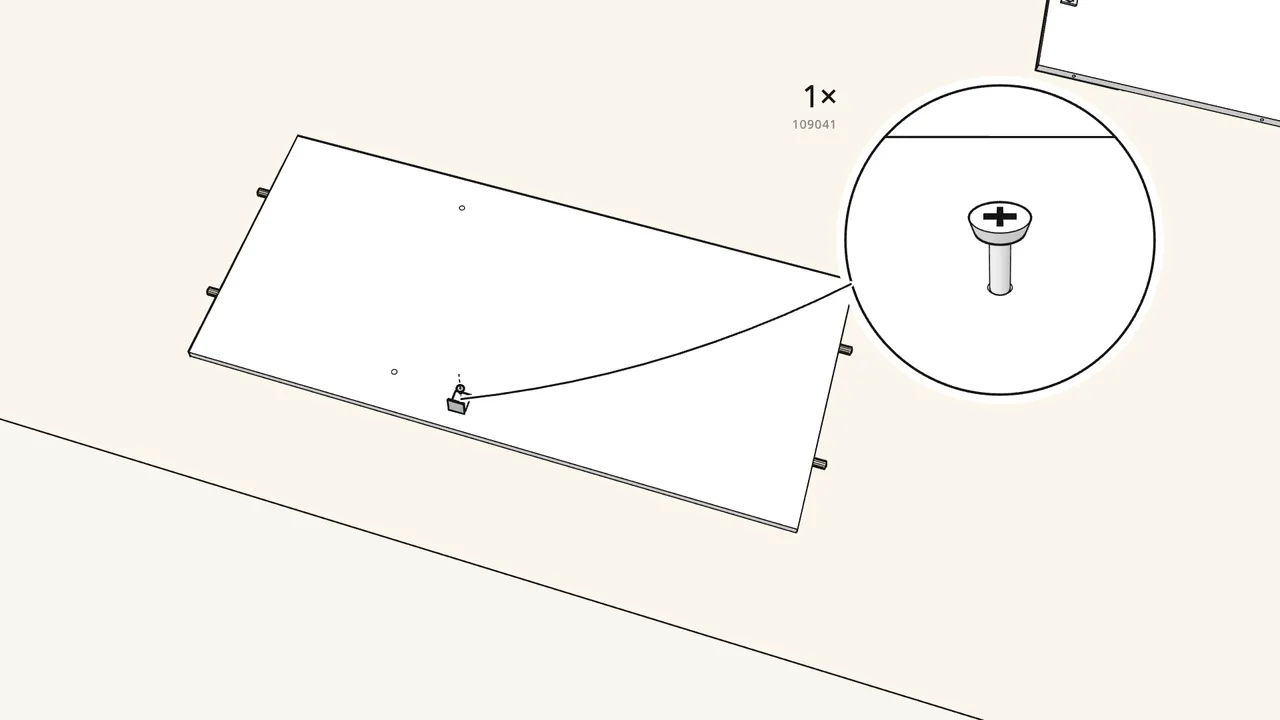
Step 5 · manual step 7
Turn the bottom panel over and screw on the bracket (103717).
1 screw (109041) — not the longer one.
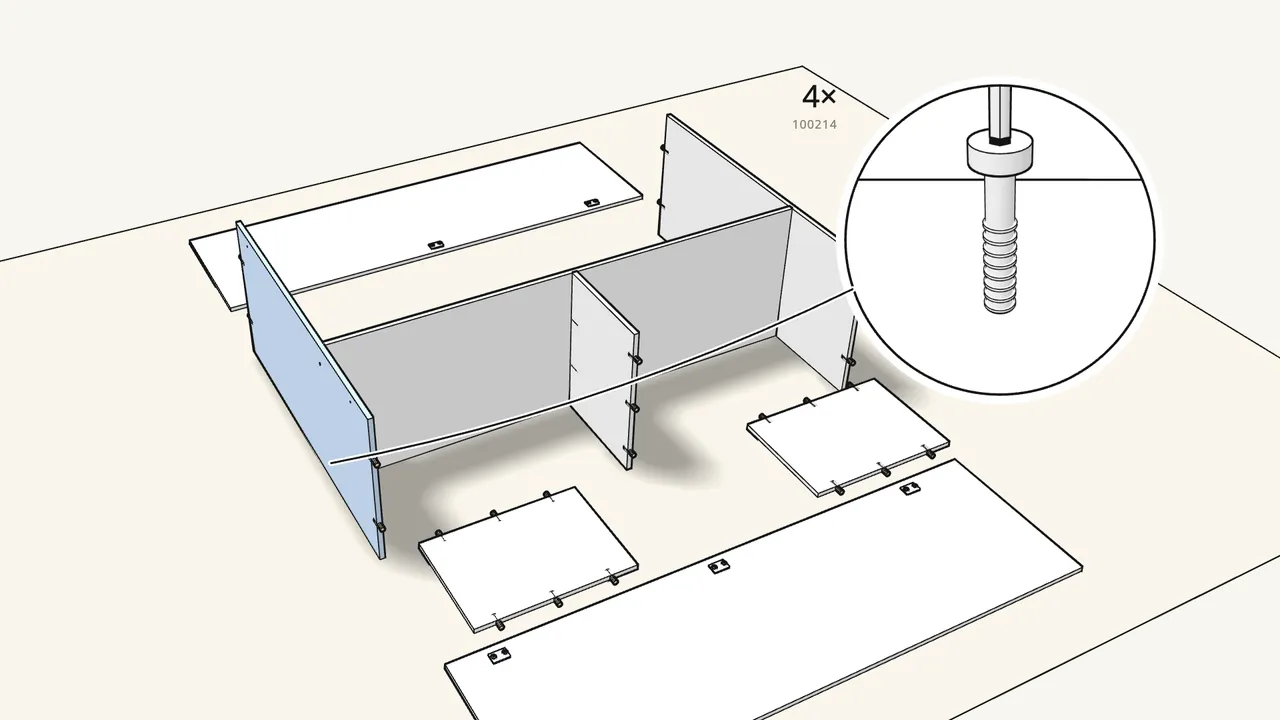
Step 6 · manual step 8–9
Fit the bottom and top panels to the divider — 2 screws each.
Screws 100214 with the Allen key.
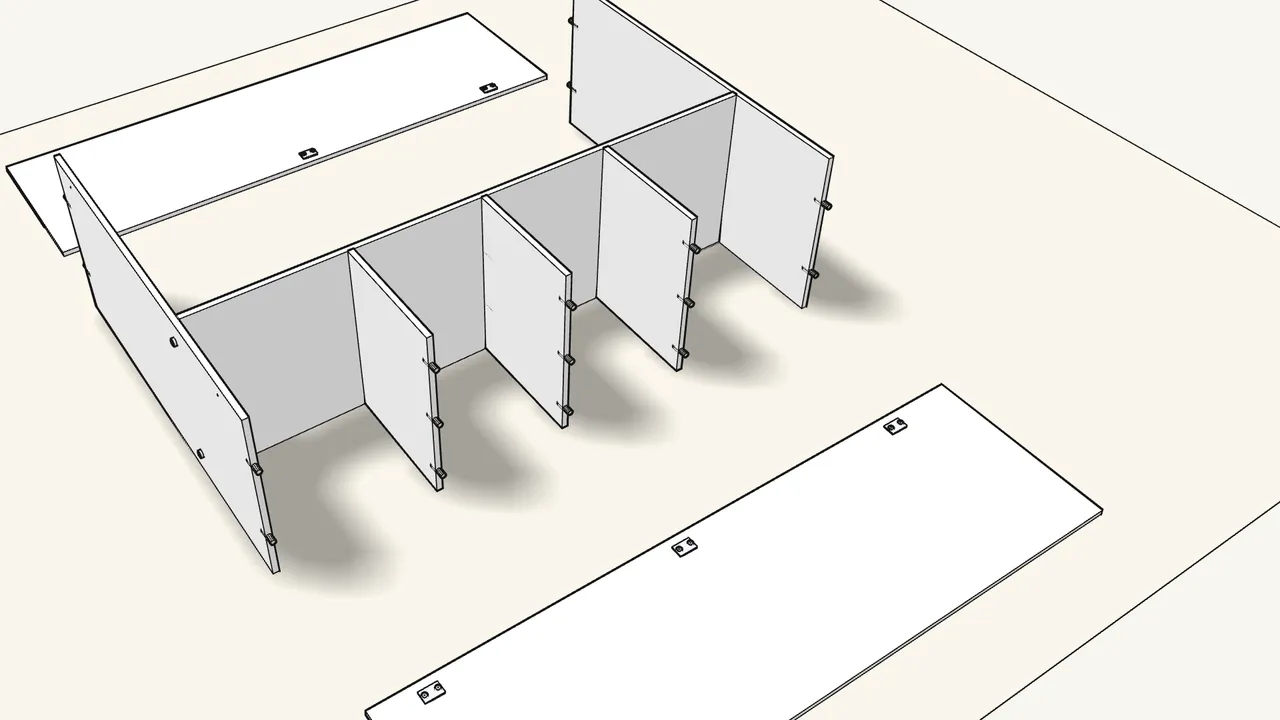
Step 7 · manual step 10
Slide the other two shelves onto the divider’s dowels.
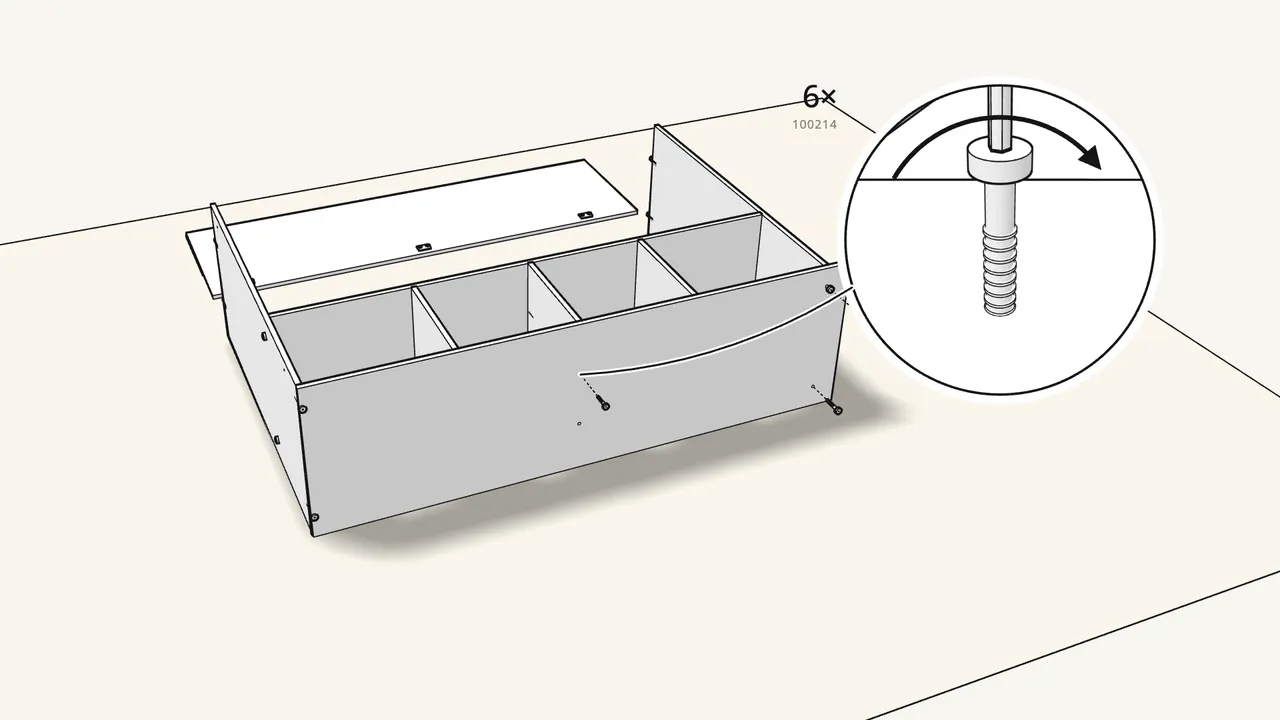
Step 8 · manual step 11–13
Fit the right side panel and fix it with 6 screws (100214).
Screw into the top, bottom and middle shelf, then tighten all with the Allen key.
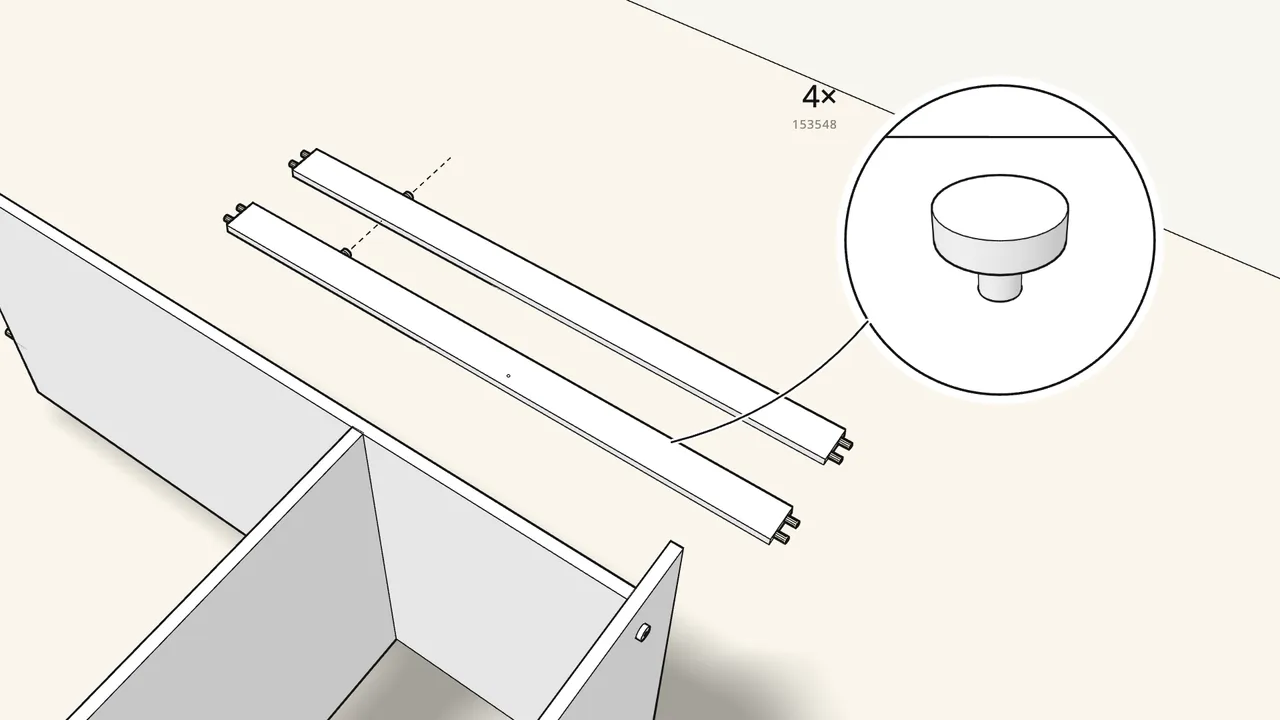
Step 9 · manual step 14–15
Push 4 dowels into each plinth rail, then press in 2 glides each.
Glides 153548 go into the bottom edge of the rails.
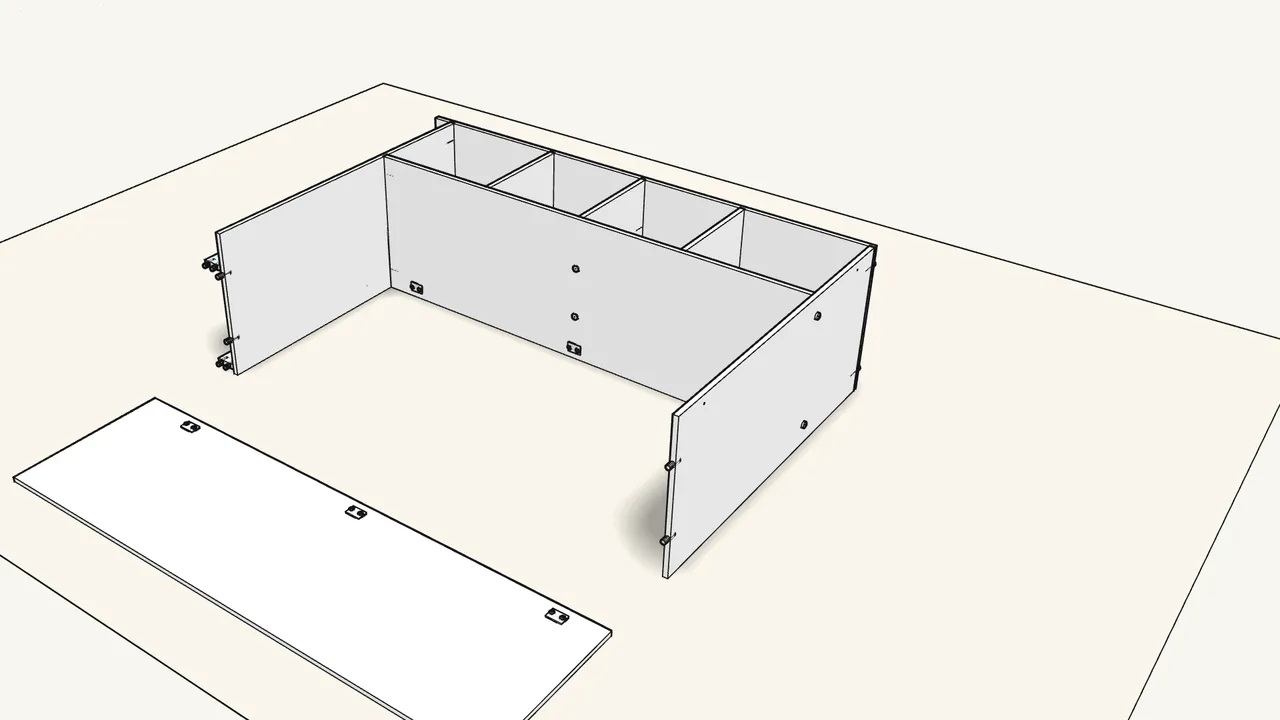
Step 10 · manual step 16–17
Slide both rails in from the open side.
One along the front edge, one near the back.
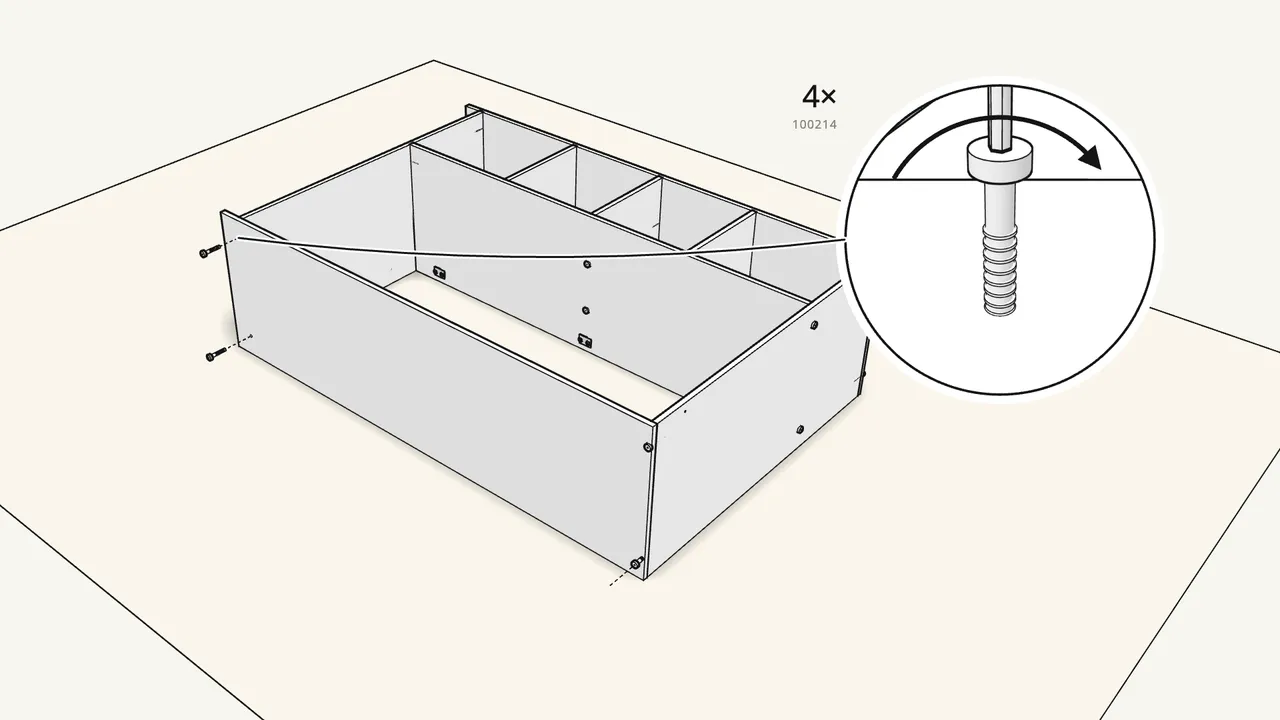
Step 11 · manual step 18
Fit the left side panel and fix it with 4 screws (100214).
Two people make this easier.
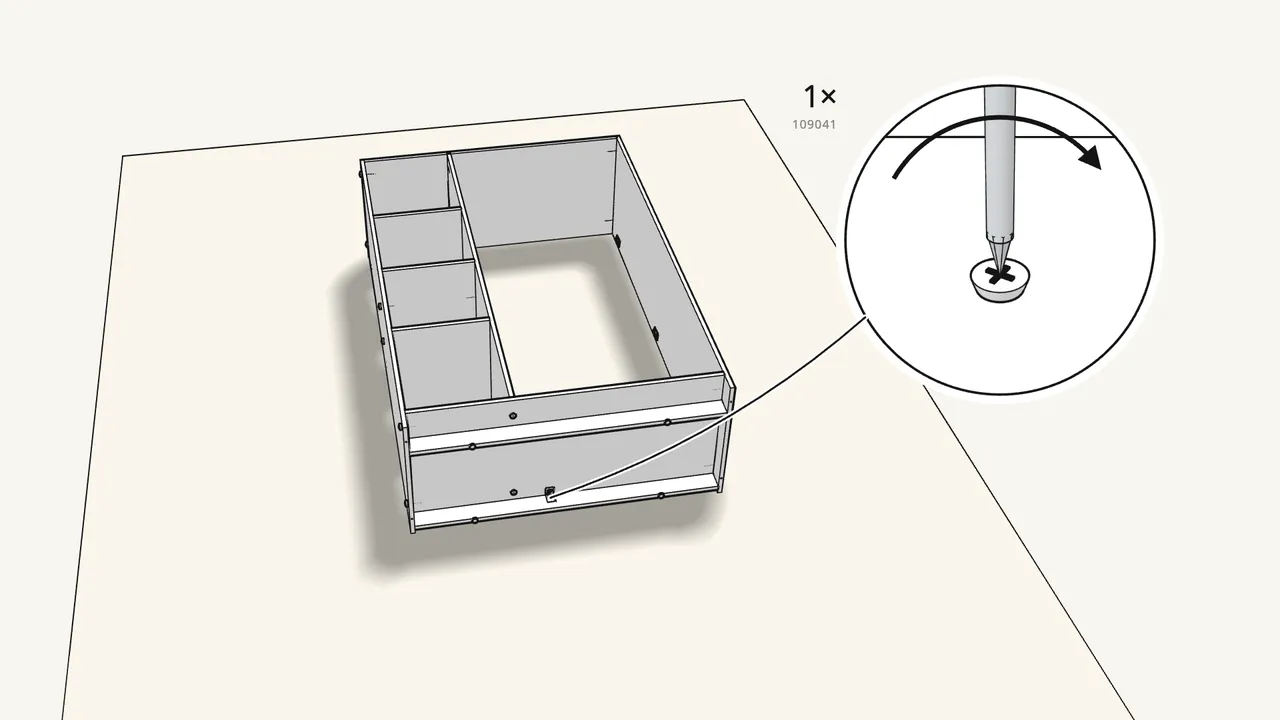
Step 12 · manual step 19
Screw the bracket to the front rail.
1 screw (109041) — not the longer one.
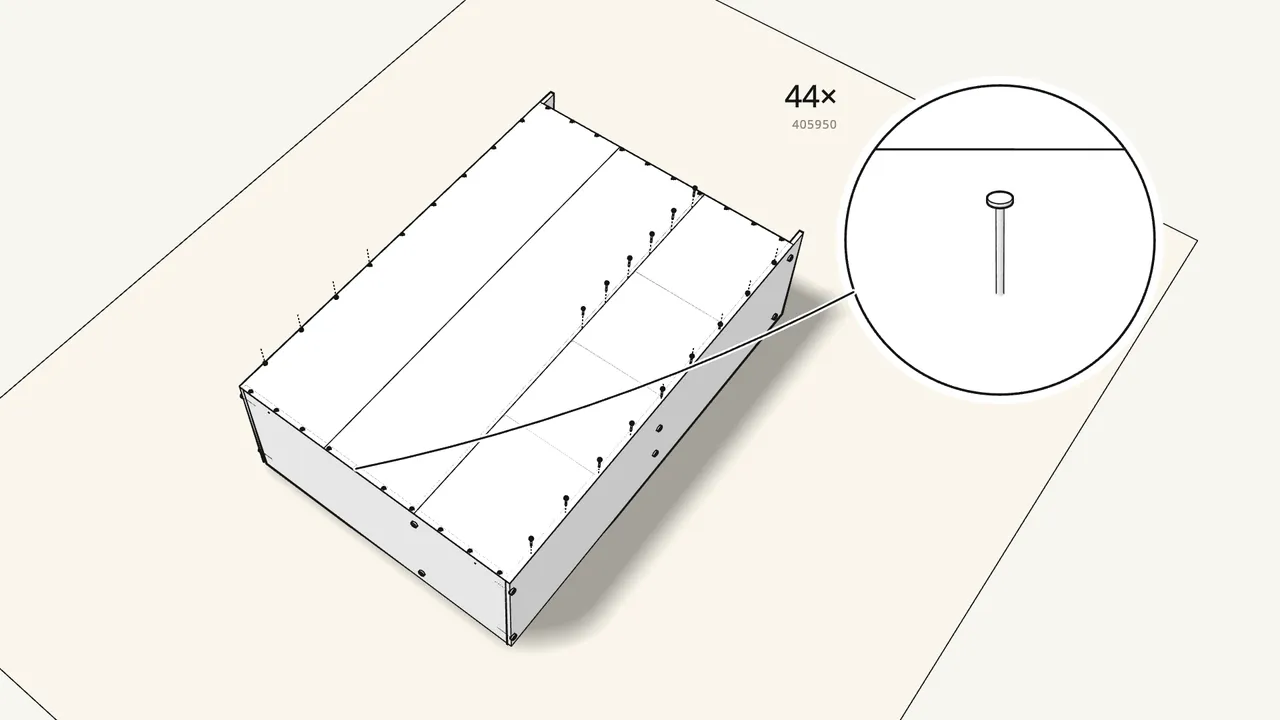
Step 13 · manual step 20–23
Lay on the 3 back panels, check the joins and nail them on.
Hold the nails (405950) in the nail guide (105494): 12 along the middle joint, 44 around the edges.
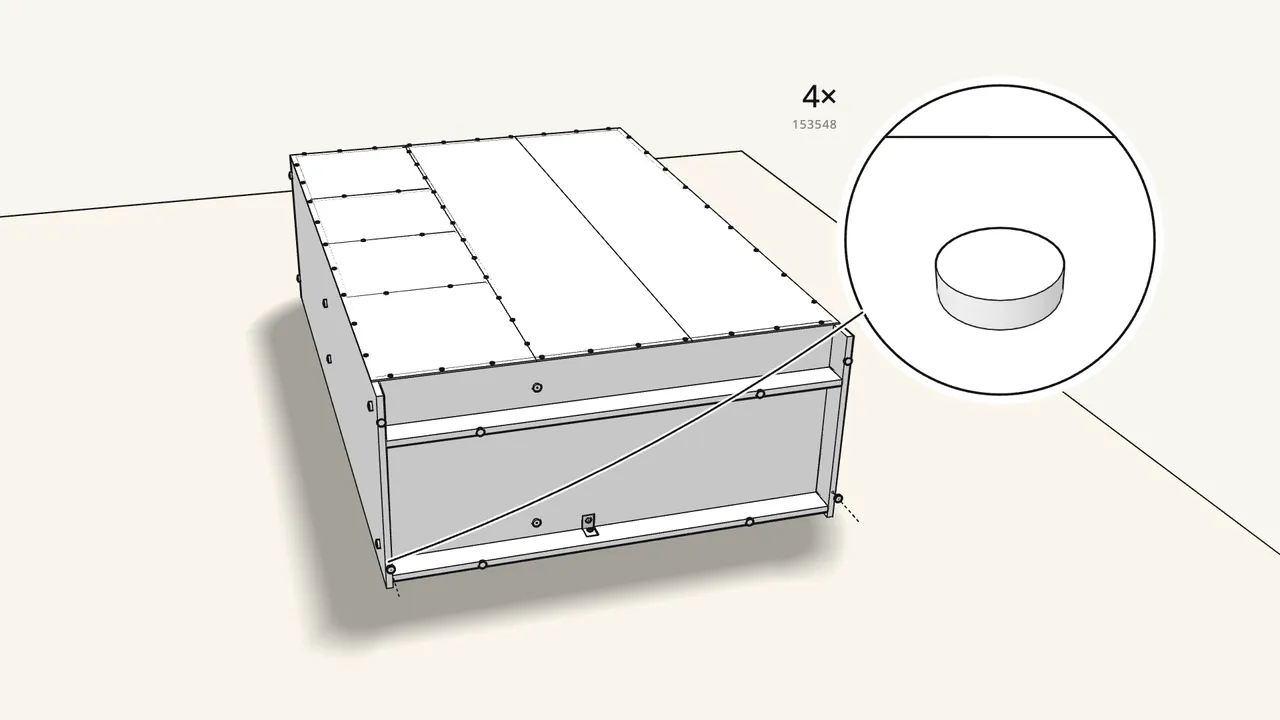
Step 14 · manual step 24
Press 4 glides (153548) into the bottom edges of the sides.
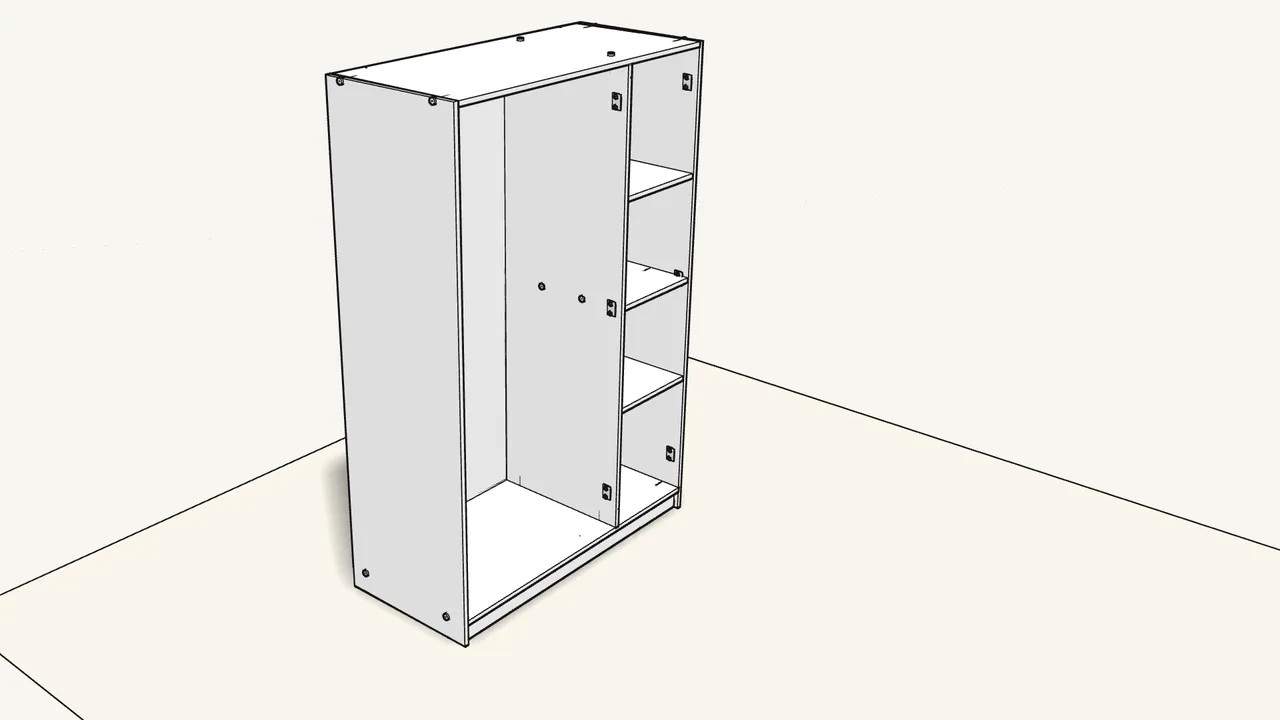
Step 15 · manual step 25
Raise the wardrobe upright — two people.
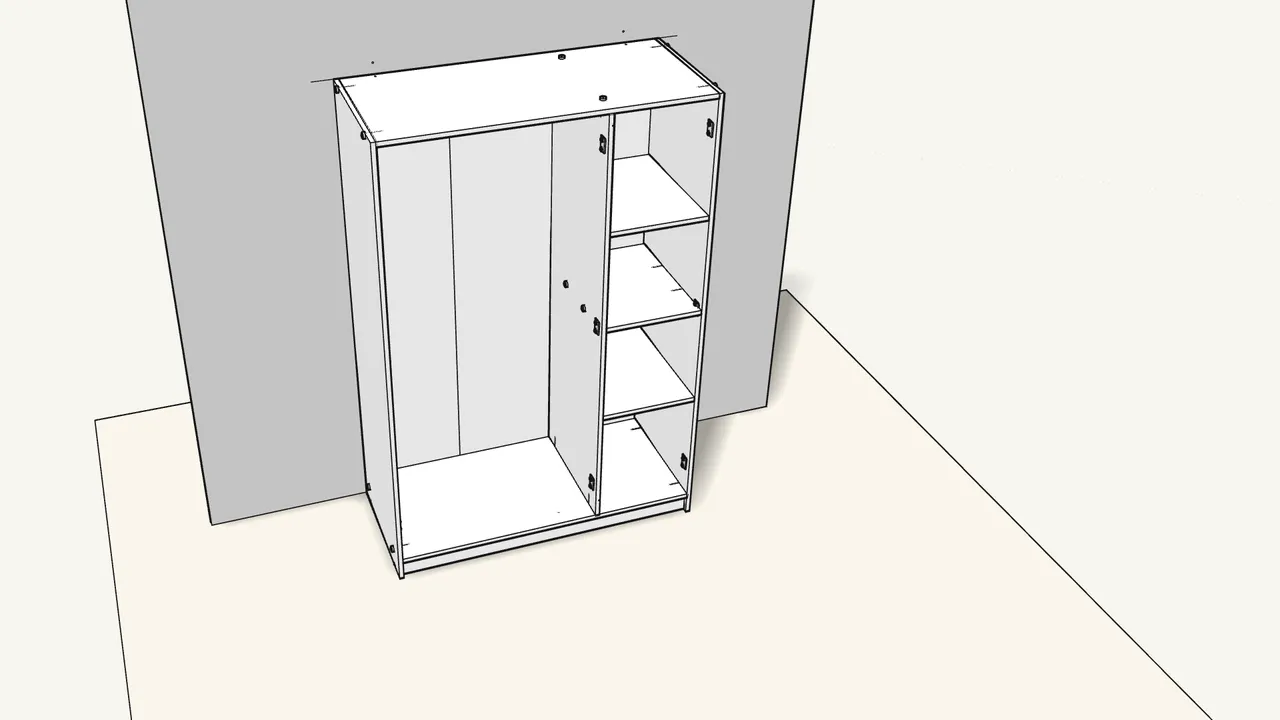
Step 16 · manual step 26
Stand it against the wall and mark the top edge with a pencil.
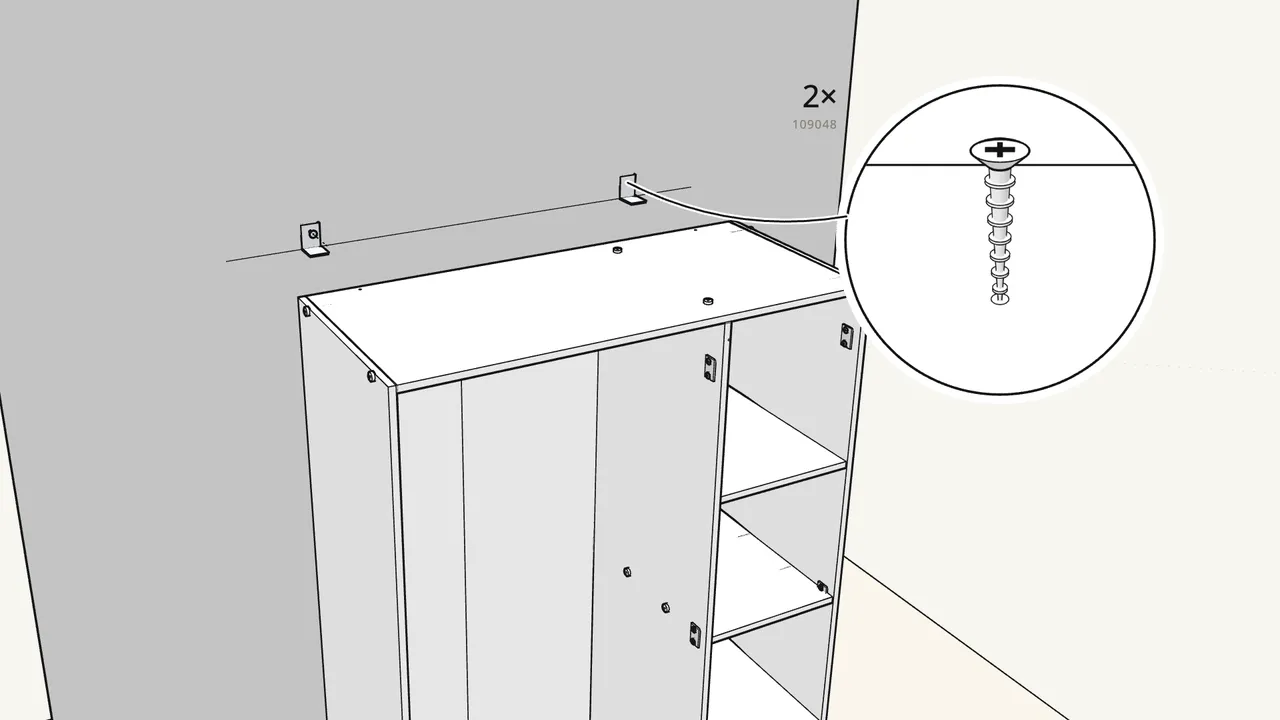
Step 17 · manual step 27–29
Pull the wardrobe out. Screw the 2 wall brackets (106989) to the wall on the line.
Screws 109048 + washers 100823. Plugs and drill bit depend on your wall — see step 28.
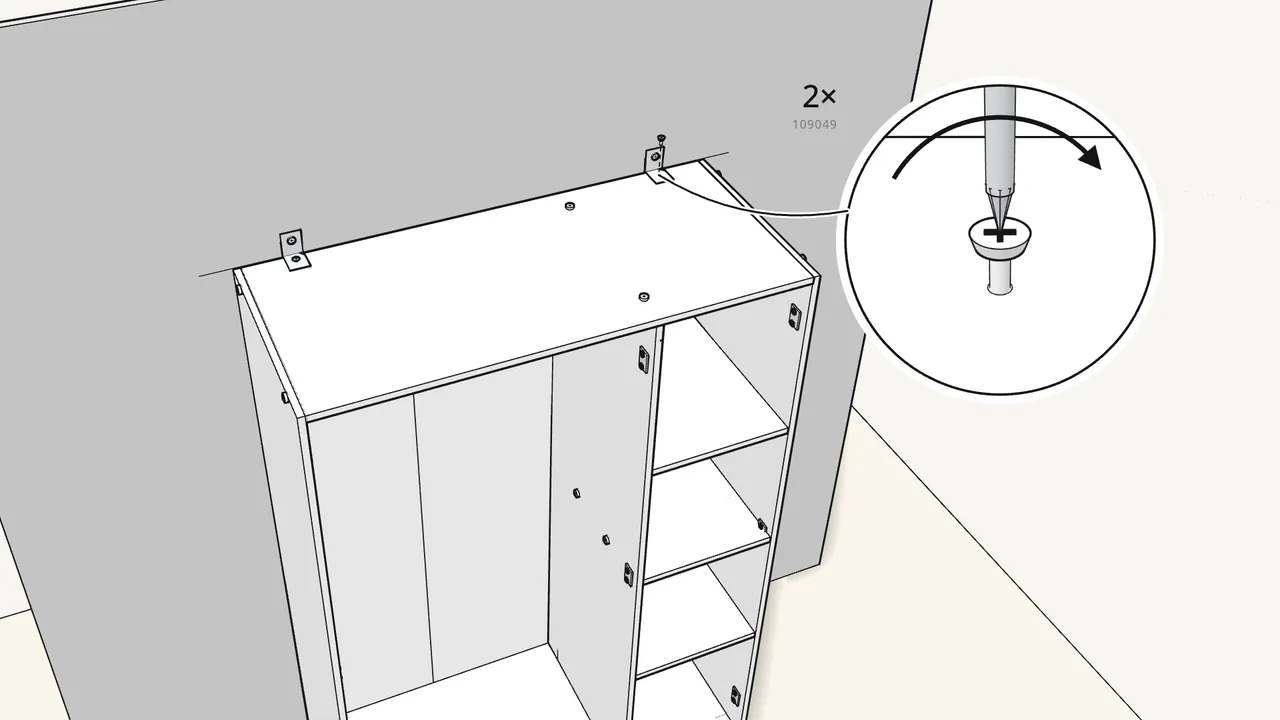
Step 18 · manual step 30–31
Push it back and screw the brackets to the top panel.
2 screws (109049) with washers (100823). Use a step ladder.
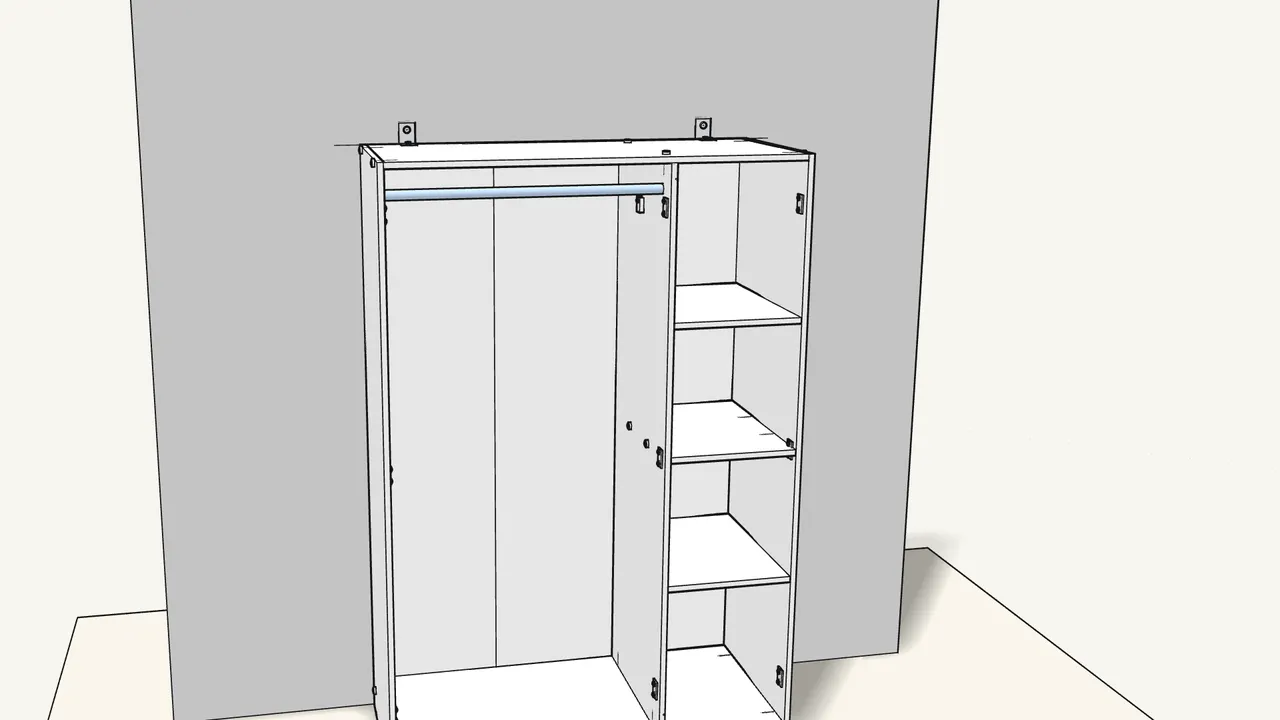
Step 19 · manual step 32–33
Screw on the 2 rail holders (157306) and drop in the clothes rail.
1 screw (105248) per holder.
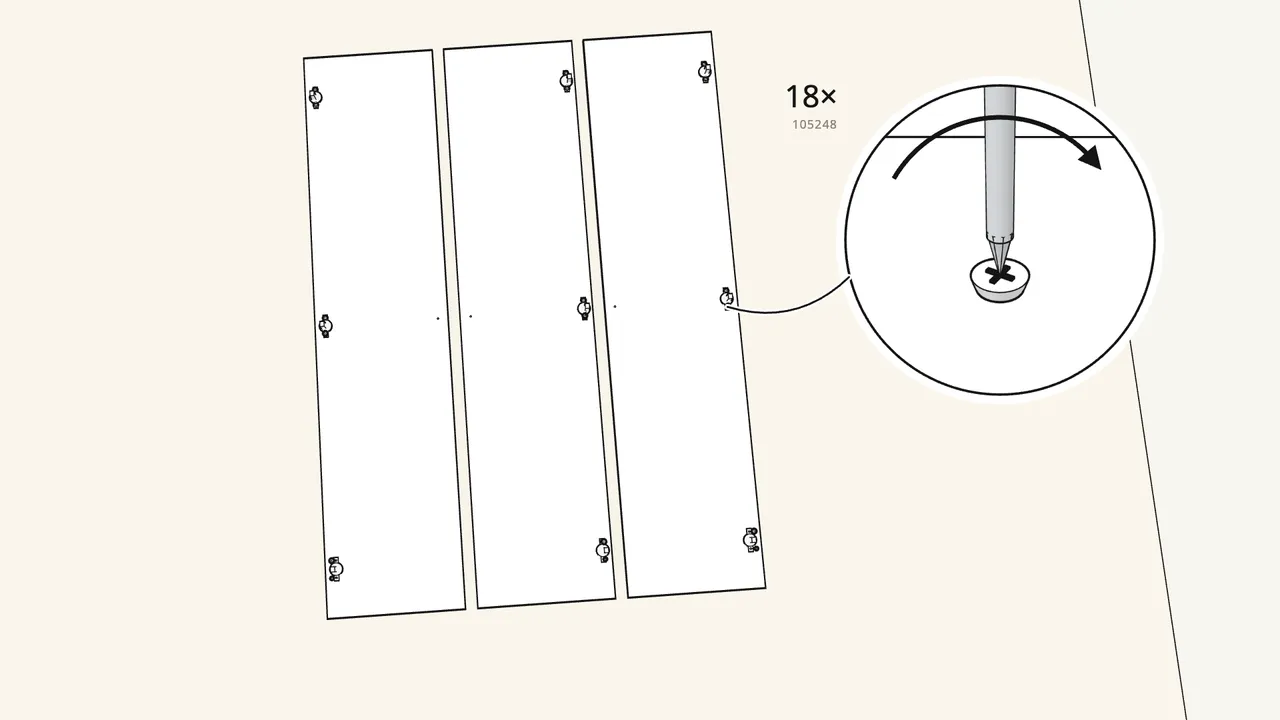
Step 20 · manual step 34
Screw 3 hinges (109338) onto each door.
Doors face-down. 2 screws (105248) per hinge — 9 hinges.
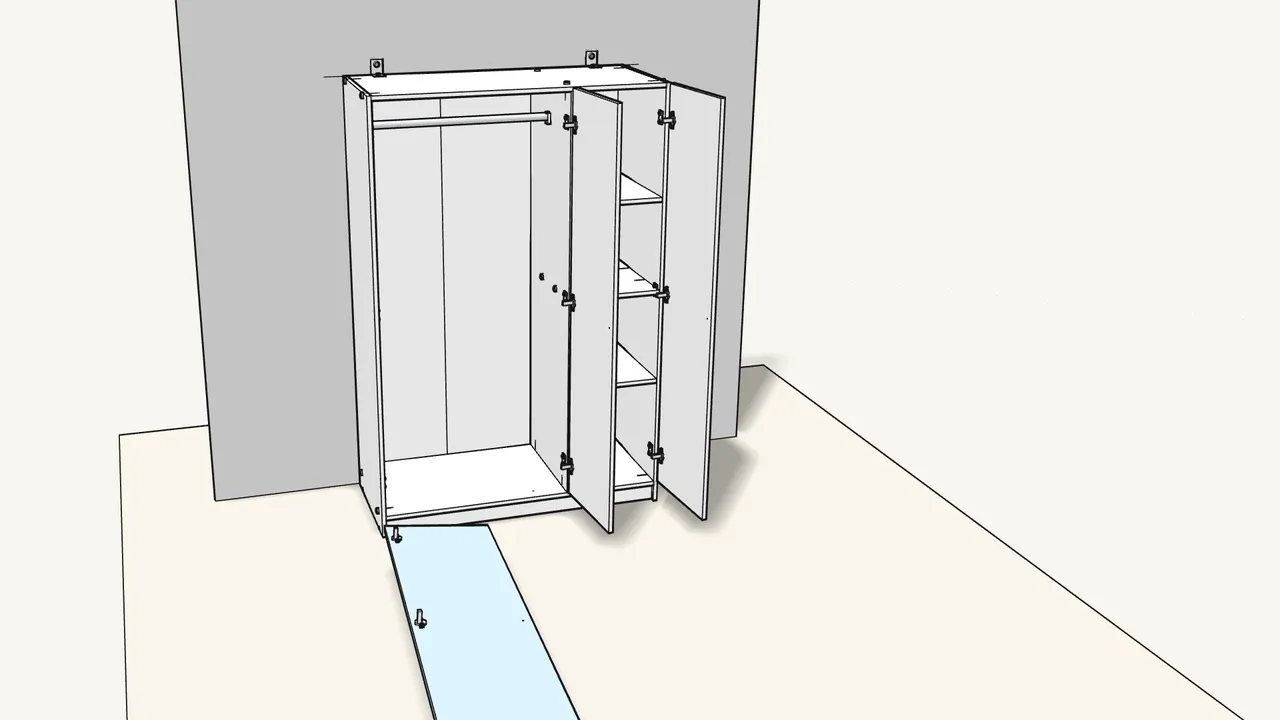
Step 21 · manual step 35
Slide each hinge onto its mounting plate, then tighten the screw.
Left door on the left side, middle door on the divider, right door on the right side.
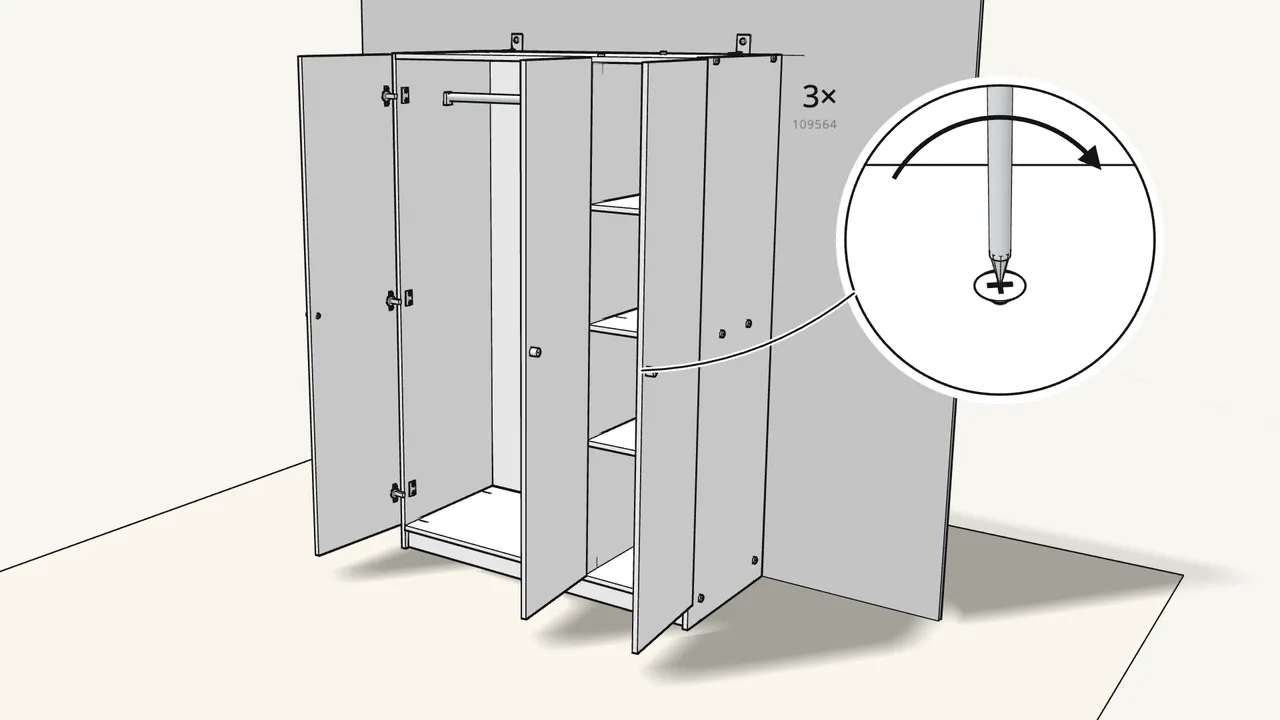
Step 22 · manual step 36
Screw a knob (10032311) onto each door.
1 screw (109564) per knob, from the inside.
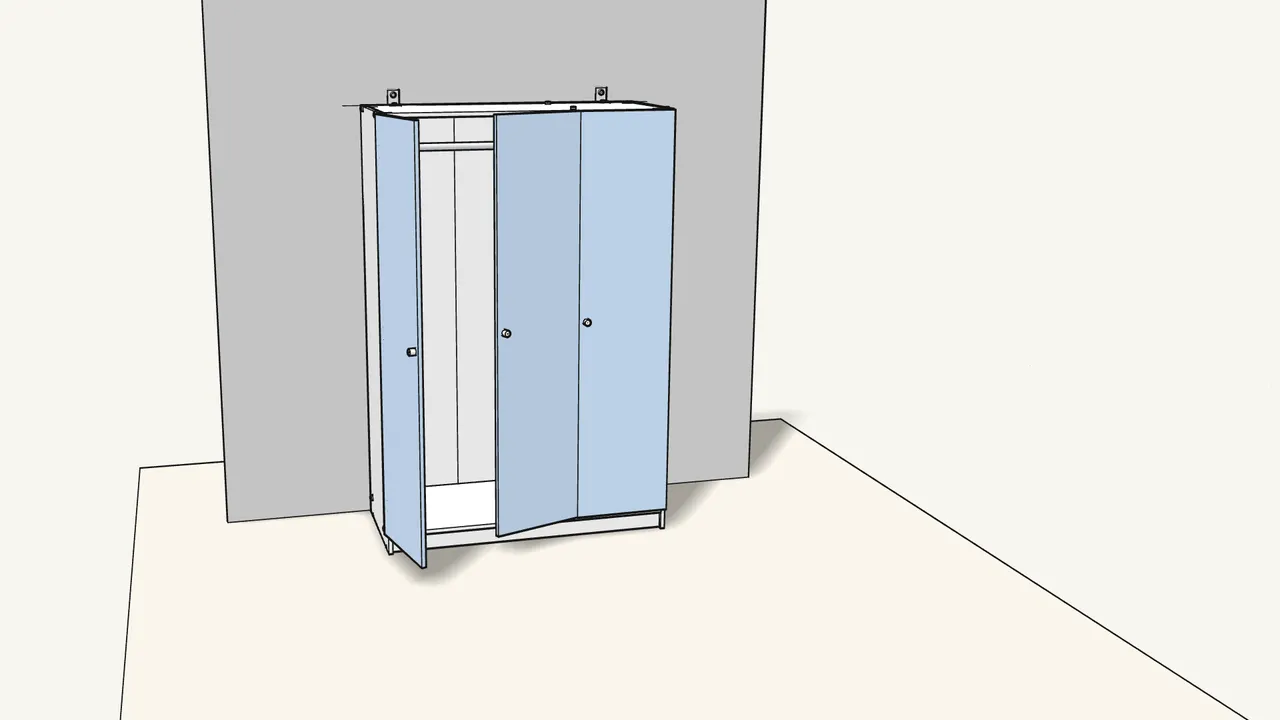
Step 23 · manual step 37
Press on the bumpers (107091), then close the doors.
Press them onto the front edge of the divider, top and bottom.
Tips & safety
- Always fix the wardrobe to the wall. Children have died from furniture tip-over. The screws and plugs supplied suit most solid and hollow walls; in solid wood use the screws without plugs. If unsure, seek professional advice. Never put a TV on it.
- Doors not lined up? Turn the screws on the hinges with a screwdriver to move a door up/down, sideways or in/out (see the last page of the manual).
Official instructions
This guide follows IKEA's official assembly instructions (AA-2165990-3). Keep the printed manual to hand — if anything differs, the manual is right.