IKEA · Cabinets & Wardrobes
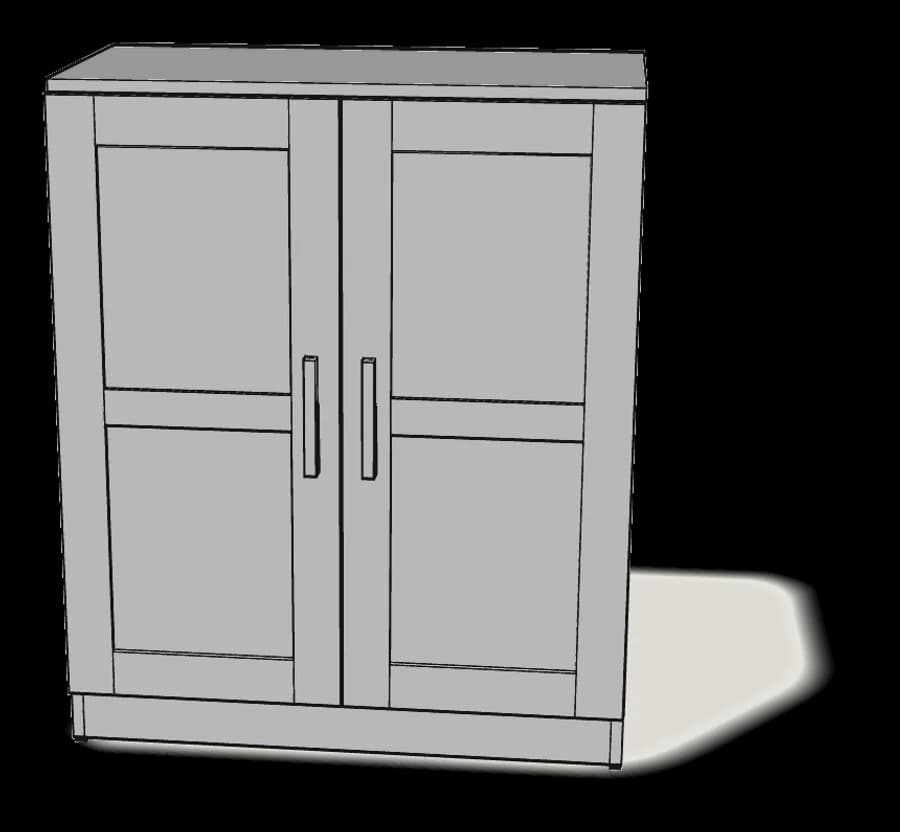
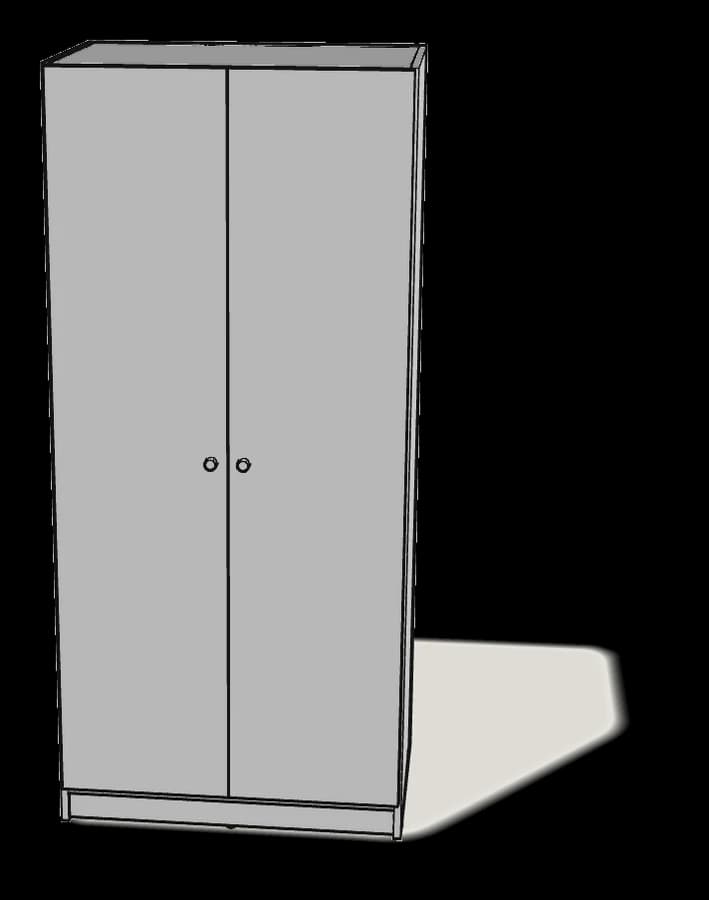
How to Assemble IKEA KLEPPSTAD Wardrobe with 2 Doors
Step-by-step IKEA KLEPPSTAD wardrobe with 2 doors assembly: 21 illustrated steps, an animated video, the hardware list and the tools you need — following the official instructions (AA-2423578-4).
- 21 illustrated steps
- 35 steps in the manual
- 3:13 video
- 79×55×176 cm
What you need
Tools
- Flat-head screwdriver
- Phillips screwdriver
- Hammer
- Allen key (included)
- Drill (for wall fixing)
You’ll need: flat-head and Phillips screwdrivers, a pencil, a hammer, a step ladder and a drill for the wall fixing.
Hardware in the box
| Part no. (as printed in the manual) | Qty |
|---|---|
| 100214 | 12× |
| 101345 | 34× |
| 103717 | 1× |
| 105248 | 26× |
| 109041 | 2× |
| 109564 | 2× |
| 123840 | 4× |
| 153548 | 6× |
| 106989 | 2× |
| 109567 | 2× |
| 10087223 | 2× |
| 109049 | 2× |
| 100823 | 4× |
Step-by-step assembly
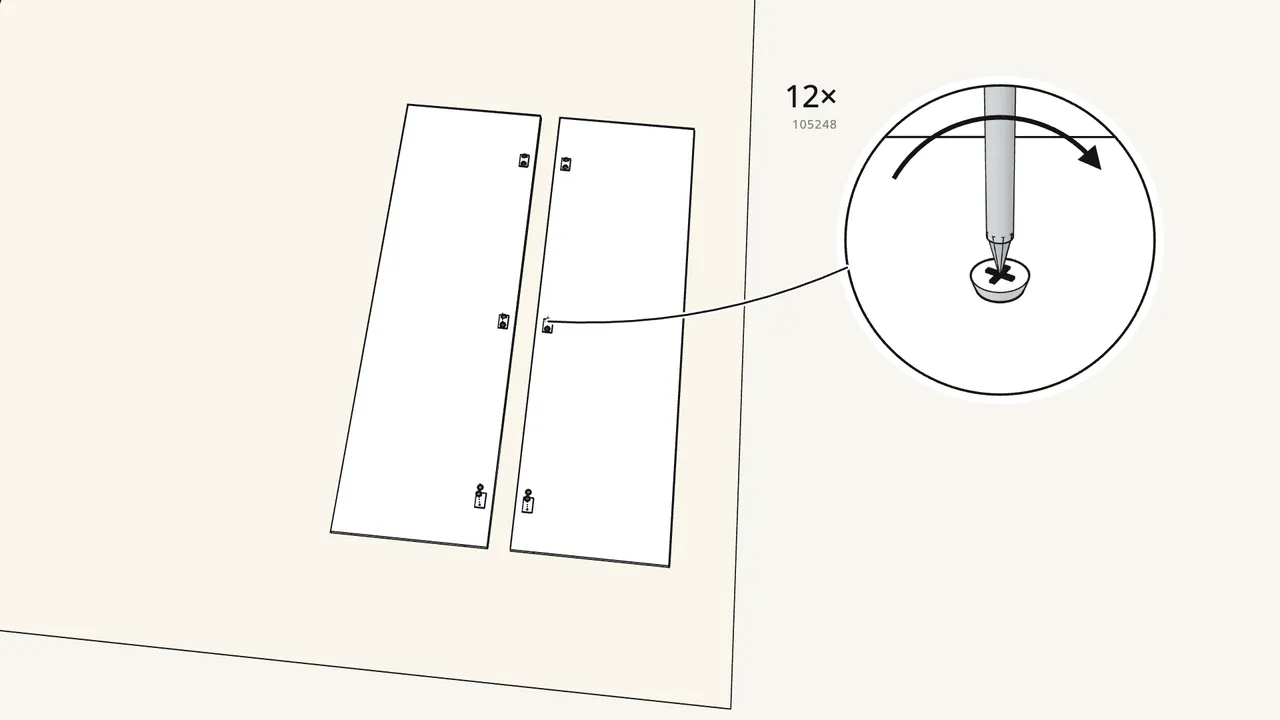
Step 1
Screw 3 hinge plates (109221) onto each side panel.
2 screws (105248) per plate. Lay the panels on a rug.
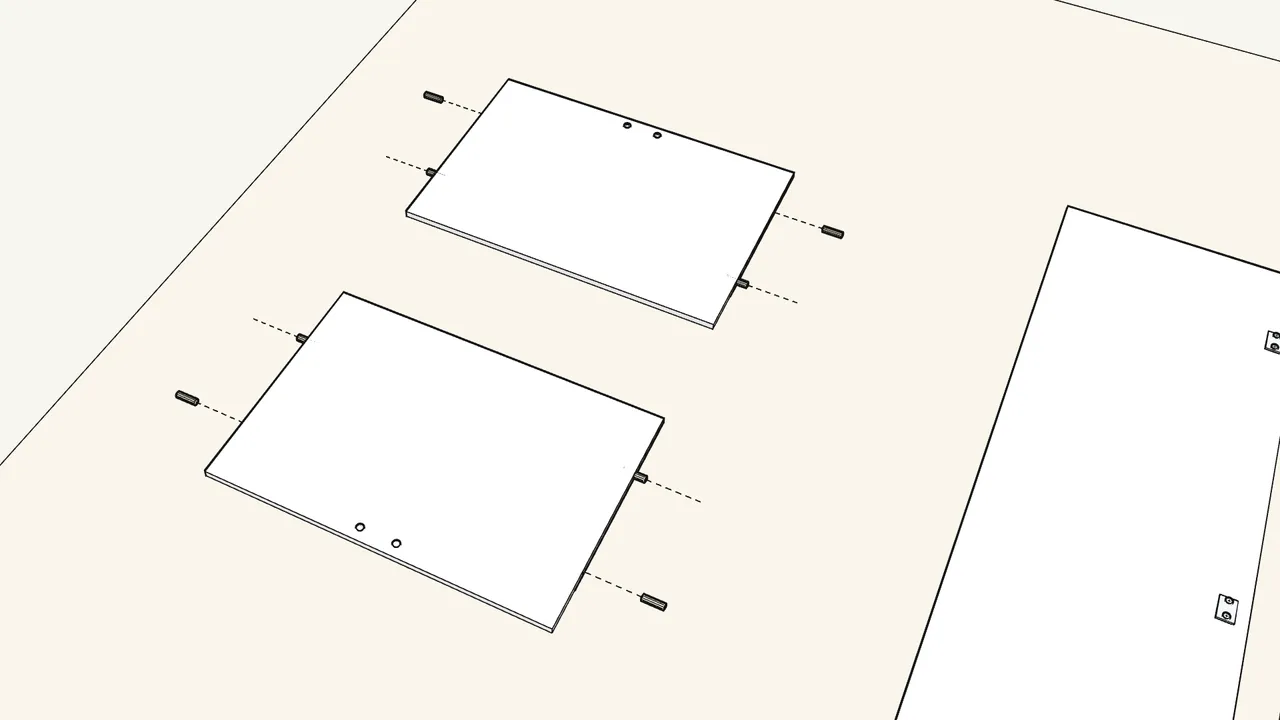
Step 2 · manual step 2–3
Tap 4 fittings (123840) into the top and bottom panels, then push in 8 dowels.
Use a hammer for the fittings. Dowels 101345 go into the ends.
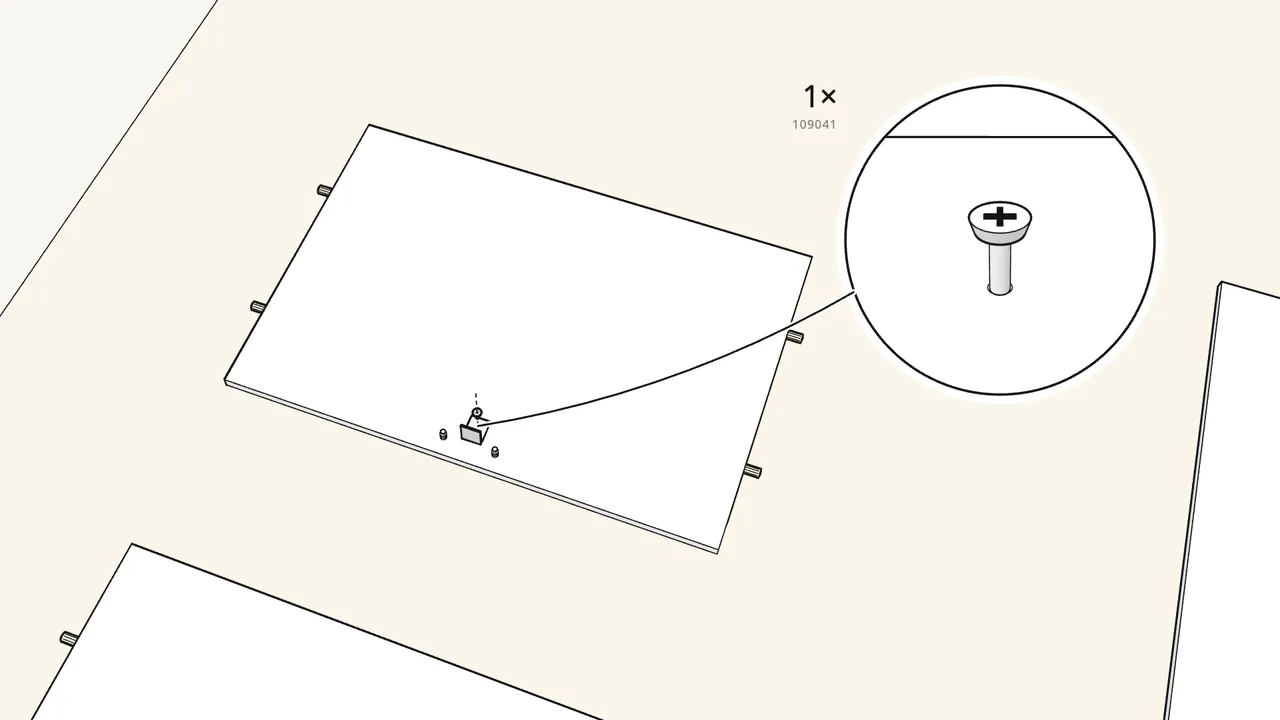
Step 3 · manual step 4
Turn the bottom panel over and screw on the bracket (103717).
1 screw (109041) — not the longer one.
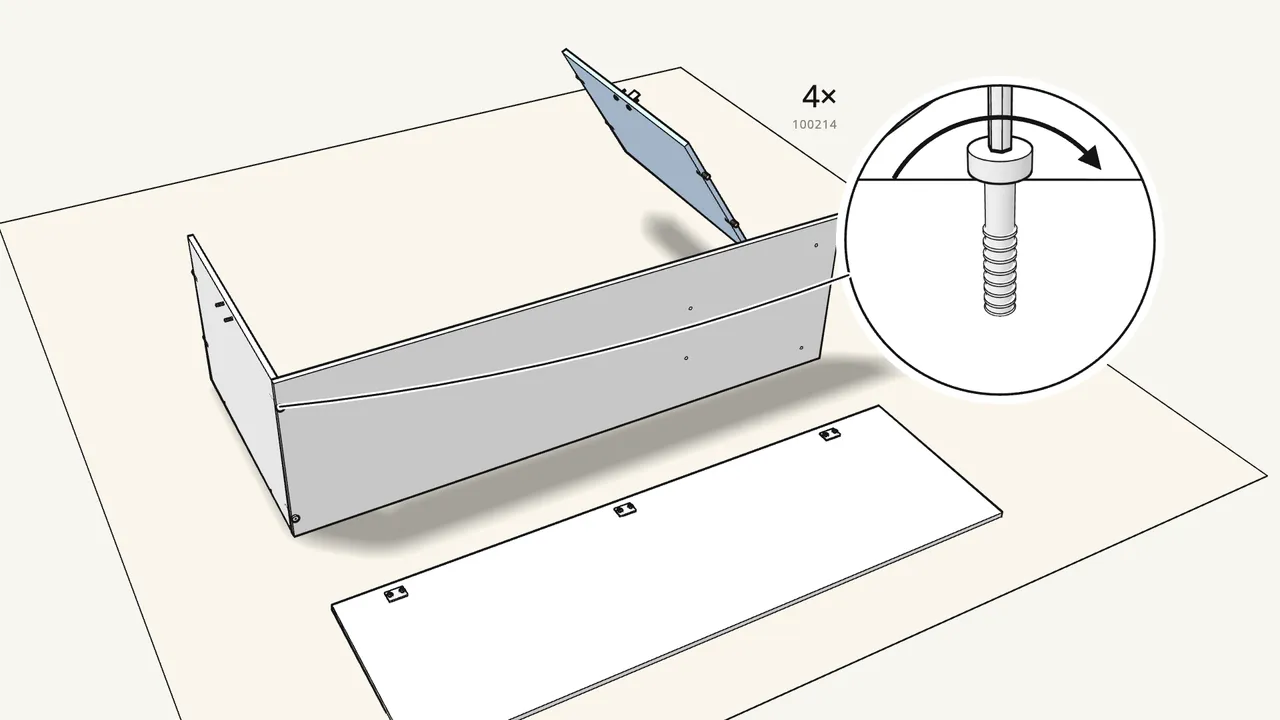
Step 4 · manual step 5–6
Stand one side on its edge. Fix the top and bottom — 2 screws each.
Screws 100214, tightened with the Allen key (100001).
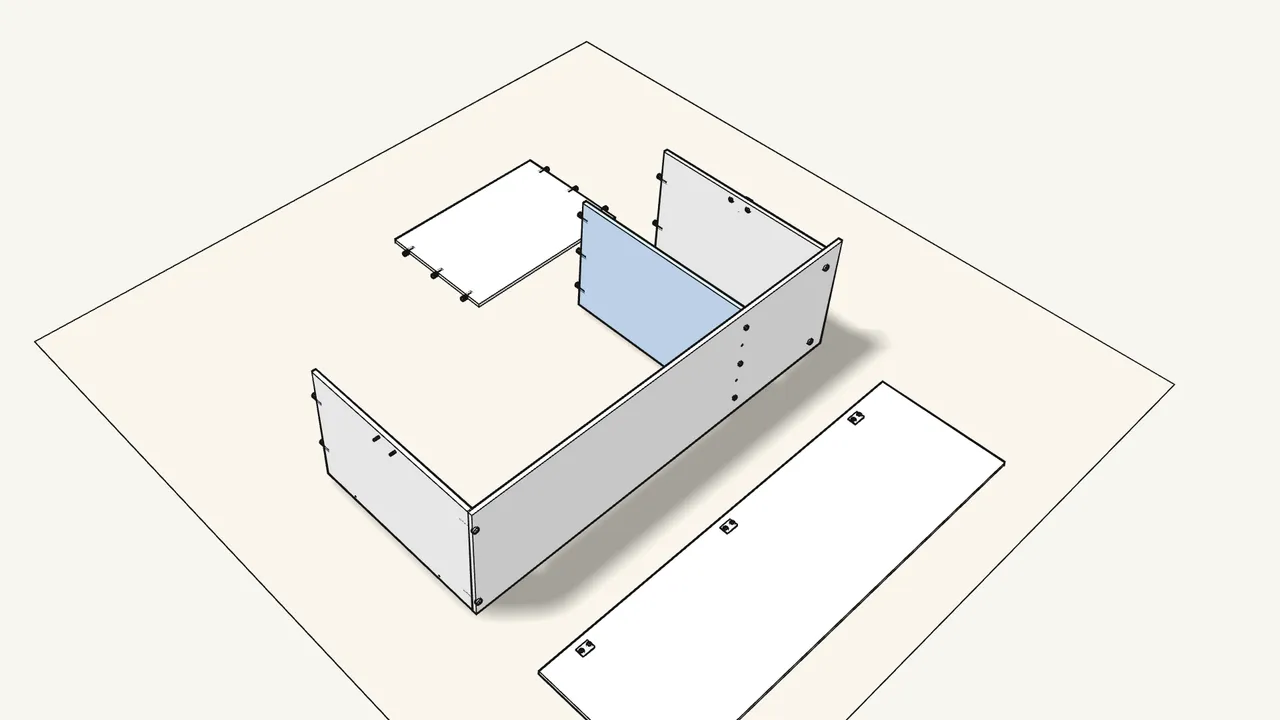
Step 5 · manual step 7–8
Push 12 dowels into the two shelves. Fix one shelf with 2 screws.
Dowels 101345; screws 100214 with the Allen key.
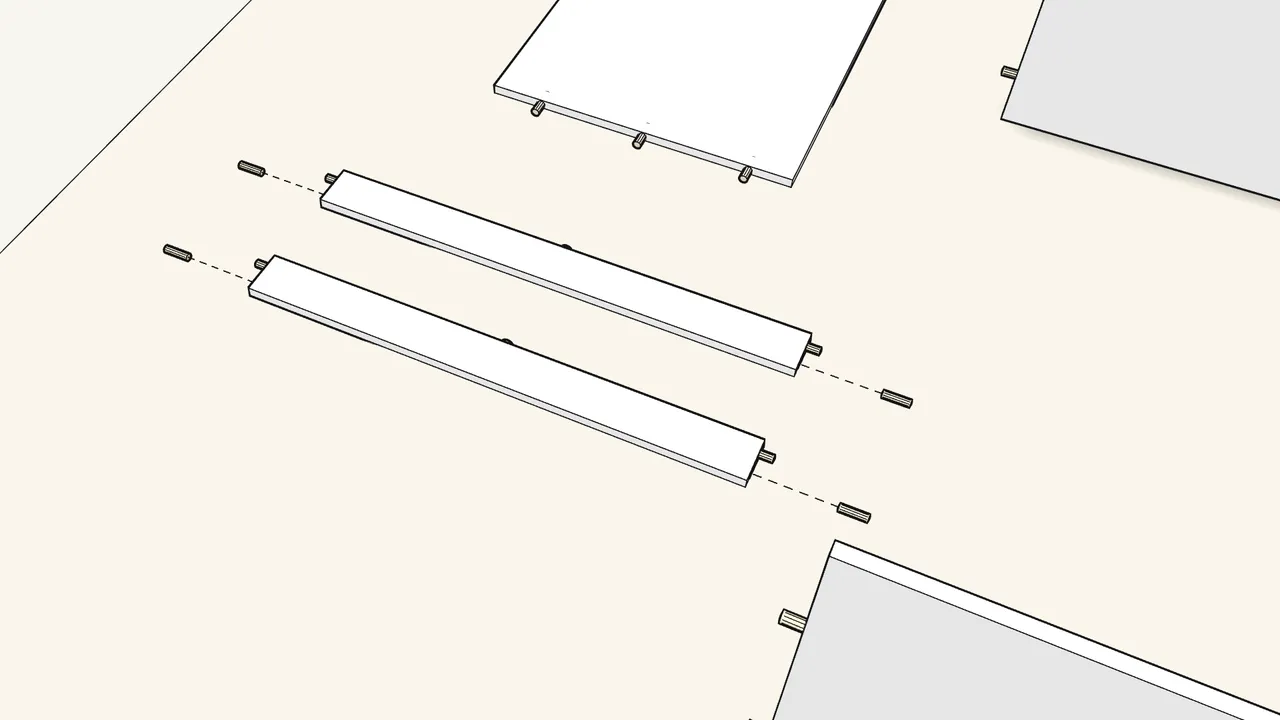
Step 6 · manual step 9–10
Press a glide (153548) into each rail, then push in 8 dowels.
Glide on the bottom edge; 2 dowels (101345) in each end.
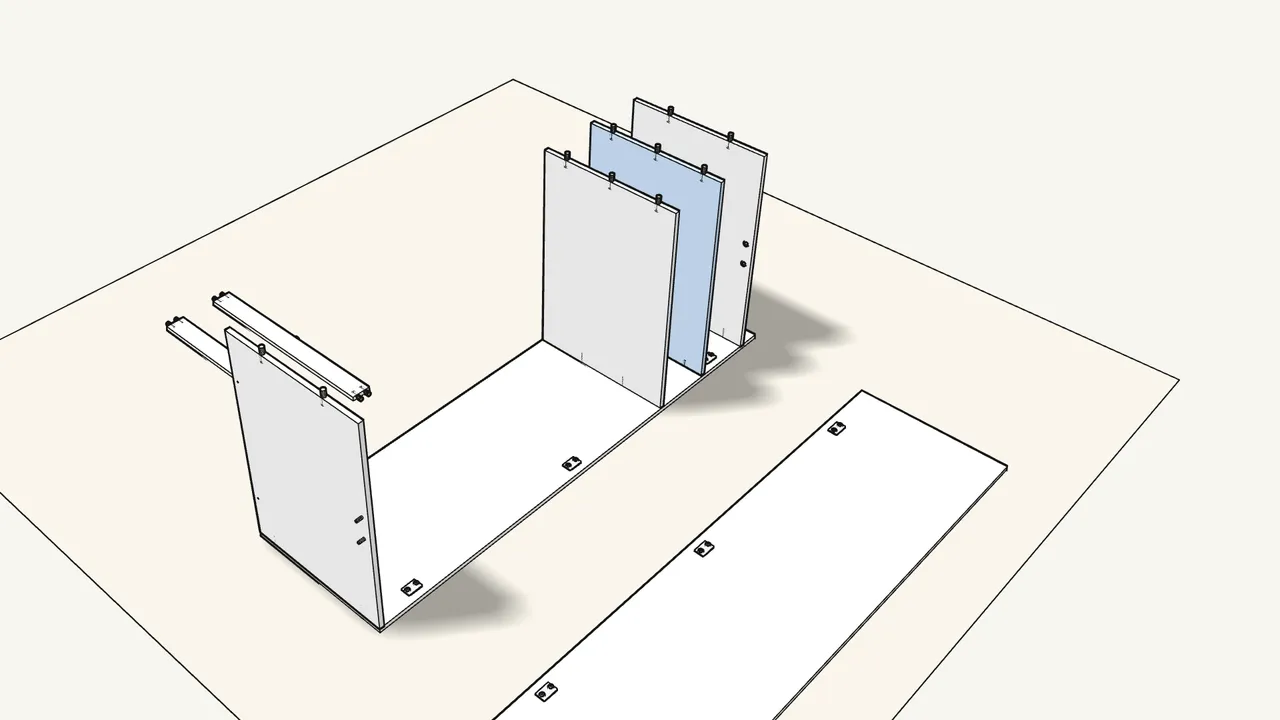
Step 7 · manual step 11
Turn the frame onto its side. Fit the second shelf onto its dowels.
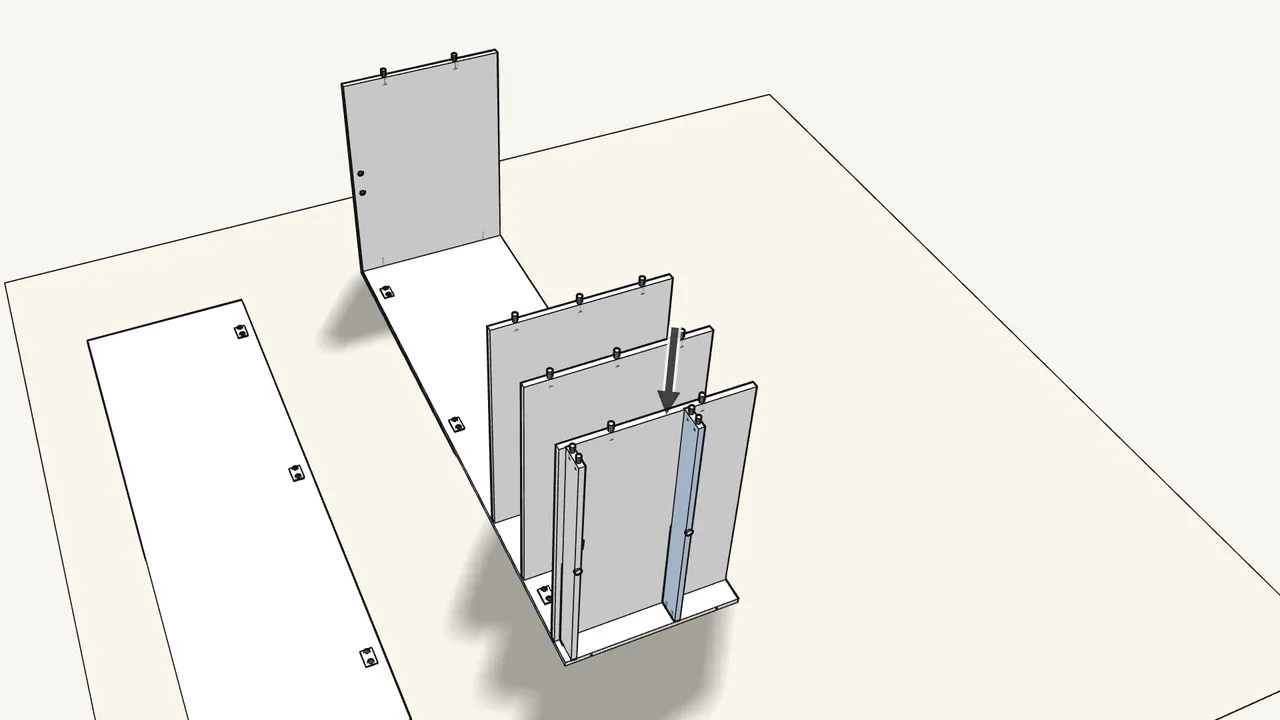
Step 8 · manual step 12–13
Slide the two rails in at the bottom end.
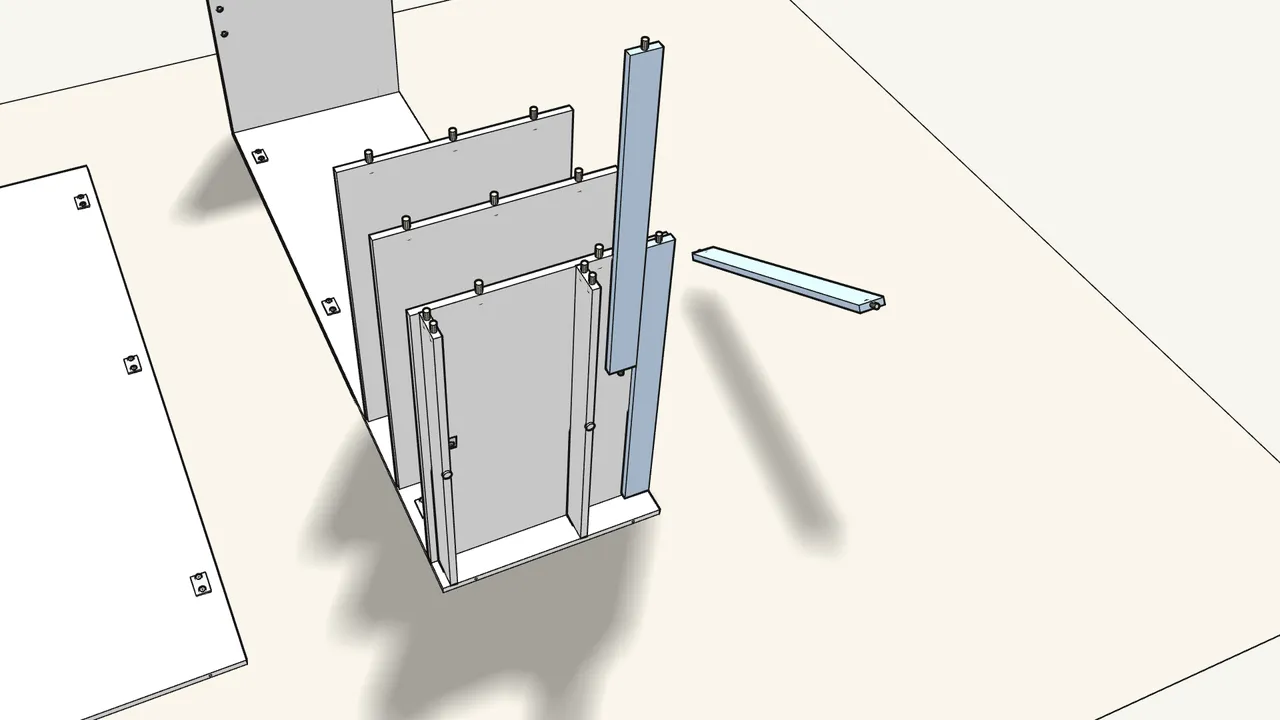
Step 9 · manual step 14–15
Push 6 dowels into the 3 narrow boards and slide them in.
They go in at the bottom end — check the position in the manual, step 15.
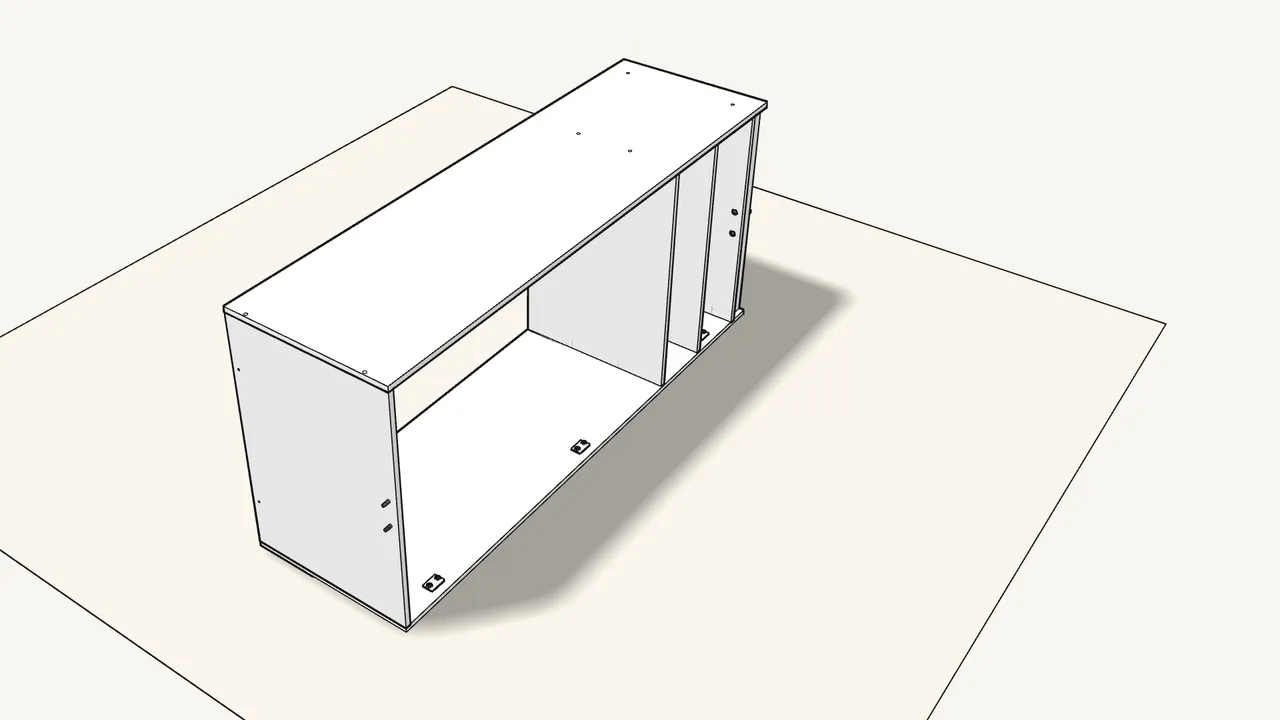
Step 10 · manual step 16
Lay the second side panel on top.
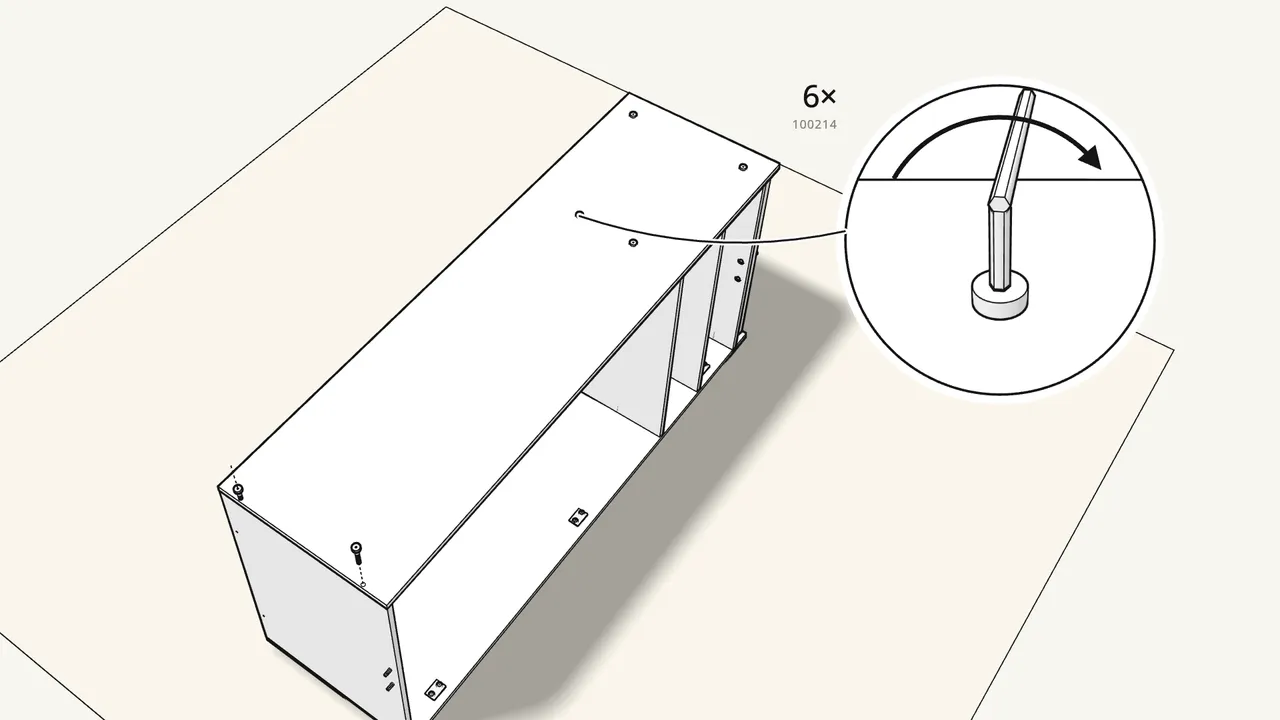
Step 11 · manual step 17–19
Fix the second side with 6 screws (100214).
Tighten with the Allen key — see the manual, steps 17–19, for which holes.
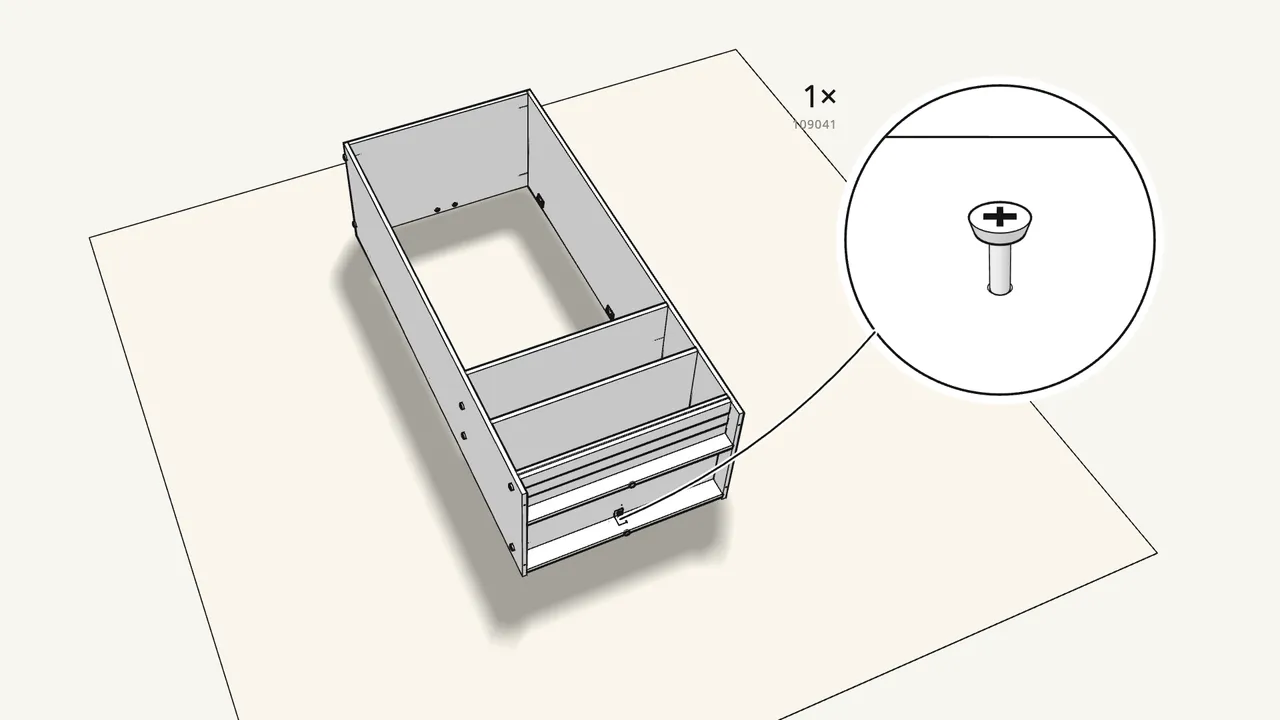
Step 12 · manual step 20
Turn it onto its front. Screw the bracket to the front rail.
1 screw (109041) — not the longer one.
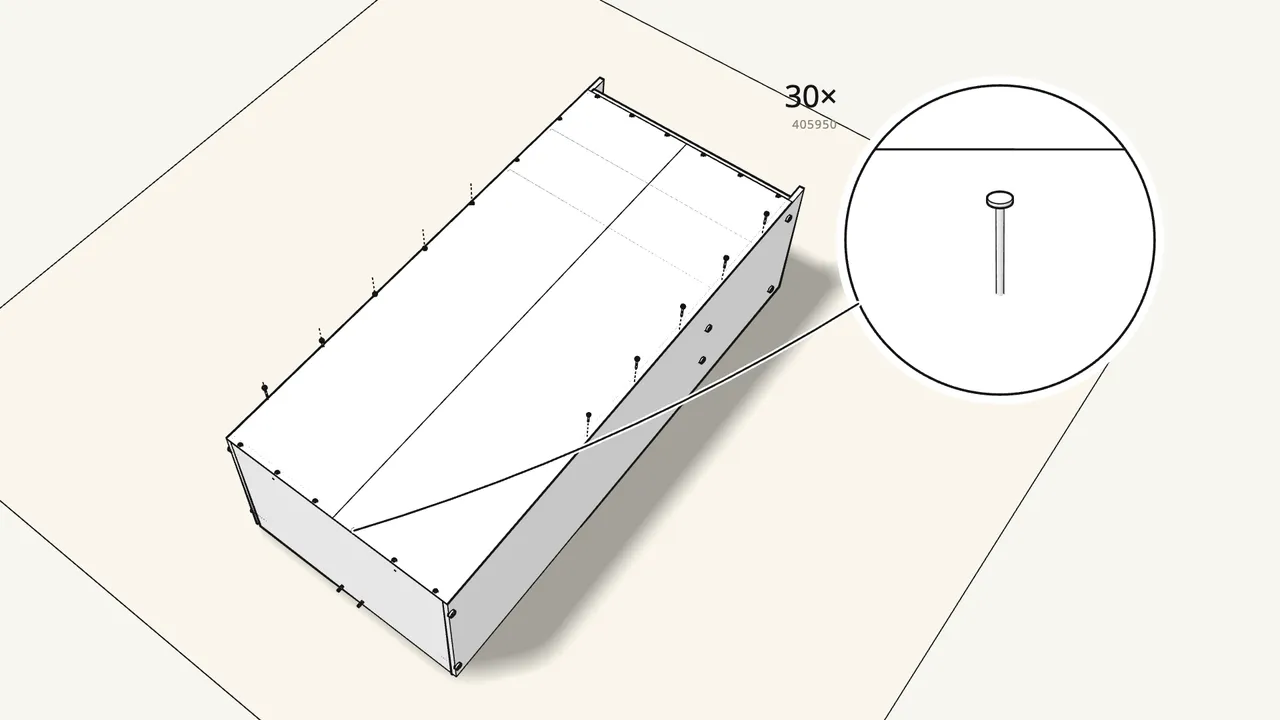
Step 13 · manual step 21–23
Lay on the back panel, line it up and nail it on.
Hold the nails (405950) in the nail guide (105494) — 15 on each half.
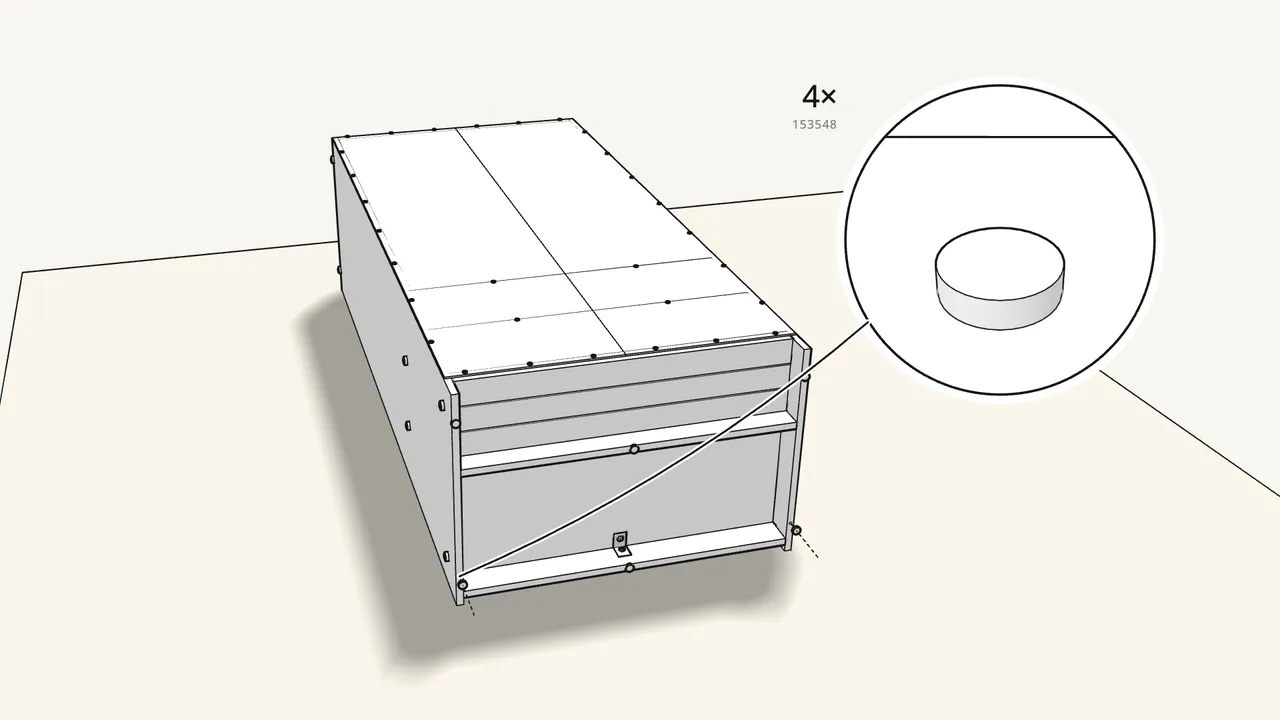
Step 14 · manual step 24
Press 4 glides (153548) into the bottom edges of the sides.
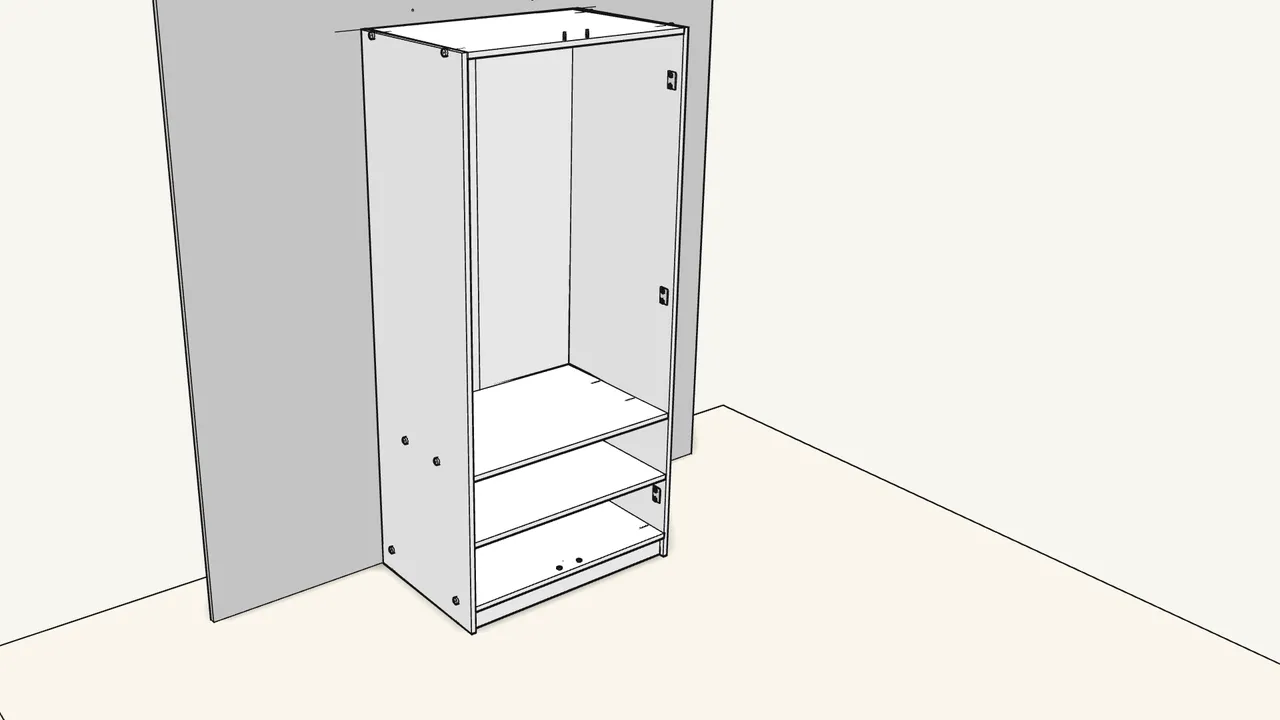
Step 15 · manual step 25
Raise the wardrobe with two people. Mark the top edge on the wall.
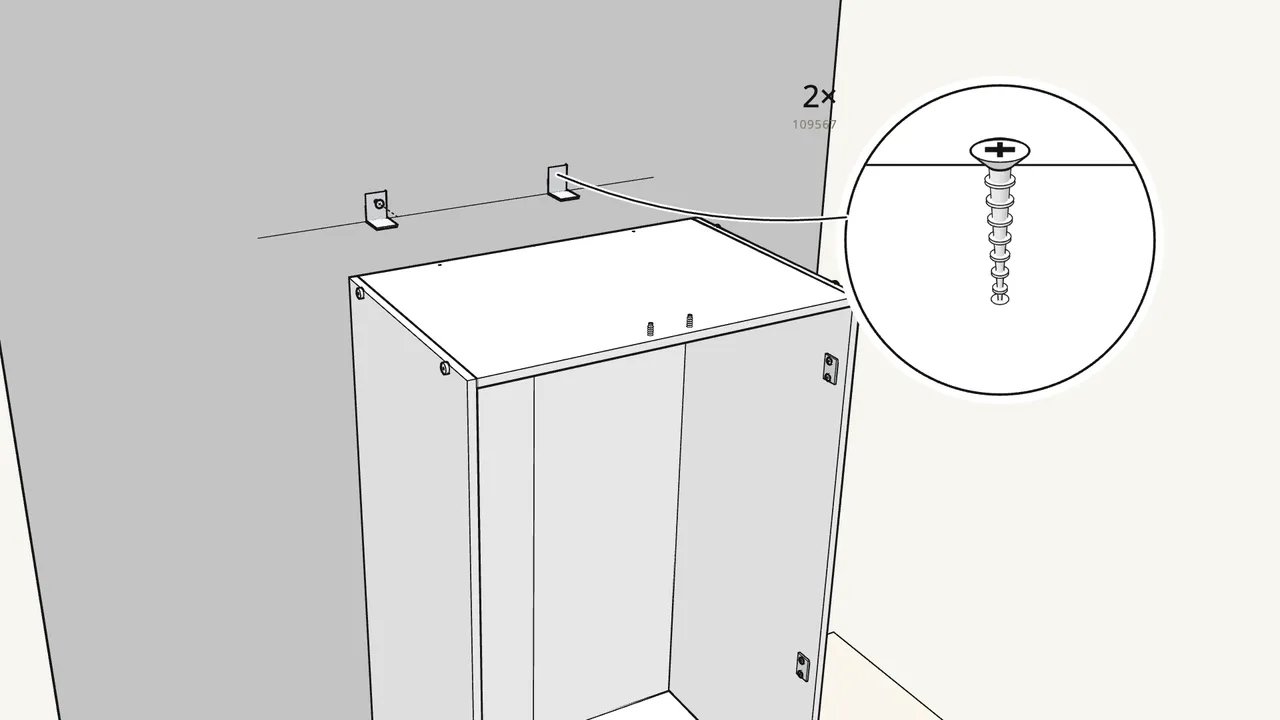
Step 16 · manual step 26–28
Pull the wardrobe out. Screw the 2 wall brackets (106989) to the wall.
Screws 109567 + washers 100823. Plugs and drill bit depend on your wall — see step 27.
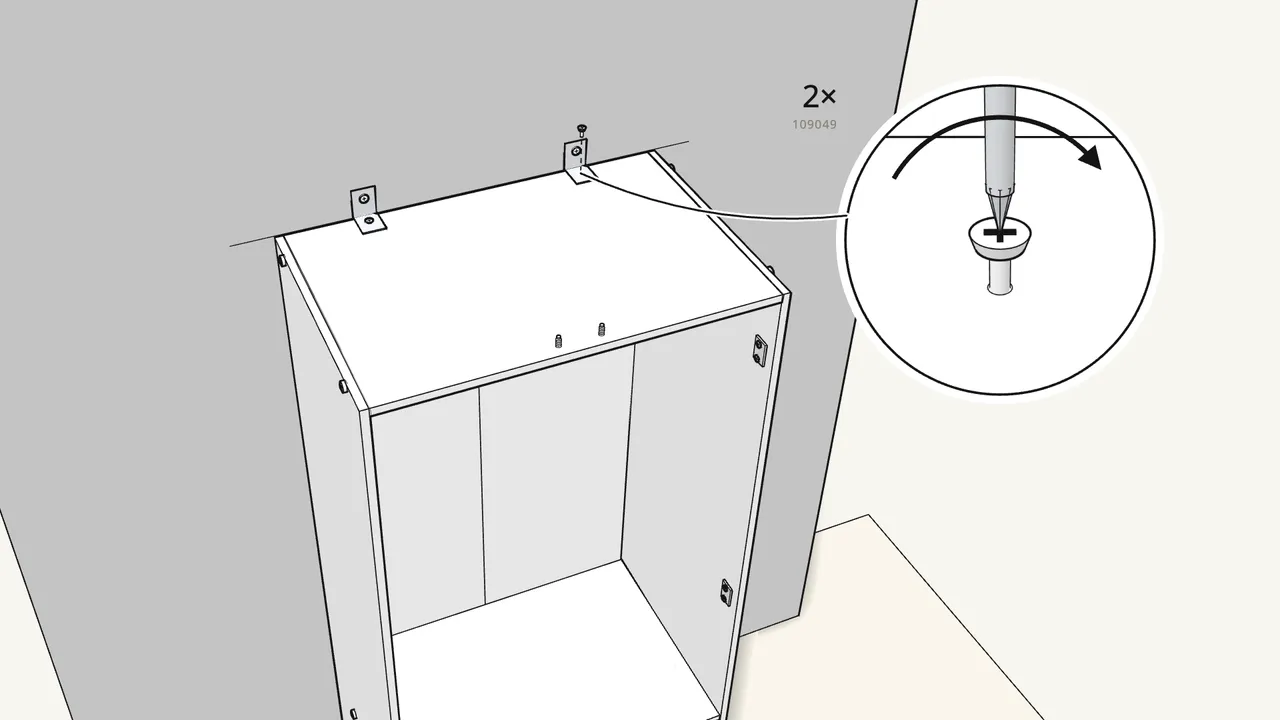
Step 17 · manual step 29–30
Push it back and screw the brackets to the top panel.
2 screws (109049) with washers (100823). Use a step ladder.
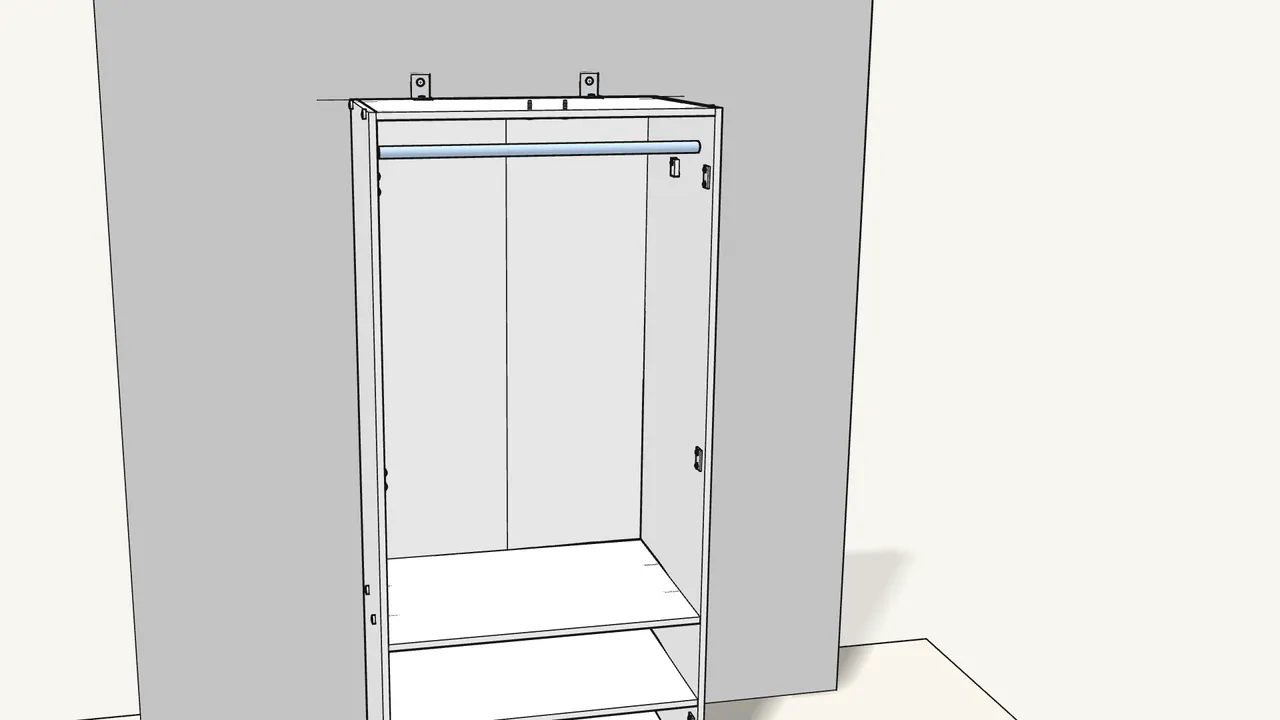
Step 18 · manual step 31–32
Screw on the 2 rail holders (157306) and drop in the clothes rail.
1 screw (105248) per holder.
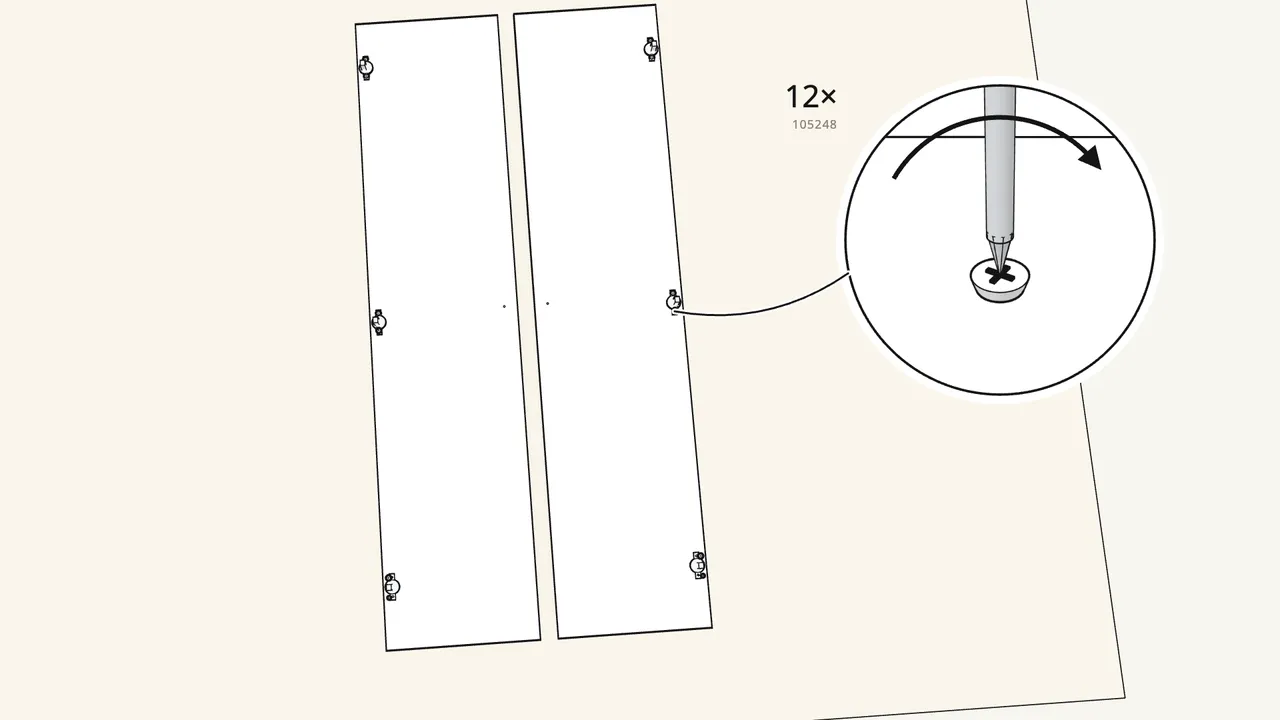
Step 19 · manual step 33
Screw 3 hinges (109338) onto each door.
Doors face-down. 2 screws (105248) per hinge.
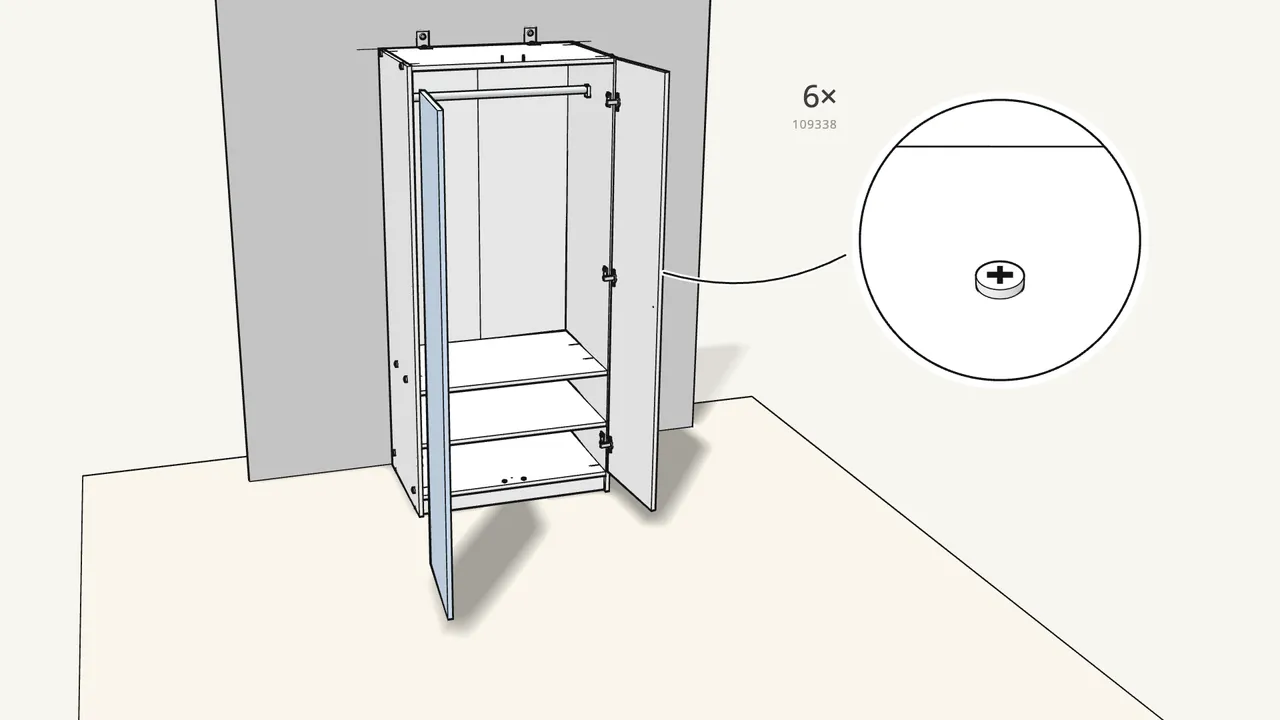
Step 20 · manual step 34
Clip each hinge onto its mounting plate, then tighten the screw.
Left door on the left side, right door on the right side.
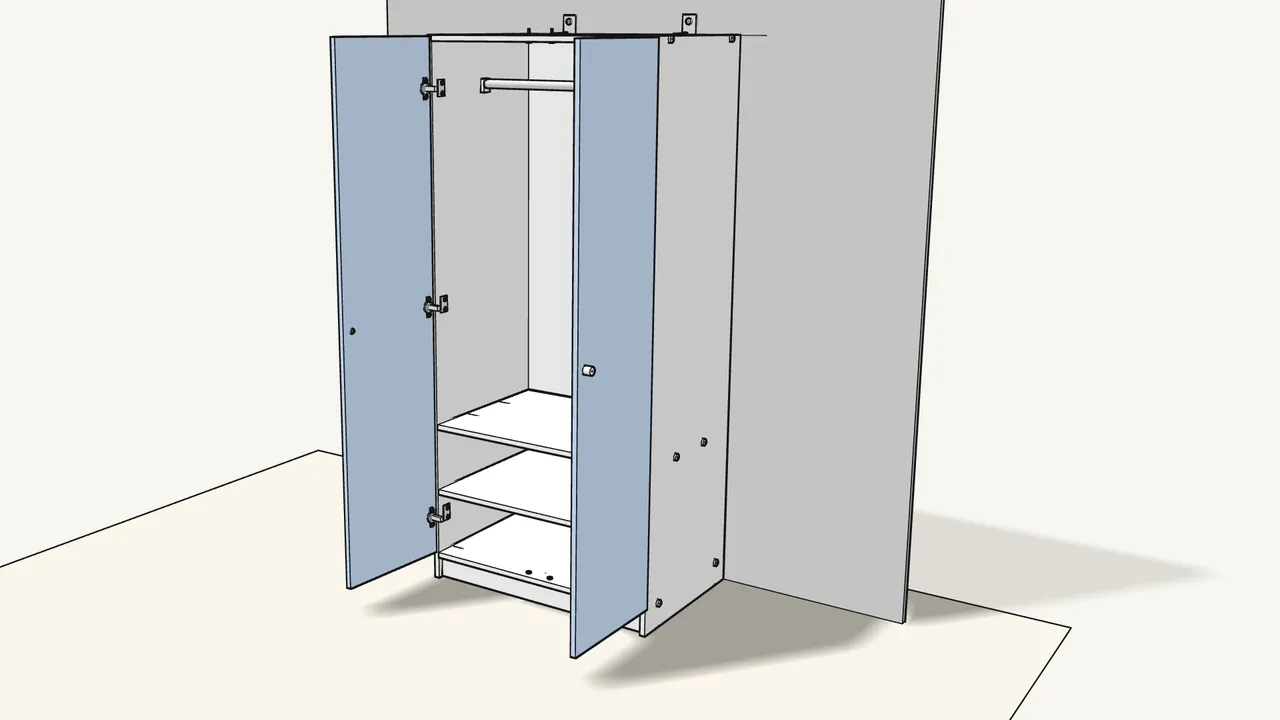
Step 21 · manual step 35
Screw a knob (10032311) onto each door, then close the doors.
1 screw (109564) per knob, from the inside.
Tips & safety
- Always fix the wardrobe to the wall. Children have died from furniture tip-over. The screws and plugs supplied suit most solid and hollow walls; in solid wood use the screws without plugs. If unsure, seek professional advice. Never put a TV on it.
- Doors not lined up? Turn the screws on the hinges with a screwdriver to move a door up/down, sideways or in/out (see the last page of the manual).
Official instructions
This guide follows IKEA's official assembly instructions (AA-2423578-4). Keep the printed manual to hand — if anything differs, the manual is right.