IKEA · Cabinets & Wardrobes
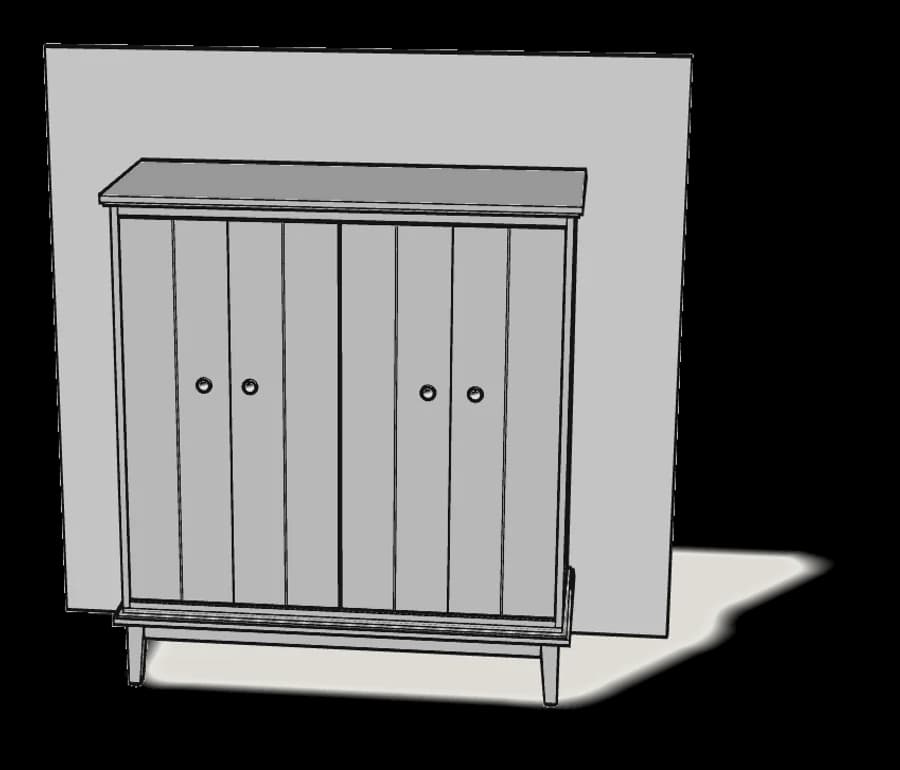
How to assemble IKEA IDANÄS Cabinet with Bi-Folding Doors
Step-by-step IKEA IDANÄS Cabinet with Bi-Folding Doors assembly: 21 illustrated steps, an animated video, the hardware list and the tools you need — following the official instructions (AA-2413399-6).
- 21 illustrated steps
- 43 steps in the manual
- 3:17 video
- 121×50×135 cm
What you need
Tools
- Flat-head screwdriver
- Phillips screwdriver
- Hammer
- Allen key (included)
- Spirit level
- Drill (for wall fixing)
You’ll need: flat-head and Phillips screwdrivers, a pencil, a hammer, a spirit level and a drill for the wall fixing.
Hardware in the box
| Part no. (as printed in the manual) | Qty |
|---|---|
| 10093458 | 4× |
| 100086 | 4× |
| 100217 | 1× |
| 101354 | 4× |
| 101352 | 4× |
| 102553 | 2× |
| 100347 | 4× |
| 131372 | 16× |
| 10093081 | 8× |
| 151706 | 8× |
| 151705 | 8× |
| 131399 | 4× |
| 119976 | 4× |
| 192158 | 12× |
| 10051084 | 10× |
| 10075558 | 10× |
| 150769 | 16× |
| 10116098 | 2× |
| 10116097 | 2× |
| 10087223 | 2× |
| 126916 | 2× |
Step-by-step assembly
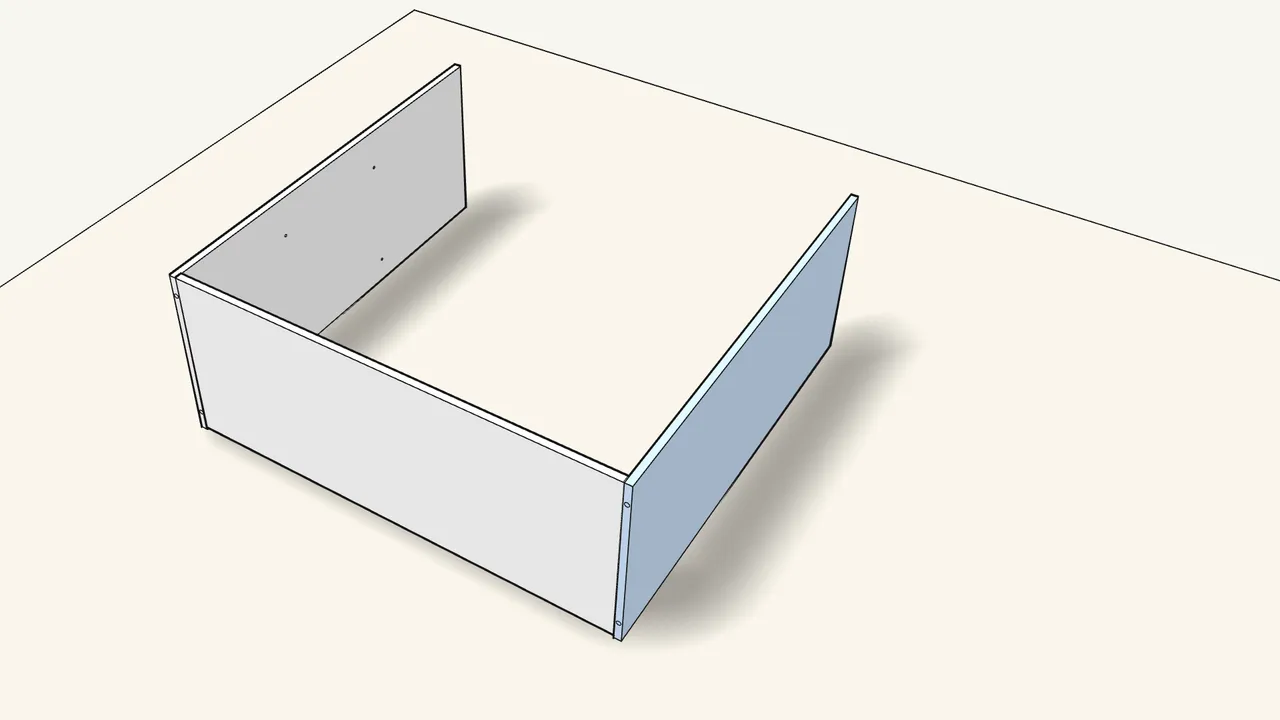
Step 1 · manual step 1–2
Hook both side panels onto the bottom panel.
The connectors are pre-fitted: slide them into the keyholes and press down.
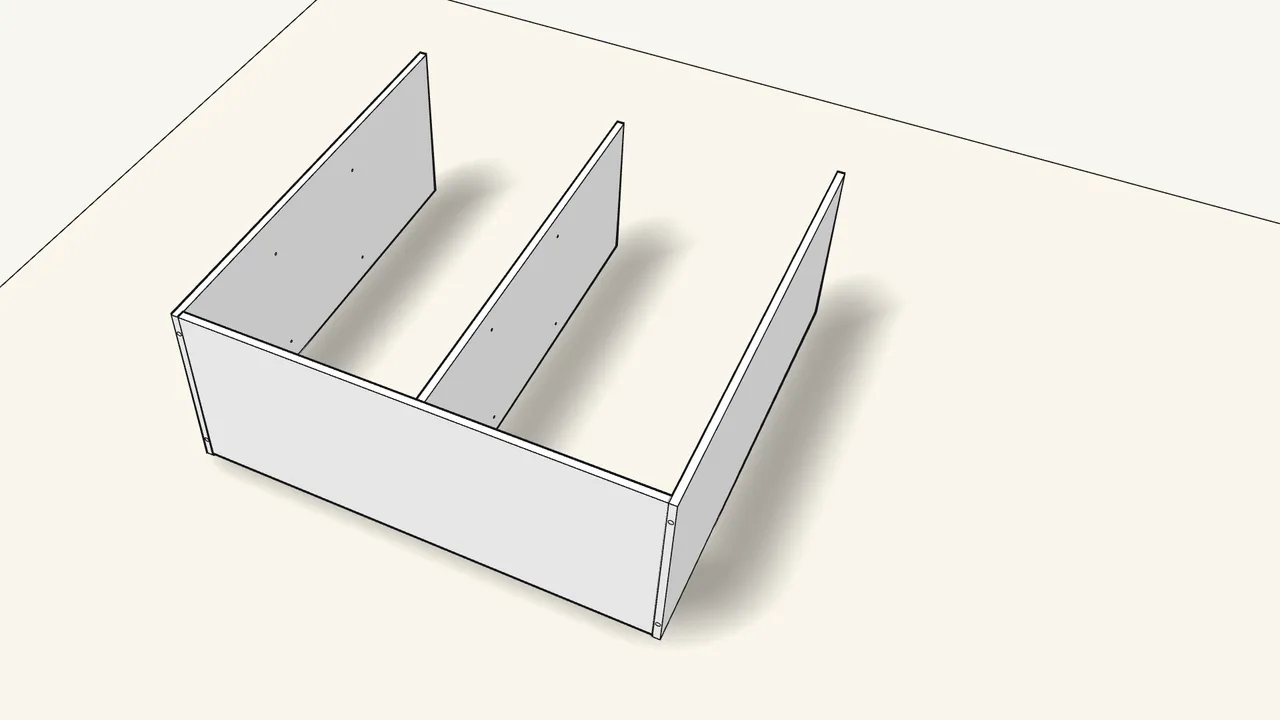
Step 2 · manual step 3
Hook the divider onto the bottom panel.
Its connectors are pre-fitted, like the side panels.
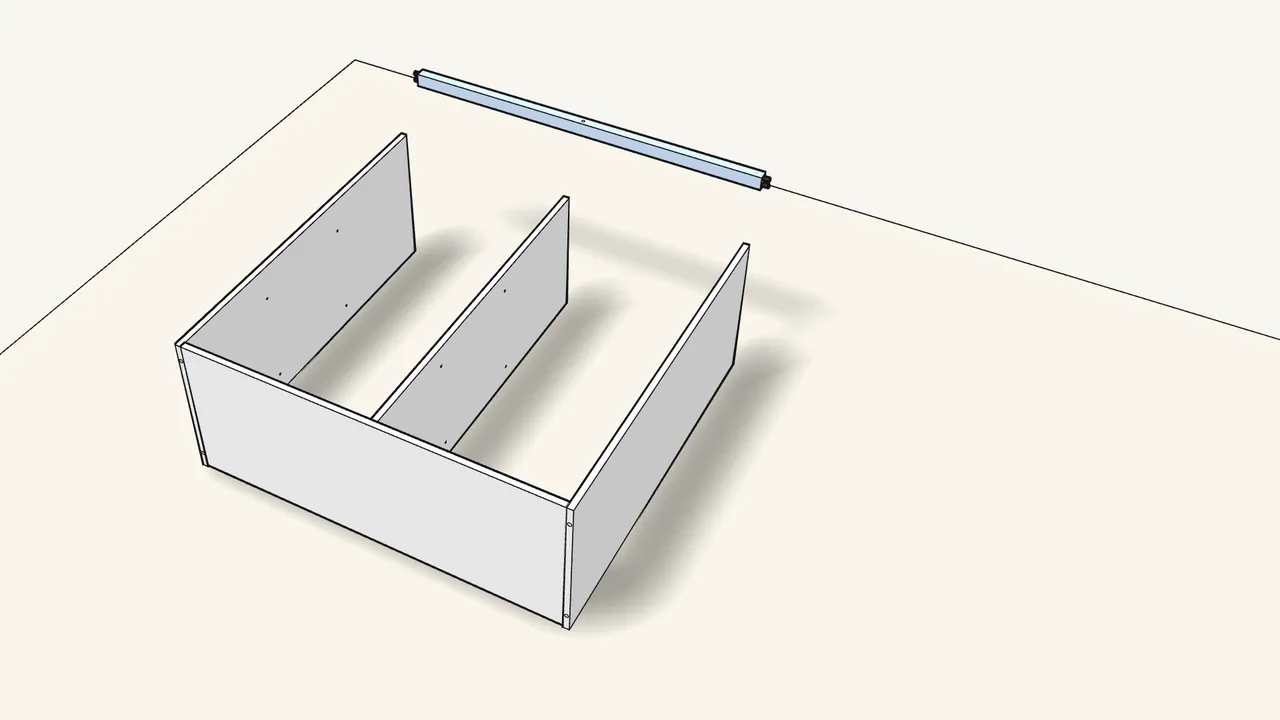
Step 3 · manual step 4–5
Push 4 dowels (101352) into the rail ends. Fit the rail between the sides.
It goes at the front edge of the top end.
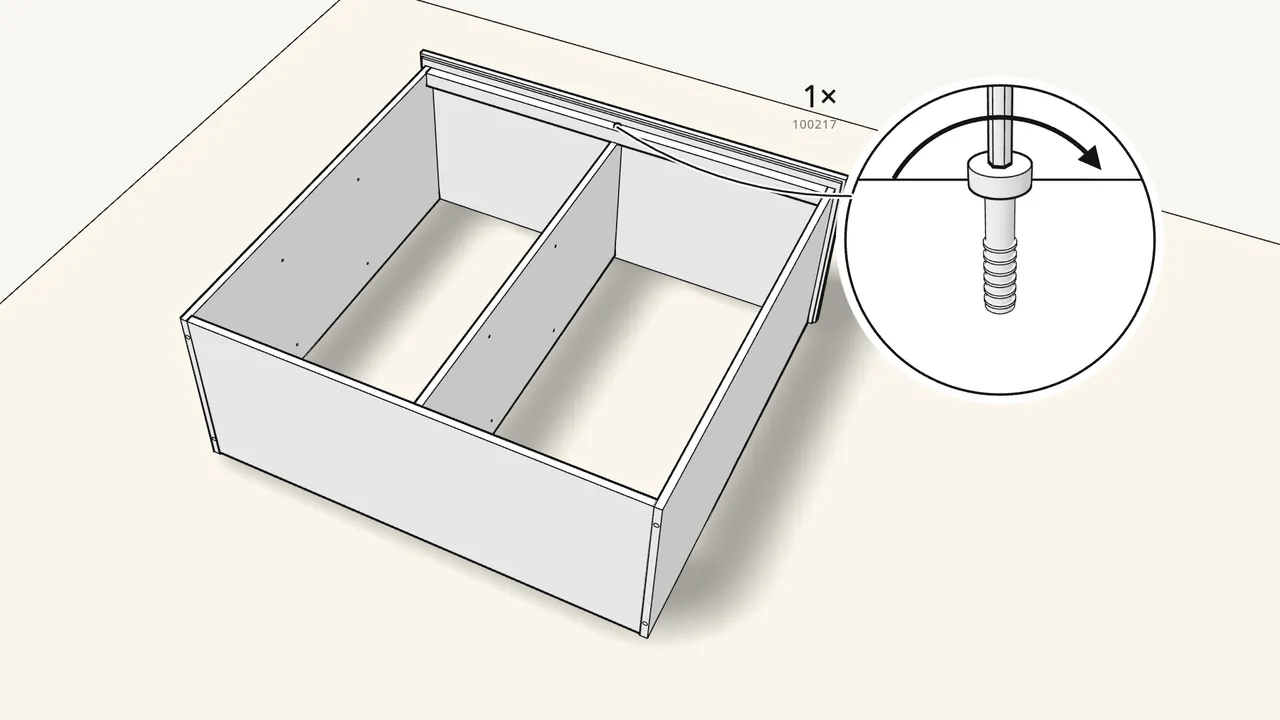
Step 4 · manual step 6–7
Press the top on until the 6 connectors click. Screw the rail to the divider.
1 screw (100217) — Allen key 100001.
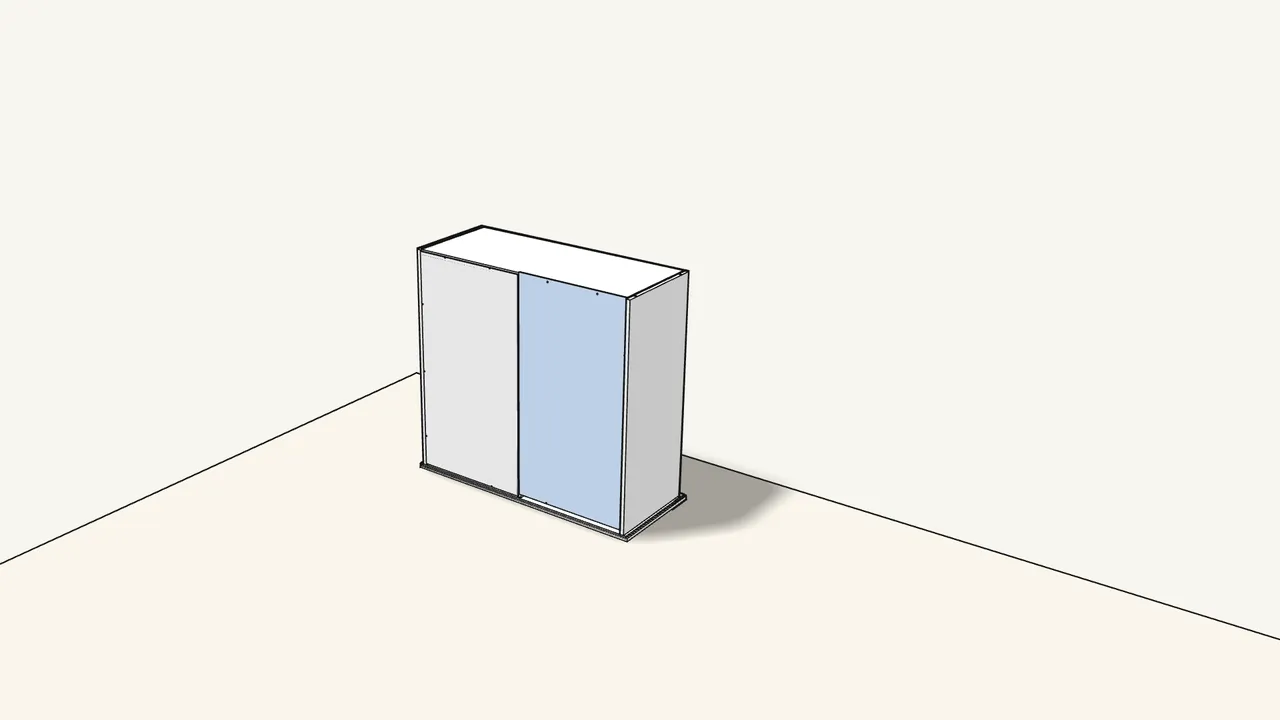
Step 5 · manual step 8
Turn the cabinet onto its top. Slide in the 2 back panels.
Two people. The back panels slide down the grooves from the bottom end.
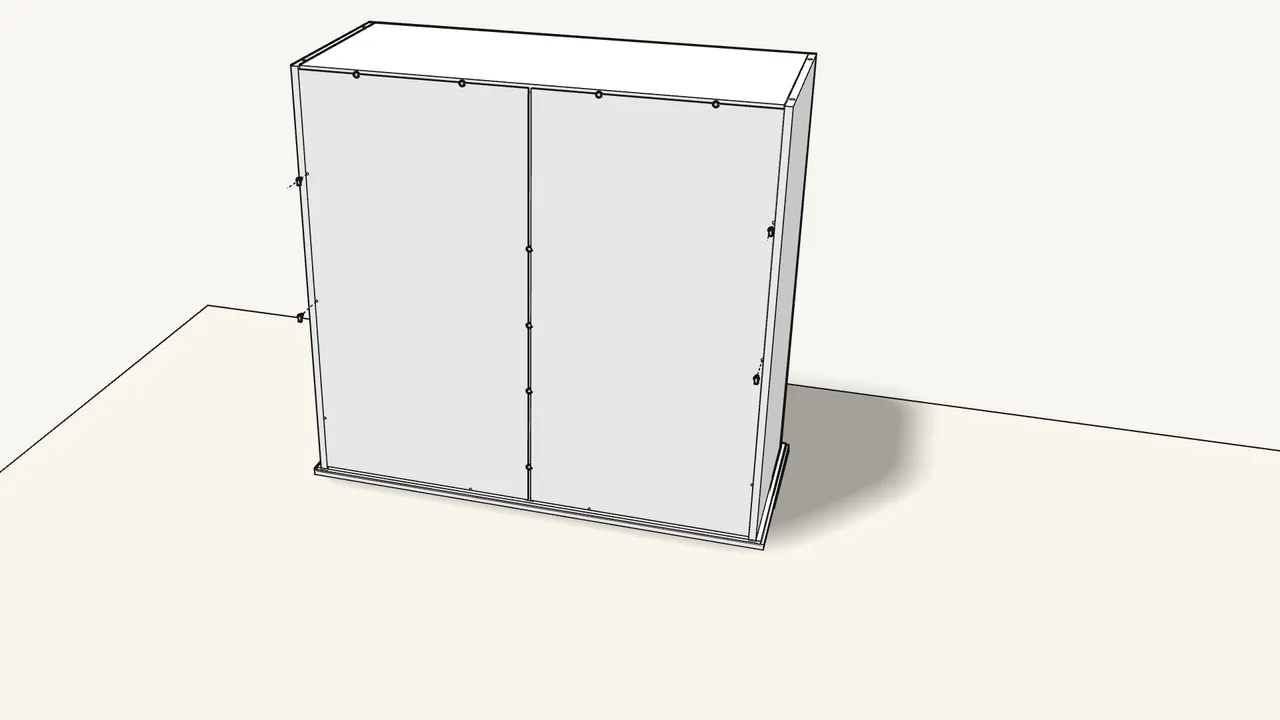
Step 6 · manual step 9–10
Fix the back with 8 plugs (151706 + pins 151705), then 8 clips (10093081).
Press a cap (10093082) onto each clip.
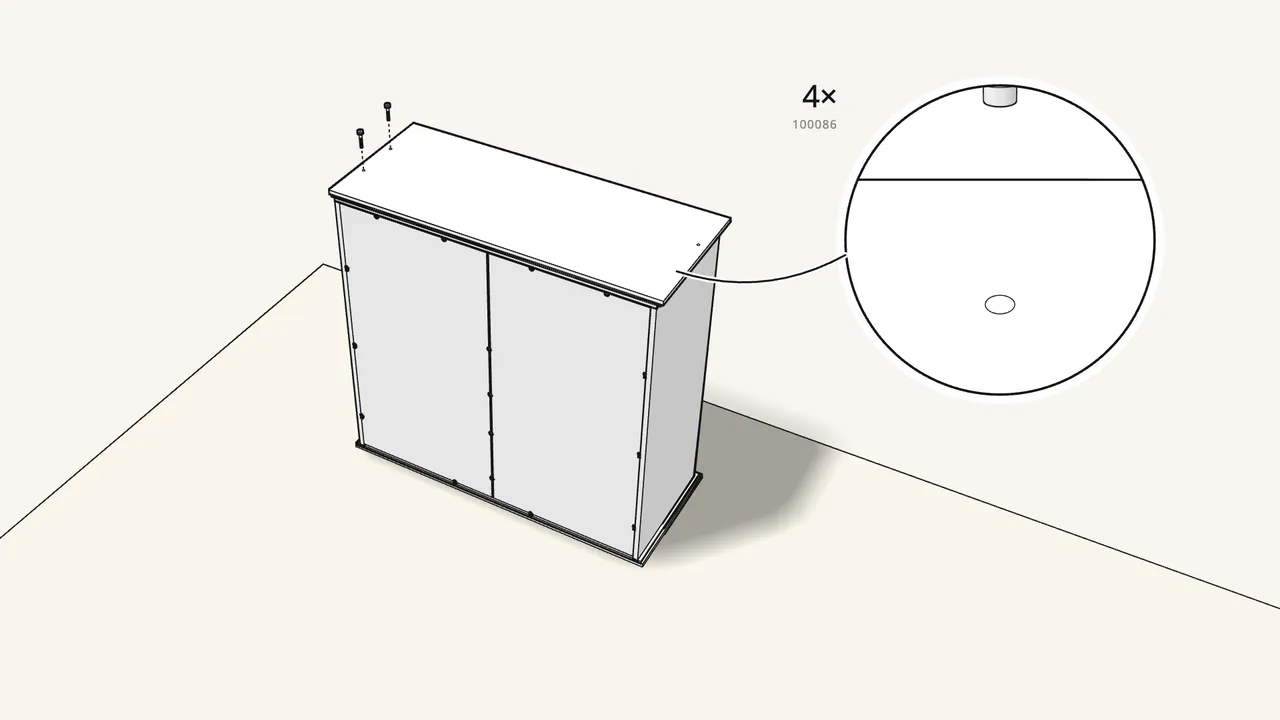
Step 7 · manual step 11–13
Push 4 long dowels (101354) into the sides. Press on the 2 base panels.
Fix them with 4 screws (100086) — Allen key 100001.
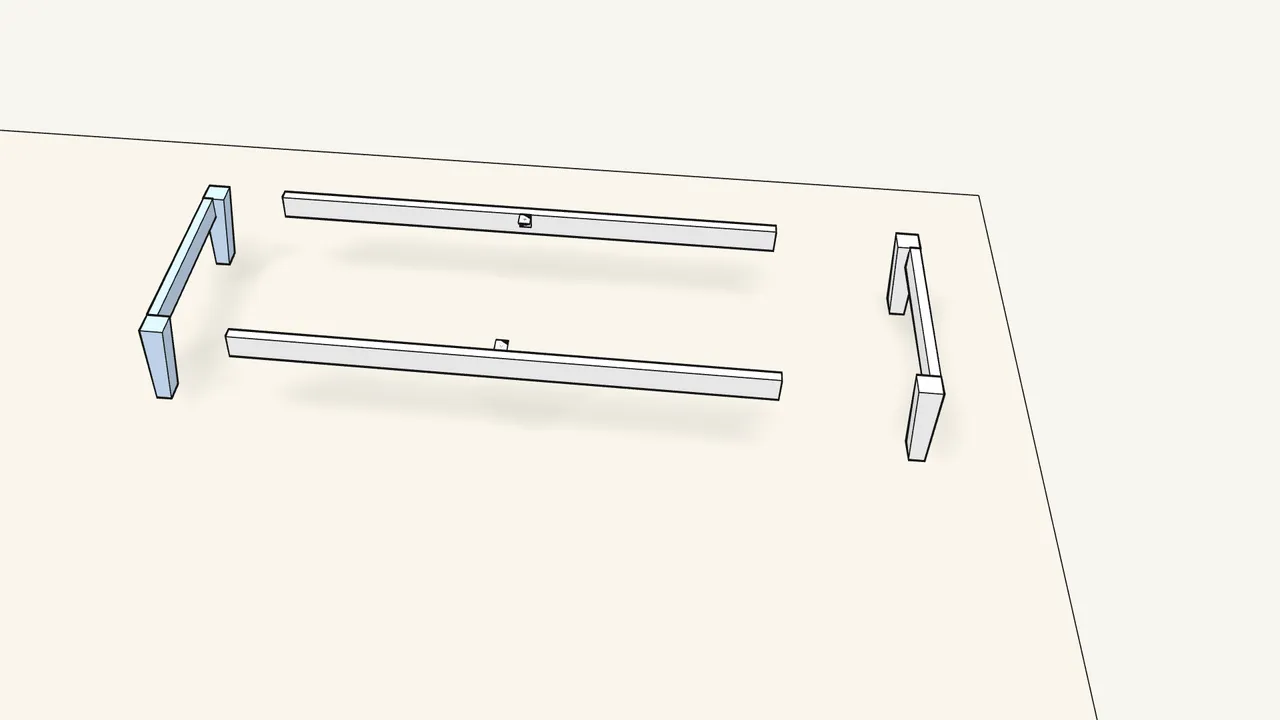
Step 8 · manual step 14–16
Build the leg frame.
Screw an angle bracket (102553) onto each long rail (100347), then hook the rails into both leg sections.
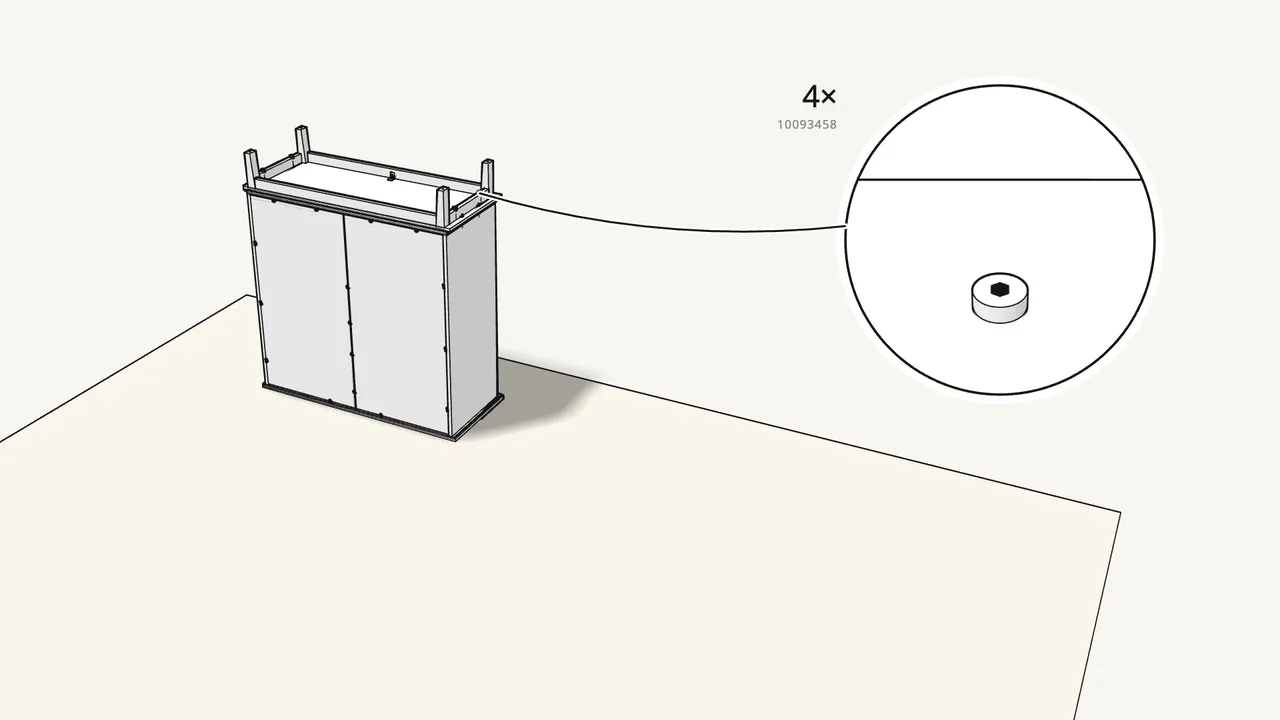
Step 9 · manual step 17–19
Fit the leg frame, legs up. Fix it with 4 long screws (10093458).
Then screw the 2 brackets to the base panel (100347).
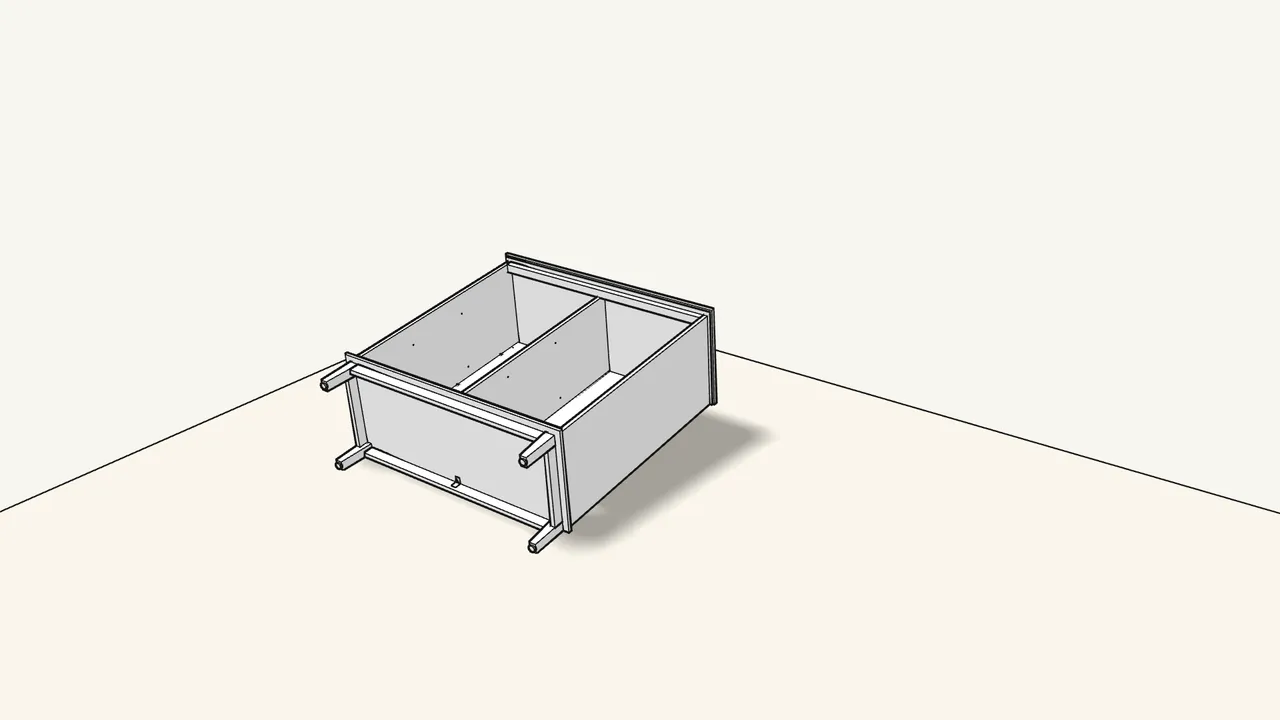
Step 10 · manual step 20–21
Screw in the 4 feet (131399). Turn the cabinet over and stand it up.
Two people. Turn the feet to level it with a spirit level.
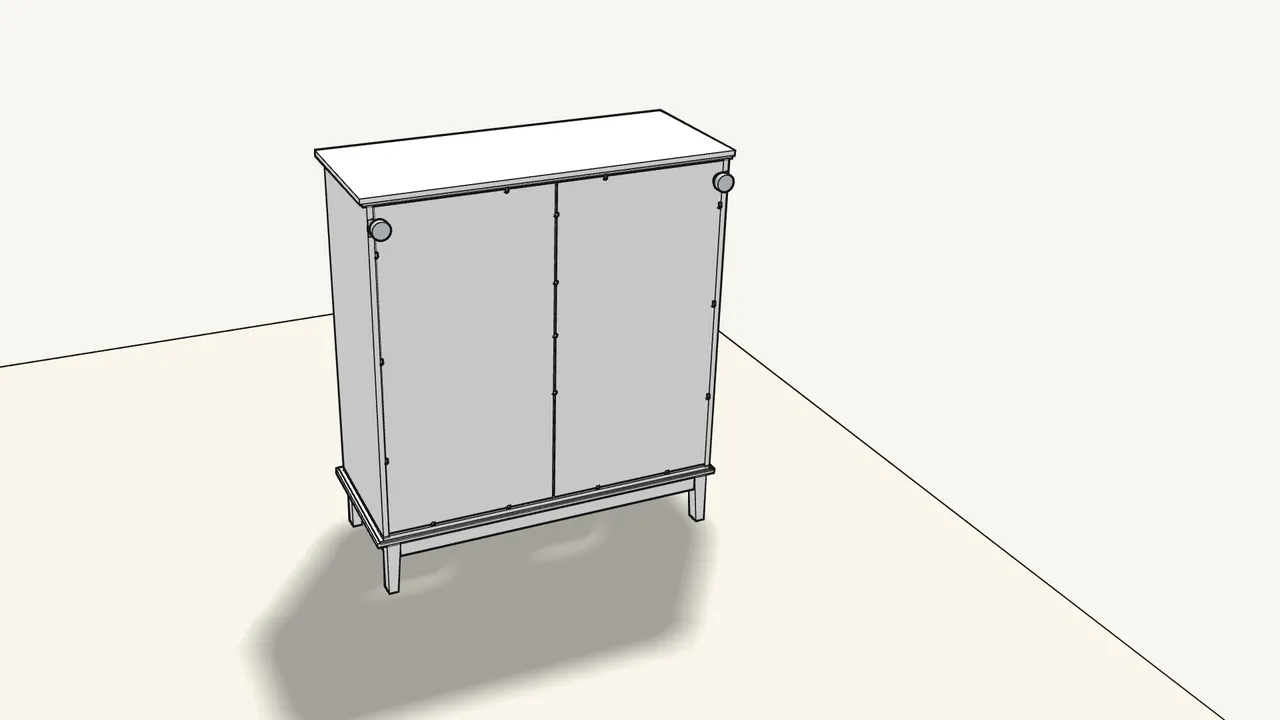
Step 11 · manual step 22–24
Fit the 2 wall spacers (150688) and screw their knobs (150689) on.
Turn the knobs to set the distance to the wall.
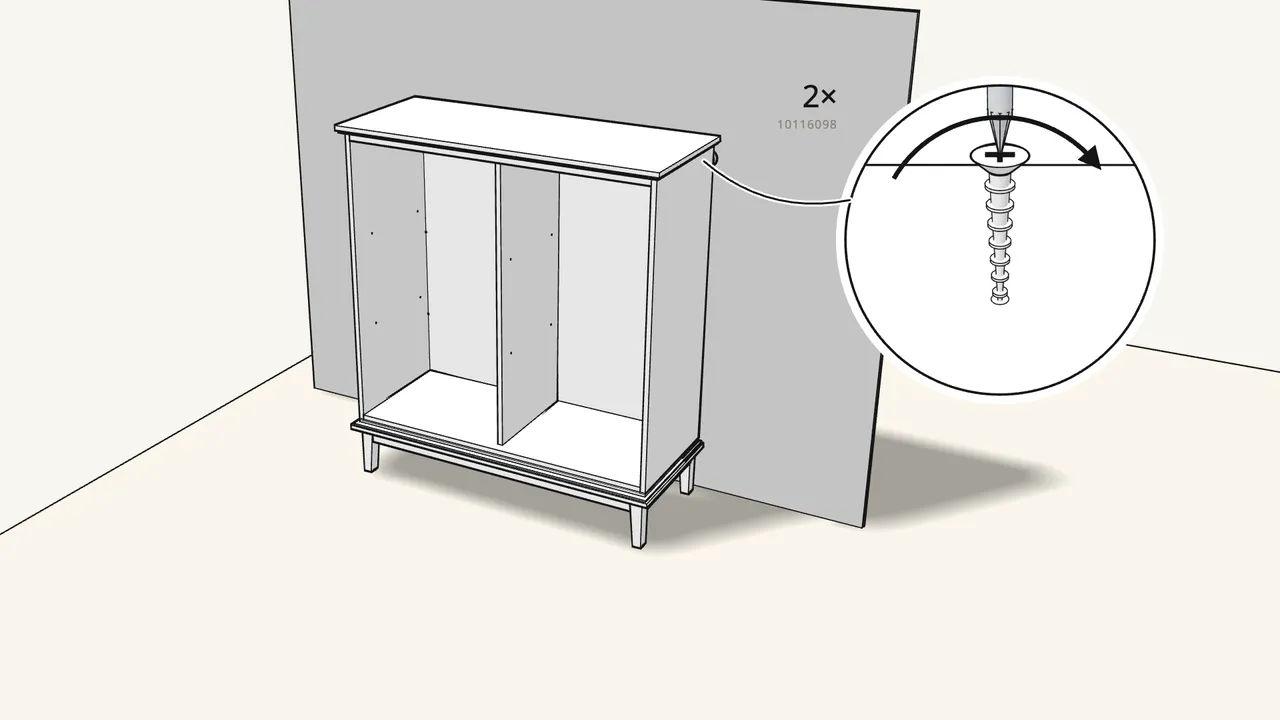
Step 12 · manual step 25–28
Fix it to the wall: 2 screws (10116098) with washers (126916).
Plugs and drill bit depend on your wall — see step 27. Press the caps (10005905) on.
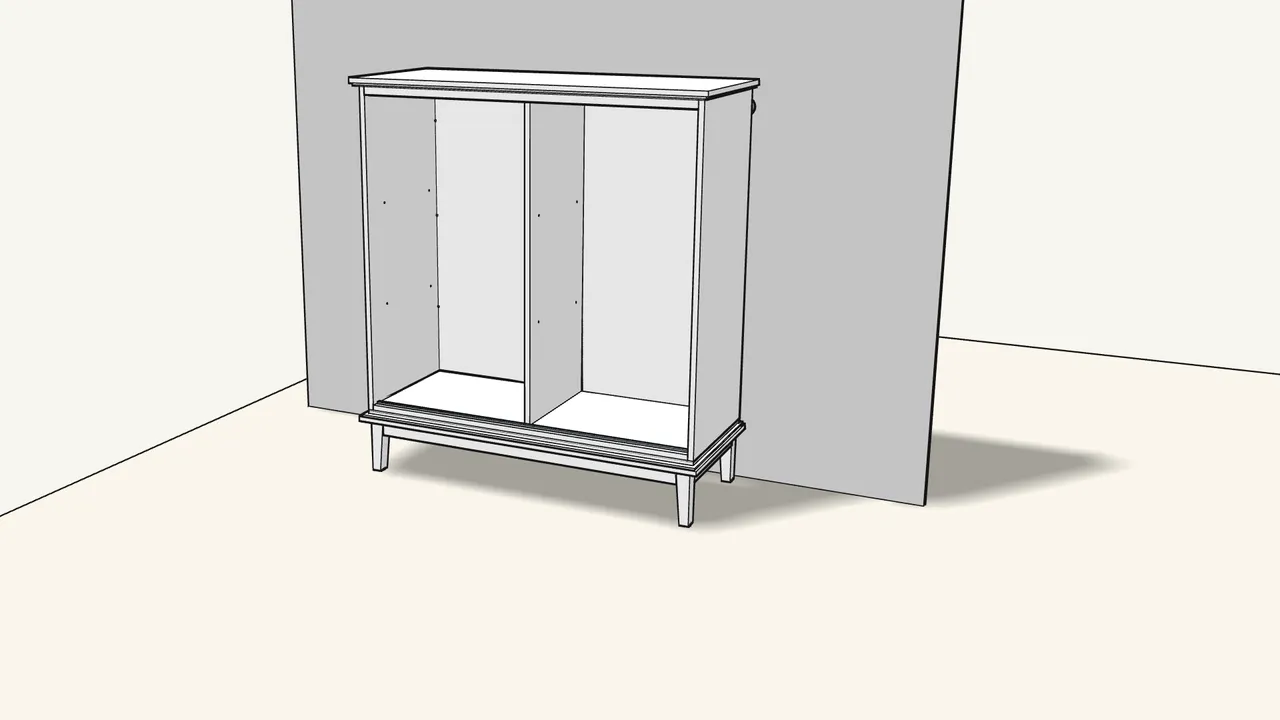
Step 13 · manual step 29
Clip the 2 door tracks (192163) in at the top and bottom.
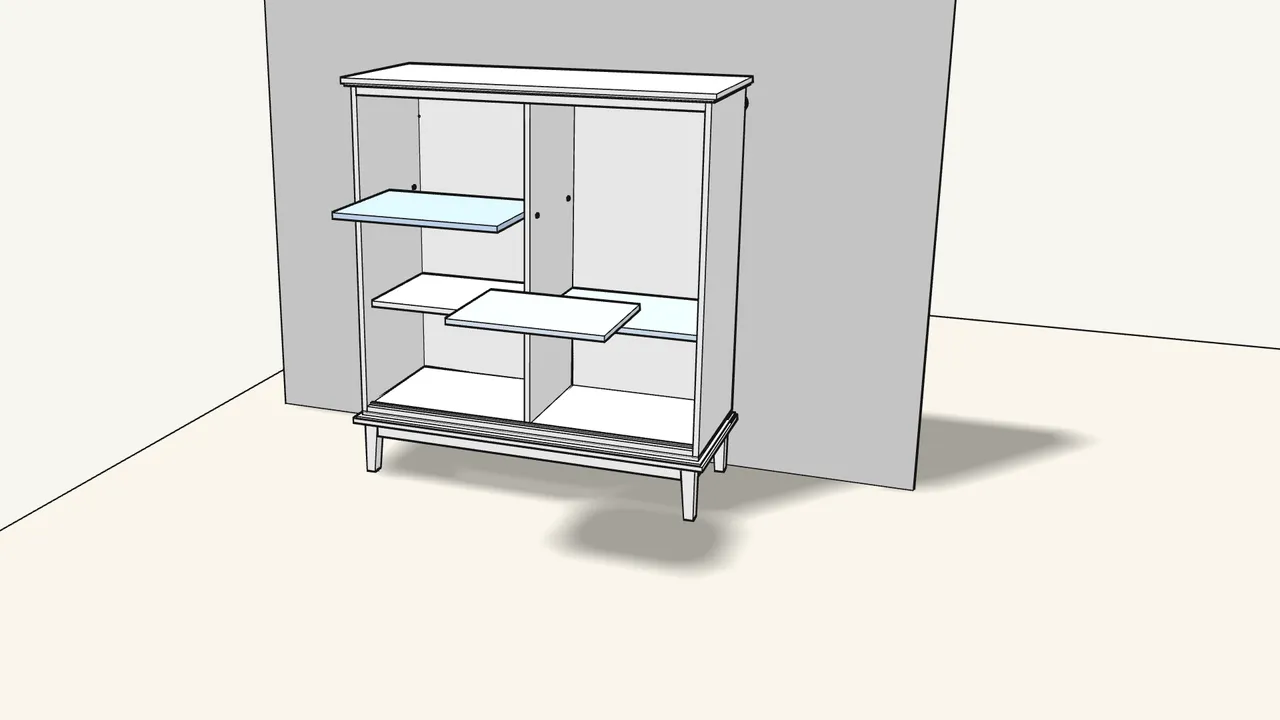
Step 14 · manual step 30–31
Push in 16 shelf pins (131372) and lay in the 4 shelves.
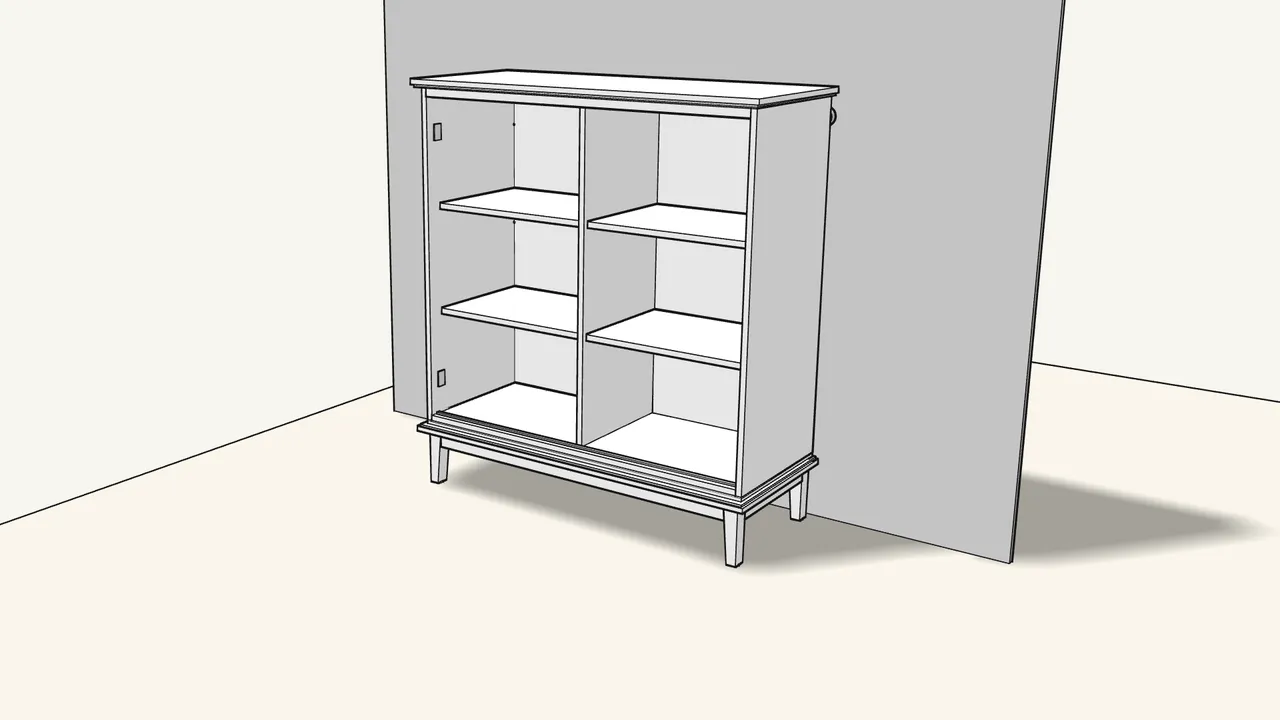
Step 15 · manual step 32–33
Separate the 4 cabinet hinges. Fit the mounting plates into the sides.
2 plates per side, top and bottom — see steps 32–33.
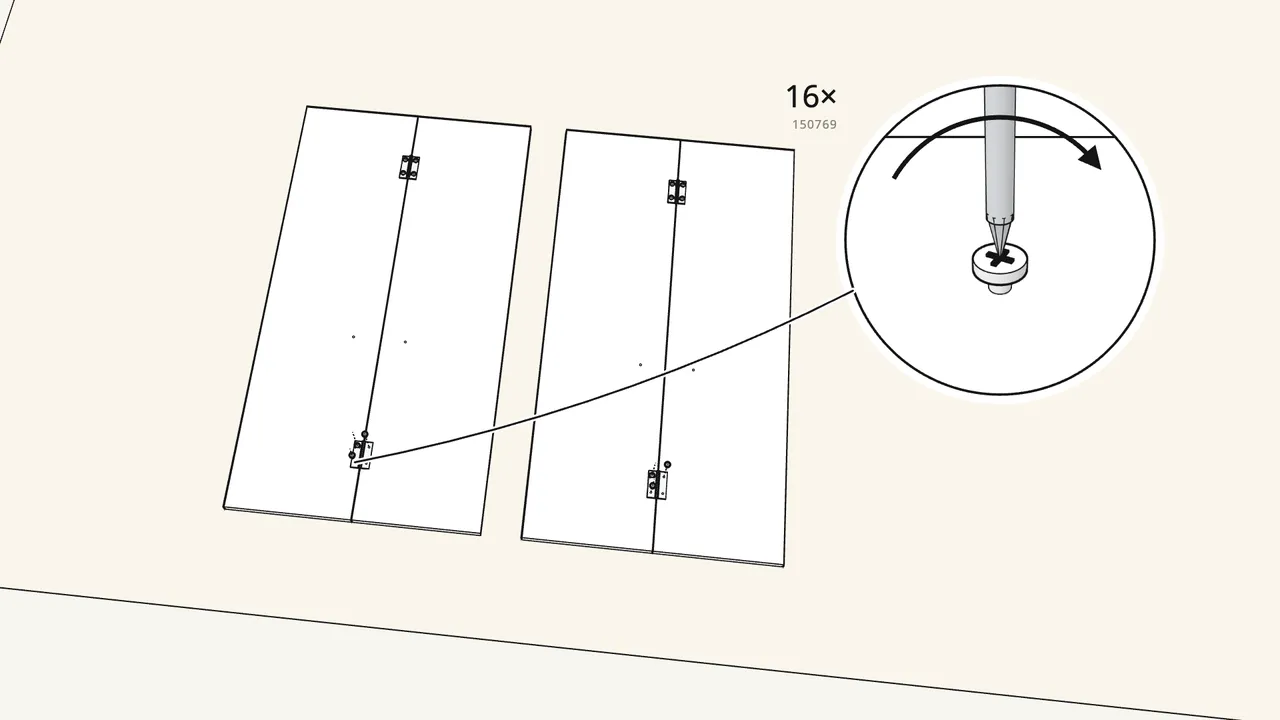
Step 16 · manual step 34–35
Lay the 4 door panels face-down. Join them in pairs with 4 hinges (10042027).
4 screws (150769) per hinge.
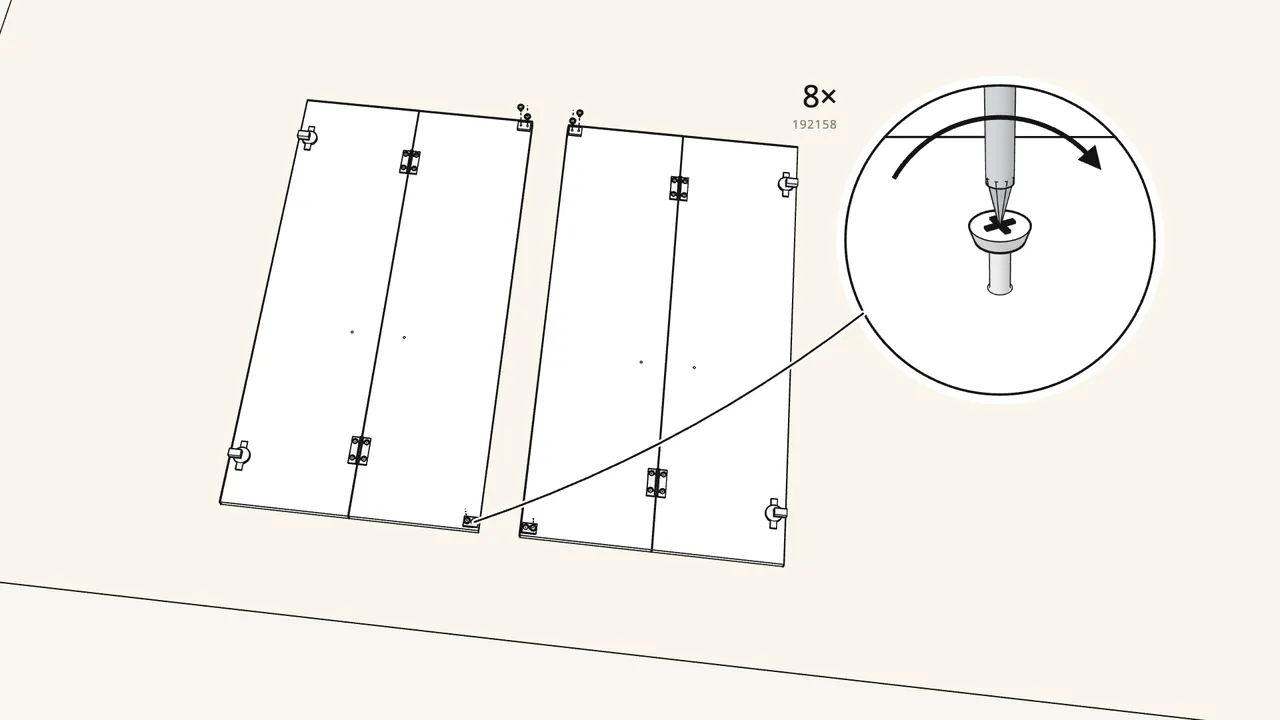
Step 17 · manual step 36–37
Screw on the 4 cabinet hinges and the 4 pivot fittings.
Hinges 175136 / 152517 — see step 36. Pivot fittings 10050531 / 10050552 with pins 192158.
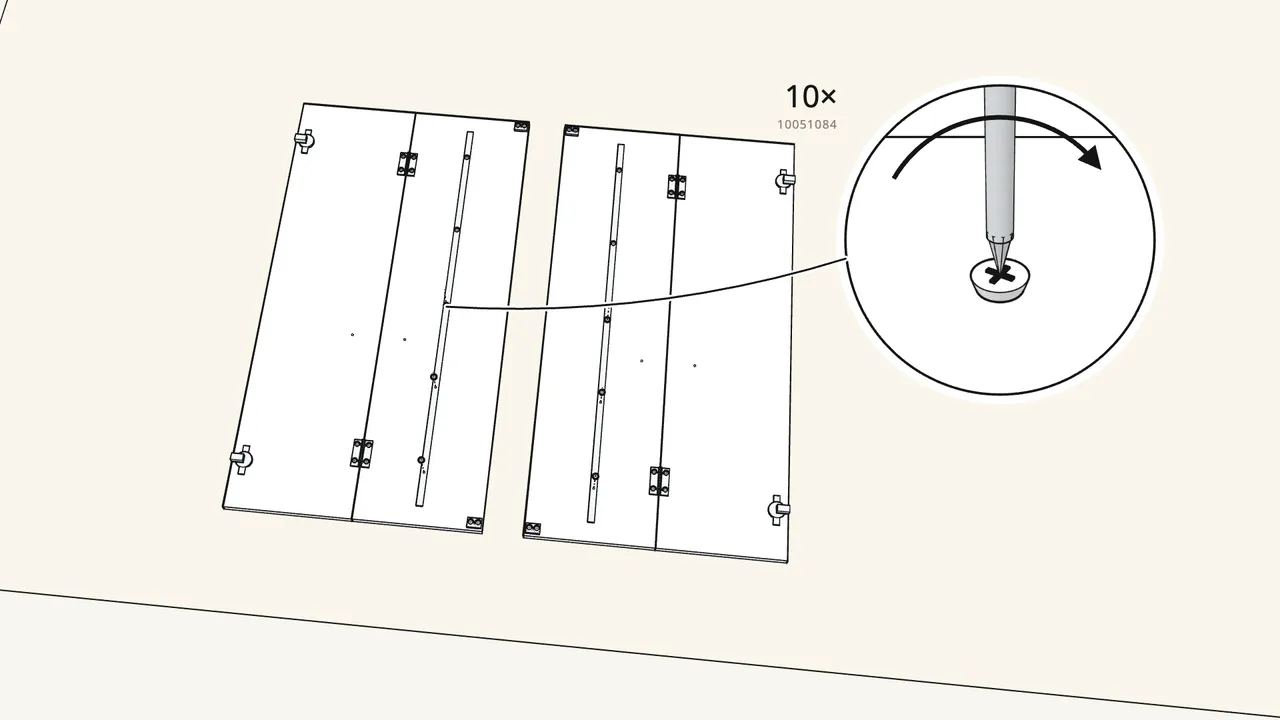
Step 18 · manual step 38–39
Fit a door strip (10055242) onto each door pair.
5 inserts (10075558) and 5 pins (10051084) per strip.
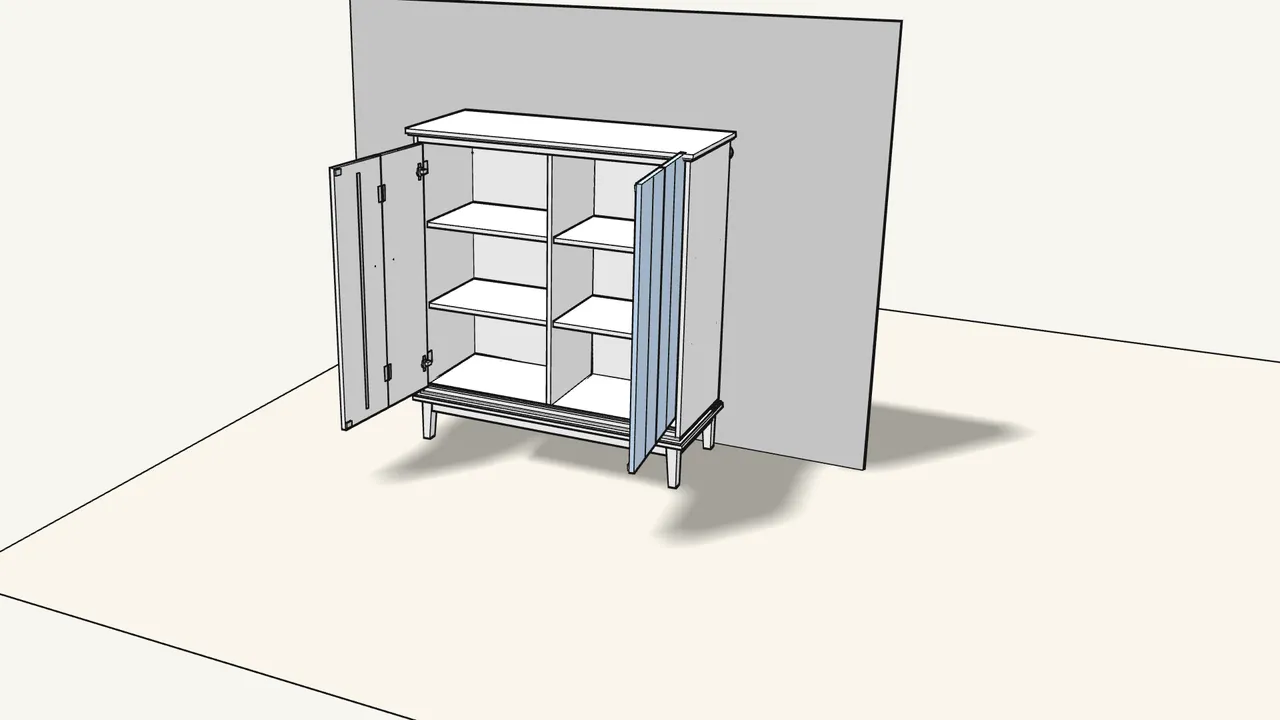
Step 19 · manual step 40
Hang each door pair: clip its 2 hinges onto the mounting plates.
Support the doors while you do it.
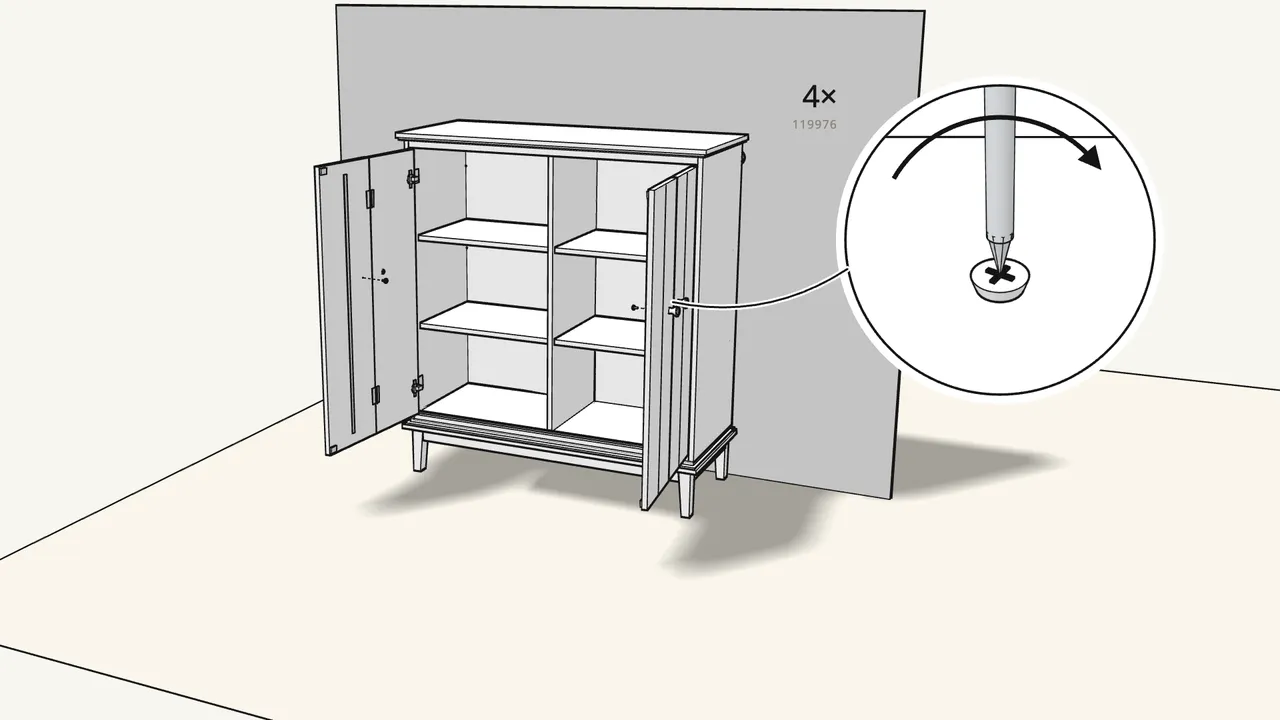
Step 20 · manual step 41
Screw on the 4 knobs (10041120).
1 screw (119976) per knob, from the back.
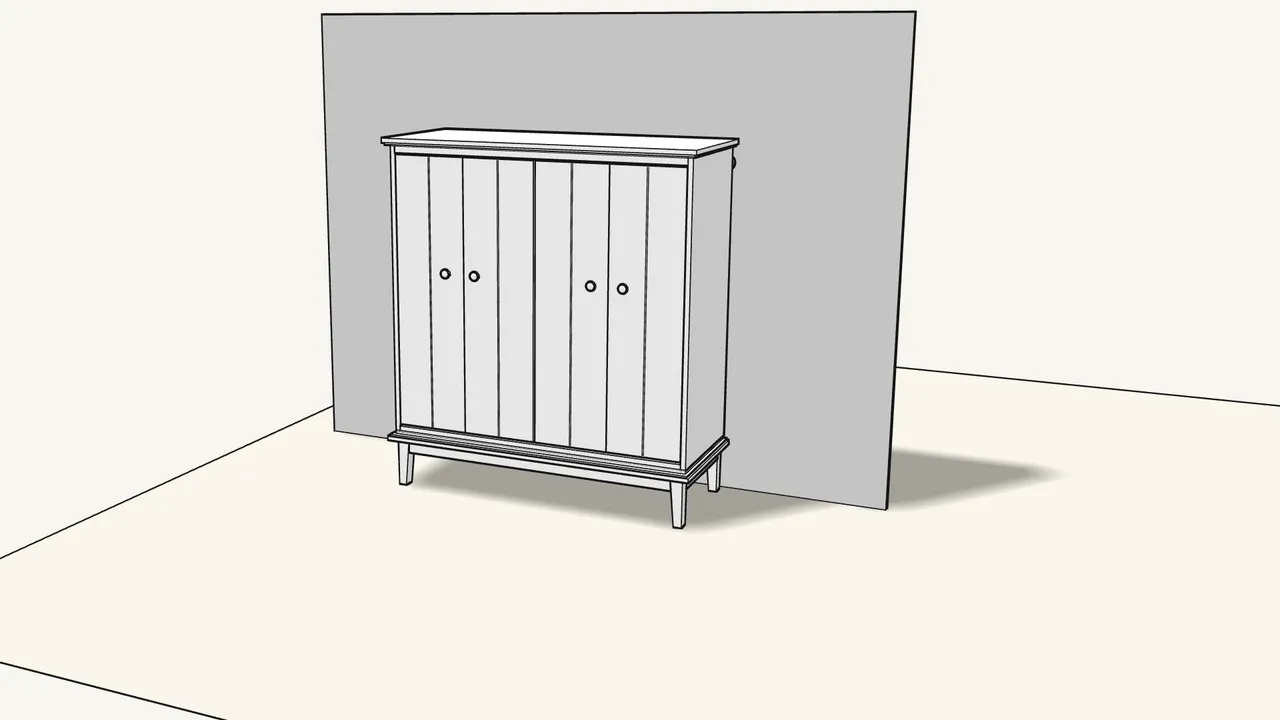
Step 21 · manual step 42–43
Close the doors: click the pivots into the tracks. Fit the 2 guides (10050549).
The guides go under the top rail, with pins 192158 — see step 43.
Tips & safety
- Always fix the cabinet to the wall. Children have died from furniture tip-over. Never put a TV on it, and never let children climb or hang on the doors or shelves. The screws and plugs supplied suit most solid and hollow walls; in solid wood use the screws without plugs.
- Doors not lined up? Turn the screws on the cabinet hinges to move the doors up/down, sideways or in/out — see the last page of the manual.
Official instructions
This guide follows IKEA’s official assembly instructions (AA-2413399-6). Keep the printed manual to hand — if anything differs, the manual is right.



