IKEA · Cabinets & Wardrobes
How to assemble IKEA HEMNES Mirror Cabinet with 1 Door
Step-by-step IKEA HEMNES Mirror Cabinet with 1 Door assembly: 20 illustrated steps, an animated video, the hardware list and the tools you need — following the official instructions (AA-565034-7).
- 20 illustrated steps
- 18 steps in the manual
- 3:00 video
- 63×16×98 cm cm
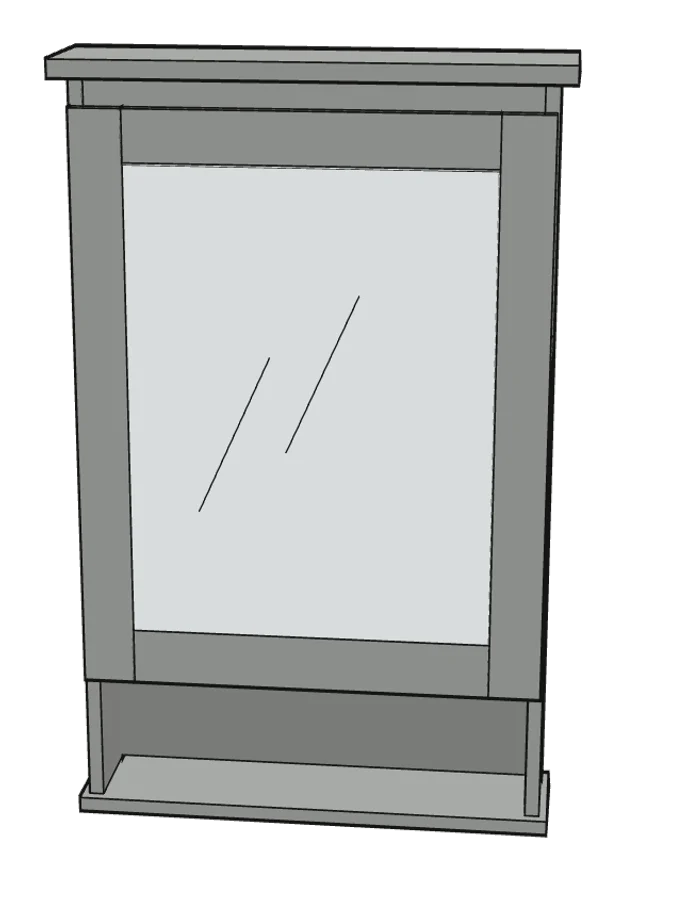
What you need
Tools
- Flat-head screwdriver
- Phillips screwdriver
- Hammer
- Spirit level
You’ll need: flat-head and Phillips screwdrivers, a pencil, a hammer and a spirit level. The Allen key (100001) is included.
Hardware in the box
| Part no. (as printed in the manual) | Qty |
|---|---|
| 118331 | 4× |
| 100211/100212 | 8× |
| 101350 | 12× |
| 157673 | 4× |
| 110630/112399 | 4× |
| 101530 | 12× |
| 104171 | 12× |
| 110646 | 2× |
| 118692 | 2× |
| 123751 | 2× |
| 153646 | 2× |
| 153647 | 2× |
Step-by-step assembly
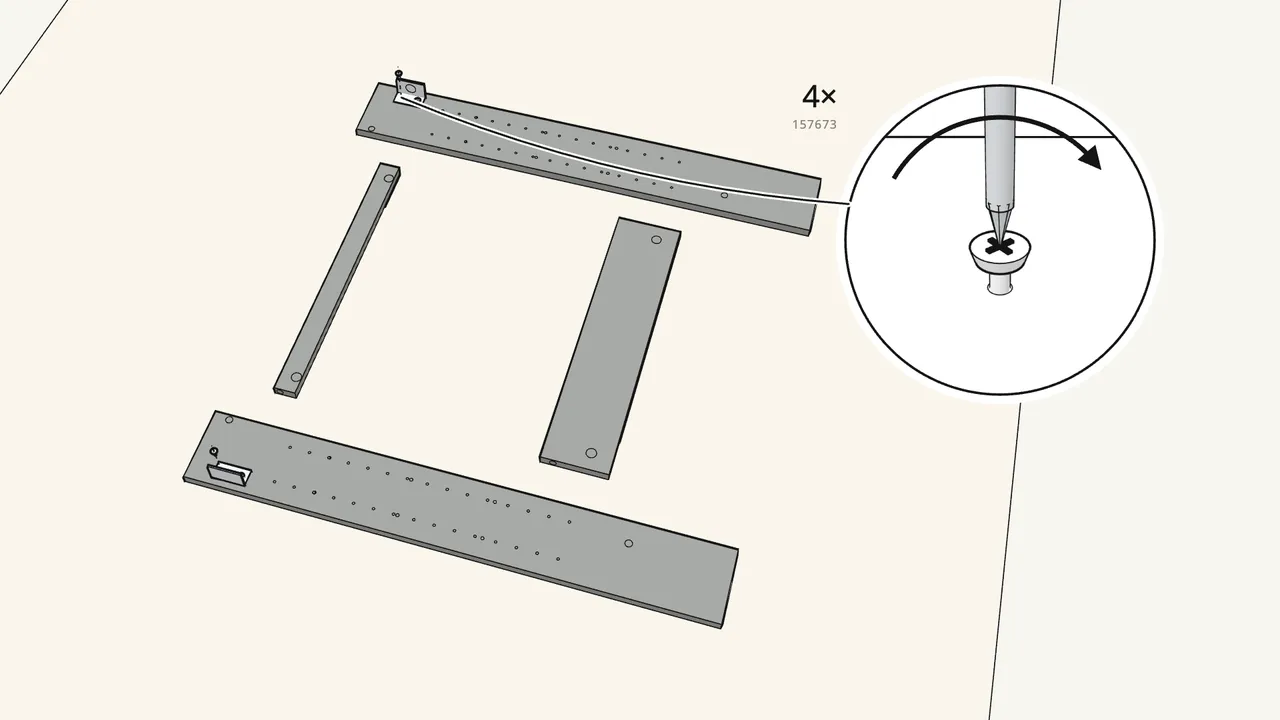
Step 1
Screw a wall bracket (153646) onto each side panel.
2 screws (157673) per bracket, at the top end of each panel.
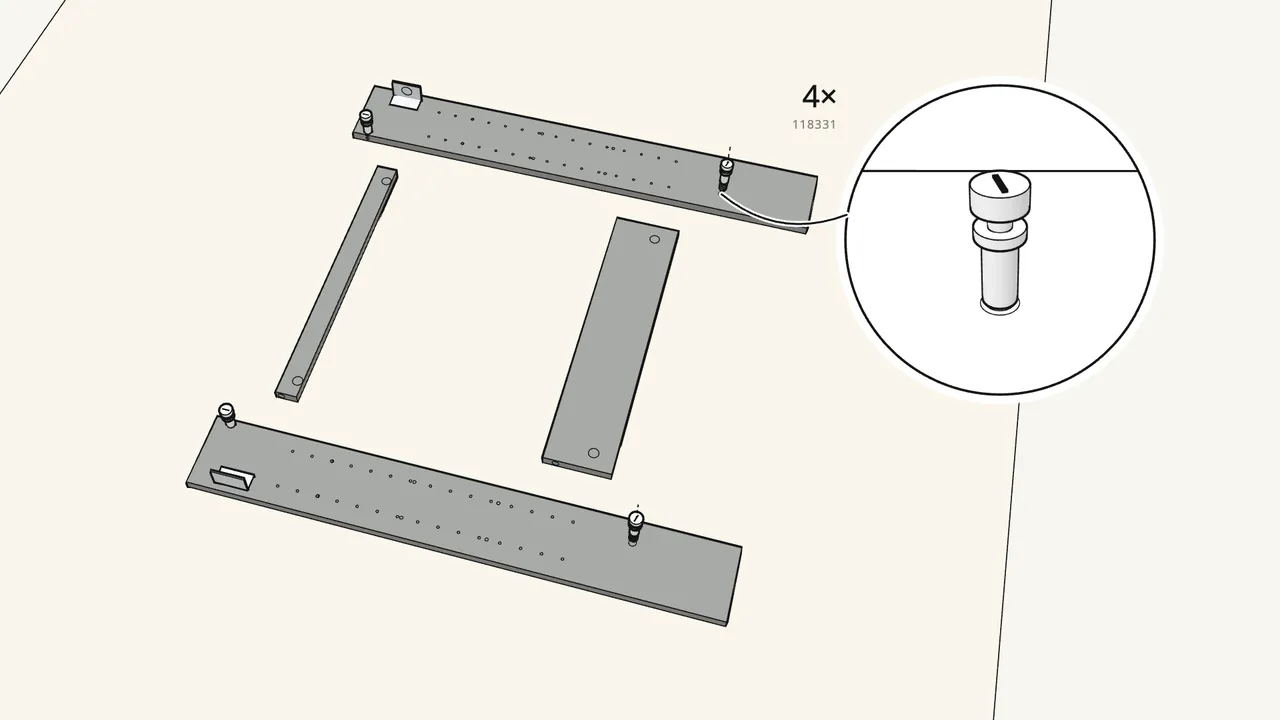
Step 2
Screw 4 cam bolts (118331) into the side panels.
2 in each panel. Turn them in by hand.
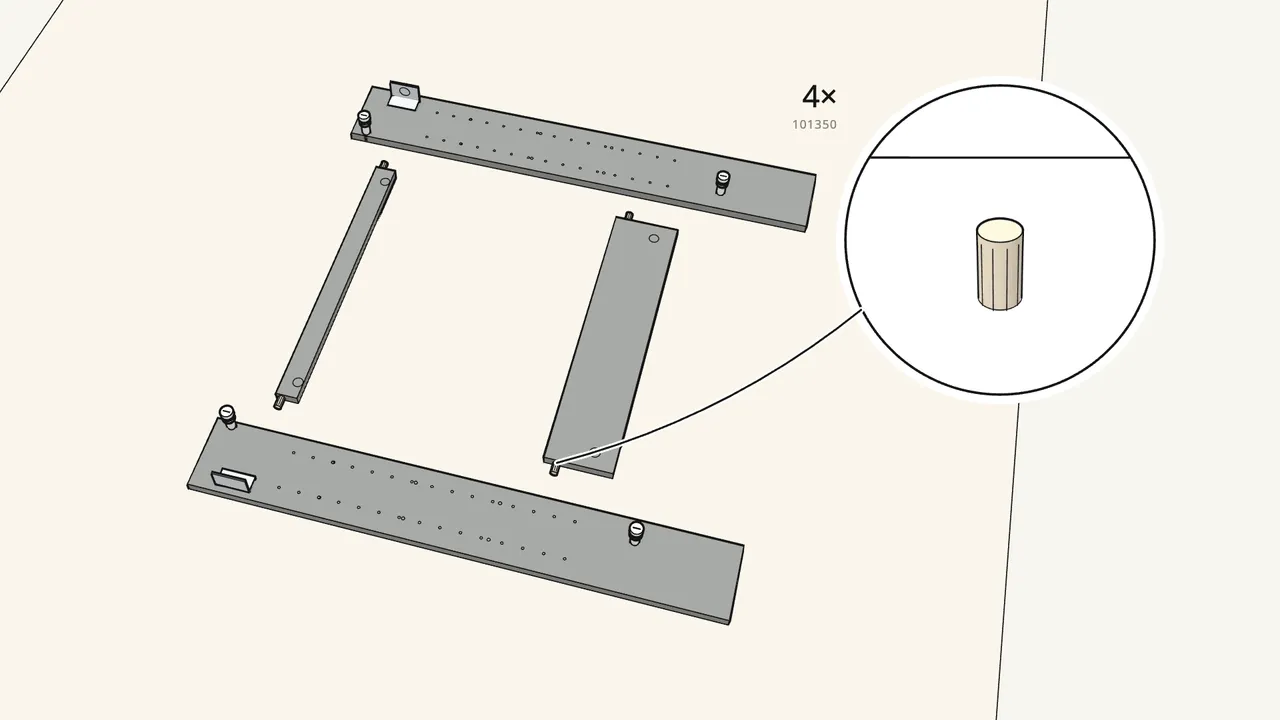
Step 3
Push 4 dowels (101350) into the ends of the rail and the shelf.
One in each end.
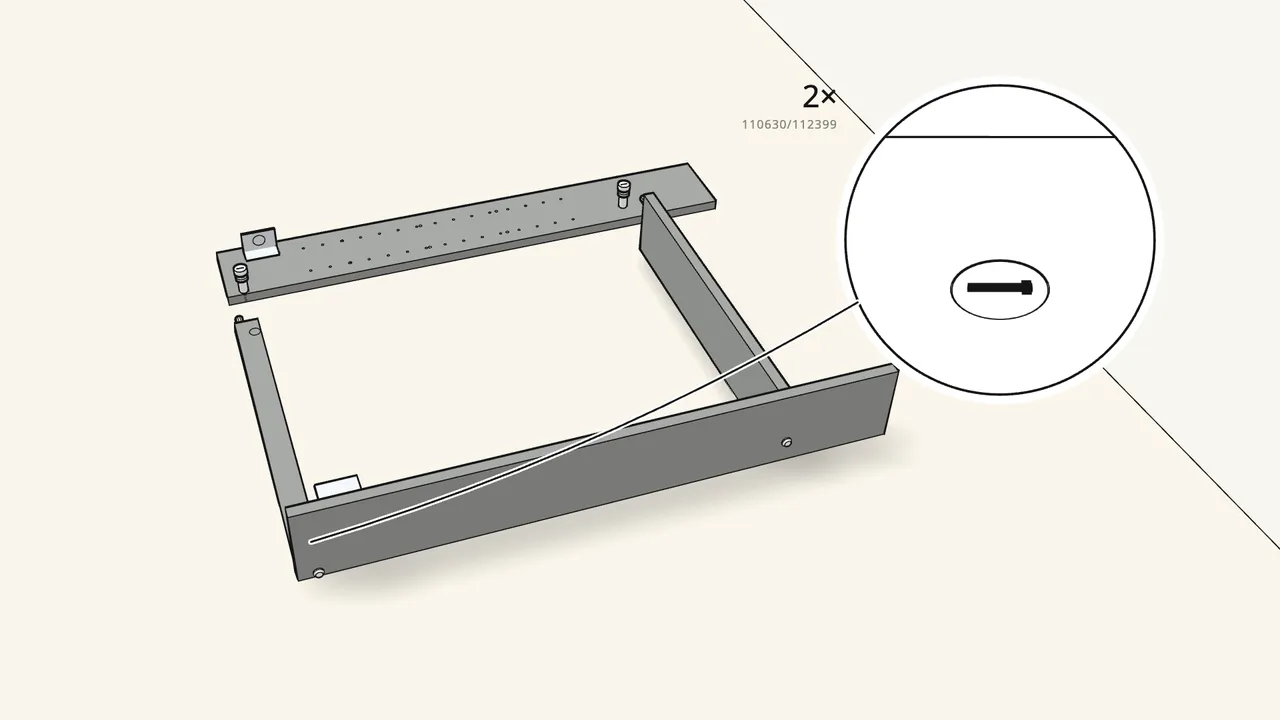
Step 4
Stand the right side on its edge. Fit the rail and the shelf.
Lock them with 2 cam locks (110630) — turn them clockwise.
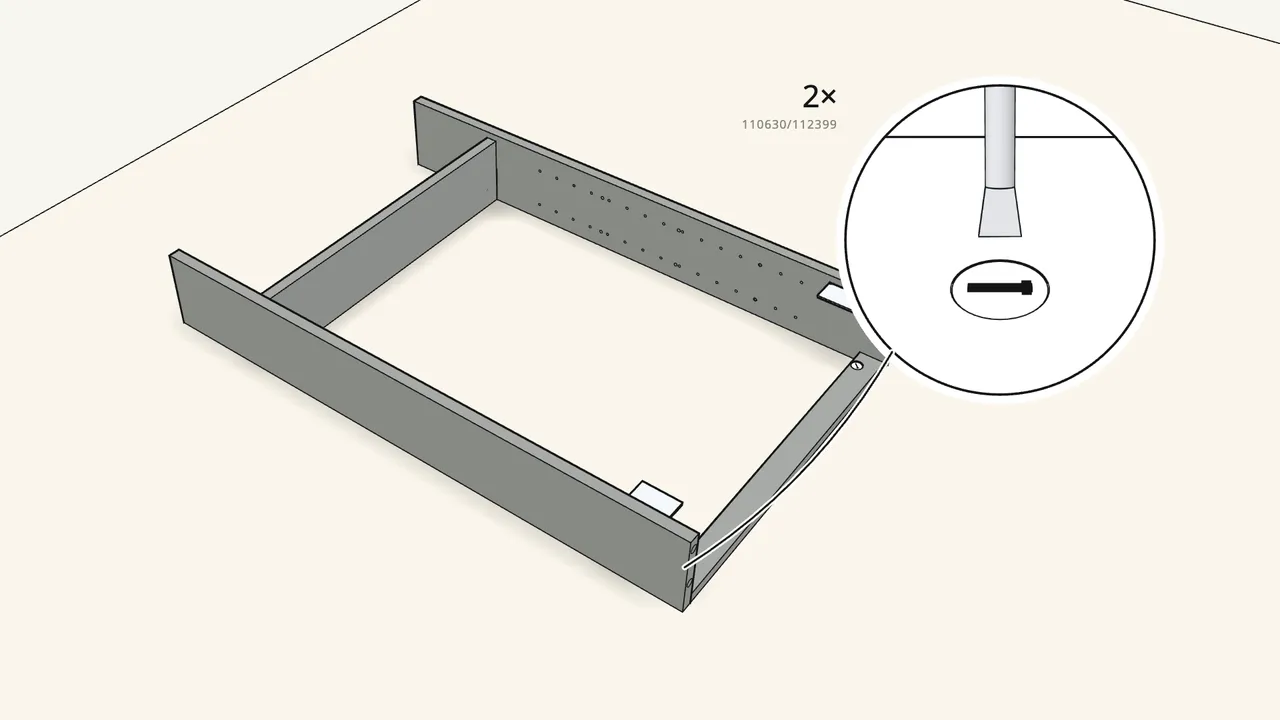
Step 5
Fit the left side and lock it with 2 cam locks (110630).
Turn them clockwise with the flat-head screwdriver.
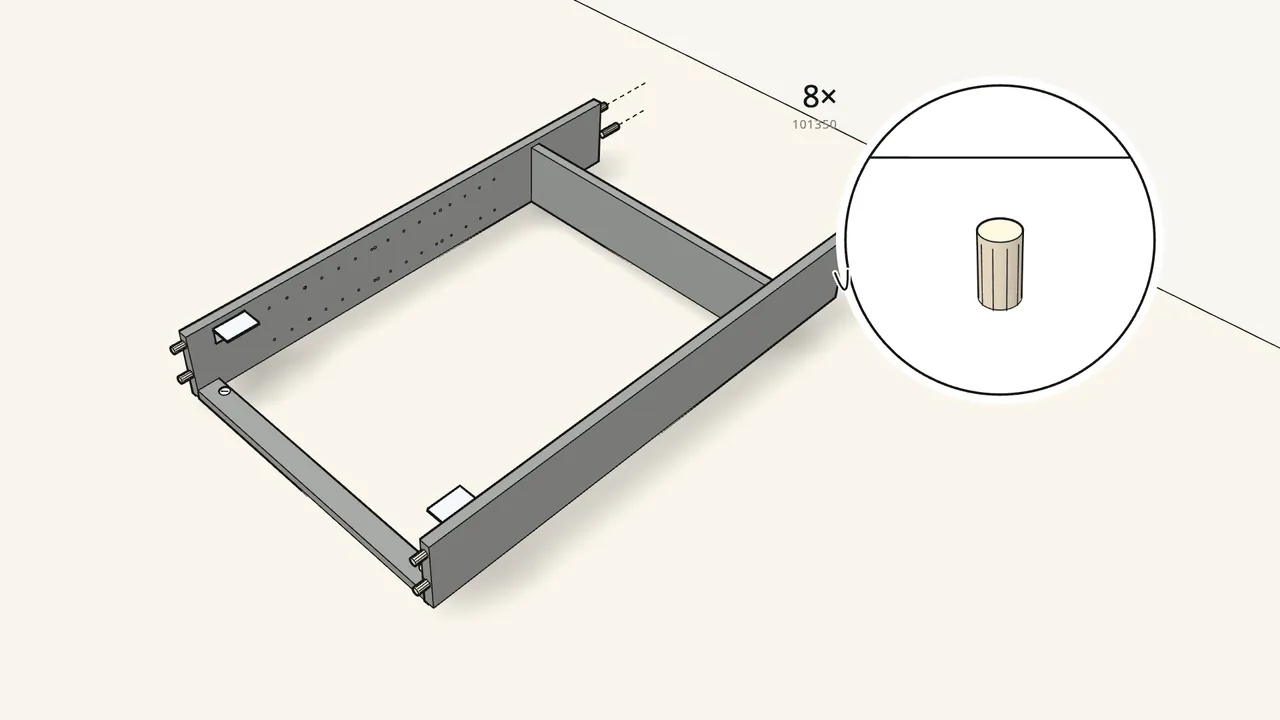
Step 6
Push 8 dowels (101350) into the ends of the side panels.
2 in each end. Check which way the bottom panel goes — see the manual, step 6.
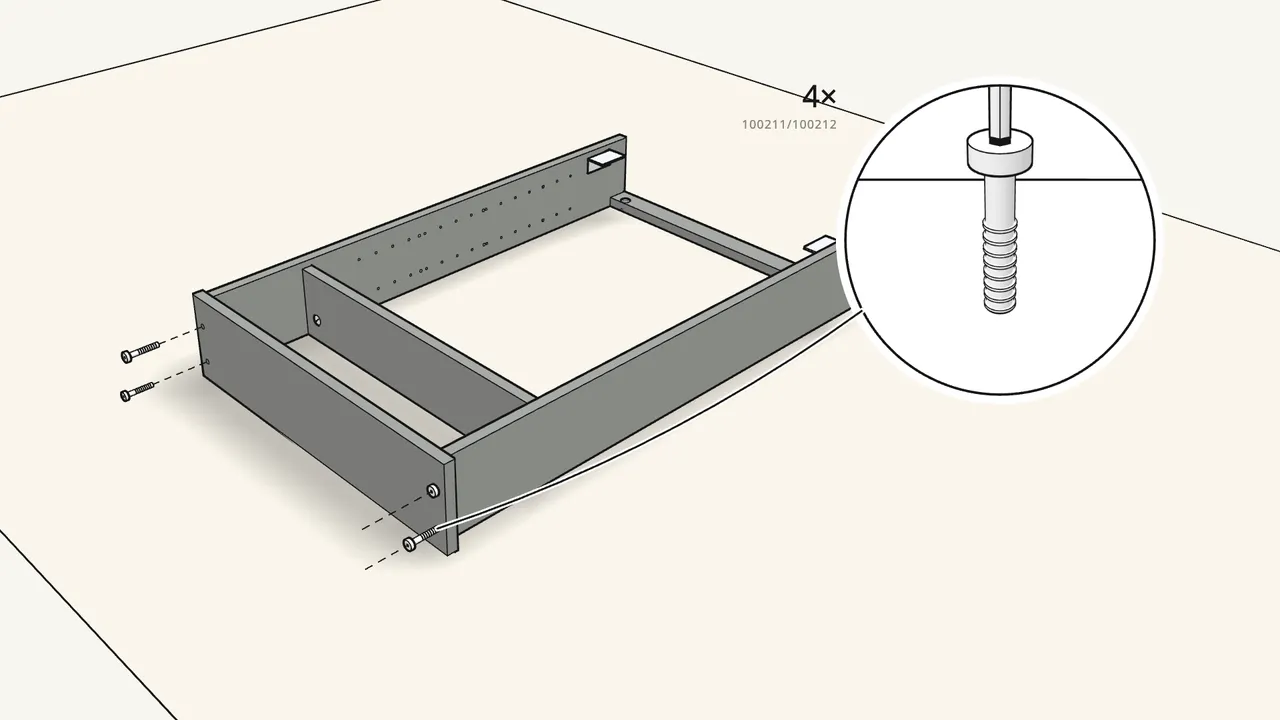
Step 7
Fit the bottom panel with 4 screws (100211/100212).
Tighten them with the Allen key (100001).
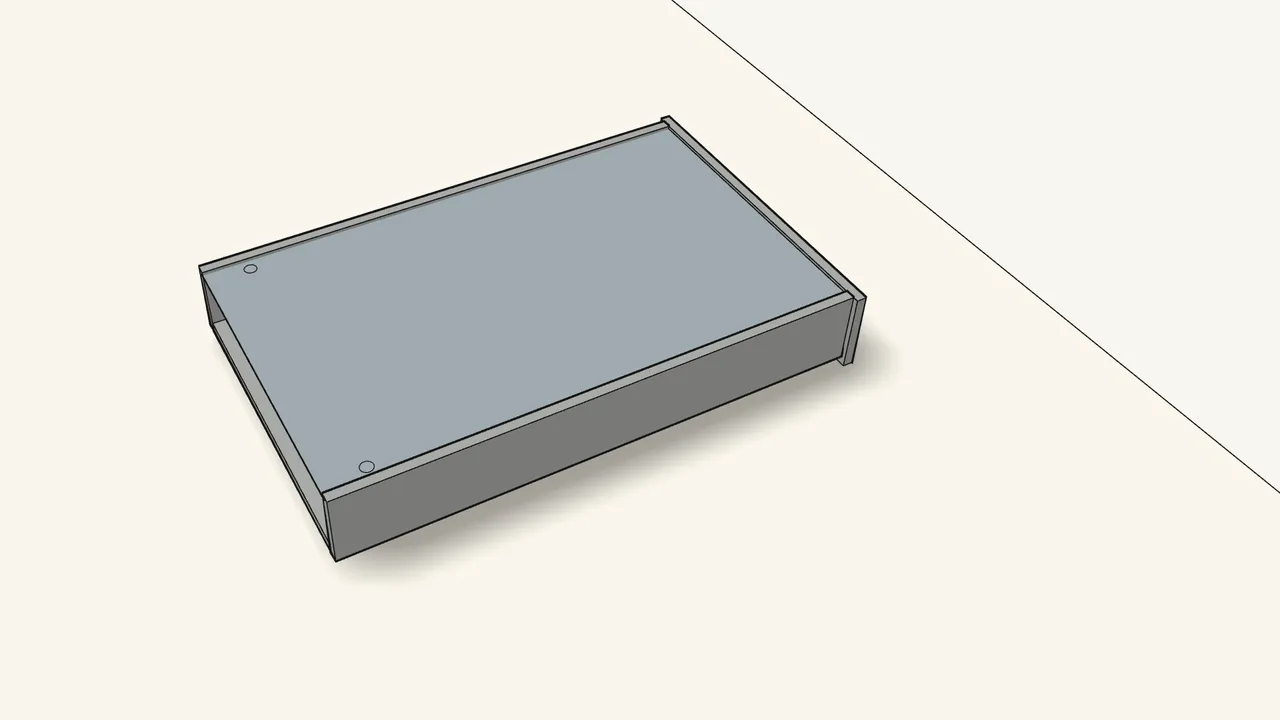
Step 8
Slide the back panel into the grooves.
Push it in all the way to the bottom panel.
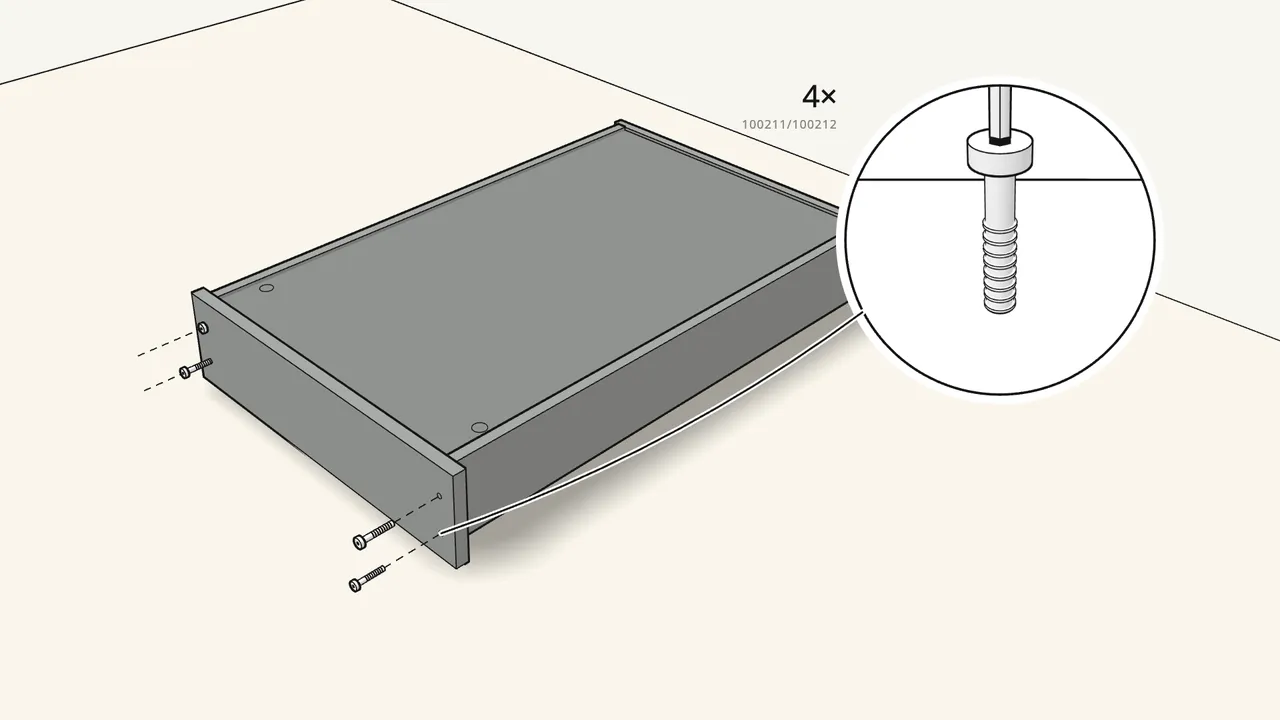
Step 9
Fit the top with 4 screws (100211/100212).
Tighten them with the Allen key.
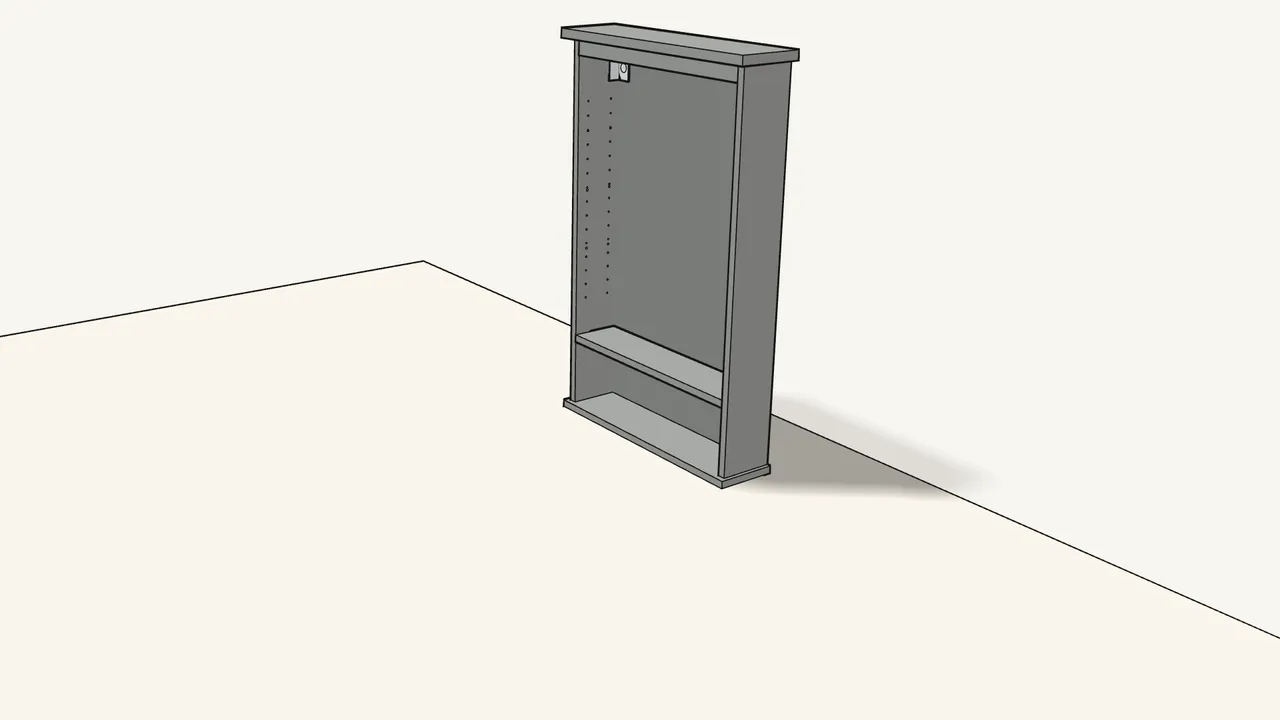
Step 10 · manual step 9
Turn the cabinet over and stand it up.
Two people.
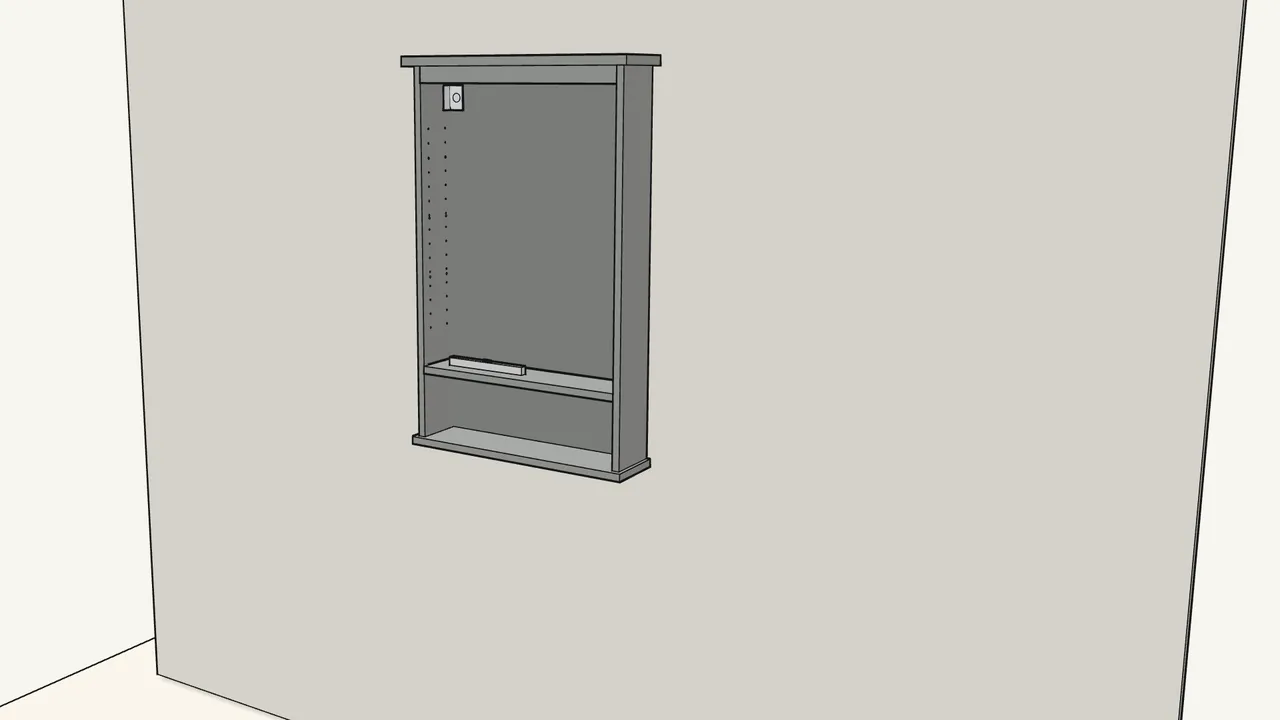
Step 11 · manual step 10
Hold it against the wall and level it. Mark the 2 bracket holes.
Two people. Mark through the holes in the brackets with a pencil.
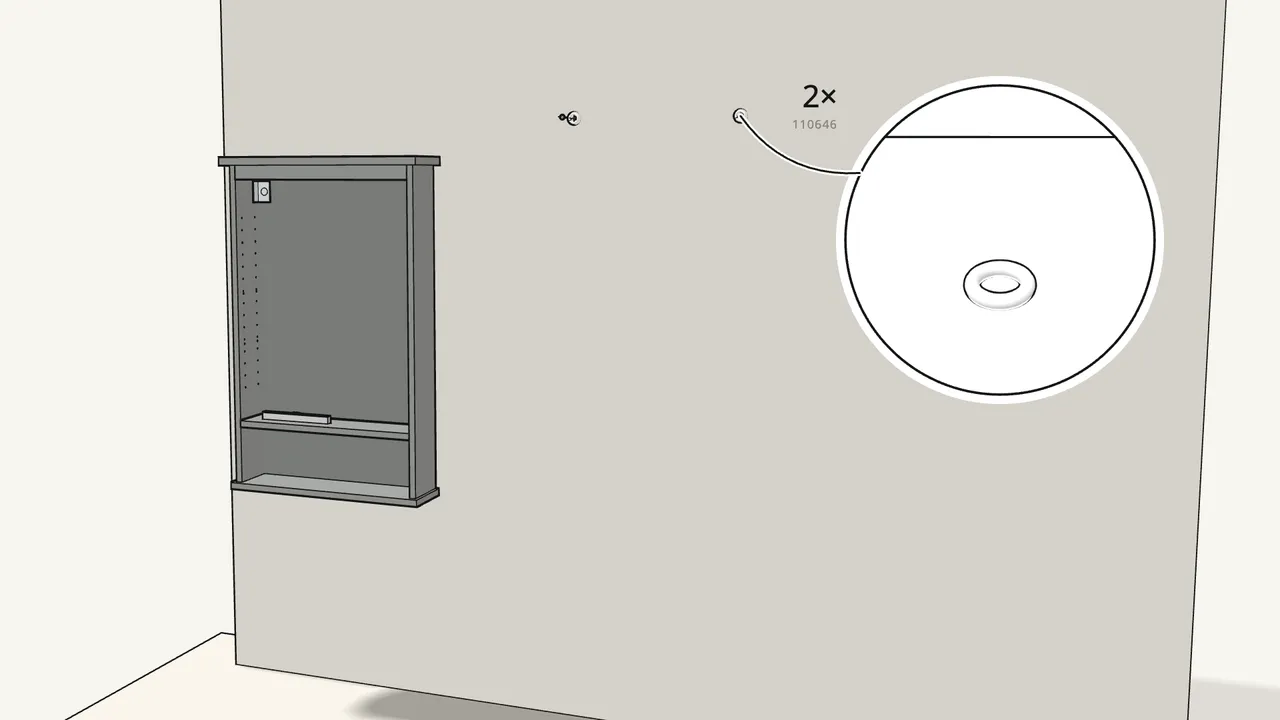
Step 12 · manual step 11
Move it away. Screw the 2 spacers (110646) onto the wall.
Wall screws are not included — use round-head screws, not countersunk.
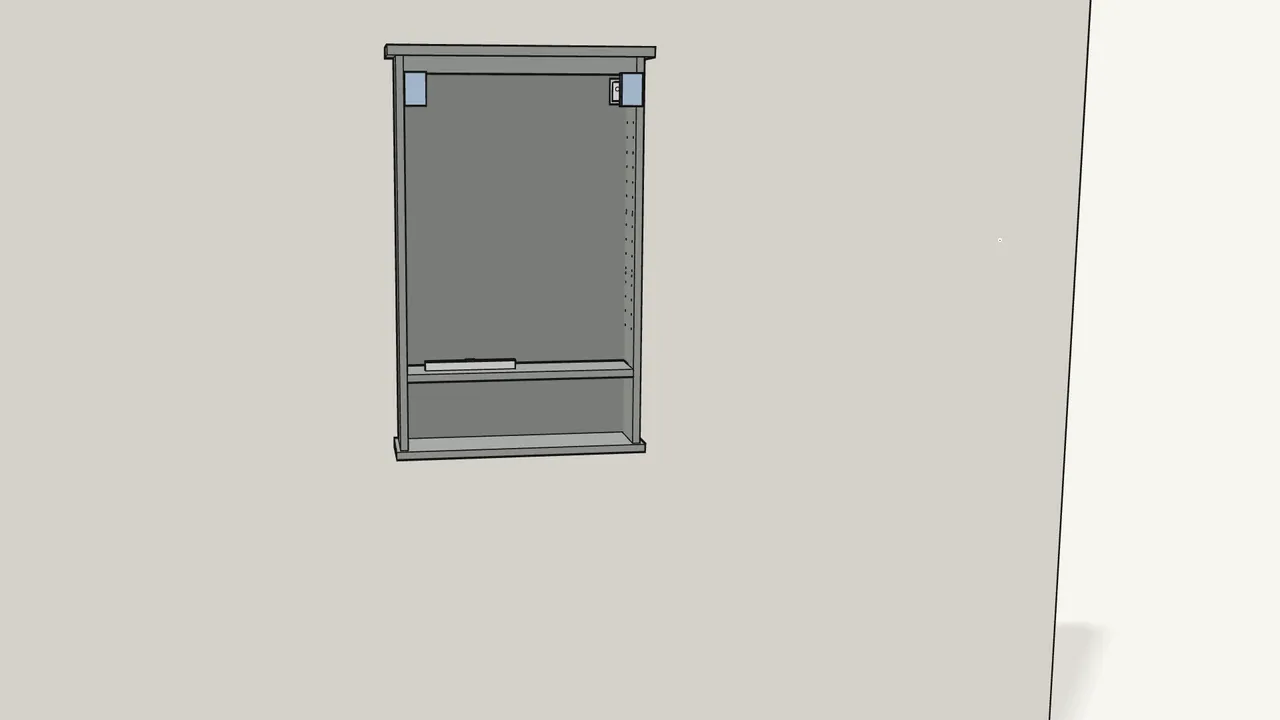
Step 13 · manual step 12
Hang the cabinet and fit the 2 plates (153647) in the brackets.
Adjust the height with a screwdriver, then clip on the covers (115754).
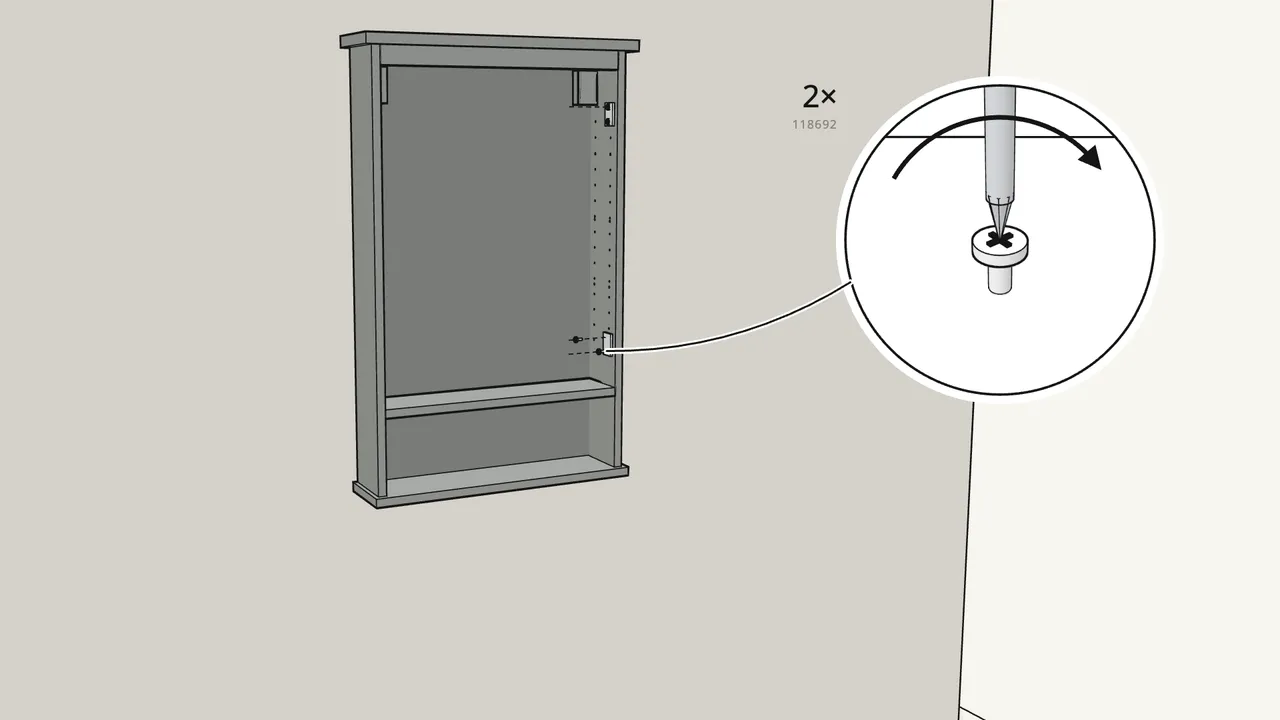
Step 14 · manual step 13
Screw the 2 hinge plates (118692) onto the right side.
Door on the left instead? Fit them on the left side — see the manual, p. 13.
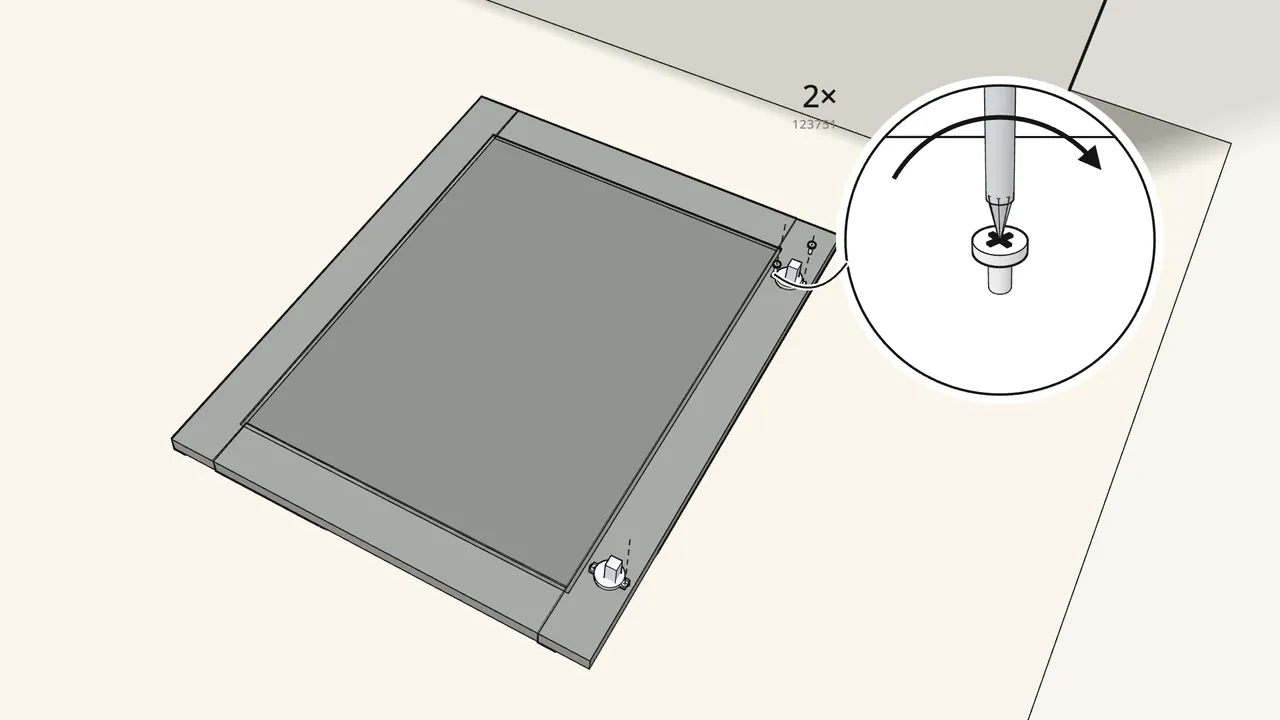
Step 15 · manual step 14
Lay the door face down. Screw on the 2 hinges (123751).
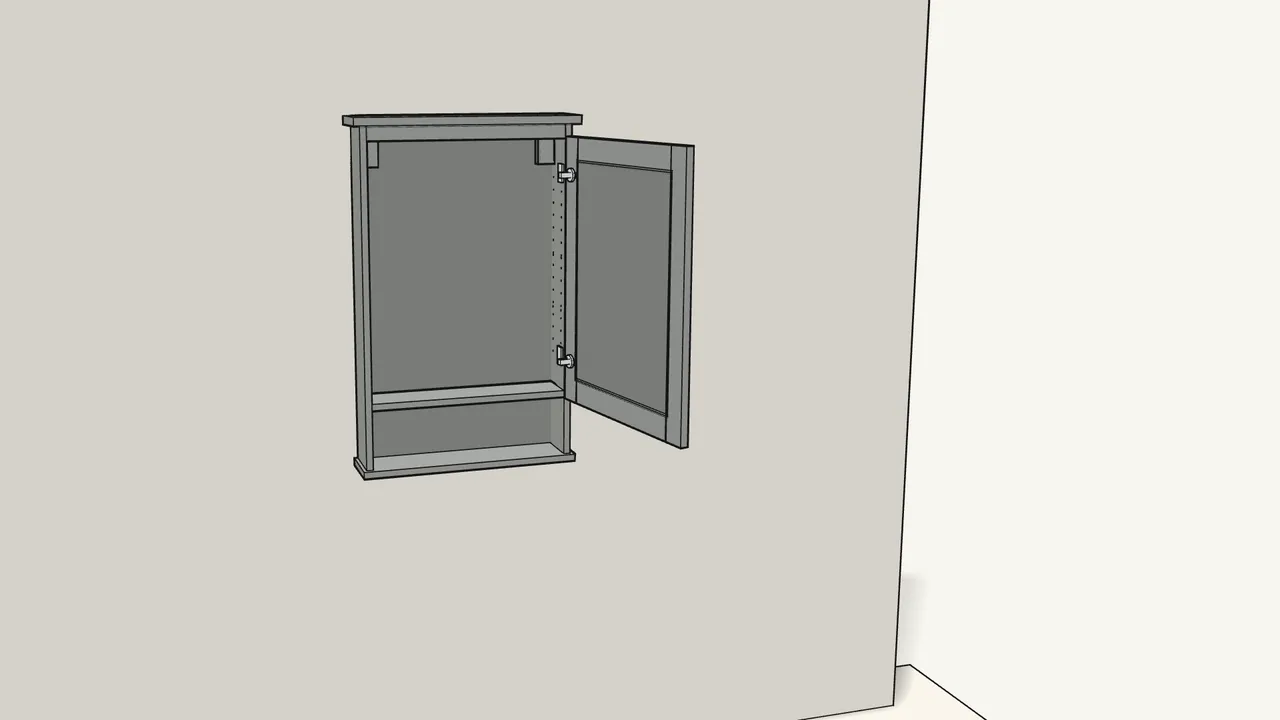
Step 16 · manual step 15
Clip the hinges onto the plates, then tighten the screws.
Two people.
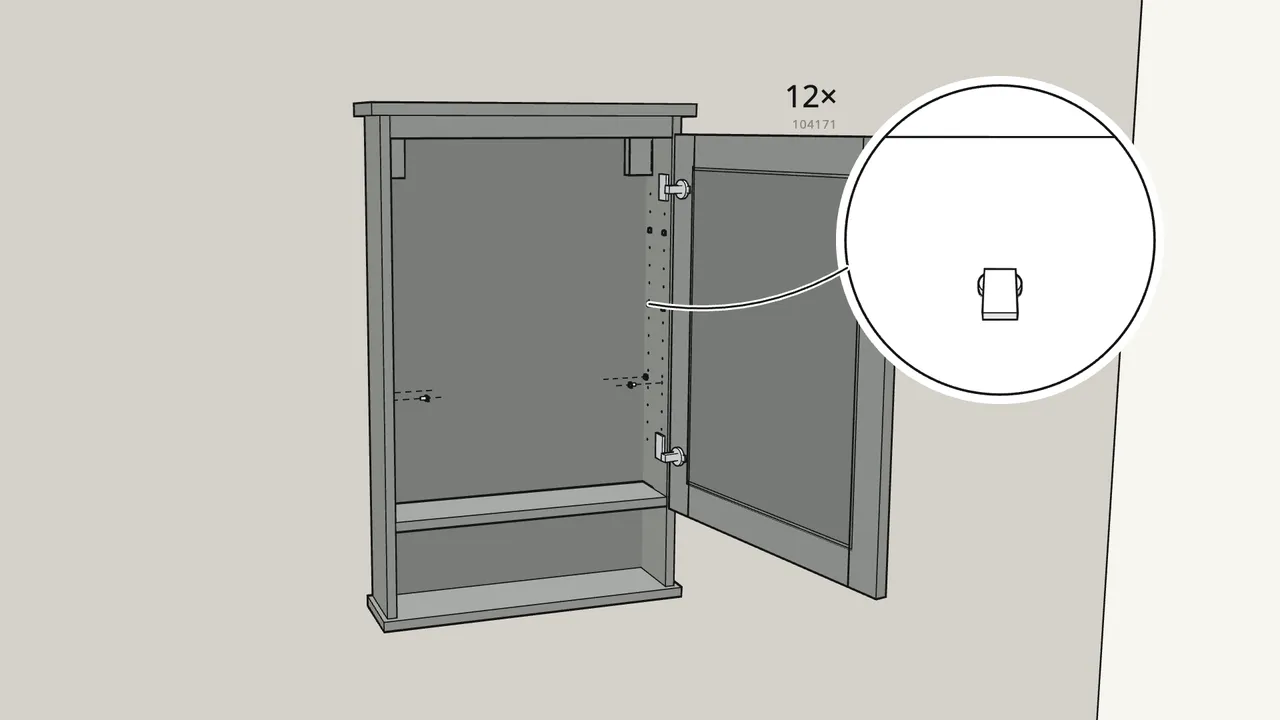
Step 17 · manual step 16
Press in the 12 shelf pins (104171).
4 for each shelf. Heights: see the manual, step 16.
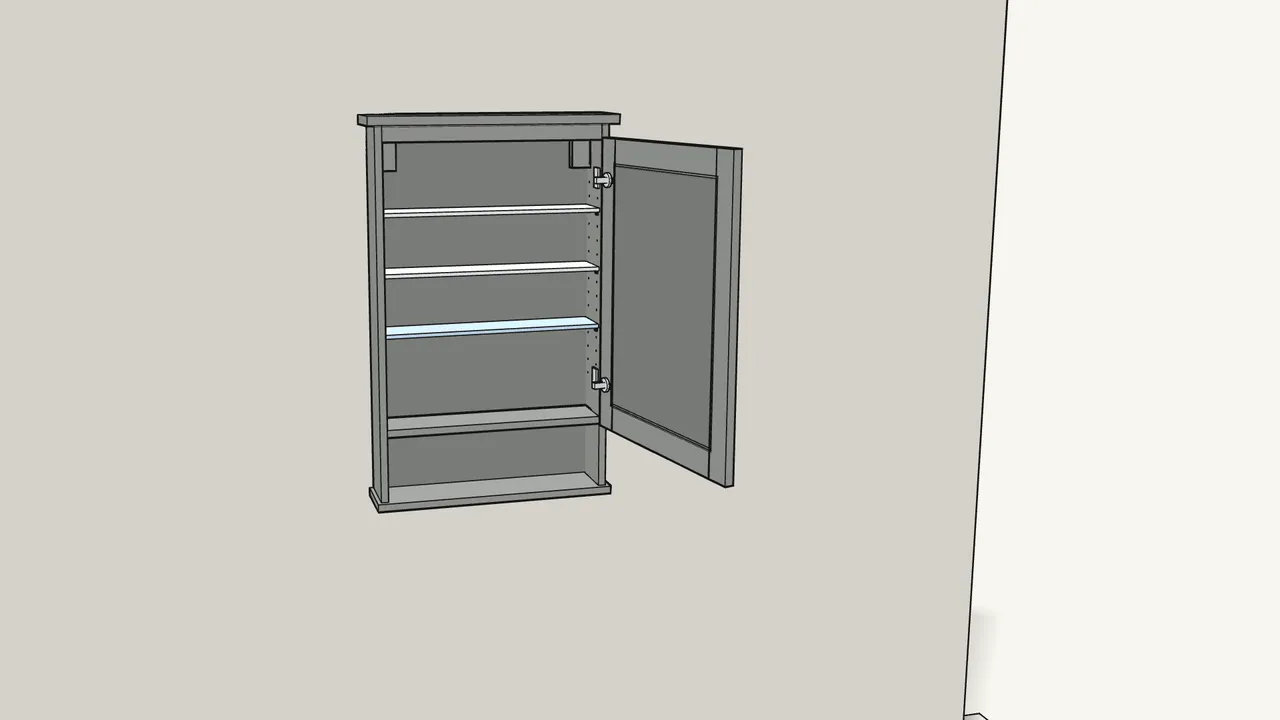
Step 18 · manual step 17
Put in the 3 shelves.
Tilt each one in, then lay it on its 4 pins.
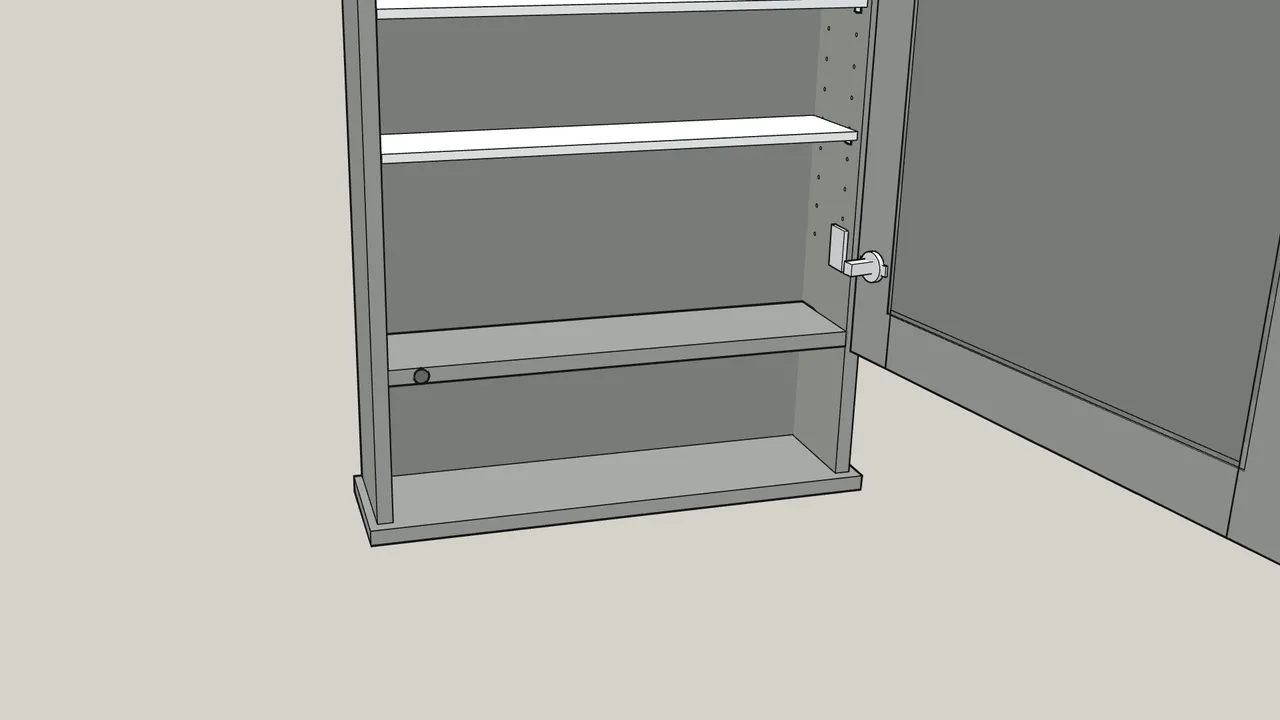
Step 19 · manual step 18
Stick the bumper (107091) on the front edge of the shelf.
On the side where the door closes.
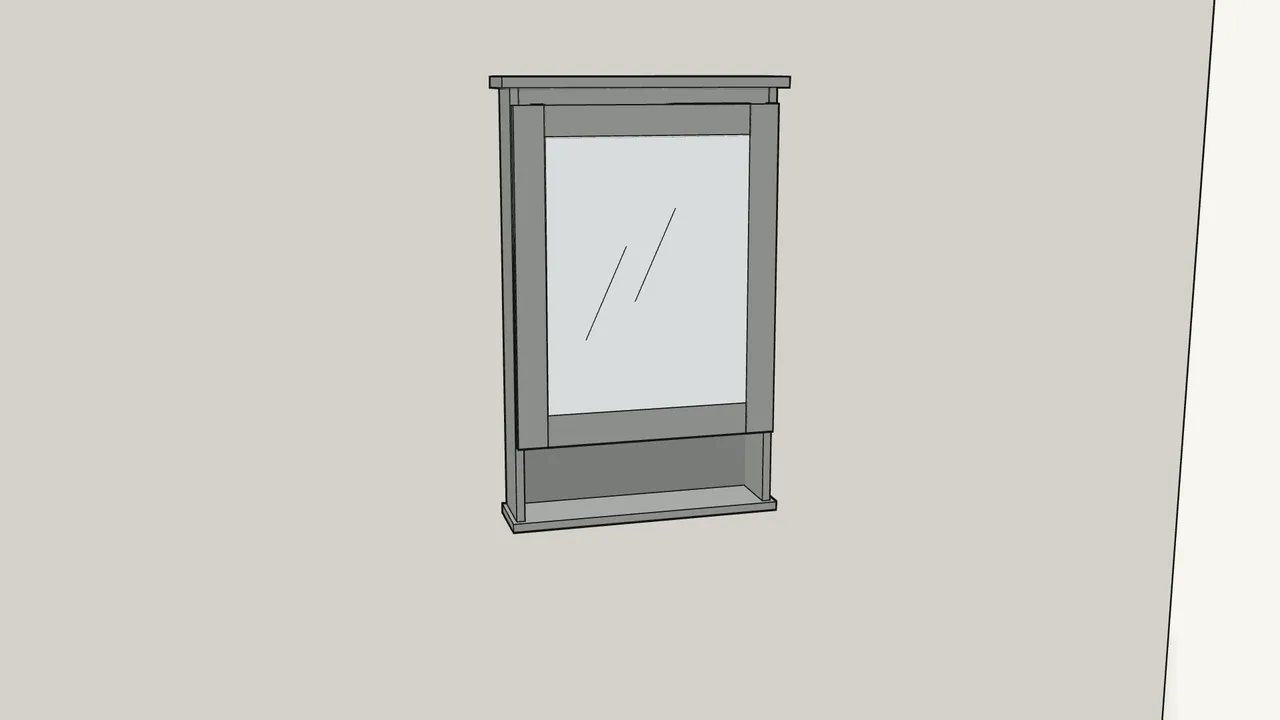
Step 20 · manual step 18
Close the door.
Tips & safety
- Hang it on screws that suit your wall. Wall screws and plugs are not included. Use round-head screws for the spacers — if unsure, ask a hardware specialist.
- Door not lined up? Turn the hinge screws to move it up/down or sideways — see the last page of the manual.
Official instructions
This guide follows IKEA’s official assembly instructions (AA-565034-7). Keep the printed manual to hand — if anything differs, the manual is right.



