IKEA · Cabinets & Wardrobes
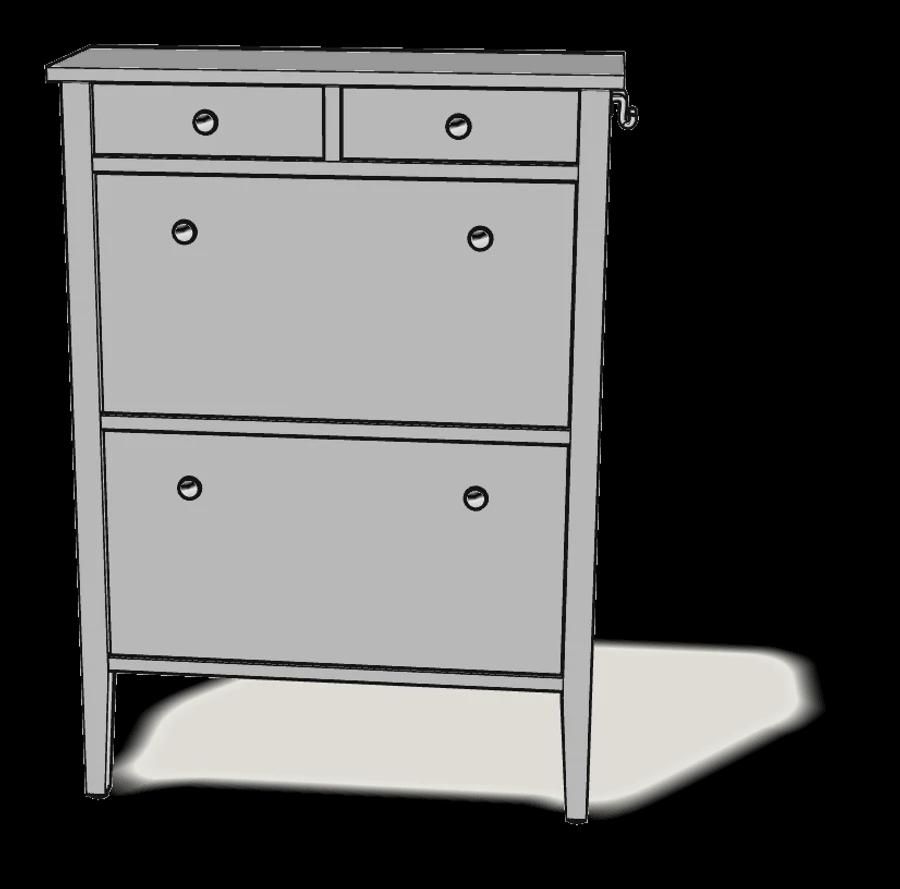
How to assemble IKEA GULLABERG Shoe Cabinet with 2 Compartments
Step-by-step IKEA GULLABERG Shoe Cabinet with 2 Compartments assembly: 22 illustrated steps, an animated video, the hardware list and the tools you need — following the official instructions (AA-2514824-4).
- 22 illustrated steps
- 39 steps in the manual
- 3:30 video
- 88×30×122 cm
What you need
Tools
- Flat-head screwdriver
- Phillips screwdriver
- Hammer
- Allen key (included)
- Drill (for wall fixing)
You’ll need: flat-head and Phillips screwdrivers, a hammer, the Allen key (included) and a drill for the wall fixing.
Hardware in the box
| Part no. (as printed in the manual) | Qty |
|---|---|
| 118331 | 24× |
| 101345 | 22× |
| 192800 | 12× |
| 120076 | 20× |
| 100347 | 16× |
| 108462 | 16× |
| 10097027 | 4× |
| 10099877 | 4× |
| 100217 | 3× |
| 10077982 | 4× |
| 153552 | 2× |
| 151930 | 12× |
| 10095420 | 8× |
| 106603 | 6× |
| 109048 | 2× |
| 121714 | 2× |
| 100823 | 2× |
Step-by-step assembly
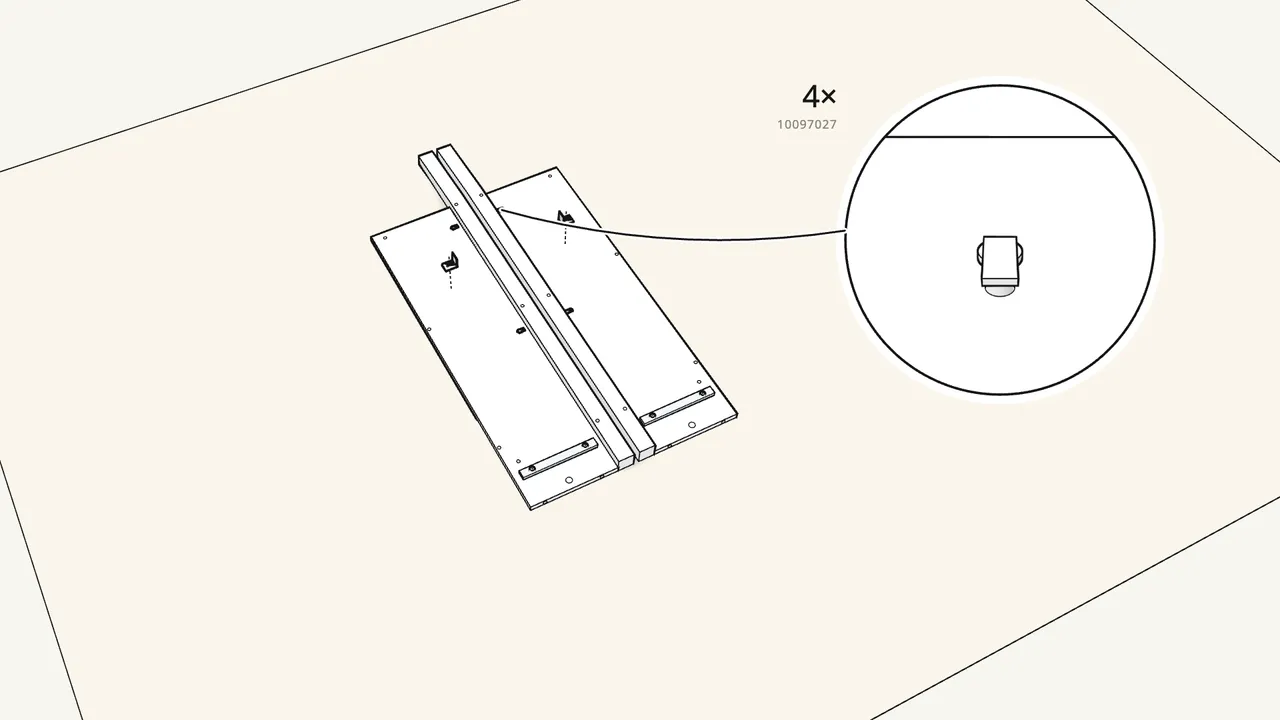
Step 1 · manual step 1–3
Screw on the runners, then 4 pin fittings and 4 compartment fittings.
Runners CR / CL with screws 108462. Fittings 10097027 and 10099877 with screws 100347.
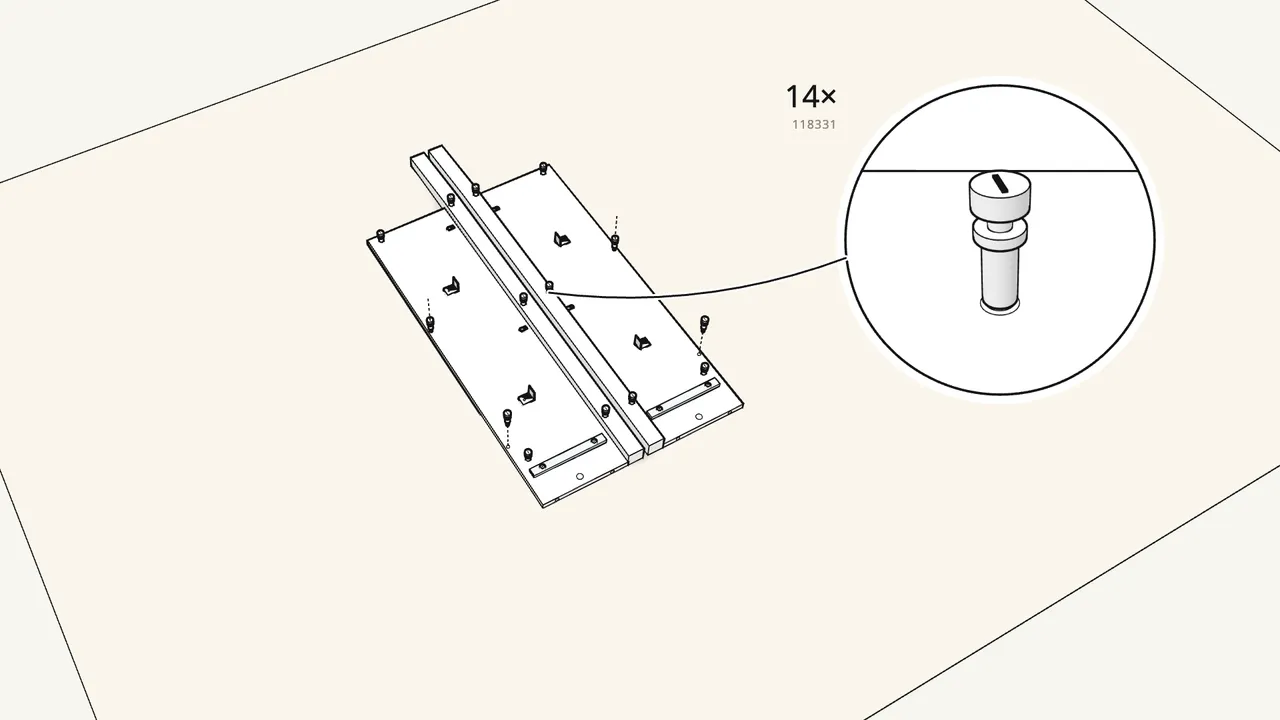
Step 2 · manual step 4
Screw 14 cam bolts (118331) into the side units.
7 in each — turn them in all the way.
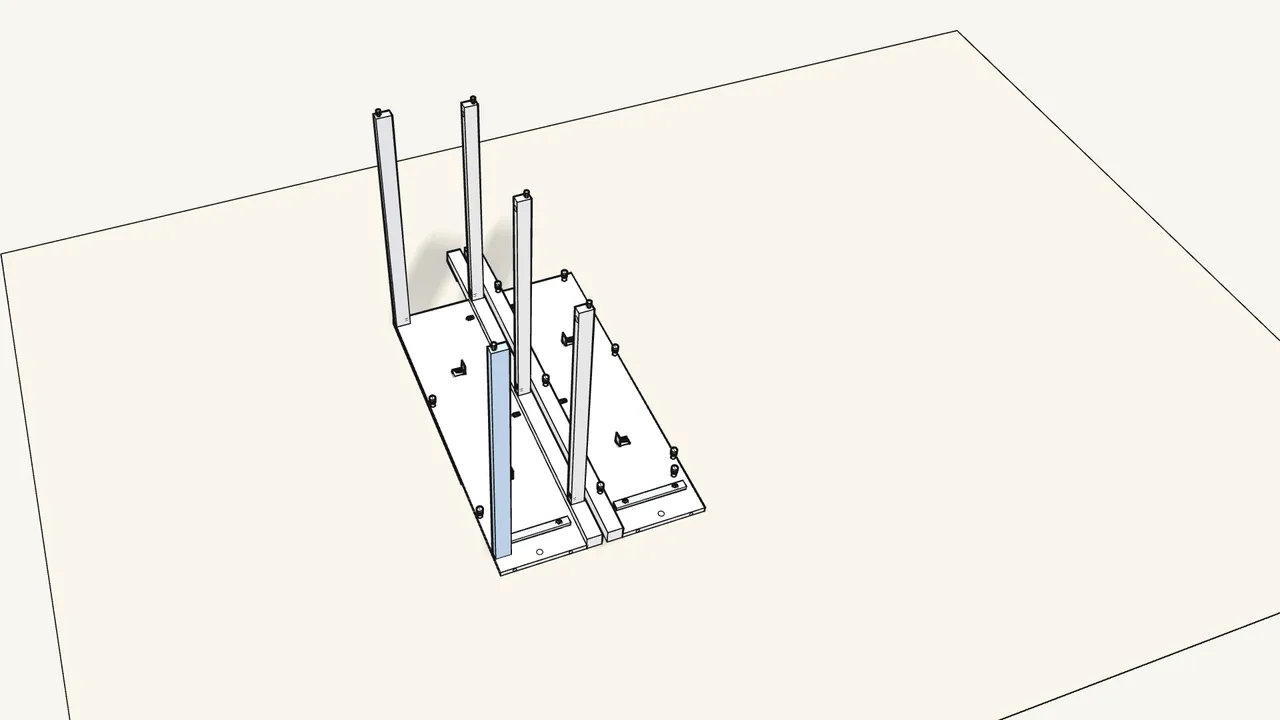
Step 3 · manual step 5–6
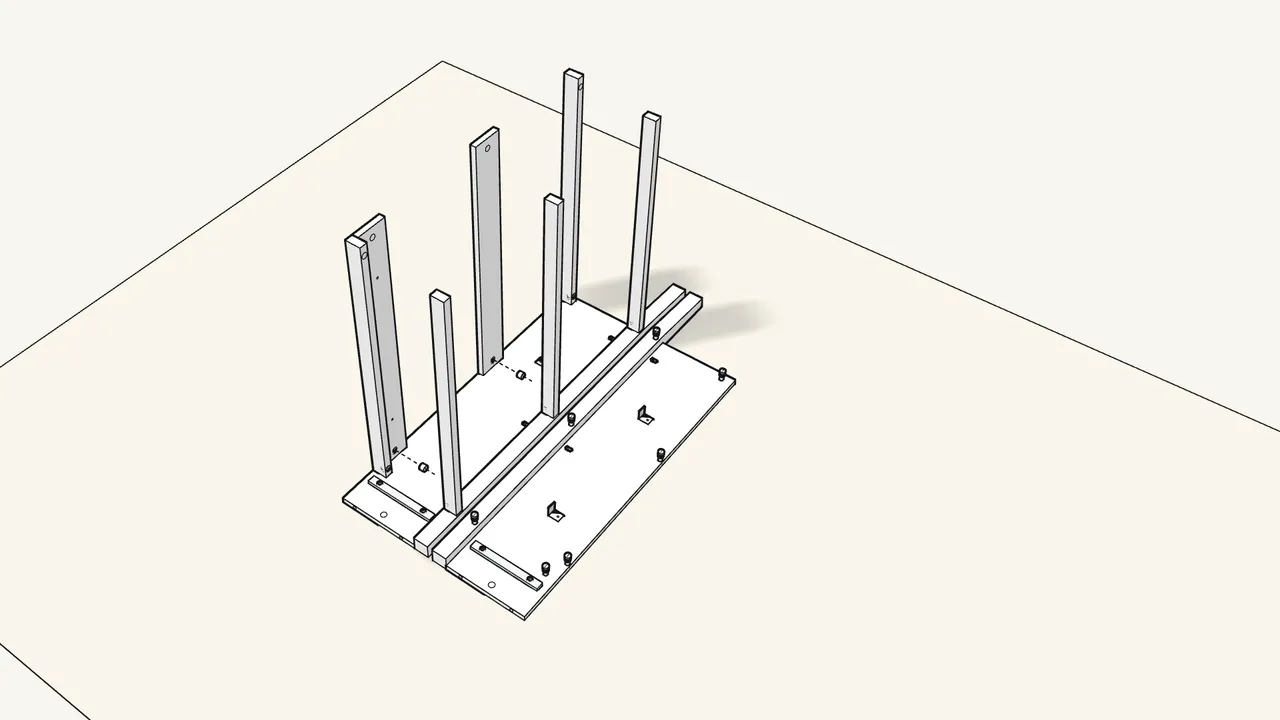
Push 10 dowels into the 5 rails and stand them in one side unit.
Lock them with 5 cam locks (192800) — turn clockwise.
Step 4 · manual step 7–8
Push 8 dowels into the 2 wide rails and stand them in.
Lock them with 2 cam locks (120076).
Step 5 · manual step 9
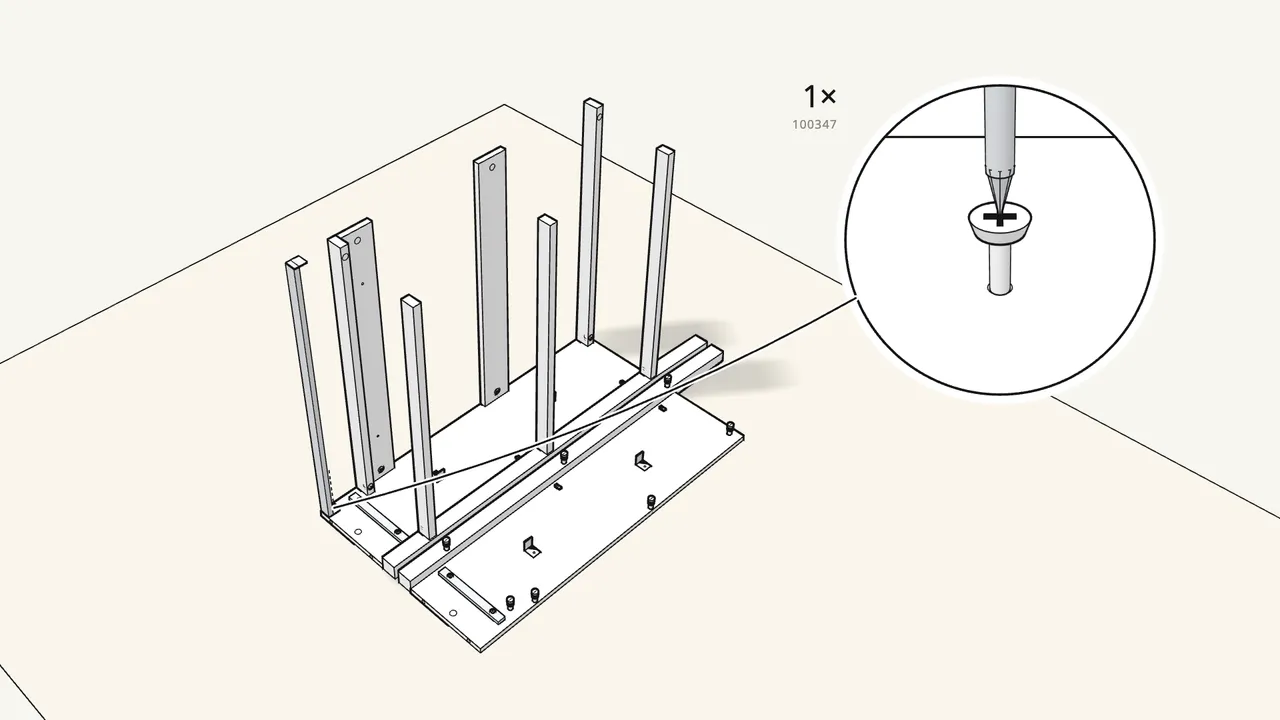
Fit the metal bar (155073) with 1 screw (100347).
It goes at the top end, by the back edge.
Step 6 · manual step 10
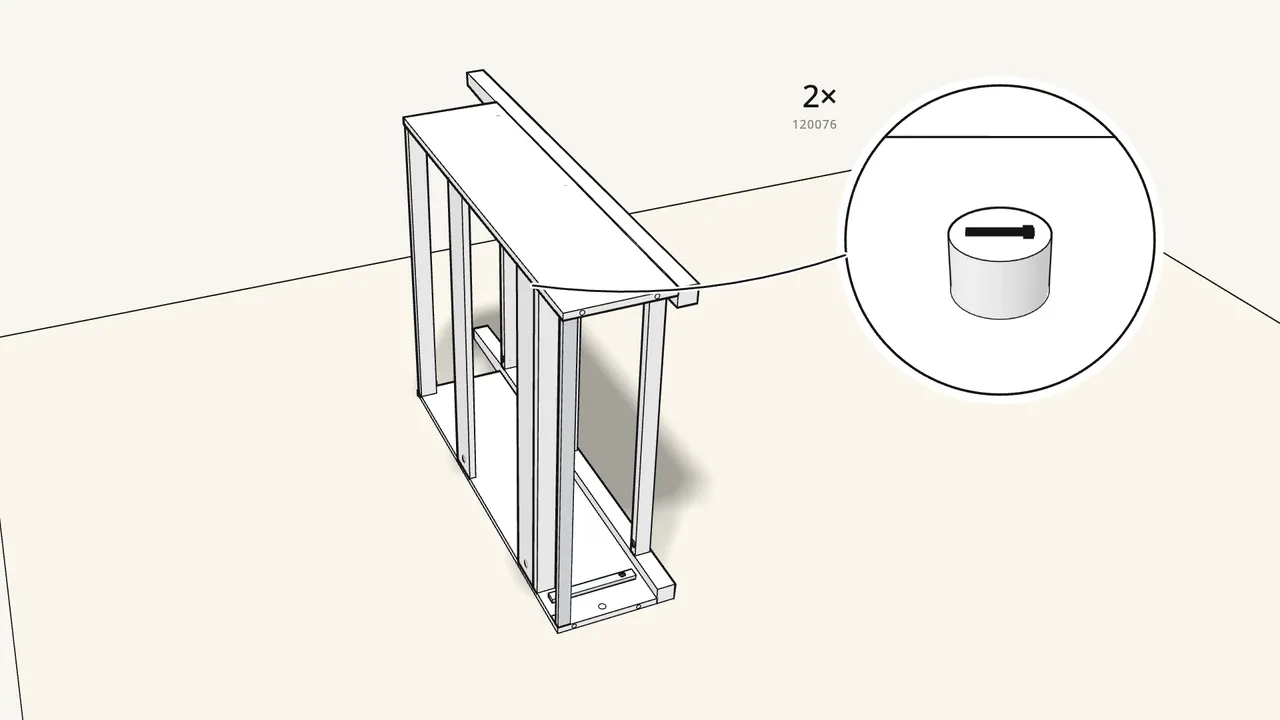
Lay the other side unit on top. Lock 2 cam locks (120076).
Its fittings face inwards.
Step 7 · manual step 11–12
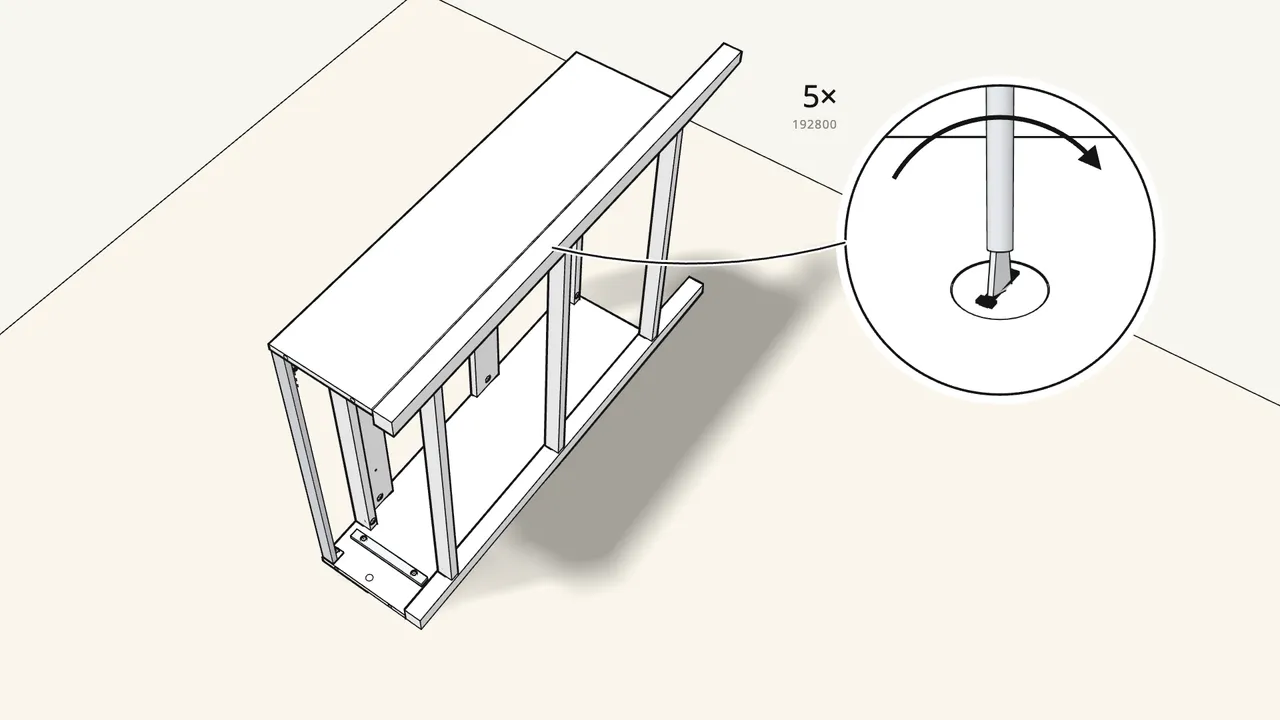
Lock 5 cam locks (192800) and screw on the bar.
1 screw 100347 at this end of the bar.
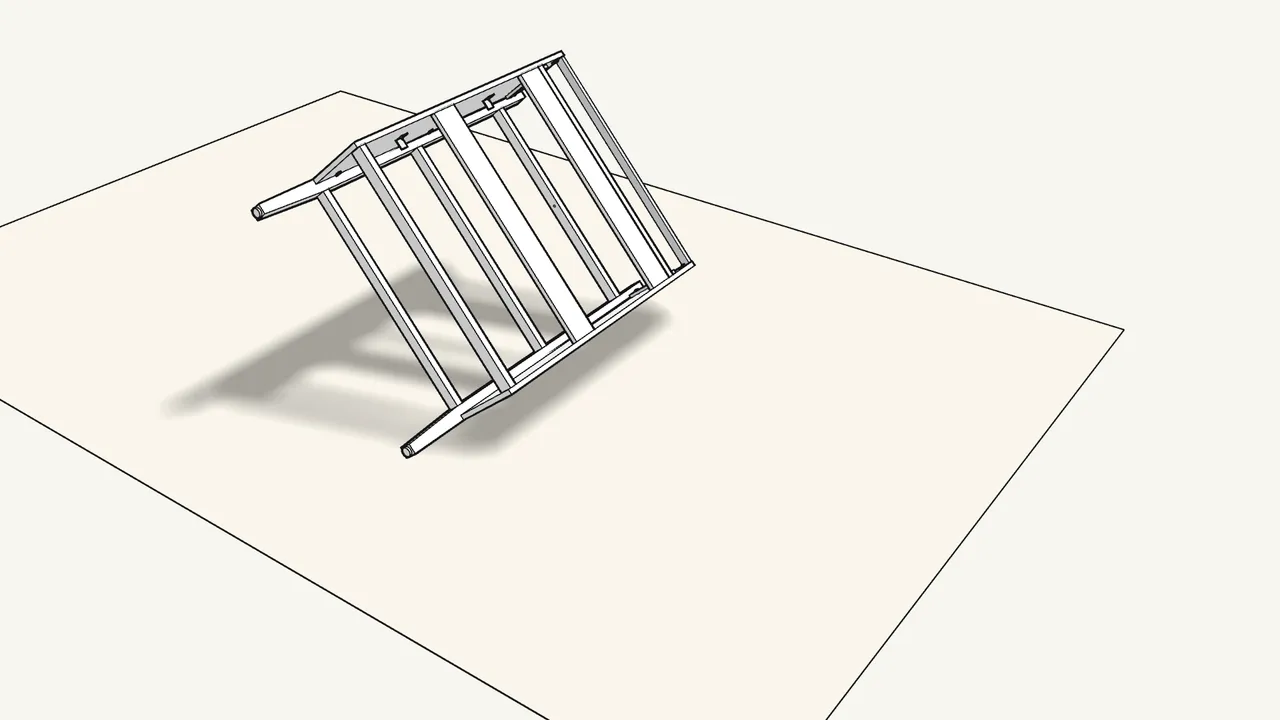
Step 8 · manual step 13
Press the 2 glides (153552) into the legs. Turn it onto its front.
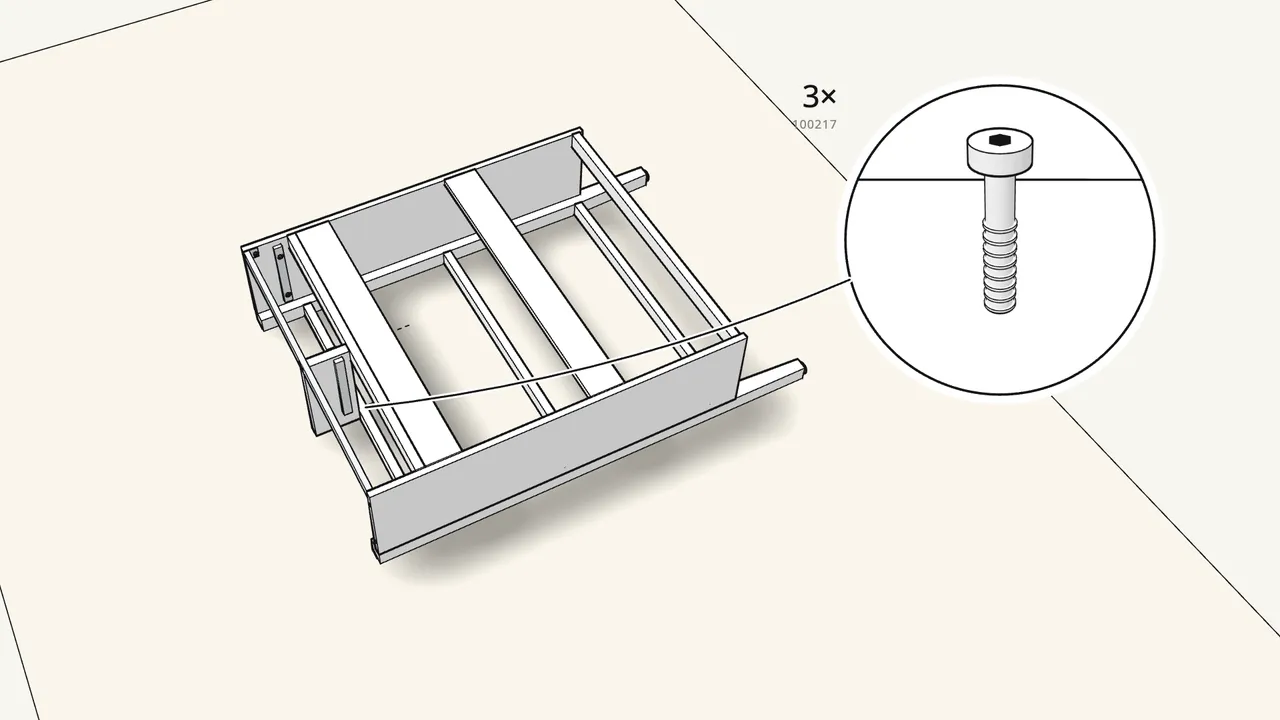
Step 9 · manual step 14–16
Fit the divider between the drawers.
Runners CR and CL on it (2 screws 108462 each), then 3 screws (100217) with the Allen key.
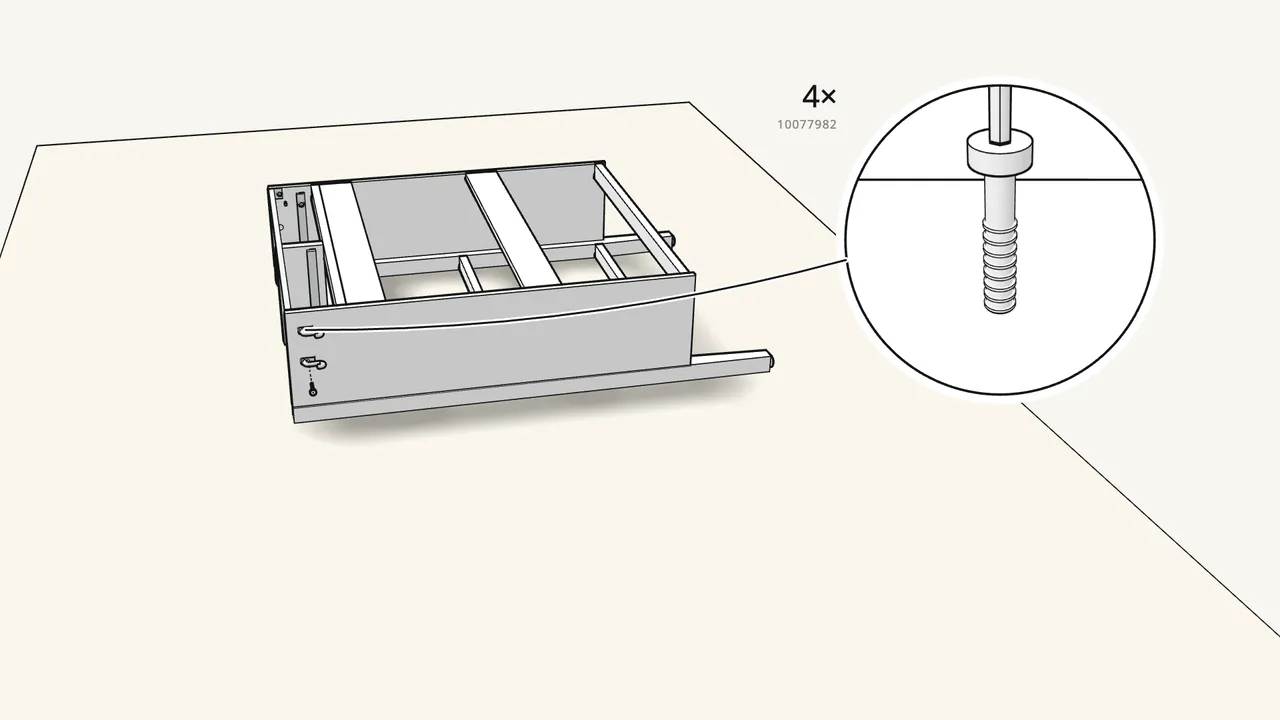
Step 10 · manual step 17
Fix the 4 hooks with screws (10077982) and the Allen key.
2 hooks on each side, at the top end.
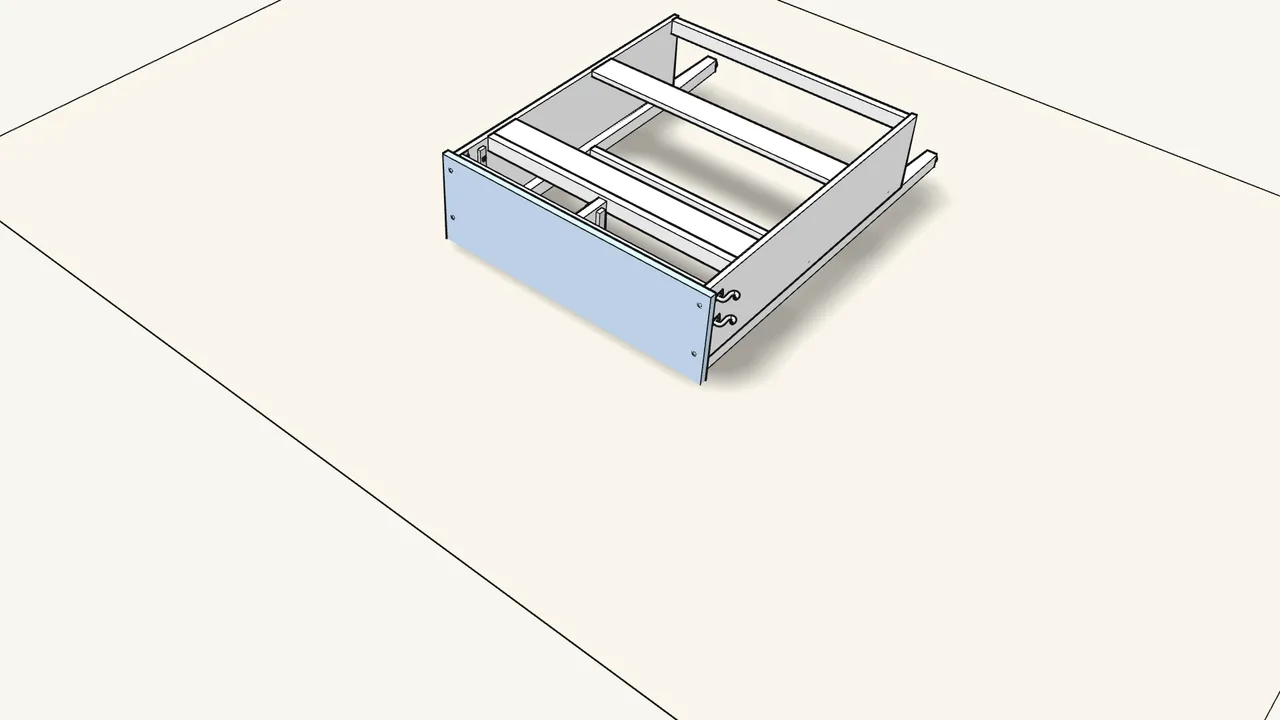
Step 11 · manual step 18–20
4 dowels in the sides, 2 cam bolts in the top. Fit the top.
Lock it with 2 cam locks (192800).
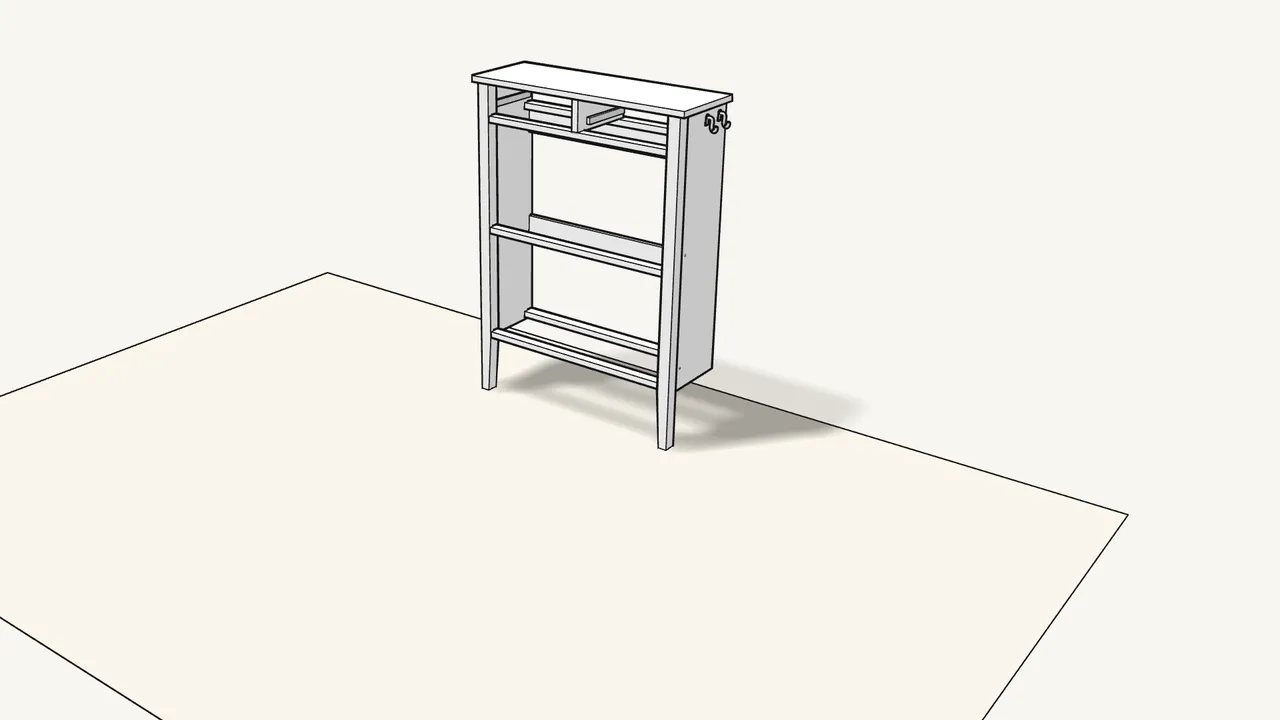
Step 12 · manual step 20
Stand the cabinet upright.
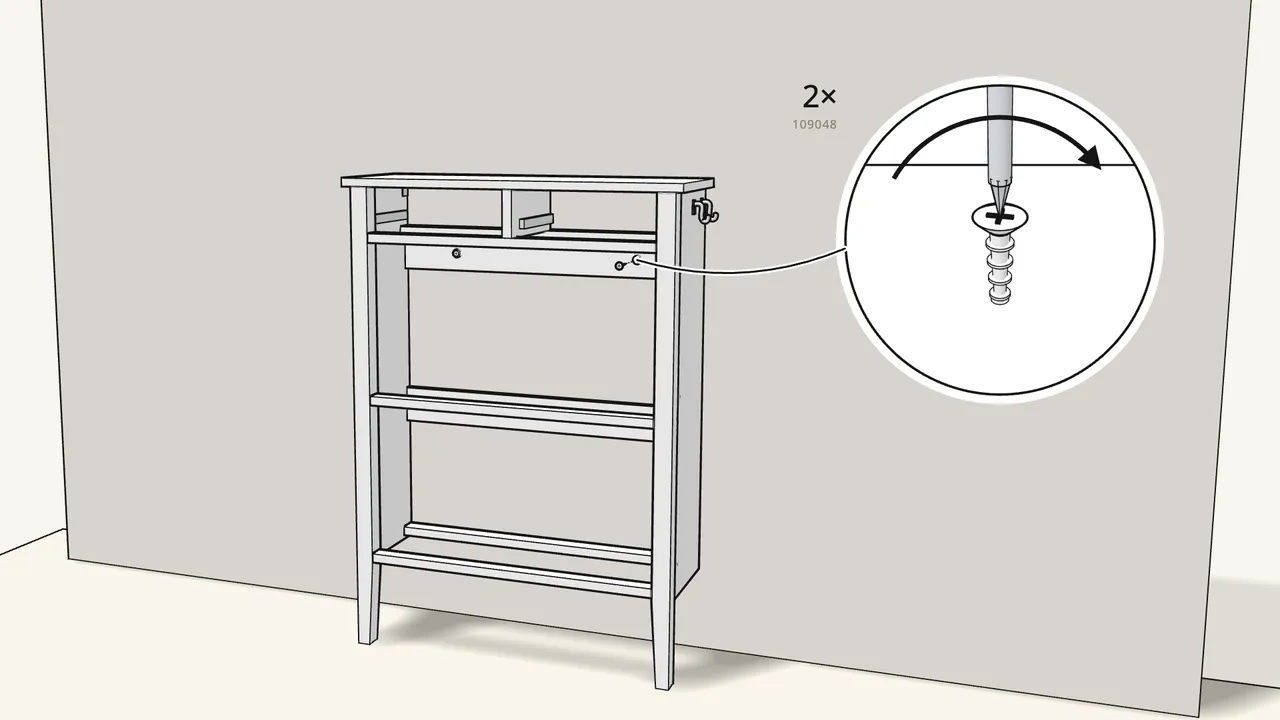
Step 13 · manual step 21–23
Fix the cabinet to the wall with 2 screws (109048) and washers.
Mark through the 2 holes, drill and plug (121714) — check what suits your wall (step 22).
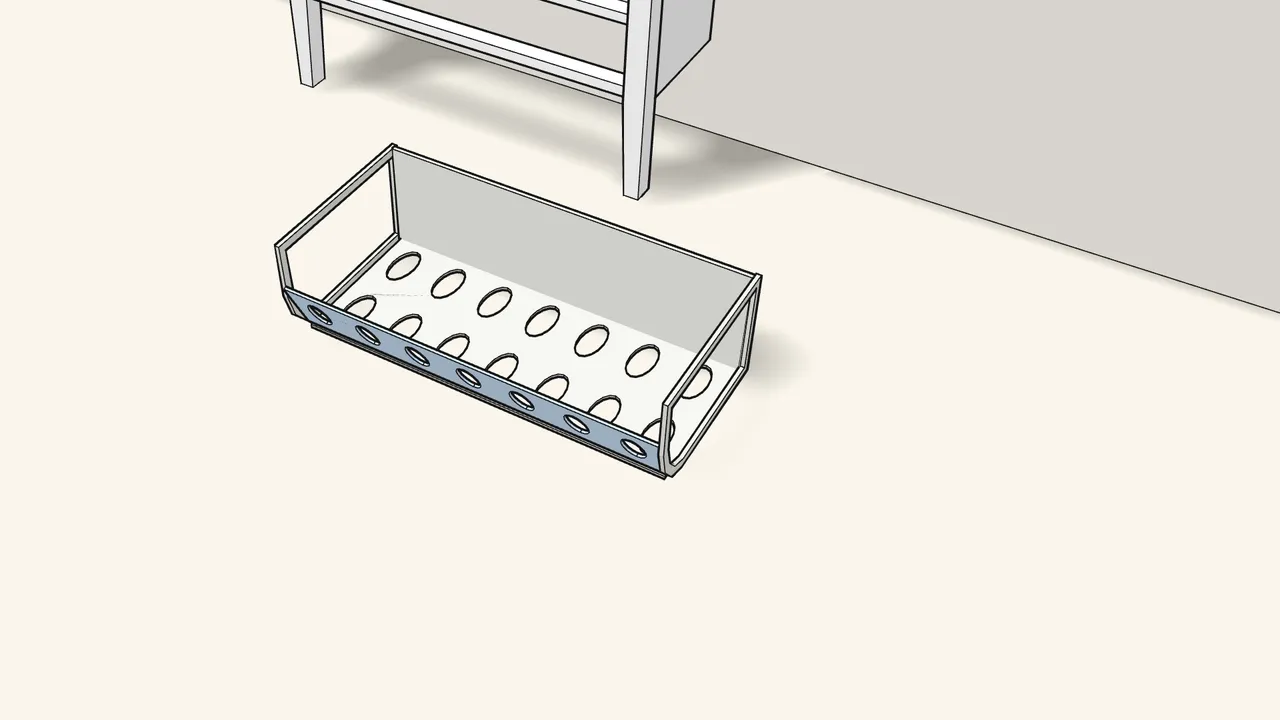
Step 14 · manual step 24–27
Click the plastic parts of a compartment together.
Fold the perforated panels, click on end pieces R and L, then the 3-row panel.
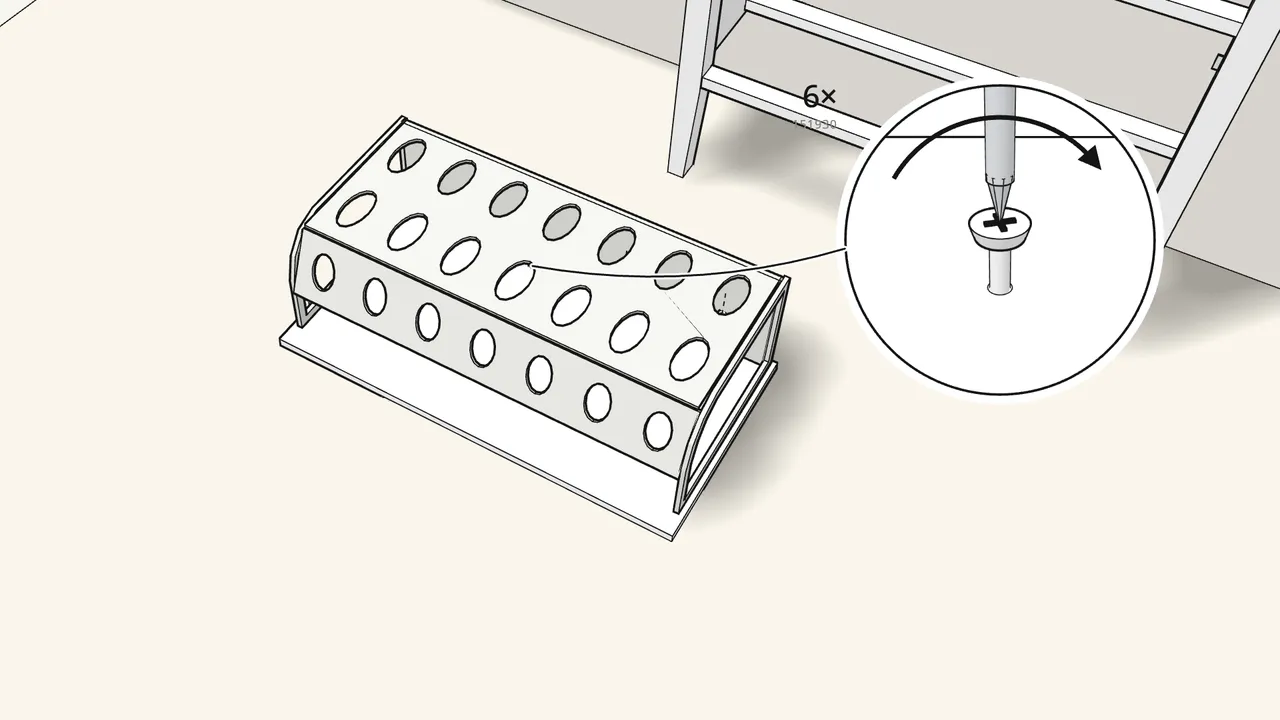
Step 15 · manual step 28–29
Place it on the back of a door and fix it with 6 screws (151930).
Use a hand screwdriver — no power drill.
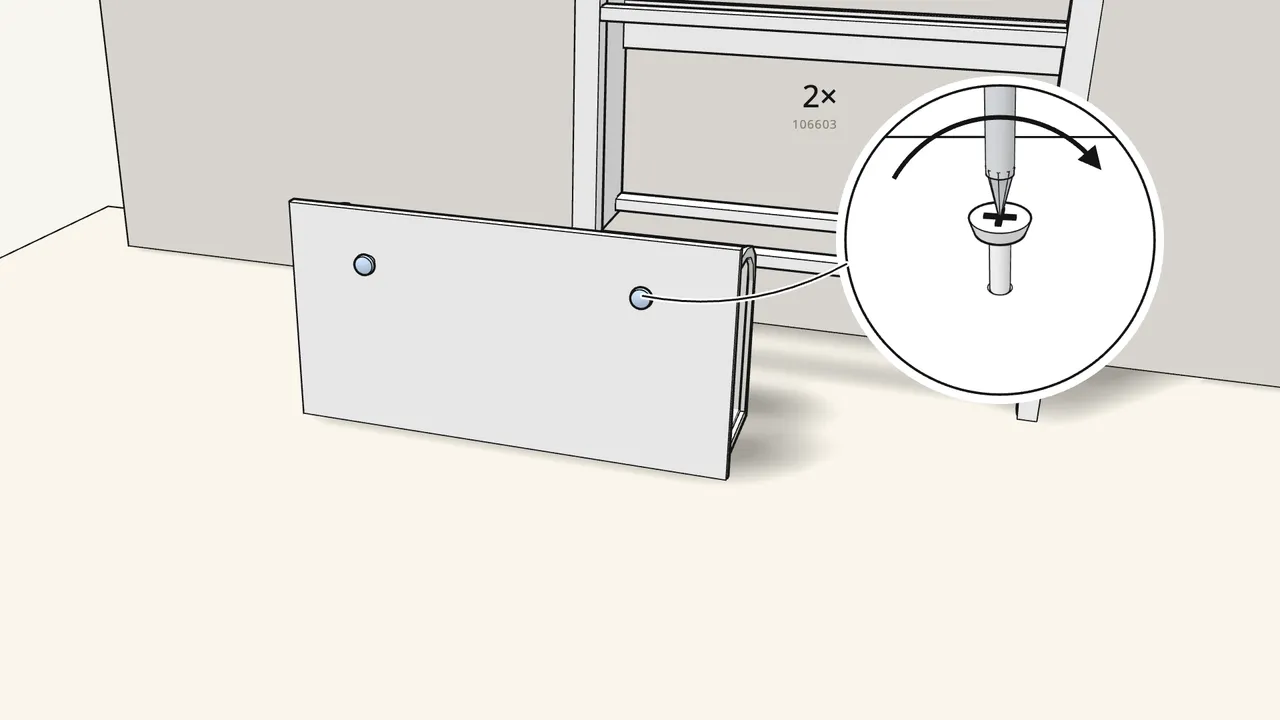
Step 16 · manual step 30
Fit 2 knobs on the front with bolts (106603).
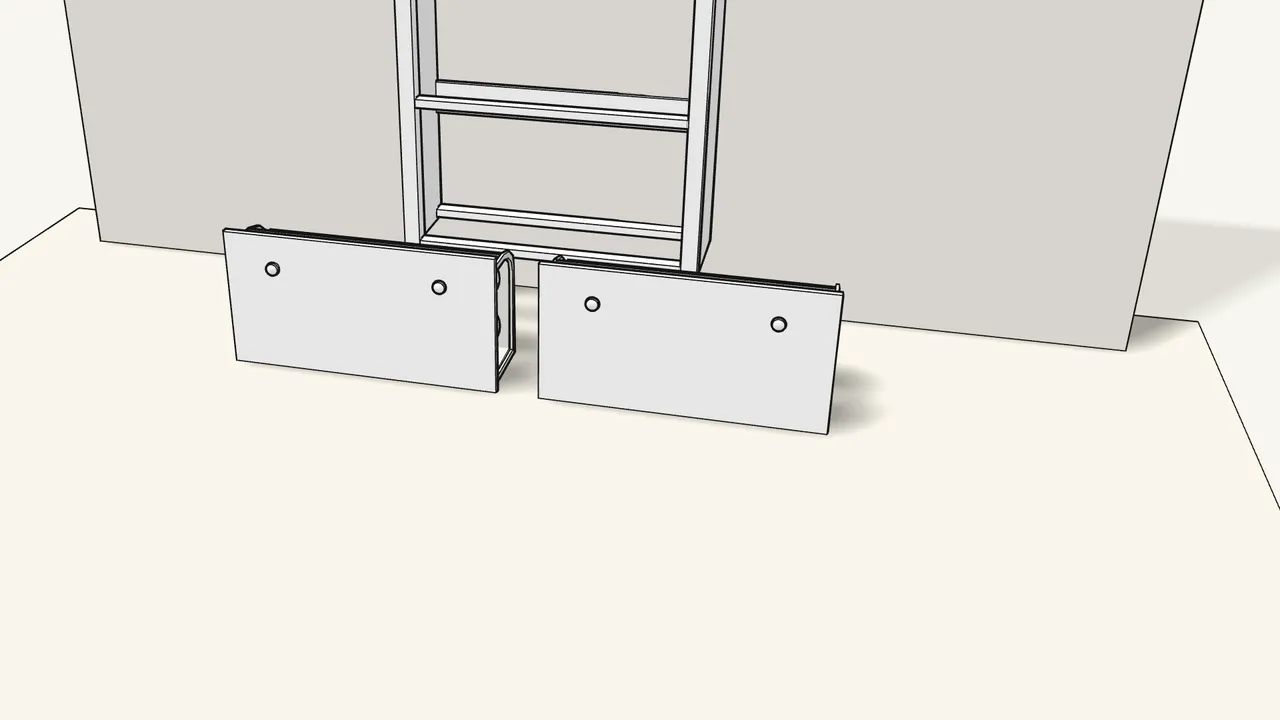
Step 17 · manual step 24–30
Build the second compartment the same way.
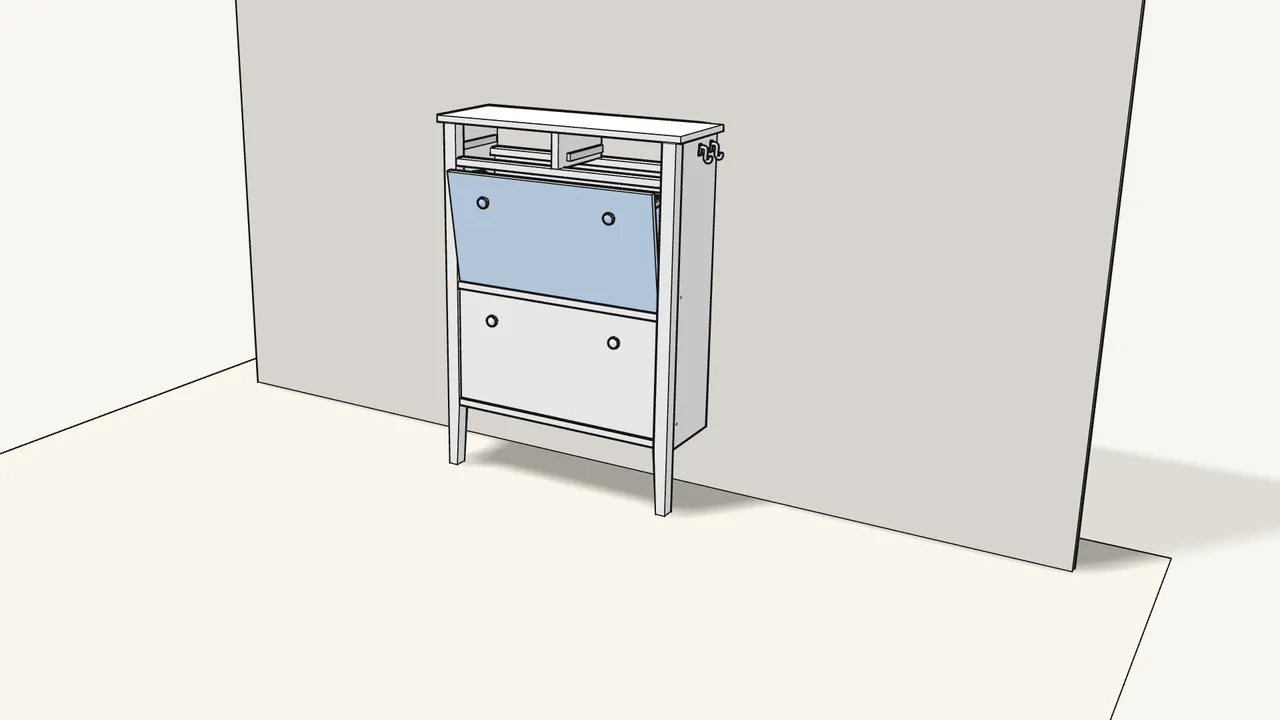
Step 18 · manual step 31
Hook both compartments into the cabinet and tilt them closed.
They hang on the fittings at both sides.
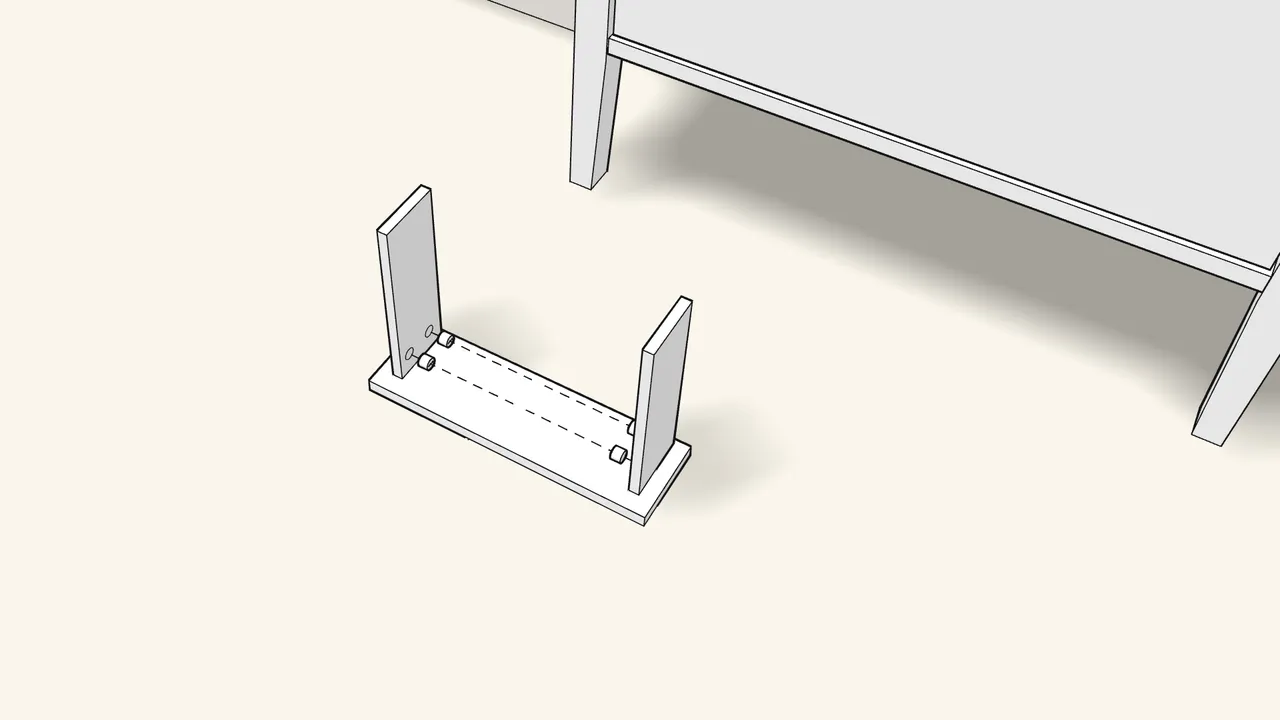
Step 19 · manual step 32–33
Drawer: 4 cam bolts (118331) in the front, then fit the sides.
Lock the sides with 4 cam locks (120076).
Step 20 · manual step 34–36
Slide in the bottom and fit the back.
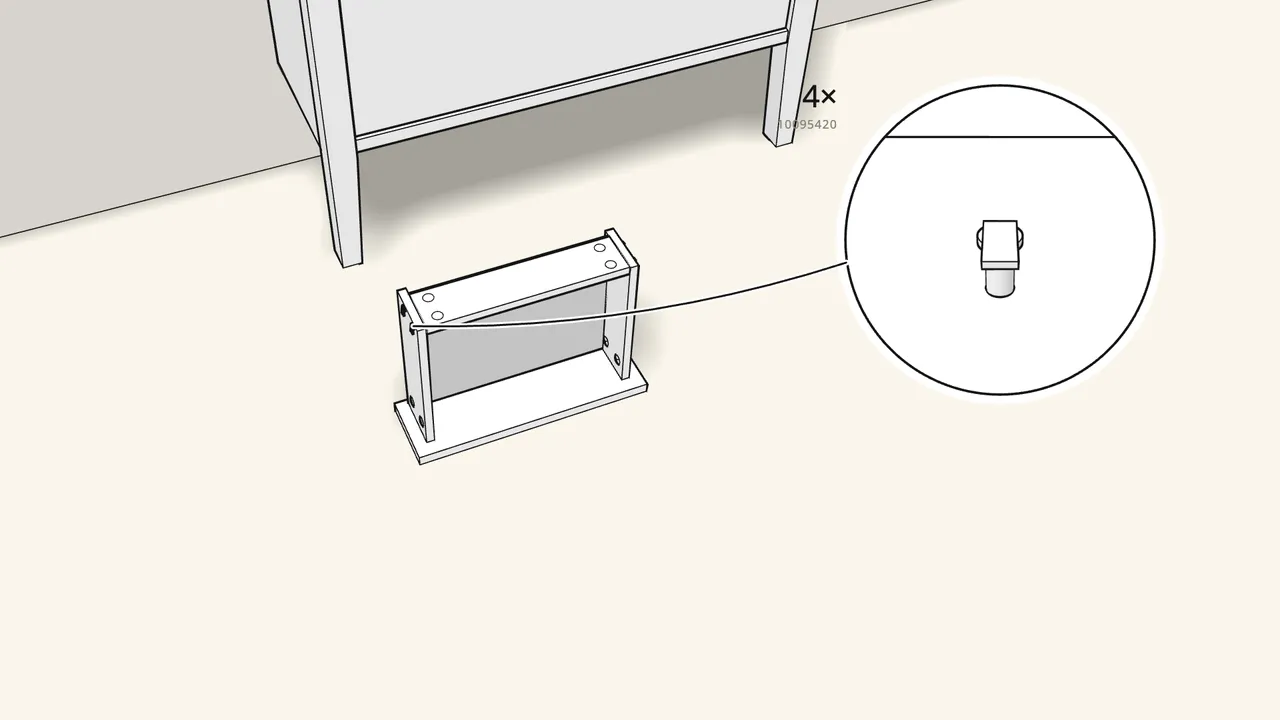
4 pins (10095420) through the sides, then 4 cam locks (120076) in the back.
Step 21 · manual step 37–38
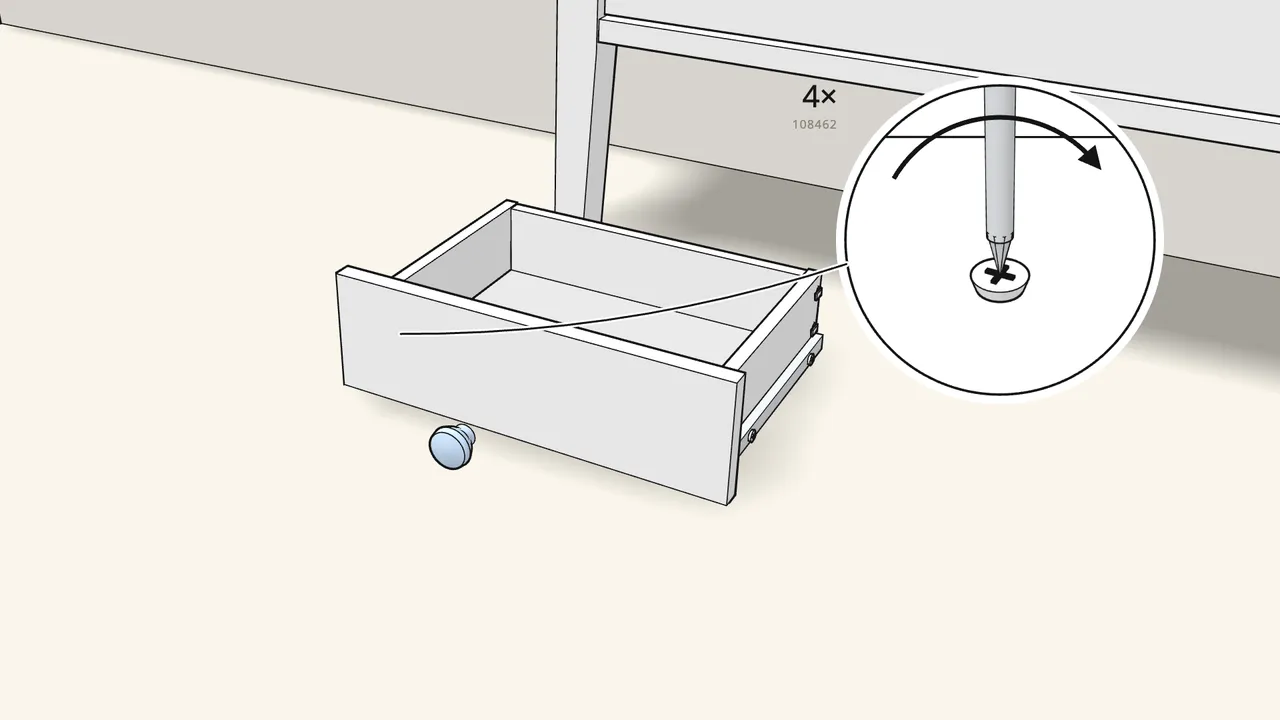
Screw on the runners (4 × 108462) and fit the knob (106603).
Build the second drawer the same way.
Step 22 · manual step 39
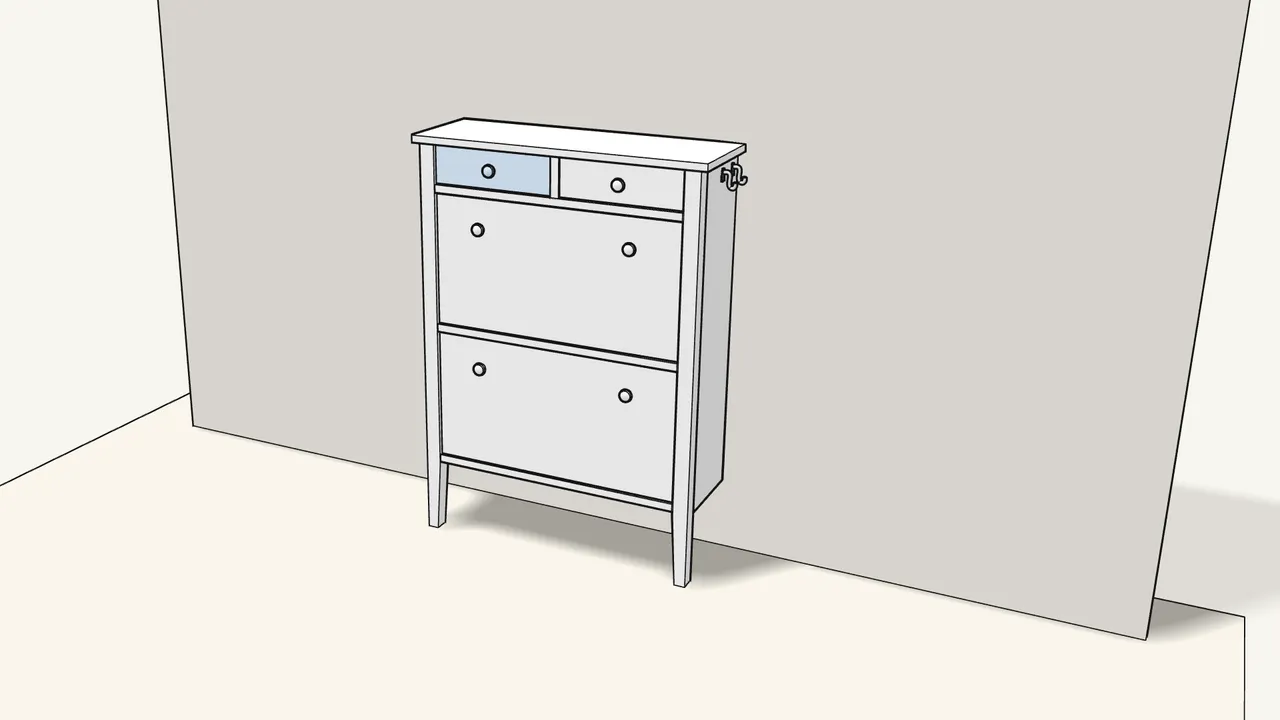
Slide both drawers in.
Tips & safety
- Always fix GULLABERG to the wall. Furniture tip-over can cause serious or fatal crushing injuries. Use the 2 screws through the upper back rail (step 23).
- Choose fixings that suit your wall. Plugs 121714: solid and hollow walls (8 mm drill). Solid wood: screws only (3 mm drill). Unsure? Ask a specialist.
Official instructions
This guide follows IKEA’s official assembly instructions (AA-2514824-4). Keep the printed manual to hand — if anything differs, the manual is right.



