IKEA · Cabinets & Wardrobes
How to assemble IKEA FJÄLLBO Sideboard
Step-by-step IKEA FJÄLLBO Sideboard assembly: 24 illustrated steps, an animated video, the hardware list and the tools you need — following the official instructions (AA-2325368-4).
- 24 illustrated steps
- 45 steps in the manual
- 3:29 video
- 111×47×95 cm
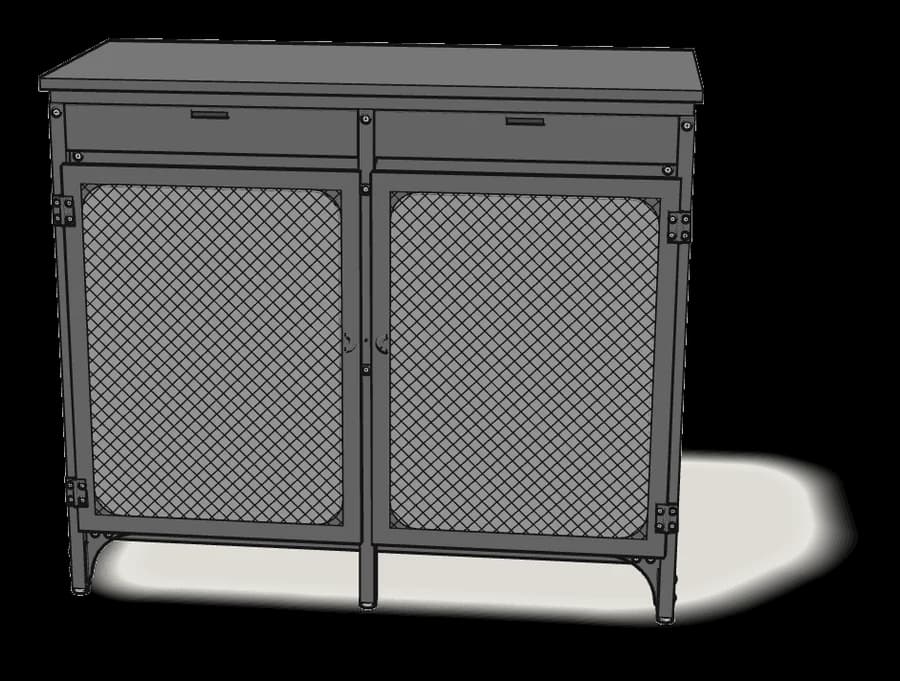
What you need
Tools
- Phillips screwdriver
- Spanner (included)
- Spirit level
You’ll need: a Phillips screwdriver, an awl, an adjustable wrench and a spirit level.
Hardware in the box
| Part no. (as printed in the manual) | Qty |
|---|---|
| 122158 | 6× |
| 139212 | 6× |
| 107616 | 42× |
| 112581 | 12× |
| 152497 | 14× |
| 152527 | 4× |
| 152526 | 4× |
| 190232 | 2× |
| 150689 | 2× |
| 190233 | 2× |
| 133304 | 2× |
| 126916 | 2× |
| 153334 | 4× |
| 10097808 | 2× |
| 139578 | 4× |
| 152730 | 2× |
| 116654 | 12× |
| 114755 | 4× |
| 100395 | 16× |
| 100782 | 8× |
Step-by-step assembly
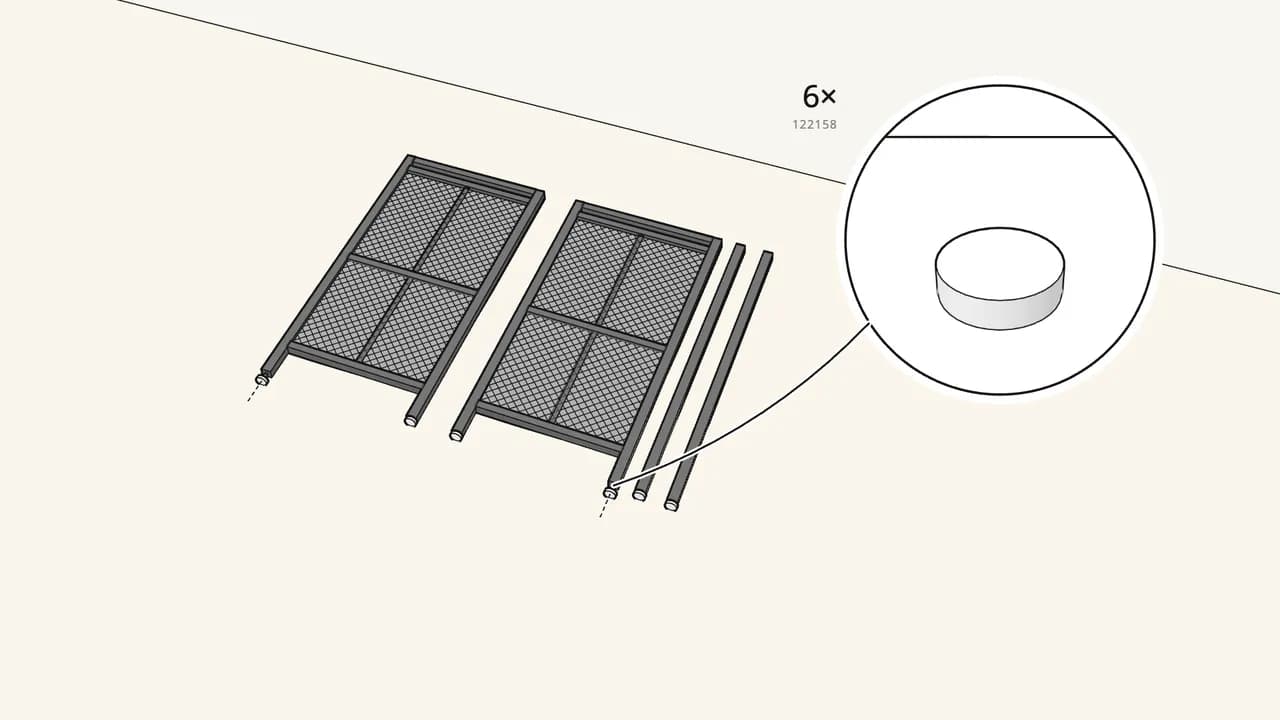
Step 1
Screw the 6 feet (122158) into the ends of the 4 legs and 2 posts.
Lay the parts on the rug. Check the hole next to each foot, as in the manual.
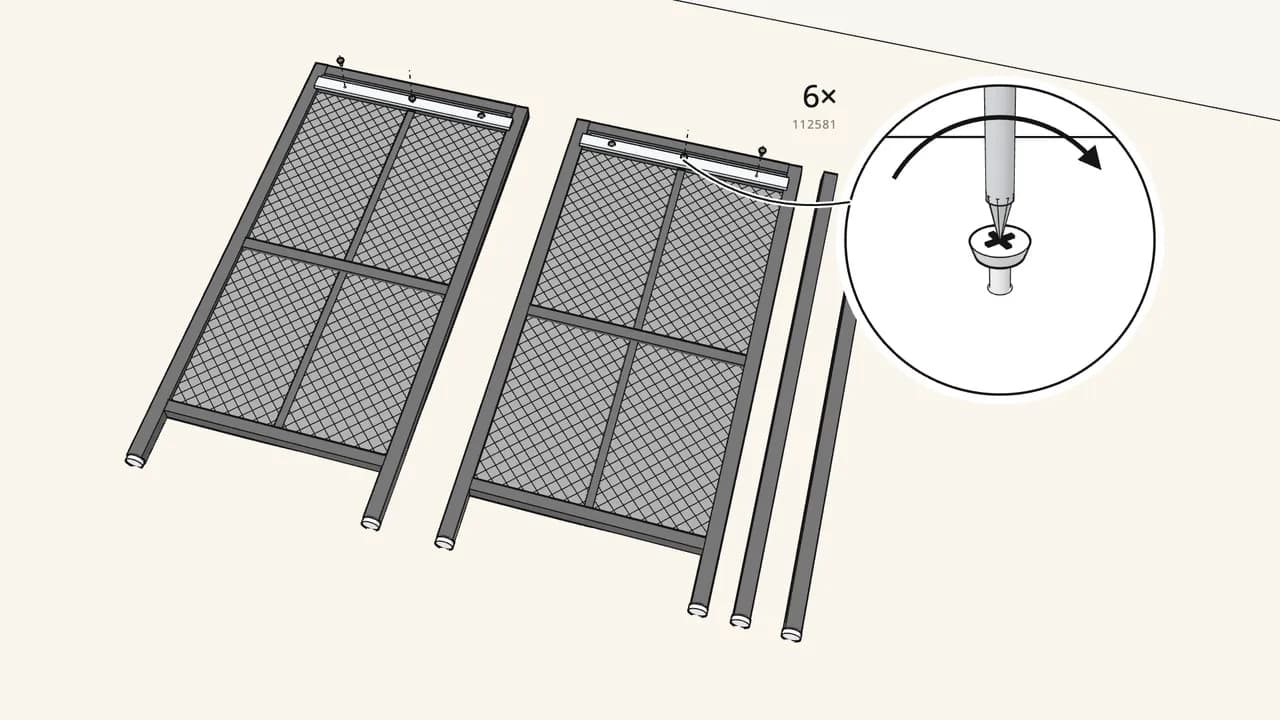
Step 2
Fix a drawer runner inside each side panel — 3 screws (112581) each.
Runner “IKEA CL” on the left panel, “IKEA CR” on the right one.
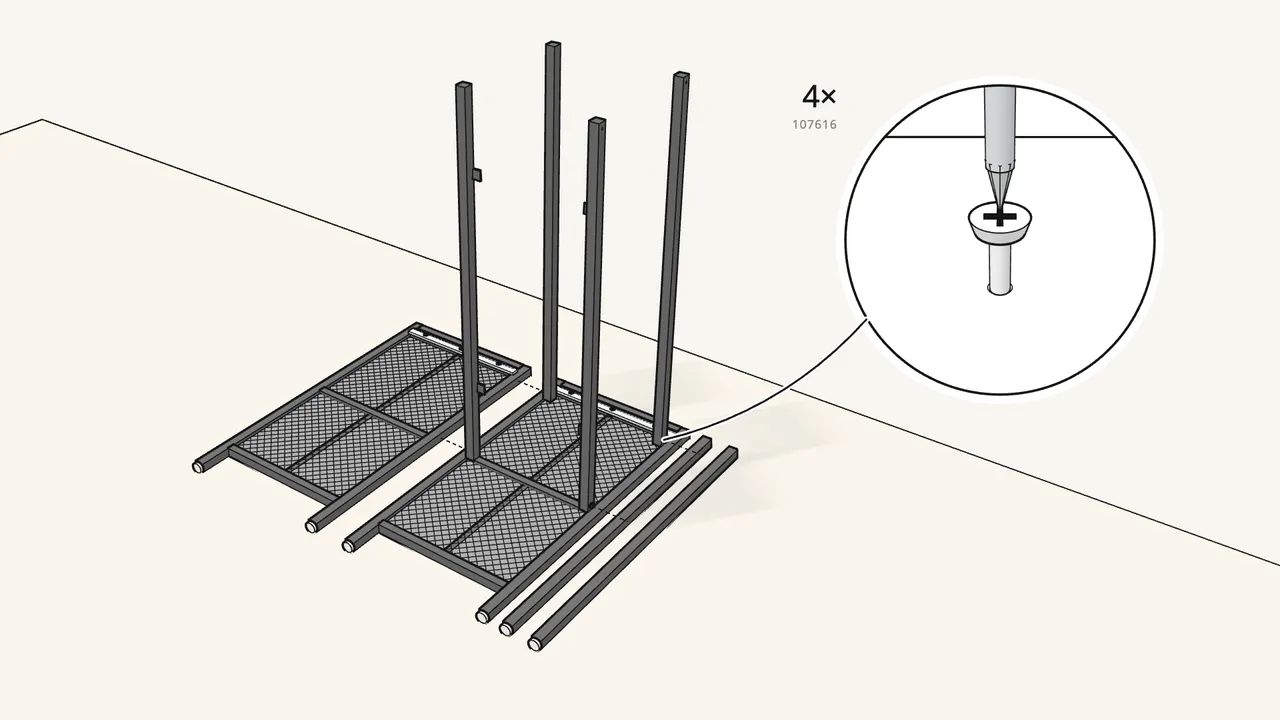
Step 3 · manual step 3–5
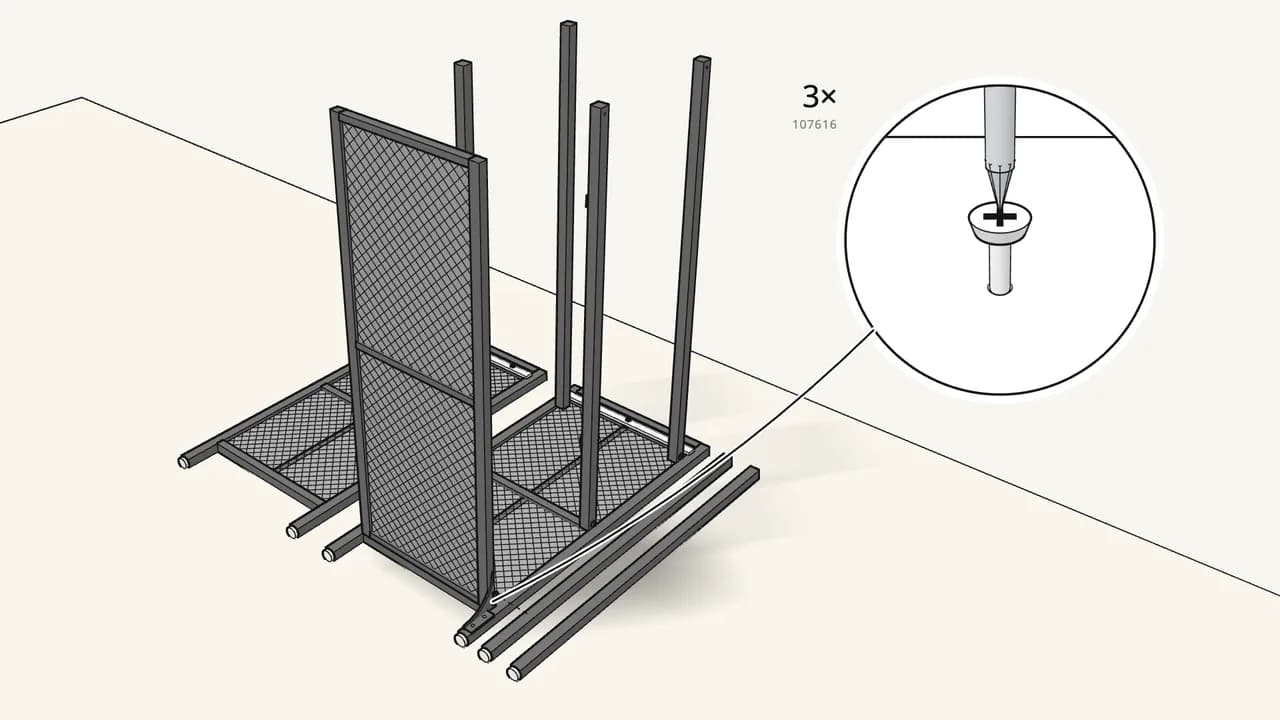
Slot the 4 rails into the right side panel and fix them — 4 bolts (107616).
Check the holes as in the manual, steps 3–4.
Step 4 · manual step 6–8
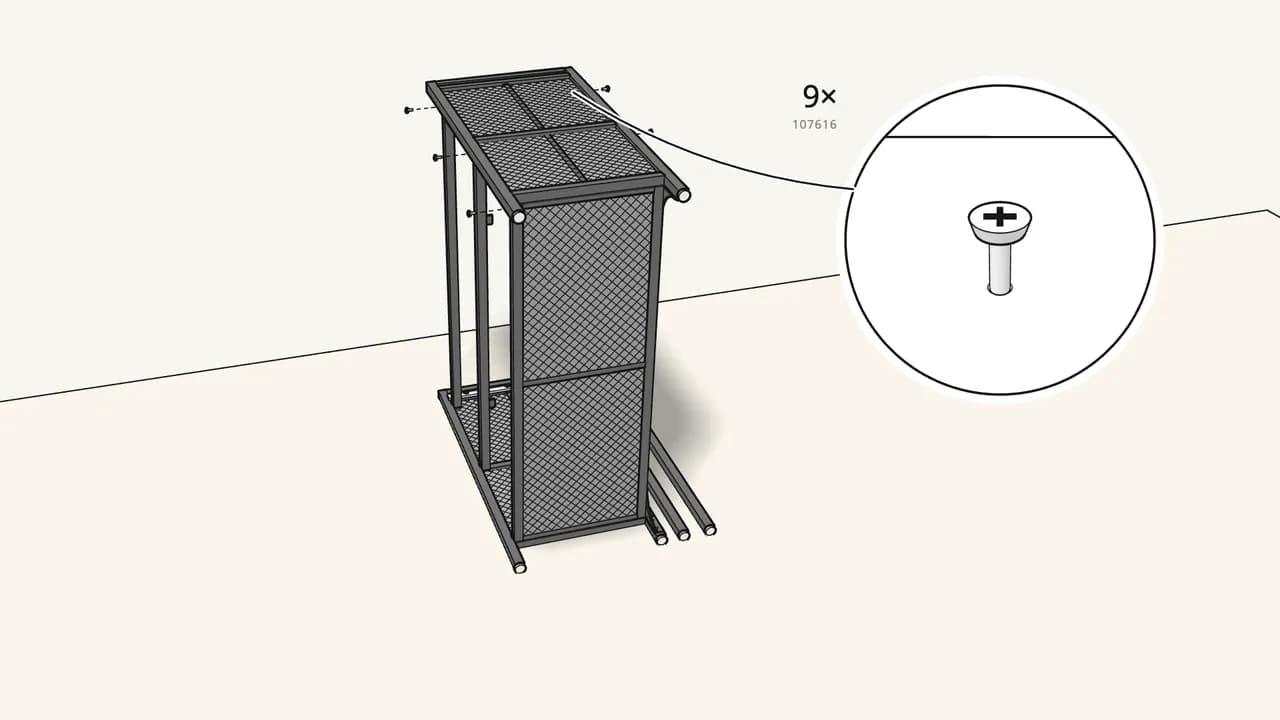
Lower in the mesh bottom shelf and fit the arched bracket.
2 bolts (107616) through the bracket, 1 bolt at the back end of the shelf.
Step 5 · manual step 9–11
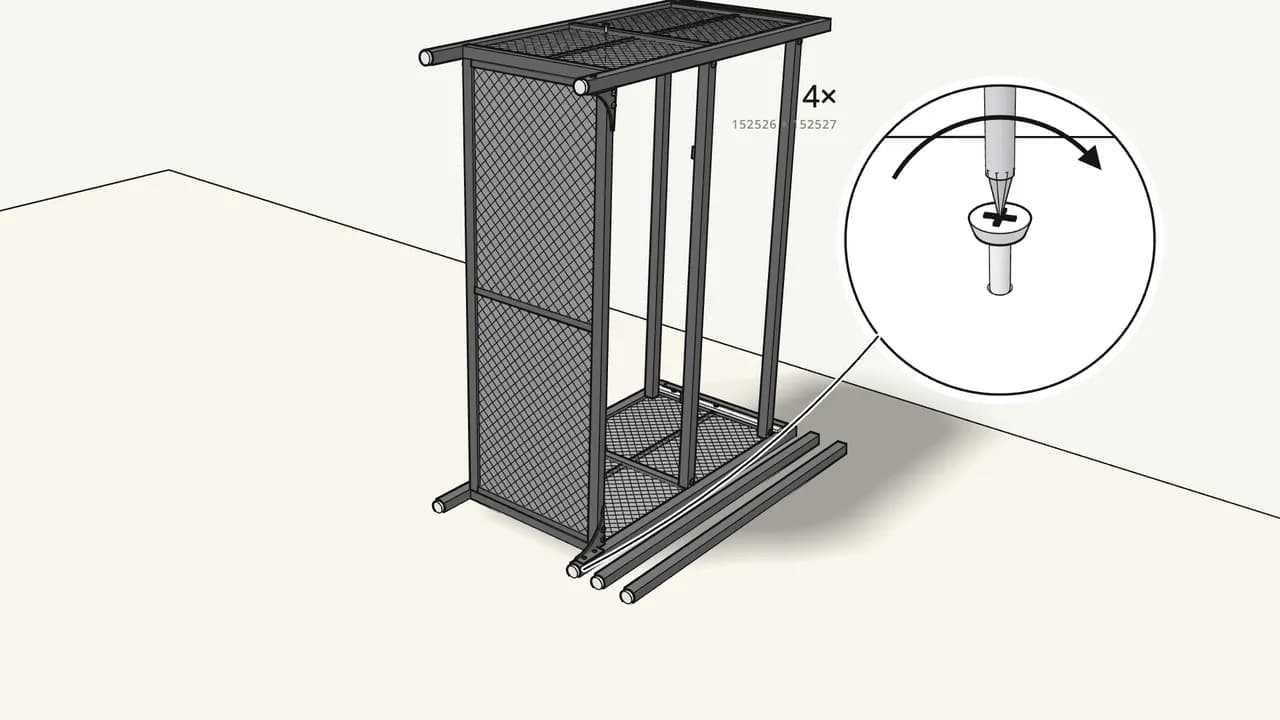
Lower the left side panel onto the rails, then fit its bracket.
2 bolts in the bracket and 5 bolts (107616) into the rails and shelf.
Step 6 · manual step 12
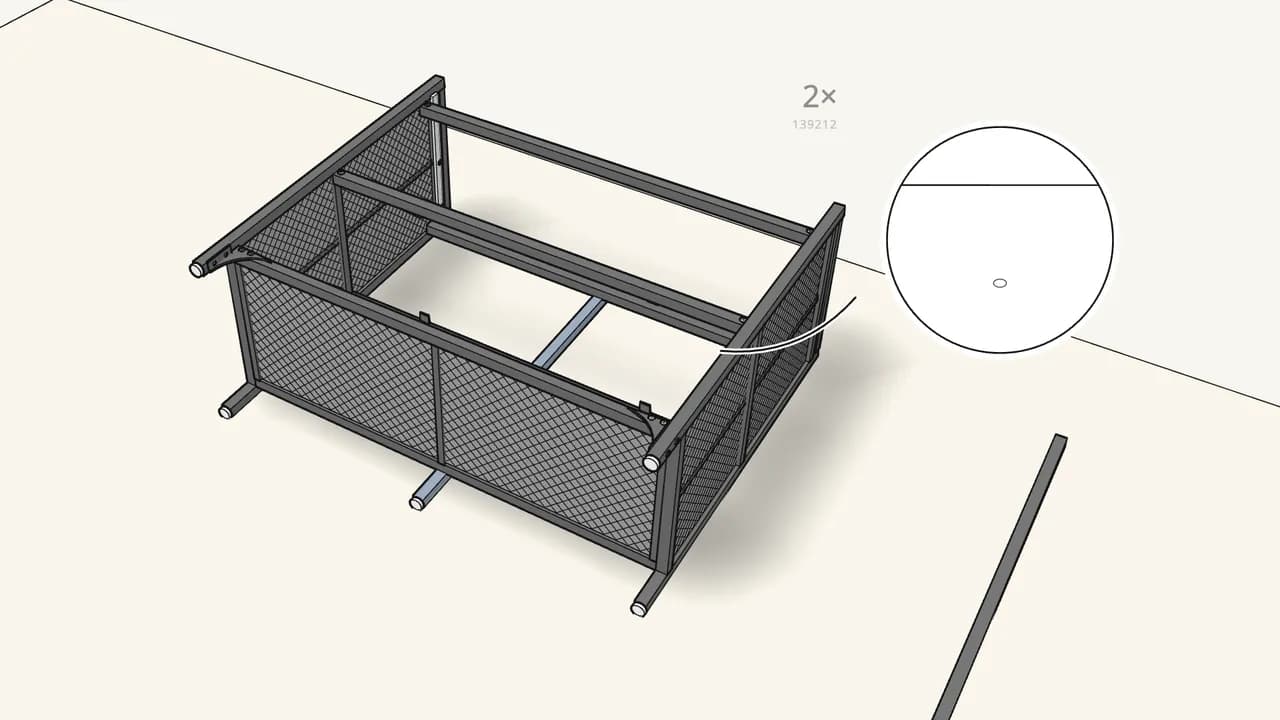
Bolt each bracket to its leg: 2 sleeves (152526) and 2 bolts (152527).
Check the foot hole faces the right way — see the manual, step 12.
Step 7 · manual step 13–14
Lay it on its back, slide in a middle post and fix it — 2 screws (139212).
Use the post with the holes shown in the manual, step 13.
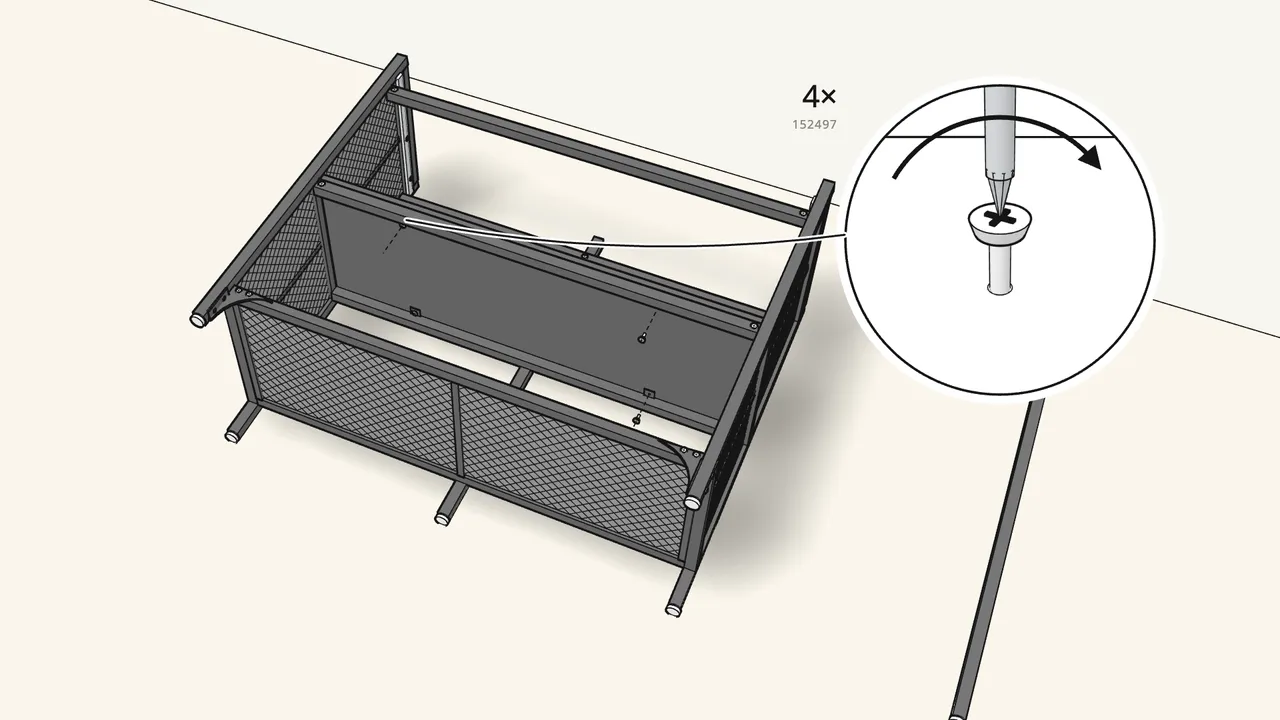
Step 8 · manual step 15
Put in the wooden shelf and screw it to the 4 tabs (152497).
Pre-punch with the awl. Check which way the shelf faces — see the manual, step 15.
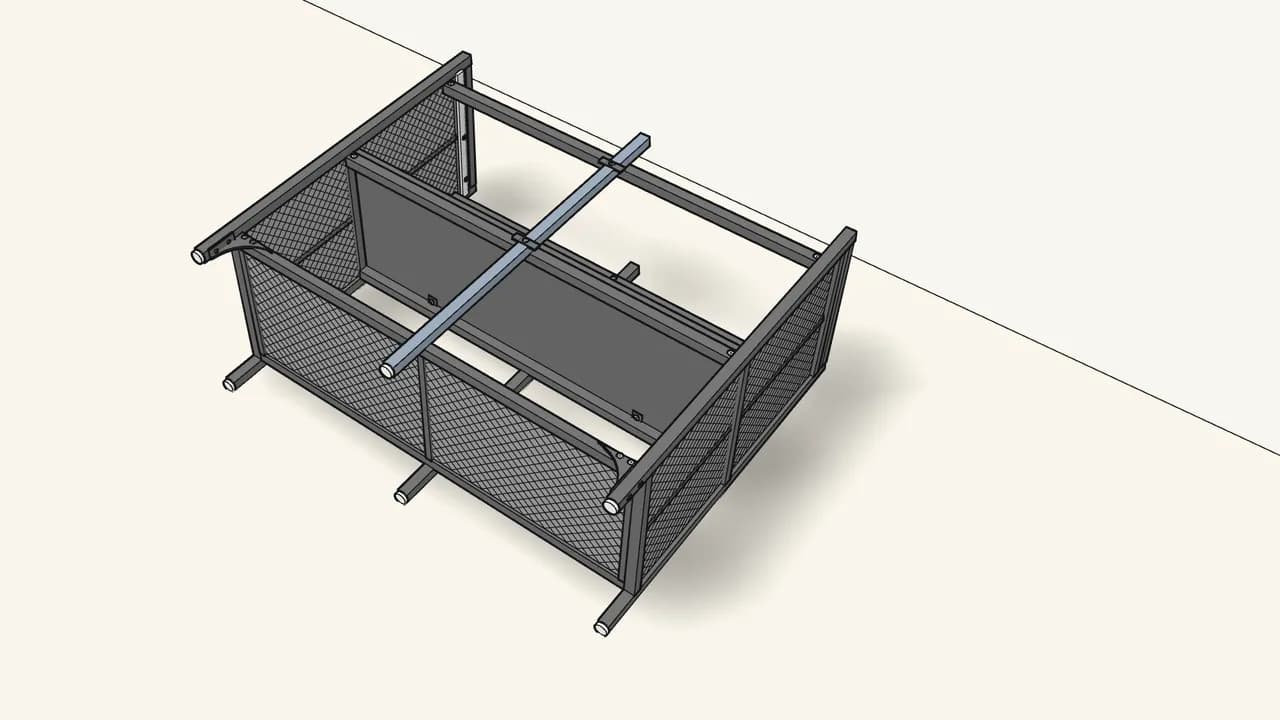
Step 9 · manual step 16–17
Fit the 2 door catches (10097808) on the other post, then fix it on top.
2 bolts (107616) for the catches, 2 screws (139212) for the post.
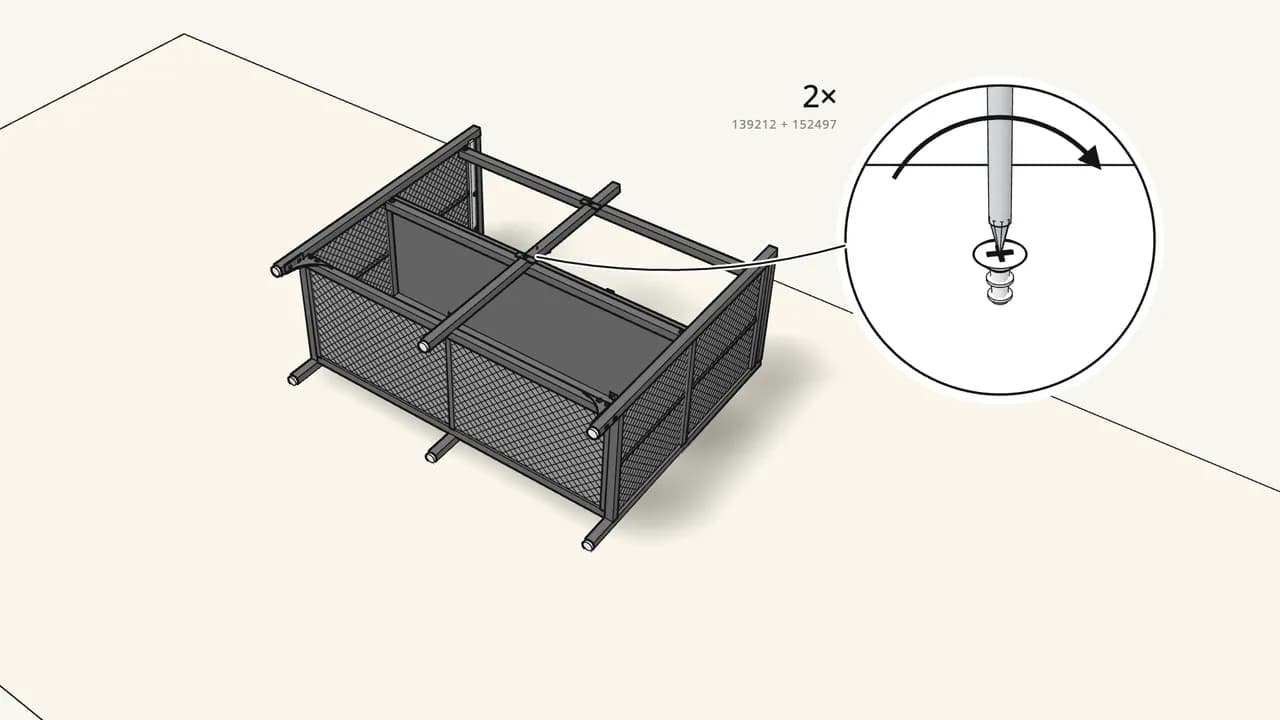
Step 10 · manual step 18–19
Fix the shelf to both posts with the 2 brackets (152730).
1 screw (139212) into the post and 1 screw (152497) into the shelf each.
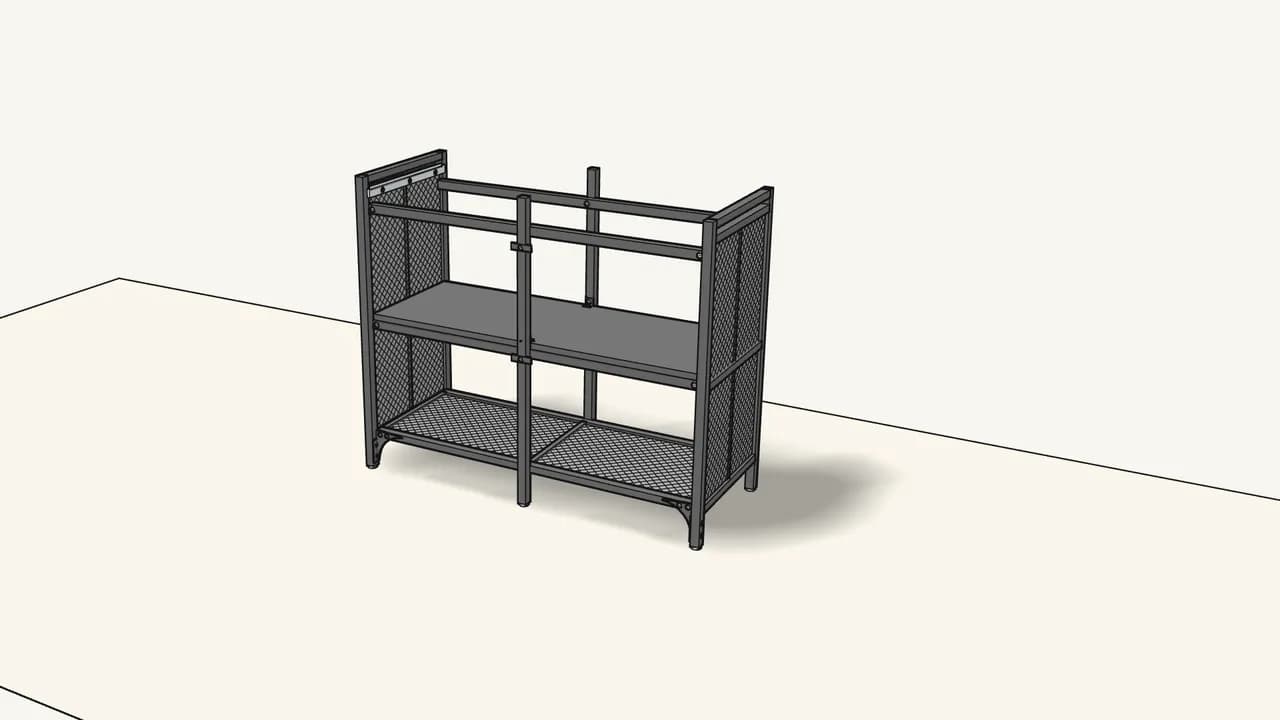
Step 11 · manual step 20
Stand the frame upright.
Do this with two people.
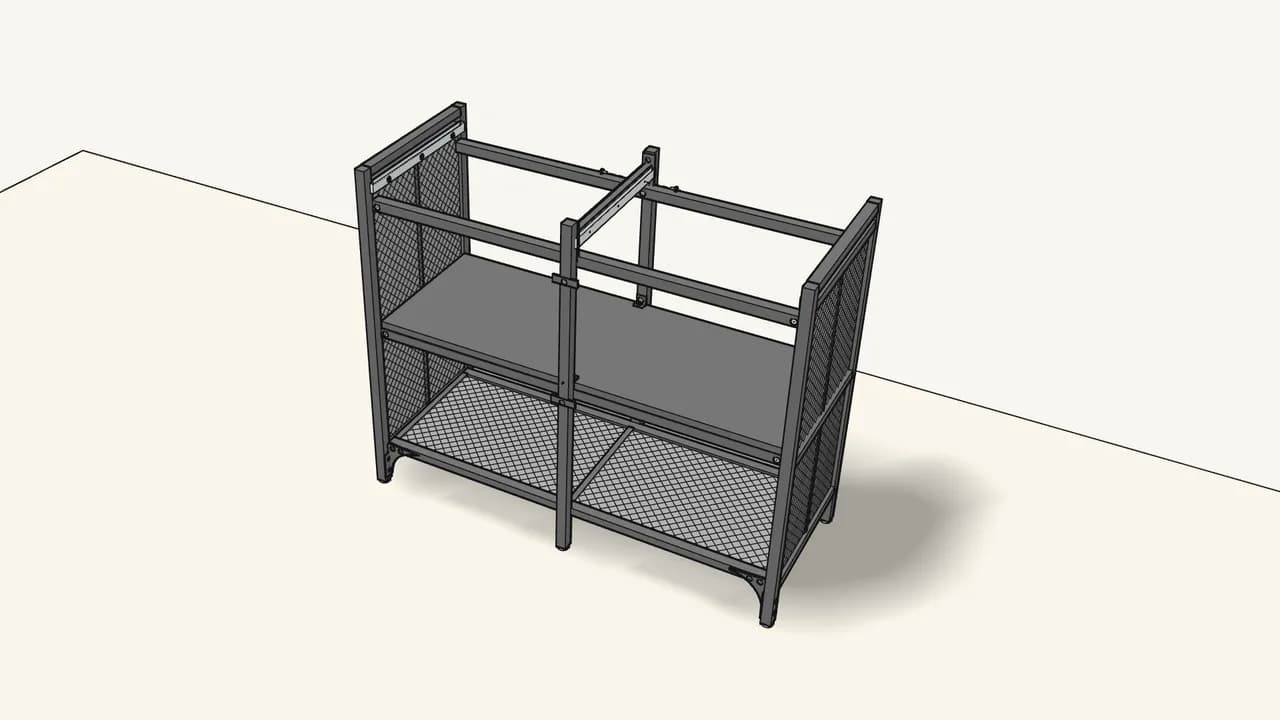
Step 12 · manual step 21–22
Fit the middle drawer rail (4 × 107616), then its 2 runners (6 × 112581).
Plates as in the manual, step 21. Runner “IKEA CR” on the left, “IKEA CL” on the right.
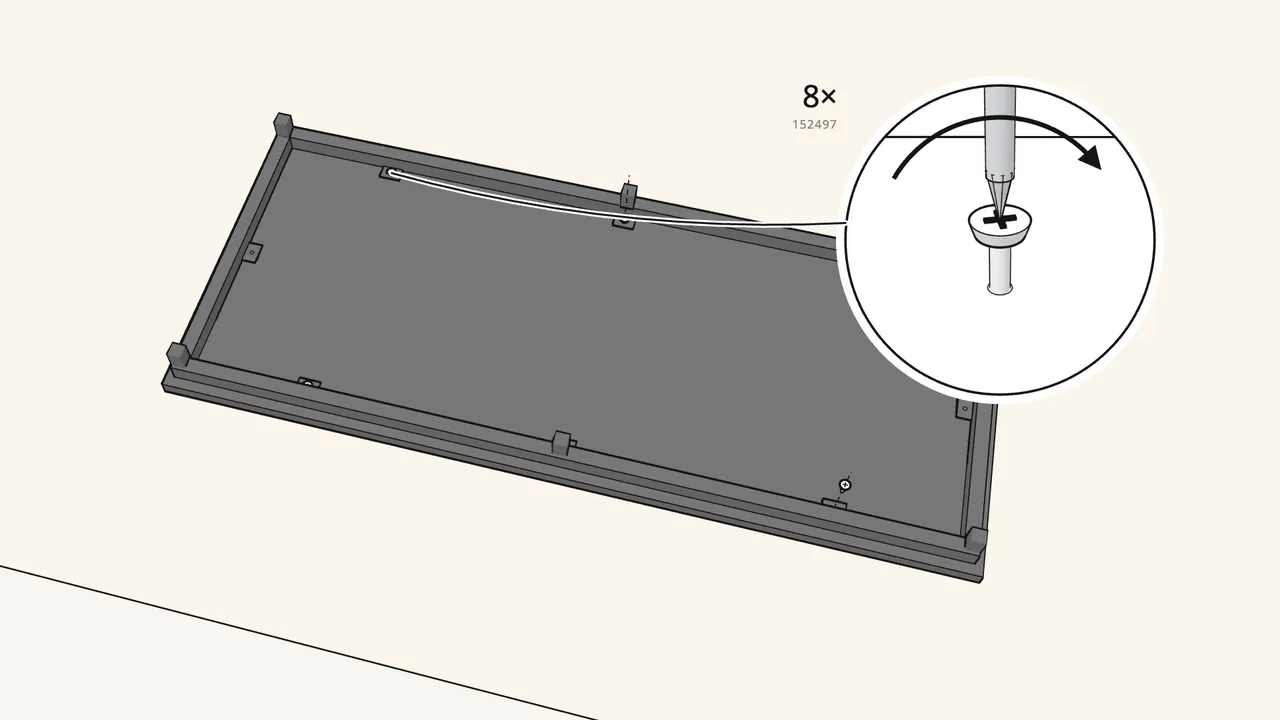
Step 13 · manual step 23–24
Lay the top face-down, place the top frame on it and screw it on.
Pre-punch with the awl, then 8 screws (152497) through the tabs.
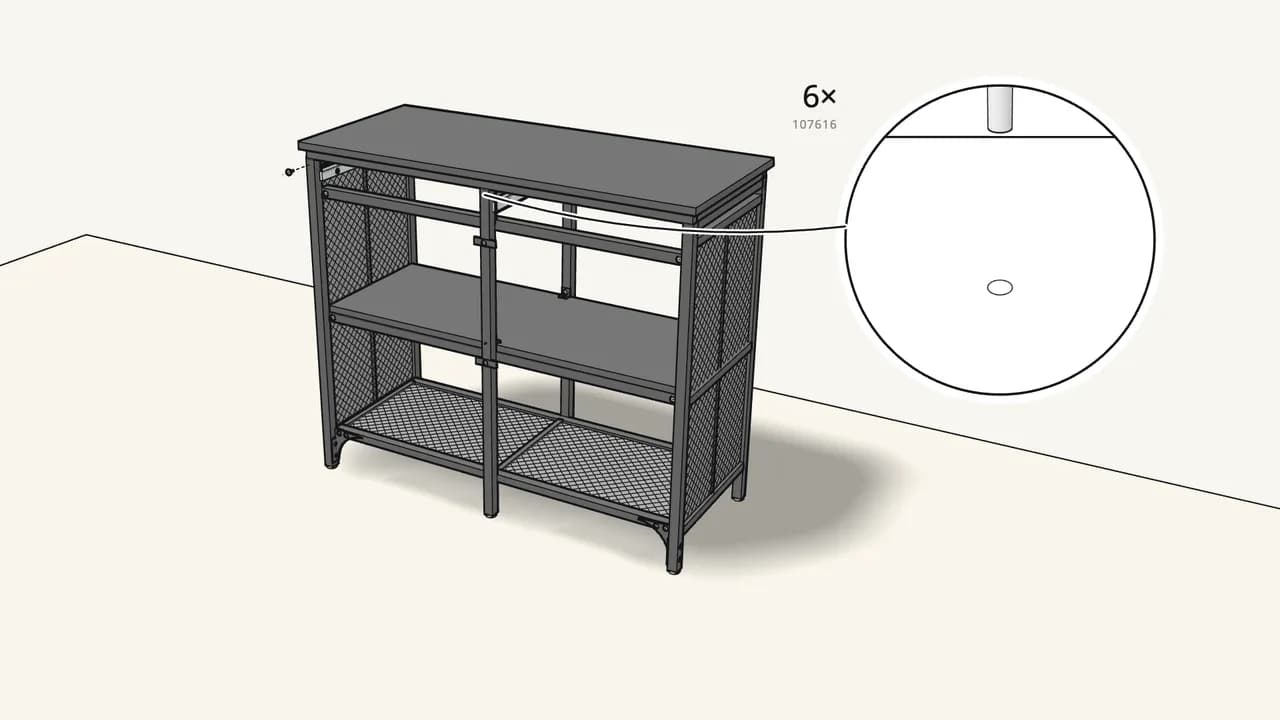
Step 14 · manual step 25–26
Turn the top over onto the legs and fix it with 6 bolts (107616).
The stubs under the frame go into the tube ends.
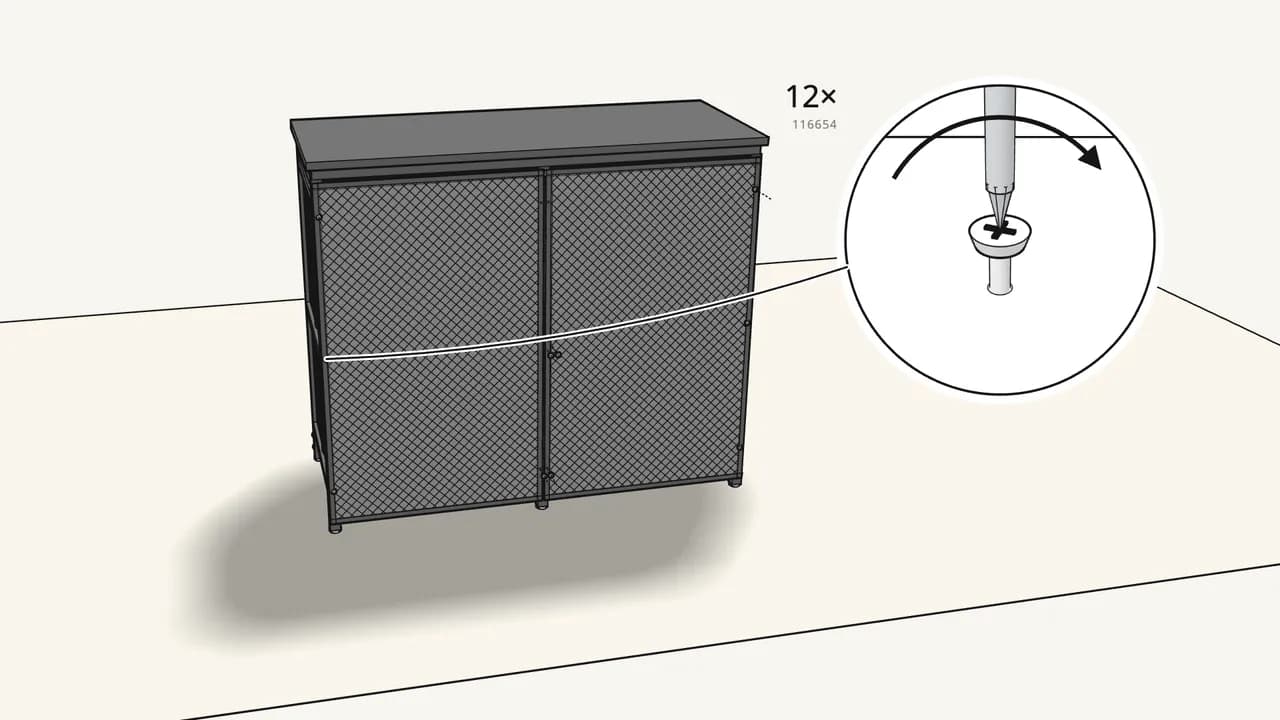
Step 15 · manual step 27
At the back, screw on the 2 mesh back panels — 12 screws (116654).
Use 116654 here, not 107616.
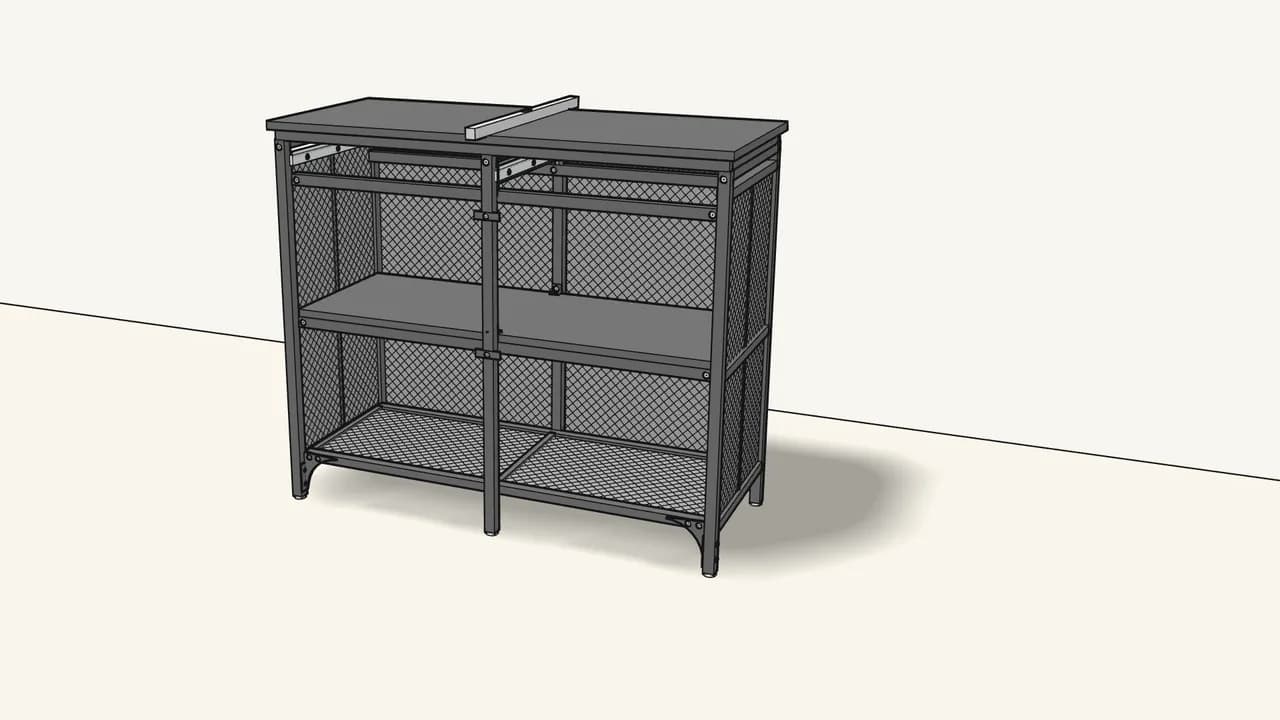
Step 16 · manual step 28
Level the unit by turning the 6 feet.
Use the spirit level on the top.
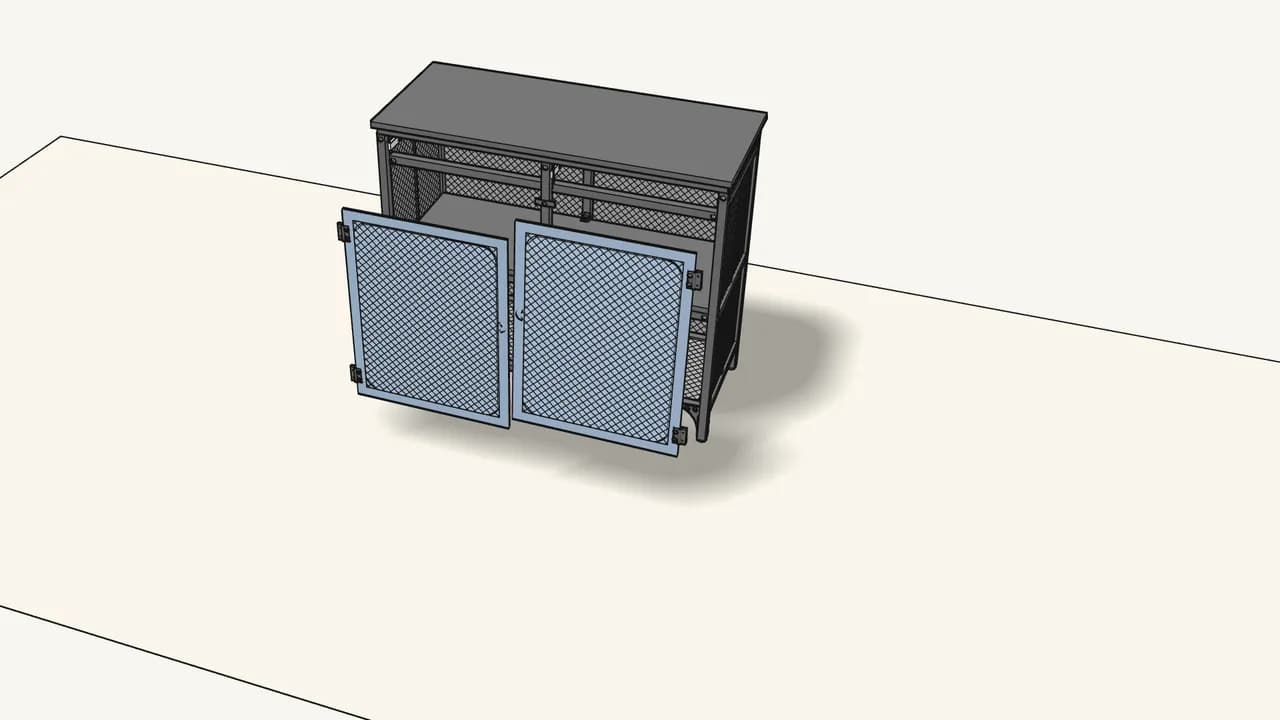
Step 17 · manual step 29–30
Screw 2 hinges (153334) to each door, then hang the doors.
8 bolts (107616) into the doors, 8 into the legs.
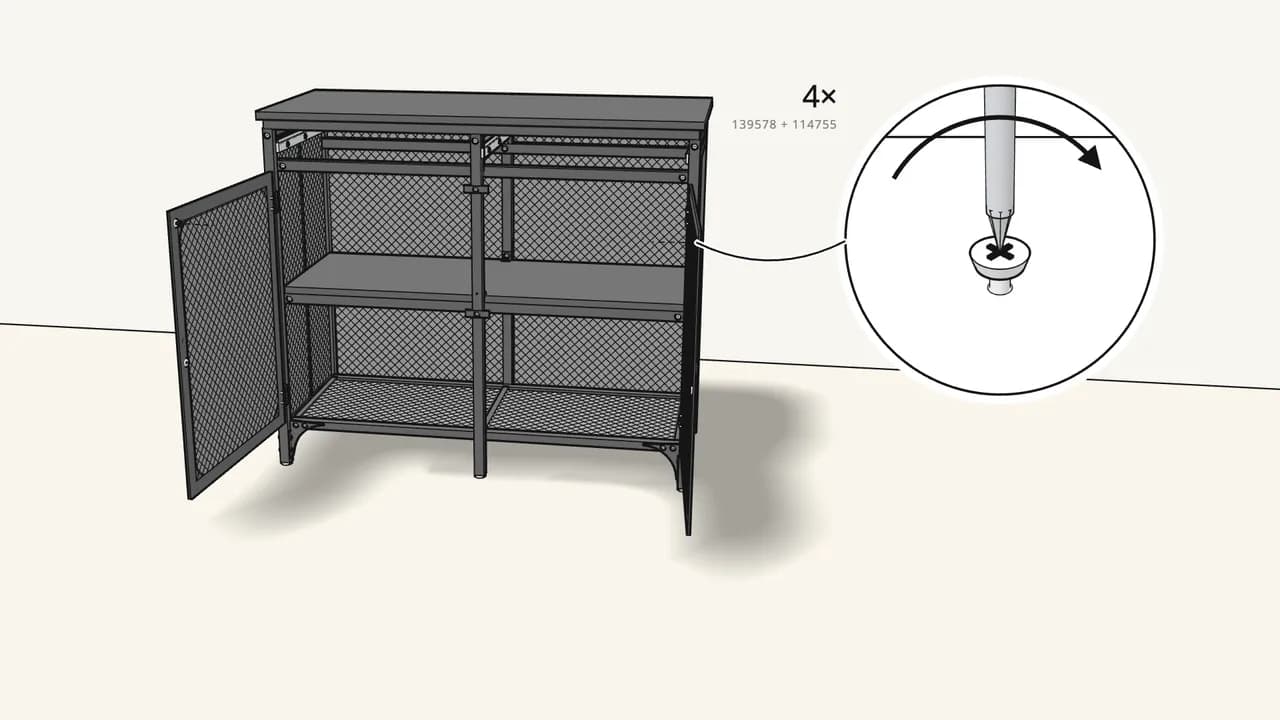
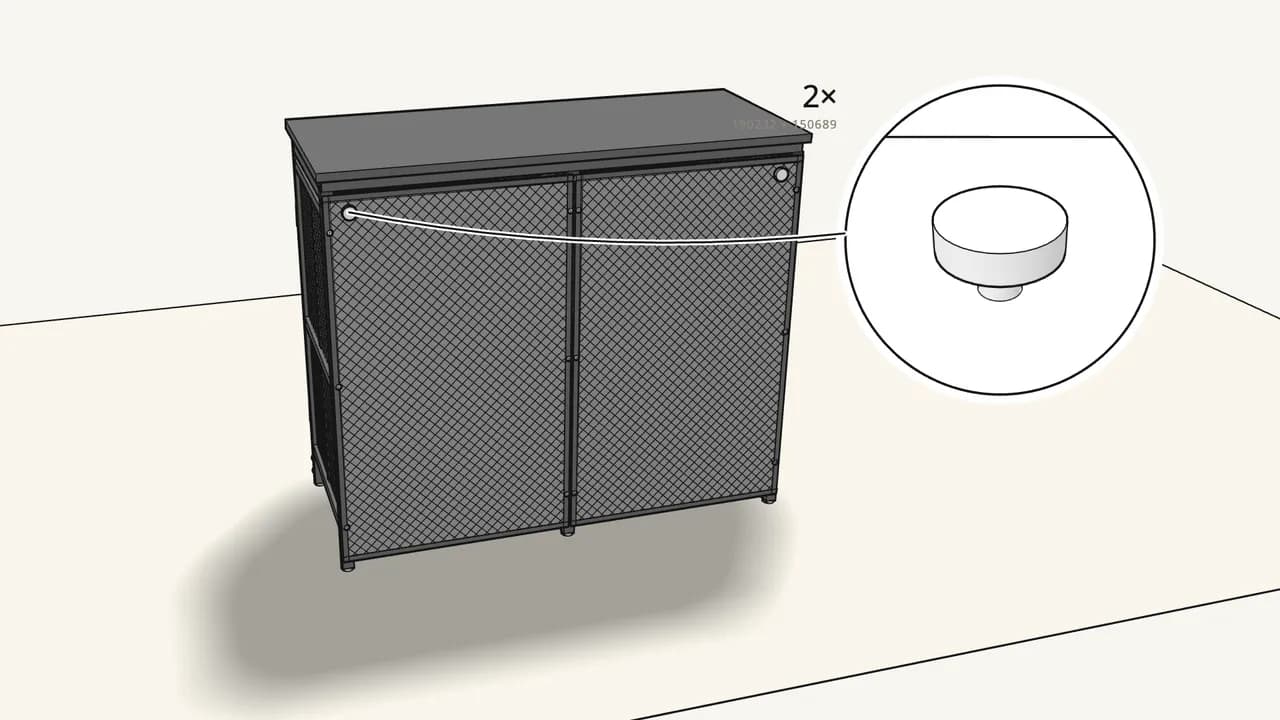
Step 18 · manual step 31
Fit 2 washers (139578) and screws (114755) inside each door.
They stop the doors on the catches at the middle post.
Step 19 · manual step 34–35
Fit the 2 wall spacers at the back top corners.
Press in 190232, then screw on 150689 — or 190233 if there’s no skirting board.
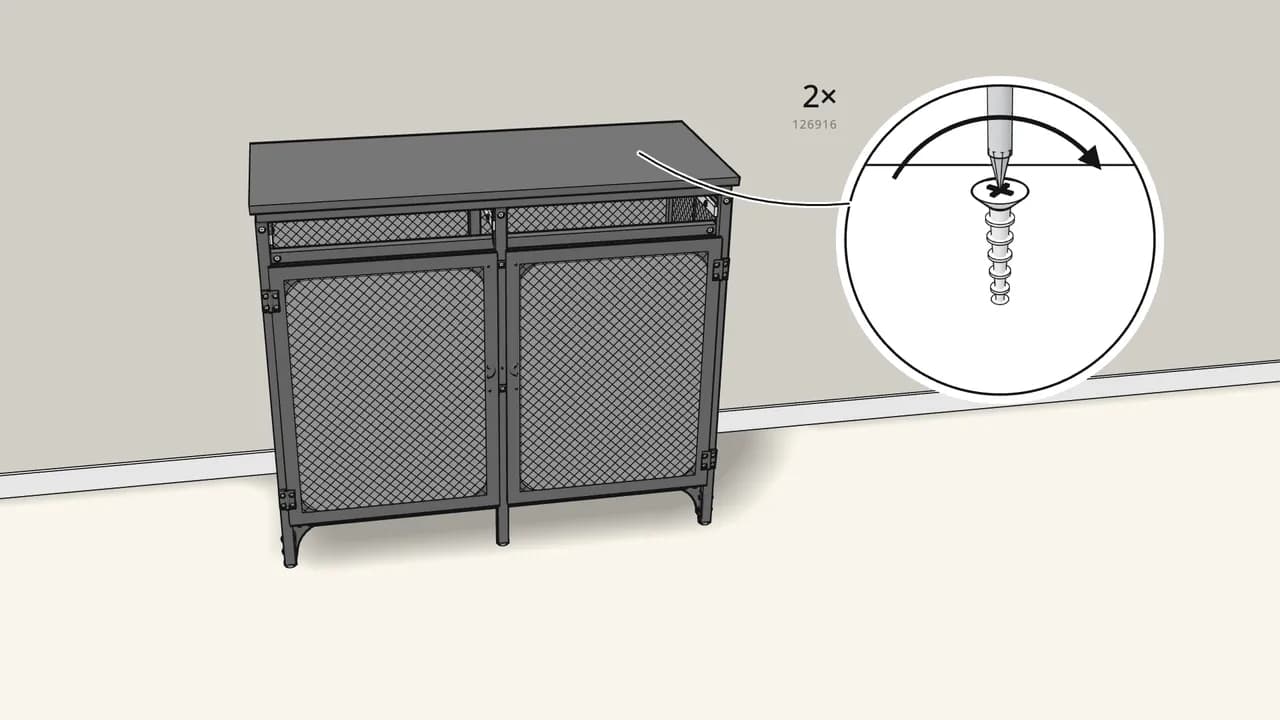
Step 20 · manual step 36
Push the unit to the wall and fix it with the 2 wall fittings (126916).
Screws and plugs for the wall are not included.
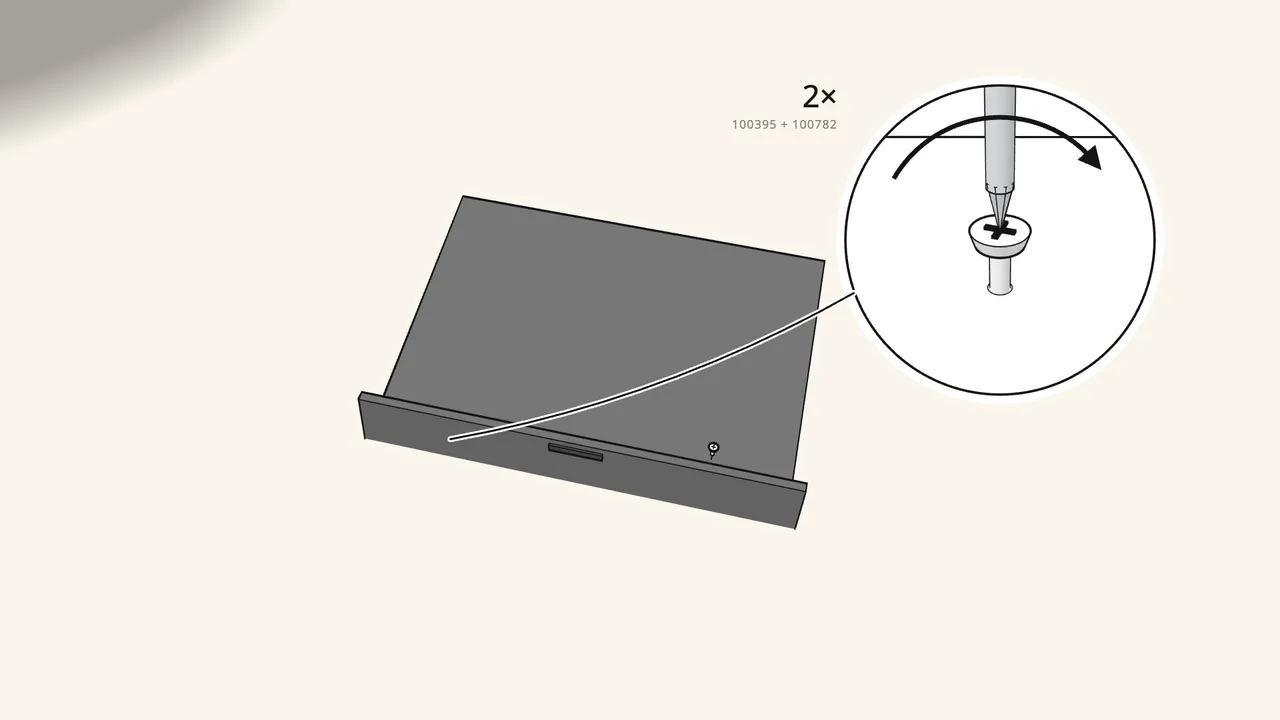
Step 21 · manual step 37–38
Drawers: set the front on the bottom — 2 screws (100395) and nuts (100782).
Hold the nuts with the wrench.
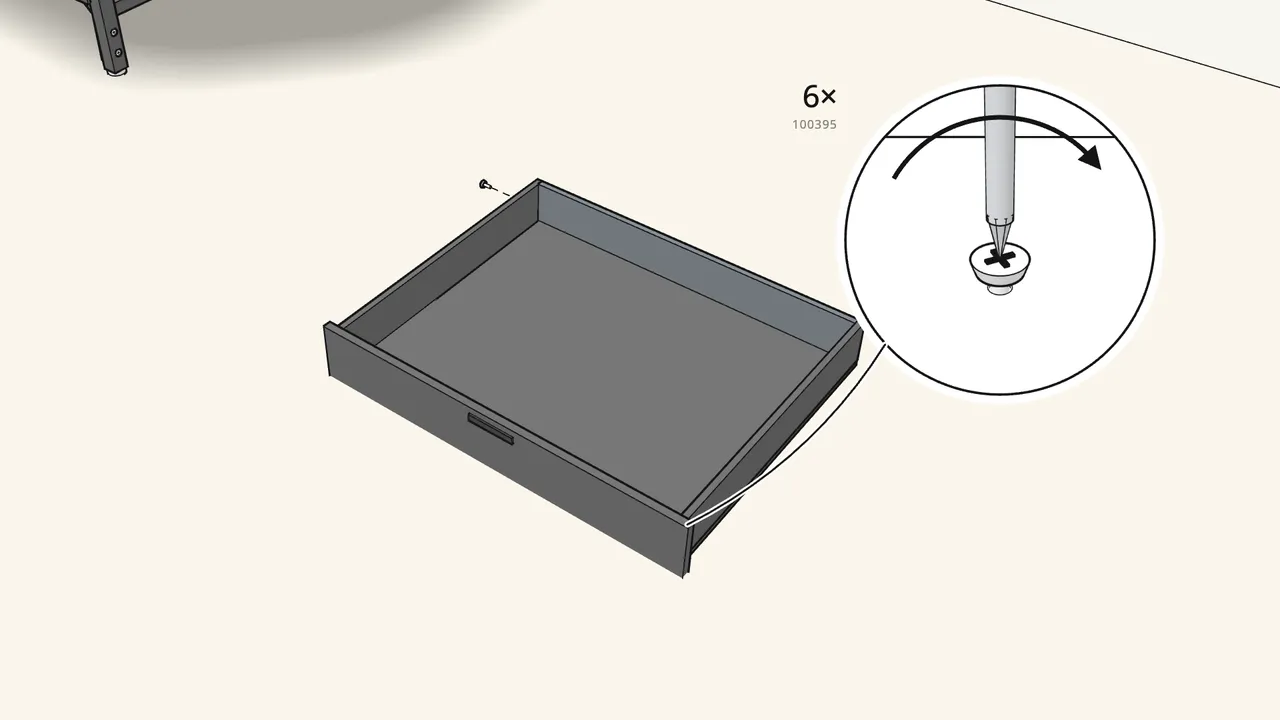
Step 22 · manual step 39–44
Hook on the 2 sides and the back, then fix them — 6 screws (100395).
The sides also get a nut (100782) each.
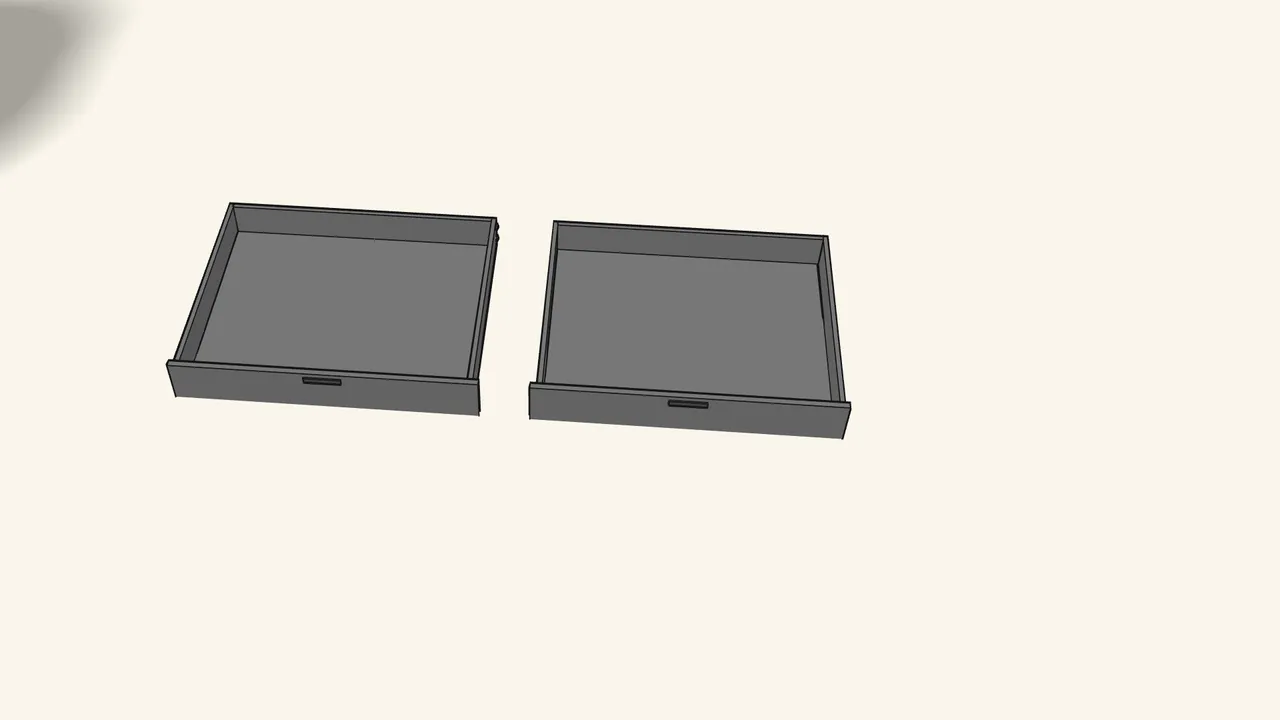
Step 23 · manual step 37–44
Build the second drawer the same way.
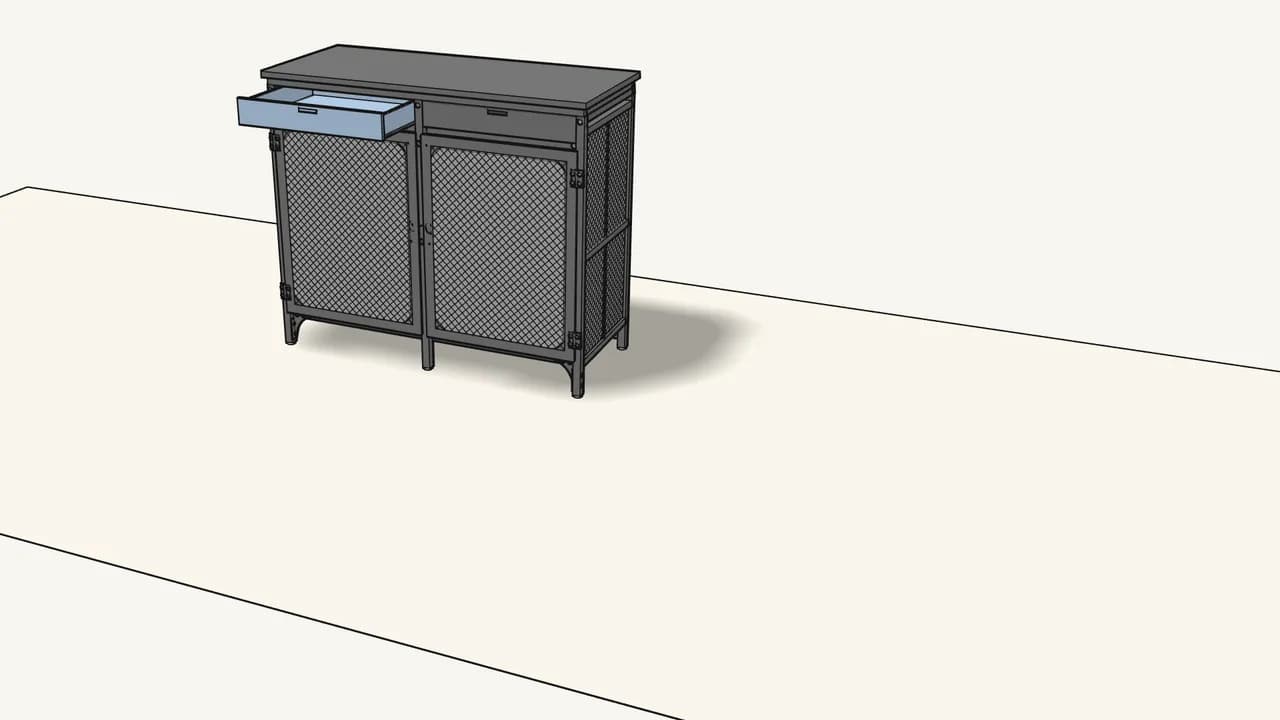
Step 24 · manual step 45
Slide both drawers onto the runners.
Tips & safety
- Always fix the unit to the wall. Tip-over can cause serious or fatal crushing injuries. Screws and plugs for the wall are not included.
- Doors not lining up? Push the unit square, tighten the 4 bolts (152527) at the brackets, then adjust the hinges — see the manual, steps 32–33.
Official instructions
This guide follows IKEA’s official assembly instructions (AA-2325368-4). Keep the printed manual to hand — if anything differs, the manual is right.



