IKEA · Cabinets & Wardrobes
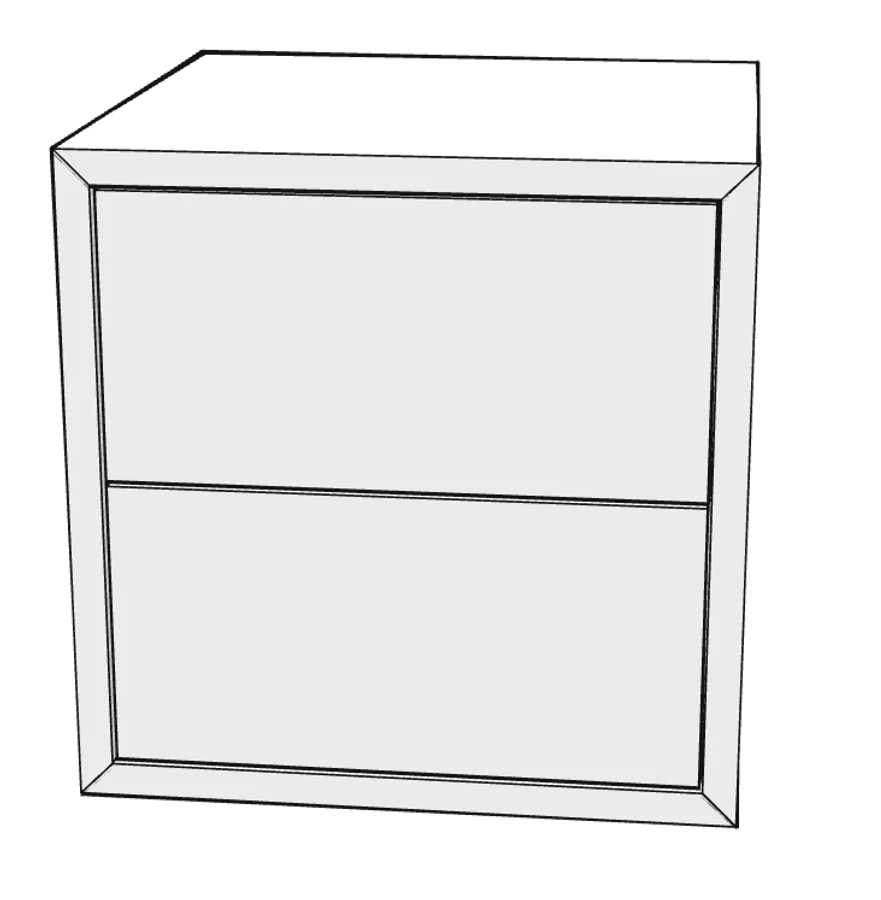
How to assemble IKEA EKET Wall Cabinet with 2 Drawers
Step-by-step IKEA EKET Wall Cabinet with 2 Drawers assembly: 22 illustrated steps, an animated video, the hardware list and the tools you need — following the official instructions (AA-2164291-6).
- 22 illustrated steps
- 26 steps in the manual
- 3:28 video
- 35×35×35 cm
What you need
Tools
- Flat-head screwdriver
- Phillips screwdriver
- Hammer
- Allen key (included)
- Spirit level
Hardware in the box
| Part no. (as printed in the manual) | Qty |
|---|---|
| 110519 | 8× |
| 118331 | 8× |
| 101344 | 4× |
| 109049 | 12× |
| 128814 | 8× |
| 120076 | 8× |
| 10093081 | 4× |
| 10093082 | 4× |
| 117783 | 2× |
| 10131366 | 4× |
| 152479 | 1× |
| 152480 | 1× |
| 117687 | 2× |
Step-by-step assembly
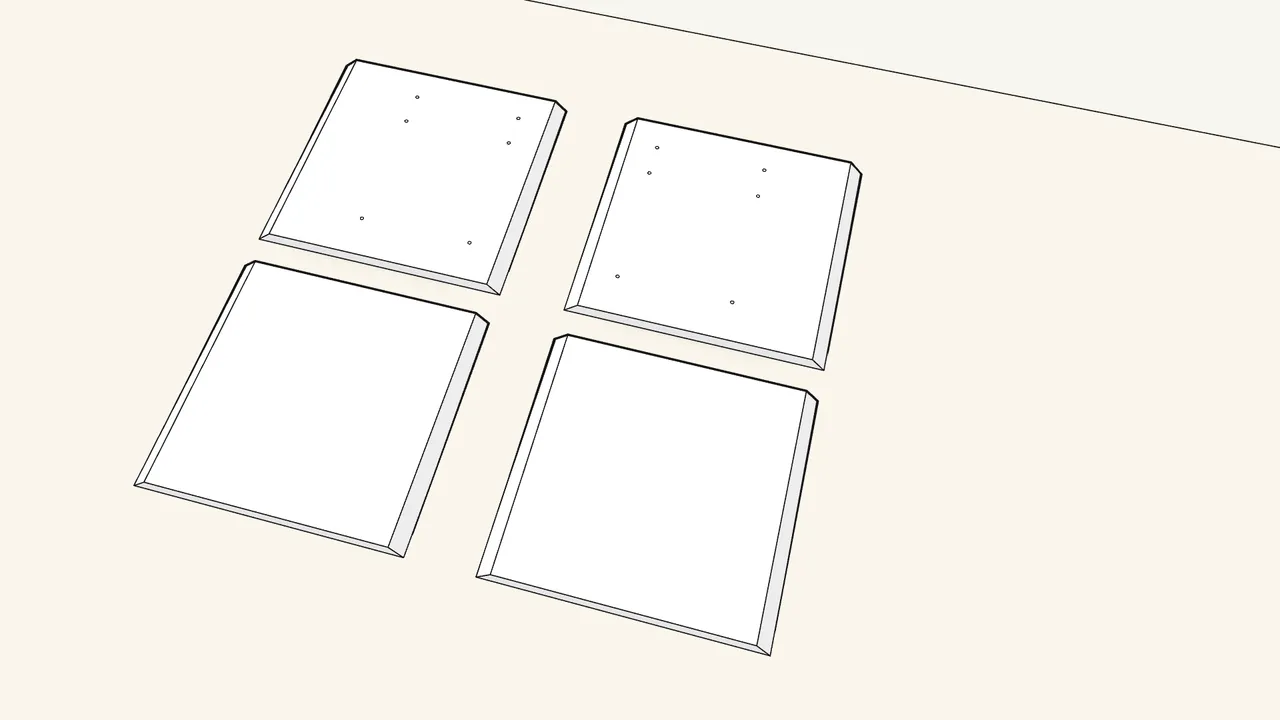
Step 1
Sort the four frame panels.
Two have pegs, two have keyhole slots. The peg panel marked 1 is the top.
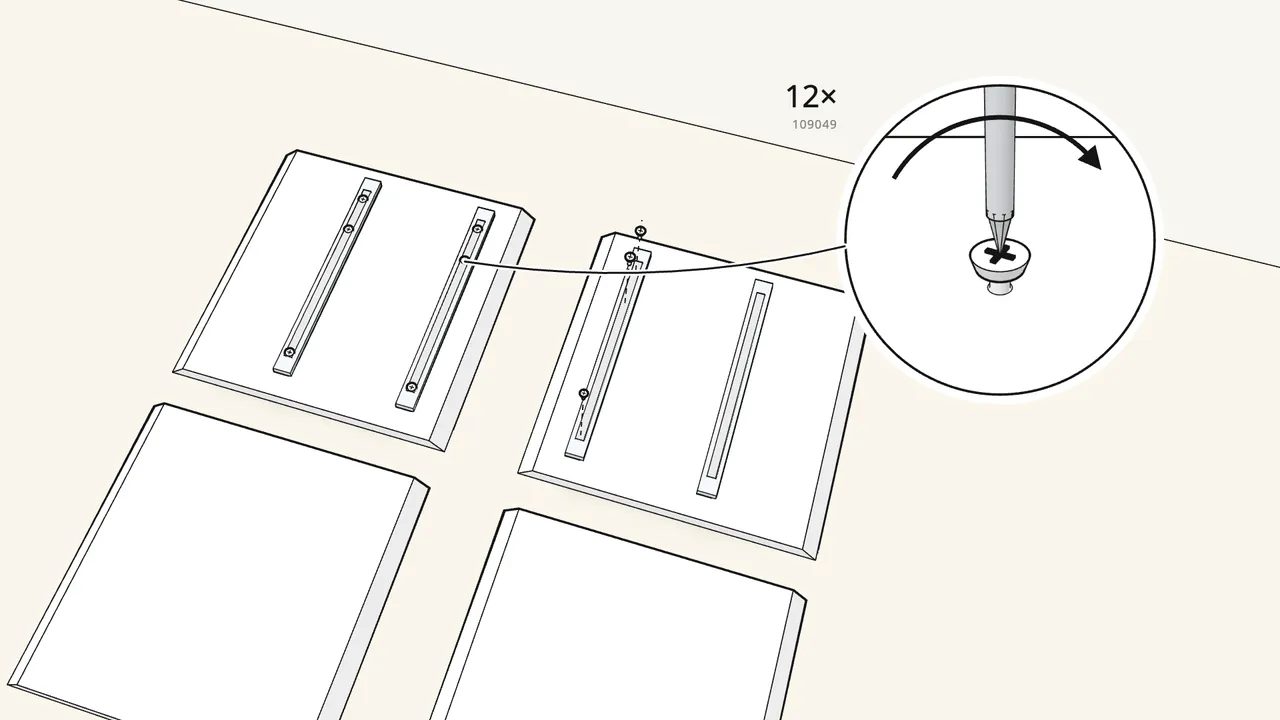
Step 2 · manual step 2–3
Screw 2 runners (10040619) to each keyhole panel.
3 screws (109049) per runner — pull the runner open to reach the front screw.
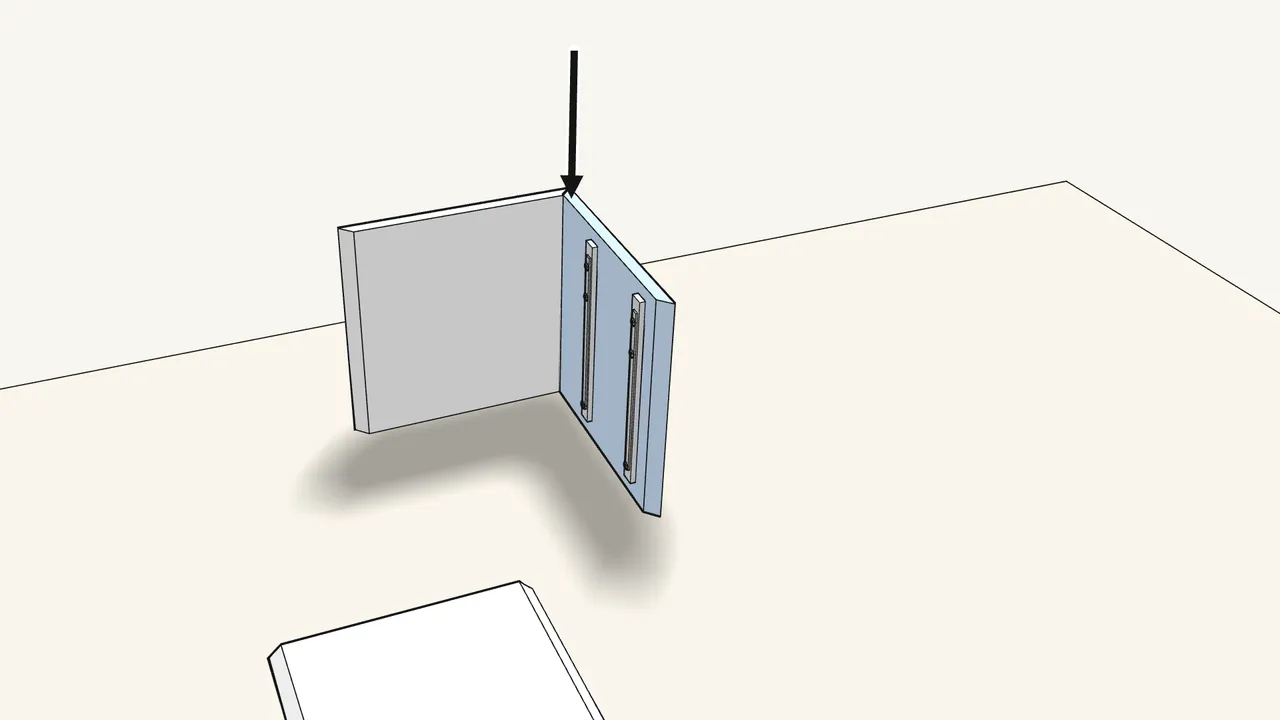
Step 3 · manual step 4–5
Stand panel 1 on edge and slide a side panel down onto it.
The pegs drop into the keyhole slots — press down firmly.
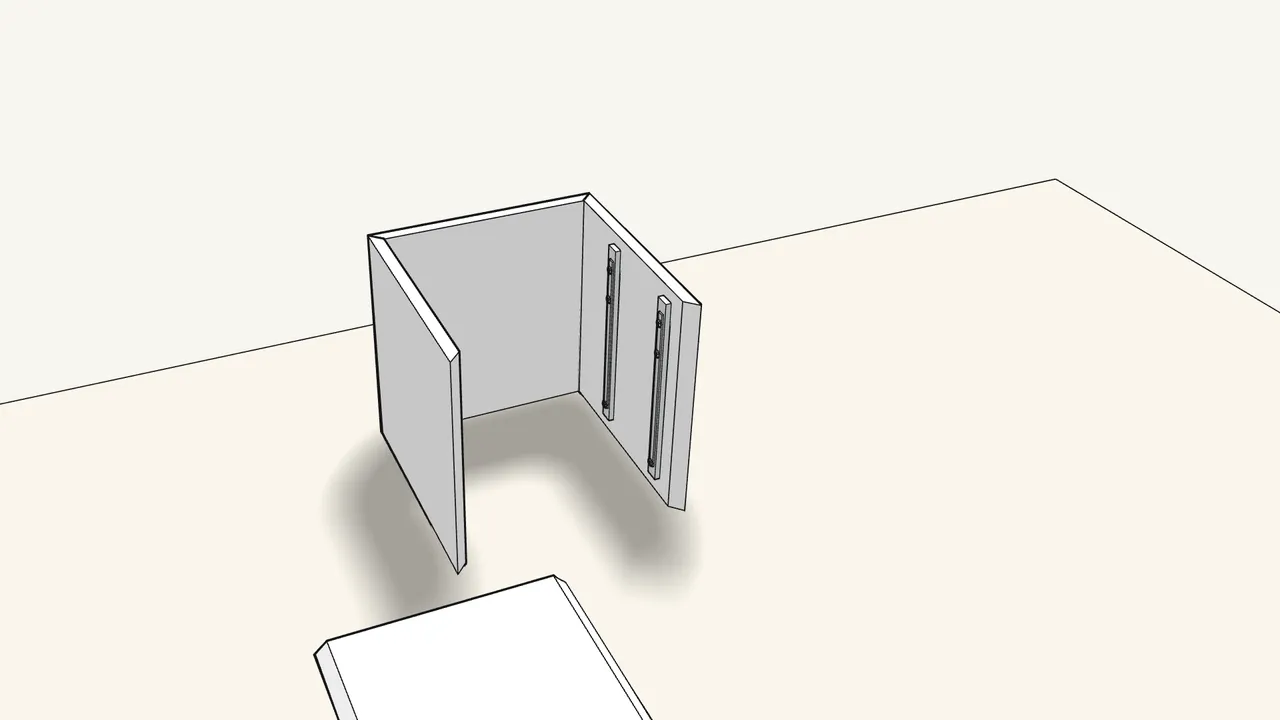
Step 4 · manual step 6–7
Slide the second side panel onto the other end.
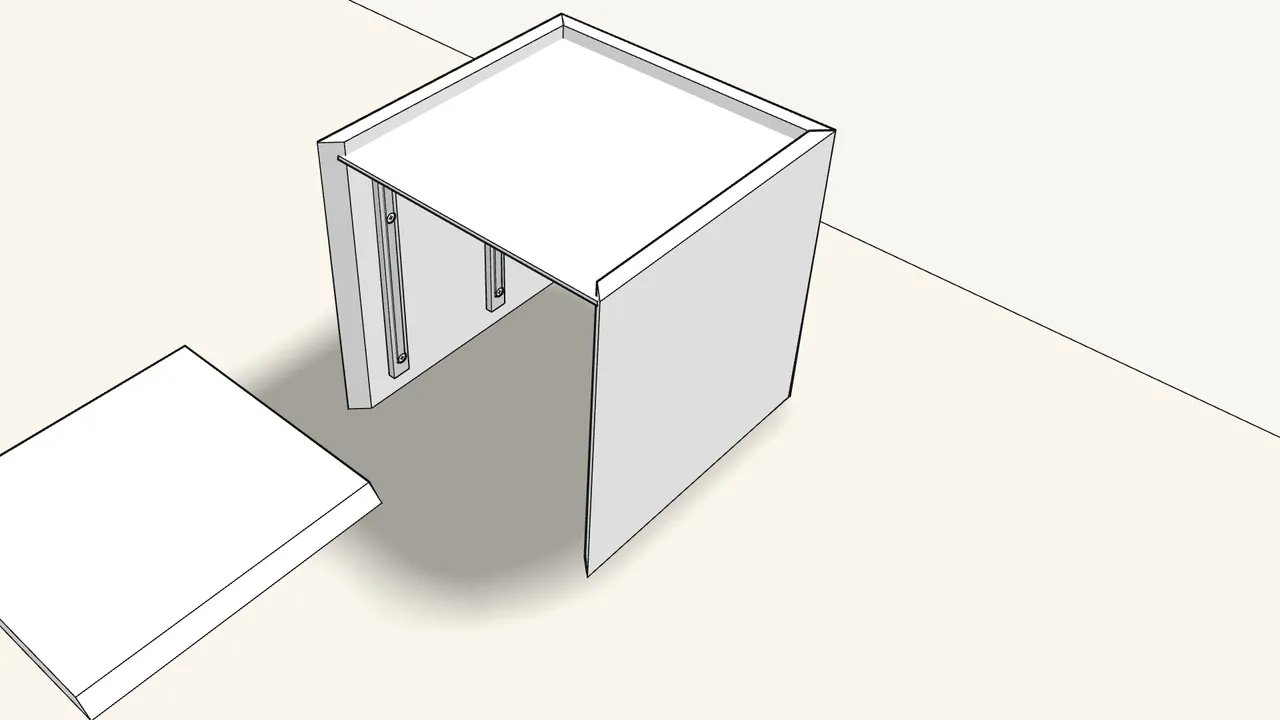
Step 5 · manual step 8
Slide the back panel into the grooves.
Make sure it runs in the grooves, not on top of them.
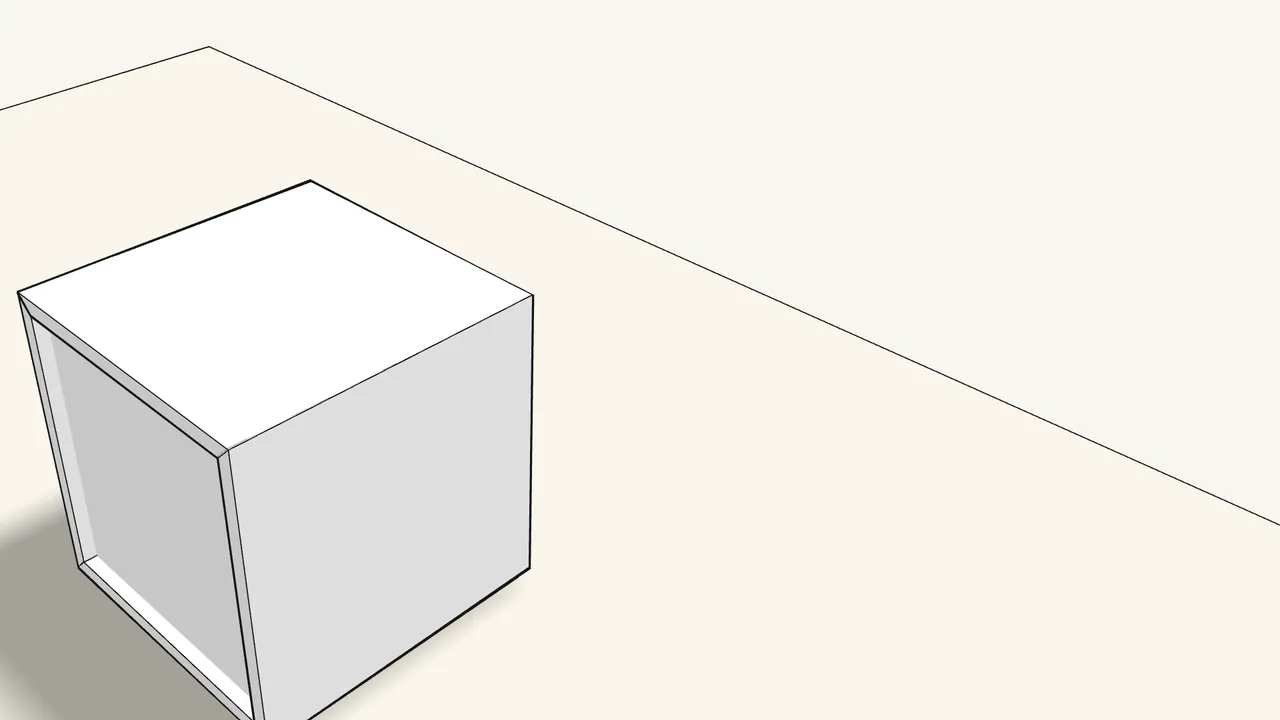
Step 6 · manual step 9–10
Press the last panel down onto the pegs, then turn the frame upright.
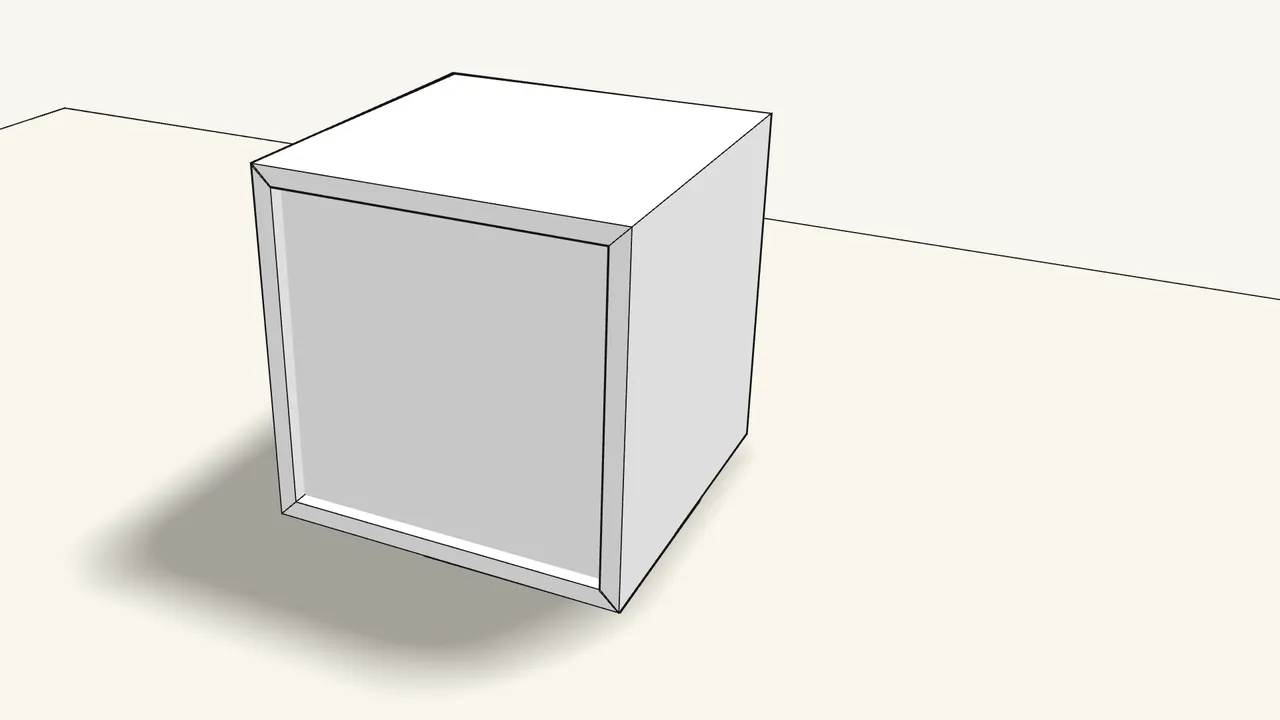
Step 7 · manual step 11
Panel 1 goes at the top. Push the back panel fully into the bottom groove.
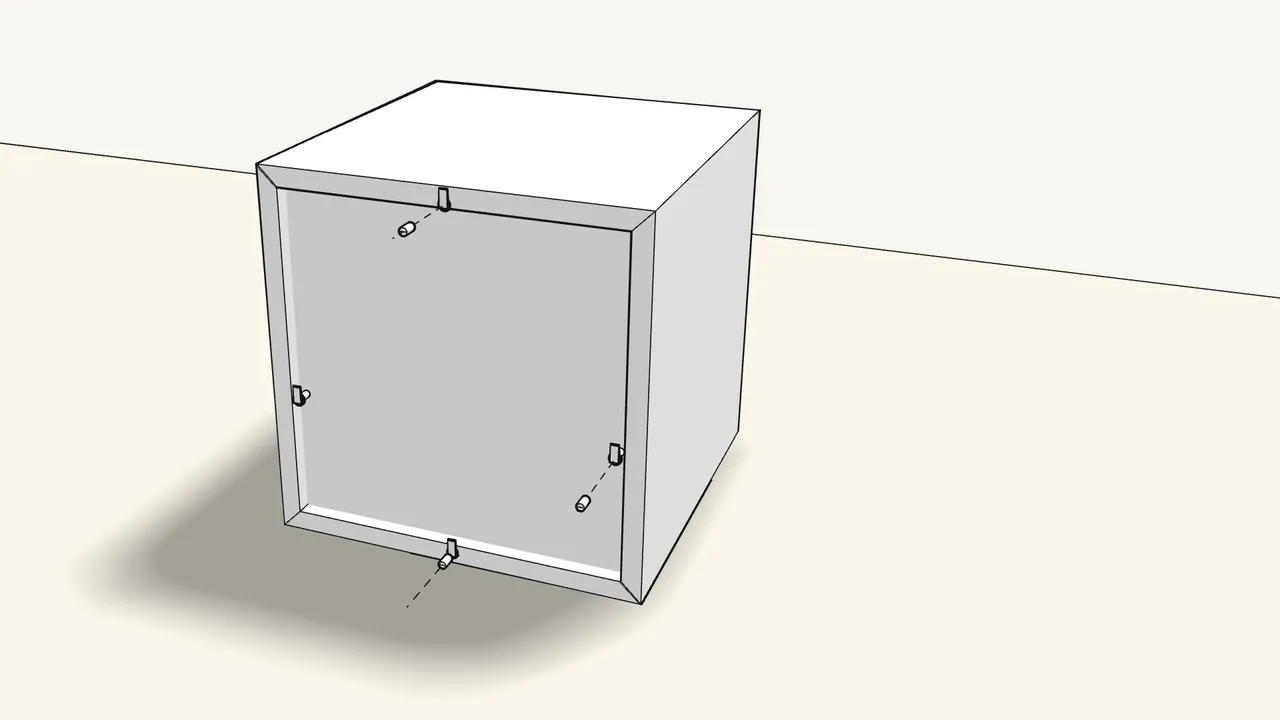
Step 8 · manual step 12
Fit 4 clips (10093081) around the back panel.
Then press a wedge (10093082) into each clip.
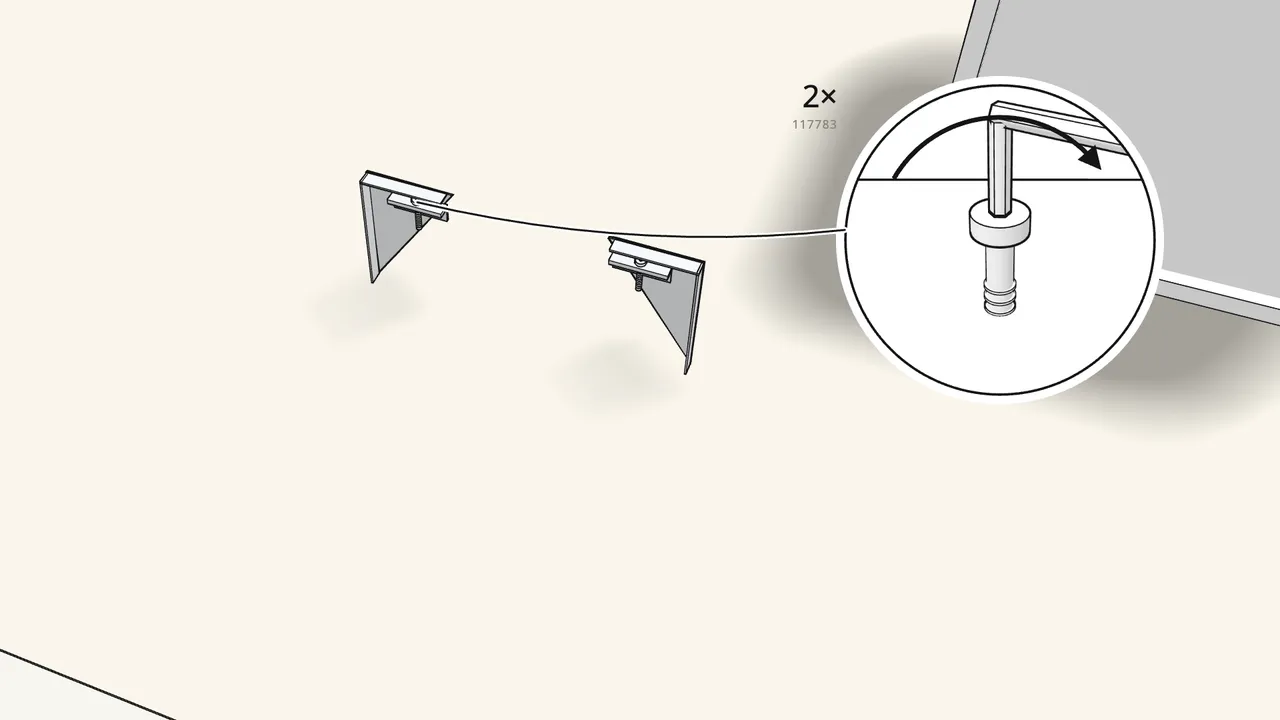
Step 9
Hanging it on the wall: now follow the suspension rail manual.
Rail step 1 — screw a bolt (117783) into each bracket with the Allen key. Not too far: see the manual.
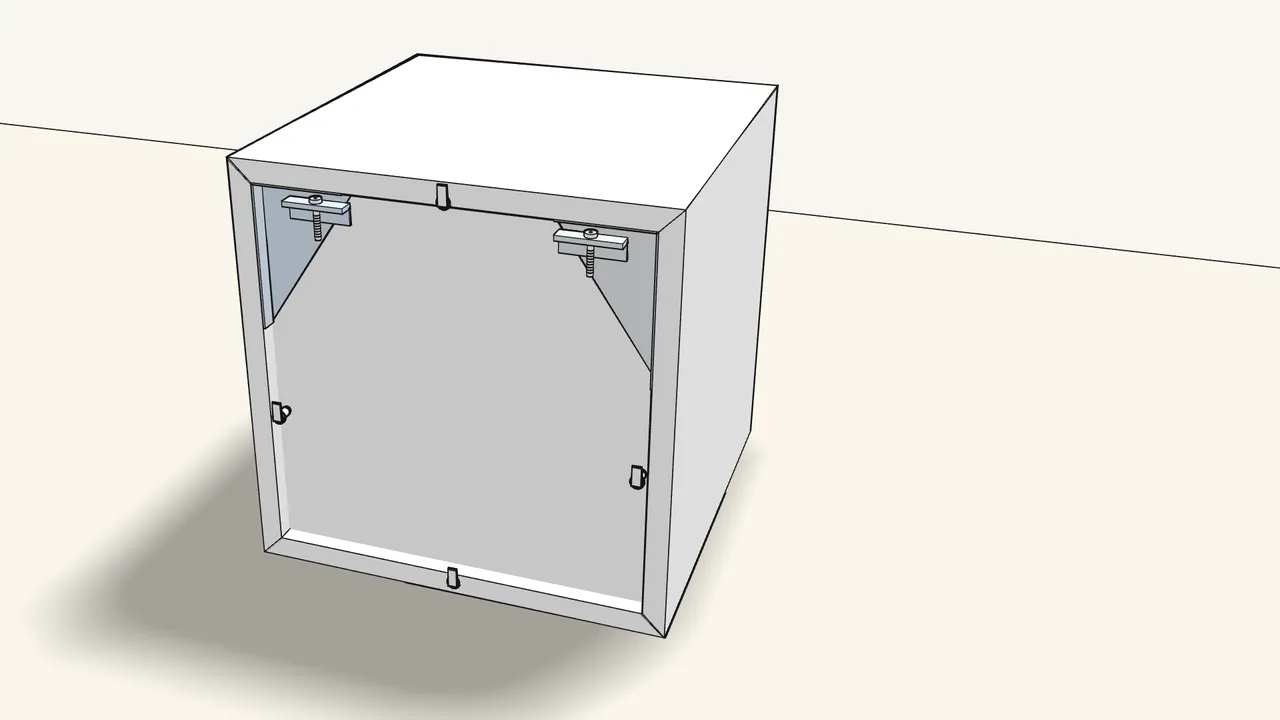
Step 10
Press the brackets into the top corners at the back.
Rail step 2 — 152479 and 152480, one in each corner.
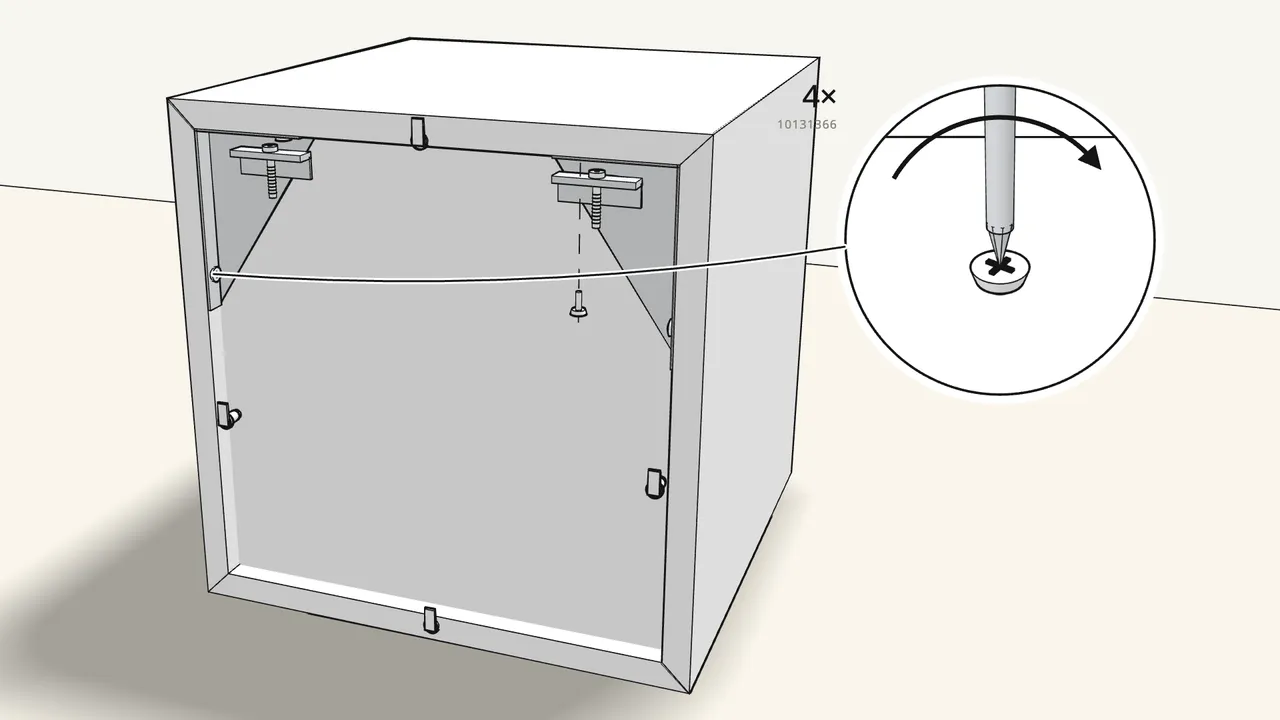
Step 11
Screw each bracket on with 2 screws (10131366).
Rail step 3 — one into the side panel, one into the top panel.
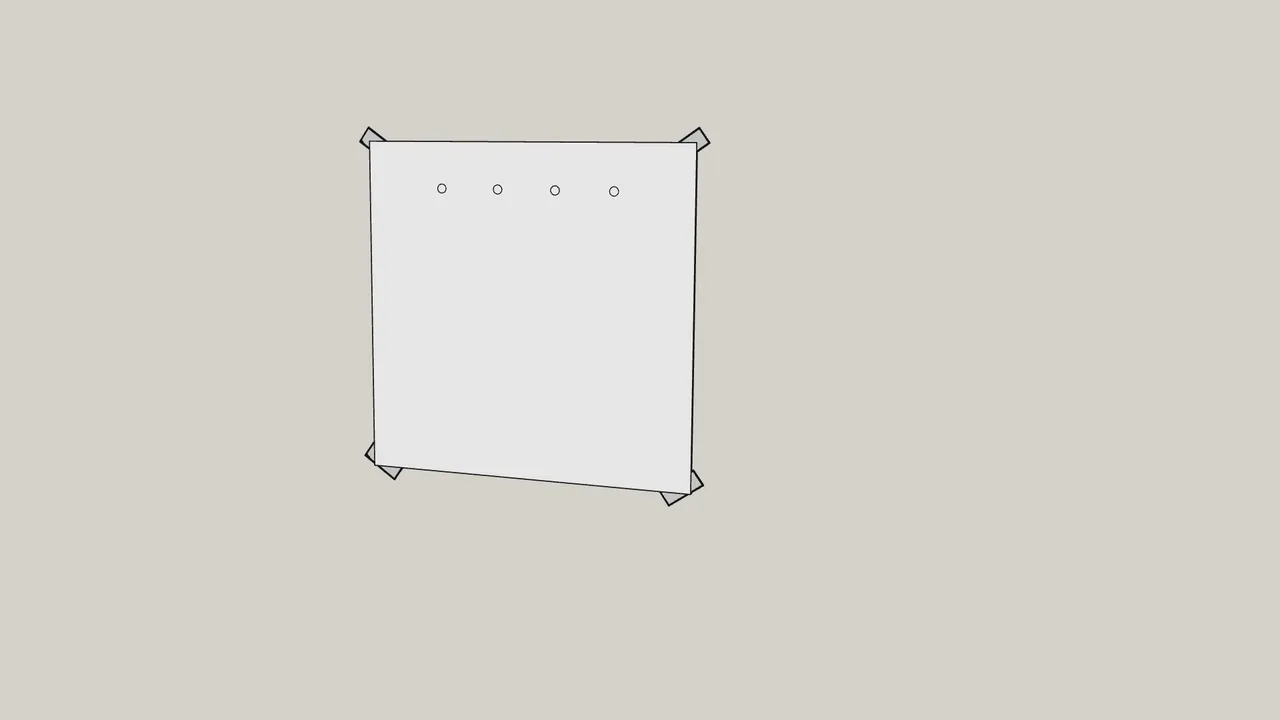
Step 12
Tape the drilling template to the wall and mark the rail holes.
Rail step 4 — use a level to get it straight.
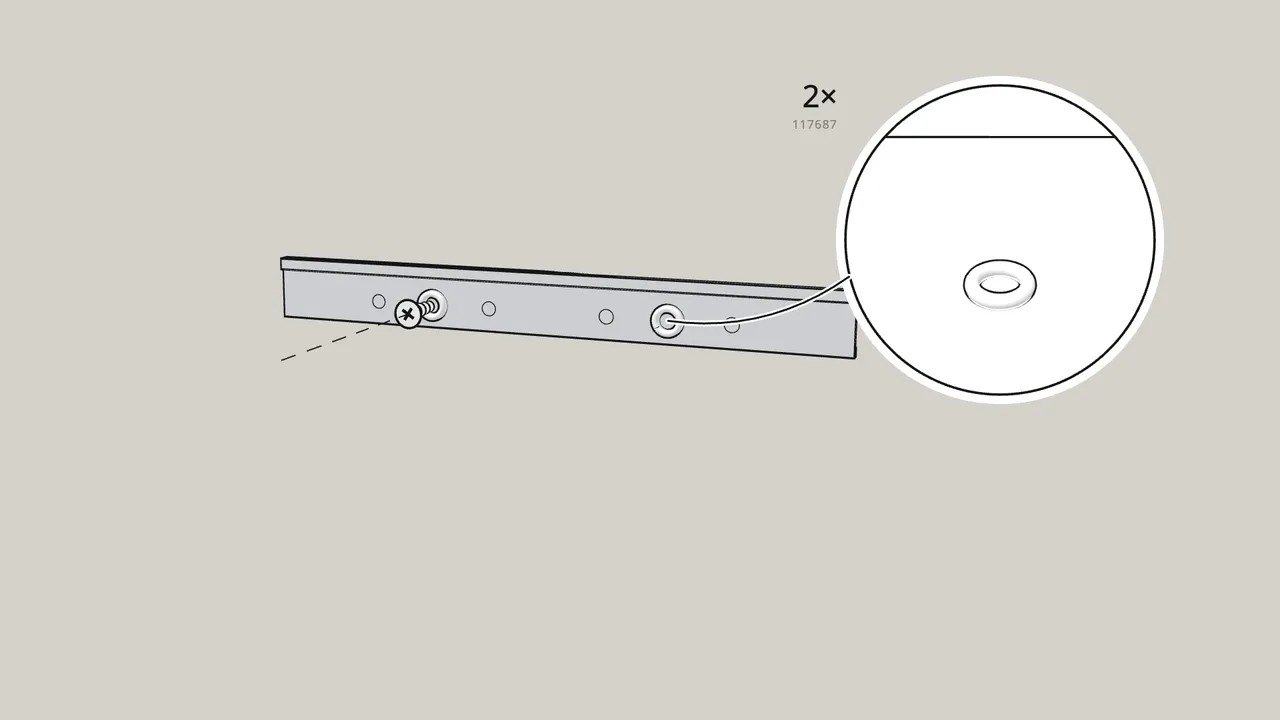
Step 13
Screw the rail (133114) to the wall through 2 spacers (117687).
Rail step 5 — wall screws are not included; choose screws for your wall.
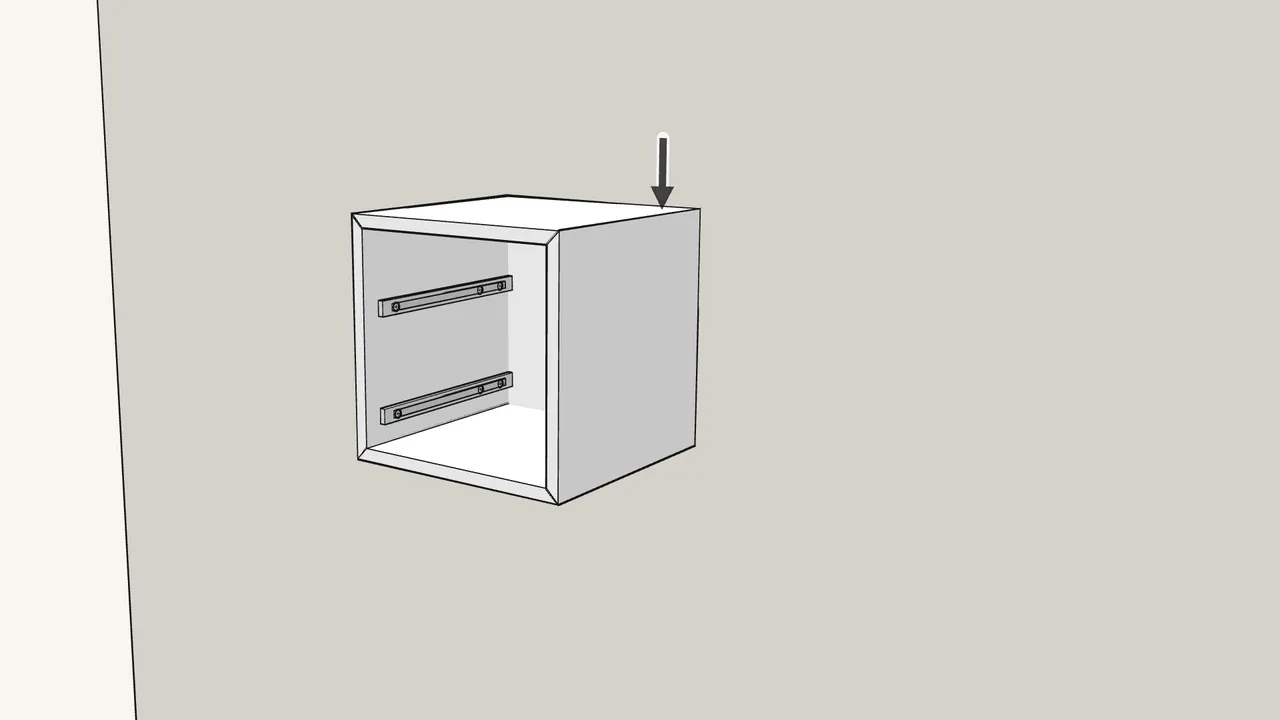
Step 14
Lift the cabinet and hook it onto the rail — click!
Rail step 6.
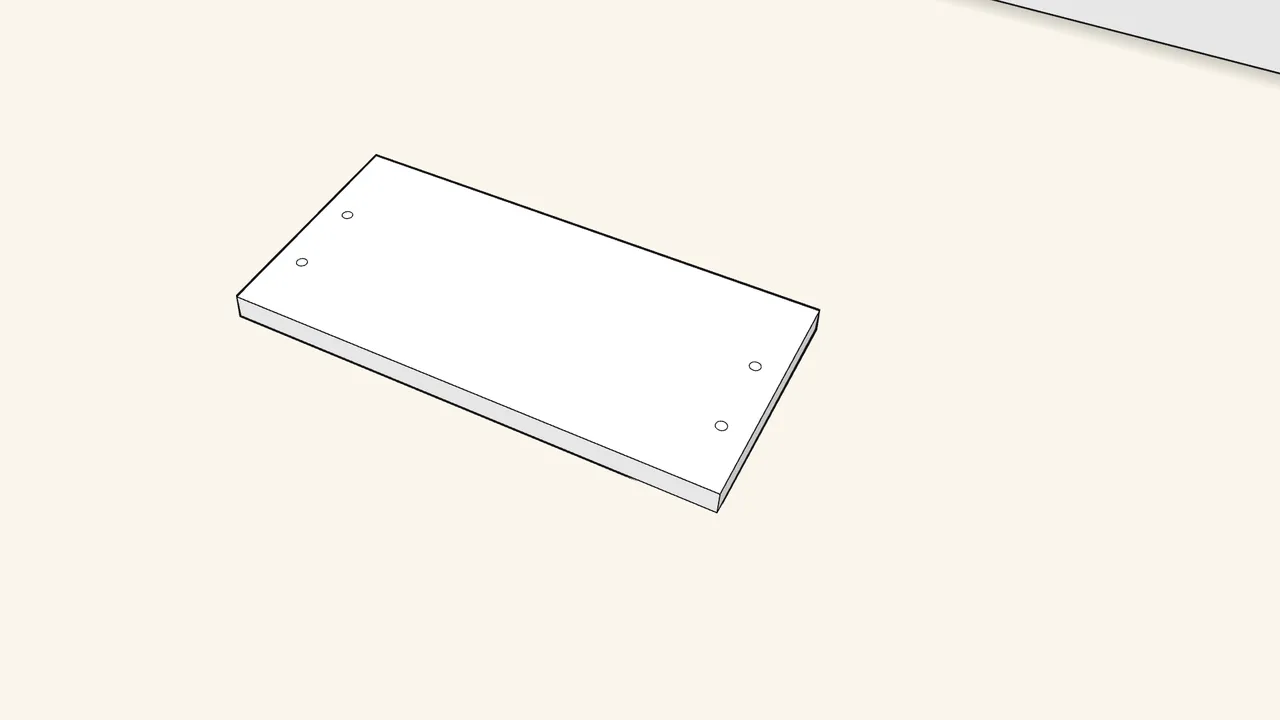
Step 15
Now the drawers.
There are two. We’ll build one step by step.
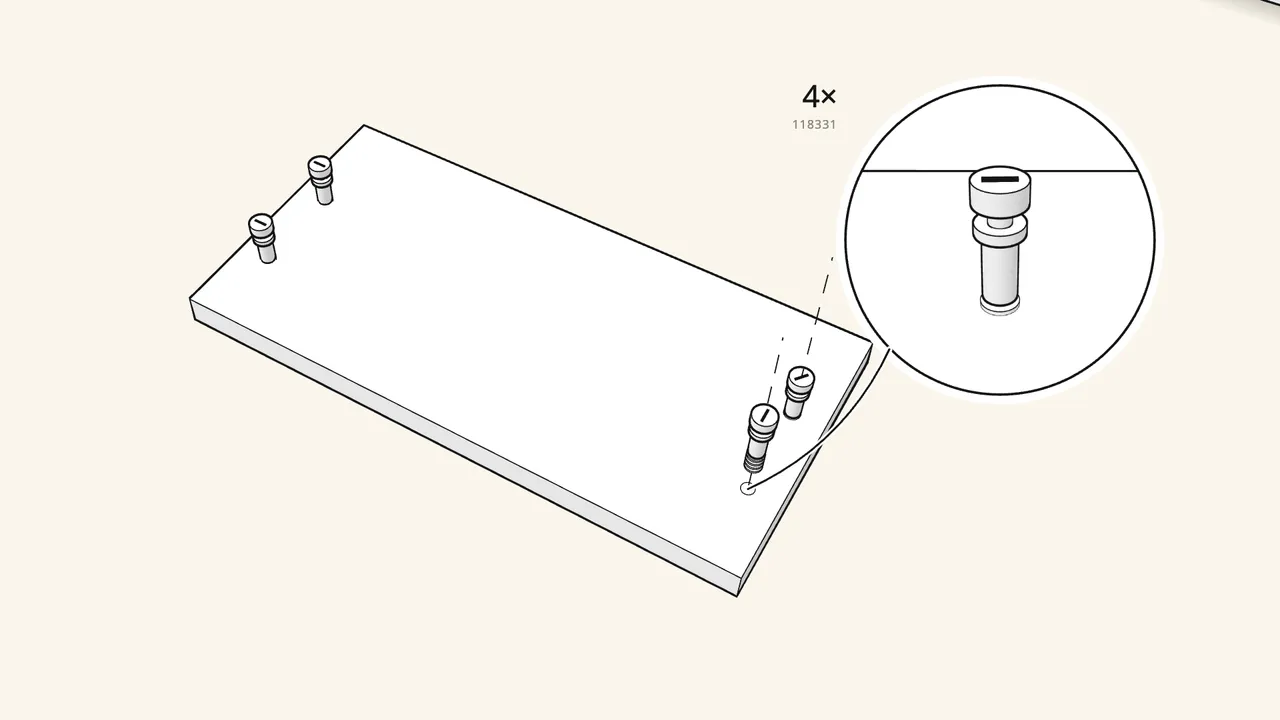
Step 16 · manual step 18
Screw 4 cam bolts (118331) into the drawer front.
Lay it face down, holes up.
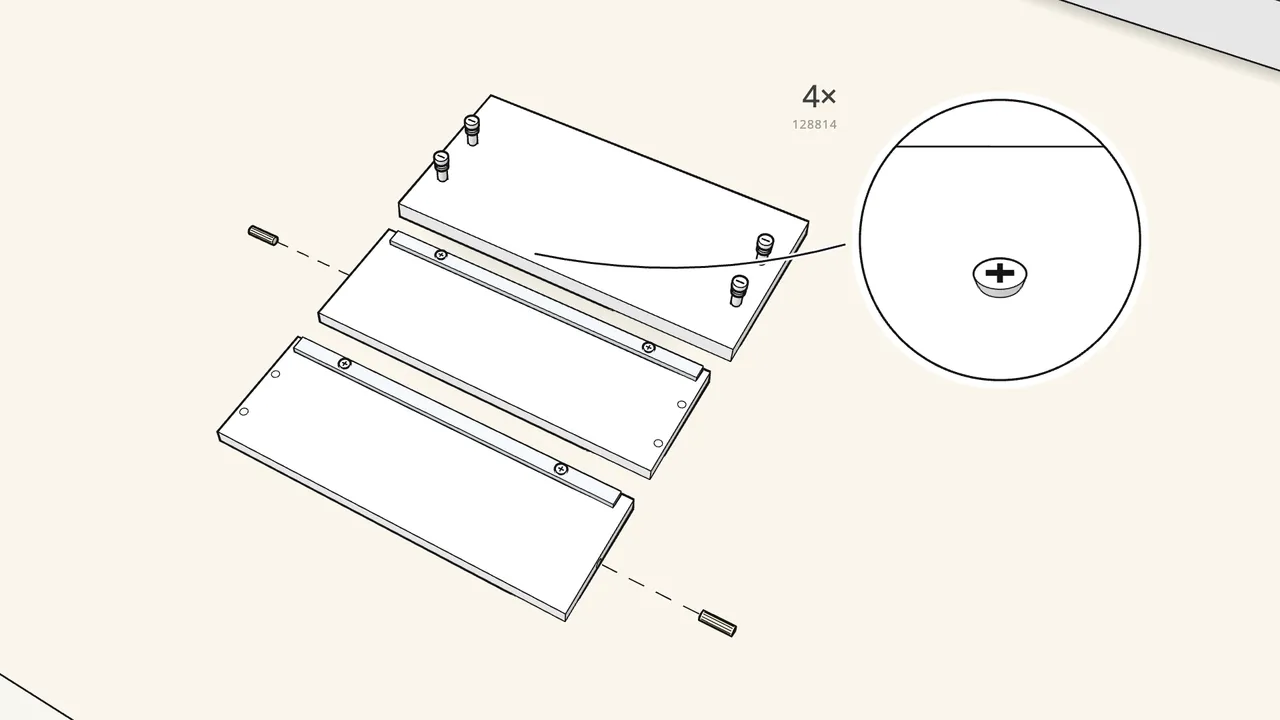
Step 17 · manual step 19–20
Screw a runner (10040613) to each side with 2 screws (128814).
Then push a dowel (101344) into the front end of each side.
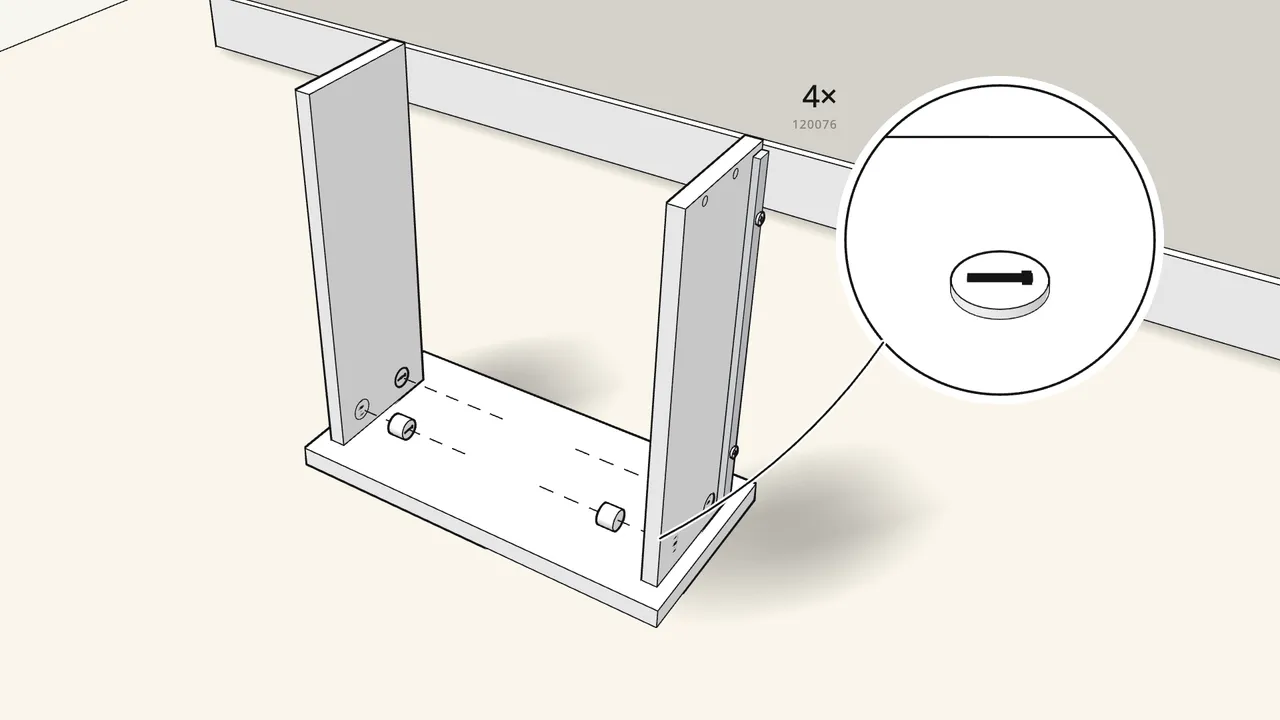
Step 18 · manual step 21–22
Push both sides onto the cam bolts and lock 4 cam locks (120076).
Turn each cam lock clockwise to tighten it.
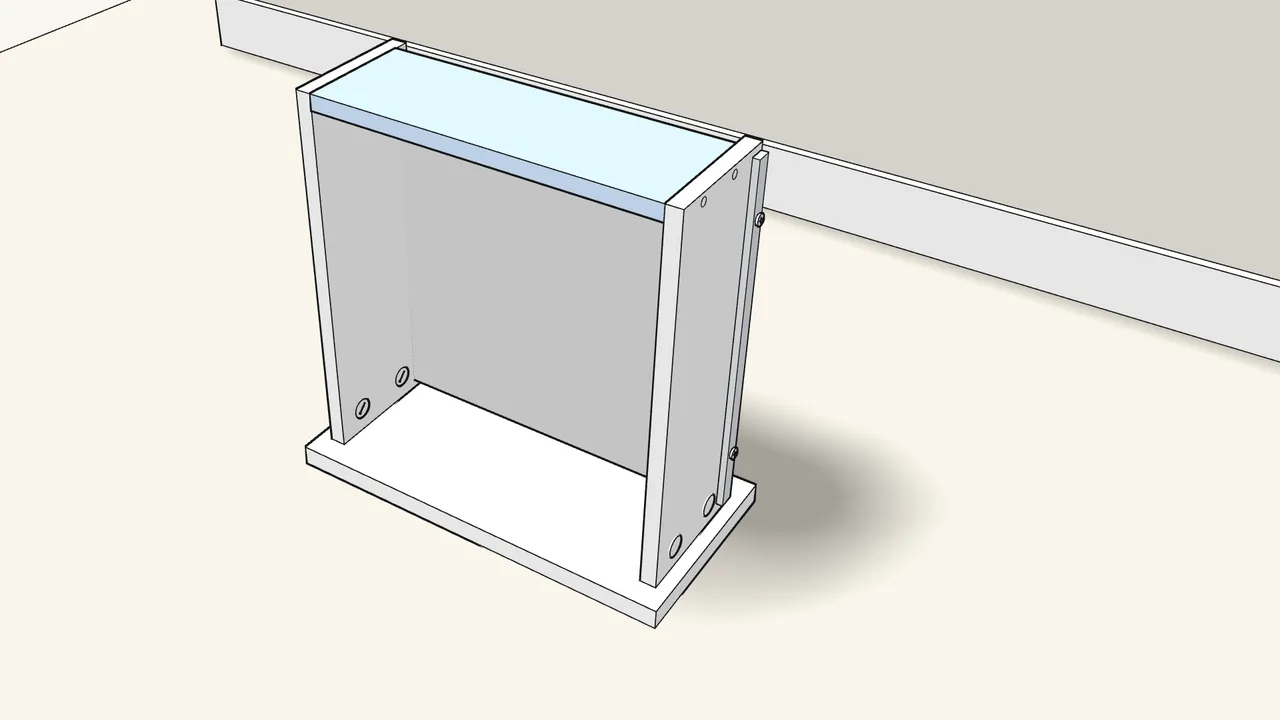
Step 19 · manual step 23–24
Slide the drawer bottom into the grooves, then fit the back.
The bottom only fits one way round — see step 23.
Step 20 · manual step 25
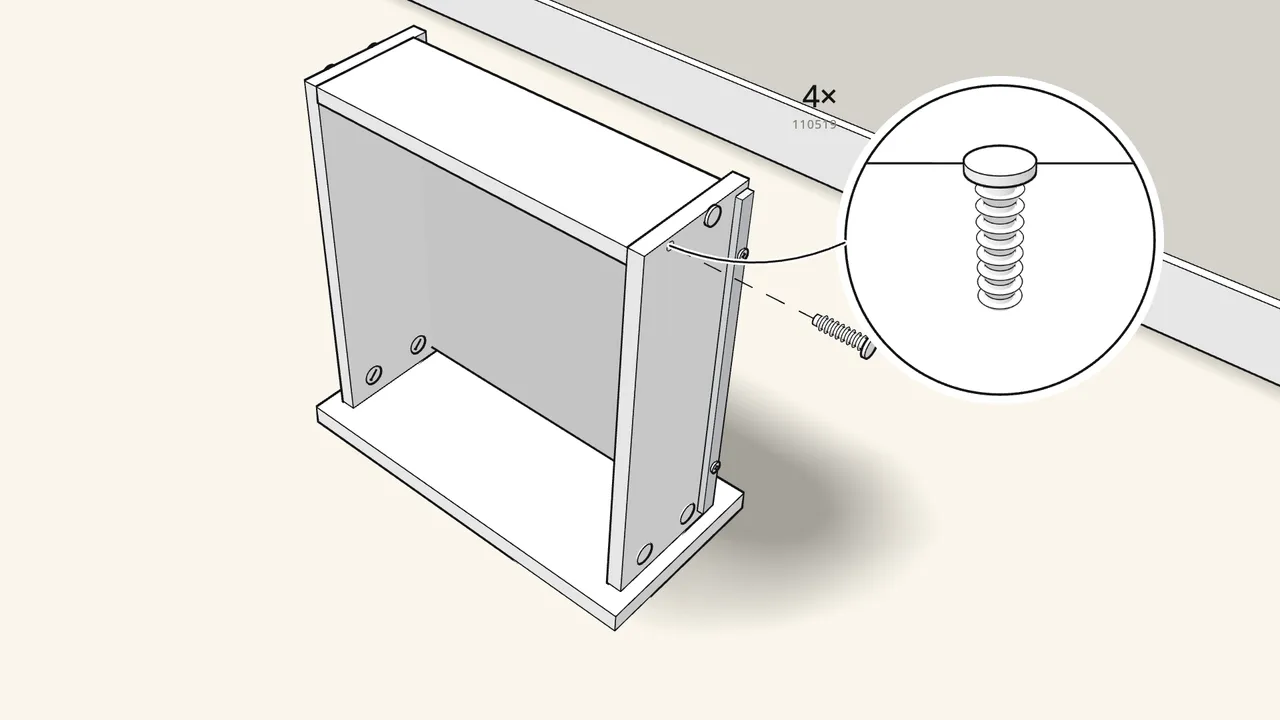
Hammer in 4 screw-dowels (110519) through the sides into the back.
2 on each side.
Step 21 · manual step 18–25
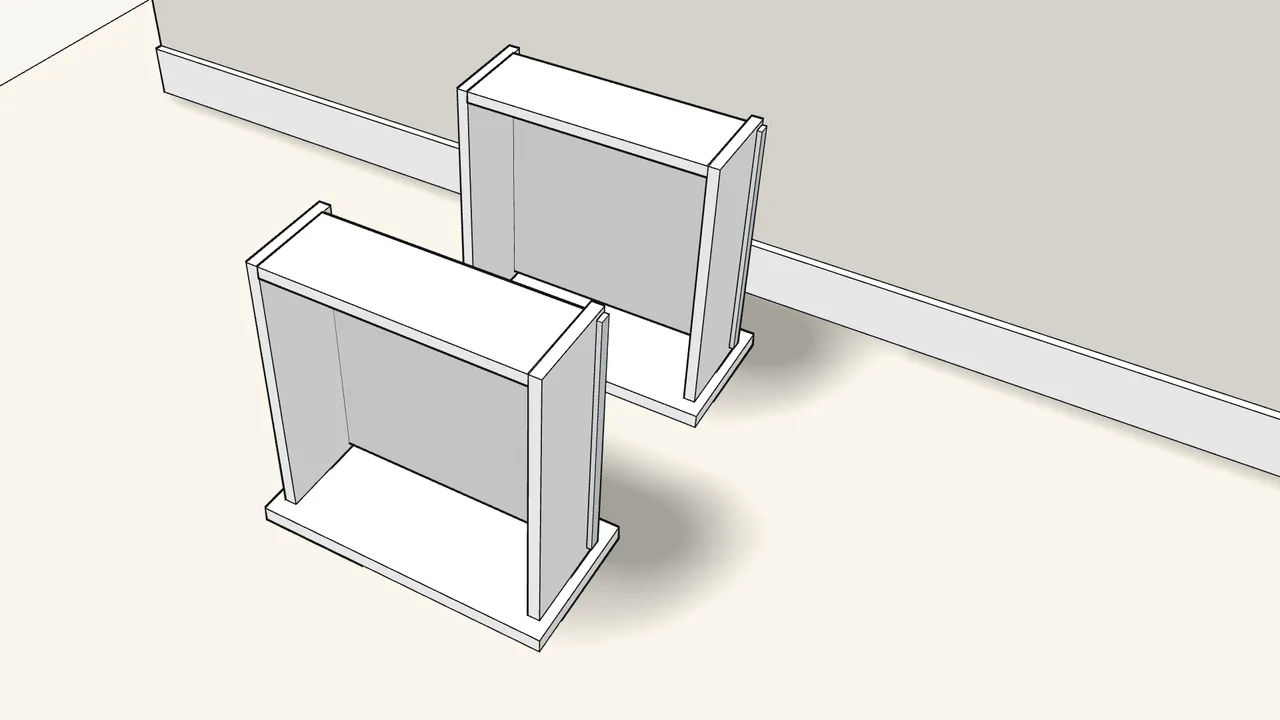
Build the second drawer the same way.
Step 22 · manual step 26
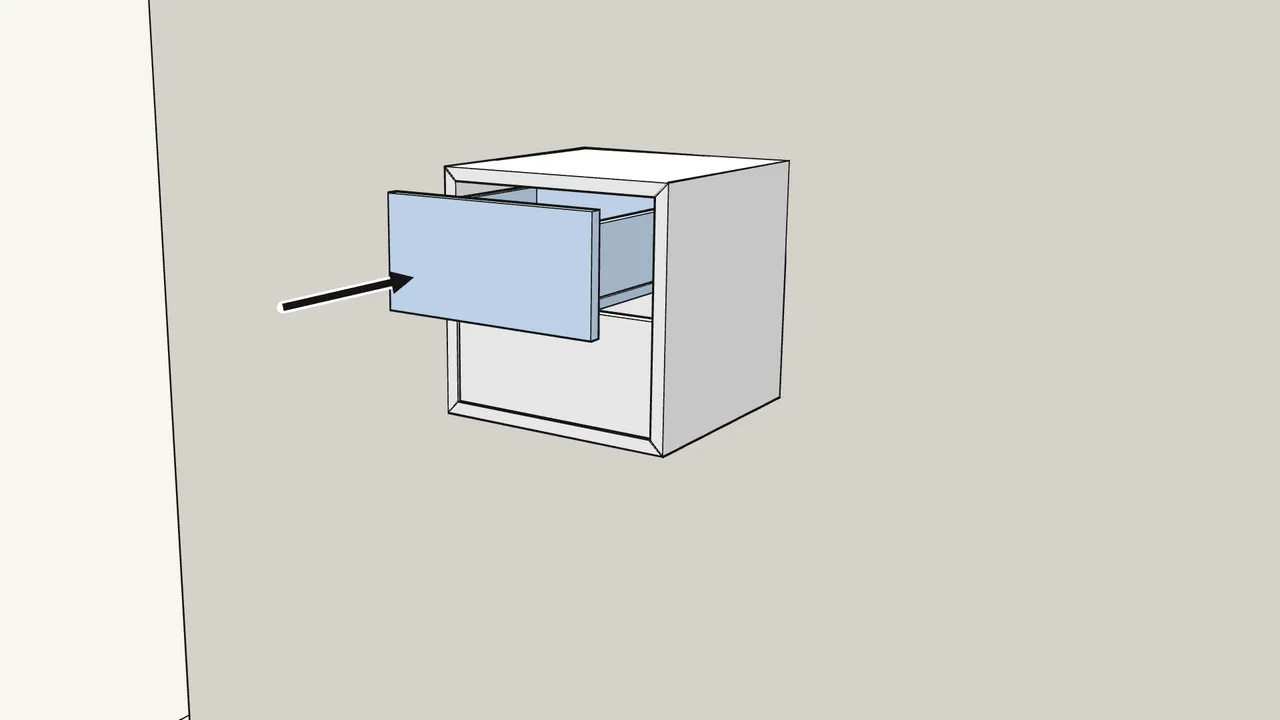
Slide each drawer onto its runners and push it in.
Tips & safety
- Only hang it on the EKET suspension rail. Furniture tip-over or fall can cause serious injury. Wall screws are not included — choose screws suited to your wall.
- Fine-tune the height. Turn the bolts (117783) in the brackets with the Allen key to raise or lower the cabinet on the rail — rail manual p. 14.
- Taking a drawer out? Pull it fully open and release the catches on both runners — manual p. 31.
Official instructions
This guide follows IKEA’s official assembly instructions (AA-2164291-6). Keep the printed manual to hand — if anything differs, the manual is right.



