IKEA · Cabinets & Wardrobes
How to Assemble IKEA EKET Cabinet
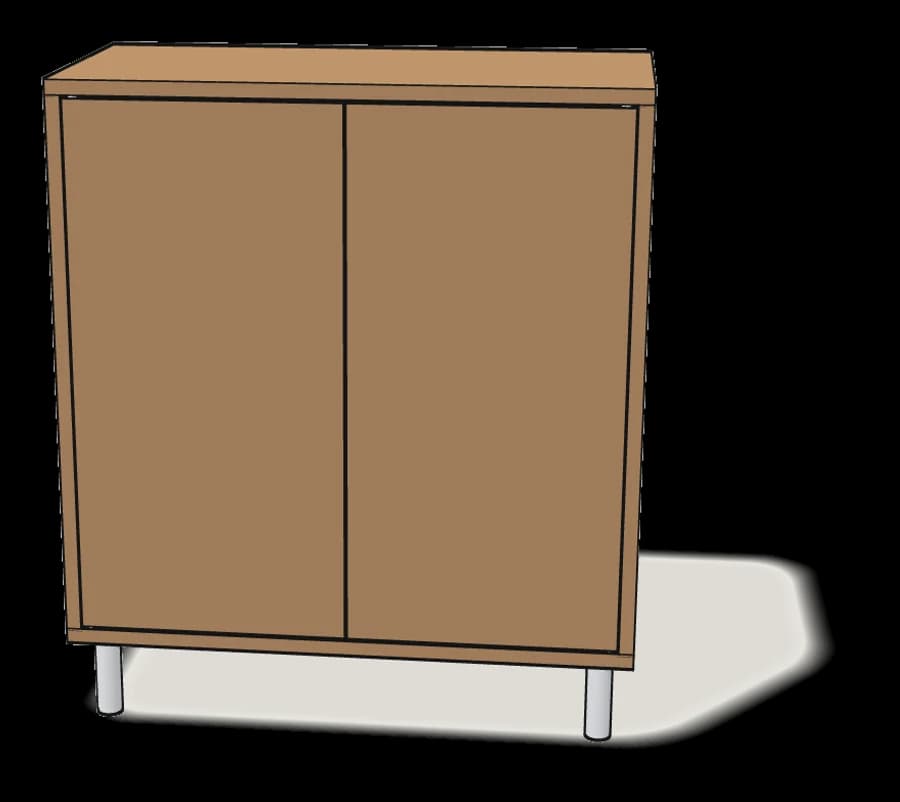
Step-by-step IKEA EKET cabinet assembly: 15 illustrated steps, an animated video, the hardware list and the tools you need — following the official instructions (AA-2702649-1).
- 15 illustrated steps
- 14 steps in the manual
- 2:16 video
- 35×25×35 cm
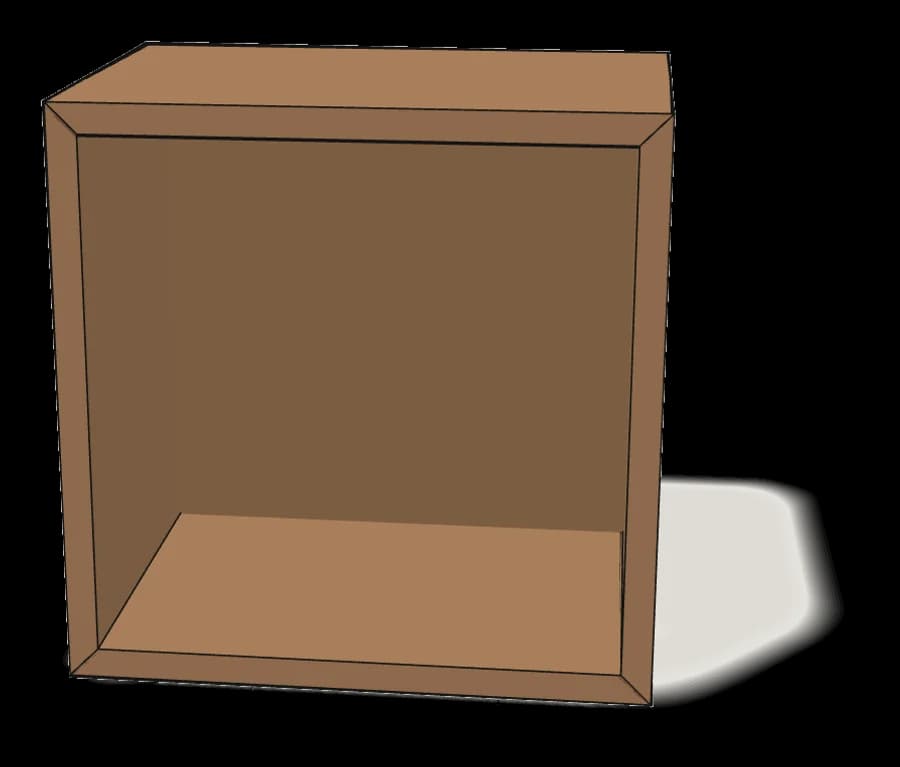
What you need
Tools
- Spirit level
- Drill (for wall fixing)
Hardware in the box
| Part no. (as printed in the manual) | Qty |
|---|---|
| 10093081 | 4× |
| 10093082 | 4× |
| 152650 | 2× |
| 152651 | 2× |
| 141413 | 2× |
| 141414 | 2× |
Step-by-step assembly
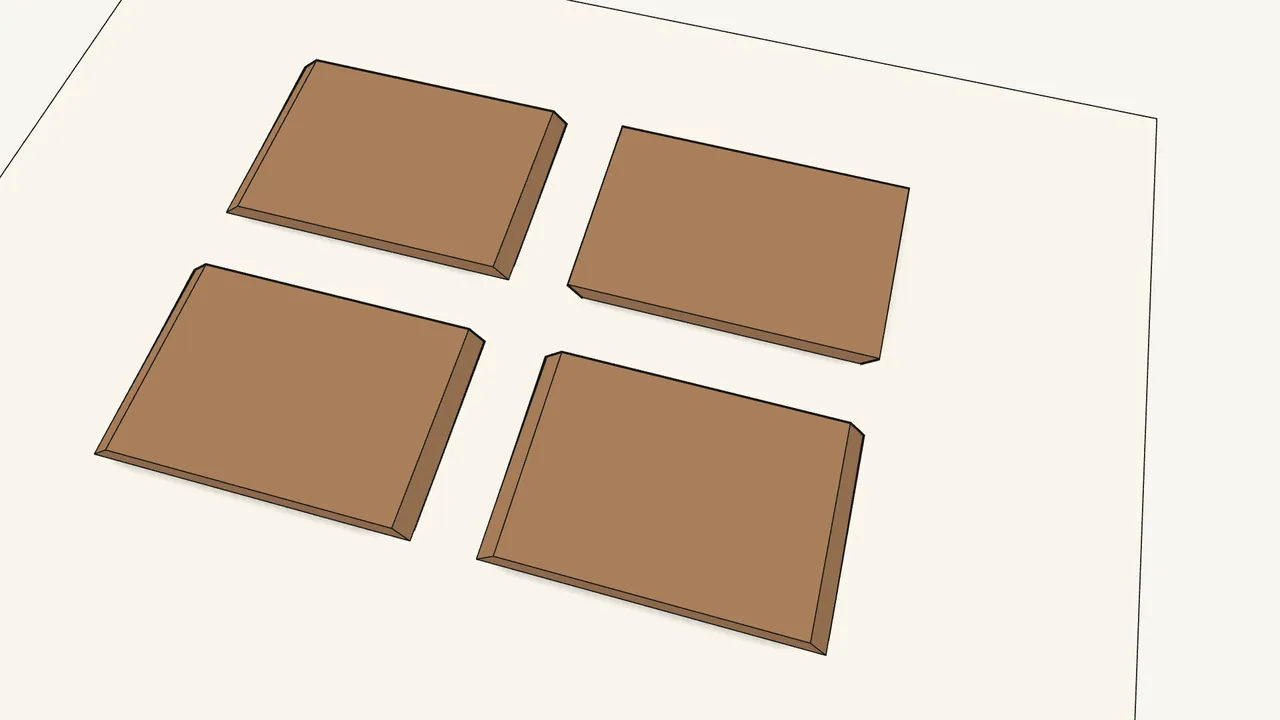
Step 1
Sort the four frame panels.
Two have pegs, two have keyhole slots. The panel marked 1 is the top.
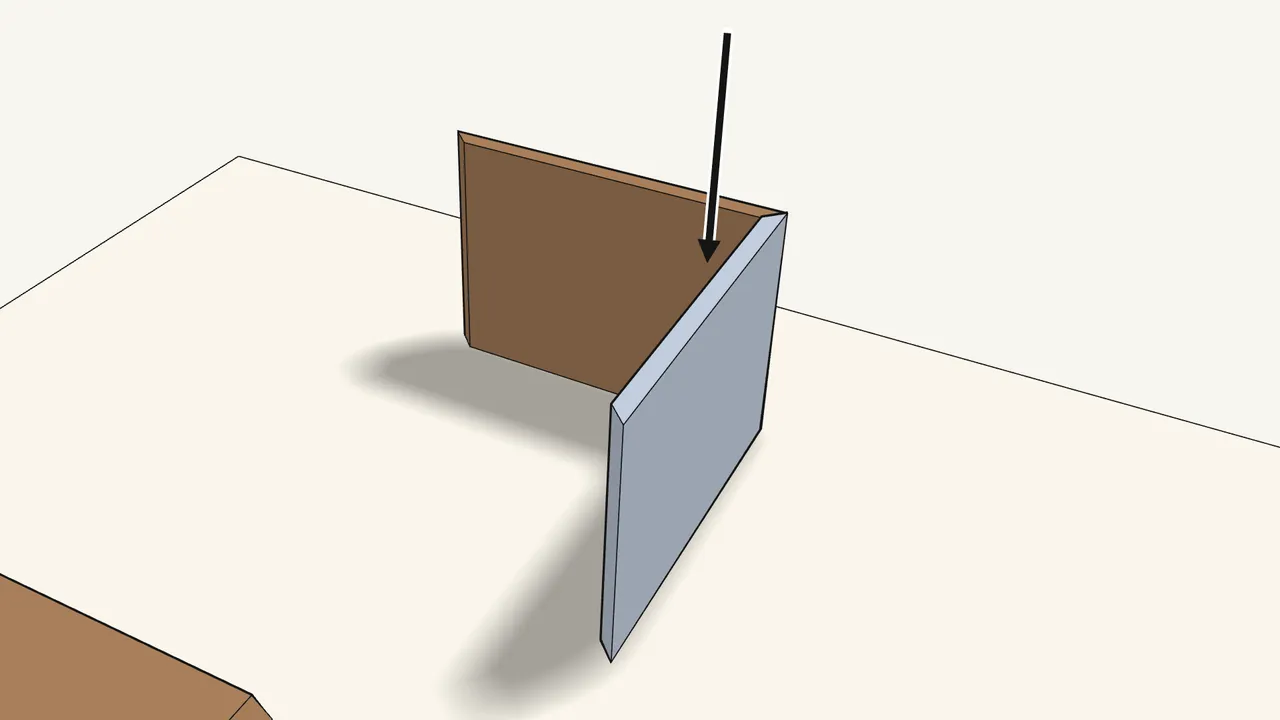
Step 2
Join the first two panels: slide the pegs down into the keyholes.
Press down firmly so the joint is tight.
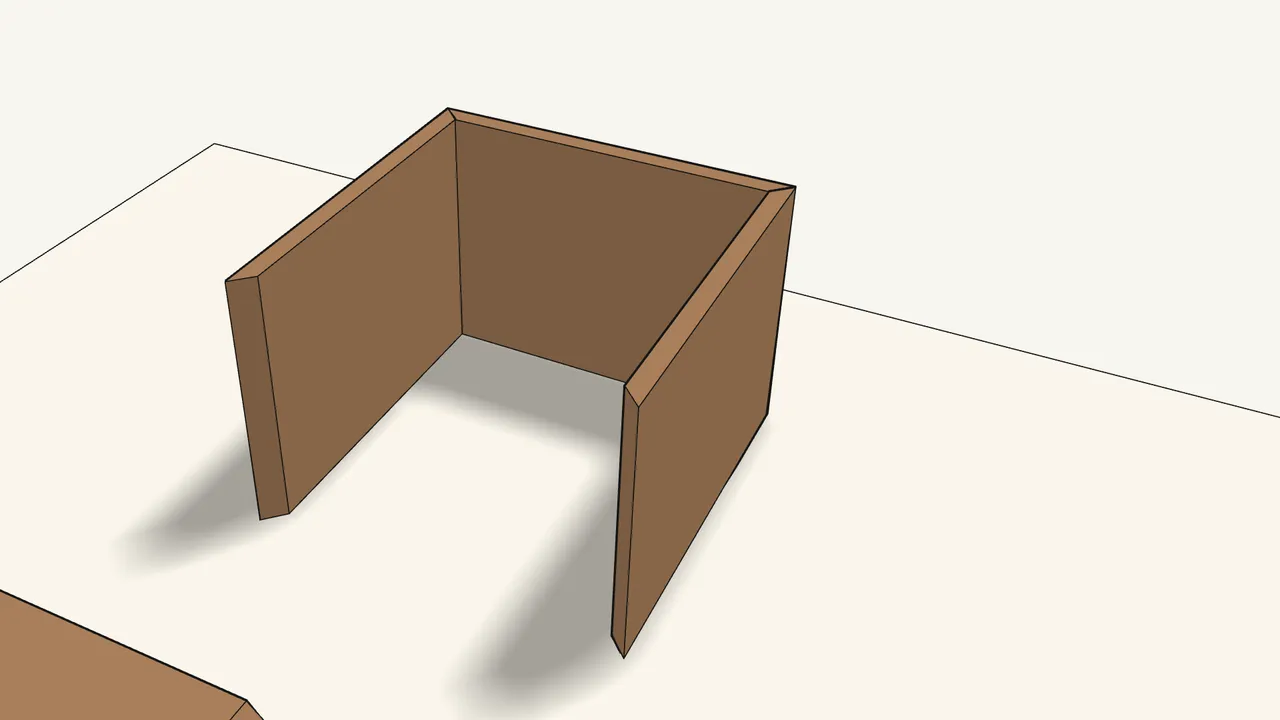
Step 3
Slide the second keyhole panel onto the other end.
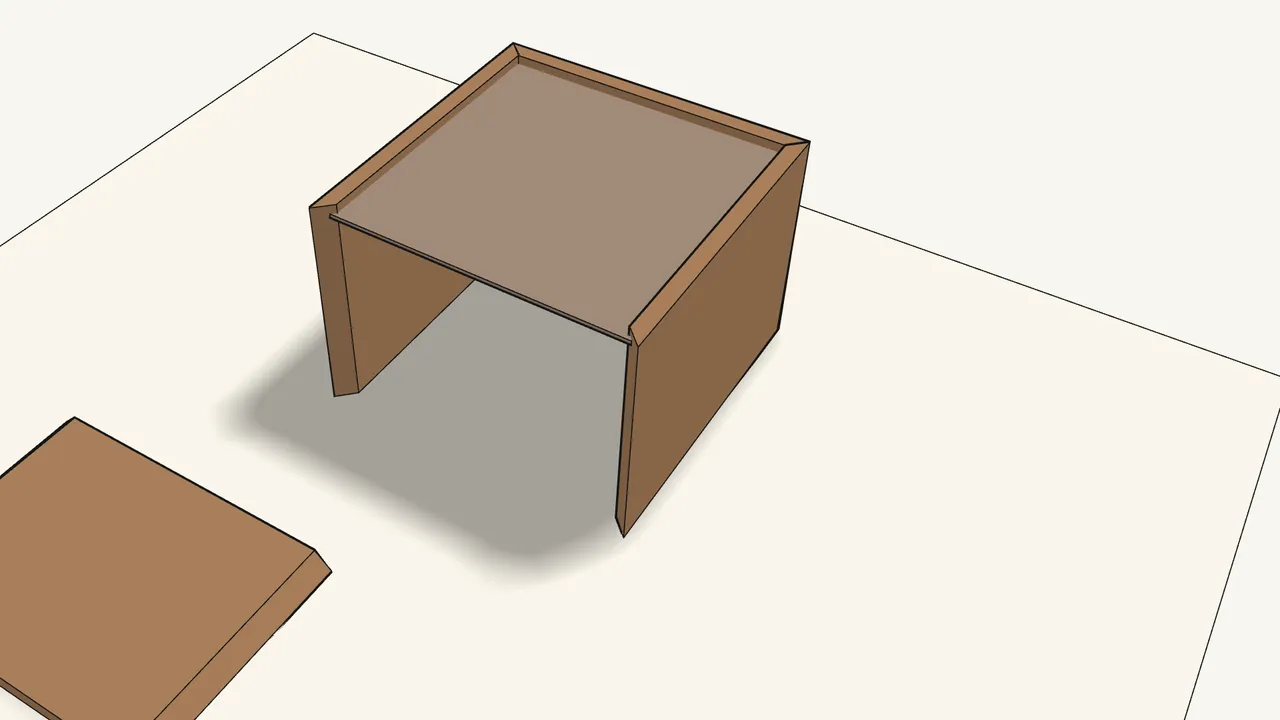
Step 4
Slide the back panel into the grooves.
Make sure it runs in the grooves, not on top of them.
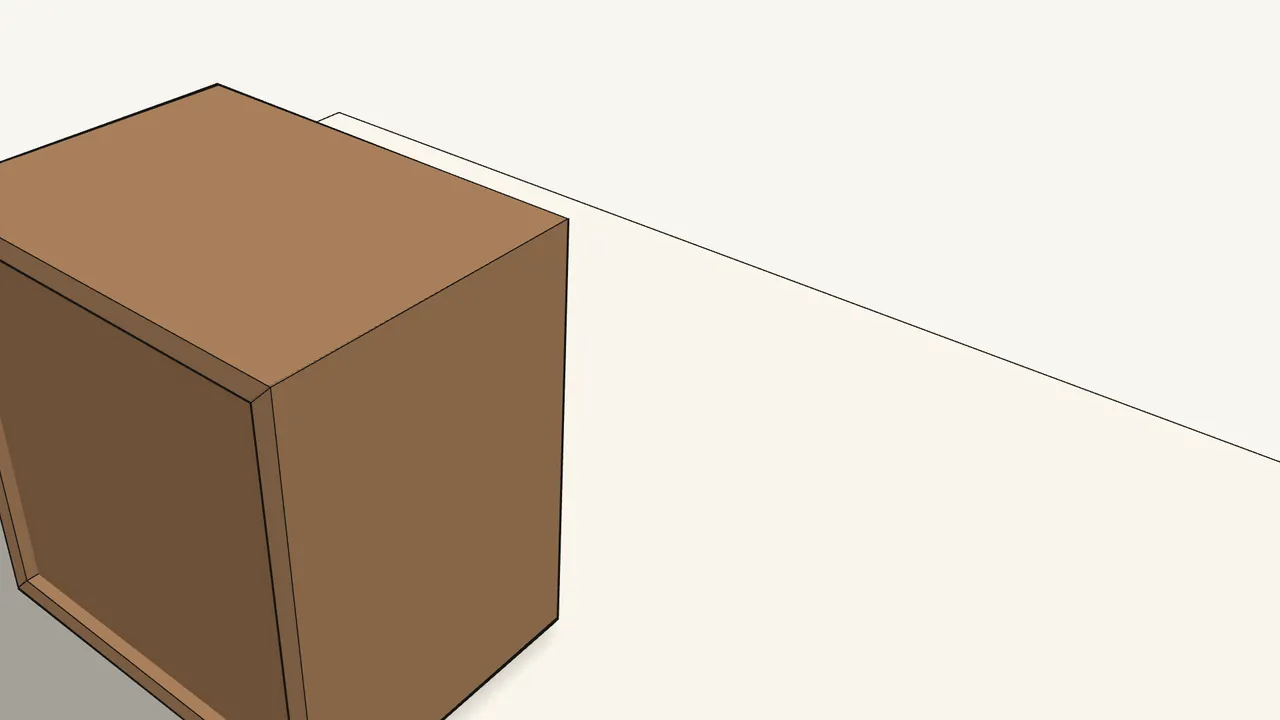
Step 5
Slide the last panel down to close the frame, then turn it upright.
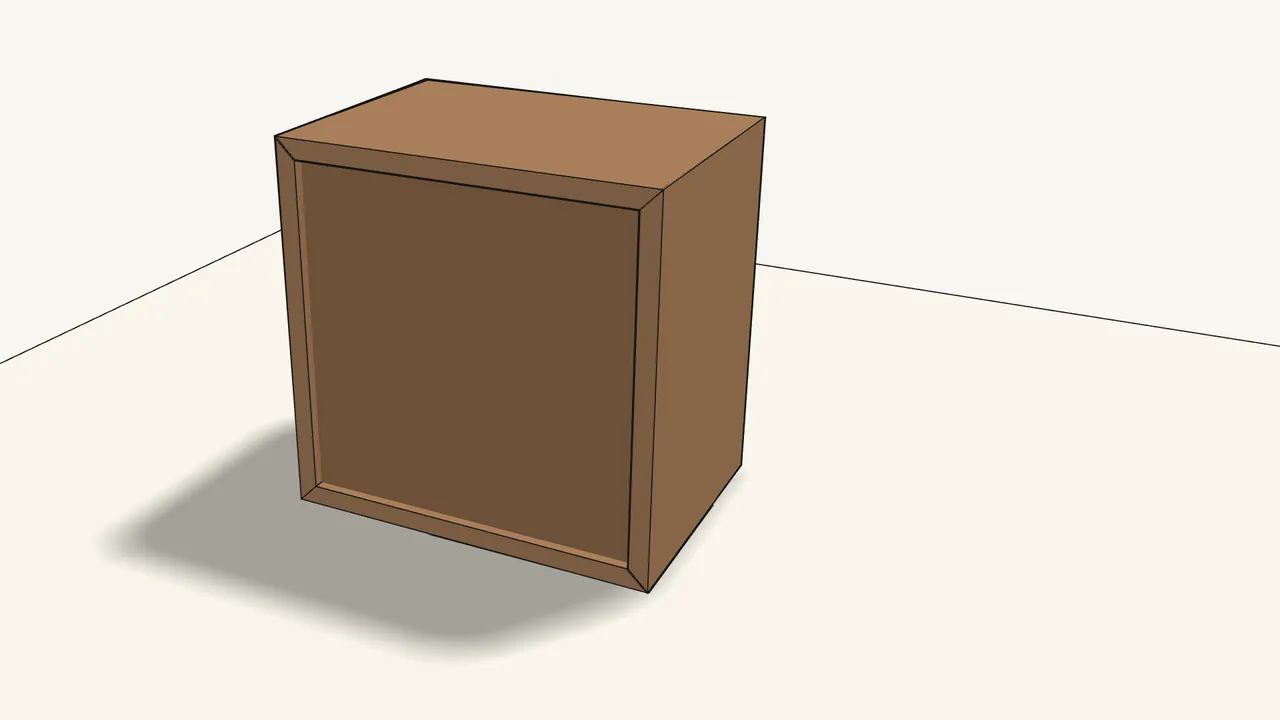
Step 6
Panel 1 goes at the top. Push the back panel fully into the bottom groove.
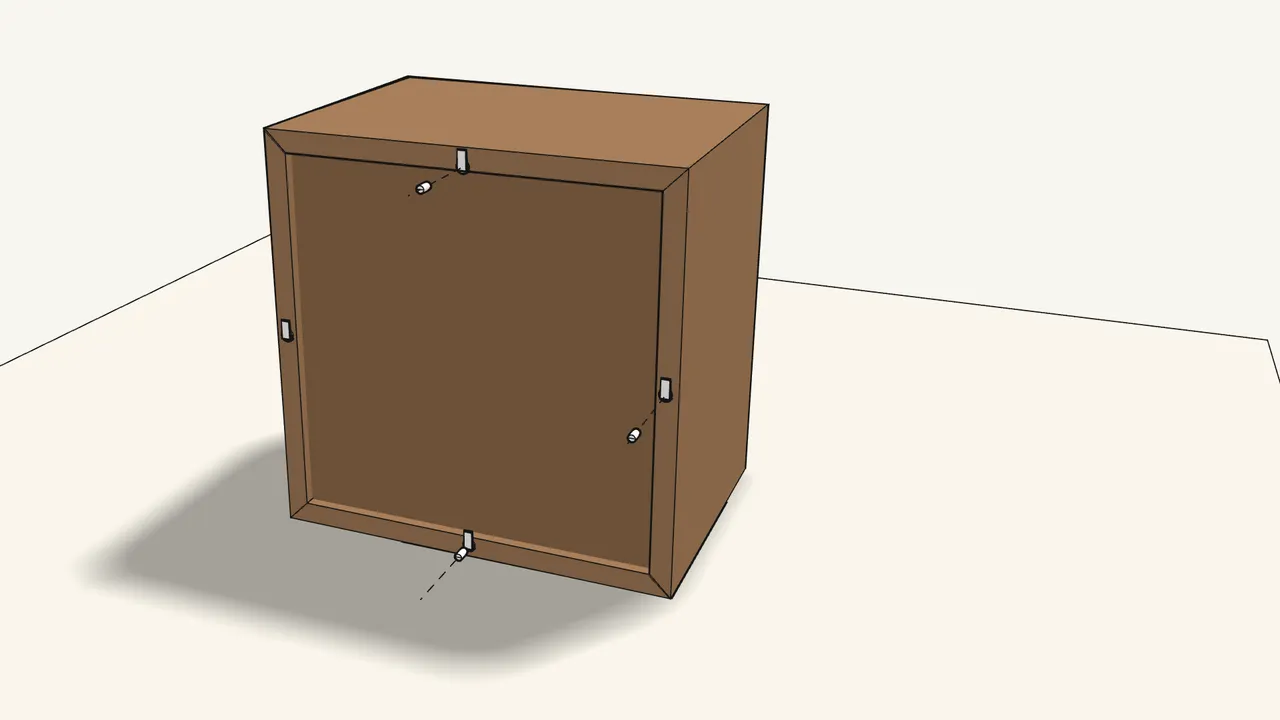
Step 7
Fit 4 clips (10093081) around the back panel.
Then press a wedge (10093082) into each clip.
Step 8
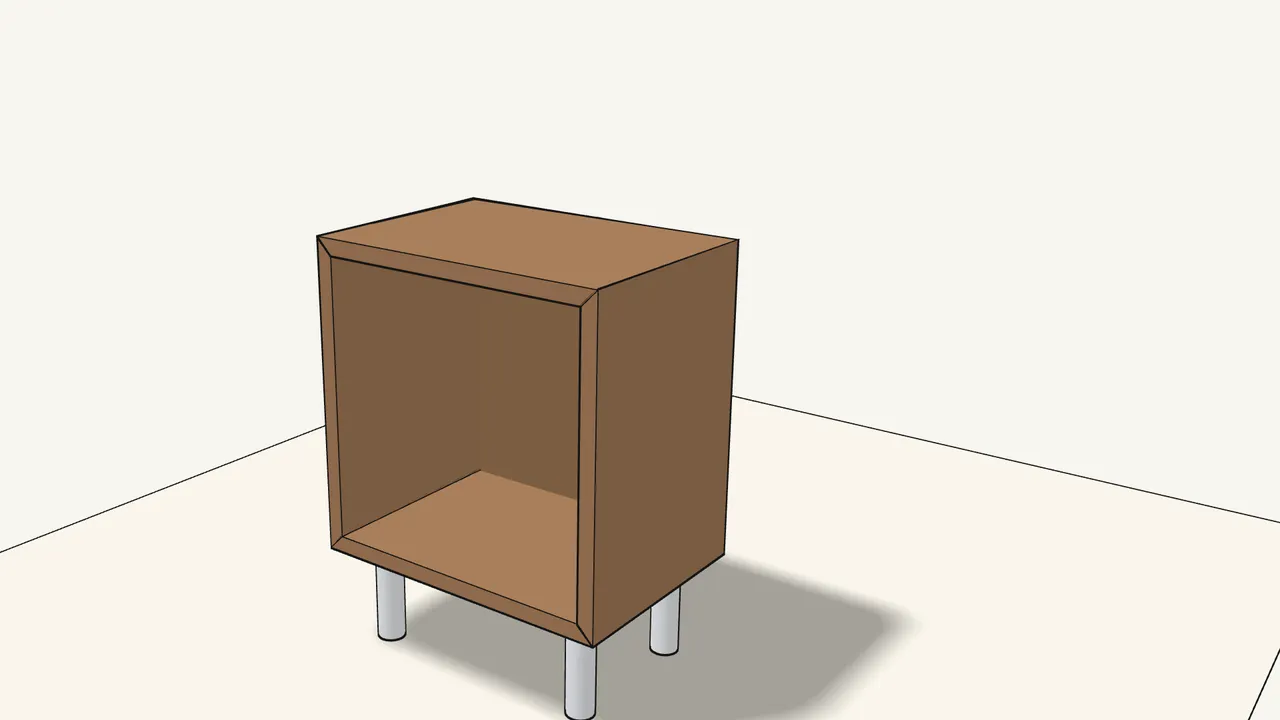
Fit legs or a suspension rail — follow its own manual.
Legs and suspension rail are sold separately.
Step 9
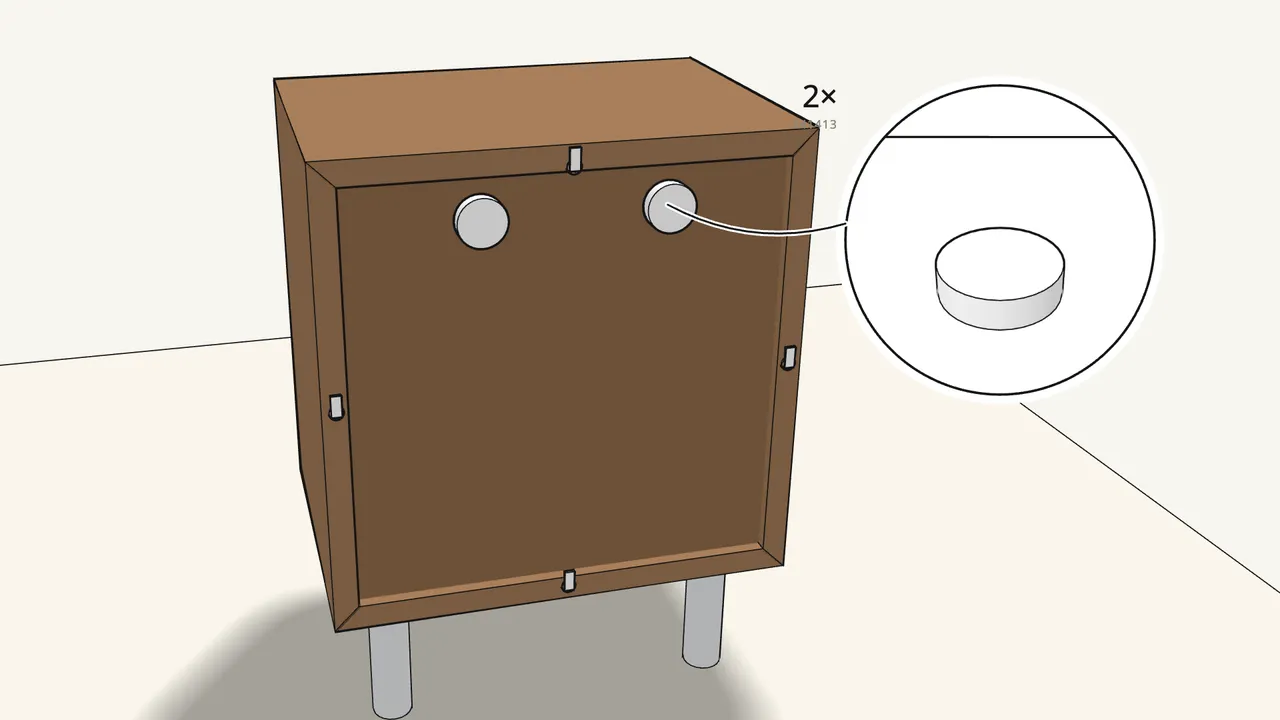
Press 2 wall connectors (141413) into the back, below panel 1.
Step 10
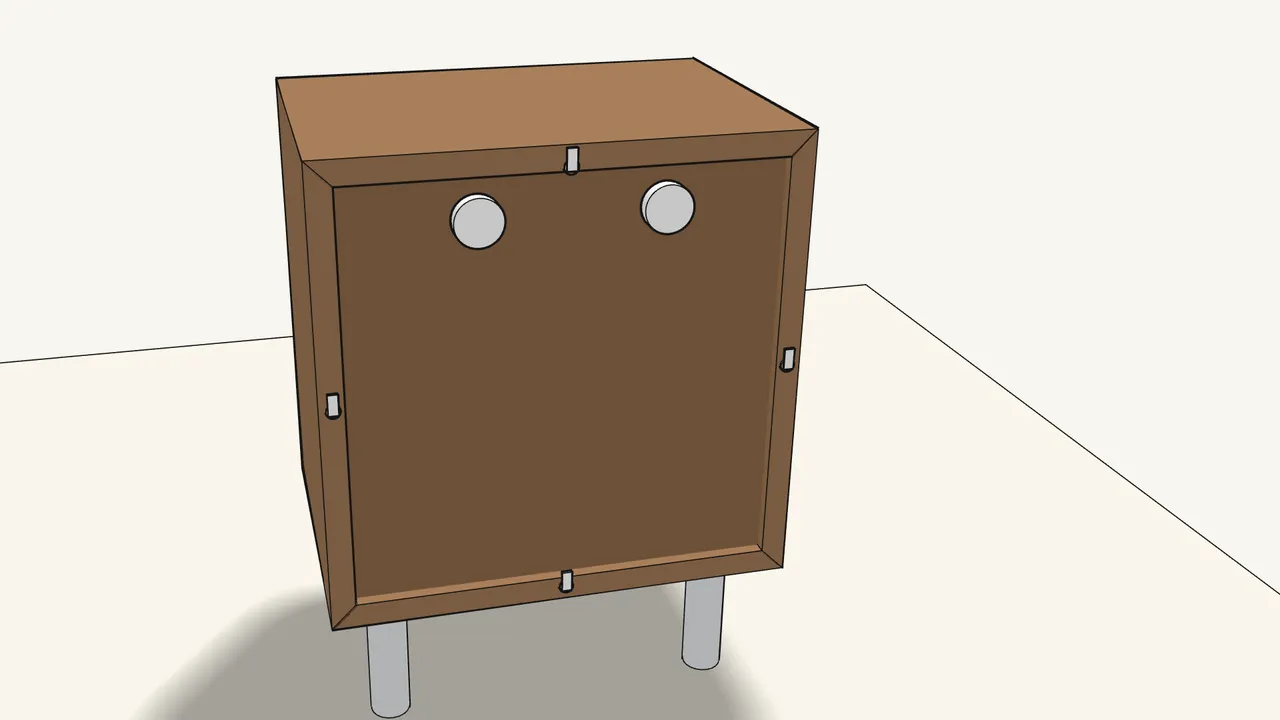
Drill through the back panel at each connector with a Ø 8 mm bit.
Ø 8 mm = 5/16".
Step 11
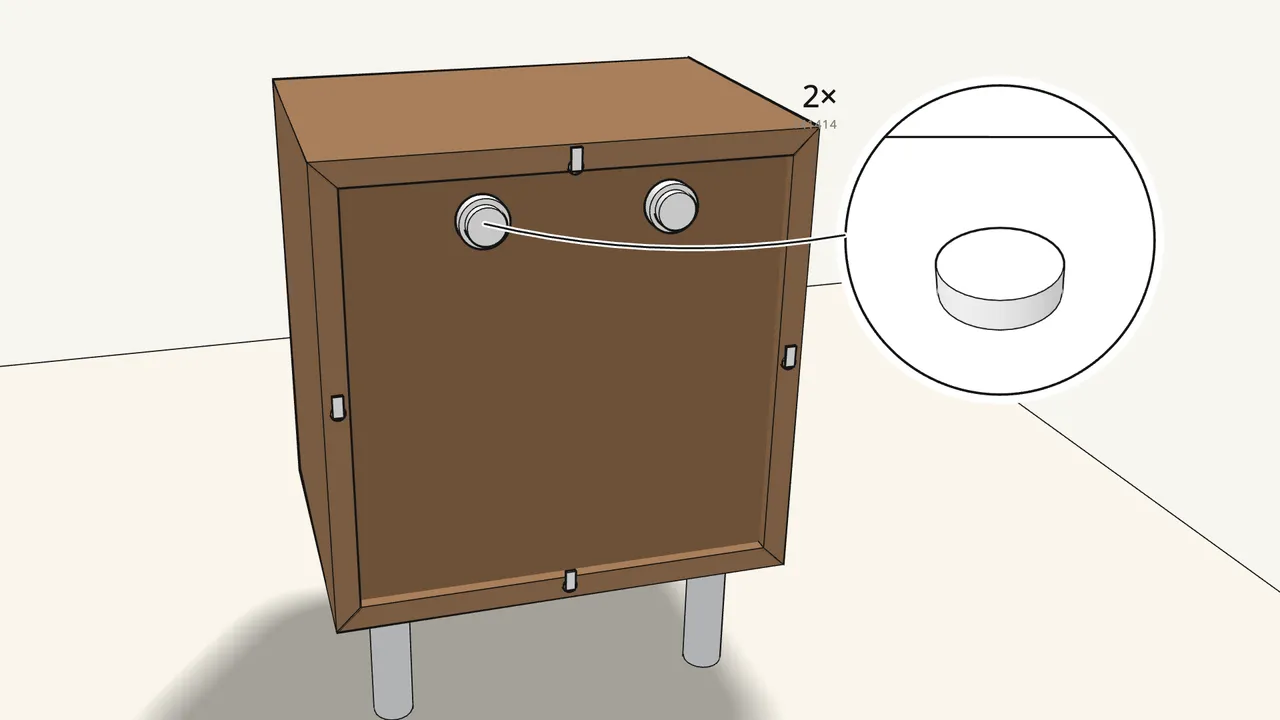
Turn a knob (141414) onto each connector.
Turn it clockwise.
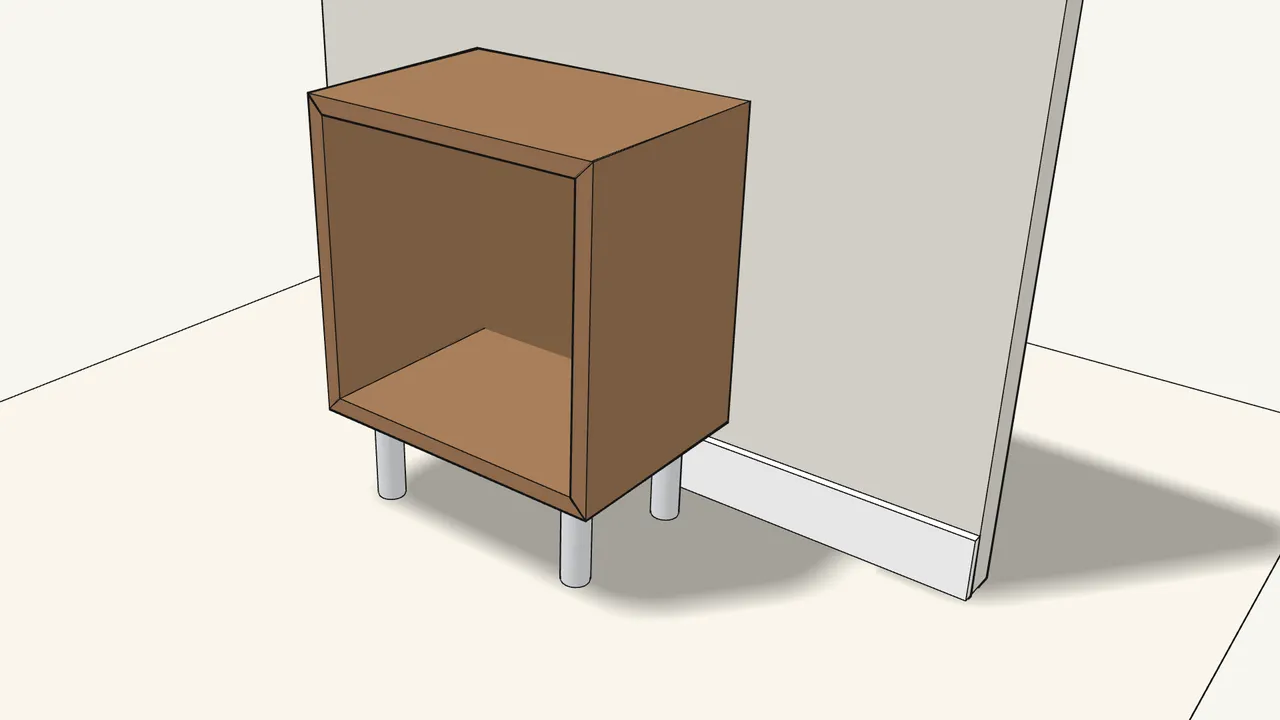
Step 12
Move the cabinet to the wall.
Turn both knobs until they touch the wall, clear of the skirting board.
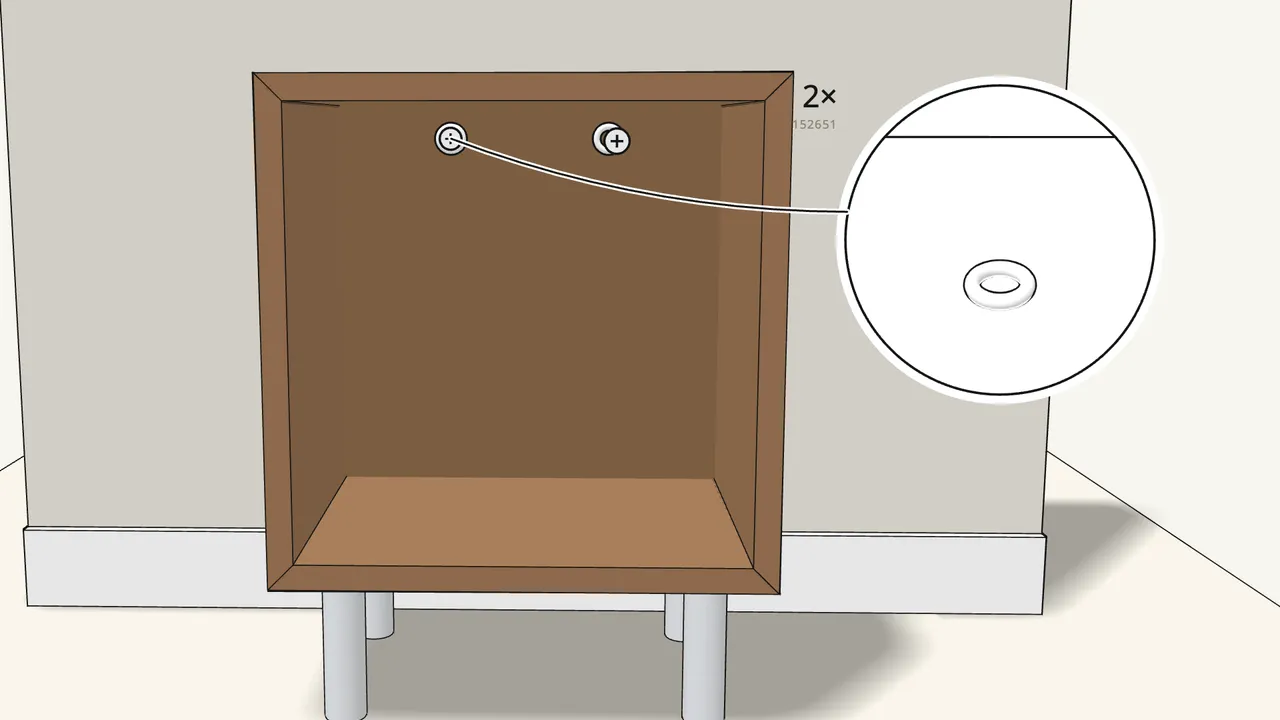
Step 13
Screw through each plate (152651) into the wall.
Wall screws are not included — choose screws for your wall type.
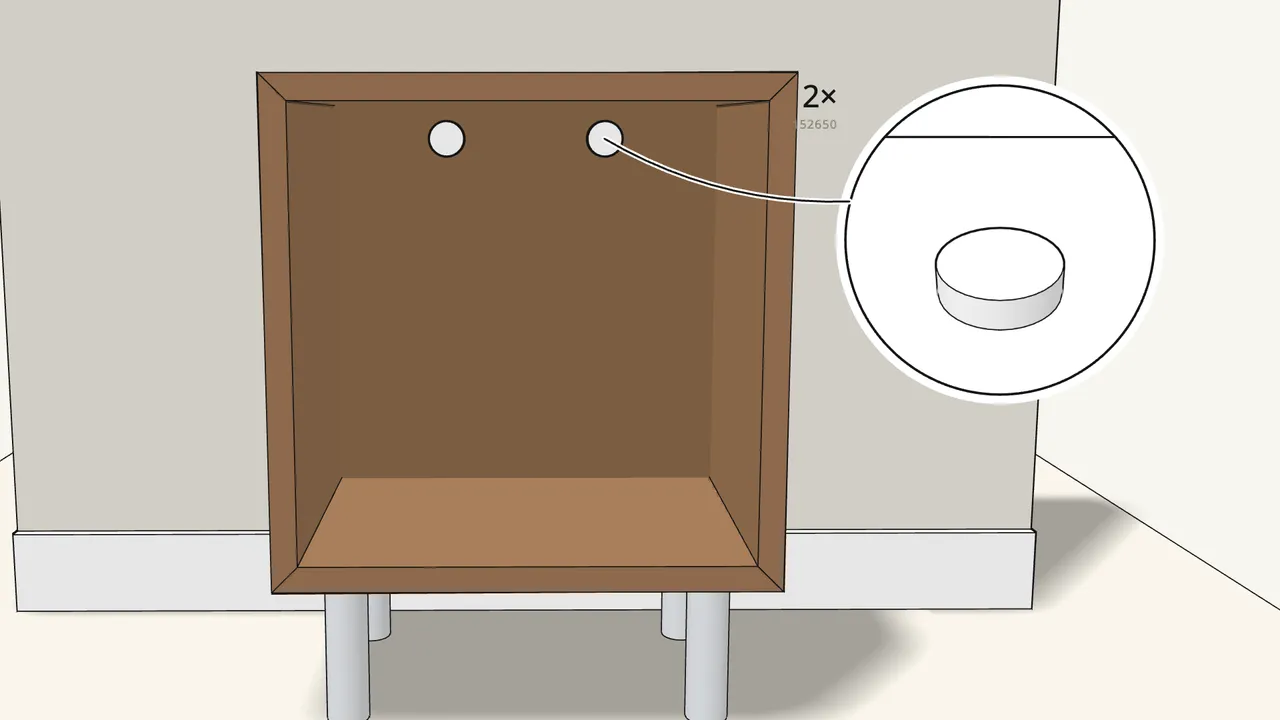
Step 14
Press a cover cap (152650) onto each plate and turn it to lock.
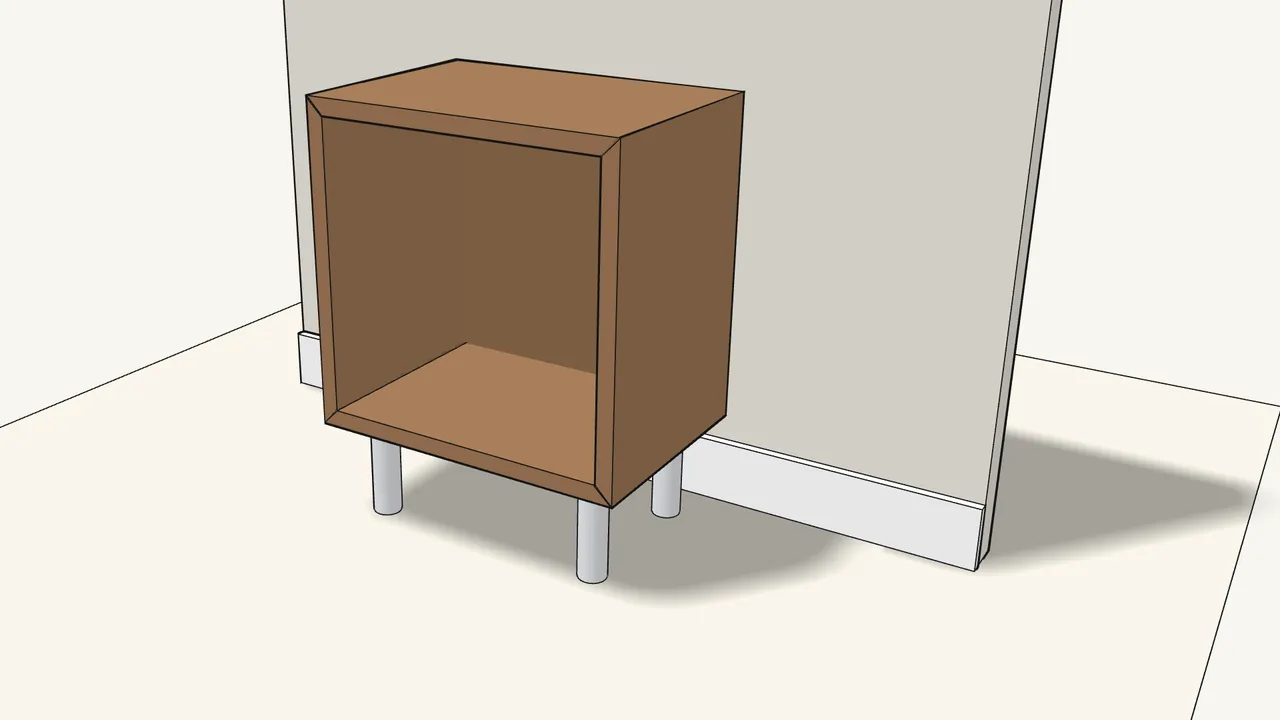
Step 15 · manual step 14
Done — the cabinet is fixed to the wall.
Tips & safety
- Check it is level. Put a spirit level on top and adjust the legs if needed — see the EKET legs manual.
- Hanging it on the wall instead? Use the EKET suspension rail (sold separately), its manual and the drilling template AA-2693515 (manual p. 19–20).
Official instructions
This guide follows IKEA's official assembly instructions (AA-2702649-1). Keep the printed manual to hand — if anything differs, the manual is right.