IKEA · Cabinets & Wardrobes
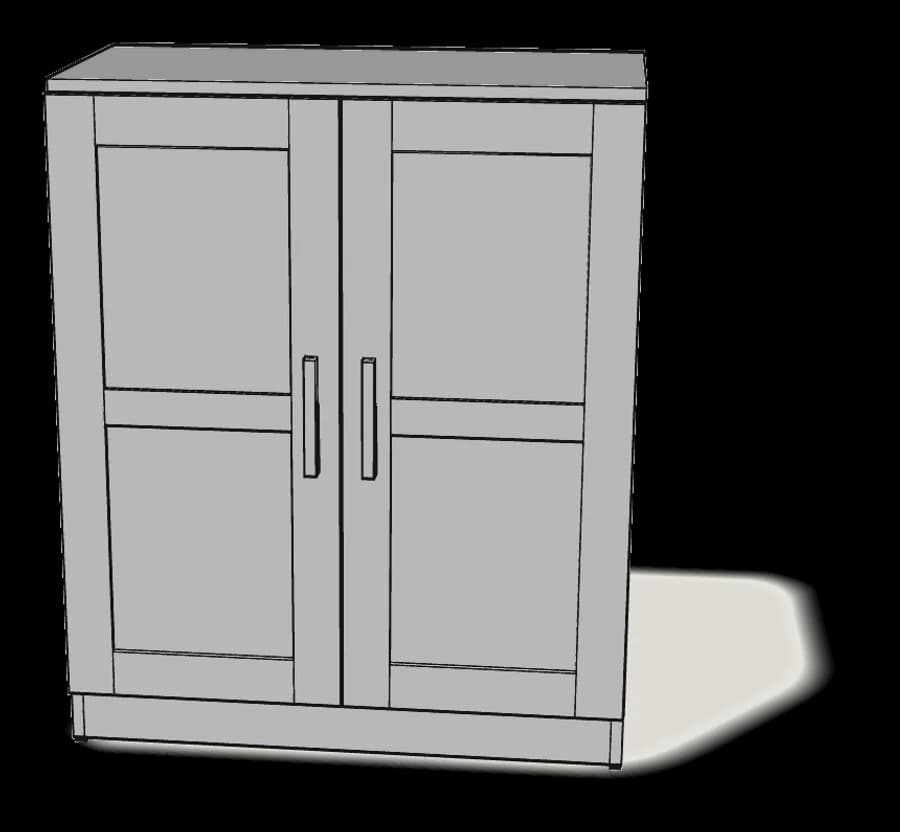
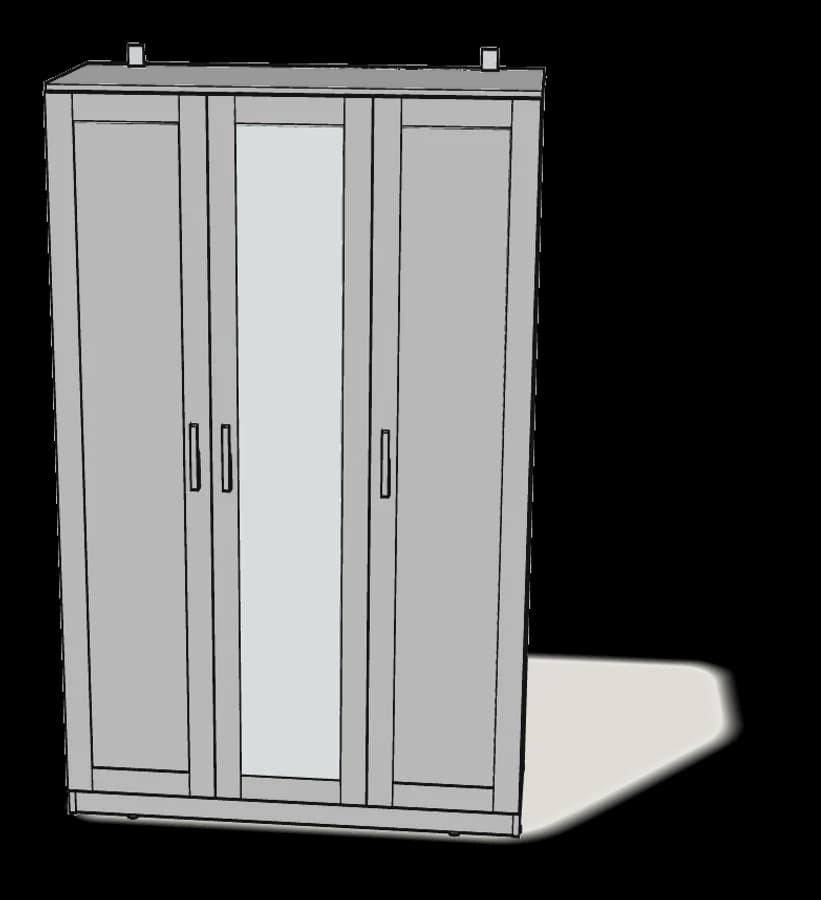
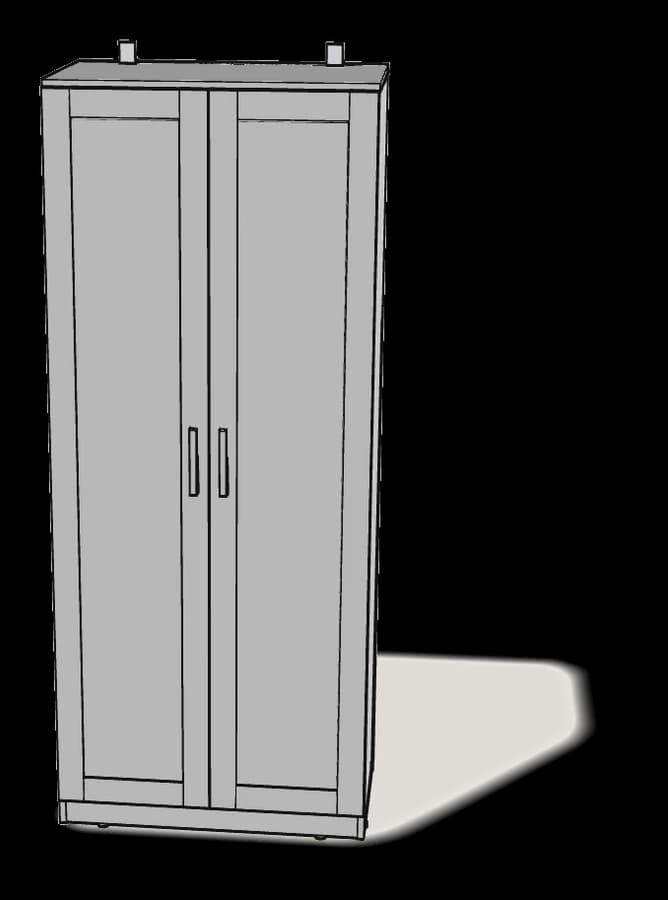
How to Assemble IKEA BRIMNES Wardrobe with 2 Doors
Step-by-step IKEA BRIMNES wardrobe with 2 doors assembly: 24 illustrated steps, an animated video, the hardware list and the tools you need — following the official instructions (AA-2395782-5).
- 24 illustrated steps
- 50 steps in the manual
- 3:29 video
- 78×50×190 cm cm
What you need
Tools
- Flat-head screwdriver
- Phillips screwdriver
- Hammer
- Allen key (included)
- Drill (for wall fixing)
You’ll need: flat-head and Phillips screwdrivers, a pencil, a hammer, a step ladder and a drill for the wall fixing.
Hardware in the box
| Part no. (as printed in the manual) | Qty |
|---|---|
| 118331 | 16× |
| 101345 | 27× |
| 119252 | 20× |
| 106940 | 2× |
| 100214 | 2× |
| 105248 | 34× |
| 109567 | 6× |
| 109049 | 2× |
| 101206 | 40× |
| 158568 | 6× |
| 123840 | 2× |
| 10038685 | 2× |
| 101532 | 4× |
| 107091 | 1× |
| 106989 | 2× |
| 100823 | 4× |
| 10087223 | 2× |
Step-by-step assembly
Step 1
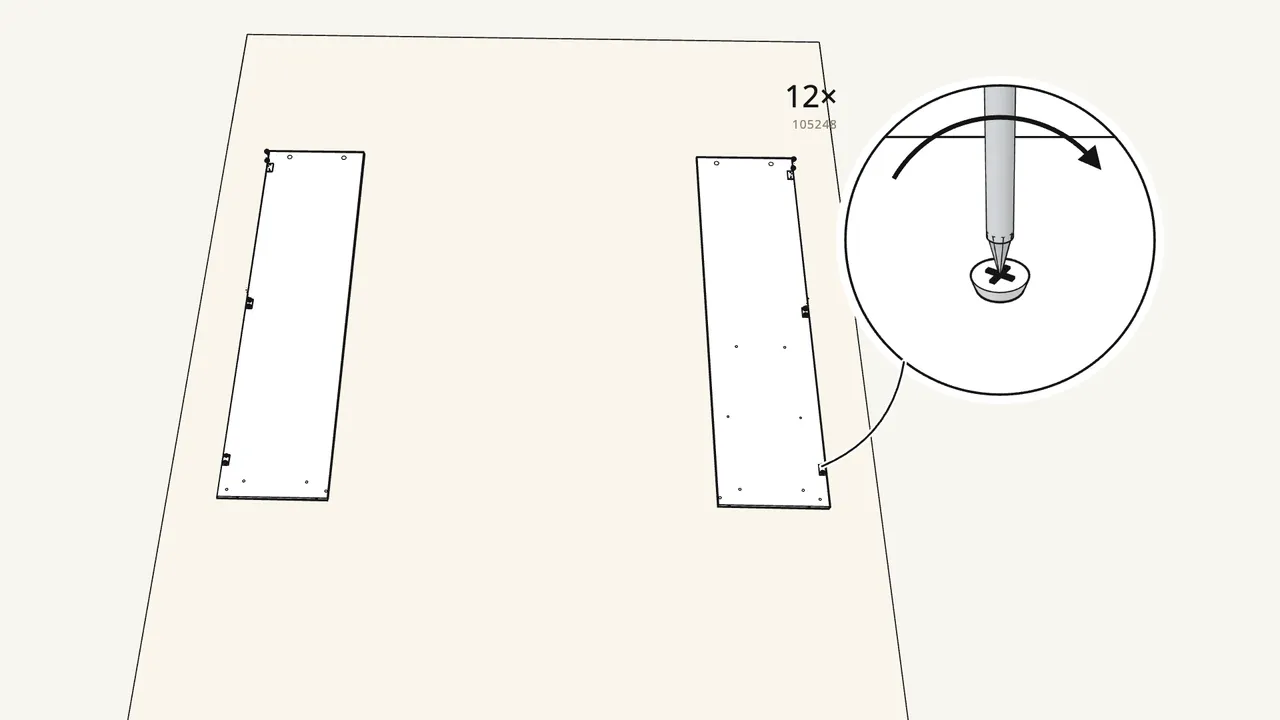
Screw 3 hinge plates (109220) onto each side panel.
Lay both sides on the rug. 2 screws (105248) per plate — 12 in all.
Step 2
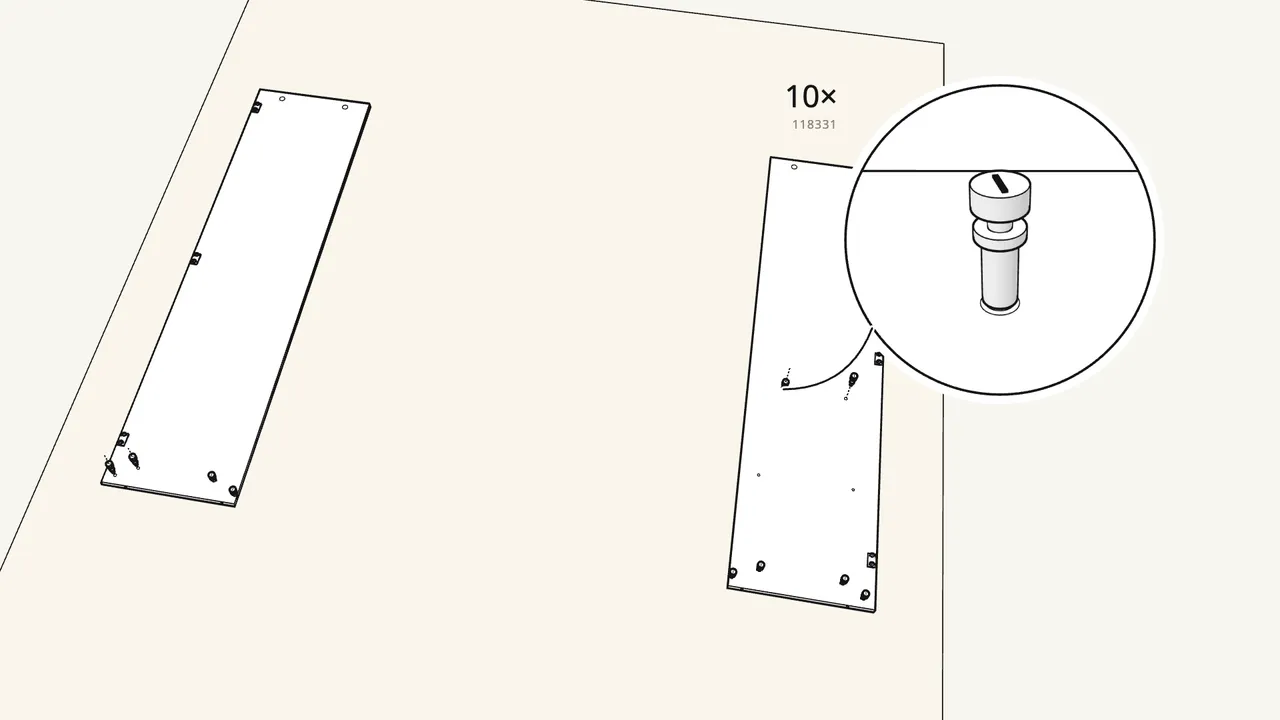
Screw 10 cam bolts (118331) into the side panels by hand.
4 in the left side, 6 in the right side.
Step 3 · manual step 3–5
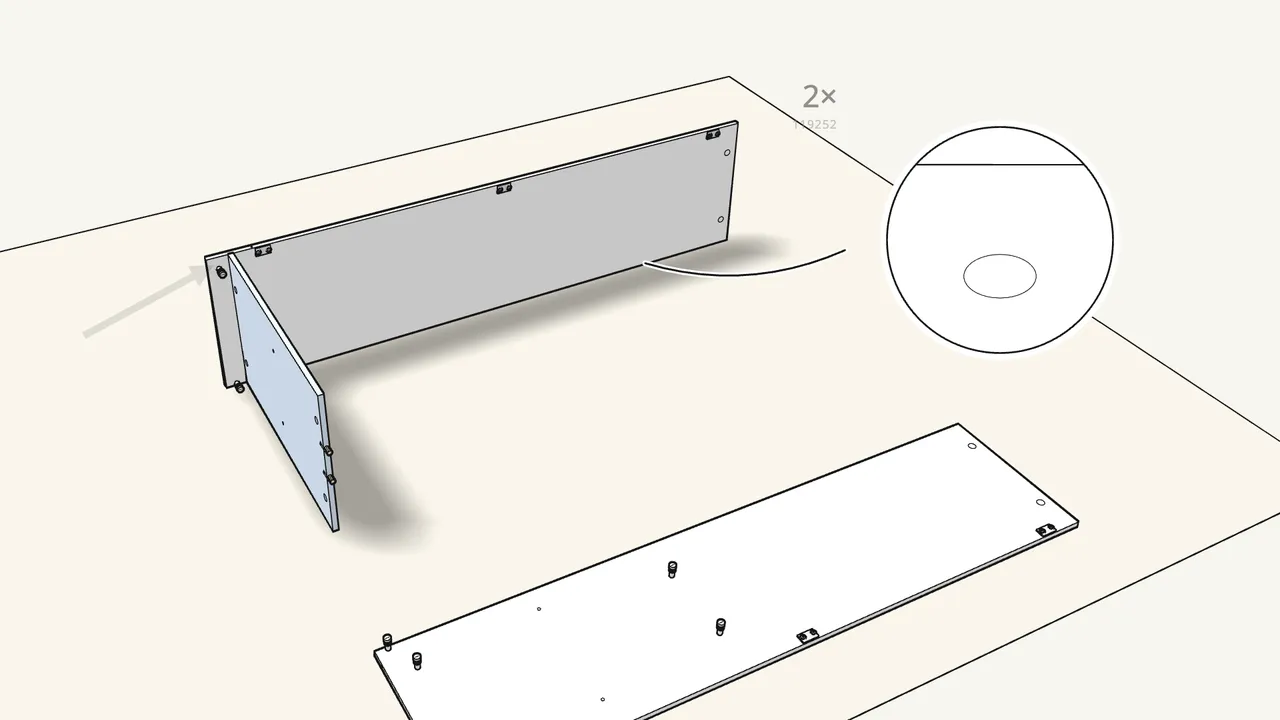
Push 4 dowels into the bottom panel and fit it to the left side.
Then insert 2 cam locks and turn them clockwise.
Step 4 · manual step 6–11
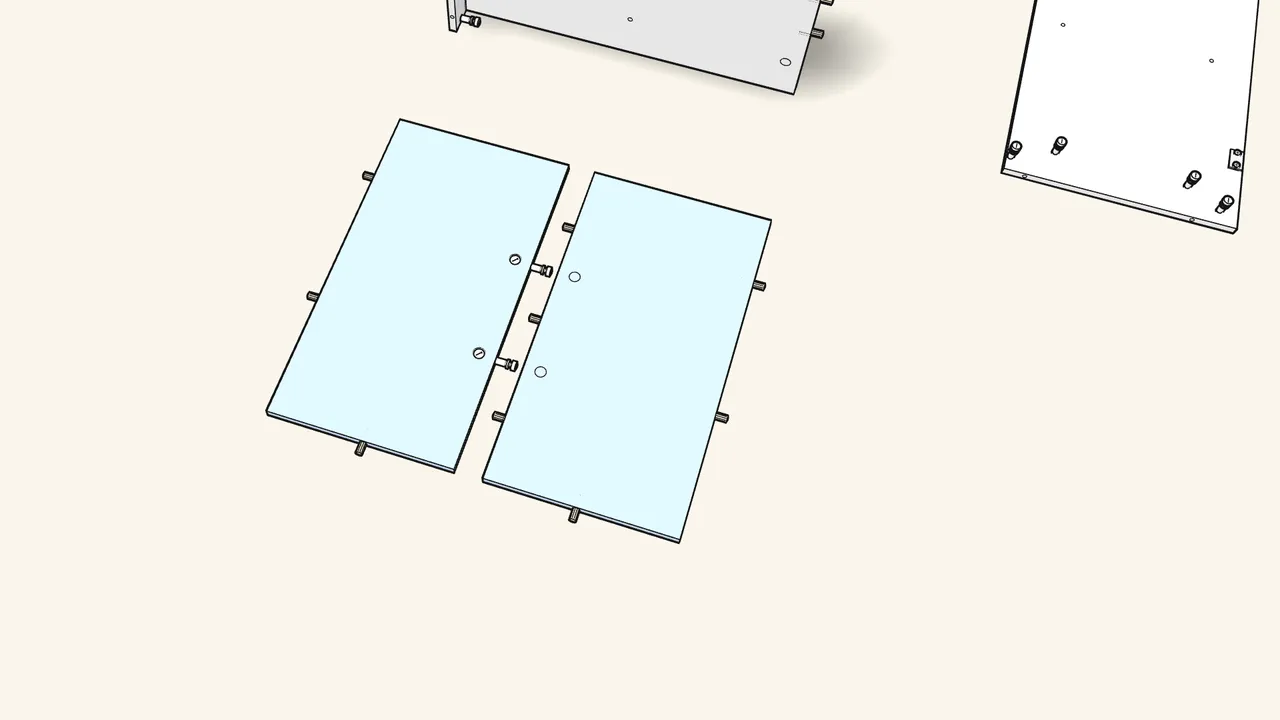
Join the 2 lower back panels.
9 dowels, 2 connectors (106940) and 4 cam locks — see the manual, steps 6–11.
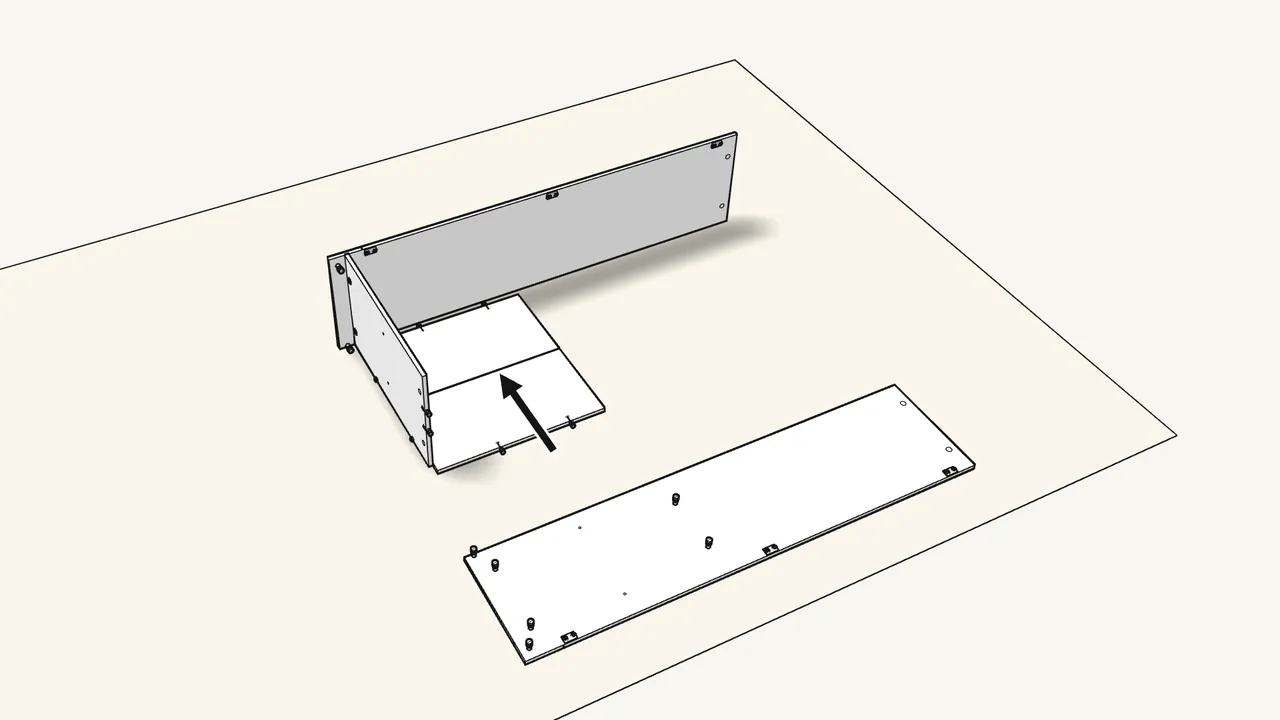
Step 5 · manual step 12
Turn the joined panel over and slide it into place.
The side with the cam locks faces down, onto the rug.
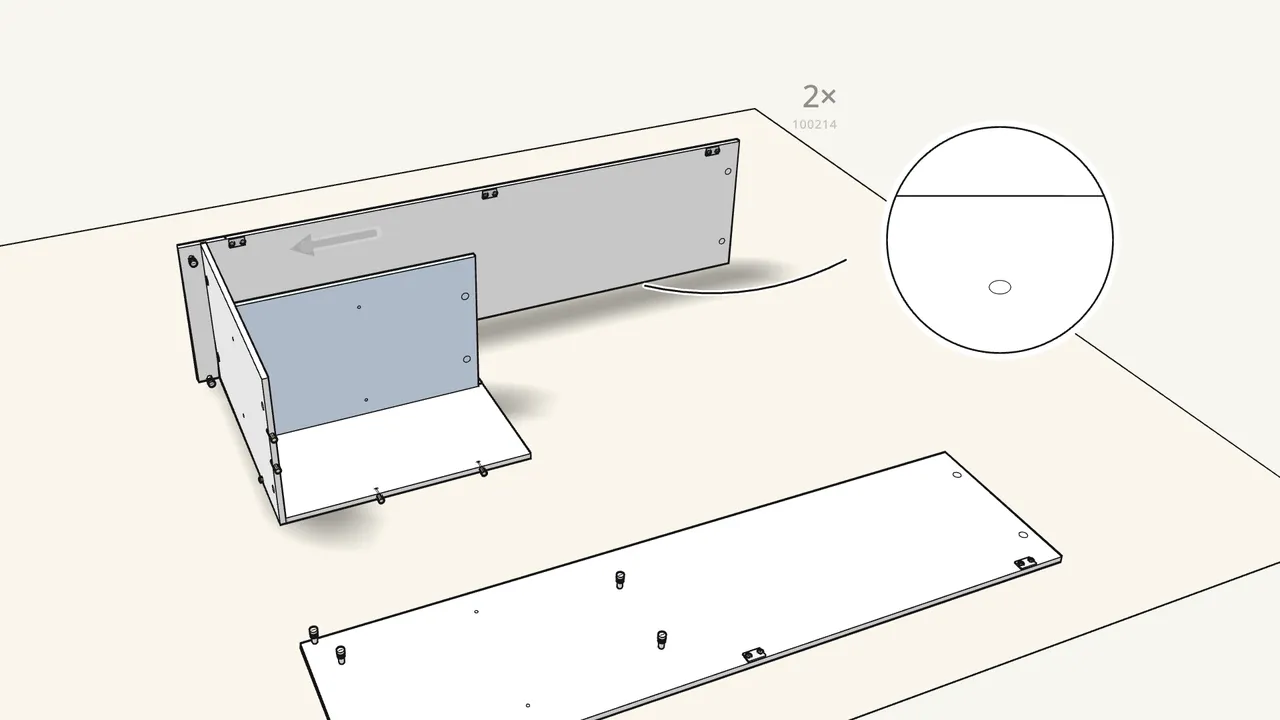
Step 6 · manual step 13–15
Push 2 dowels into the partition and fit it onto the bottom panel.
Fix it with 2 screws (100214) and the Allen key (100001).
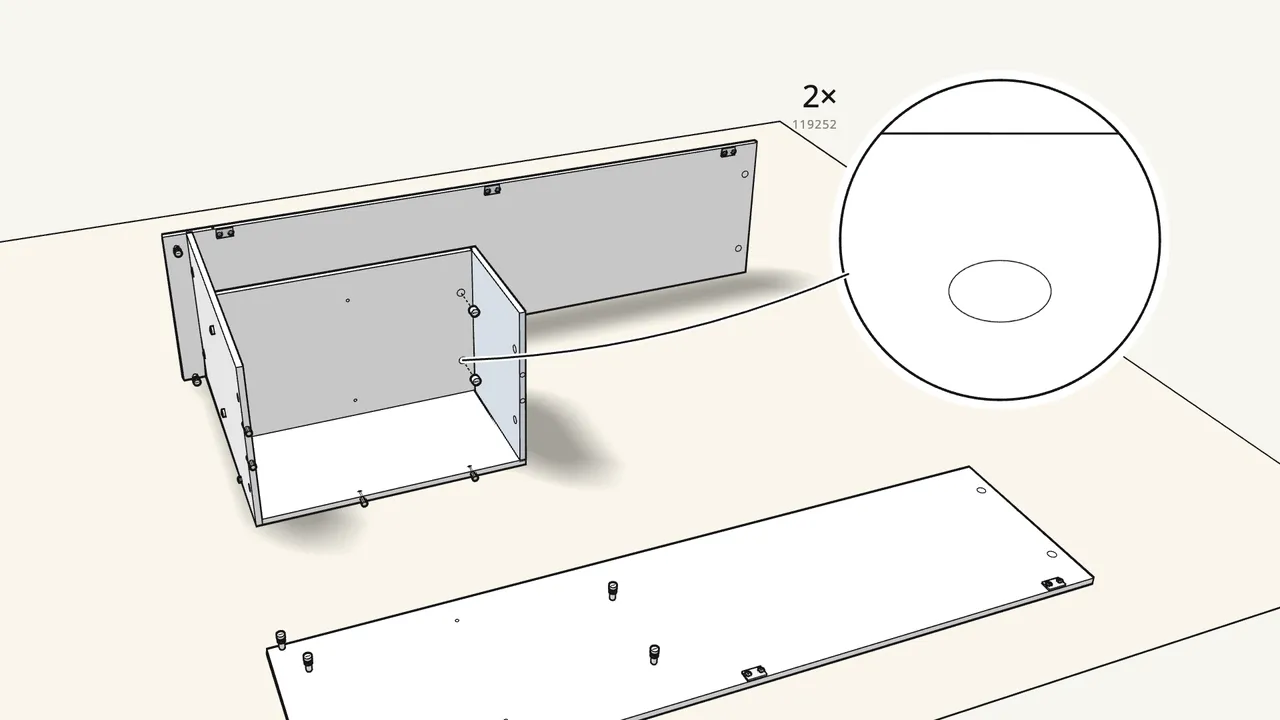
Step 7 · manual step 16–18
Screw 2 cam bolts into the shelf and fit it onto the partition.
Lock it with 2 cam locks — turn them clockwise.
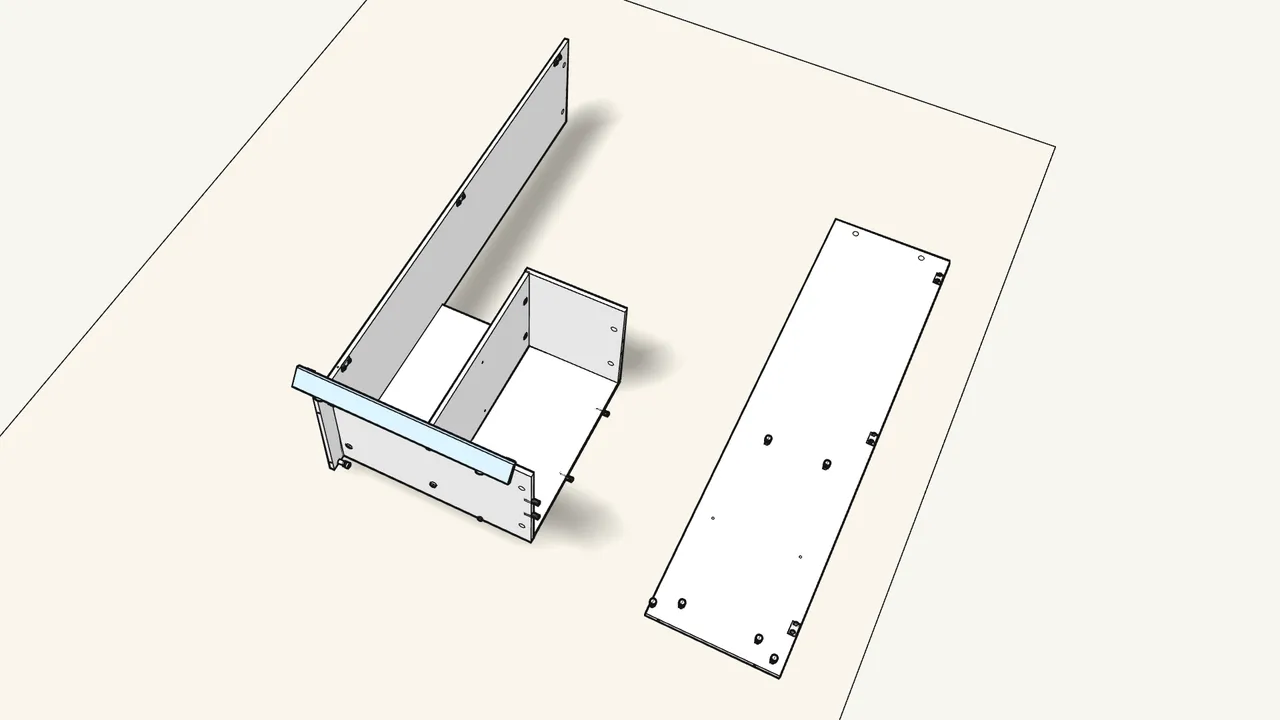
Step 8 · manual step 19–21
Fit 2 brackets (10038685) and 2 feet to the plinth, then fix it to the left side.
2 screws (105248) per bracket, 1 more into the side.
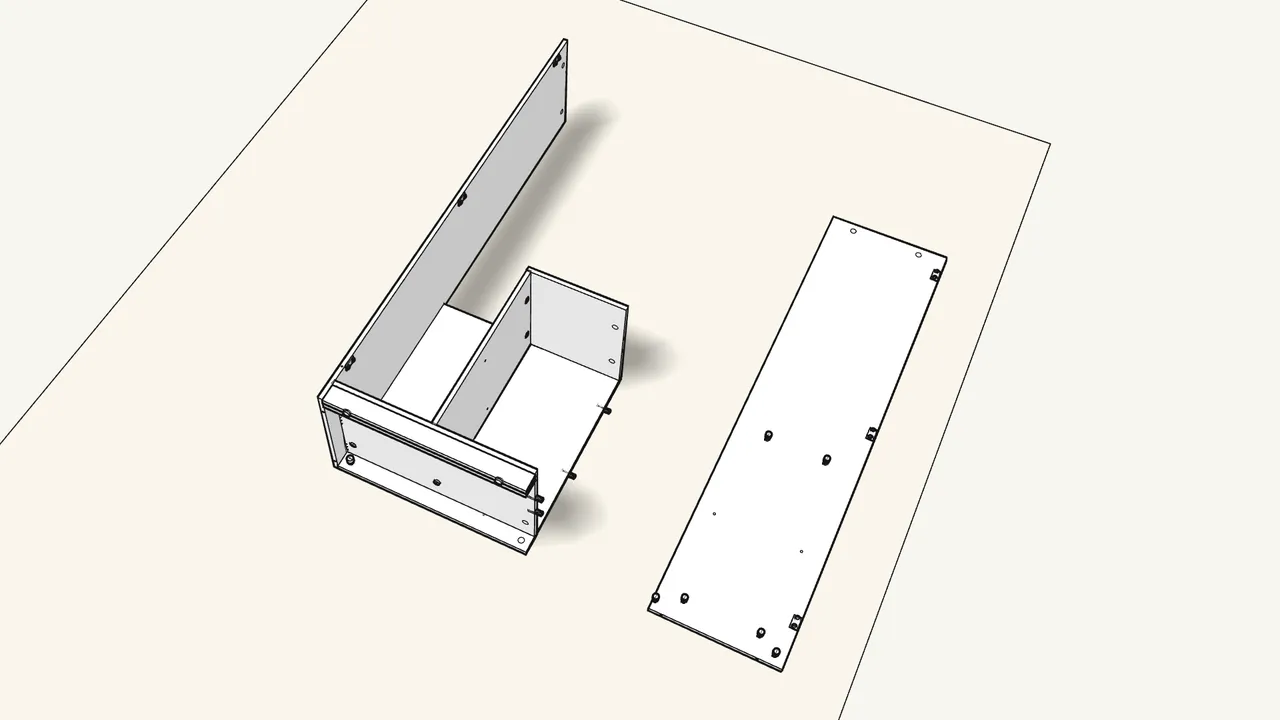
Step 9 · manual step 22–23
Push 6 dowels into the 2 rails and slide them in under the bottom.
Lock 2 cam locks on the left.
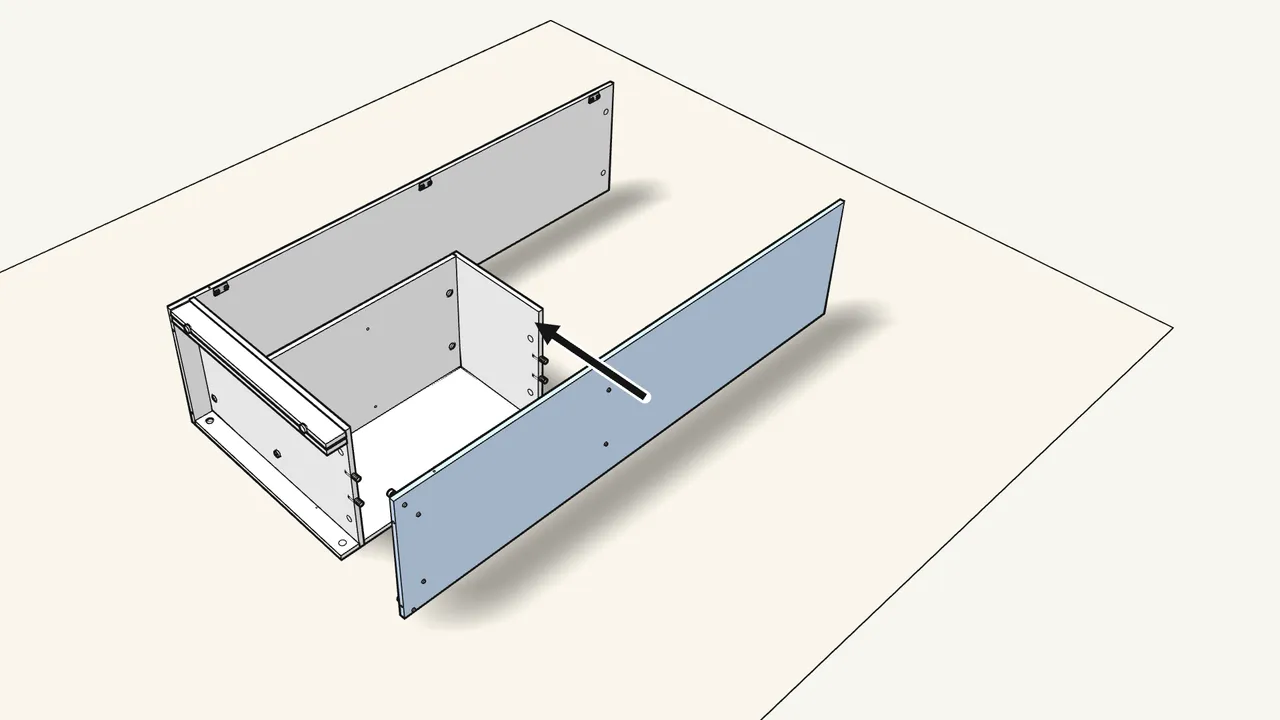
Step 10 · manual step 24–25
Push 2 dowels into the shelf, then fit the right side panel.
Two people lift the side on.
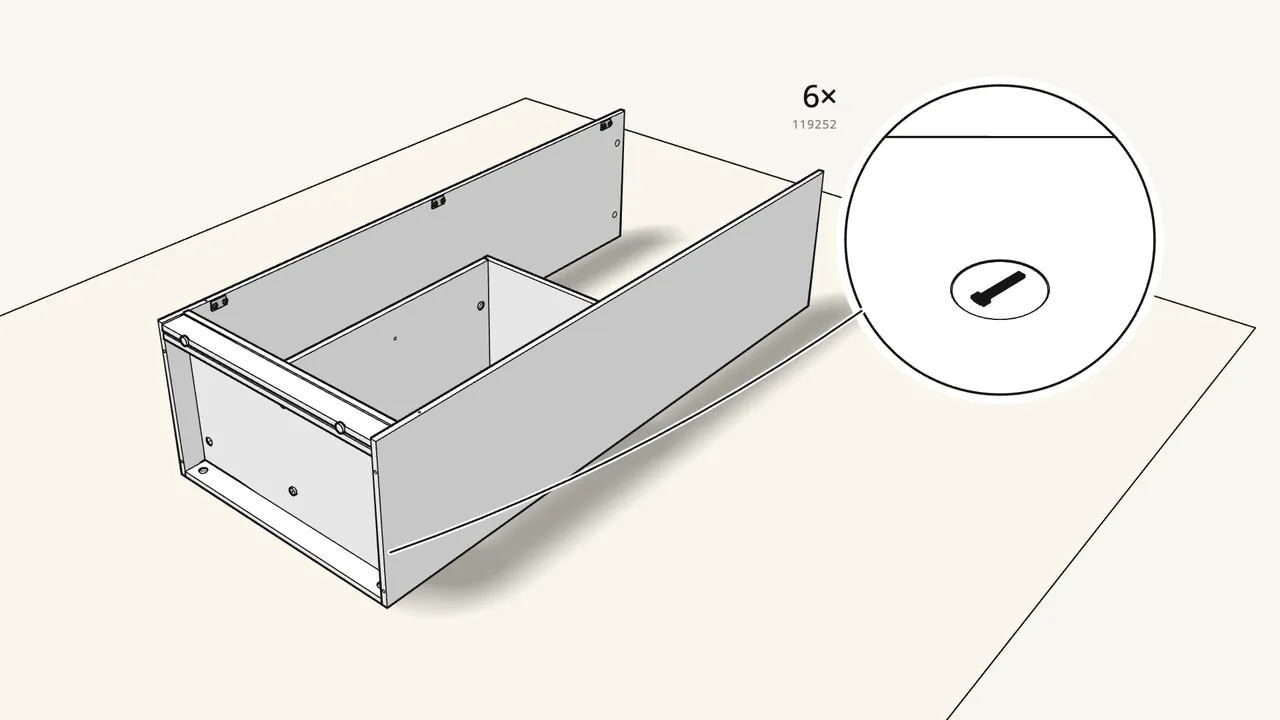
Step 11 · manual step 26–27
Insert 6 cam locks and turn them clockwise. Screw the plinth to the right side.
1 screw (105248) through the bracket.
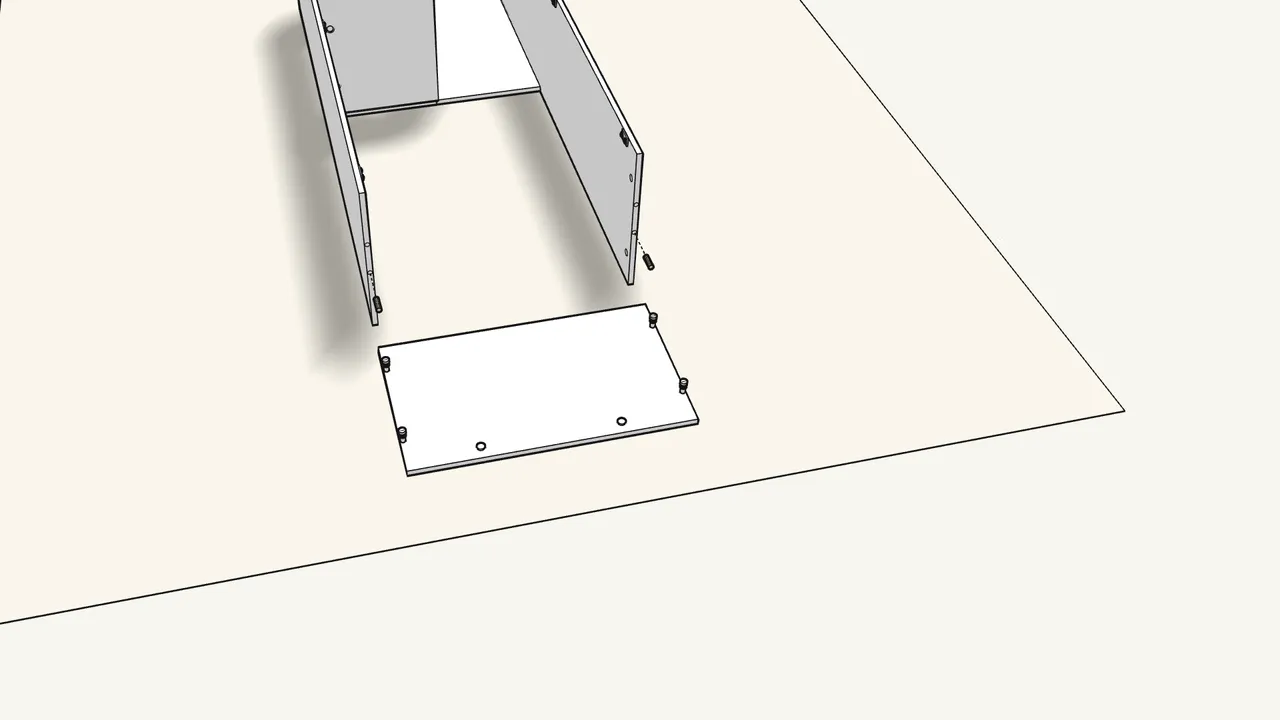
Step 12 · manual step 28–30
Tap 2 fittings (123840) into the top panel and screw in 4 cam bolts.
Push 4 dowels into the top ends of the sides.
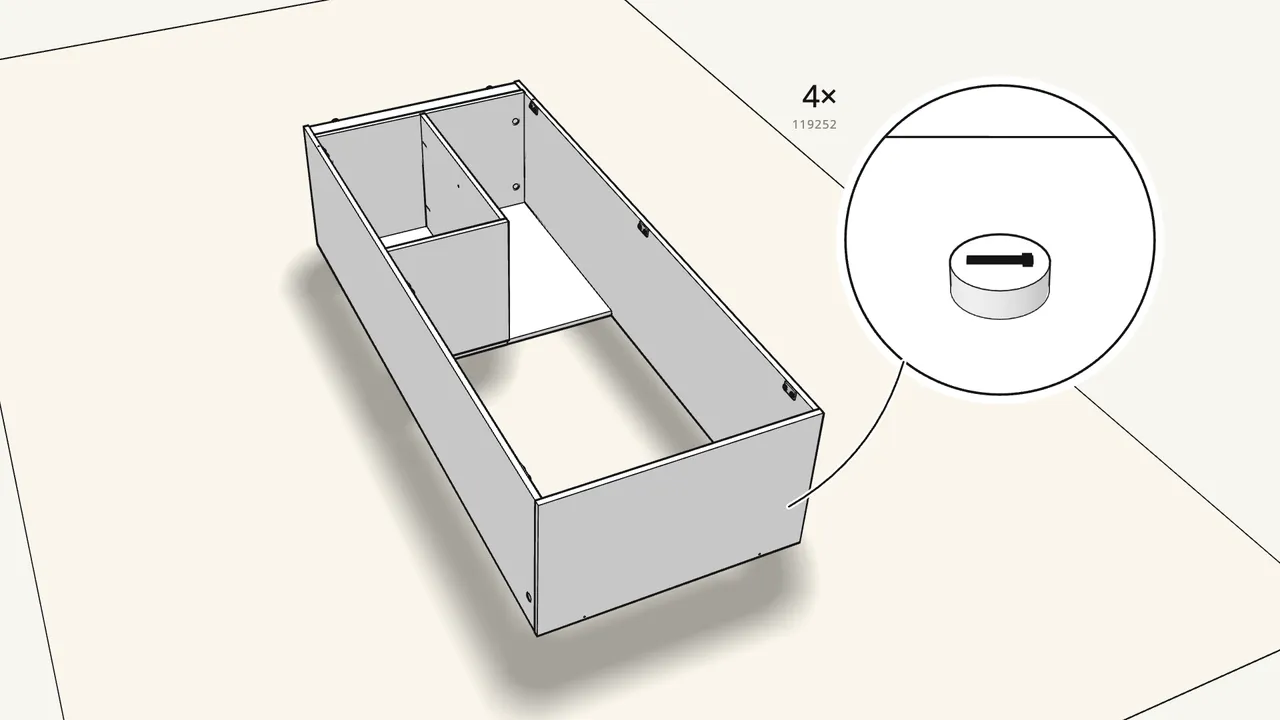
Step 13 · manual step 31–32
Fit the top panel and lock 4 cam locks.
Turn them clockwise with the flat-head screwdriver.
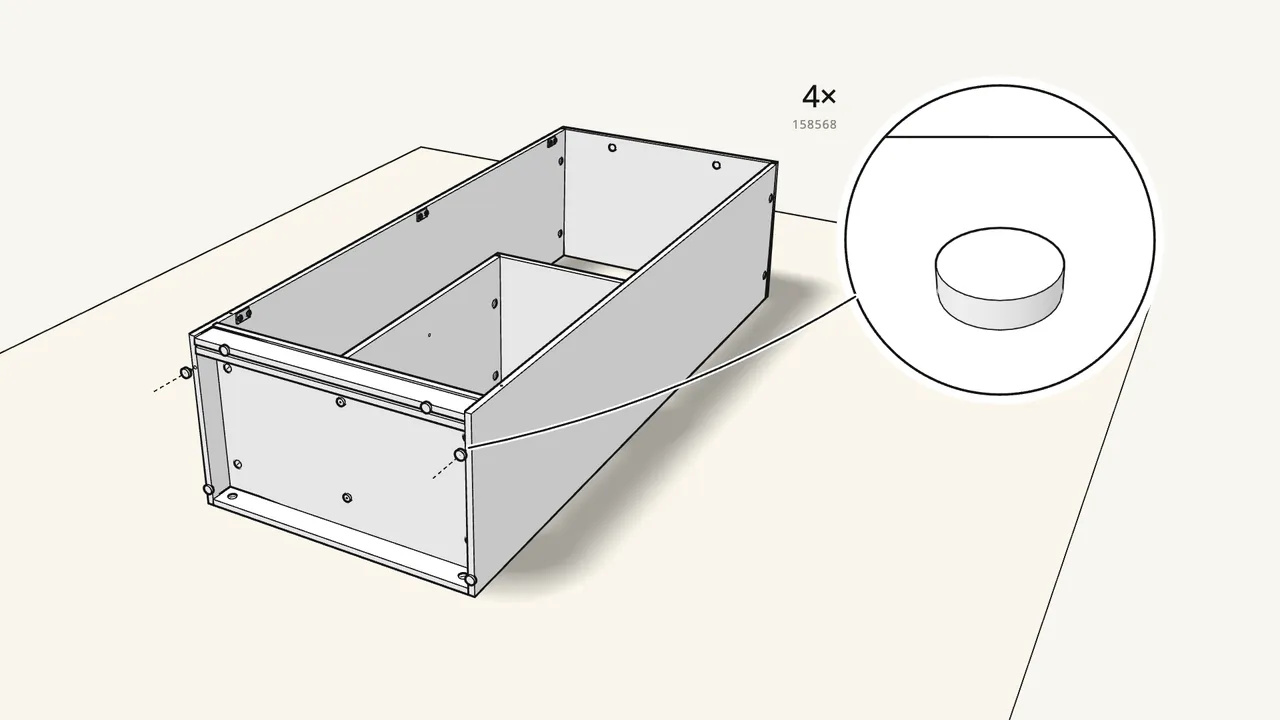
Step 14 · manual step 33
Tap 4 feet (158568) into the bottom edges with a hammer.
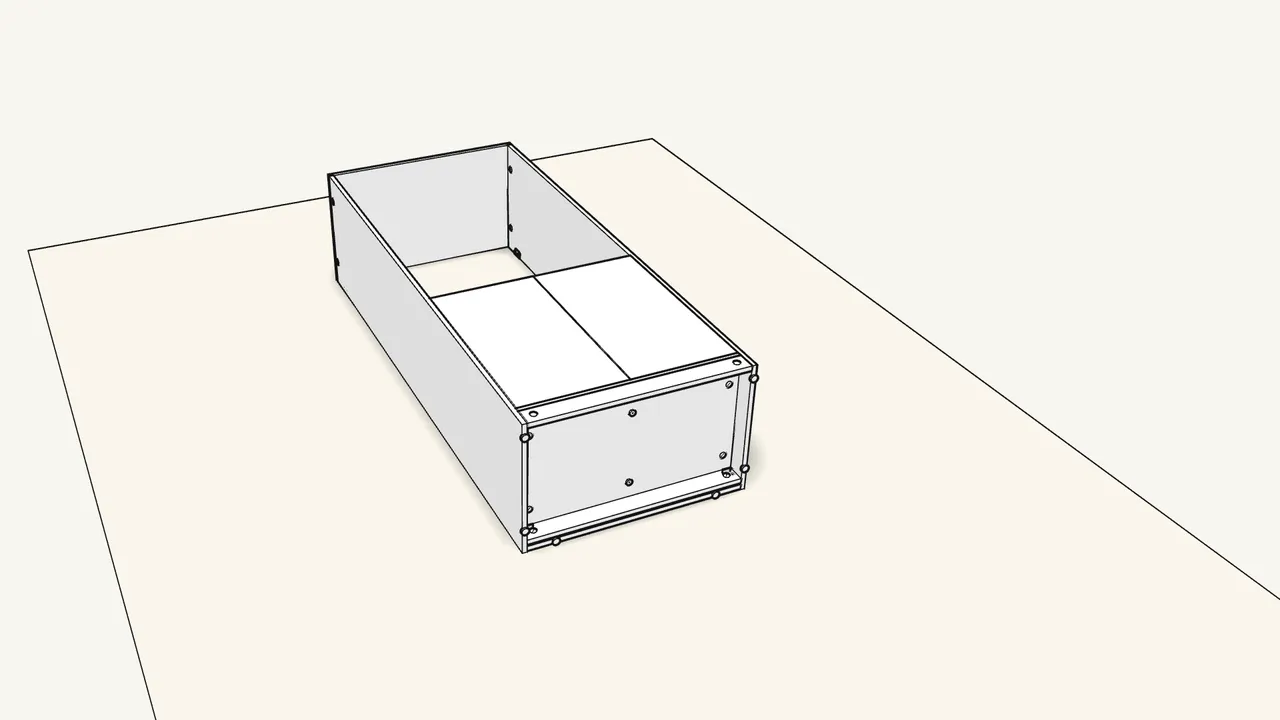
Step 15 · manual step 34
Turn the wardrobe over onto its front.
Two people. Mark the shelf height on the back edges with a pencil (manual step 34).
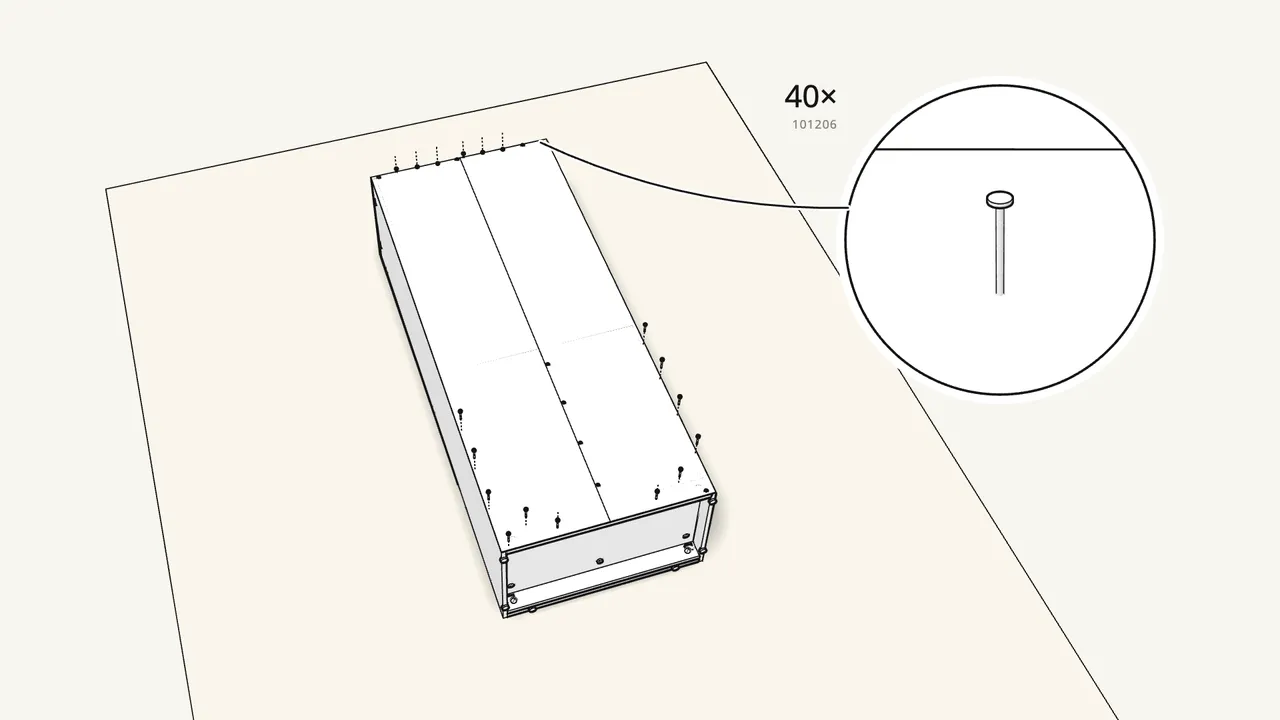
Step 16 · manual step 35–39
Lay on the 2 back panels, square them up and nail them on.
Hold the nails (101206) in the nail guide (105494). Use all 40.
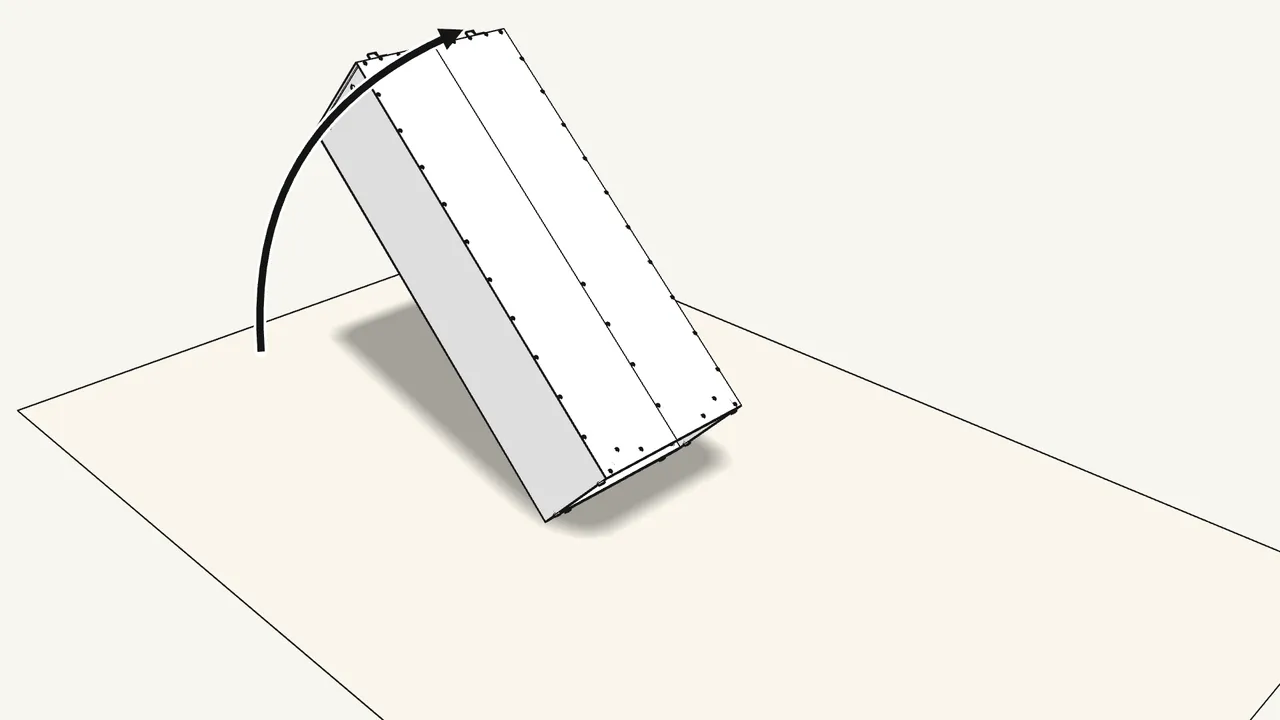
Step 17 · manual step 40
Screw the 2 wall brackets (106989) onto the top. Then stand it up.
Screw 109049 with washer 100823. Two people tip it upright.
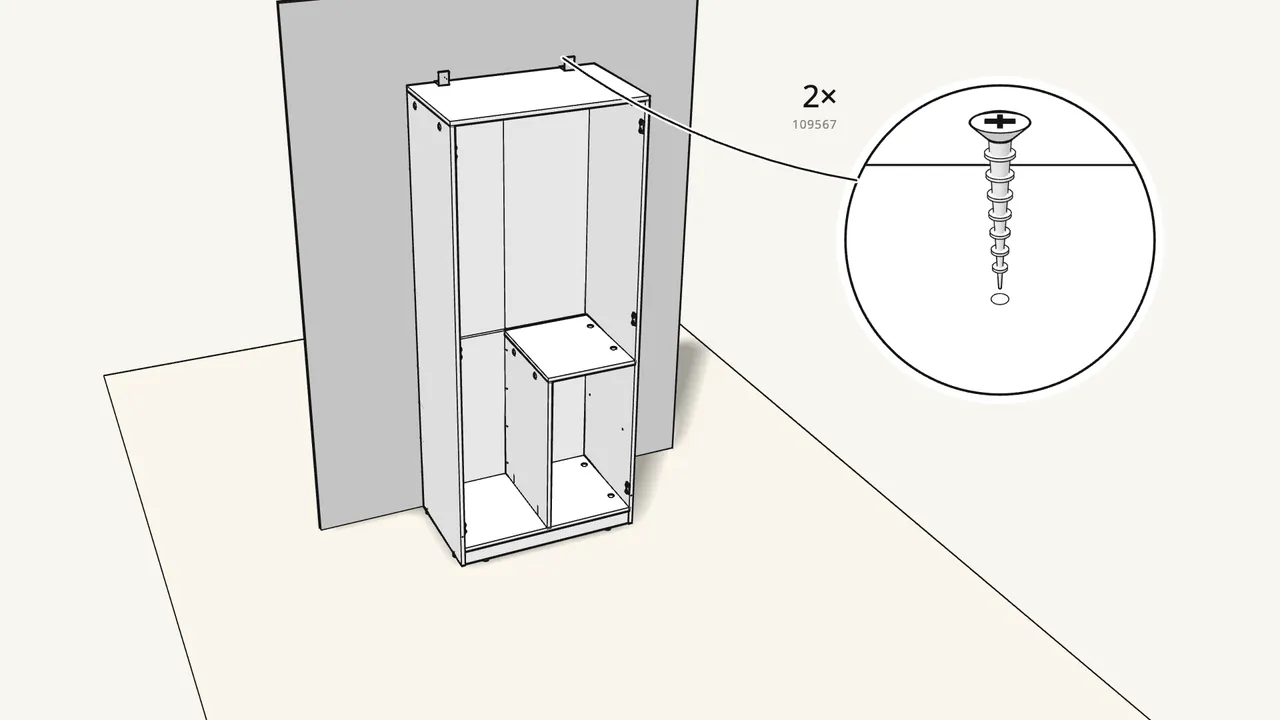
Step 18 · manual step 41–44
Turn it round, push it against the wall and fix it to the wall.
Screw 109567 + washer 100823 through each bracket. Use plugs suited to your wall.
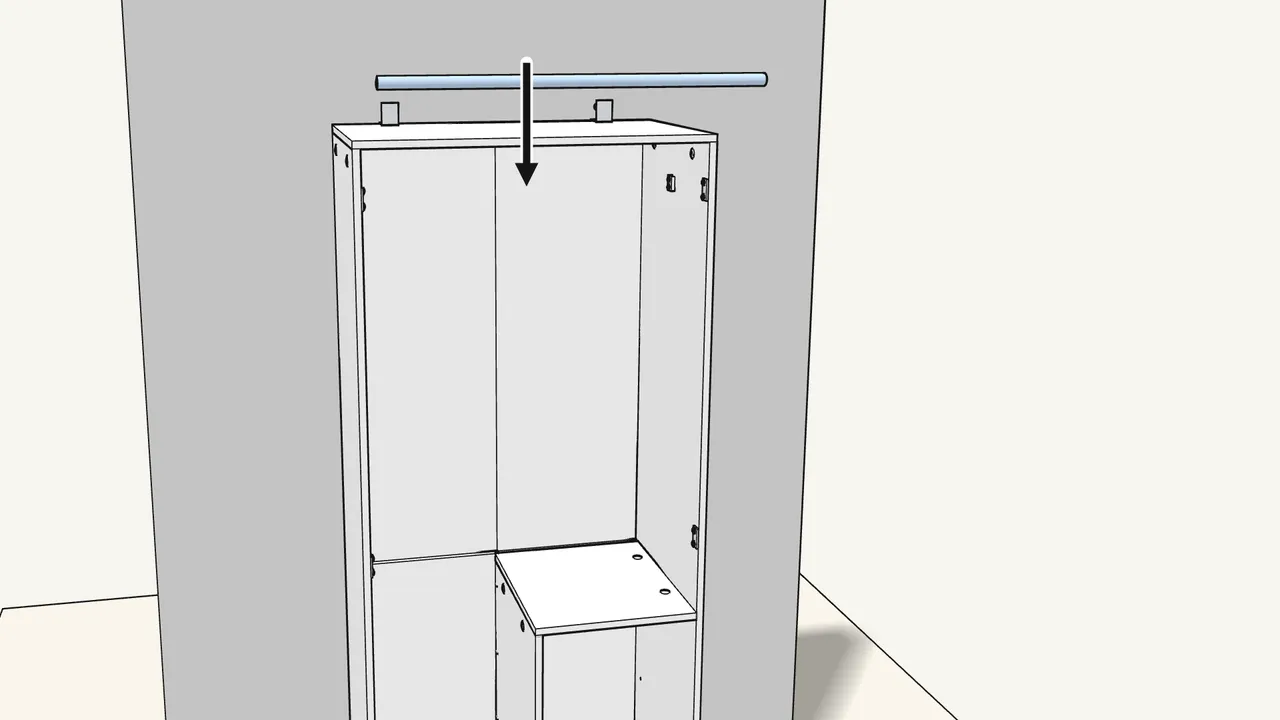
Step 19 · manual step 45
Screw on the 2 rail holders and drop in the clothes rail.
2 screws (105248) per holder.
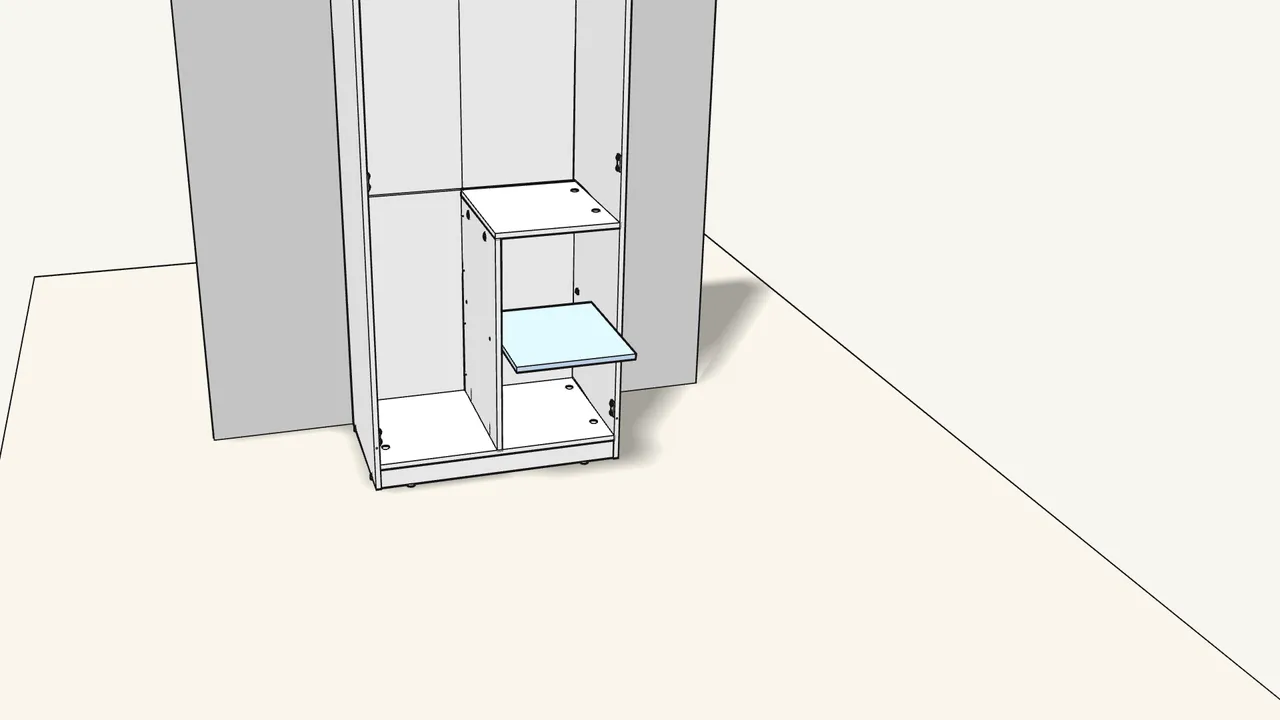
Step 20 · manual step 46
Push in 4 shelf pins (101532) and lay the shelf on them.
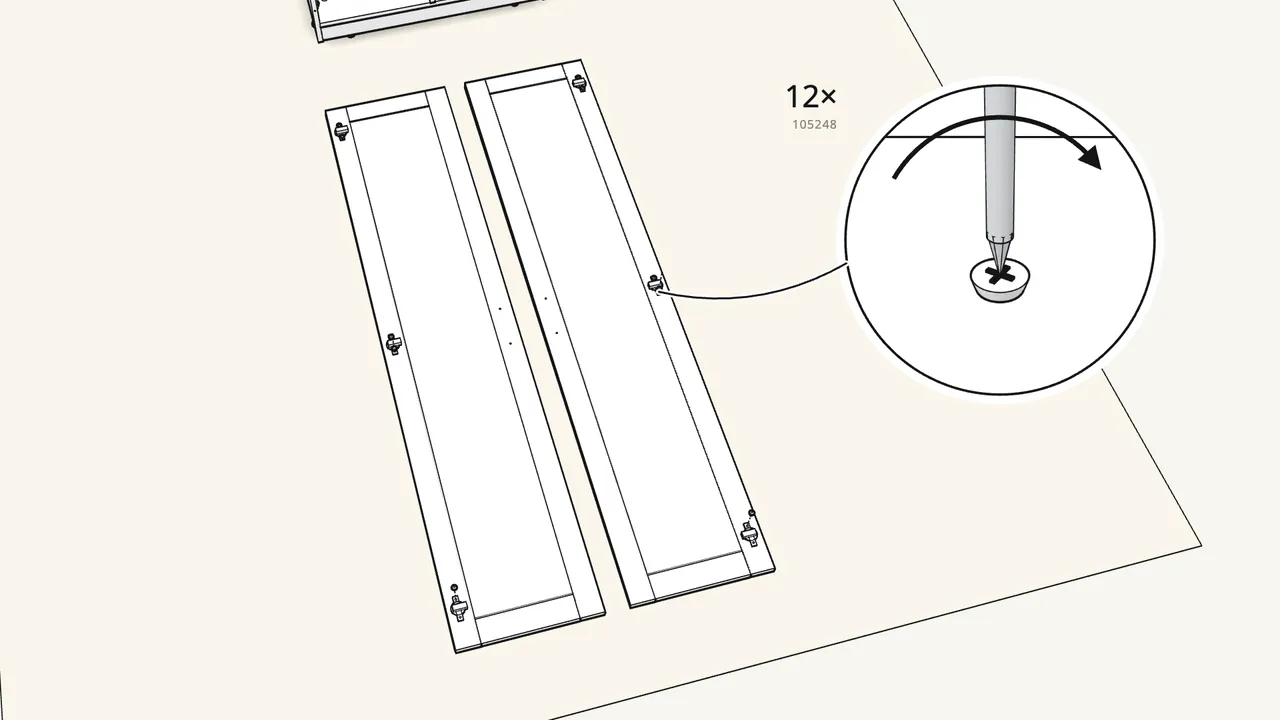
Step 21 · manual step 47
Screw 3 hinges (109336) onto each door.
Doors face-down. 2 screws (105248) per hinge.
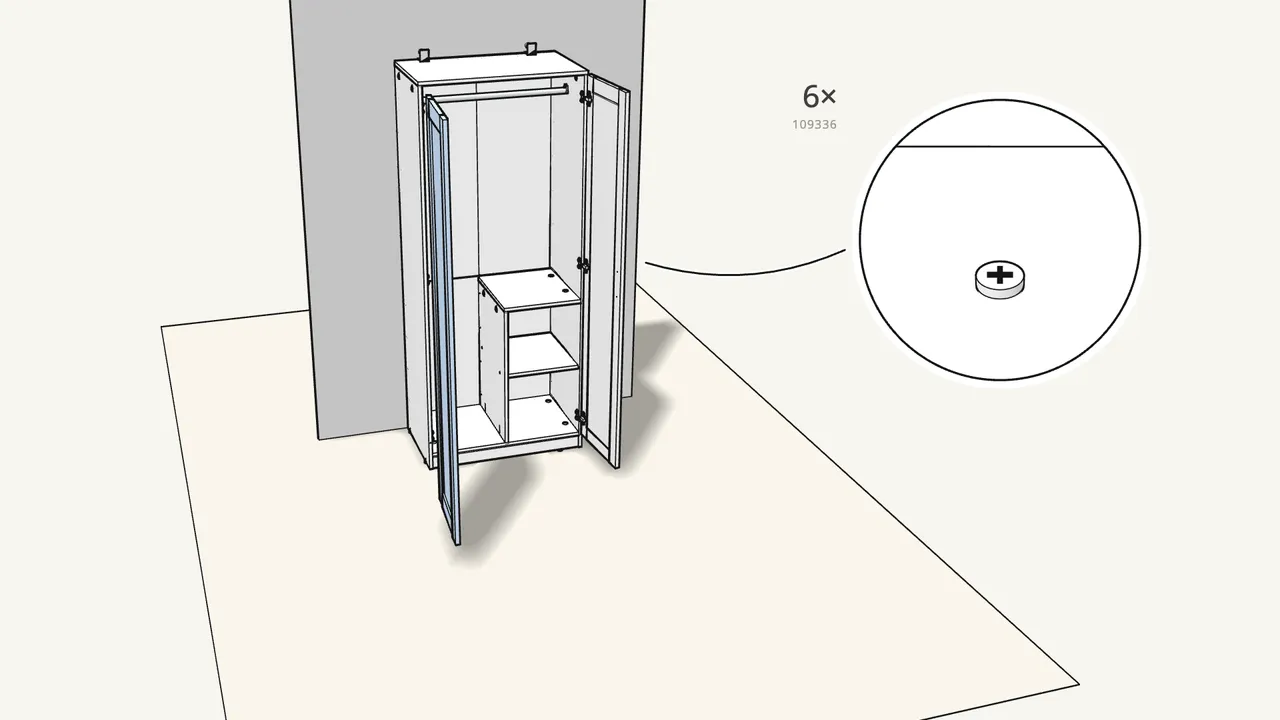
Step 22 · manual step 48
Clip the hinges onto the hinge plates.
Then tighten the screw on each hinge.
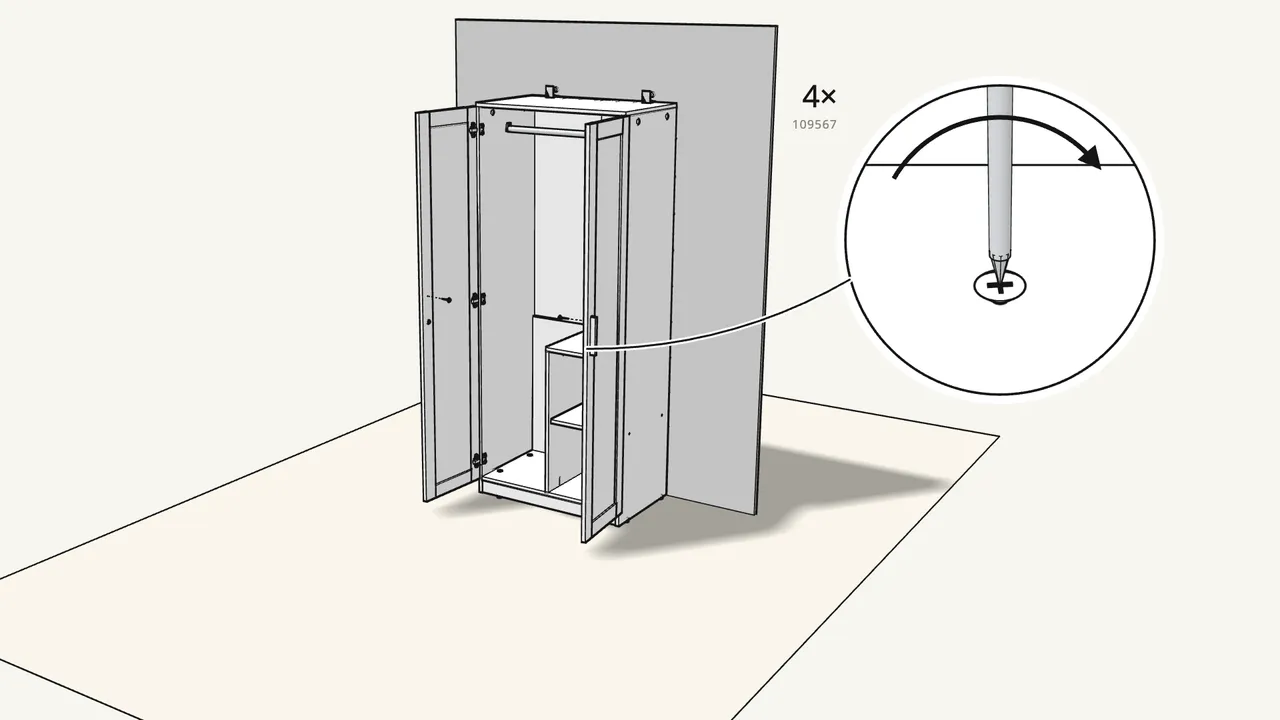
Step 23 · manual step 49
Screw a handle onto each door.
2 screws (109567) per handle, from the inside.
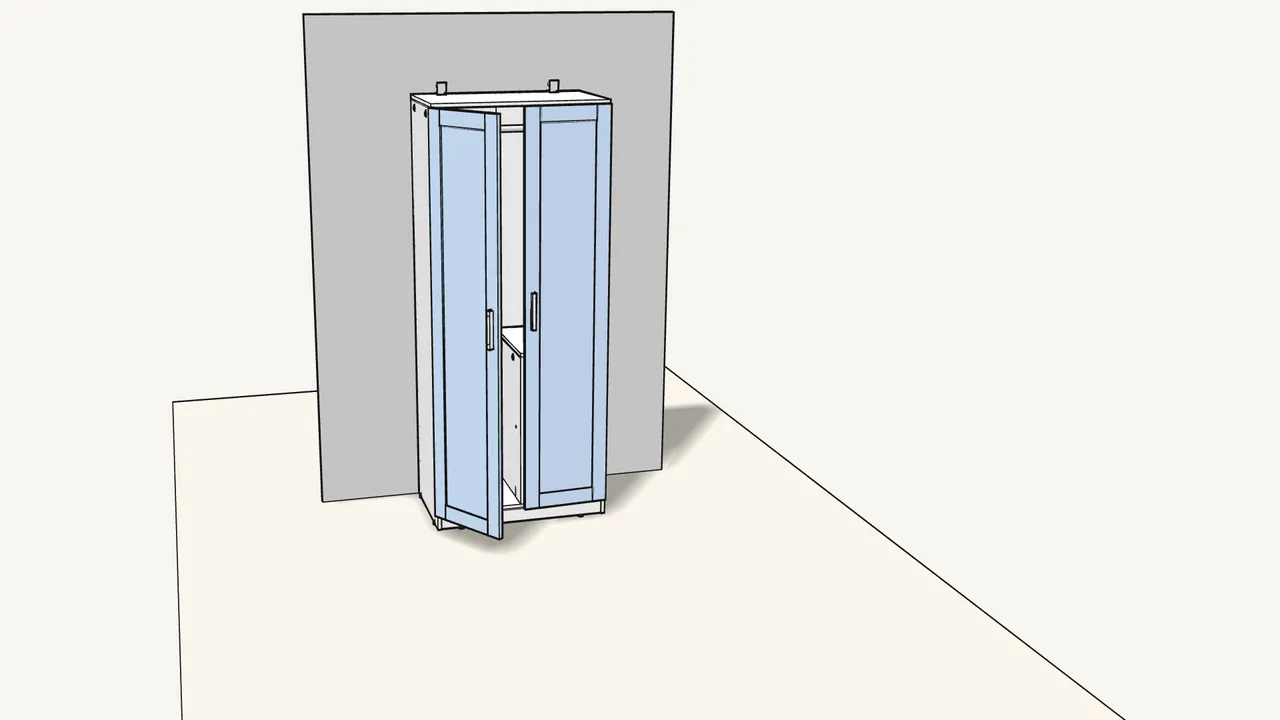
Step 24 · manual step 50
Press on the 2 bumpers (107091), then close the doors.
Tips & safety
- Always fix the wardrobe to the wall. Children have died from furniture tip-over. The screws and plugs supplied suit most solid and hollow walls — if unsure, seek professional advice. Never put a TV on it.
- Doors not lined up? Turn the hinge screws with a Phillips screwdriver to move a door up/down, sideways or in/out (manual p. 35).
Official instructions
This guide follows IKEA's official assembly instructions (AA-2395782-5). Keep the printed manual to hand — if anything differs, the manual is right.